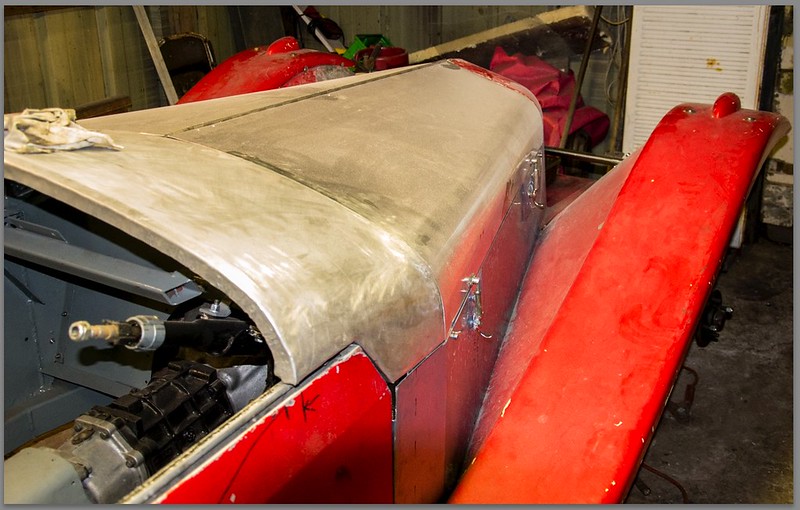
Yesterday we passed the 90% milestone, Michael my son has been busy doing lots of little jobs, like painting the fuel filter bracket (black) and painting the underside of the boot lid so I can finally fit the boot lid skin I made a while back...

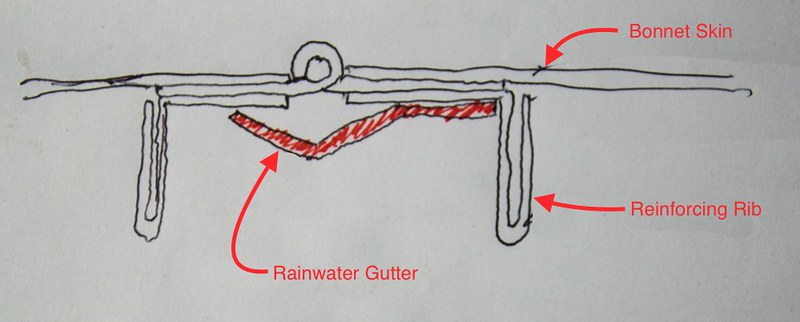
My friend turned up with lot's of goodies! A sheet of aluminium to form the back bulkhead/rear seat back, my gutter which he has folded perfectly to stop water dripping on the engine, and two lovely pieces of stainless steel tube for the tail pipes. I need to bend them slightly to go under the back axle... That may be a challenge. I do know of a place with a set of power bending rollers, if they have the dies I may get it bent there, otherwise I will have to cut and weld but I don't have any pure argon to TIG them.
My friend is going to fold some thin stainless for me to make the bars for the radiator grill, I don't like the original Marlin supplied, kinked, 2.4mm ally welding rods that need knitting into a mesh.
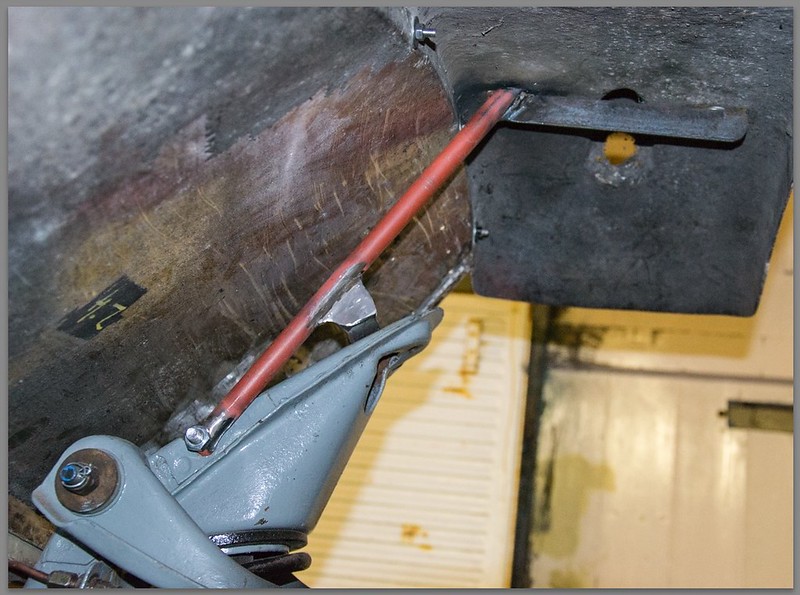
I have started fitting the front wings, and discovered the supporting brackets are missing. I don't remember them although from the few photographs I have of the car before it was dismantled they were present. In order to push the job forward I have decided to create two fresh brackets.
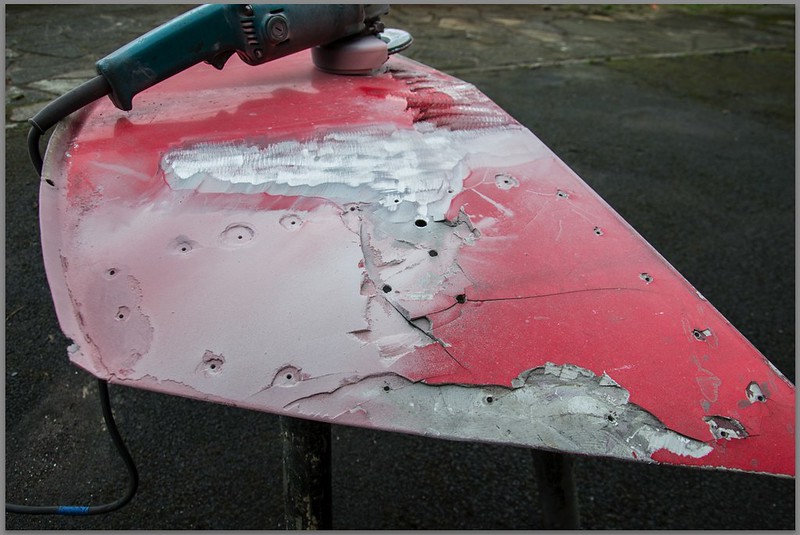
On Friday I tackled the front inner wings. They were in a bad way, the o/s one was battered, both suffered from stress cracking in a crescent above the lamp bar attachment point, also star cracks around the lamp bar bolt holes. I ground off almost 10mm of body filler which a PO had applied in a poor attempt to mask the cracks. Once the filler was off I could see the full extent of the damage. I welded the cracks up as best I could. The aluminium is very thin, it was 16g originally but a PO has ground it heavily to give key for the filler and I ground some more off getting rid of the filler!!! I didn't bother measuring it but it remains no thicker than 1.2mm I am sure. With three passes I managed to weld the cracks reasonably well without blowing any serious holes.
The photographs show a pattern of pop rivet holes, a PO had riveted pieces of steel behind the panel to stiffen it. Apart from the tendency to encourage corrosion, the steel increases the front end weight which is against my principles, I like light and simple, so the steel plates were dumped long ago. Instead, I think I have removed the cause of the cracking by stabilising the inner wings by attaching them to the front subframe, which effectively stops them flapping about.
I used Oxy Acetylene and a silicone TIG welding rod. I find Magnesium tends to crack on cooling. The third pass left the weld pretty flat and nicely malleable with a little fettling it went in the English wheel and worked nicely.
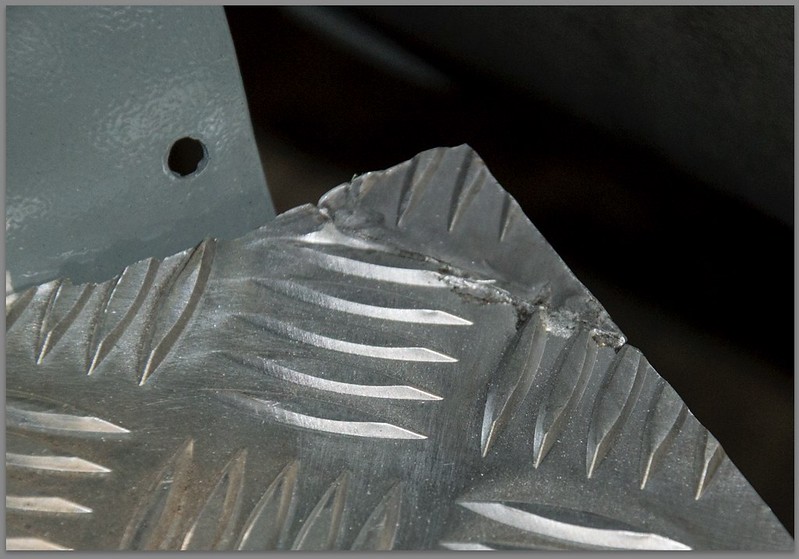
This shows the extent of the damage. The cracks are around the three lamp bar mounting holes, the fourth hole is for the wires. I used a 40 grit flap disk to remove the filler, very effective but also very dusty!
A close up of the cracks:
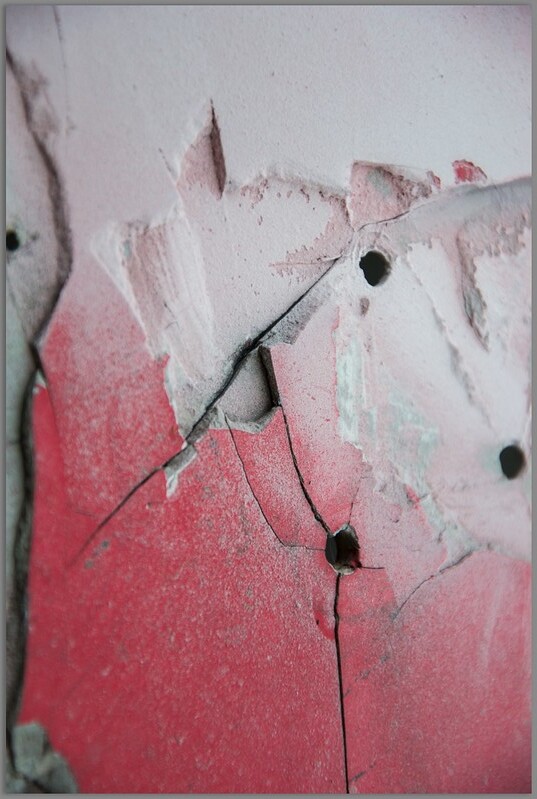
After rough cleaning and removal of the body filler, the main crack was about six inches long.

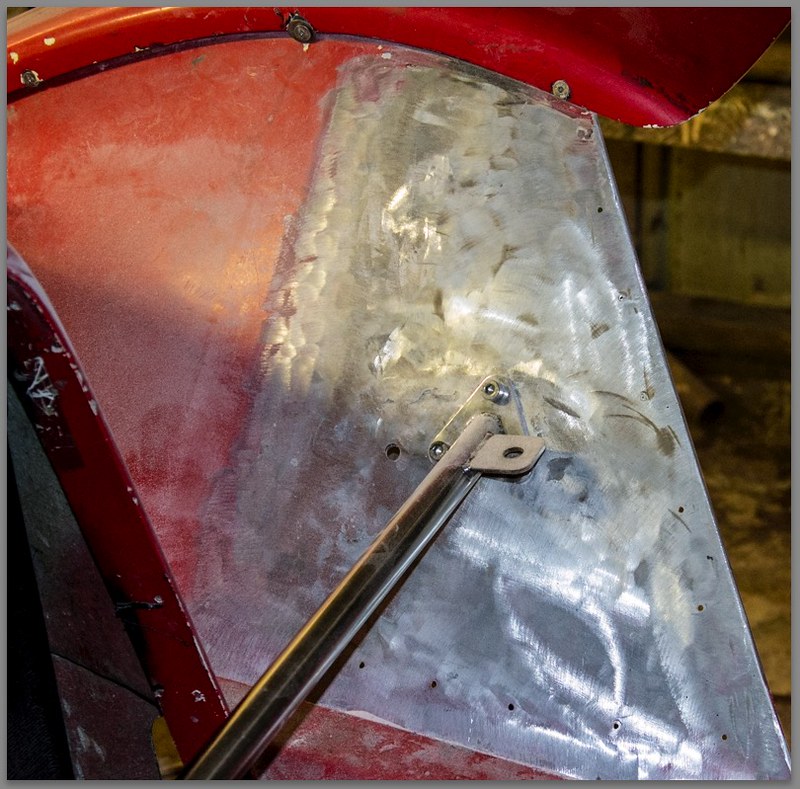
After welding, not pretty but once fettled it was OK. I also dabbed several of the pop rivet holes but not all I was running short of time.
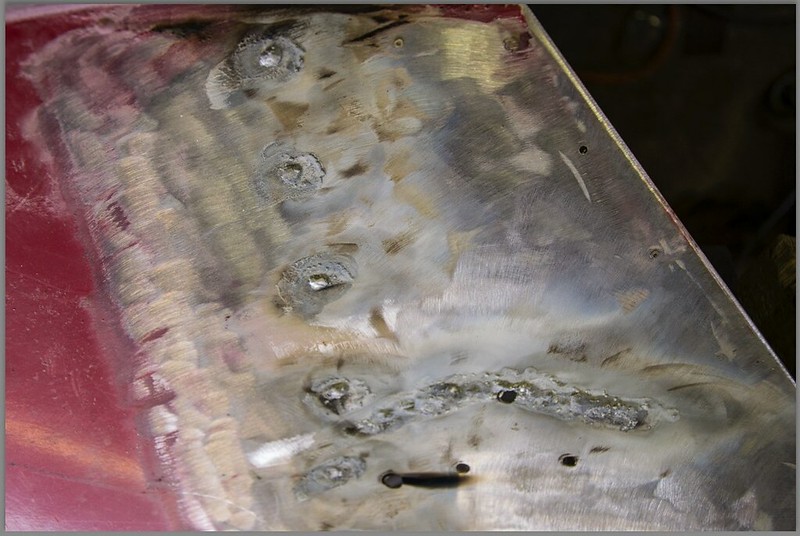
I will take another photo of the welds once the wings are fitted, time was catching up with me so I haven't captured any more images since these but the welds are blended into the panel now, not perfect but pretty sound I think.


 Hybrid Mode

