|
|
| Tribute Automotive Builds Discuss your Tribute kit build |

23rd March 2014, 19:04
|
 |
Member
|
|
Join Date: May 2012
Location: The past
Posts: 78
|
|
Hilarious caption on the dog.
Good work as per!
|
23rd March 2014, 19:15
|
|
Senior Member
|
|
Join Date: May 2013
Posts: 2,161
|
|
The dog? The dog?
That's Roobarb!!
|
23rd March 2014, 19:57
|
 |
Senior Member
|
|
Join Date: Oct 2010
Posts: 1,622
|
|
Brilliant work Scottie. Almost seems a shame to stand on them to get in and out of the car!
|
23rd March 2014, 21:18
|
|
Senior Member
|
|
Join Date: May 2013
Posts: 2,161
|
|
I made them a bit shorter than normal to give myself about 9 or 10 inches in front of the seat so I don't have to stand on them!!!
Watch this space and you'll see.
Didn't put all that work into them to trample the buggers flat!!!!
|
24th March 2014, 18:29
|
|
Senior Member
|
|
Join Date: May 2013
Posts: 2,161
|
|
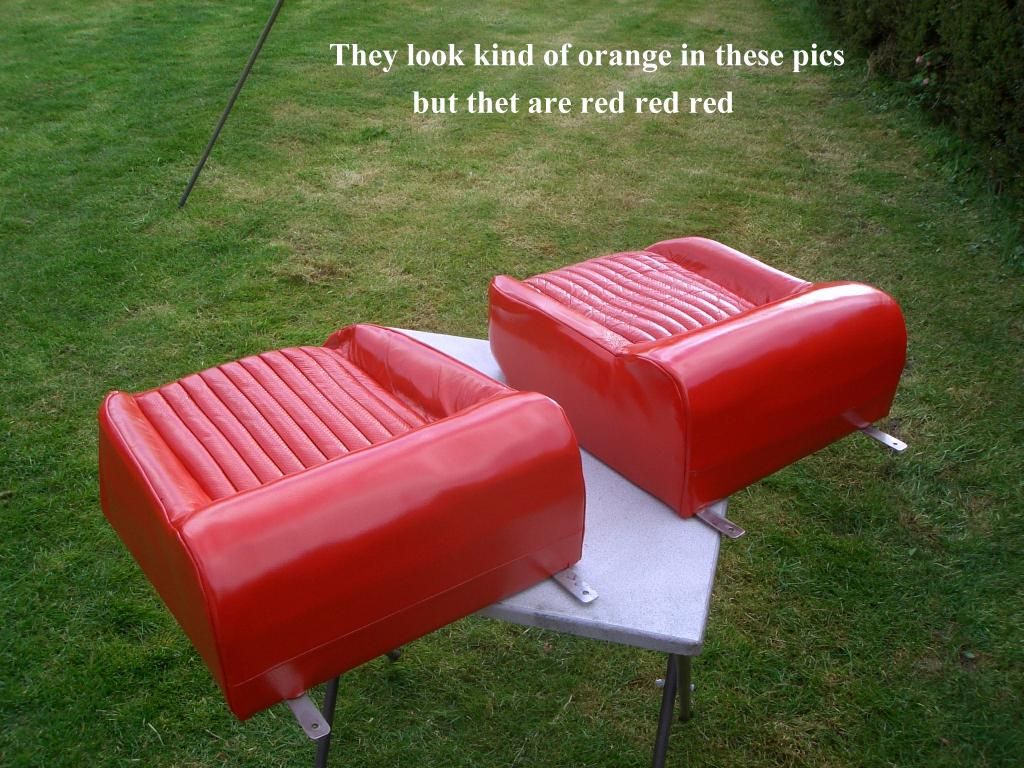
 Seat backs
Spent the whole day stitching the seat backs together, and making the plastic backing pads to fit them to.
It is a much more difficult task than I first thought,
(seems like the story of this build!)
But I am closer to the end of it.
Just about everything I put on the car, I try to plan so that it removes easily,
the rears seats are no exception. Although he alloy curved seat backs will unscrew, (8 million screws) I have mounted the foam on the plastic bits I originally used as a pattern for the alloy.
They are held in by only 4 bolts with wing nuts for ease of removal.
I have to somehow make the leather fit the curve, and then colour it.
I thought I could do all this in two days, but now I don't think so.
Here's where I'm at now:
[IMG] 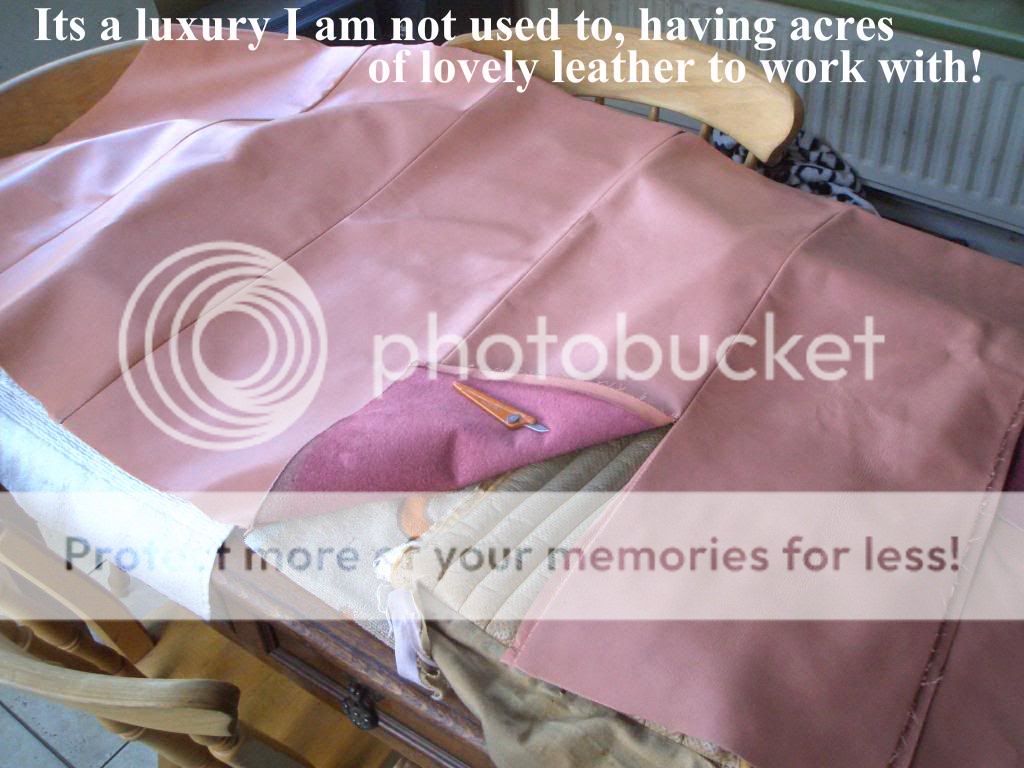 [/IMG]
[IMG] 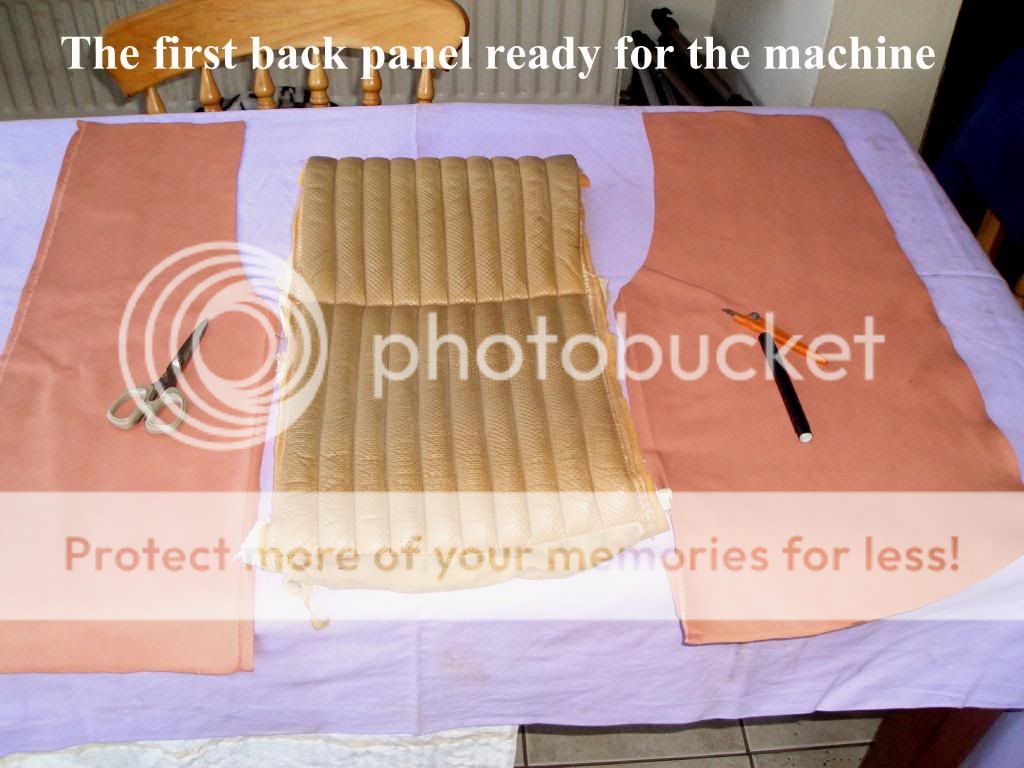 [/IMG]
[IMG] 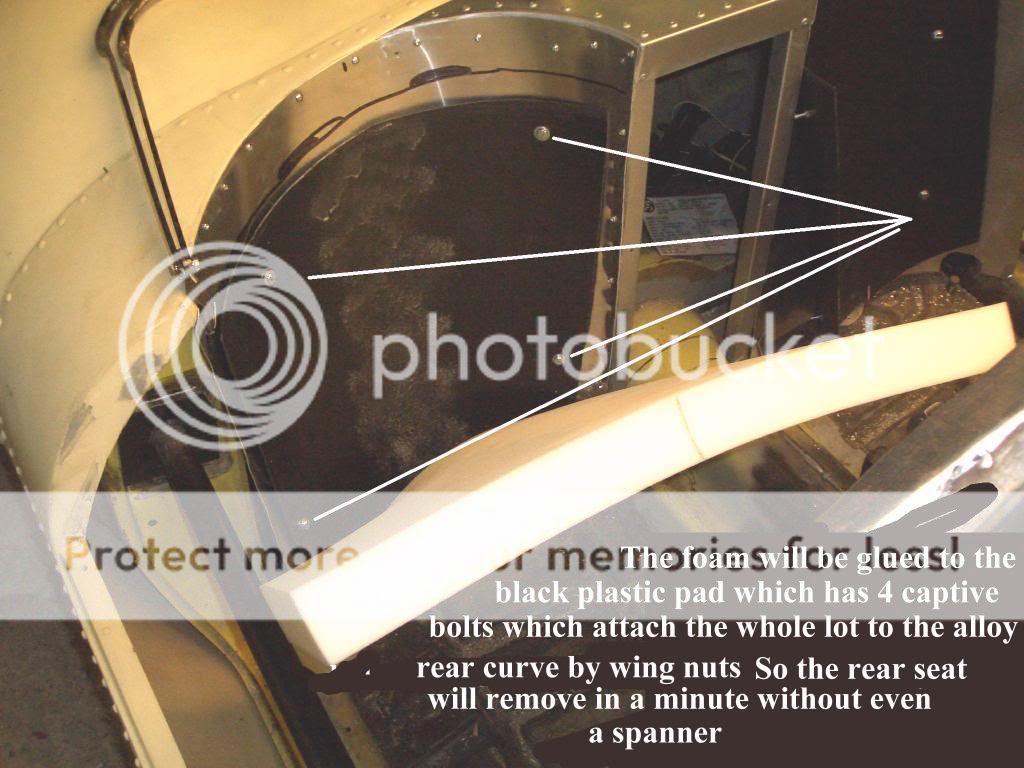 [/IMG]
[IMG] 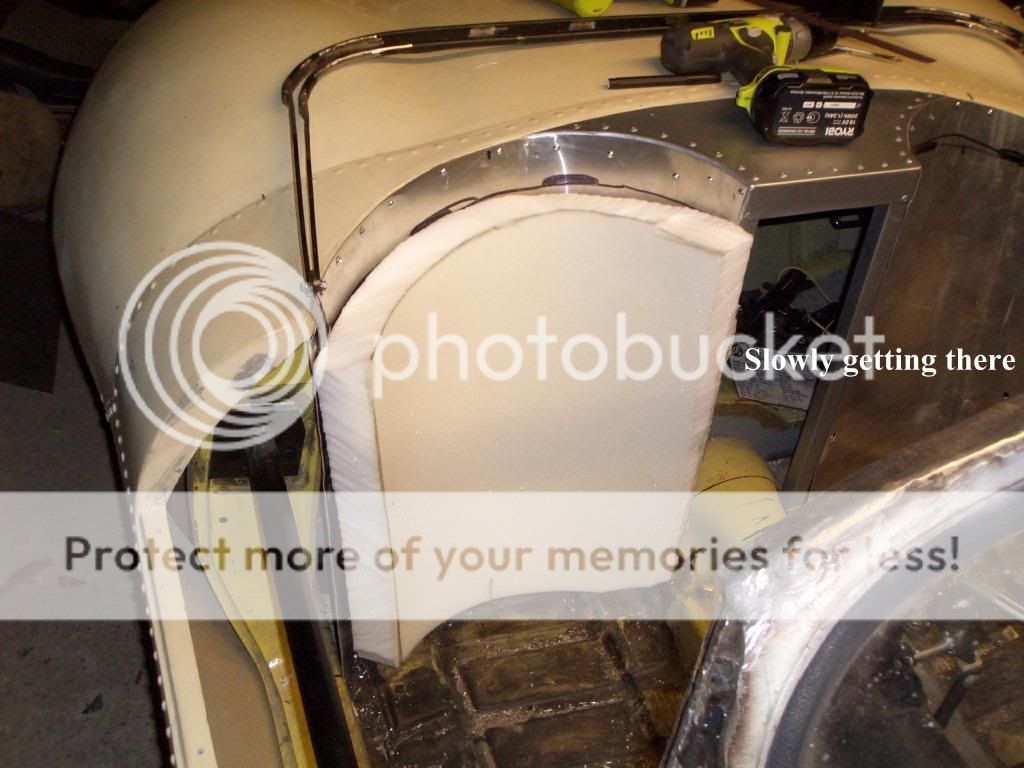 [/IMG] |
24th March 2014, 19:09
|
 |
Senior Member
|
|
Join Date: Apr 2013
Location: Swansea
Posts: 803
|
|
Hi Scottie
They look great. What is this Tetrosyl paint you used? Is it specially for painting leather because it does a good job.
|
24th March 2014, 19:36
|
|
Senior Member
|
|
Join Date: May 2013
Posts: 2,161
|
|
It's for painting cars and other things, but usually I use a"proper" leather colouring agent at around 60 or 70 quid,
but this paint was only £5.99.
As I said I did not actually "paint" the leather, but used the paint to colour it. The difference is in the technique used to apply it.
When I sprayed on the paint, I then worked it into the leather with a brush and rag, so the paint does not "sit" on the surface but is absorbed by the leather.
Like you say it has done a good job.
I have so much leather to experiment on, and I did a lot of dyeing before I finally did the seats.
I scratched and scraped with my thumbnail to try to get the colour to come off, but it wouldn't, as it had been absorbed correctly.
Bit of a long winded answer, but hopefully may help!
Last edited by Scottie22; 24th March 2014 at 19:37..
Reason: typo
|
24th March 2014, 21:09
|
|
Senior Member
|
|
Join Date: Jul 2011
Location: Belgium
Posts: 103
|
|
Scottie, I can see how you would reach the inboard wingnuts to release the seat backs - but how can you possibly get your arm far enough through the centre opening to release those outboard?
|
24th March 2014, 21:20
|
|
Senior Member
|
|
Join Date: May 2013
Posts: 2,161
|
|
Its quite easy to reach, believe me!
|
24th March 2014, 22:10
|
 |
Senior Member
|
|
Join Date: Jul 2011
Posts: 5,328
|
|
Wonder how many others panicked and grabbed for their gas mask when you posted the 'red red red' comment...
Great job on the upholstery btw, it's the one job I (mostly) farmed out to a pro. as my last attempt at trimming left me glued to the inside of a vw beetle. 
Last edited by Mister Towed; 24th March 2014 at 22:12..
Reason: image didn't appear
|
25th March 2014, 10:54
|
|
Senior Member
|
|
Join Date: May 2013
Posts: 2,161
|
|
Thanks Mr T.
I'm having major problems trying to do the seat backs!!
Not even sure if its do-able its that difficult right now!
I'll persevere...........
|
25th March 2014, 12:26
|
|
Senior Member
|
|
Join Date: Nov 2011
Posts: 3,563
|
|
Check out the American customer car upholstery How To videos. I remember on once showing how to upholster a convex seat back but can find the link. Be ready to watch a lot of dross as well though
|
25th March 2014, 13:45
|
|
Senior Member
|
|
Join Date: May 2013
Posts: 2,161
|
|
I'll do that WCA,
however, convex is easy, concave, another story!
|
25th March 2014, 15:38
|
|
Senior Member
|
|
Join Date: Nov 2011
Posts: 3,563
|
|
Convex seat back - concave seat front
It was like sitting inside 2/3rds of an eggshell
|
25th March 2014, 17:48
|
|
Senior Member
|
|
Join Date: Jul 2011
Posts: 5,328
|
|
Quote:
Originally Posted by Scottie22

Thanks Mr T.
I'm having major problems trying to do the seat backs!!
Not even sure if its do-able its that difficult right now!
I'll persevere...........
|
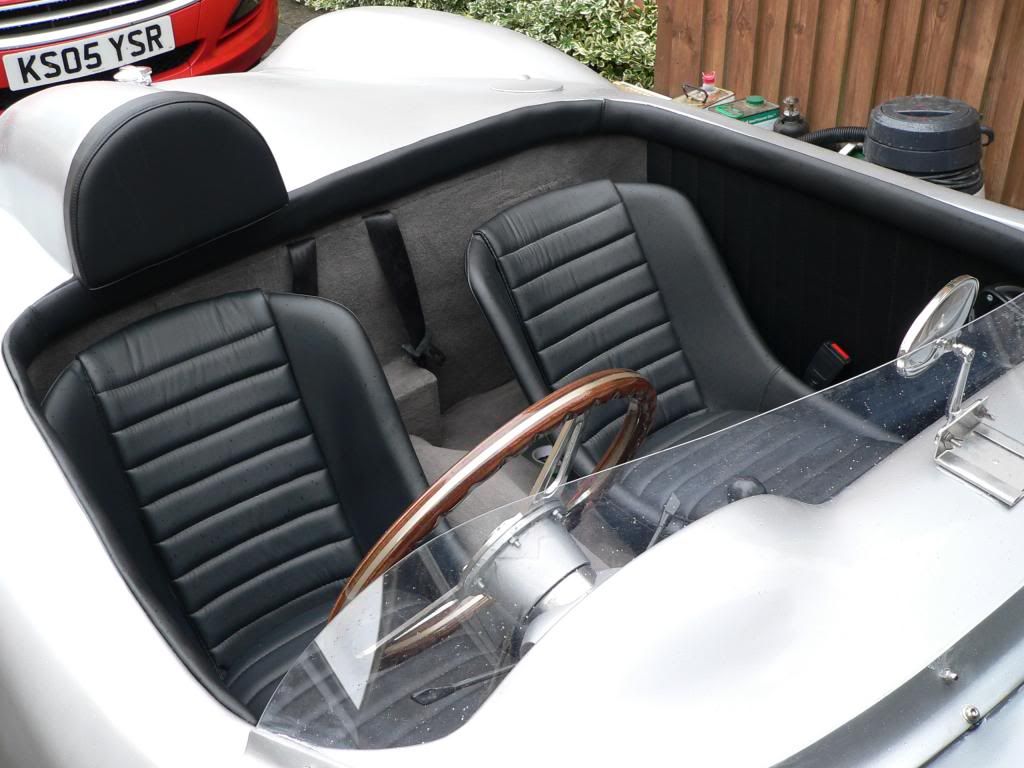
Professionals tackled mine by covering the back and sides first, glueing the leather over thin foam, then adding a 'floating' centre section that runs from top to bottom. Hope you can see what I mean from these pics -

 |
25th March 2014, 18:40
|
|
Senior Member
|
|
Join Date: May 2013
Posts: 2,161
|
|
And very nice too! I see how they've done it, but I don't think it will help me as I have already stitched up what I want, ( so don't have the option they had)
And I have to make what I already have look half reasonable when its in place!
It will be awkward, but I now know its do-able, which in my case is most of the battle over. Just gotta do it now!
|
26th March 2014, 21:03
|
|
Senior Member
|
|
Join Date: May 2013
Posts: 2,161
|
|
Seat saga
My aim today was to finish the drivers rear seat back.
It proved far too difficult to finish in a day, but I made slow progress.
At least I did move forward. The passengers one will be faster and easier, as I will know exactly what to do, whereas now I am learning as I go, blind leading the blind and all that stuff!
Just two pics:
[IMG] 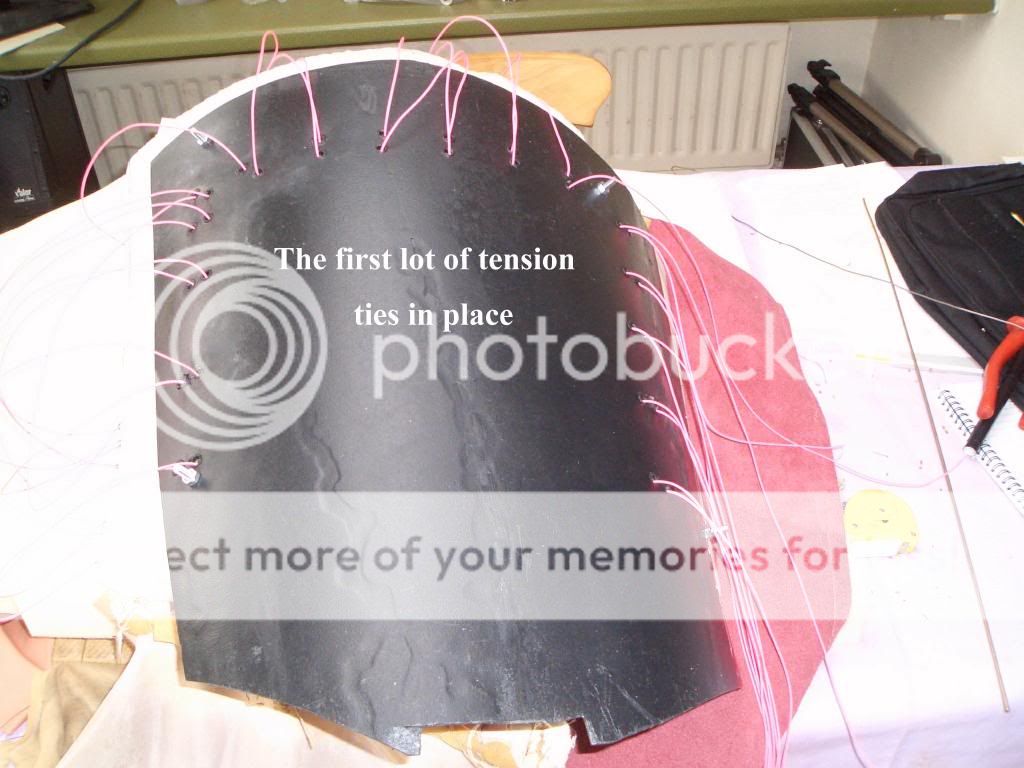 [/IMG]
[IMG] 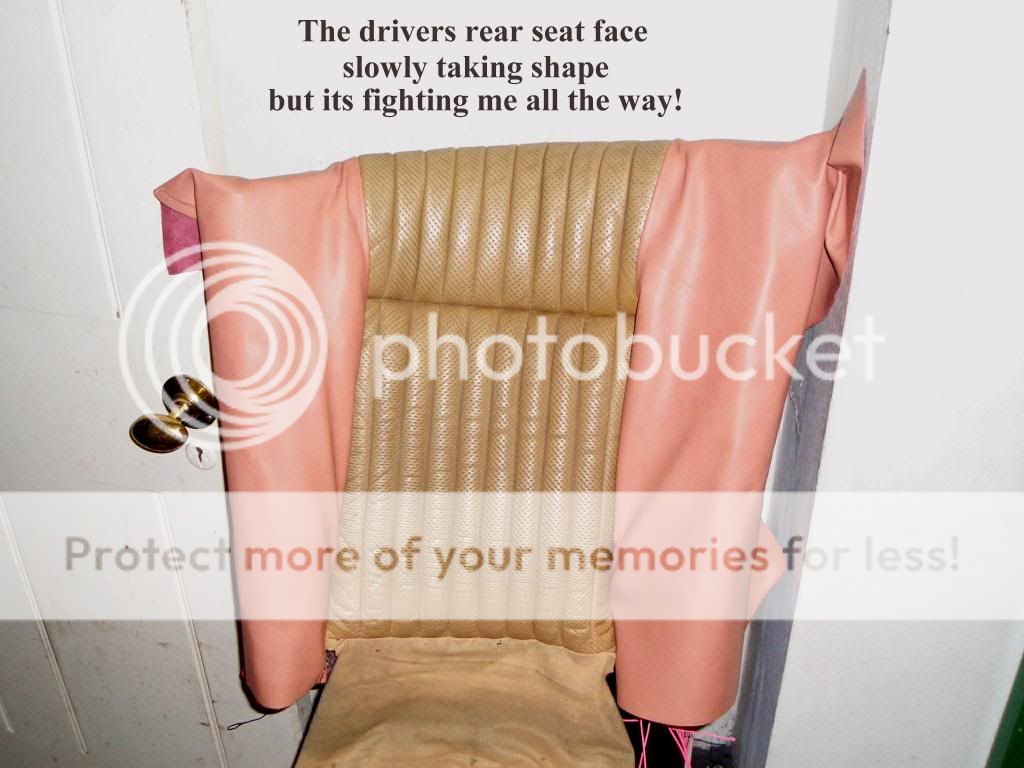 [/IMG] |
26th March 2014, 21:16
|
 |
Senior Member
|
|
Join Date: Feb 2012
Location: Wembley, London
Posts: 5,058
|
|
Scottie - It does sound like you are having a complete nightmare.
However, it also sounds like you are going to do whatever it takes to get the job done properly.
It is already clear that these seats are going to be one of the stand out features of your car.
So stick with it and based on your previous work, I know that you will end up doing a great job.
Good luck, Paul. 
|
27th March 2014, 09:37
|
|
Senior Member
|
|
Join Date: May 2013
Posts: 2,161
|
|
Kind words Paul!
Think I need that right now!
What a pain these seats are!
It will be a compromise I think, but isn't everything?
Whatever they look like they will be comfortable that's for sure!
|
27th March 2014, 14:34
|
|
Senior Member
|
|
Join Date: May 2013
Posts: 2,161
|
|
Seat saga.
The aim today was the same as yesterday, which was to finish the drivers rear seat back and get it red.
Today I achieved that. Considering that I had never before designed and made seats from scratch, its not bad for a first attempt.
Similar to the seat bases, its not perfect, and has creases and a few bumps, But by and large I am reasonably pleased with it.
I will tackle the passengers one another day!
Just about had a gut-ful of seats right now.
[IMG] 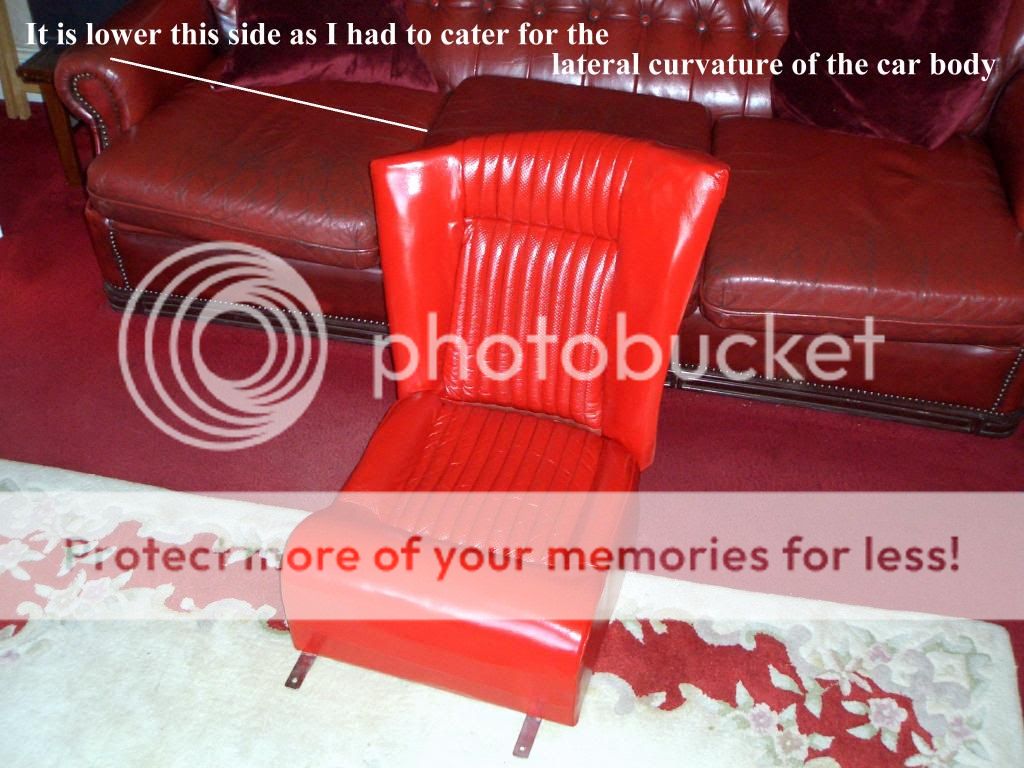 [/IMG]
[IMG] 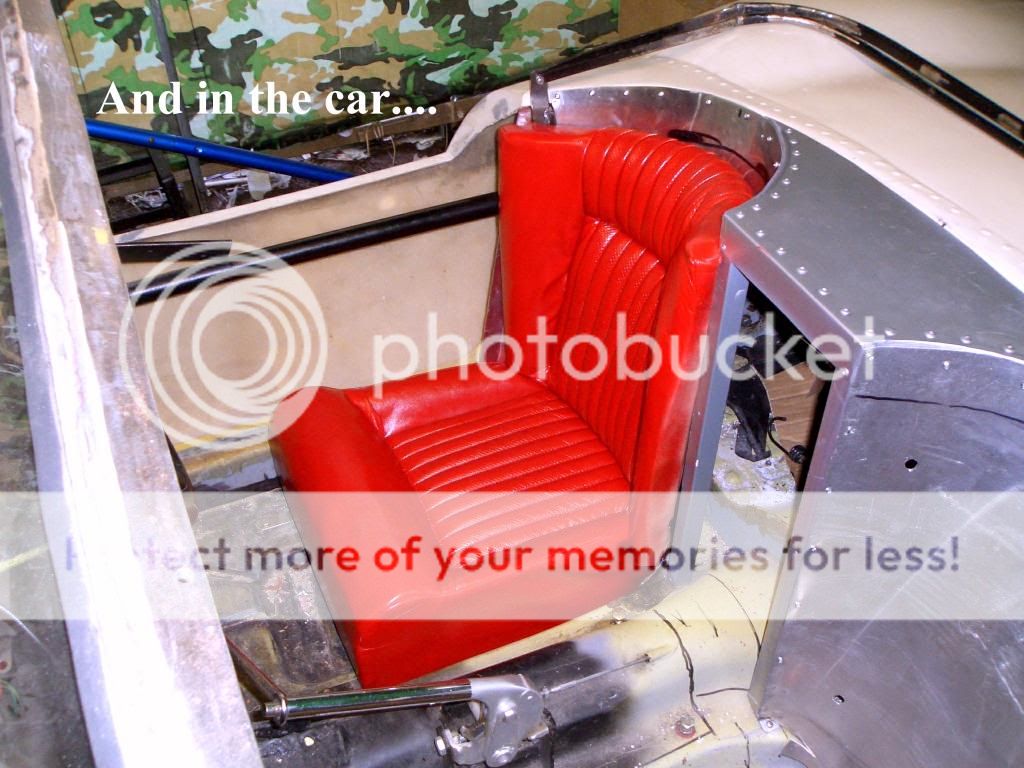 [/IMG]
[IMG]  [/IMG] |
|
Currently Active Users Viewing This Thread: 9 (0 members and 9 guests)
|
|
|
 Posting Rules
|
You may not post new threads
You may not post replies
You may not post attachments
You may not edit your posts
HTML code is Off
|
|
|
All times are GMT +0. The time now is 07:59.
|


 Linear Mode

