Whilst I've barely touched the kit since it arrived, I am still taking small steps forward...
Spitfire Inspection Update:
My build plan did not include my donor spending 5 weeks in the garage for a "check up".

However, despite taking much longer than expected, ay least it is now finally back home.
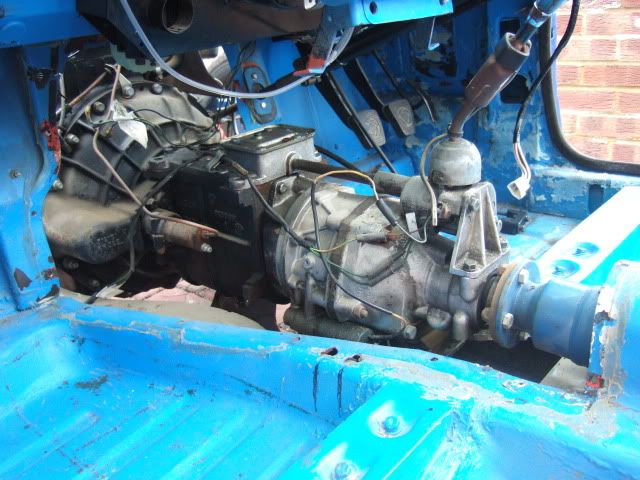
The rolling chassis has been checked to MOT standard & thankfully confirmed as safe.
The engine needed work to get it to pass an emissions test, but that's all sorted now too.
By checking all this stuff now, I hope to avoid any real problems later on (Touch wood).
Unfortunately, just when everything was going so well, the radiator gave up the ghost.

The garage used some Radweld (sp?) to form a temporary patch for now, but I will replace it.
I have been checking what Mister Towed did with his Honda radiator & may follow suit.
Sammio Gathering:
This is the second event I've missed this year (as I couldn't make Stoneleigh either).
It would be nice to meet some people from this forum in real life & learn about their builds.
I'd also like to look around some finished Sammios, as I haven't seen one in person yet.
Hopefully I will get the chance to make it to another Sammio get together in the future.
Rear Lighting Layout:
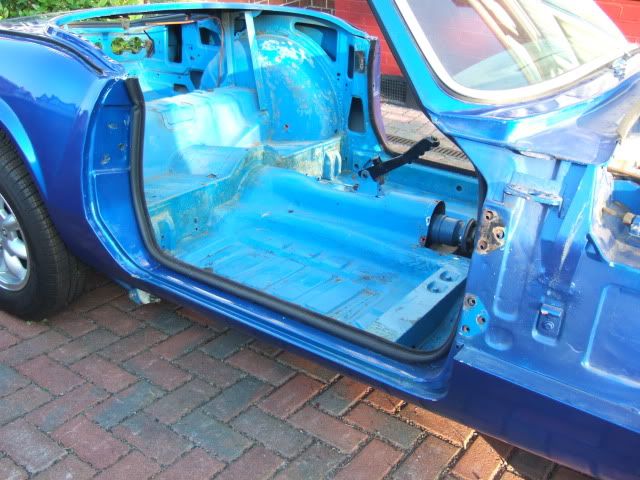
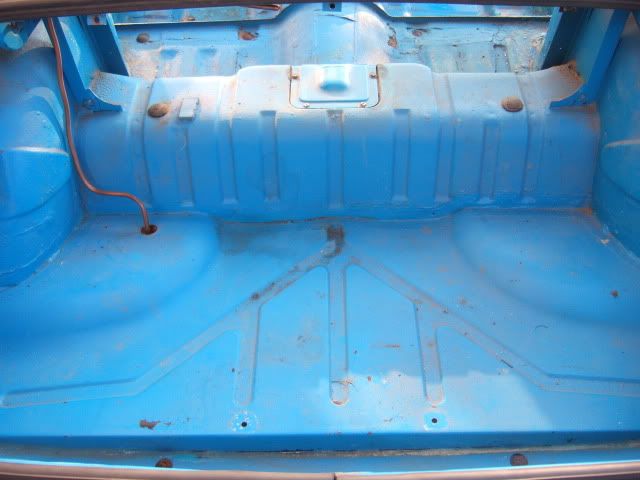
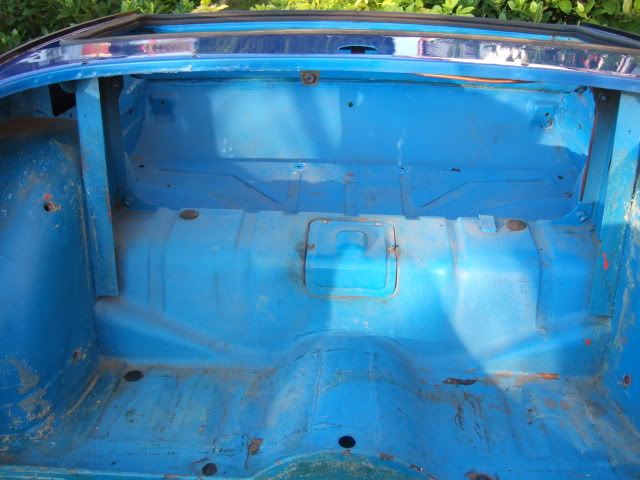
With my kit here, I could finally see just how much space there is available at the back.
Effectively there is just over 101cm to play with, if you stay between the seam lines.

Again I did a 'Blue Peter' job & cut out circles from a cereal box to represent the lights.

My initial lighting choices were 75mm dia. stop/tail & indicator + 72mm reflectors each side.
But they would have been too tightly packed together & the problems was actually the number plate.
My donor came with a new number plate which included a GB "sticker" & was 52cm wide.
A bit of research showed I could use a much smaller 6 character* plate which is just 41cm wide.
* Completely by chance, my "V" reg. donor only has two numbers in its registration.
So I''ll now order a smaller rear number plate & a stick on front plate while I am at it.
( For this build I will not be switching to an ageless plate, just to keep things simple )
I also decided to down side the lights at the same time to improve the layout still further.
My new lighting sizes are 70mm dia. for stop/tail & indicators + 60mm for the reflectors.
I will also fit four LED light bolts instead of a more traditional number plate light.


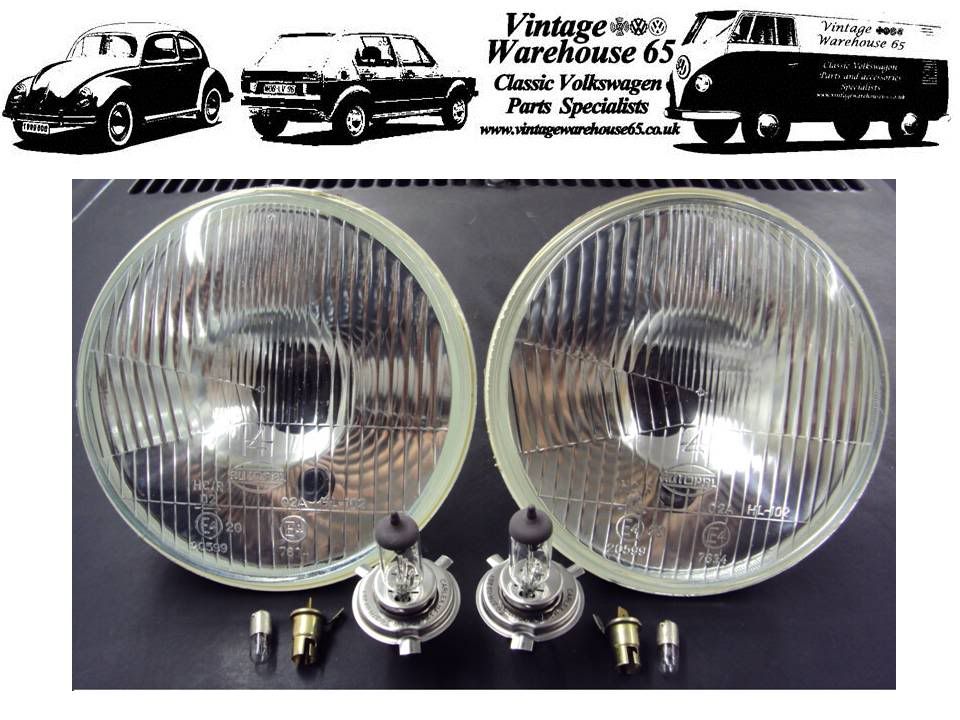
 Front Lighting:
Again, now the kit is here I can finally confirm that my donor Spitfire headlights will fit.

The diameter of this rubber seal for the headlight unit is 8.5 inches in old money.

I just need to check my donor headlights work (weren't wired up) & then give then a clean.
I need to order some chrome rims to finish them off, as they were missing from my donor.
I have seen what looked like side repeaters being used for front indicators on some builds.
The rules I checked said there was no minimum size, as long as they were clearly visible.
So I ordered some 36mm diameter dome ones, which appear quite small in real life.
Although there isn't much space available for something very much bigger.
Any thoughts, or suggestions, are always welcome.
 Other Shopping:
In addition to all the lighting above, I've now ordered some other stuff as well:
- The bucket seats & bonnet stuff I've mentioned before
- 2 wing mirrors (I went for the Sammio 'traditional' chrome bullet options in the end)
- Dash mounted rear view mirror
- Secure tax disc holder (designed for motorcycles)
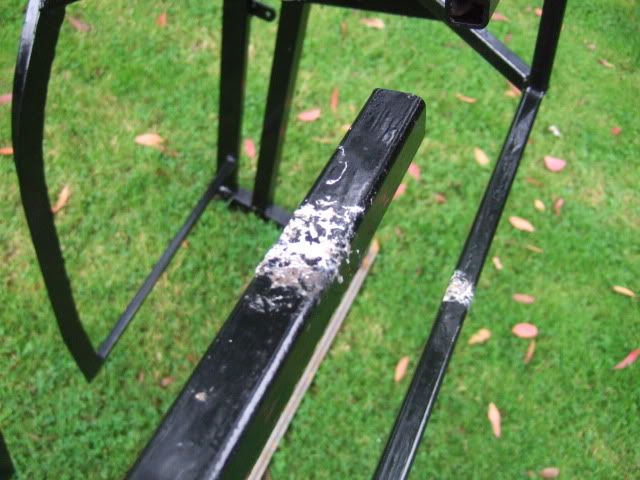
- Some extra ratchet tie down straps to hold the body in place during bonding
( My current straps are showing their age a bit, as they are now over 20 years old
)
The main reason for ordering some of the finishing touches early is to check fitting.
This will allow me to build up, or reinforce, any area that I am bolting things to (if required).
Although I still need to work out how much fibreglass & bonding "stuff" I need to order.
Ebay Update:
More of my sold items have been collected which frees up some room for the new parts.
I cancelled another sale after winning bidder couldn't make it over from Italy to collect.

On the bright side, a previous bidder came back for some more small bits.
And another bidder is considering whether to buy my leather seat covers.
Next Steps:
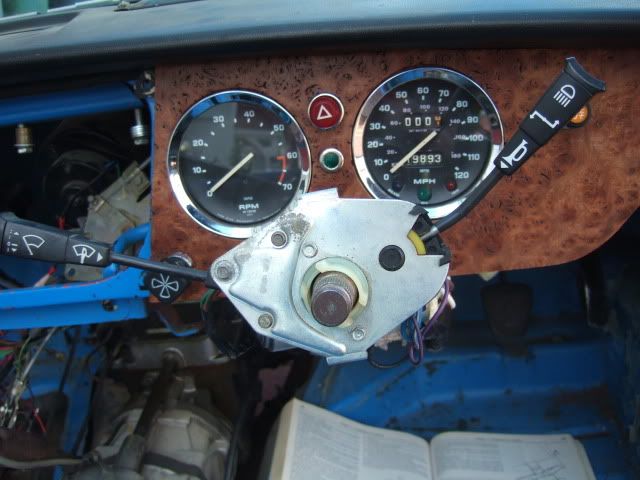
I want to test all the new lights with the current switches & wiring to check for problems.
I then need to methodically disconnect everything required to remove the body shell.
I hope photos, labels & taking notes will allow me to reconnect everything later on.
However, I have a lot of domestic chores to complete before I can do anything.
My wife's brother & his family are coming over from Ireland next weekend.
( Hence no Sammio gathering for me this weekend )
Until next time, take care, Paul.


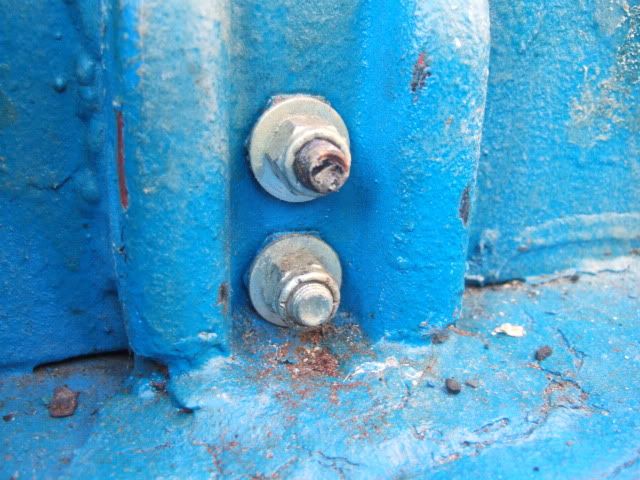
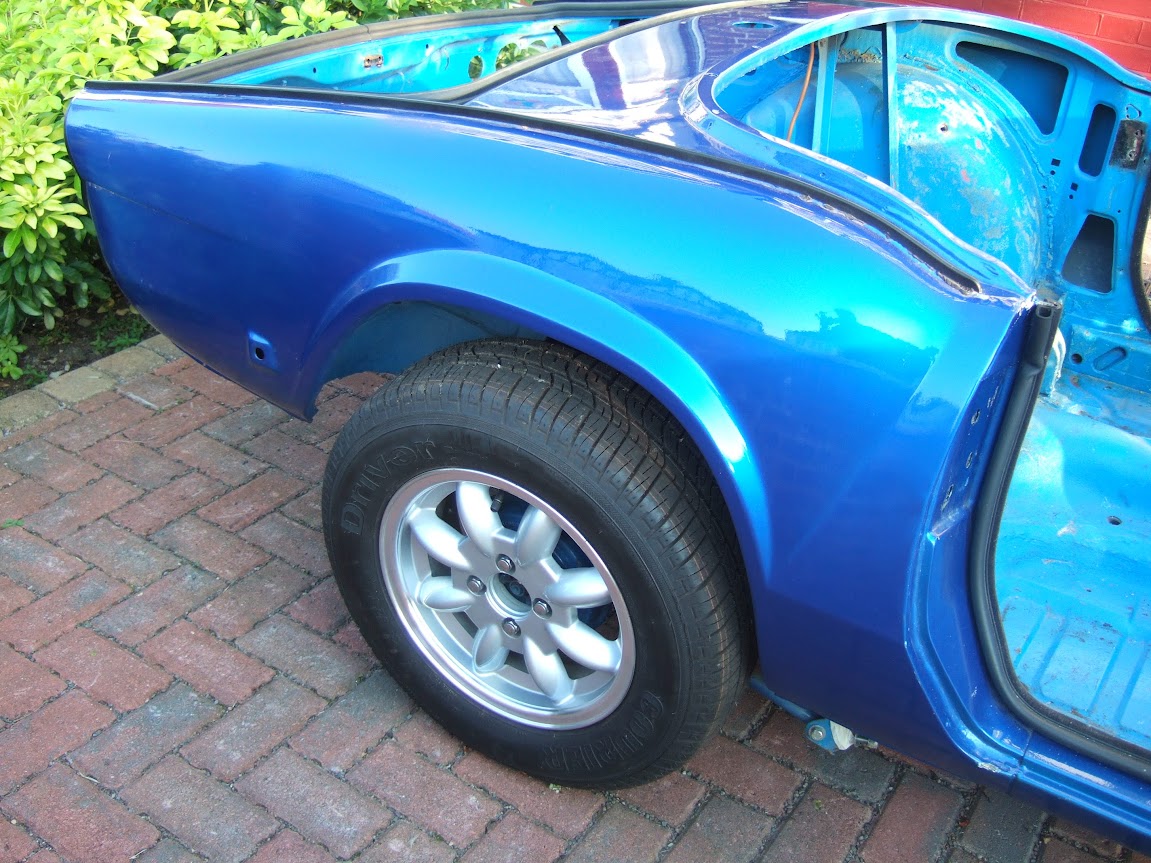
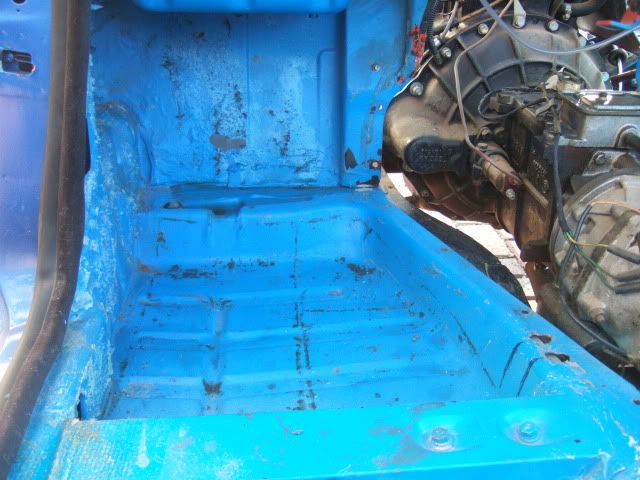
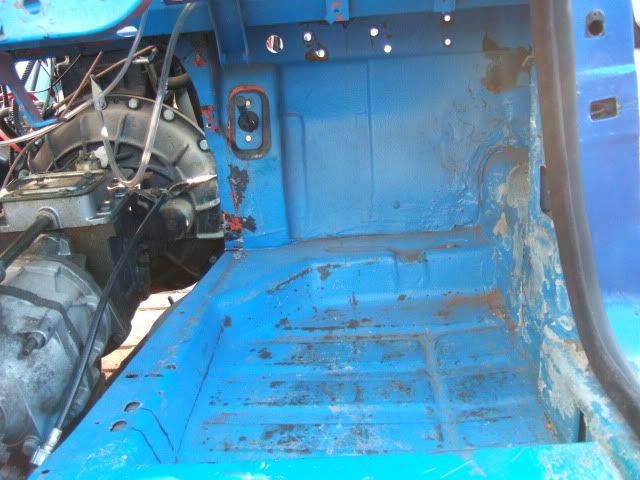
 and the colour code is definitely RAL 5012 Light Blue.


 Hybrid Mode

