|
|
| Tribute Automotive Builds Discuss your Tribute kit build |

29th October 2012, 08:22
|
 |
Senior Member
|
|
Join Date: Jul 2011
Posts: 5,328
|
|
Quote:
Originally Posted by seanick

...drove it to the workshop, rear suspension held up on wooden blocks so the tyres clear.
|
Hmm, that should assist my road policing colleagues with their enquiries... |
29th October 2012, 08:39
|
 |
Senior Member
|
|
Join Date: Nov 2011
Location: Emsworth
Posts: 810
|
|
Sorry, I missed out the phrase drove it 'onto a mates trailer' before driving it to the workshop.  |
29th October 2012, 00:17
|
|
Senior Member
|
|
Join Date: Jul 2012
Location: Leeds, UK
Posts: 104
|
|
Nice work, glad to see you are making good progress.
|
31st October 2012, 09:16
|
|
Junior Member
|
|
Join Date: Jul 2012
Posts: 2
|
|
Hi Nick great to see your progress so far, I am building the body before yours I think # 16. I am keen to know how to contact James the wheelman I am thinking of having a set of 15 inch steels banded cheers .
|
31st October 2012, 17:23
|
|
Senior Member
|
|
Join Date: Nov 2011
Location: Emsworth
Posts: 810
|
|
Quote:
Originally Posted by tom911
Hi Nick great to see your progress so far, I am building the body before yours I think # 16. I am keen to know how to contact James the wheelman I am thinking of having a set of 15 inch steels banded cheers .
|
I have pm'ed you. |
31st October 2012, 19:56
|
|
Senior Member
|
|
Join Date: Nov 2011
Location: Emsworth
Posts: 810
|
|
Heres how I marked out the new arch shape, using a square set to match the inner wing/ max suspension travel, up against the rim.
[IMG] 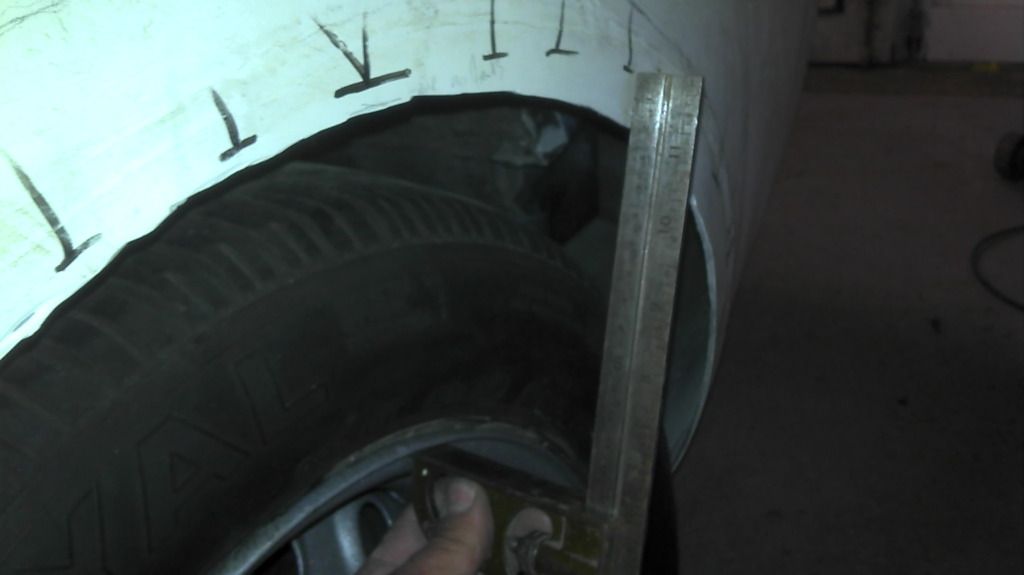 [/IMG]
then a fairing batten to check the shape.....
[IMG] 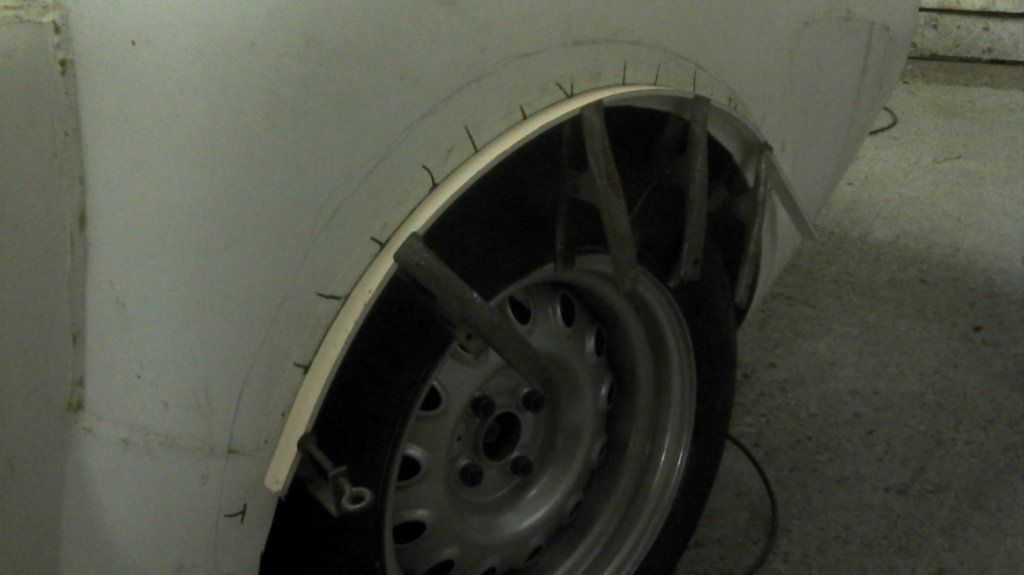 [/IMG]
Blocked up some flexi plastic stuff to form a mould and marked of the outer gtp wing.
[IMG] 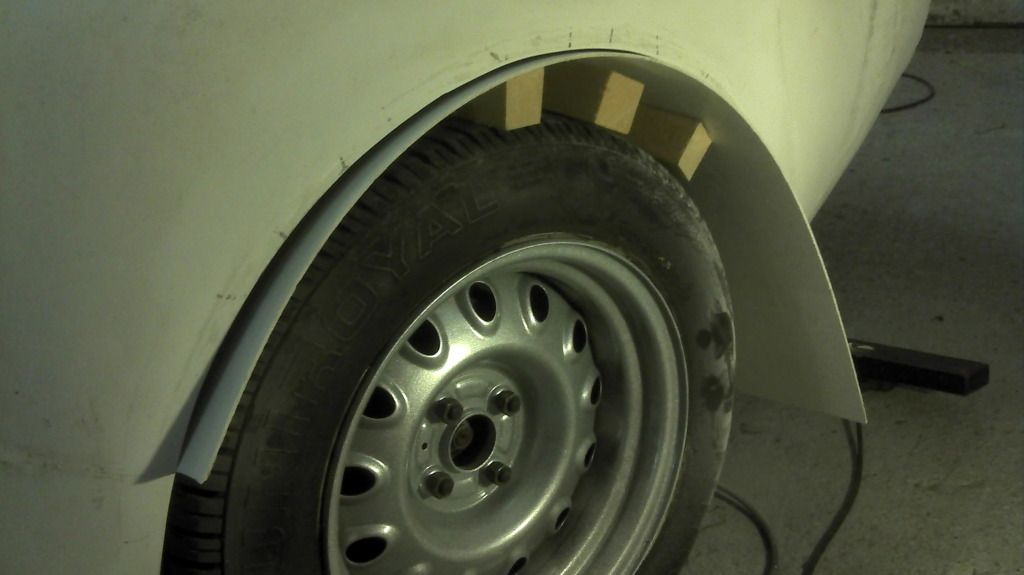 [/IMG]
marked the distance in to the inner steel arch and cut out..
taped in position, batten to make it run square across, the a layer of gell coat the t[IMG]  [/IMG]hree layers of 2oz csm.
[IMG]  [/IMG]/Seanick_bucket/104034610_photobucket_159182_.jpg[/IMG][/IMG]
[IMG] 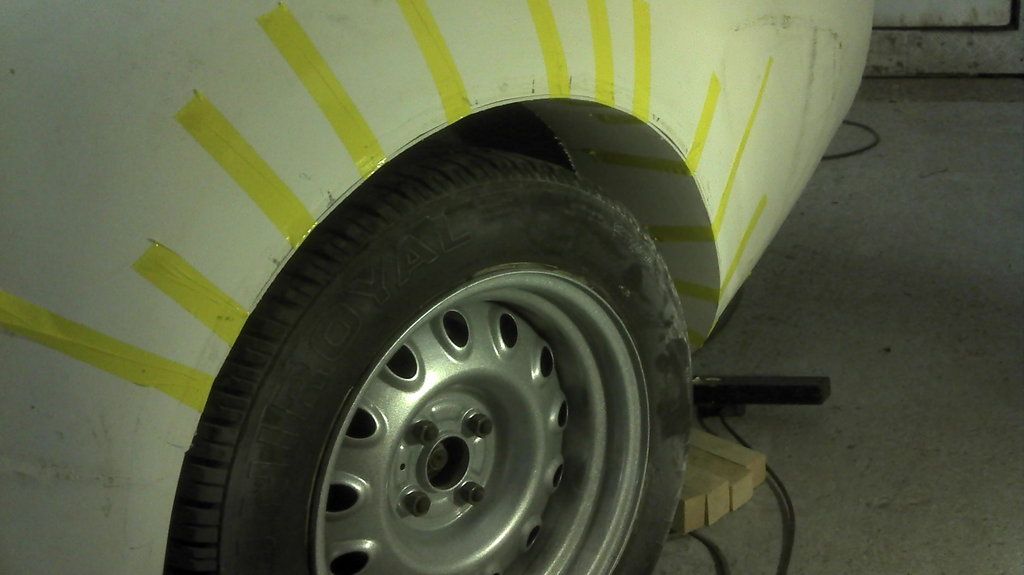 [/IMG][IMG] 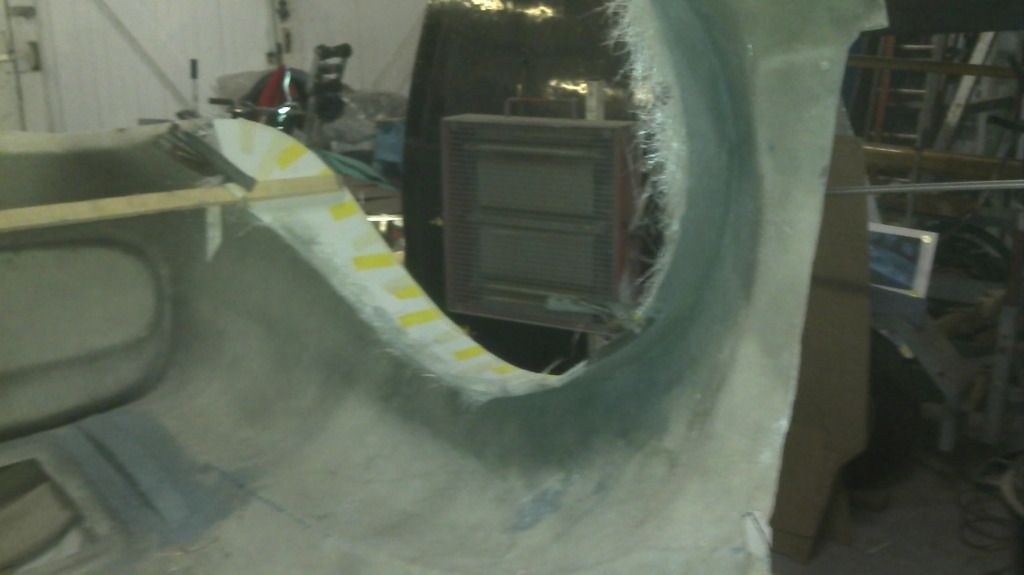 [/IMG]
[IMG] 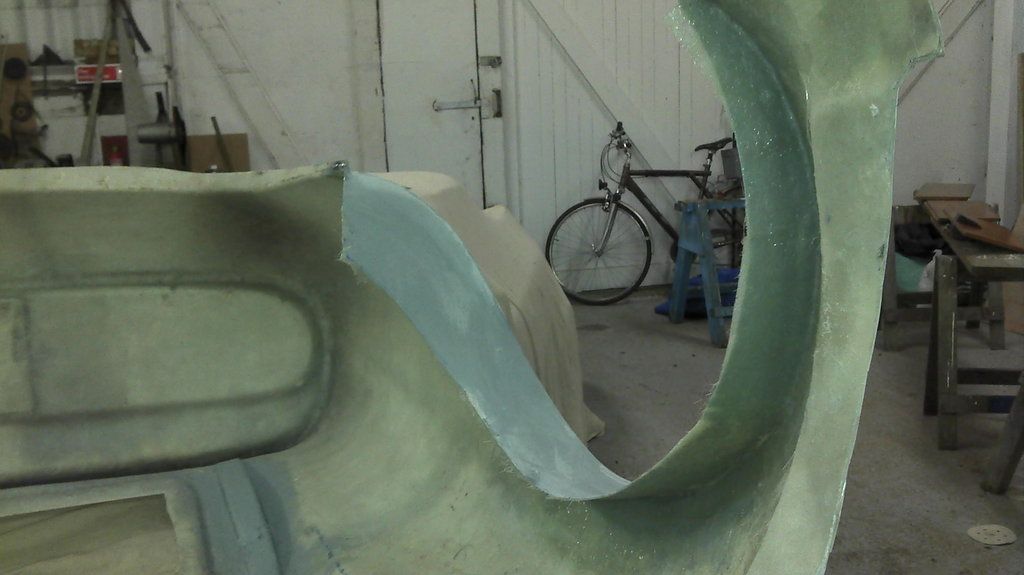 [/IMG] |
1st November 2012, 19:20
|
|
Senior Member
|
|
Join Date: Nov 2011
Location: Emsworth
Posts: 810
|
|
Put the body back on this eve. It was a right pain as of course Chris beautifuly fitting kit now took loads of trimming and tweaking to get it to sit right again.
Not sure its worth the hassle of changing the rear arches from the original kit as supplued
|
1st November 2012, 19:22
|
 |
Senior Member
|
|
Join Date: Oct 2010
Posts: 1,622
|
|
Quote:
Originally Posted by seanick
Put the body back on this eve. It was a right pain as of course Chris beautifuly fitting kit now took loads of trimming and tweaking to get it to sit right again.
Not sure its worth the hassle of changing the rear arches from the original kit as supplued
|
Welcome to the world of kit (re)designing!  |
1st November 2012, 19:23
|
|
Senior Member
|
|
Join Date: Nov 2011
Location: Emsworth
Posts: 810
|
|
[IMG] 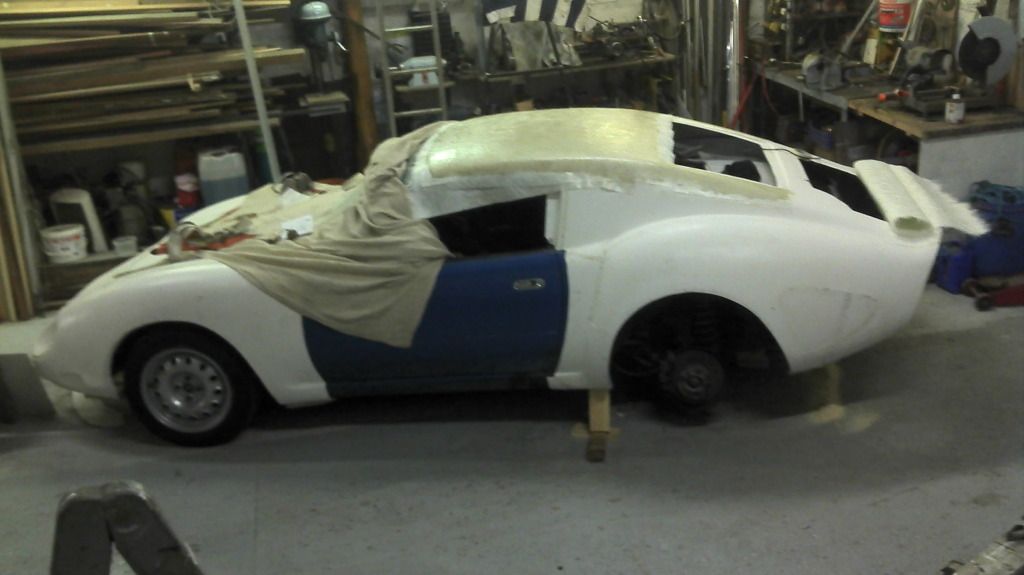 [/IMG] |
5th November 2012, 19:39
|
|
Senior Member
|
|
Join Date: Jan 2012
Location: Falkirk, Scotland
Posts: 100
|
|
Great looking filler....but I am biased as I have a coupe! Is yours restored? Doesn't look like it has any of the normal white oxidisation marks. £20 is a cracking price for a restored one too.
Good looking vents too mate.
|
6th November 2012, 18:51
|
|
Senior Member
|
|
Join Date: Jul 2012
Posts: 576
|
|
Top, dallah! Love the look.
|
7th November 2012, 20:32
|
|
Senior Member
|
|
Join Date: Nov 2011
Location: Emsworth
Posts: 810
|
|
Done the vents in the other side. They are quite similar to the other side, so I am happy!
[IMG] 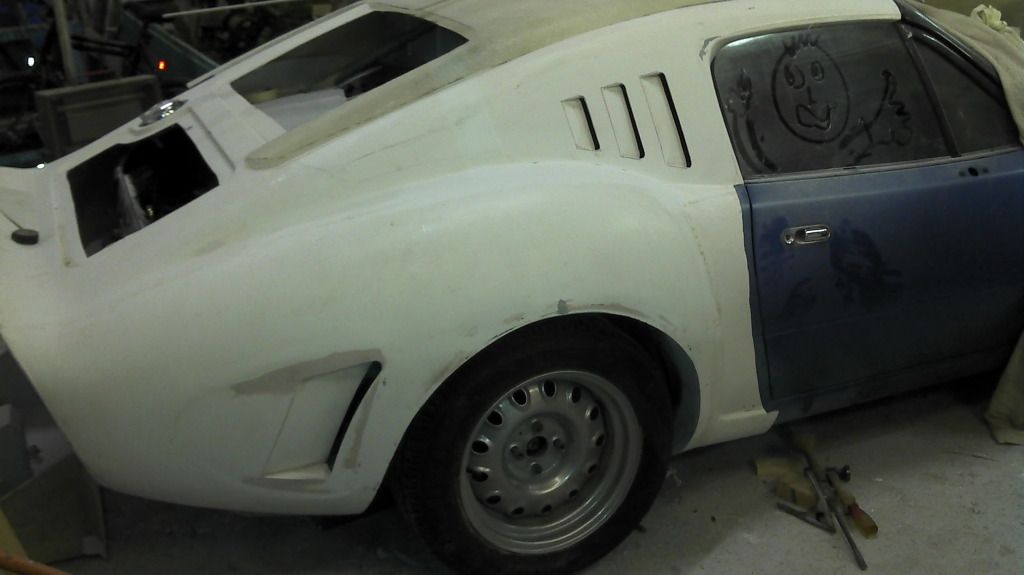 [/IMG]
And the view from the rear...
[IMG] 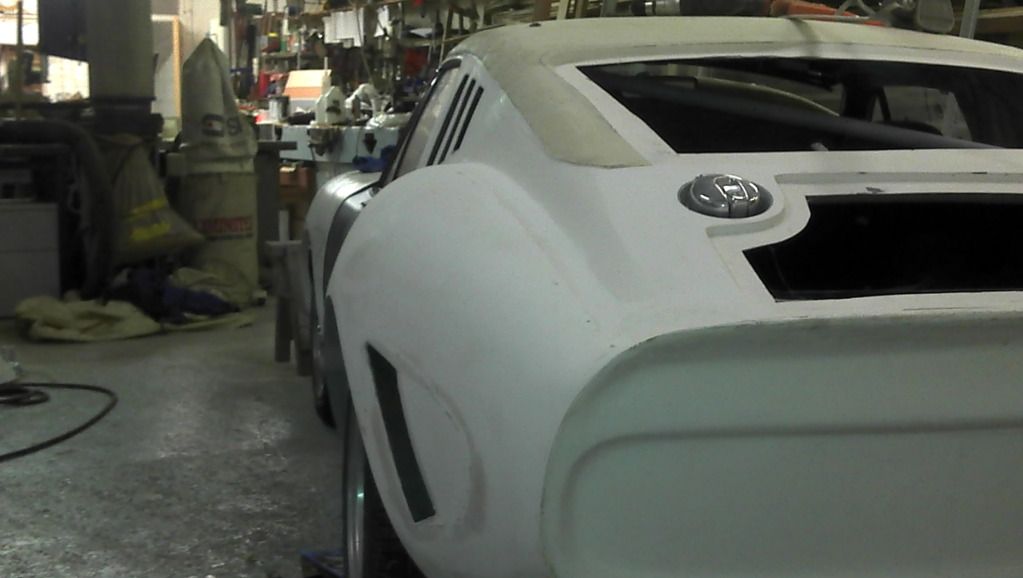 [/IMG] |
7th November 2012, 23:15
|
 |
Senior Member
Big Cheese
|
|
Join Date: Sep 2002
Posts: 1,080
|
|
Some really nice mods going on there. Great work  |
8th November 2012, 06:45
|
|
Senior Member
|
|
Join Date: Jul 2012
Location: Near Penzance cnwll
Posts: 146
|
|
Vents look great, your so neat. Where do you get you GRP sheet from ?
|
8th November 2012, 10:49
|
|
Senior Member
|
|
Join Date: Nov 2011
Location: Emsworth
Posts: 810
|
|
Thanks Big Cheese
By GRP sheet do you mean mat or pre- made stuff?
The pre made stuff I either snipped bits off the window surrounds to make the small triangles that hold the vents in position, or I just made a bit on some flat plastic stuff.
For good GRP work use a consolodating roller for a better finish and avoiding a resin rich material. Either a paddle wheel or washer type roller.
If you want Chopped Strand Mat, there must be somewhere local to you. Just Google Fibreglass supplies. 2oz is a nice weight.
|
8th November 2012, 17:58
|
|
Senior Member
|
|
Join Date: Jul 2012
Location: Near Penzance cnwll
Posts: 146
|
|
 Grp
Grp
I was referring to those nice pieces of 150mm wide gel coated strips you made your arches with ?  |
8th November 2012, 18:33
|
|
Senior Member
|
|
Join Date: Nov 2011
Location: Emsworth
Posts: 810
|
|
ah no, those are just bits of white plastic people use for 'For Sale' signs etc. The are just a temporary former. Gel goes on top, when its dried lay up the GRP. When its gone off they are removed to leave a smooth section of GRP.
Any thing thin and bendy can be used, eg perspex, Formica, even thin ply, but you have to cover that with brown parcel tape to stop the gel sticking to it.
|
8th November 2012, 20:29
|
|
Senior Member
|
|
Join Date: Jul 2012
Location: Near Penzance cnwll
Posts: 146
|
|
I can see that now. You do this for a living ?
|
8th November 2012, 21:09
|
|
Senior Member
|
|
Join Date: Nov 2011
Location: Emsworth
Posts: 810
|
|
Pay attention Bond!
No I don't do it for a living...I specialize in Wooden boat restoration and repair, but GRP was part of the course back in '86..........
There is a link to my site via my username if you are interested!
I've done a bit more this eve, hopefully making the former to mould the boot gutter around, so I can use the MX boot seal.
Pics coming via phone.......
|
8th November 2012, 21:20
|
|
Senior Member
|
|
Join Date: Nov 2011
Location: Emsworth
Posts: 810
|
|
Chopped out the boot return...[IMG] 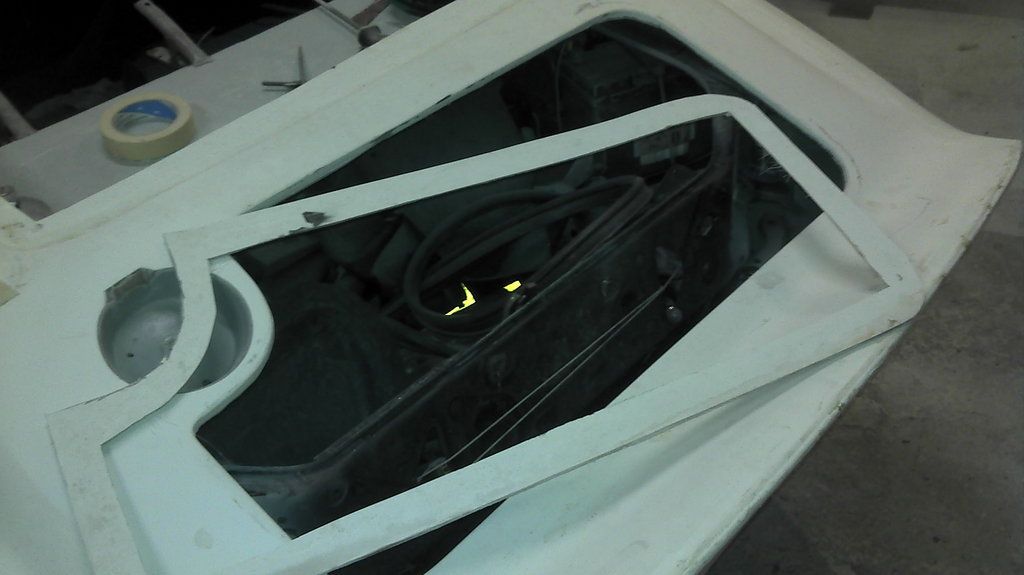 [/IMG]
Built up layers of plastic stuff to make a former for the grp.
[IMG] 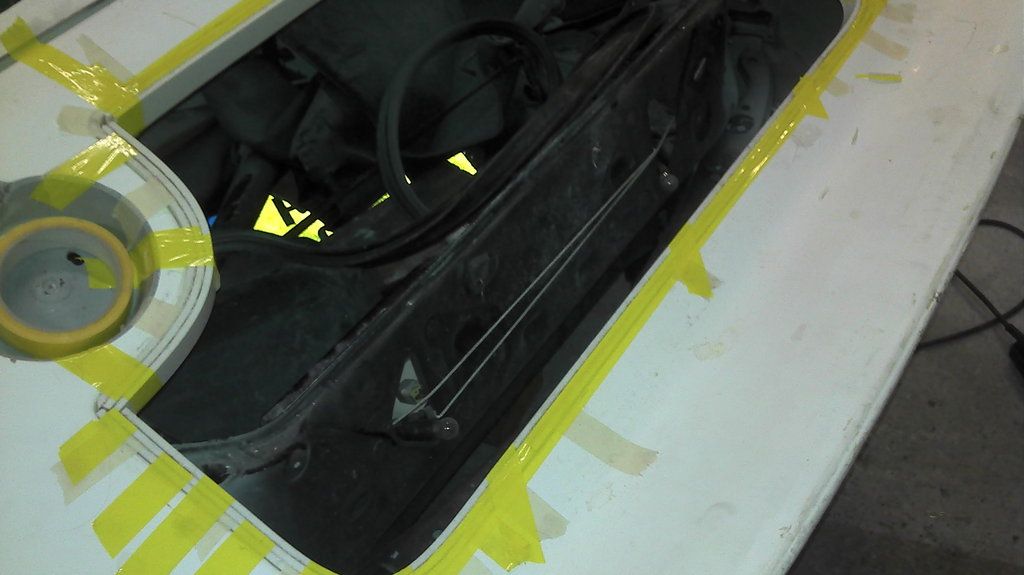 [/IMG]
Used smooth shiny tape to hold it there, and plastercine in the corners to provide a radius.
[IMG] 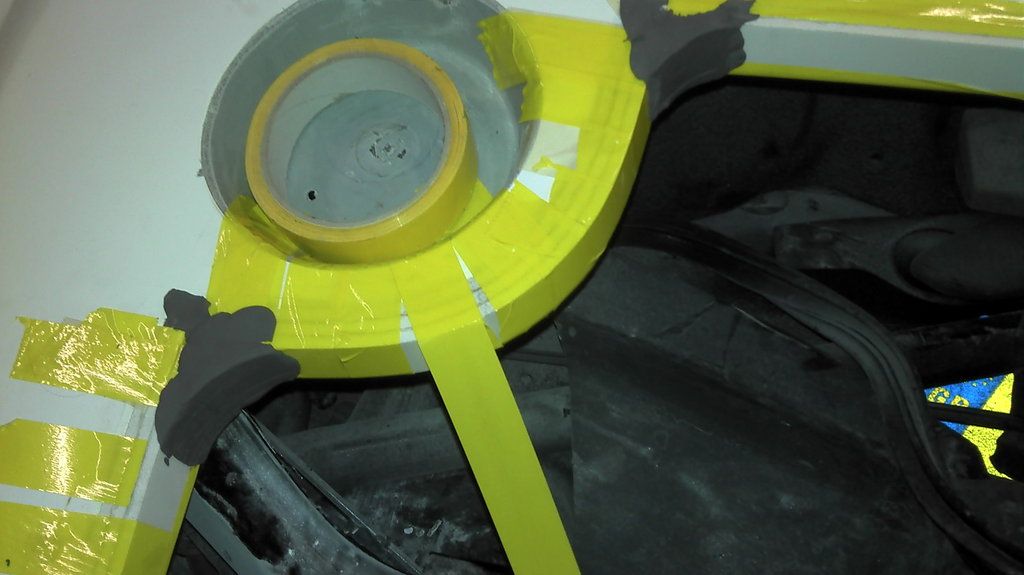 [/IMG]
I'll put a layer of gell coat on now, but will have to take the body off to glass under it properly tomorrow. |
|
Currently Active Users Viewing This Thread: 1 (0 members and 1 guests)
|
|
|
 Posting Rules
|
You may not post new threads
You may not post replies
You may not post attachments
You may not edit your posts
HTML code is Off
|
|
|
All times are GMT +0. The time now is 00:56.
|


 Hybrid Mode
