|
|
| Sammio Builds and discussions Sammio bodied car builds and specials |

12th May 2013, 07:49
|
 |
Senior Member
|
|
Join Date: Jul 2011
Posts: 5,328
|
|
Quote:
Originally Posted by seanick

Good stuff T, I suggest you invest in some paint filters for the top coat, sort of 800 micron size. Cheap as chips and you will be amazed what ends up in the filter!! N
|
Good advice I feel, will be filtering the top coat for definite.  |
13th May 2013, 10:03
|
 |
Member
|
|
Join Date: May 2013
Posts: 40
|
|
Looking good :-), also don't forget to take the nossel off your spray gun after each session and sloosh it around in some thinners, otherwise the spray quality will gradually degrade as the smaller passages get blocked.
|
21st May 2013, 18:13
|
|
Senior Member
|
|
Join Date: Jul 2011
Posts: 5,328
|
|
The plan to spray the top coat tomorrow will have to wait I'm afraid - I underestimated the length of time the final sanding would take and I forgot that I had an unavoidable commitment this afternoon.
Back to work Thursday but I should at least have it ready for paint by tomorrow evening if all goes to plan...
|
21st May 2013, 19:53
|
 |
Senior Member
|
|
Join Date: Feb 2012
Location: Wembley, London
Posts: 5,058
|
|
Good luck with the spaying & more photos please.
Cheers, Paul.  |
21st May 2013, 20:19
|
|
Senior Member
|
|
Join Date: Jul 2011
Posts: 5,328
|
|
Quote:
Originally Posted by Paul L
Good luck with the spaying & more photos please.
Cheers, Paul. |
OK, here it is a couple of days ago, looking like a Luftwaffe night fighter.
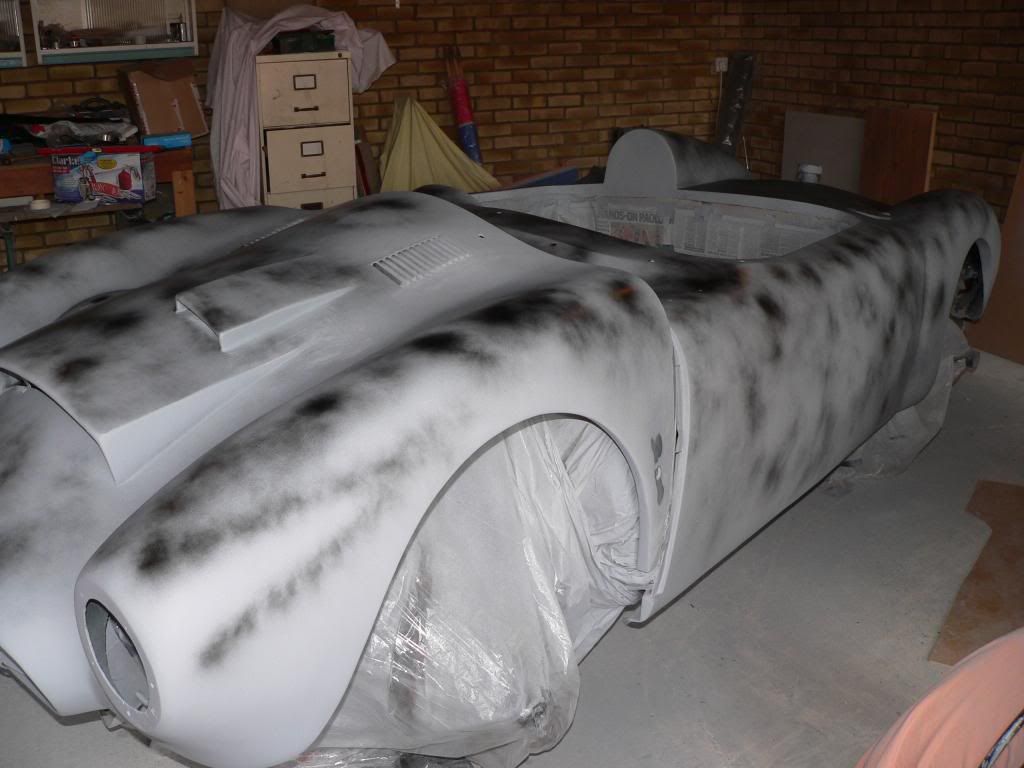
Should be some more progress, and pictures, tomorrow. |
22nd May 2013, 16:49
|
|
Senior Member
|
|
Join Date: Jul 2011
Posts: 5,328
|
|
My word, prep for paint is a laborious process.
It's like painting the ruddy Forth Road Bridge - every time I go round sanding down the primer I find more dints and scrapes to fill that I hadn't noticed before. It's now taken almost a whole tube of knifing putty and it's still not completely smooth.

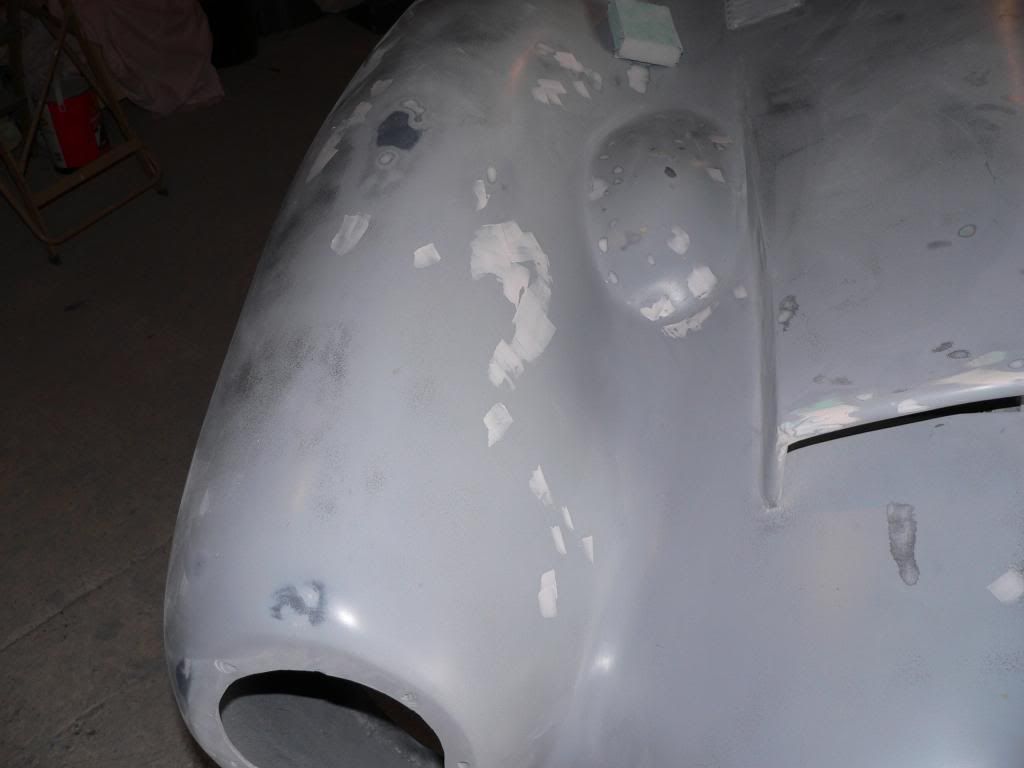
I have at least discovered the contour sanding sponge though, which is proving invaluable seeing as there isn't a flat panel of the Spyder.
I've packed in for the evening now though. After spending eighteen hours sanding over the last two days I'm absolutely knackered.
Oh well, back to work for a rest tomorrow... |
22nd May 2013, 16:55
|
|
Senior Member
|
|
Join Date: Apr 2012
Posts: 1,163
|
|
towed, having just been through a similar process with the navigator buck i can tell you that high build primer is your friend here, we used 3 coats almost ladelled on with a tint in each coat then wet sanded by hand the high build filled most of the small imperfections so that we were left with very little stopper work to be done. Adding a different tint to each layer also helped in that you got some warning when you were gettting close to sanding through all 3 layers of primer filler. keep at it though as im sure the sense of satisfaction when its done will be immense.
Mac
|
22nd May 2013, 17:02
|
|
Senior Member
|
|
Join Date: Jul 2011
Posts: 5,328
|
|
Cheers Mac, it's already wearing two coats of high build as I'd hoped it would fill all the little pinholes and scratches. The tip about tinting the primer is a good one, I used a much darker etch primer so I can see when I'm getting close to cutting right through.
Plan is to get it as smooth as possible, cover the bits that have worn right through with some more etch primer then give it another two coats of high build. I should have a good enough base for the top coat then. It all takes time though...
|
22nd May 2013, 18:46
|
|
Senior Member
|
|
Join Date: Feb 2012
Location: Wembley, London
Posts: 5,058
|
|
Mr T - You have clearly put a lot of effort into your prep. work. 
So I hope you are rewarded with the nice Silver looking Sammio you want at the end of it.
Good luck, Paul.
|
23rd May 2013, 09:37
|
 |
Senior Member
|
|
Join Date: May 2011
Location: Somerset
Posts: 1,671
|
|
Keep going matey, you'll get there...
Just be prepared for the 'special' moment when you've finally painted it and polished it and it's all shiny... and then you spot one last pin hole. |
23rd May 2013, 12:05
|
|
Senior Member
|
|
Join Date: Jul 2011
Posts: 5,328
|
|
Quote:
Originally Posted by davecymru
Keep going matey, you'll get there...
Just be prepared for the 'special' moment when you've finally painted it and polished it and it's all shiny... and then you spot one last pin hole. |
Once it's painted I'll be so chuffed I won't care if there's a pin hole the size of the grand canyon in the paint. So long as it's shiny and looks ok from ten paces I'll be happy. |
23rd May 2013, 12:15
|
|
Senior Member
|
|
Join Date: Mar 2012
Posts: 1,152
|
|
Keep going. Fingertips are designed to bleed.
|
23rd May 2013, 13:28
|
|
Senior Member
|
|
Join Date: Jan 2012
Location: Warrington
Posts: 383
|
|
Quote:
Originally Posted by Mister Towed
Once it's painted I'll be so chuffed I won't care if there's a pin hole the size of the grand canyon in the paint. So long as it's shiny and looks ok from ten paces I'll be happy.
|
That's the best attitude to have! I was so scared of putting a mark on my nice shiney pro paint job that it took away from the sammio experience. Just enjoy it and don't worry about the imperfections, its supposed to look like a 50s race car after all and I've never seen one of those with perfect paint. |
23rd May 2013, 22:29
|
 |
Senior Member
|
|
Join Date: Nov 2011
Location: Emsworth
Posts: 810
|
|
I like the top pic, never mind a Jag, it looks like a Snow Leopard.
|
24th May 2013, 05:35
|
|
Senior Member
|
|
Join Date: Jul 2011
Posts: 5,328
|
|
Quote:
Originally Posted by seanick
I like the top pic, never mind a Jag, it looks like a Snow Leopard.
|
This was my inspiration -
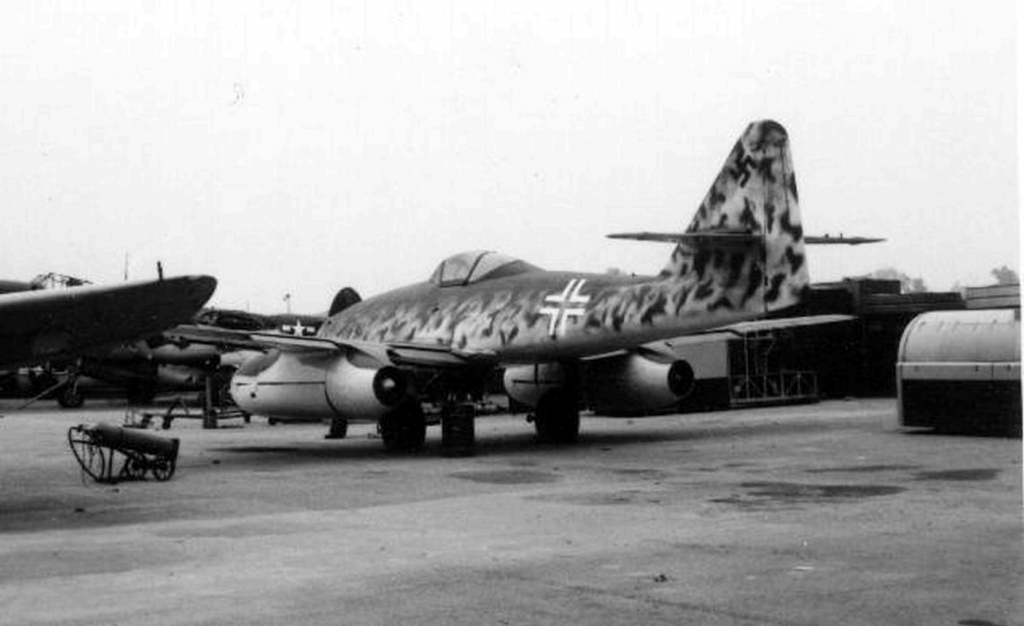
Conversation at a Luftwaffe base close to the Russian front, February 1945 - "Herr painter, we are needing the world's first operational jet fighter for the combat today"
"But herr Kapitan, it is still wearing the guide coat and I am now finding the pin holes everywhere..." |
24th May 2013, 07:14
|
|
Senior Member
|
|
Join Date: Mar 2012
Posts: 745
|
|
looking good towed... or is it herr towed .....i found pin holes [very small] just go with a good top coat top job mate
|
24th May 2013, 17:27
|
|
Senior Member
|
|
Join Date: Sep 2012
Posts: 424
|
|
Dont forget to go around the car with a heatgun, or heat the workshop, and any bubbles will come to the surface , dig them out and refill with you top stop.
|
24th May 2013, 17:29
|
|
Senior Member
|
|
Join Date: Apr 2012
Posts: 1,163
|
|
Hope hes done that already or he will be in bits if he has to start digging chunks out of it at this stage!
|
24th May 2013, 17:37
|
|
Senior Member
|
|
Join Date: Sep 2012
Posts: 424
|
|
You never know its still worth a go still, as he might of forgot !
You got to remember he is learning , and all this doesn't come natural as this is his first time.
Still time to resolve any problems.!!!!!!
Last edited by mikmiglia; 24th May 2013 at 17:40..
|
24th May 2013, 21:24
|
|
Senior Member
|
|
Join Date: Feb 2012
Location: Wembley, London
Posts: 5,058
|
|
Sorry for the thread hijack Mr T, but...
Quote:
Originally Posted by mikmiglia
... Dont forget to go around the car with a heatgun...
|
Hi Mike,
Can I just check this is an electric DIY paint stripping type gun?
Also how close does it need to be & how long would you hold it in any one spot?
I already have gel coat breaking off all over the place, so I know I am going to have to do this one day.
Cheers, Paul.
PS
Mr T - I think your car is going to look good a lot closer than 10 paces. |
|
Currently Active Users Viewing This Thread: 10 (0 members and 10 guests)
|
|
|
 Posting Rules
|
You may not post new threads
You may not post replies
You may not post attachments
You may not edit your posts
HTML code is Off
|
|
|
All times are GMT +0. The time now is 04:51.
|


 Linear Mode

