
16th July 2017, 16:41
|
|
Senior Member
|
|
Join Date: Nov 2012
Posts: 845
|
|
 38 Days Later!
Can't believe it's that long since I posted an update! I haven't been entirely idle, but it's true what they say about ever having found the time to go out to work! Crazy as it seems, on many of the intervening days it was simply too hot to work outside, either in the sun or the stifling heat of the south facing man cave.
I must have had the body on and off the chassis a good dozen times all told trying to ensure that it both sits properly along its whole length and that the holes I drilled aligned perfectly with tappings in the frame. The body now has 12 attachment points: two to the rear suspension bridge tappings; two to the rearmost original body mount tappings; two to the inboard seat belt tappings (these are no good for belts due to the Monaco's revised seating position); two which I described in an earlier posting to the short angled outriggers; and four fabricated angle brackets bolted/riveted to fix the floppy body to the front outriggers and curved front rail.
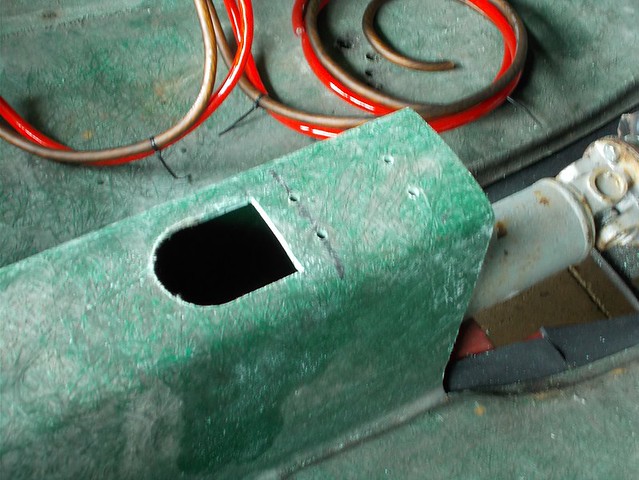
My extended gear change rod is slightly shorter than the pretty crude one supplied which would have put the lever in too rearward a position and pushed the handbrake lever back as well. When I drilled the four mounting holes in the rear half of the casting, I clamped a piece of 6mm ply to it to use as a template for the mounting holes in the tunnel. This worked a treat and the holes align perfectly.
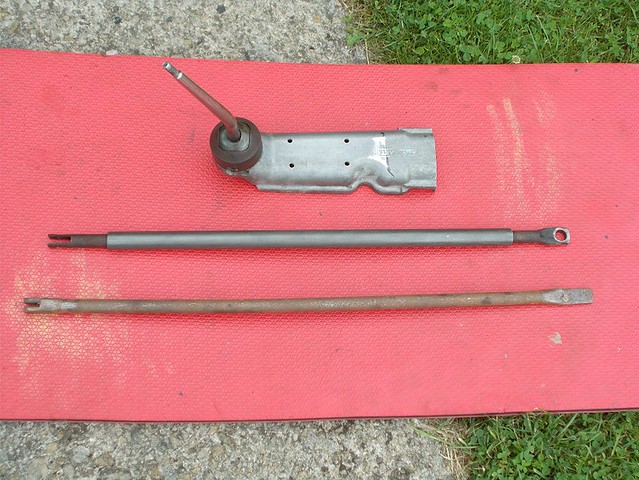 DSCN0256 by Mick O'Malley, on Flickr DSCN0256 by Mick O'Malley, on Flickr
 DSCN0255 by Mick O'Malley, on Flickr DSCN0255 by Mick O'Malley, on Flickr
Next job was the handbrake. On the donor system there is a secondary horizontal lever which multiplies the effort. It's too long to fit in the Monaco's tunnel so I decided to use it in the vertical plane. To achieve this I've had to butcher a spare cable guide to take two clevis attachments at 90° to each other. I'll cut the redundant 'wings' off once it's welded. Also, with the lever sitting much higher than on the Spitfire, I'm having to extend it downwards to provide a lower cable attachment hole. Quite how I'm going to mount the pivot rod for the multiplier lever within the skinny tunnel will be tricky, to say the least, but then it's no fun if it's easy.
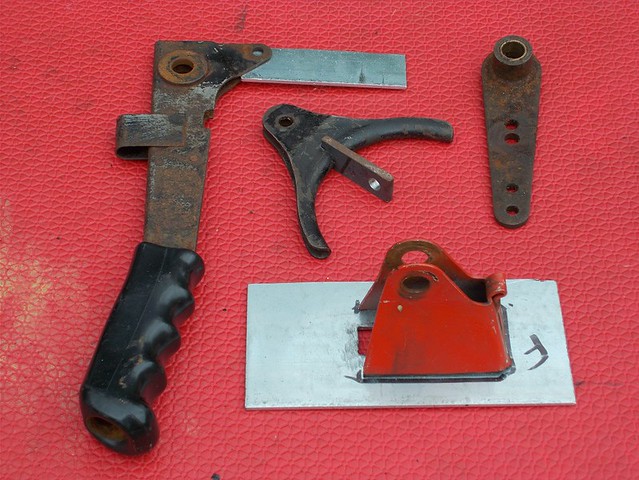 DSCN0257 by Mick O'Malley, on Flickr DSCN0257 by Mick O'Malley, on Flickr
I cable tied my two lengths of thick battery cable together and cut and drilled seven P clips from ally which will locate them within the tunnel and gearbox cover, my battery being behind the passenger side seat back. I'll rivet them in place when the body comes off for, hopefully, the last time.
Today I dug out the ex-MOD seat belts (I've seen some on another thread on here) which I was going to use on the A352 but they just didn't look right. I offered them up and decided where the mountings would be. I then bought the necessary six eyelet bolts and spreader plates with nuts welded on that I'll need.
Regards, Mick
Last edited by Mick O'Malley; 16th July 2017 at 17:46..
|