Last year, having completed my Marlin Sportster a few years previously, I started to get itchy fingers again. This time I have chosen to build a Pembleton which is a very vintage looking 3 wheeler using Citreon 2CV mechanics.
I chose the Pembleton because:
a. I like its looks
b. Being a 3 wheeler it is classed as a heavy trike and only has to pass the MSVA test which is both less onerous and cheaper than the IVA.
c. Should be (relatively) cheap to build and run.
So I have started with this:
 Dscf1369
 by
Robin J Martin, on Flickr
And should hopefully end up with something like this:
 silverfish
 by
Robin J Martin, on Flickr
The plan is to post updates regularly (or whenever I remember) so watch this space....
Robin
It's generally considered to be one of the best examples. Most Pembleton owners name their cars - this one is called Silverfish.
It's a standard to aim for. Not sure if my skills are quite up to it however - we shall see! There are more pictures of this and other completed cars on the Pembleton website
http://www.pembleton.co.uk/Home.html
Robin
There seems to be two schools of thought.
Apparently there is an exemption for the cooling fins of air cooled engines so with some carefull positioning/covering of all the ancilliaries so they are not contactable you can get away with this.
But recently most builders seem to have fabricated a simple mesh guard that covers the whole kit and caboudle. Bit of a sledgehammer approach. Rust seems to attack them fairly quickly after the test and they tend to fall off....
I wonder what they do for the new Morgan 3 wheeler?
Robin
Some pictures of the front
 DSCF1550
 by
Robin J Martin, on Flickr
And rear of the chassis
 DSCF1549
 by
Robin J Martin, on Flickr
My new workshop (shed) is only just long enough to take the built car and so it's difficult to get a picture of the whole thing in one go! I have made a dolly from some large bits of timber (left over from the shed build) and some industrial castors, so that I can easily move the chassis to make best use of the limited space.
And some pics of a few more of the bits from the manufacturer
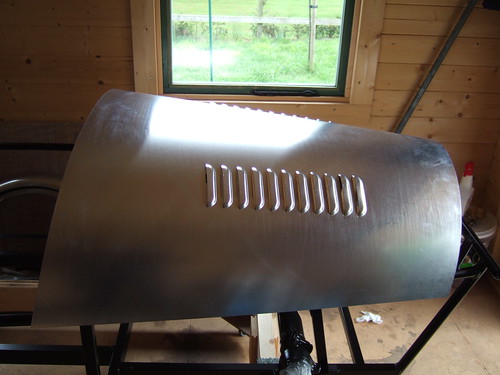 DSCF1542
 by
Robin J Martin, on Flickr
 DSCF1555
 by
Robin J Martin, on Flickr
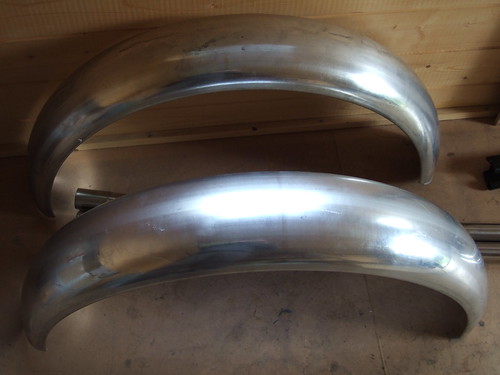 DSCF1556
 by
Robin J Martin, on Flickr
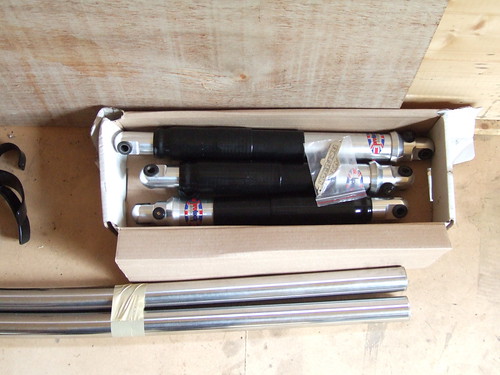 DSCF1557
 by
Robin J Martin, on Flickr
Robin
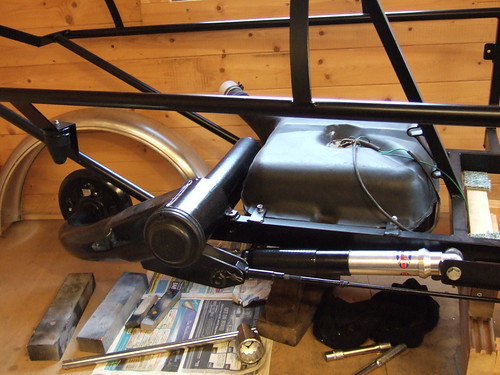
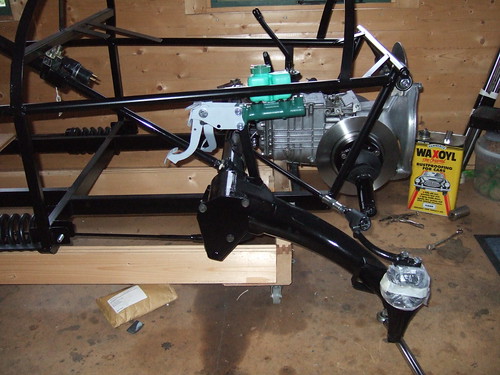
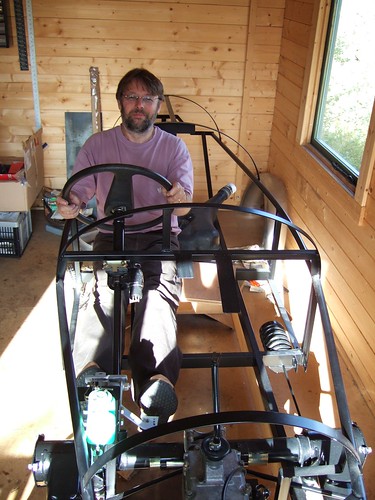
And a jump forward 4 months and we have......
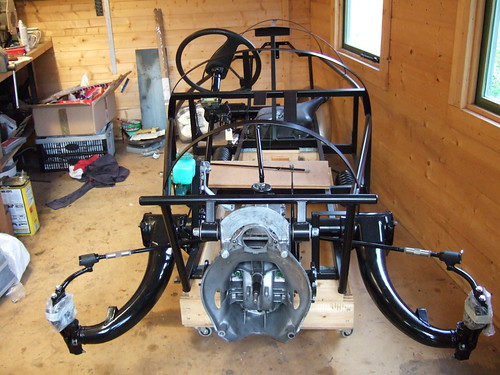 DSCF1647
 by
Robin J Martin, on Flickr
 DSCF1648
 by
Robin J Martin, on Flickr
 DSCF1656
 by
Robin J Martin, on Flickr
 Dscf1666
 by
Robin J Martin, on Flickr
I did resisit the temptation to make engine noises.....
Gearslide (gearstick?) arrangement. I replaced the 'orrible standard rubber connection between the lever in the box and the gearslide with a rose joint.
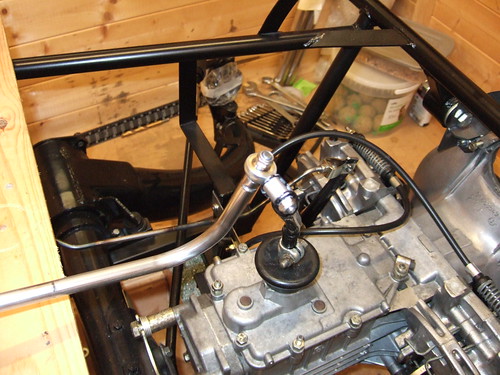 DSCF1679
 by
Robin J Martin, on Flickr
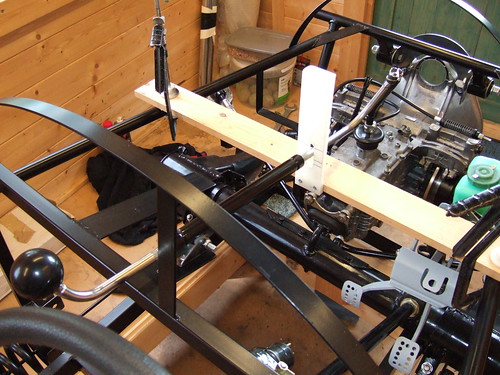
Front of gearslide will evenetually be supported by bulkhead but for now it's a block of wood! Interestingly the 2CV gearbox is a dogleg. First opposite reverse, 2nd opposite 3rd and 4th opposite nothing!
 DSCF1672
 by
Robin J Martin, on Flickr
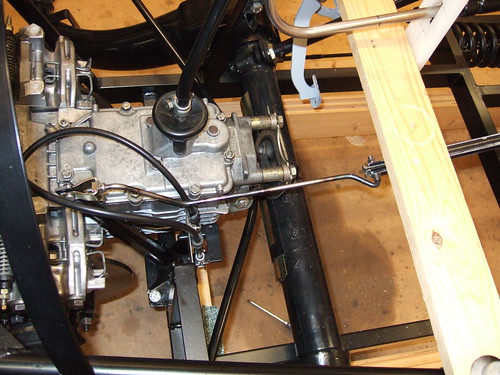
Umbrella style handbrake. I had to make the link as the standard 2CV link is too short.
 DSCF1680
 by
Robin J Martin, on Flickr
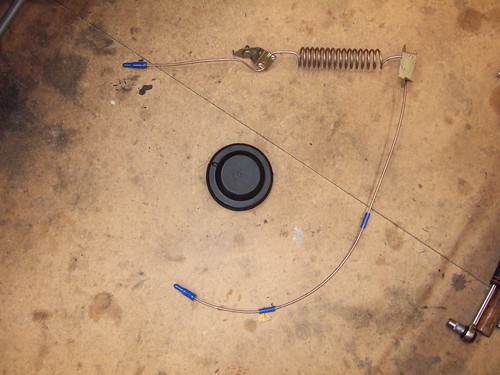
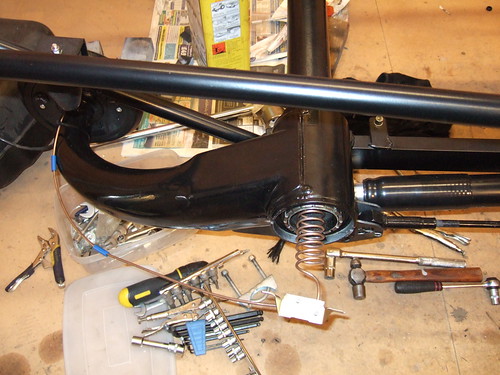
Various pictures of the brake line instalation. There isn't a single flexi in the whole system thanks to Citreon's ingenuity.
 DSCF1678
 by
Robin J Martin, on Flickr
 DSCF1682
 by
Robin J Martin, on Flickr
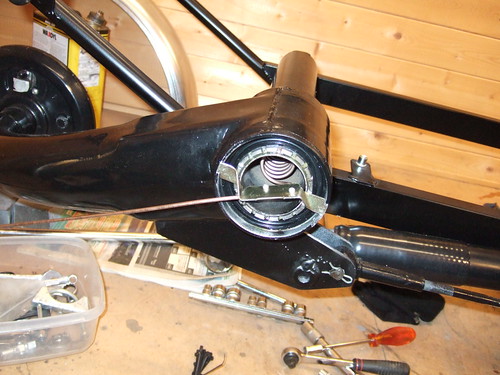 DSCF1683
 by
Robin J Martin, on Flickr
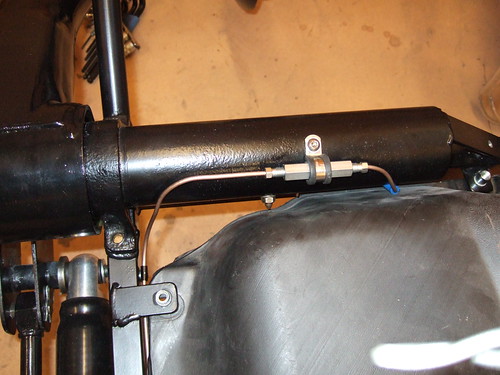 DSCF1684
 by
Robin J Martin, on Flickr
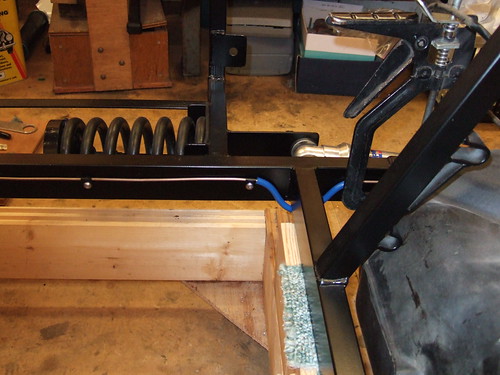 DSCF1686
 by
Robin J Martin, on Flickr
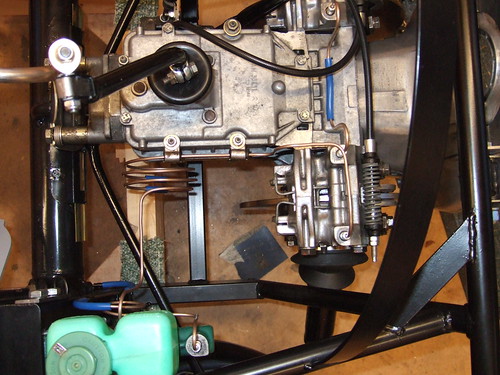 DSCF1685
 by
Robin J Martin, on Flickr
More pictures here [url]www.flickr.com/photos/robinmartin[/url]
Unfortunately not. Citreon use a different method of terminating the brake pipes (now there's a surprise). They have a bulge about 1cm from the end of the pipe (instead of a flare on the end) and a little rubber tube that slips over the end of the pipe that actually makes the seal. You can buy a special Citreon brake flaring kit but is is £££££. Forunately a company called Bonapart (really!) make a brake pipe kit specially for the Pembleton with the correct length pipes. Well - almost correct, I had to be a bit inventive in one case.
Robin
Almost completed the strip and re-build of the Guzzi engine. After several experiments with paint I used VHT caliper paint for the main block castings and VHT barrel paint for the barrels and heads.
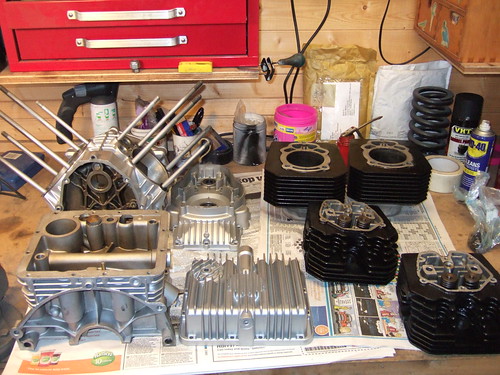 DSCF1697
 by
Robin J Martin, on Flickr
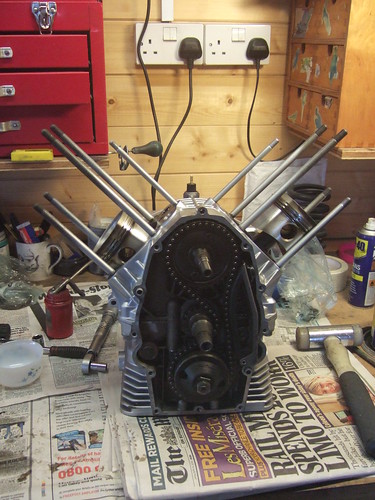 DSCF1702
 by
Robin J Martin, on Flickr
 DSCF1705
 by
Robin J Martin, on Flickr
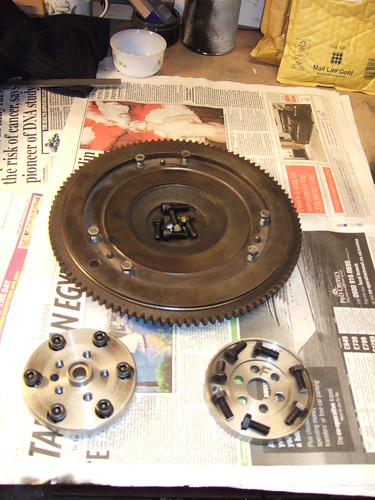 DSCF1706
 by
Robin J Martin, on Flickr
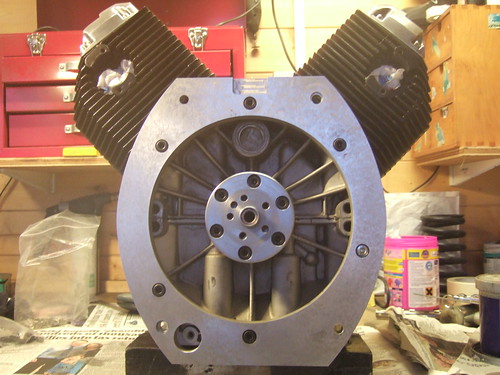 DSCF1711
 by
Robin J Martin, on Flickr
Robin
In the other car haha........
Workshop Weekend
Last weekend I went to a workshop weekend hosted by Duncan Grimmond. Duncan is a professional sheet metal artisan (
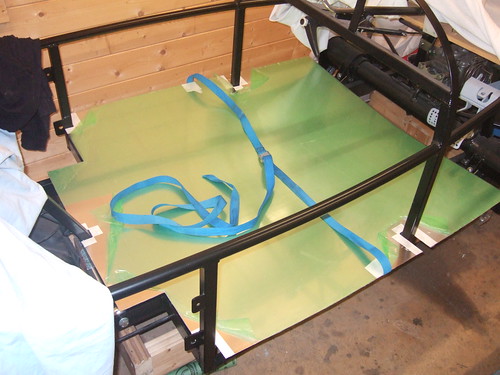
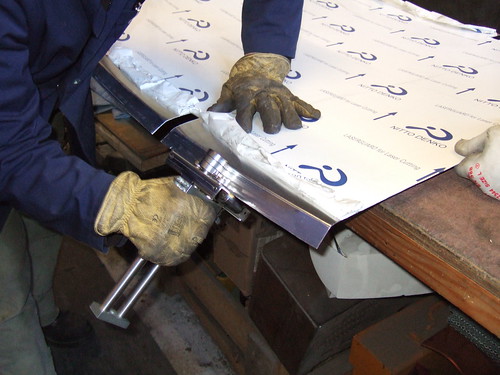
http://www.zinccounters.co.uk/) and also a fellow Pembleton enthusiast. Once or twice a year he is kind enough to open up his workshop so that Pembleton builders can access his huge range of metal forming tools - folders, shrinkers, stretchers..... The main job I wanted to do was to form the flange on the floor which is curved and so potentially tricky. Duncan made it look easy....
 DSCF1713
 by
Robin J Martin, on Flickr
 DSCF1717
 by
Robin J Martin, on Flickr
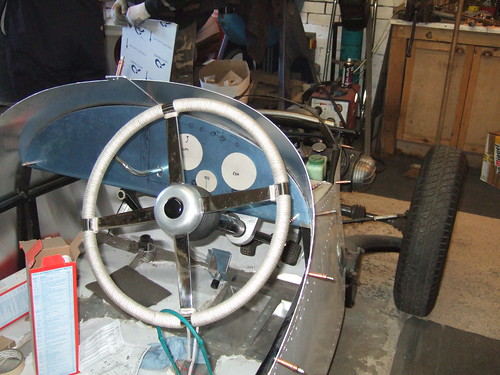
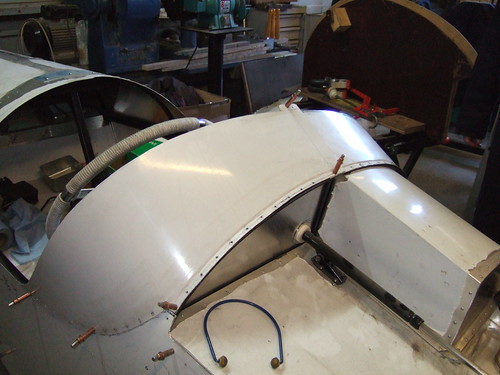
While we were there I managed to get a few shots of Duncan's second Pembleton which is currently under construction.
 DSCF1718
 by
Robin J Martin, on Flickr
 DSCF1720
 by
Robin J Martin, on Flickr
A standard to aim for! A few more pictures on my Flikr pages.
Robin
And its in....
Engine fitted at last. Everything went according to plan (well more or less). So I know have an Italian engine mated to a French gearbox using a British adapter. Cool.
A few pictures...
Completed engine from the front. The original ignition was fired from a pickup on the Guzzi flywheel. But of course I am now using the 2CV flywheel. Proiblem solved by using an old school analog electronic igntion from Lucas. The pickup goes on the end of the camshaft.
 DSCF1727
 by
Robin J Martin, on Flickr
And from the other end.
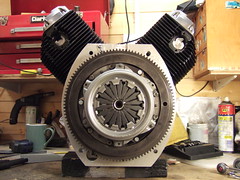 DSCF1729
 by
Robin J Martin, on Flickr
It fits!
 DSCF1731
 by
Robin J Martin, on Flickr
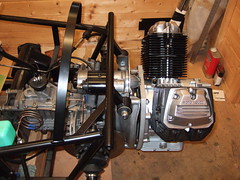 DSCF1732
 by
Robin J Martin, on Flickr
Lower mounting nut just fits between three cooling fins (middle one removed)
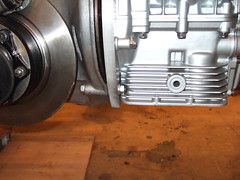 DSCF1736
 by
Robin J Martin, on Flickr
Next step - to get it started - but still a way to go yet....
Robin
I have been working towards getting the engine running. Lots of little jobs to do first.
New bracket for clutch cable. The original one that was welded to the chassis meant the clutch cable was poorly aligned and right at the end of the adjustment.
 DSCF1741
 by
Robin J Martin, on Flickr
Carbs trial fitted with air filter from Ebay. Not the best of solutions but it will do to start. Neck for air filter clears chassis by at least 1mm!
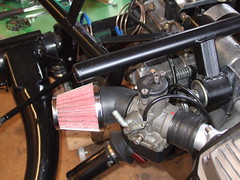 DSCF1738
 by
Robin J Martin, on Flickr
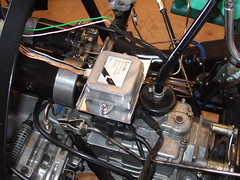
Old school electronic ignition (Lucas Rita) with coils underneath. The Guzzi employs a lost spark system which means two coils.
 DSCF1739
 by
Robin J Martin, on Flickr
Robin
Are you volunteering? ;-).
Long way to go before that stage. Tally ho!
Robin
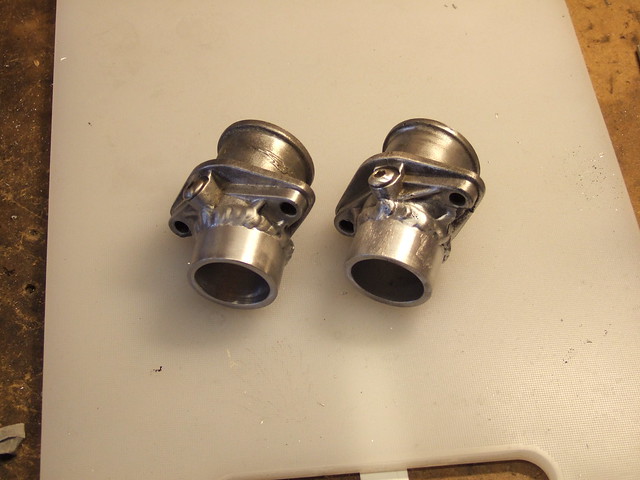
Small update on the carb mounting. When I tried to fit the nearside carb it still fouled the chassis - doh.
So I bit the bullet and modified the inlet stubs adding a new bit made from 1 3/8" ally tube which just happens to be a good match. (No it's not my welding....)
 DSCF1743
 by
Robin J Martin, on Flickr
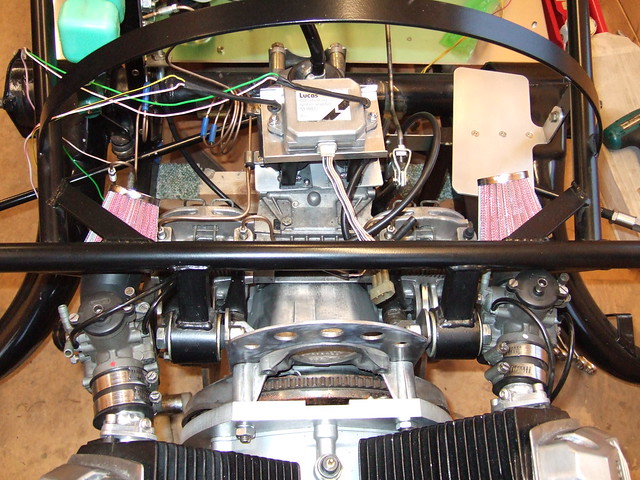
Now everything fits!
 DSCF1747
 by
Robin J Martin, on Flickr
The only downsoide is that I used about 50mm of the ally tube - but I had to buy 2500mm! Perhaps I'll go into production...
Robin
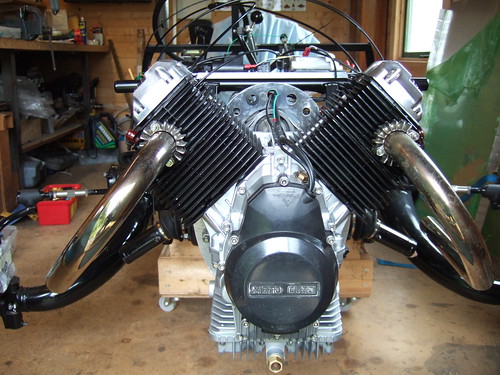
Engine instal now pretty much complete and tested! Some pictures
 DSCF1749
 by
Robin J Martin, on Flickr
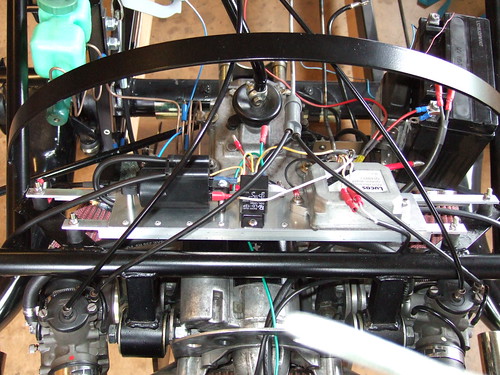 DSCF1751
 by
Robin J Martin, on Flickr
 DSCF1752
 by
Robin J Martin, on Flickr
 DSCF1753
 by
Robin J Martin, on Flickr
More on my Flikr site.
Robin
I spent the last few weeks making a metal folder. It had to be done without welding (as I can't) and cheaply. Here is the result
 DSCF1787
 by
Robin J Martin, on Flickr
And in action
 DSCF1793
 by
Robin J Martin, on Flickr
I only need to make half a dozen folds or so but didn't fancy the suggested blocks of timber approach. Tried to find a straight piece of timber recently?
The first part to be folded was the rear floor. Seems to fit OK....
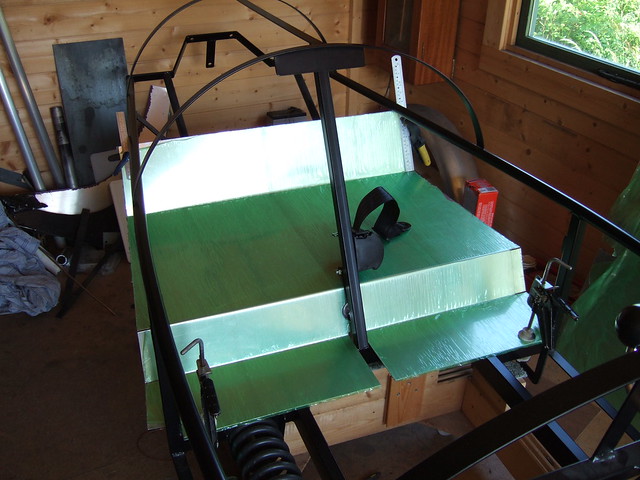 DSCF1794
 by
Robin J Martin, on Flickr
I had to also do my first but of "skilled?" metalwork to make a small dip so the bulkhead could fit snugly without fouling the seat-belt mount.
 DSCF1795
 by
Robin J Martin, on Flickr
Cheers, Robin
I have almost completed all the inner panels now. It's taken longer than I hoped but it's important to get these right as the floor in particular defines the shape of the body at the lower extremity.
It might all look quite simple but what is not obvious from the pictures is that many of the flanges have subtle curves in them. Getting them all to line up is the tricky bit!
<a href="http://www.flickr.com/photos/robinmartin/9610934031/" title="DSCF1878 by Robin J Martin, on Flickr"><img src="http://farm3.staticflickr.com/2836/9610934031_c2ba06fc80_z.jpg" width="640" height="480" alt="DSCF1878"></a>
<a href="http://www.flickr.com/photos/robinmartin/9610935117/" title="DSCF1877 by Robin J Martin, on Flickr"><img src="http://farm3.staticflickr.com/2884/9610935117_80999129fd_z.jpg" width="640" height="480" alt="DSCF1877"></a>
Robin
I have almost completed all the inner panels now. It's taken longer than I hoped but it's important to get these right as the floor in particular defines the shape of the body at the lower extremity.
It might all look quite simple but what is not obvious from the pictures is that many of the flanges have subtle curves in them. Getting them all to line up is the tricky bit!
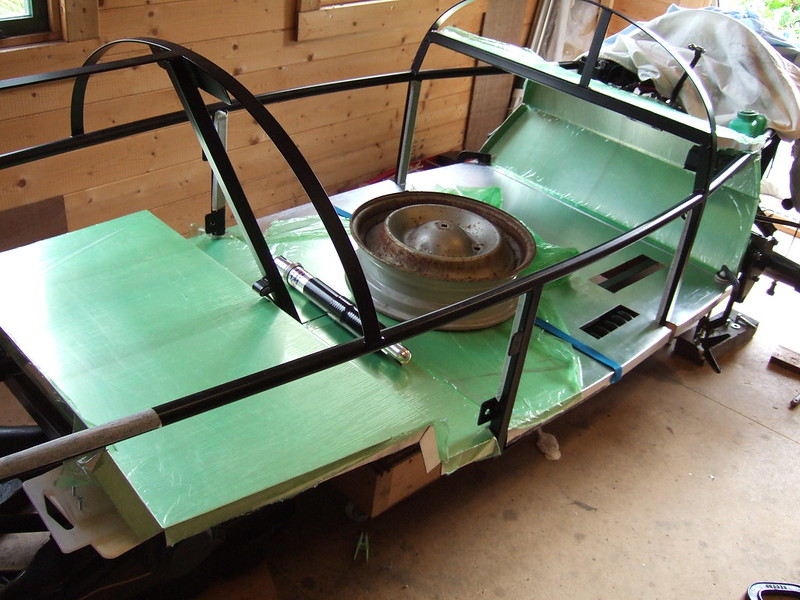 DSCF1877
 by
Robin J Martin, on Flickr
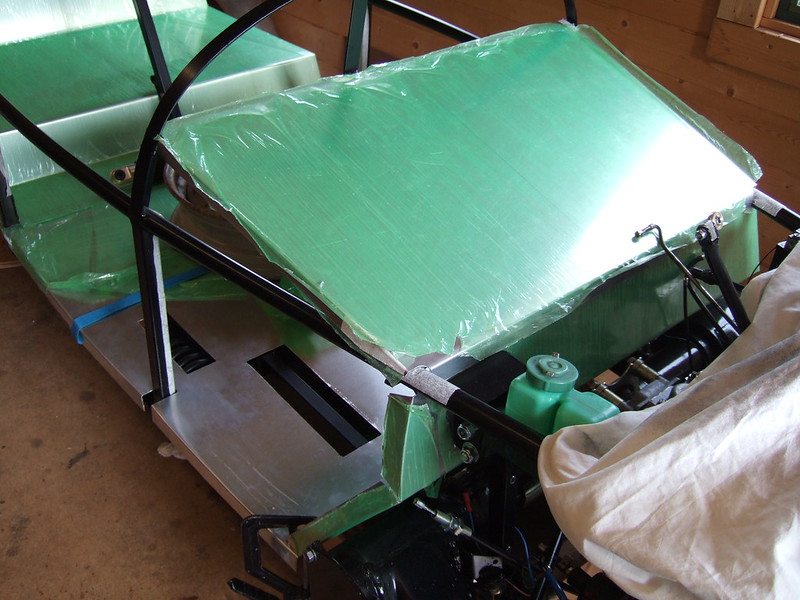 DSCF1878
 by
Robin J Martin, on Flickr
Robin
Ali is 1.2mm thick - as recommended by the instructions that come with the chassis. It seems a bit flimsy to start with but once you start adding a few bends and joins it soon stiffens up. One builder used 1.5mm but he struggled to form some of the panels using that thickness.
Robin
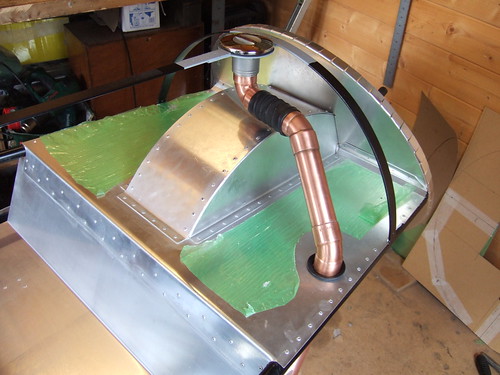
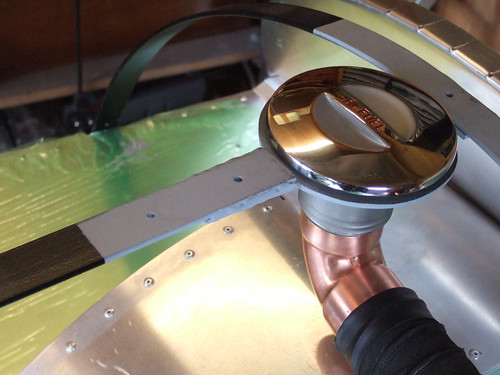
Floor now complete. Also fuel tank plumbing. Now onto the main body at last....
 DSCF1901
 by
Robin J Martin, on Flickr
 DSCF1900
 by
Robin J Martin, on Flickr
 DSCF1902
 by
Robin J Martin, on Flickr
 DSCF1907
 by
Robin J Martin, on Flickr
Robin