Why not, if the sun's out?
I hadn't planned on doing any work today, but the sight of the blue sky and sun lured me down to the cave. What to do? I'd removed the twin SUs in the week and, on replacing the bonnet, remembered that the radiator filler pipe and cap would also necessitate bonnet surgery. I 8mm drilled the corners of the hole outline, and jigsawed them together. Replacing the bonnet showed that my measurements hadn't been too bad. This picture also shows the partially repaired DCOE butchery.
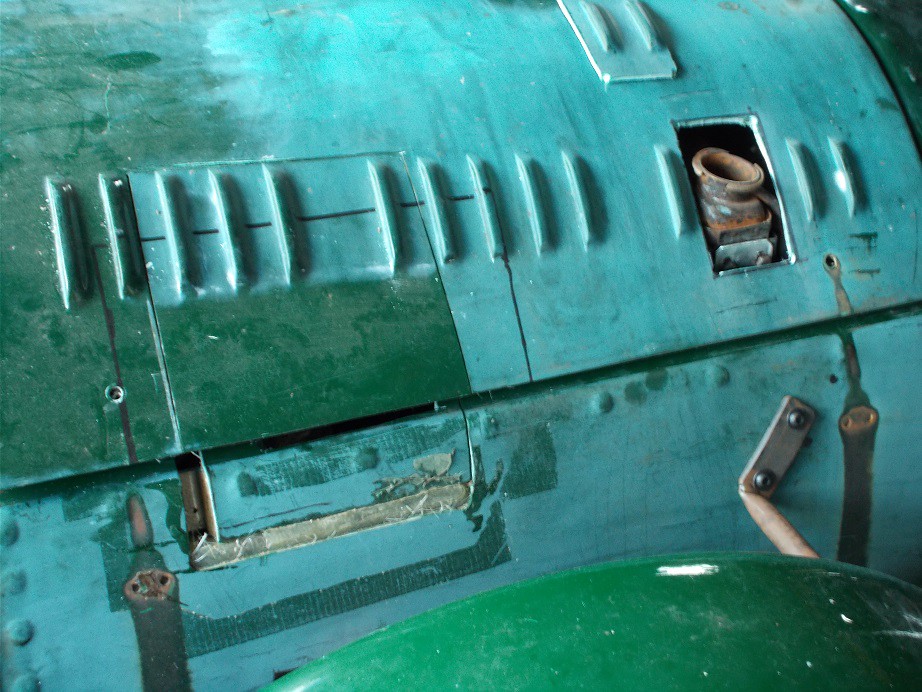
I offered up the GRP air scoop which came with the kit - way too big - and briefly considered cutting it down before deciding to make an ally cover. I remembered doing similar in '91 to the bonnet of my Dutton P1, my third kit car.
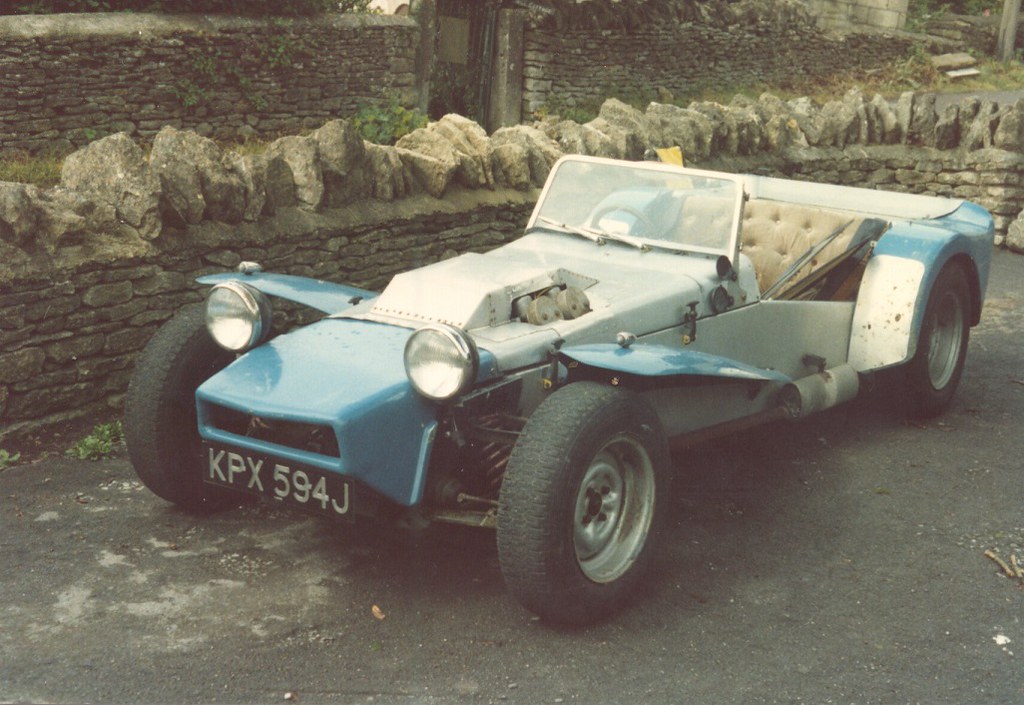
I seem to have gone a bit mad with the rivets!
Using the tried and tested CAD method, I mocked up a cover, transferred the outline and marked the fold lines on an ally sheet offcut. Having cut it out, getting the folds right proved a bit of a challenge, but perseverance paid off. I then realised that I'd made it shiny side out, which I decided would have to do. I might distress it sometime, if the mood takes me. As it won't be rivetted together and in place until after painting, I put it in the shed with its other 'to be fitted later' ally brethren.
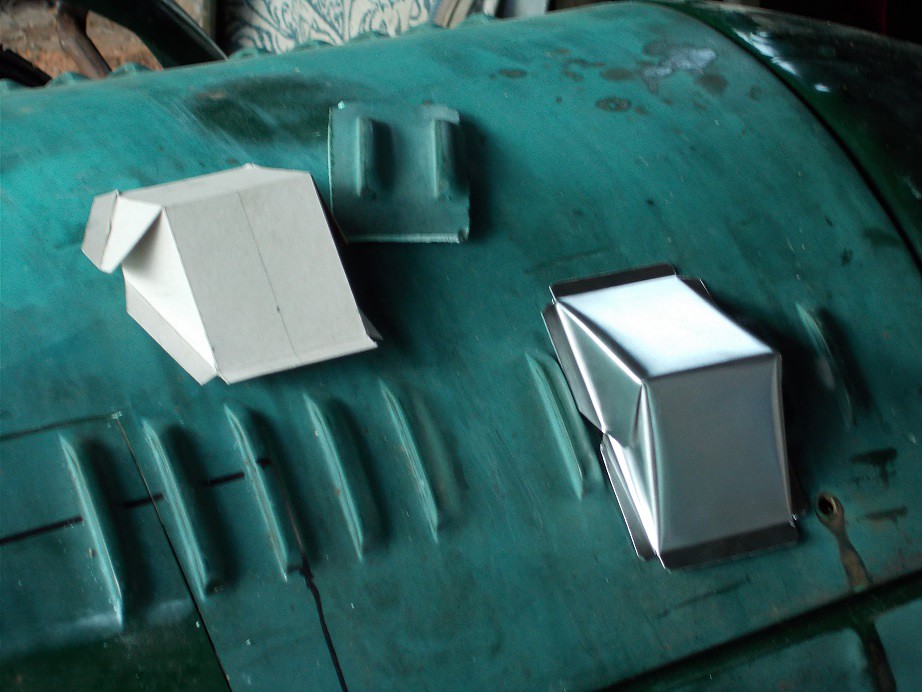
Happy to have achieved, I called it a day.
Regards, Mick
The list gets a little shorter.....
This last week or so I've nibbled away at the remaining tasks. I had help one day, removed the body and mounted the radius arm brackets at long last. The next day I spent a good while carefully measuring and re-measuring for the location of my handbrake multiplier bracket, and drilled its mounting holes. However, even with the car up on axle stands I couldn't fit it, access is just too limited - it'll have to wait until the body's off again. I neglected to take pictures of these operations.
Armed with a picture of a Monaco, I made the trip over to see the guys who'd sprayed the A352 and explained that I'd deliver it with the wings and bonnet etc. dismantled. We danced around a price and agreed 1st March as a start date. Cool!
I made a few on line purchases for my new Weber installation: manifold gasket; base gasket; air filter gasket. These have now all arrived, as has the throttle cable, whose locating hole in the transverse support I also drilled. Again no pictures.
On Thursday at about 0830 the nice lady from UPS delivered my manifold, posted in California on Tuesday. Amazing service! It's a beautiful casting, I'm absolutely thrilled with it

.

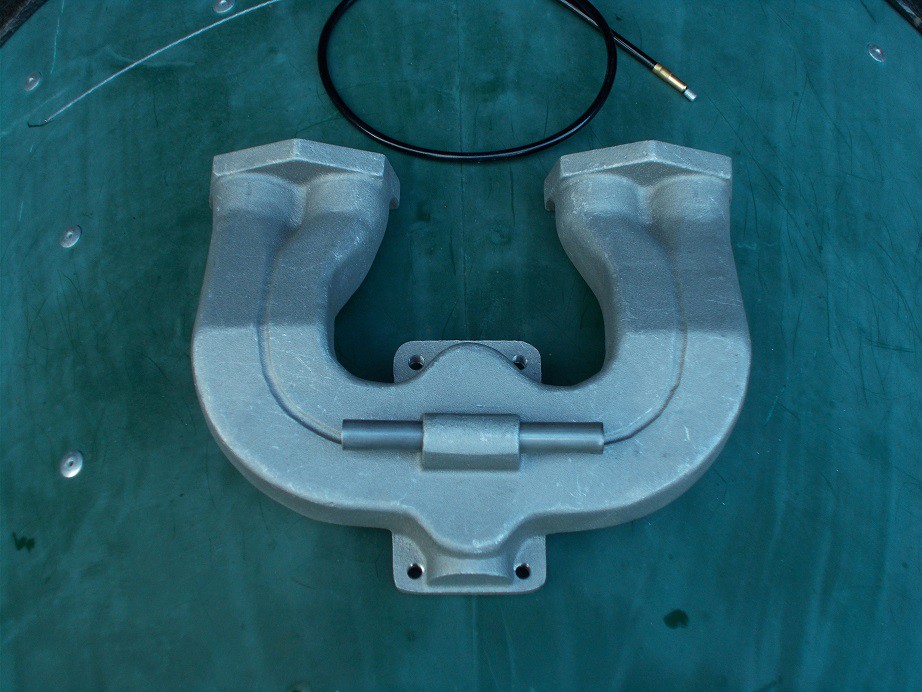
I now need an air filter so that I can trial fit it all for bonnet surgery. They're very expensive new so I'm hoping to get lucky on Ebay......
Regards, Mick
I managed a quick session in the cave this morning, with one eye on the weather as I wanted to take the A352 for a spin before condemning her to another week under the soggy 'waterproof'

cover. I first unbolted the exhaust manifold, removed the old gasket, cleaned the mating surfaces and ran a die up the studs. I fitted the new gasket, replaced the exhaust manifold, and offered up the new inlet one. It fouled the exhaust flange very slightly but the merest bit of dressing with a flat file soon had it sitting nicely. As it'll doubtless have to come off at some stage, I only very gently nipped up the nuts. With the base gasket in place I fitted the DCD, again only nipping up the bolts, and made the first cut of the card template I'll be using to mark the bonnet for surgery. Shaky photo' alert, as ever.
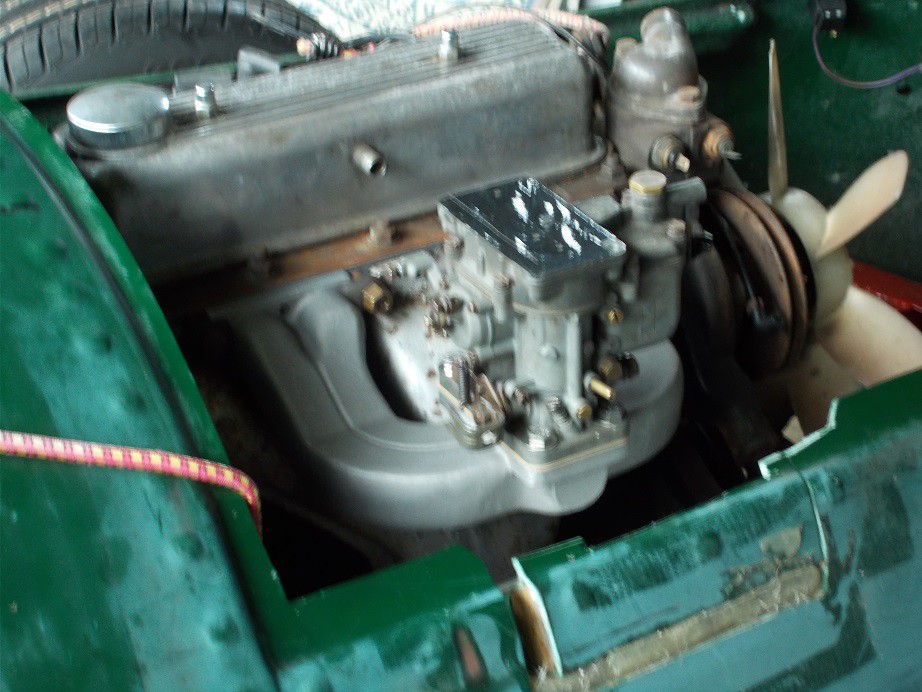
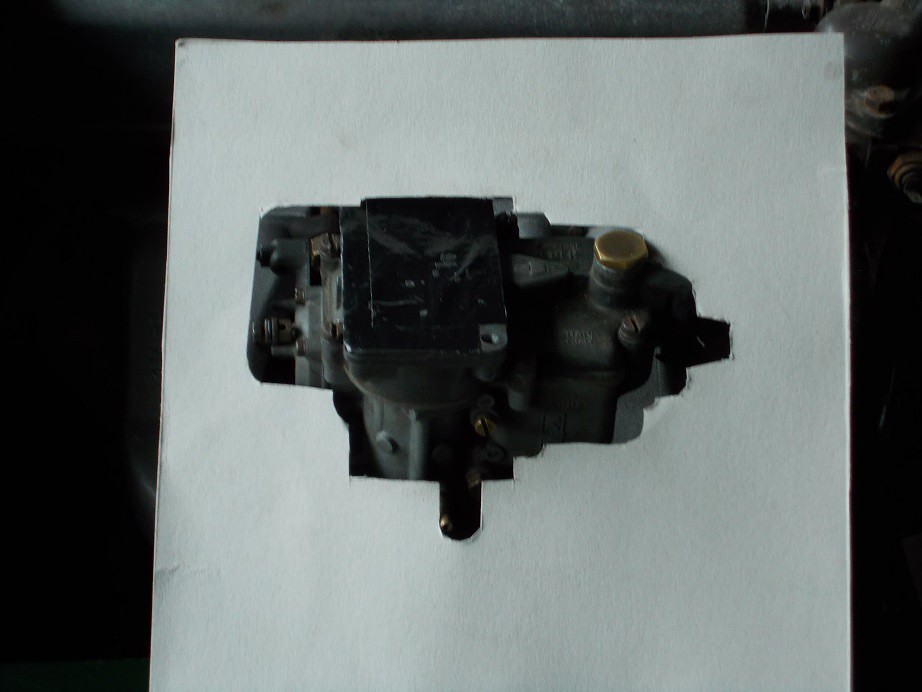
As it was then A352 o'clock, I called it a morning.
Regards, Mick
45% of all Spitfires, 141,449 of 314,332 made, were exported to the USA. As I mentioned above, Moss, the only UK supplier I could find, couldn't be bothered to answer my e-mail query, hence my US purchase.
Regards, Mick
Overkill? Probably.
Ever since trial fitting the steering column and wheel I'd been wondering how best to move the wheel back for a more comfortable driving position and to ease entry. I'd considered having the column cut and shut but decided on a more DIY approach.

I'd searched for a more compact boss but everything available included the horn operating bits and were too deep. My horn button is on the dash so I decided to modify the existing boss. I measured the depth of the metal at the base which was sufficient for my idea, and got a local bloke to cut the whole dished section off on 'his' lathe to leave a plane surface for my adaptor plate. £10 cash as a foreigner
. I then cut a disc of 3mm steel plate to the diameter of my steering wheel's centre, firstly as a polygon with my disc cutter, then trued with a grinder wheel. I then drilled the six peripheral 5mm holes using the steering wheel as a jig for marking their centres. I used these holes to mark the centre of the plate for the boss attachment holes, and drilled them at 4mm. Once I'd drilled the centre to accept the column, I assembled it all and secured it upright with a bespoke plywood support. I then drilled 4mm holes through the ally boss and tapped them to 5mm.

All that was then left was to open up the inner ring of holes to accept the 5mm screws and assemble.
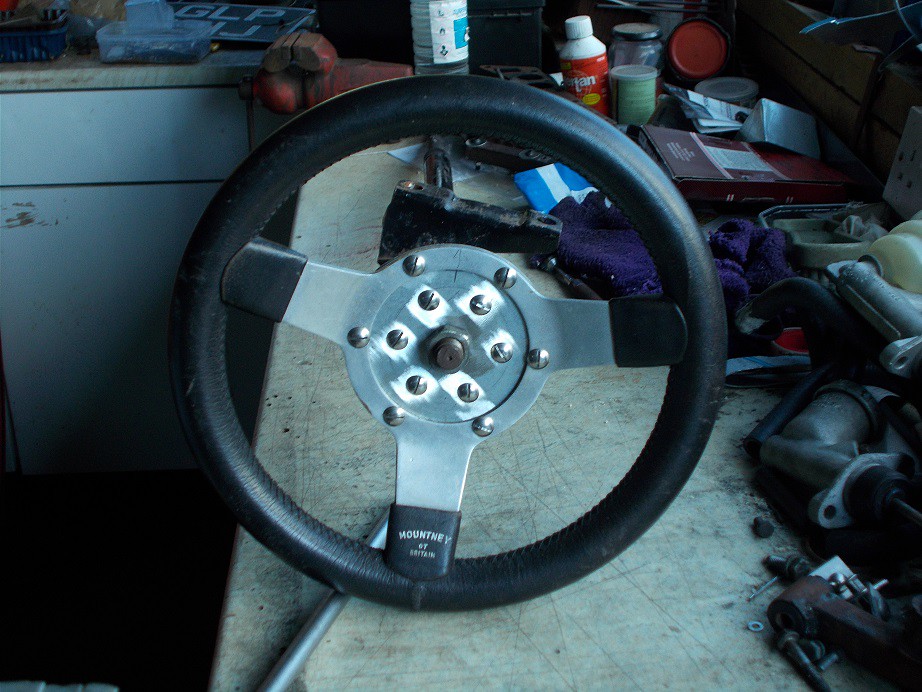
I'll have to cut off the protruding threaded portion of the column, and fashion something to conceal the nut. I'm fairly certain I'll never see another like it, but once painted, perhaps with subtler fixings, it'll pass muster.
The nice people at Flickr wrote to me the other day to let me know that, as long as my photostream contains fewer than 1,000 images, it will remain FOC. Excellent!
Regards, Mick
The Easy Option x 2
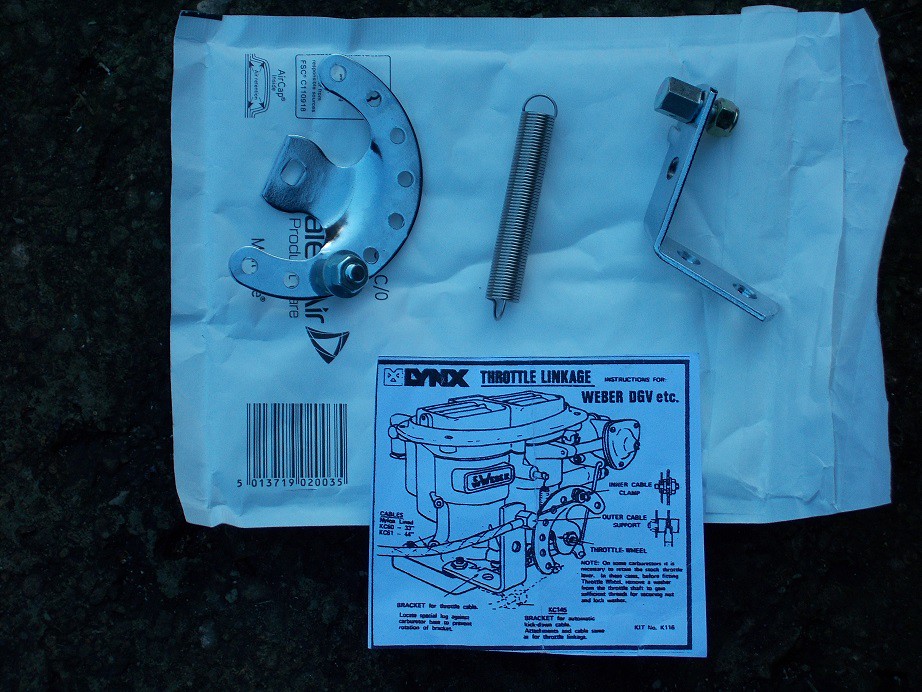
I wandered down to the cave the other day to address the problem of enabling cable operation of the DCD. I decided that I could probably cobble together something that would work. Some sort of cable locating bracket would be needed so out came the cardboard and scissors and, half an hour later, my demon design had been transferred to aluminium angle and mounted on the carb. The inner cable's clamp would have to be a drilled bolt, free to swivel as the cable moved.

I then decided that my puny effort was, in fact, rubbish, and went indoors to see what was commercially available. An Ebay search turned up this spiffing item, reasonably priced at £29.99 inc. postage, which arrived the very next day. Excellent!
Dpaz, sadly, I don't have a lathe, but I do have the perfect steering wheel centre which hearkens back to my kit car spiritual roots. This has graced quite a few of my creations over the years and will suit the Monaco admirably.
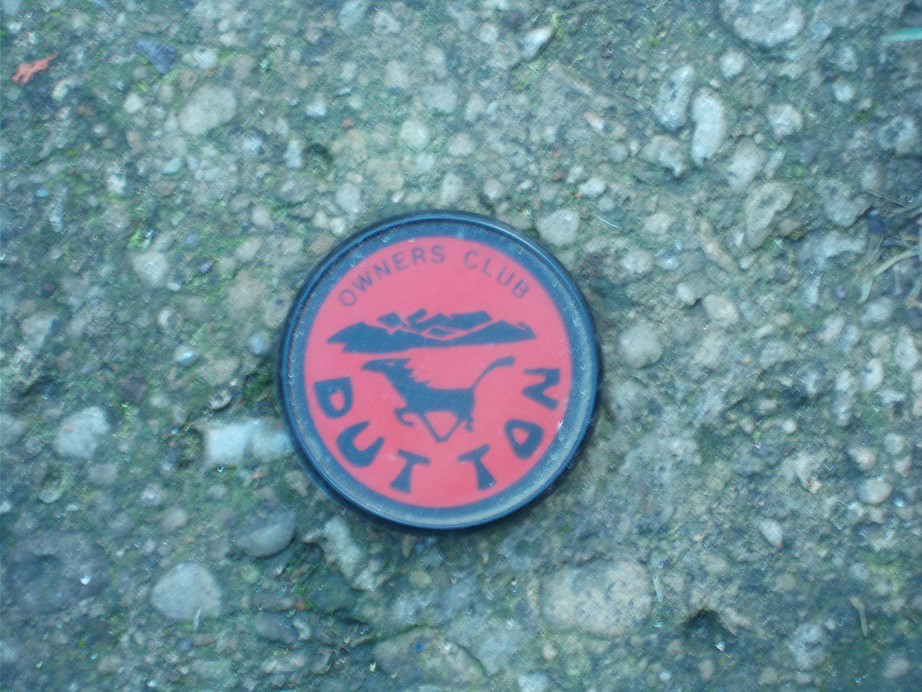
The DOC logo was designed by a very good kit-car friend of 35 year's standing who lives locally. He has a Dutton B Type I sold him in '93 (£50!) awaiting his retirement for rebuilding with a Lotus 907 dual overhead cam, 16-valve all-alloy engine. The 144 BHP should ensure decent performance.
Season's Greetings, Mick
2019 begins....
After a most enjoyable and lengthy midwinter break, I at last motivated myself to wander down to the chilly cave hoping that I could find something simple on which to break my 2019 duck.
I'd realised some time ago that there was no rear access for the number plate and light; reversing lamp and GB plate fixings without removing the body, far from ideal. My first thought was to make an access hole in the plywood floor, but I soon rejected this because of the contortions which would be required to use it. Next thought was maybe a hole in one body side with a removable ally plate over it? Ugly, but do-able. It then dawned on me that there was going to be an ally plate on the rear body anyway - the number plate - D'Oh!.
A little head scratching and Rivnuts sprang to mind. I marked and cut out the hand hole, then cut two short strips of 3mm ally, fitted the nuts and drilled 4mm rivet holes either side of them. Correctly spaced number plate bolt holes had been drilled long ago, so I fixed my strips on back to front to make sure everything lined up properly, drilled through them and countersank the outside of the resultant body holes. I luckily had a few suitable rivets left over from fitting the fin on the A352, I re-bolted the mounting plates to the inside and four pops later the job was done.

As I was fitting the number plate the noonday sun crept over the house roof for the first time after the solstice, lighting a small strip of the cave, a heartening sign of happy building days to come.
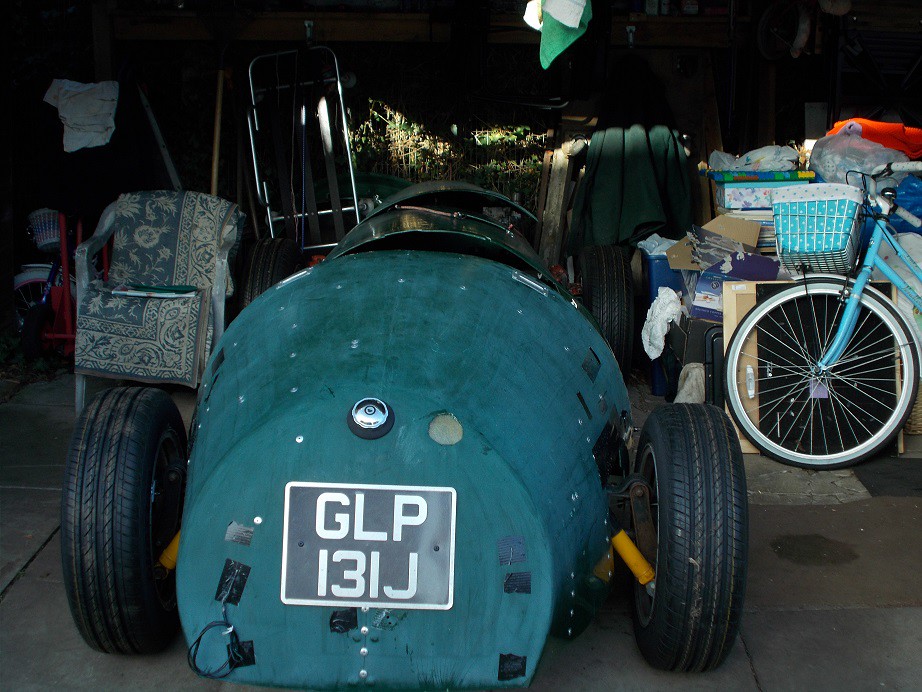
I quit while I was ahead.
Regards, Mick
If only...
I didn't have so many cars on the go

.
I'm sure that
f:0" rel="nofollow noopener" target="_blank">this could be successfully mated with Herald underpinnings resulting in a gorgeous evocation for pocket money.
Regards, Mick
Slow Winter Progress
Over the last few weeks I've done a few small jobs here and there on the project, none of which has warranted a photo' until last week, when I decided that, although the pedals were operable, their action could be improved by both shortening and offsetting them. I measured the clearance available, removed them, made the necessary cuts and bends and whizzed them over to my welding friend of almost 40 years who stuck them back together for a tenner. Top bloke.

The angled clutch and brake pedals look a little awkward, but they'll definitely be a lot easier to use than before.
Regards, Mick
Light at the end of the tunnel............
Yesterday, after what seems a marathon 25 months, the Monaco (in the shape of dismantled body parts) at last went for
paint. My very good kit car chum of some 37 years stepped up to provide transport to the spray shop (read 'barn').

The hi-tech nature of this sortie is evident from the photo'
. Spray dude hadn't previously seen the project, only a picture, and showed enthusiasm for it, just as he did with the A352. He said he'd "turn it round quickly" so I'm hoping that final assembly isn't too far away, followed by a V627/1 application. Triumph Monaco perhaps?
Regards, Mick
Burst of enthusiasm....
Having posted the above, I wandered down to the sunlit cave to have a look at the chassis. I decided to paint the parts of the frame which are visible when the body's in place. I dusted them off, de-greased them with acetone, and gave them a good coat of black stone chip, masking the adjacent areas with an old bed sheet.

I think I may need to black the insides of the main rails, but I can do this later even with the body back on.

The left hand front outrigger will eventually form the front part of the spare wheel mount. Gathering clouds brought progress to a halt.
Regards, Mick
Yet Again
Another
Ebay offering from our favourite comedian.
Regards, Mick
Waiting, waiting.....
Having read with interest Paul's Water Feature posts, I thought I'd post my tuppence worth from the idle days awaiting the return of the Monaco body from the spray barn
.
I've had a couple of commercially made swift nesting boxes on my back wall for a few years now - the swifts ignore them, probably because sparrows commandeer them early in the year. I searched the web and found plans for making my own from 13mm exterior ply. I've built and mounted the first twin box and have blocked the entrances until the desired occupants arrive. I also acquired a swift call CD to play from an adjacent window to entice them in.
Diverse skills go with our territory, but clearly (in my case) don't extend to re-painting 90 year old soffits......!

Regards, Mick
I spent Saturday at Prescott. Amongst the glittering display of exotica was this little gem, which would have fired me to get on with my build, if only the bodywork were back from spray dude.....

Regards, Mick
Correctamundo. This is the body that Les Montgomery used for his Super Two kit, which was priced at £99 (although the floor was an extra!). Back on pages two and three of this blog there are some pictures.
Chapter and verse
here.
Regards, Mick
Light at the end of the tunnel......
Yesterday, after a seemingly interminable 12 weeks (during which, co-incidently, I've been on the wagon), I went to check on progress, having 'phoned a week ago and received a slightly indeterminate reply. My baby was sitting on trestles, prepped and primed for top coat back to the cockpit, as were the wings and bonnet
. Spray dude said she'd be done by Saturday week, which was good to hear.
I'll now launch a pre-emptive strike before you-know-who asks why I haven't mercilessly harassed my sub-contractor to get the job done in short order. The reason is two fold: Firstly, spraying kit car bodies isn't his and his co-worker's meat and drink, it's more in the way of a gardening job to fill in between their real jobs. Secondly, his charges are extremely reasonable, and putting his back up with repeat progress enquiries would be counter-productive for my pensioner's wallet.
I'll post some pictures once she's back home: if it's half as good as the A352 I'll be more than delighted.

"Yes, I know I've built a kink into the fin
"
Regards, Mick
Getting Nearer.......
Yesterday I pootled over to spray dude's place to both stump up and collect the loose parts, which he'd already finished. I have to say that the colour I'd chosen, now applied, has exceeded my expectations! In the flesh it's quite a bit darker than the photo' shows. He'd also, on his own initiative, sprayed the undersides matt black with no extra charge. Top bloke!

The body is very near completion: yesterday was to be high-build primer; today, top coat
. The only down side is that my chum's LDV is off the road, so alternative transport for collection has to be sourced. I have a good friend with a Morris Ital estate, so I'm thinking roof bars.......

Spray dude told me that, on two recent occasions, customers asked "Is that an aircraft?" Hilarious. The charge is once again well south of four figures, a fantastic deal.
Watch this space.
Regards, Mick
Stop it! You've started me thinking of adding a Reichsverteidigung band, JG53s plain black would complement my wheels nicely.........
Regards, Mick
The Monaco Has Landed
Today, at long last, it seems, I collected the main body from spray dude. The friend in whose long wheelbase LDV it was transported is undergoing chemo: he can drive OK but lifting is a problem. Loading was a doddle, but unloading at mine was problematic with just me and my son doing the honours. We used a halfway house method, balancing it on my workmate and a discarded furniture item I found in the hedge at LDV height.

The actual colour is somewhere between the above and below shots.

Once the LDV was gone, we could carry it down to the man cave and plonk it on the bespoke table I crafted in '16 for painting the S4 Seven frame. This has it at a handy height for the few engine bay jobs left to do.

Once these are done it can go back on the chassis and reassembly can commence, first job being to make it 'look like a car' for the V627 submission photo's.
I'm more than happy with the finish, there being a mild dose of authentic cellulose orange peel, a nice period touch. My wildly optimistic completion target is August Bank Holiday weekend for the Gloucester Retro Festival, failing that, Castle Combe Classic in October.
Regards, Mick
Coffin Dodger Contortions
On Tuesday morning, brimming with enthusiasm, I headed down to the cave to address the list of tasks requiring completion before body mounting. Front and centre of these was mounting the hand brake multiplier, which bolts through the back end of the tunnel. Once this was done I went to connect it to the bar from the lever I'd fabricated, only to find that I'd neglected to drill the necessary hole. Not a problem: I'll just unbolt the lever and drill it on the bench, or so I thought until I realised the nuts in the middle of the tunnel were inaccessible without unfeasibly long arms. Not wanting to invert the newly sprayed body on the grass, which, help being unavailable wasn't an option anyway, I hit on the idea of cutting a hand hole in the table. Lots of careful measuring and the drilling of a guide hole later, I set to with the hole cutter and access was available.

At this stage, covered in sawdust and with aching arms and back, I quit for the day while I was ahead.
Tuesday morning, with the aid of a socket extension, UJ, and contortions, I knocked that part of the build on the head: surprisingly straightforward. Next job: fit the sender to the 'refurbished' Mini fuel tank. This 'refurbishment' clearly hadn't extended to straightening the butchered locating lugs. Despite the once again limited access I managed to tap and bend them into shape and fit the sender. I decided to test it for leaks but then realised I'd need flexi pipe on the outlet stub. I measured this, the metal pipe through the frame and the unions on the mechanical pump, all at 8mm, and bought on line the necessary, including clips.
What next? Ah, the lock-limiting hose clips on the rack to prevent the front wheels hitting the body. None of the clips in my tubfull was the correct size so more on line buying.
The last job for the day was the connections for the water heated inlet manifold. Both the tappings in the water pump housing had temperature gauge senders in them, one of which needed replacing with the stub pipe outlet. Spitfire Steve had come to the rescue once again with this obscure item, handily delivered in the nick of time. The necessary water hose and clips I found and fitted, but I'll need a ½" compression stop end to blank off the heater outlet of my spiffing stainless steel pipe.

I called it a day.
Regards, Mick