Wipers
Still loads to do until I glue the front on. Had a go at the wipers today. Although Tribute suggest extending the spindles, I had a hope that they may just move up. The linkages have lovely ball joints, but seeing as access is reduced I do not want to compromise Mazdas reliable components then not be able to get at them. Chris at Tribute designed the body to cover part of the glass to reduce the area of the screen and increase the length of the bonnet. Far more correct for the right look so I decided against cutting it back to the original bonnet line.
[IMG]

[/IMG]
So I made up a couple of 2mm stainless steel mounts that move the spindles out about 34mm. When fitted some of the original mount needed to be massaged down a bit to give clearance, but overall so far so good. A bit of the water cover on the fan needed bit removed, plus the flange for the PHD wiper position.[IMG]

[/IMG]
Refitted the body and popped the holes through.
[IMG]

[/IMG]
Just need to decide now to either fit the converters to old style wiper arms or stick with these and get them chromed.
I may need to mould in a recess. Here is the corner of a paint tray which would make a perfect mold (mould?). May do that tomorrow. Workshop was getting chilly this evening!
[IMG]

[/IMG]
Picked up my latest EBAY purchase...a Japspeed exhaust in stainless steel. Retails around £600, I paid £50

[IMG]

[/IMG]
Found some nice stainless wiper arms, 15 1/4" long, new old stock, ex Daimler!
my spindle adaptors arrived too, so I bored out the hole to 7mm, then tapped it out to 8mm to match the threads on the Mazda spindle. To match the flairef base on the spindle I stuck the adaptor in the lathe and flared the base to match.
[IMG]

[/IMG]
Here they are fitted.....[IMG]

[/IMG]
Both arms need a crank on the end, and one extending by about an inch to match the old Mazda ones.
[IMG]

[/IMG]
Need to mould in a 10mm recess tomorrow!
It is getting close to being kicked out....should have put a,boat in its place this week..... anyway, never mind the customers, this is more important! Need to do more in the eves, but after a day in the cold workshop I have had enough!
The exhaust came from a chap who clears self storage units. People leave stuff behind and he ebays it. He had no idea what it was for, so it was badly listed

A friend sent me the link. He always searches for badly listed items. Kind of searching for what you would not list it as!
I will lose the 4" exit though!
Re colour, am steering towards Dove Grey(thanks garyh)!
Thanks Peeps, not sure about the froid bit, but sharkskin grey is what my boat is painted. It like a light green!
Finally made some progress today. Made up two bits of ply to go in the nose cone. They will duct air into the radiator, plus as they slot over the abs bumper they will support the front as well. Here they are just pugged in.[IMG]

[/IMG]
I also wanted to improve how the front wing runs into the front valance, losing the corners and also adding an upstand to add support and strength. I cut away the flange, tapered the glass and screwed on two pieces of plastic sheet. More plastic on edge plus some tape and we now have a former for some [IMG]

[/IMG]glass.
[IMG]

[/IMG]
If I have enough drive I may go back down to the workshop this eve and glass it in, once the kids are in bed!

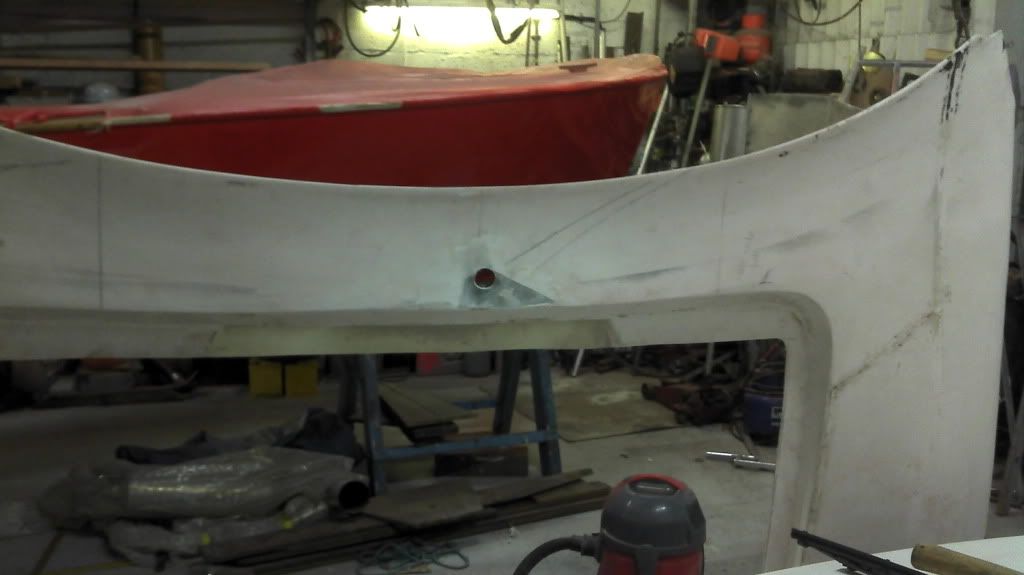
I also taped in the small divits for the wipers. Just using corners of a small paint tray as in duty moulds. The grey stuff is gell coat.
[IMG]

[/IMG]
Thanks Tony, and hats off to you for doing yours OUTSIDE!
Yes Chris, in the workshop today. A steady two degrees so positively tropical!
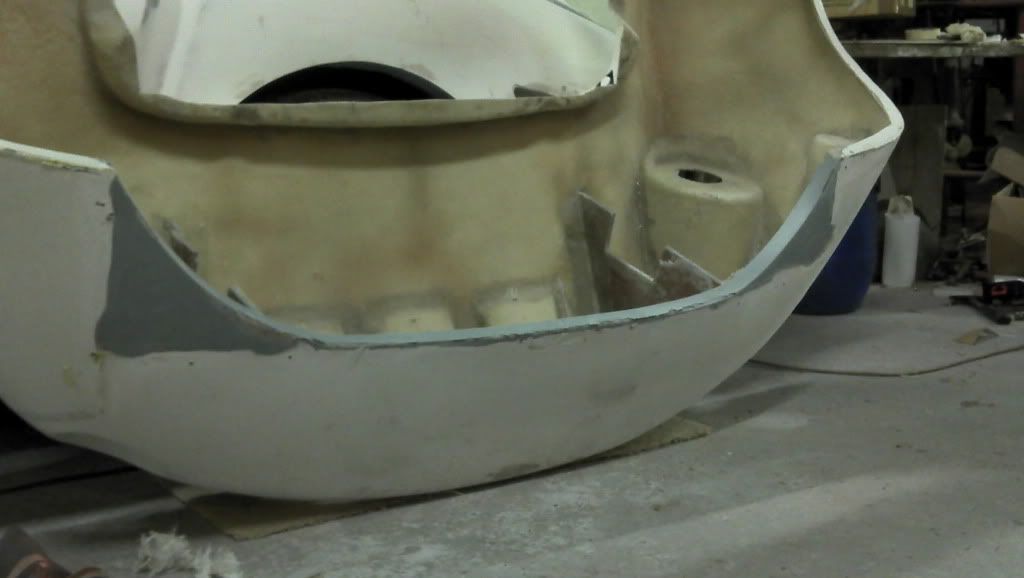
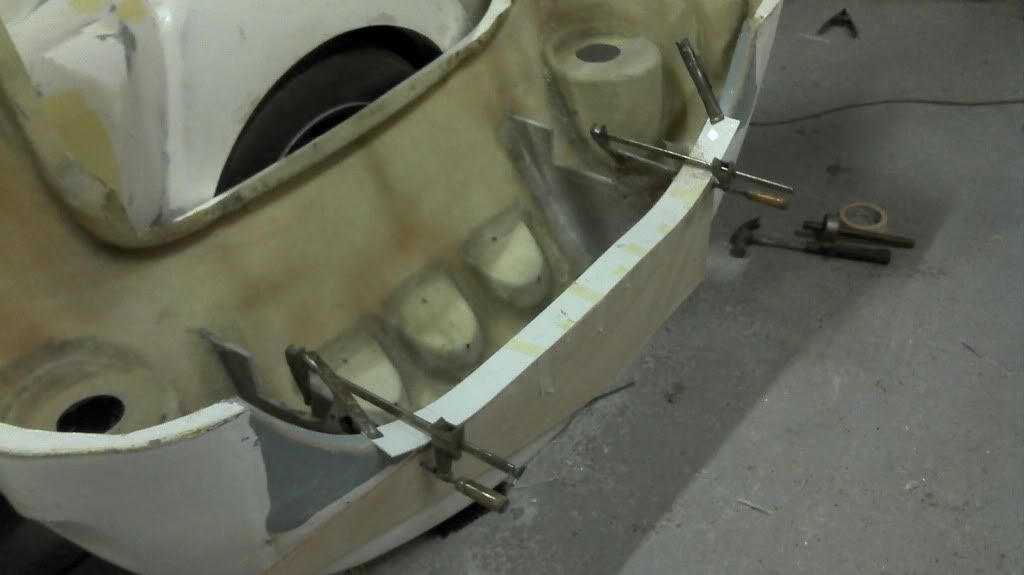
I laminated over my formers today, then took them of this afternoon. Blooming cock up. Basically I had set them up wonky, simply because once the former was in I didn't check. Anyway come six this eve, picked up the grinder and removed the mid section just leaving the corners. Its all back together now, although I will probably find its all fallen off in the morning!
Heres some pics...
formers removed....
[IMG]
[/IMG]
Second former on this eve..[IMG]
[/IMG]
The wiper bubbles came out okay though :
[IMG]
[/IMG]
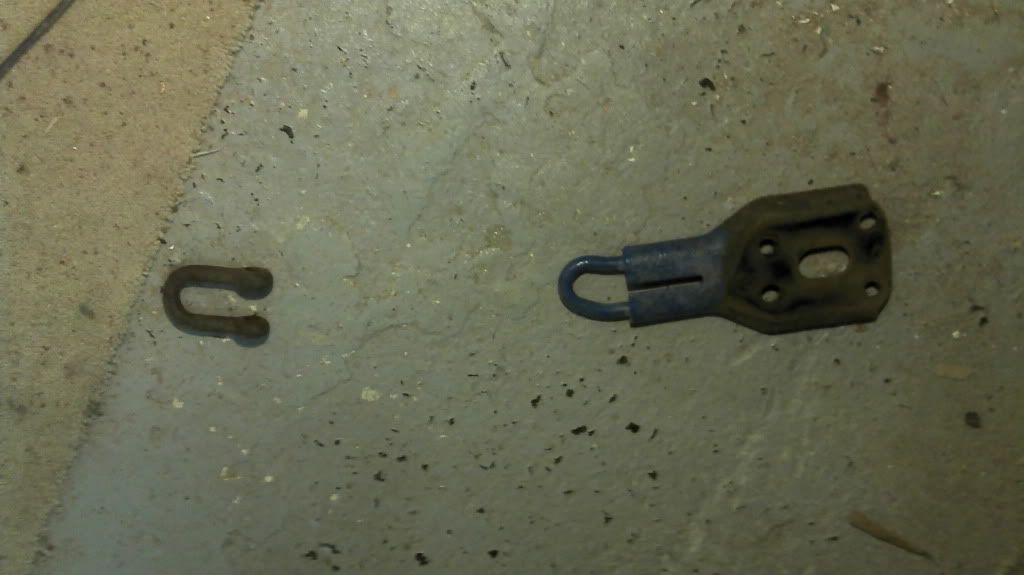
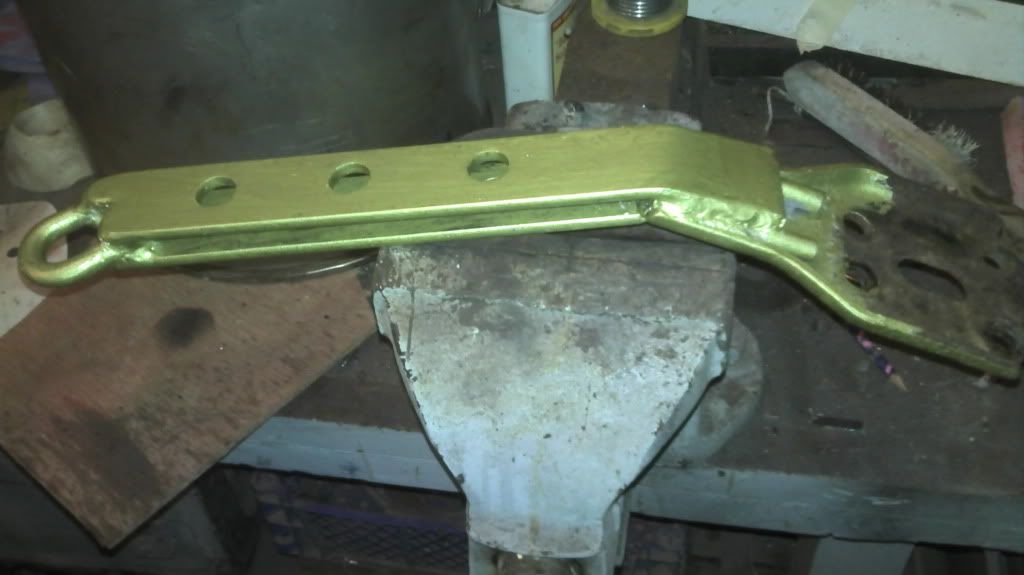
And lastly I removed one of the towing eyes so I can extend it by 12" (matron!)
[IMG]
[/IMG]
Extended the RH front towing eye so it is just gettable inside the grill. Im going to put som mesh further back to protect the radiator, but leave this eye accessible. Of course Mazda never break down, but I can stick one of those arrows with 'TOW' on it, he he![IMG]
[/IMG]
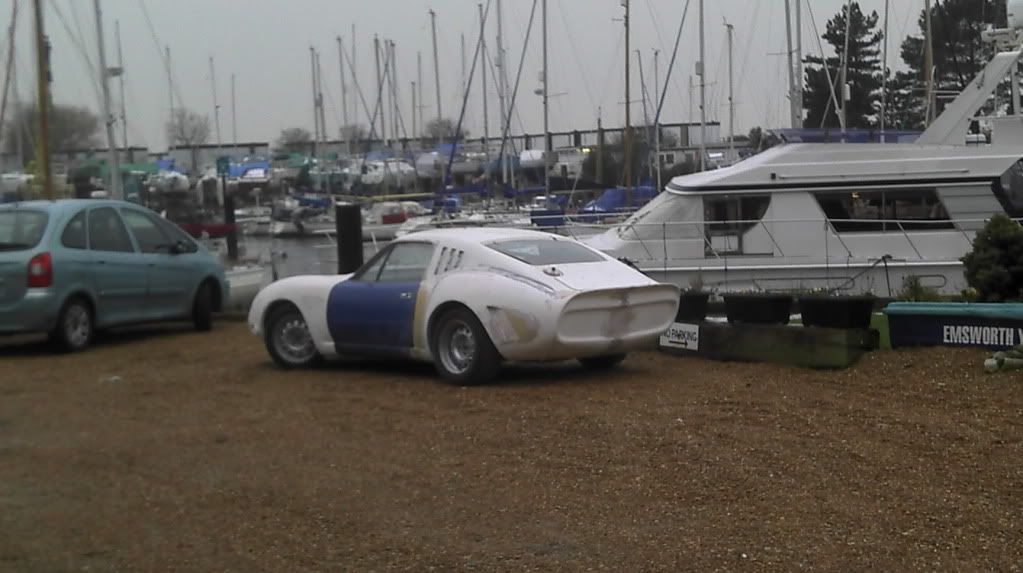
Had a shed reshuffle today, so took the car out for a run. Only mild acceleration caused the rear window to slide out, but it was caught by the auxiliary window scoop......the rear spoiler!
Anyway, heres some pics from a distance....
[IMG]
[/IMG]
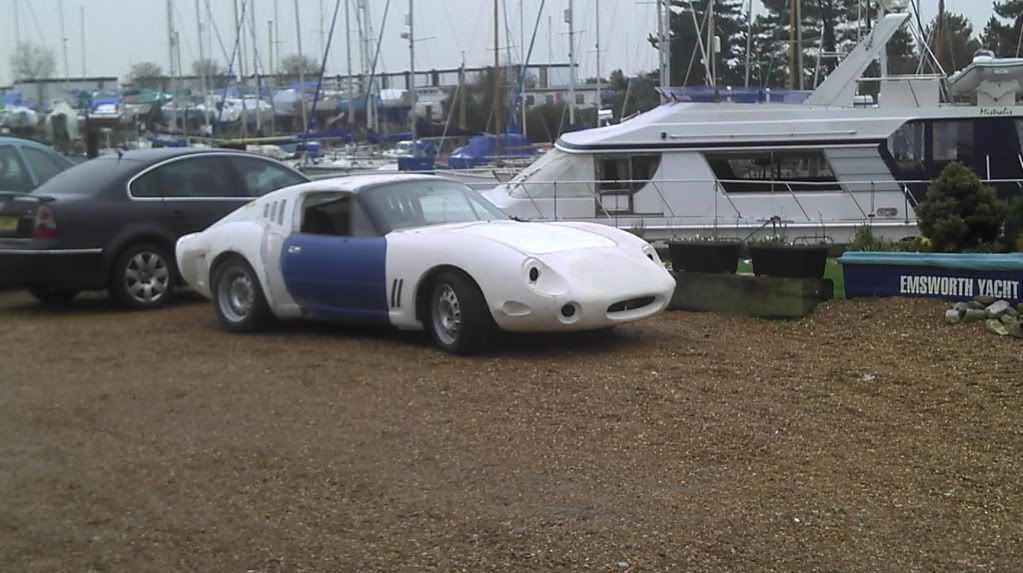
And later from the front.....
[IMG]
[/IMG]
Hi All, couldn't add text last night as the phone was too tired!
Thanks Martini, and thanks RedRatbike the vents are a copy of those on the 275, but also there to help visibility, as there is tinted perspex behind.
Dave, I may be having a mid-life crisis, but I am still a child when it comes to things that go Brrrrmmmm!
Hammy/Chargerstang, the headlining is 5mm foam backed vinyl, the staple diet of a 60's interior!
And Tribute, I'm glad you like it. Sorry for making your straightforward kit appear so complicated and time consuming, when as Greyone and Billy showed it is not. Thank you for your understanding as I molest your bodywork!
Anyway, as you may have notice I have performed a massive handbrake turn with regards to the front. After making some lovely hinges, raising the wipers and adding recesses for the wiper stalks and was about to glue the body on.......I changed my mind (again), and decided to see if I could make it into a flip front, as was my original plan.
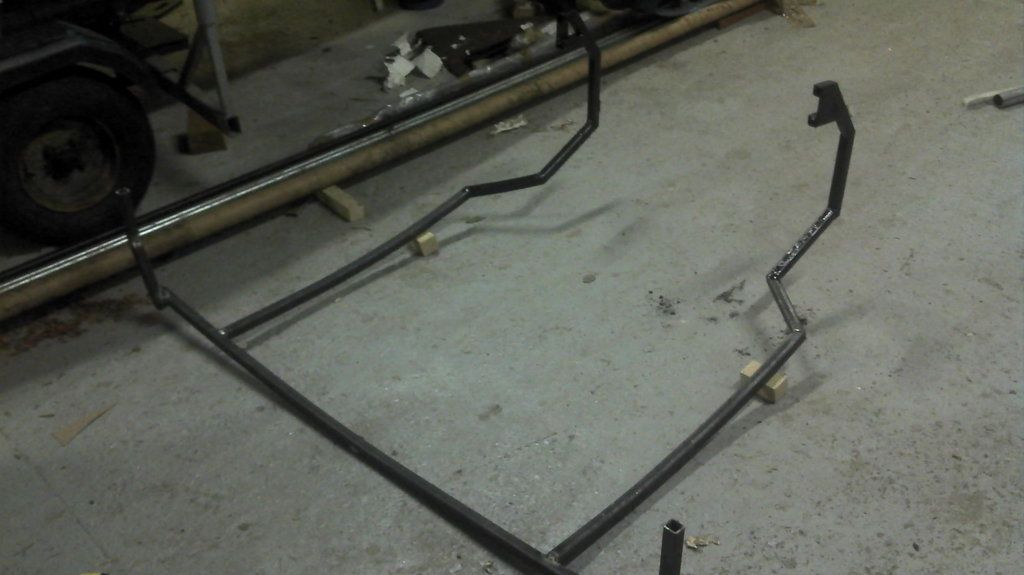
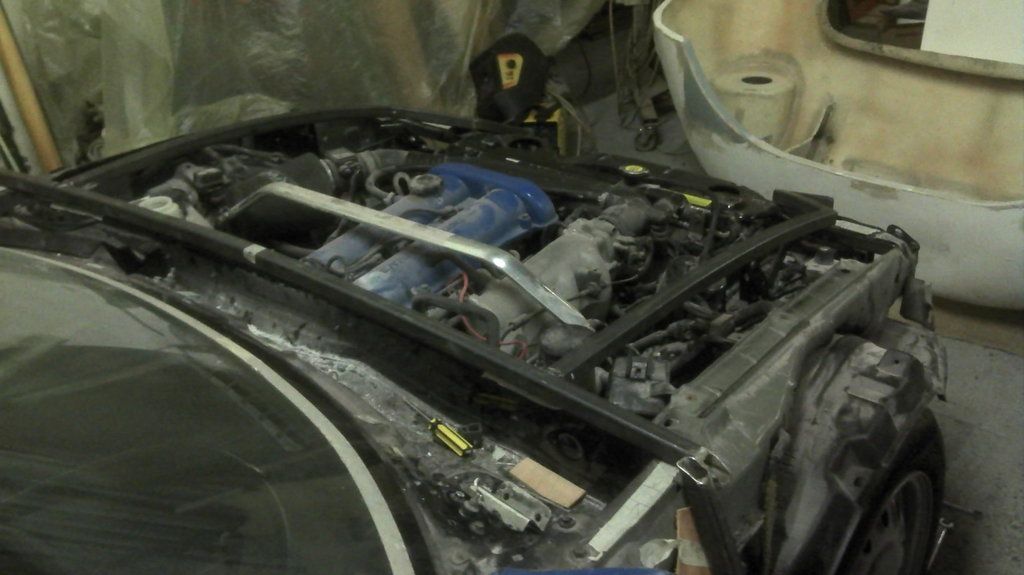
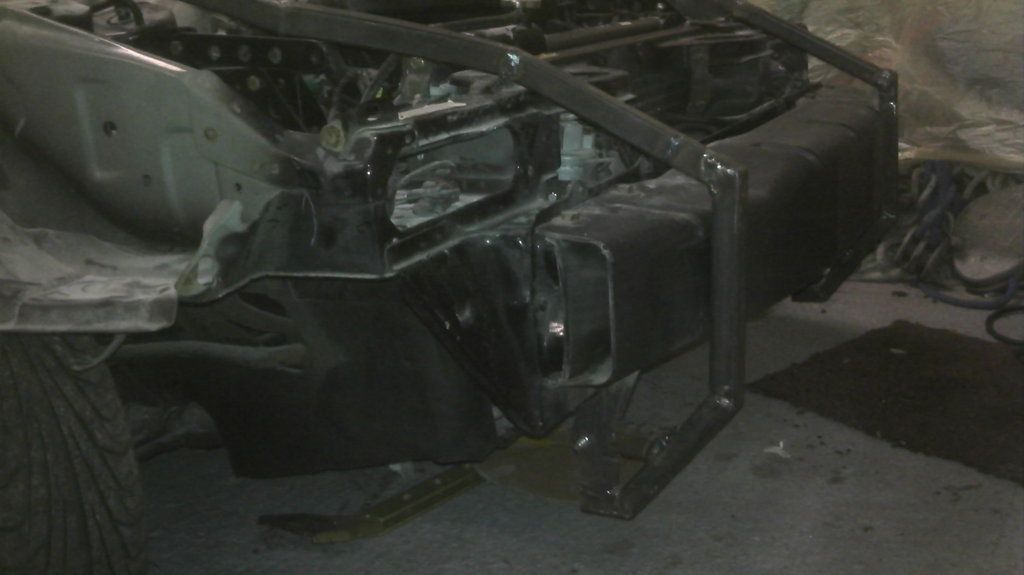
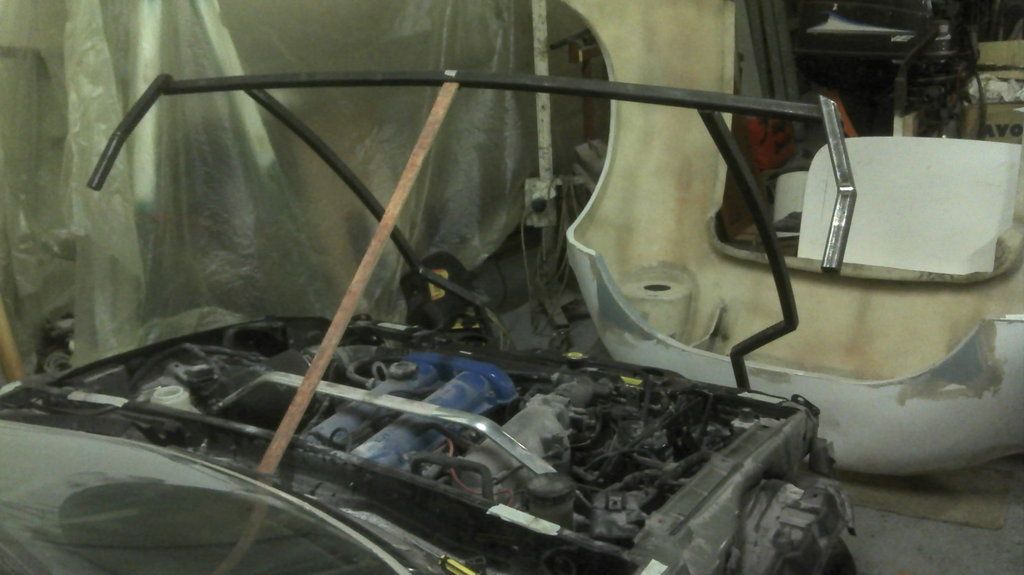
The pics are fairly self explanatory, but just to say in retrospect it could be simpler as I used 1"square (thats 25mm by 25mm Henri) box section which I formed around the bonnet apperture rather than going straight from front to the bulkhead. This was just in case there was not clearance for the framework and I had to go back to plan A.
I plan to use the redundant bonnet catch and cable plus one other (thanks Chris) bolted behind the front wing so no visible catches. I will leave the swage line in the door rather than filling it and use that as the break line for the bonnet.
On a dry run last night it opens to about 50 degrees, but would go to 90 it the car was run up 4" blocks.
Oh yes Hammy, the strut brace did touch the inner lining of the bonnet, until I cut it away. I think those braces are more show than go to be honest. The brackets at the end are very light gauge steel.
Hi Martini, not going to get too carried away with the interior. I have done a suspended headlining and some diamond pattern panels for the rear, but thats it.
Finally got a couple if hours in today.
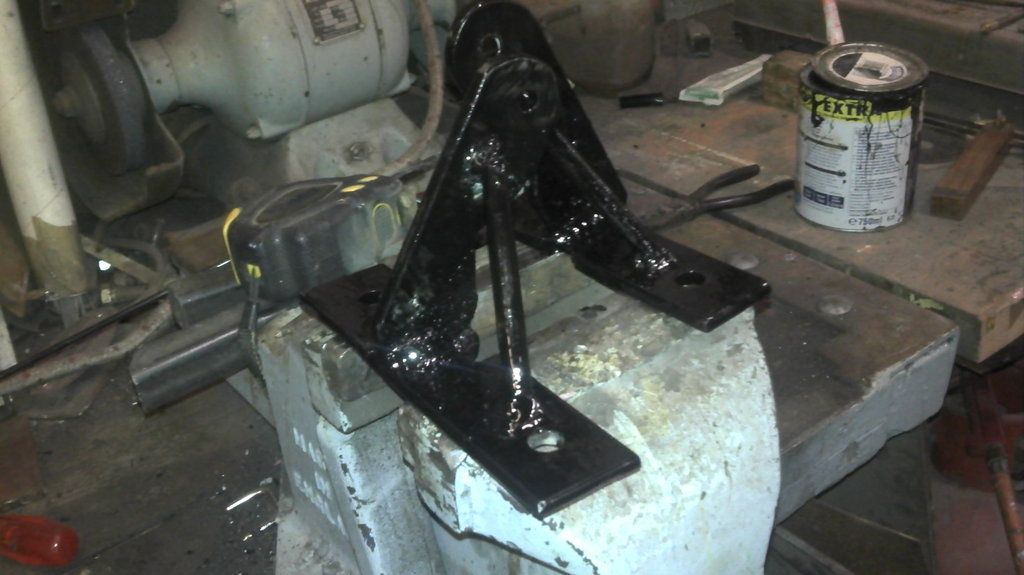
welded up the front brackets for the front frame and threw some paint at them. I also removed the frame and did the last upside down welds.
I also removed the remains of the front wings.
How to make a straight forward kit really complicated, bu

t I spouse thats me!!
Tried to prise the inner moulding from the bonnet, but the polyurethane constructional adhesive is well stuck, so I shall have to order another bonnet from Tribute!
[IMG]
[/IMG]
[IMG]
[/IMG]
Thanks Chris. I can bring down hinges, wheels etc too. Not sure which day, but sometime this week. Any headlight covers around?
Thanks,
Nick
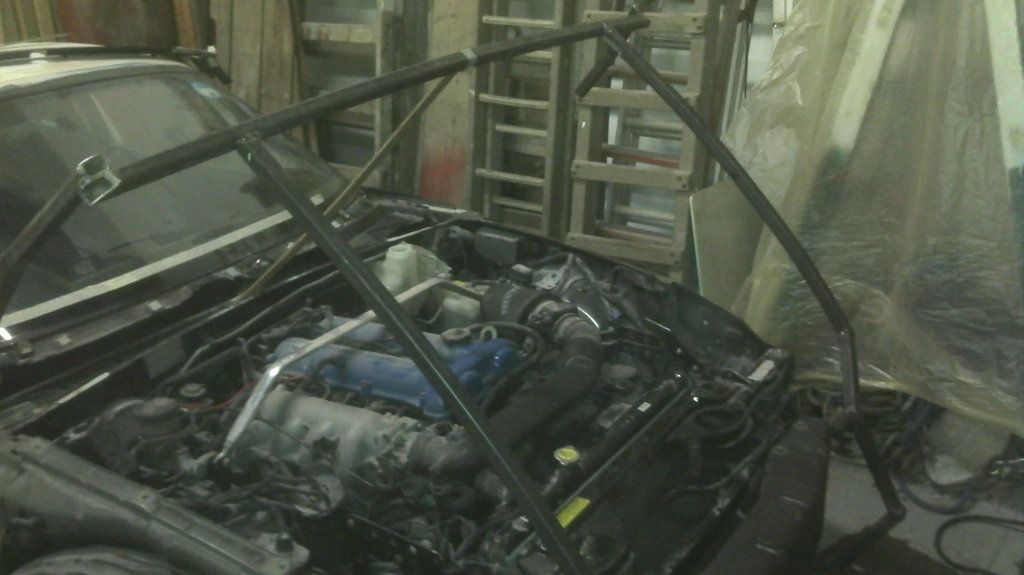
Finished off the frame this evening. Extended it back to near the screen to where One would lift it from. Added tabs on the front to bolt it to the ply gussets in the front of the shell. Finally added a couple of tabs at the rear, too which I welded 6mm studs. Onto these a cranked metal strip goes. Thus is glassed to the wing near the shut line on the door. The bracket is slotted so I can adjust the panel and shut line on the door.
[IMG]

[/IMG]
Thanks. Never really done car clubs...went to a Morris Minor rally years ago, and it was a bit weird....maybe because mine was modified. I like Goodwood, in fact I have a friend racing there on sat. Lots of escorts going sideways hopefully! Free entry. Thats a couple of car clubs.
Re wheels/tyres, both are 24 1/4", or 615.95mm to you nippers.
Ah well yes, on the mk 1 Mazda there is a handy line down the middle of the door which, if I was following Tributes instructions and building this kit as easily as it should be, and not complicating every bit of it.......I should fill in.
However, I am going to cut the front shell on a continuation of that (swage?) line and the lower part will stay fixed and the upper part will elevate, as they say in Trumpton.
I may chop it tomorrow..........

Also I have the hinge point very very low.
I have had a very exciting evening!!!!
Exclusive 'teaser' video to follow!

Heres one side of the bonnet catch done...[IMG]

[/IMG]
 [/IMG]
 [/IMG]
 [/IMG]
 [/IMG]