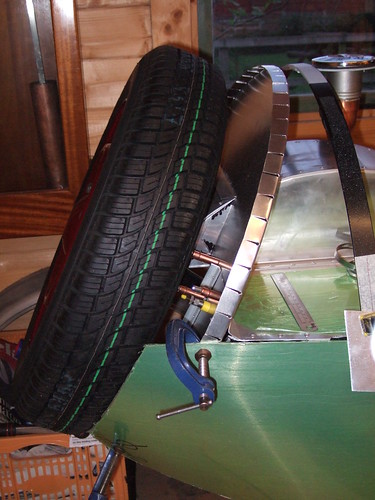
More progress! Trial fit of the first body panel. I spent a lot of time getting the floor right so it fitted without too much hassle.
 DSCF1912
 by
Robin J Martin, on Flickr
 DSCF1908
 by
Robin J Martin, on Flickr
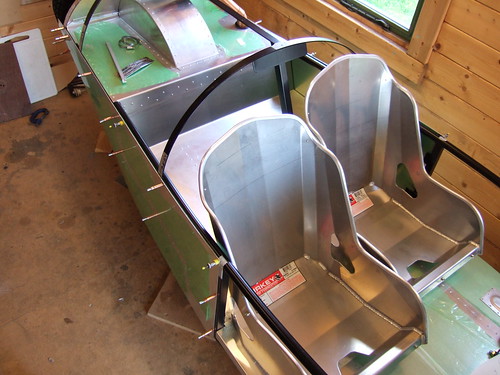
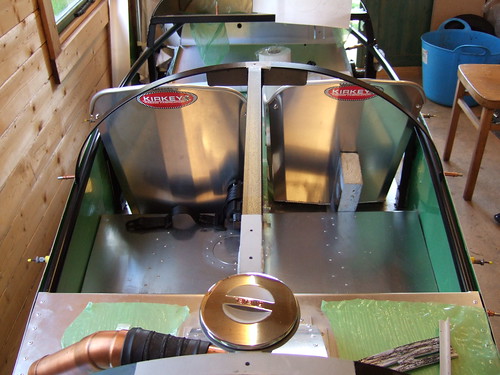
And I treated myself to some seats. The standard seating is a simple bench but, unless you have a passenger, it means that you slide around a lot. These should do the job. The plan is to stagger them so that the driver and passenger shoulders miss one another. All the way from Canada. And yes - I will be fitting some squabs...
 DSCF1914
 by
Robin J Martin, on Flickr
 DSCF1917
 by
Robin J Martin, on Flickr
Robin
Progress
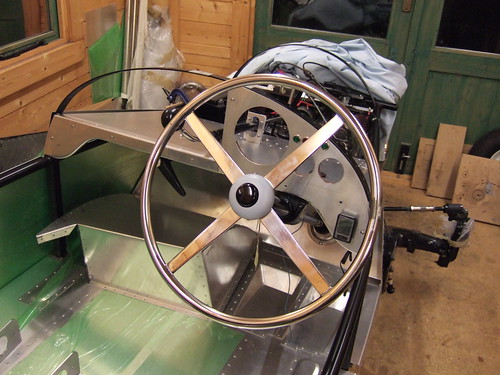
Quite a lot of progress in the last few months although it doesn't look it!
 DSCF1983
 by
Robin J Martin, on Flickr
More picture on Flikr!
Cheers, Robin
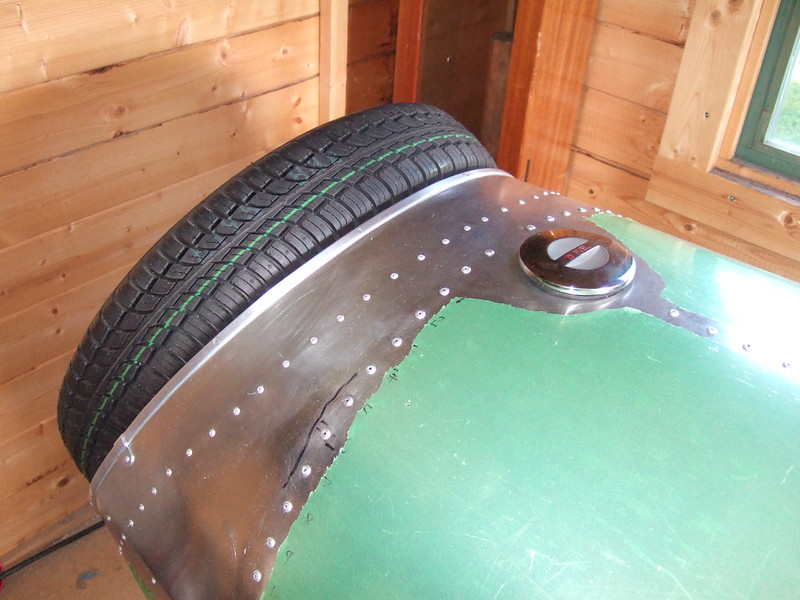
Well the rear is now pretty much complete. Just need to add the lights and then that's it. As you can probably see there were hundreds of rivets to set and, just to make it even more interesting, the rear top panel is also bonded with epoxy resin. The result is very strong!
That just leaves (bodywork wise) the dash top and bonnet to do. Light at the end of the tunnel at last.
Cheers, Robin
 DSCF2009
 by
Robin Martin, on Flickr
 DSCF2006
 by
Robin Martin, on Flickr
 DSCF2004
 by
Robin Martin, on Flickr
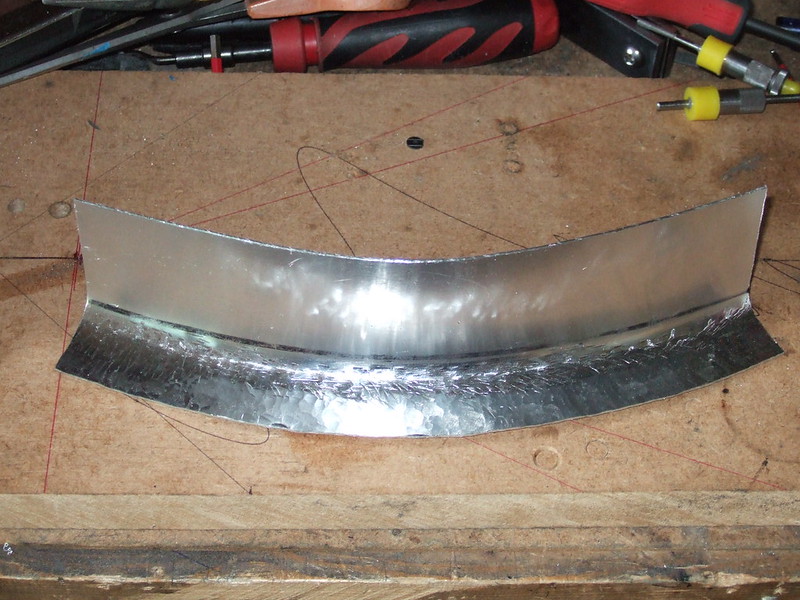
And some experiments in proper metal forming (needed for the dash top)
 DSCF2010
 by
Robin Martin, on Flickr
I am hoping to polish it if I have the patience ;-).
The edging is the same as used on the Morgon 3 wheeler. Fellow Pembleton builders used to have a source but unfortunately it seems to have dried up....
Cheers, Robin
Yes. 1 per cylinder. Good job it's not an m20 lol.
Robin
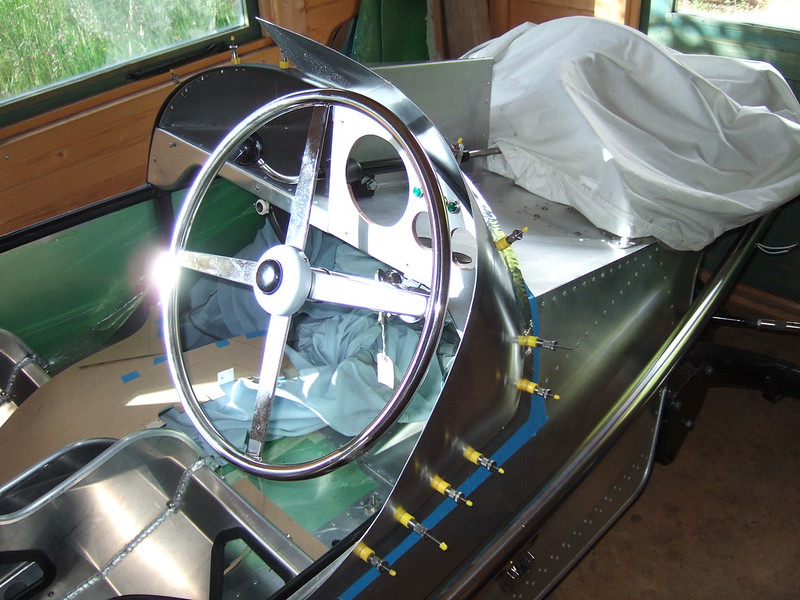
Some more progress despite the fact I have been also spending some time fault finding on the Sportster. I have made a prototype of the drivers side dash top, cowl - call it what you want. It's not bad for a first attempt although I will make it again now I have had some practice.
The flange that fits allong the dash hoop has to be stretched in order to get the shape. After evaluating various methods and tools I have used the old fashoined way of belting it with a hammer. Ok - so it's a special stretching hammer - but much cheaper than buying a proper shrinker/stretcher as used by some bodyshops. The marks left by the hammer will be hidden by the bonnet tape.
I have shaped the cowl in such a way that it covers the steering wheel thus hopefully preventing hands getting too cold. bending it in such a way means it is suprisingly strong. Even so I will be re-inforcing the edge with a U shapped ali trip strip.
Cheers, Robin
 DSCF2028
 by
Robin Martin, on Flickr
 DSCF2026
 by
Robin Martin, on Flickr
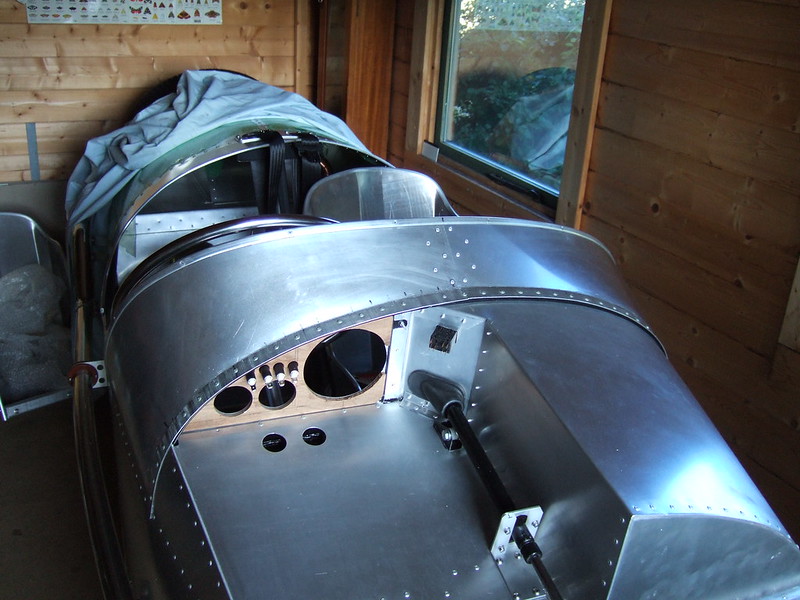
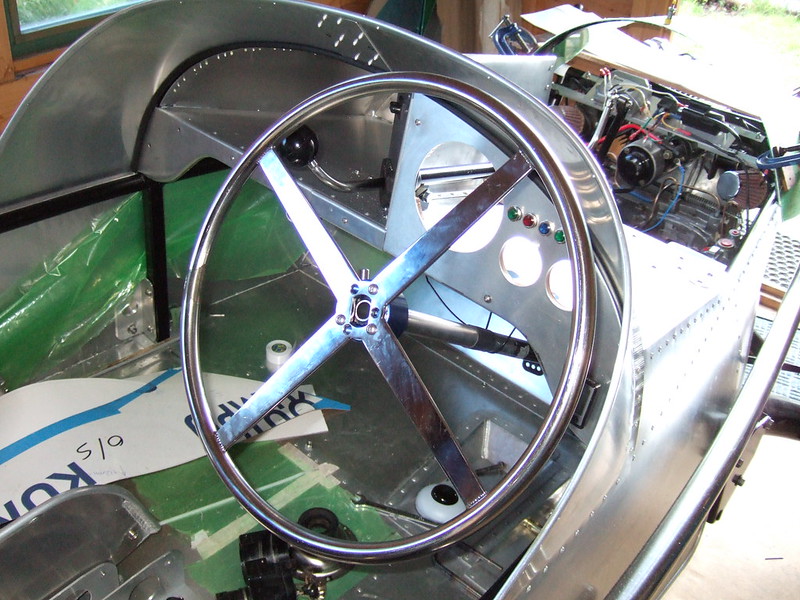
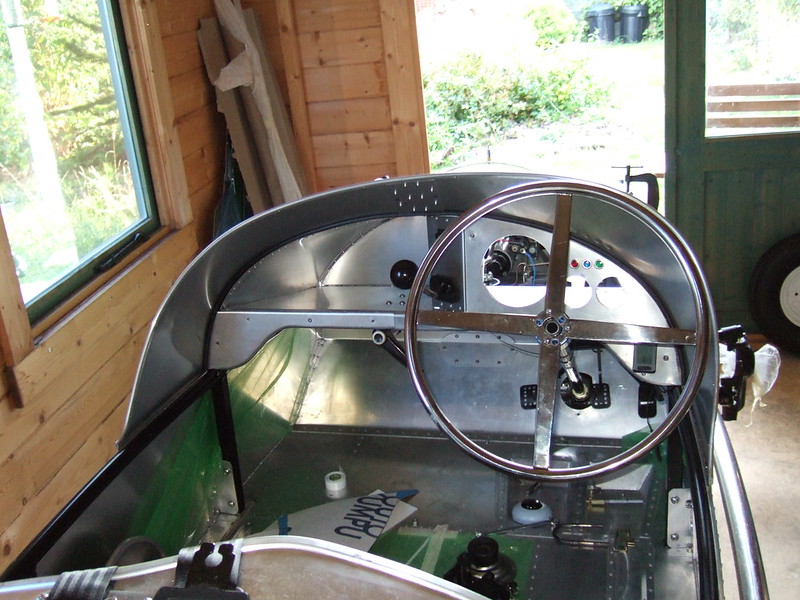
I have completed the scuttle top. In the end I gave in and bought a shrinker/stretcher to make the flange. And to answer my wife's question (lol) yes it is supposed to be asymetric! The offside has been modified to follow the outline of the steering wheel.
 DSCF2037
 by
Robin Martin, on Flickr
 DSCF2050
 by
Robin Martin, on Flickr
 DSCF2038
 by
Robin Martin, on Flickr
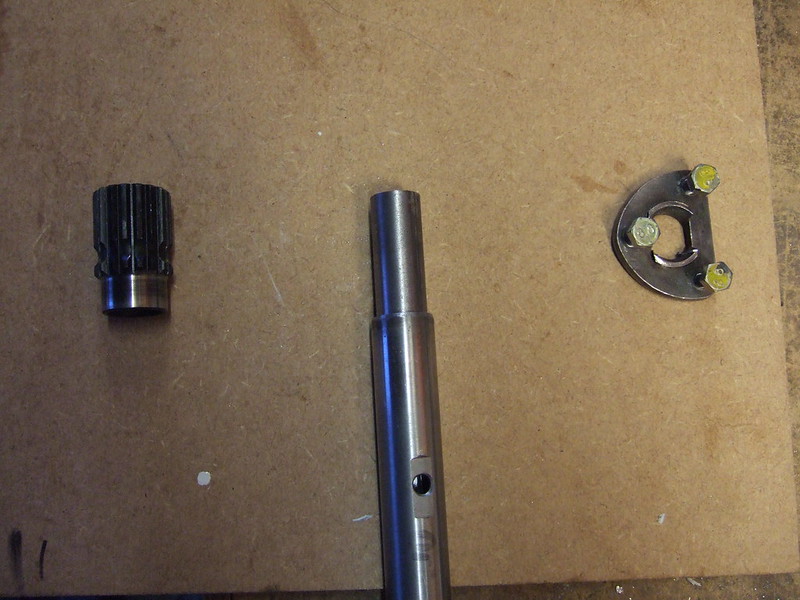
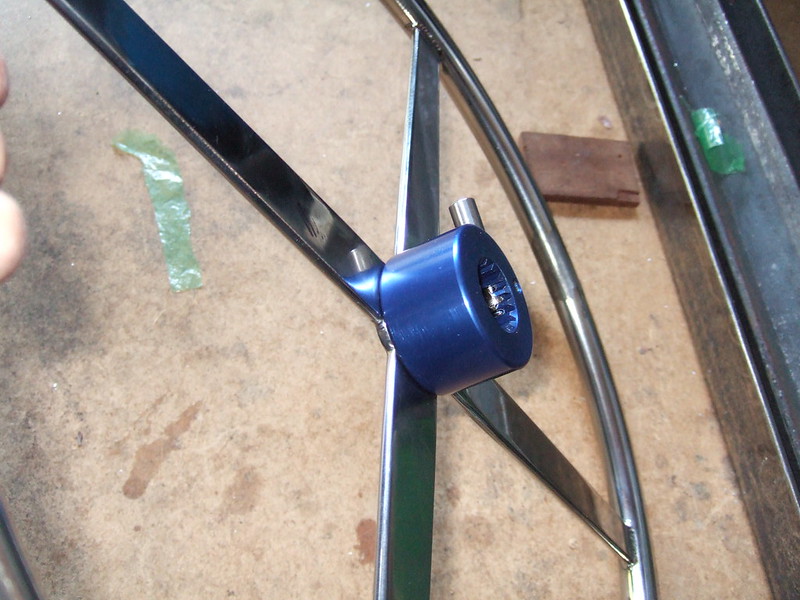
I have also added a quick release mechanism to the steering wheel as, with my chosen seats, getting in and out was proving a bit tricky!
 DSCF2055
 by
Robin Martin, on Flickr
 DSCF2041
 by
Robin Martin, on Flickr
 DSCF2043
 by
Robin Martin, on Flickr
Just the bonnets to do now and that just about completes the bodywork. Light at the end of the tunnel!
Cheers, Robin
Thanks for the encouraging words Paul :-). No the bracket is made from a bit of galvanised steel I had hanging arround the workshop. Hence the funny colour!
Cheers Robin
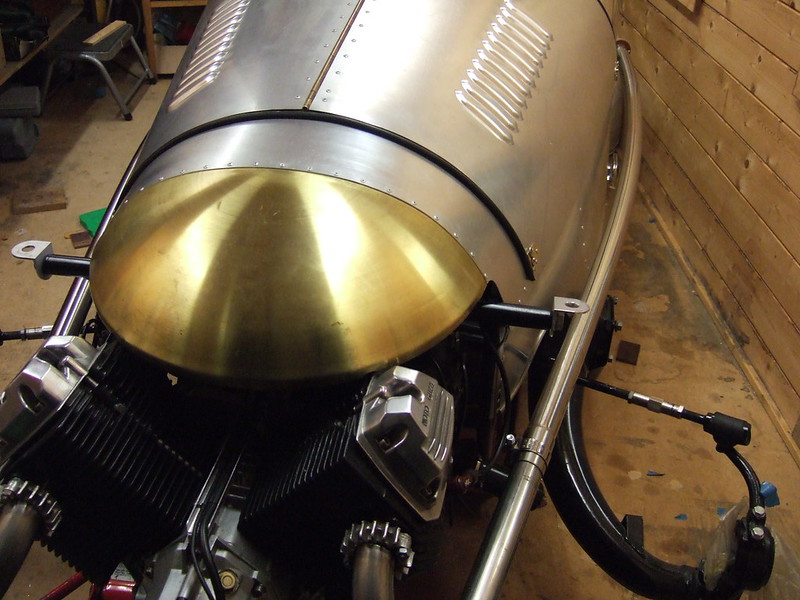
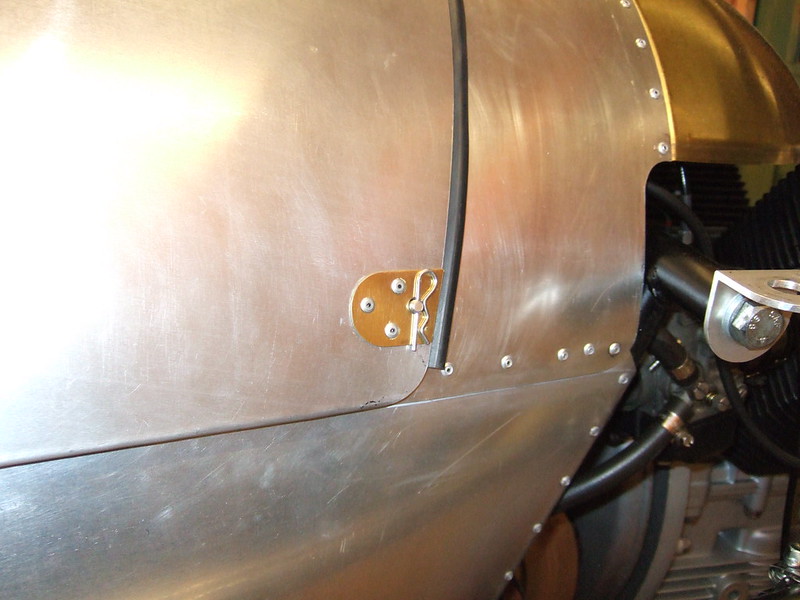
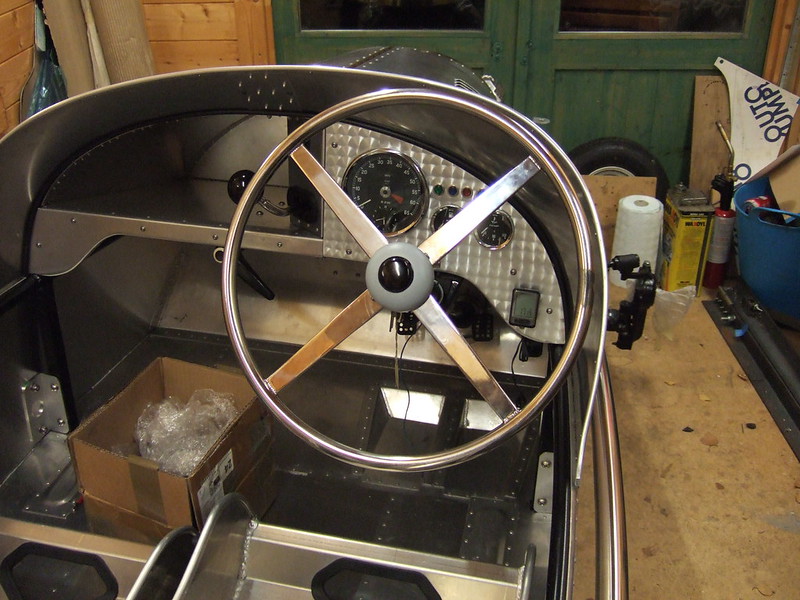
Bodywork complete excpet for the cycle wings. Not long now.... (90% complete and 40% left to do :-) )
 DSCF2068
 by
Robin Martin, on Flickr
 DSCF2062
 by
Robin Martin, on Flickr
 DSCF2073
 by
Robin Martin, on Flickr
 DSCF2072
 by
Robin Martin, on Flickr
Cheers, Robin
Thanks Mike.
Middle of next year I hope if I don't pontificate (fart arround) too much...
It actually requires an MSVA (Motorcycle Single Vehicle Approval) test as it qualifies as a heavy trike. Much less onerous, although it still has the infamous radius test, and far cheaper :-)
Cheers, Robin
Fitted the wheels this weekend. Not quite so simple as it sounds as the wheels and hubs are combined. The wheels are made by Pembleton by machining down the 2cv hubs. Makes for a very low unsprung weight which should contribute towards the handling. Riding a bit high at the moment....
 DSCF2074
 by
Robin Martin, on Flickr
Robin
Mudguards
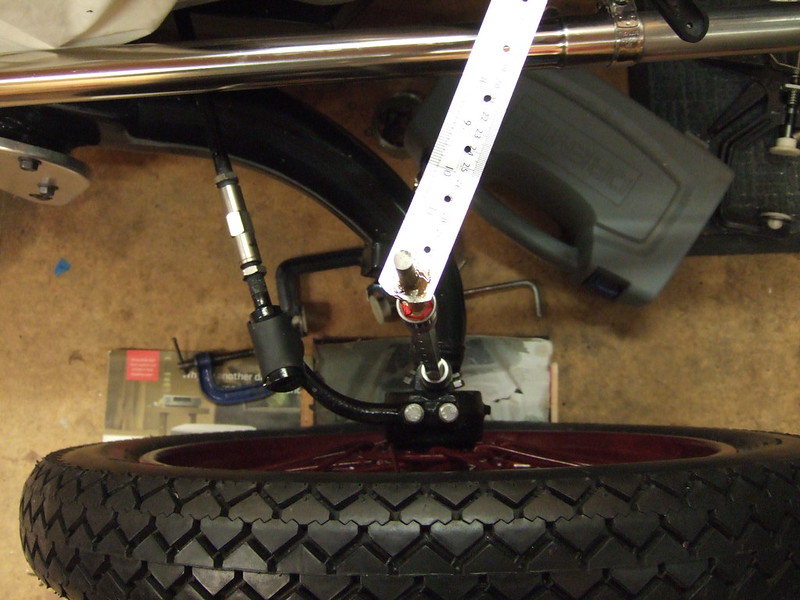
I am trying to do something clever to support the mudguards as they rotate. They are very light being made of aluminium - much lighter than the Marlin. Even so I want to design out the bouncing up and down I get on the Marlin.
So I have been doing some experimentation trying to find the rotation centre by extending the line of the king pin up to the top of the tyre..
 DSCF2078
 by
Robin Martin, on Flickr
 Dscf2079
 by
Robin Martin, on Flickr
Looks a bit Heath Robinson but I think it's done the trick.
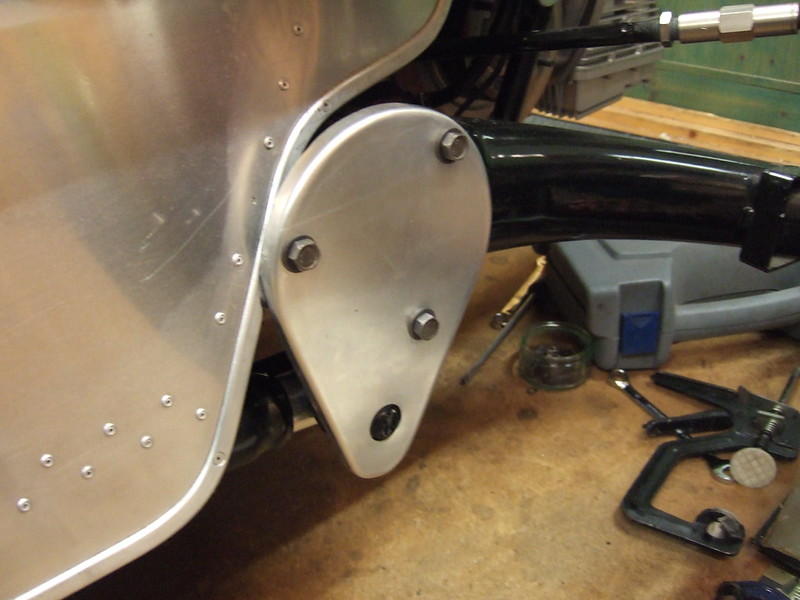
I also made some MSVA friendly covers for the ends of the suspension arms.
 DSCF2081
 by
Robin Martin, on Flickr
They clear the bodywork by at least 2mm....
Robin
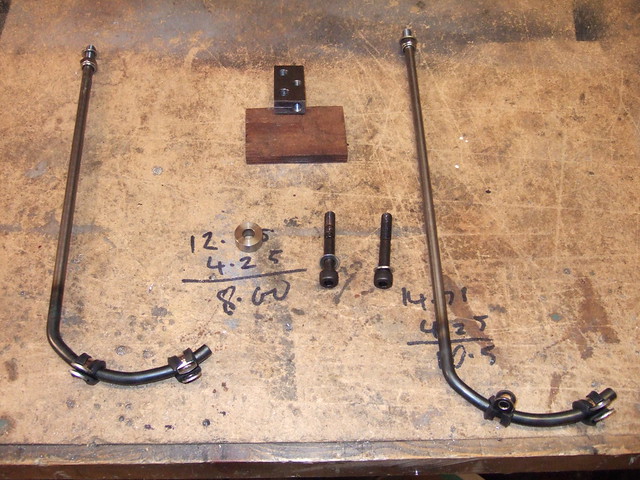
Having considered a few options for the wing stays I finally decided to make my own. I wanted a design that was light and stiff. didn't require any welding (in my experience welding is nearly always the weak spot of any wing stay), was easlily adjustable and didn't cost a fortune.
After a lot of head scratching I came up with this. It fulfills most of he requirements! There is a tiny amount of "woibble", but far less than the Marlin and it cost less than a tenner!
 DSCF2096
 by
Robin Martin, on Flickr
 DSCF2100
 by
Robin Martin, on Flickr
Cheers, Robin
Electrics next!
A bit off topic but just bought a new toy....
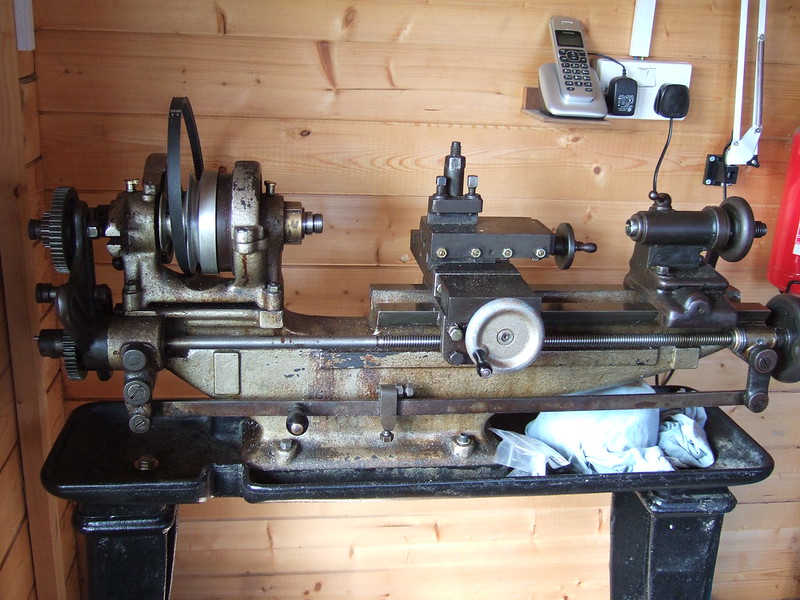 DSCF2103
 by
Robin Martin, on Flickr
It's very old but the bed and leadscrew are both in good order. I have to fettle it a bit before it becomes operational - it needs a mounting divised for the motor and countershaft both of which were fixed to the wall of workshop of the previous owner. Once it is up and going I plan a rolling restoration to get it back to its former glory.
Cheers, Robin
Not a lot of updates recently but the car is now close to complete. (Well closer...).
Here are a few pics of the electrics and the final arrangement for the front cycle wings.
Fuse and relay box at bootom of glove box
 DSCF2115
 by
Robin Martin, on Flickr
Everything connected with multi-way plugs
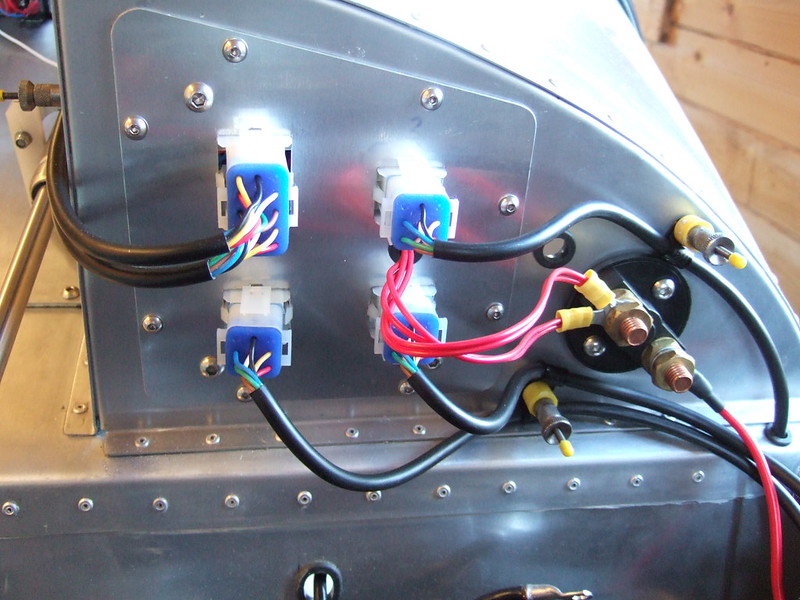 DSCF2109
 by
Robin Martin, on Flickr
Dashboard. Ballast resitors are to compensate for LED indicators
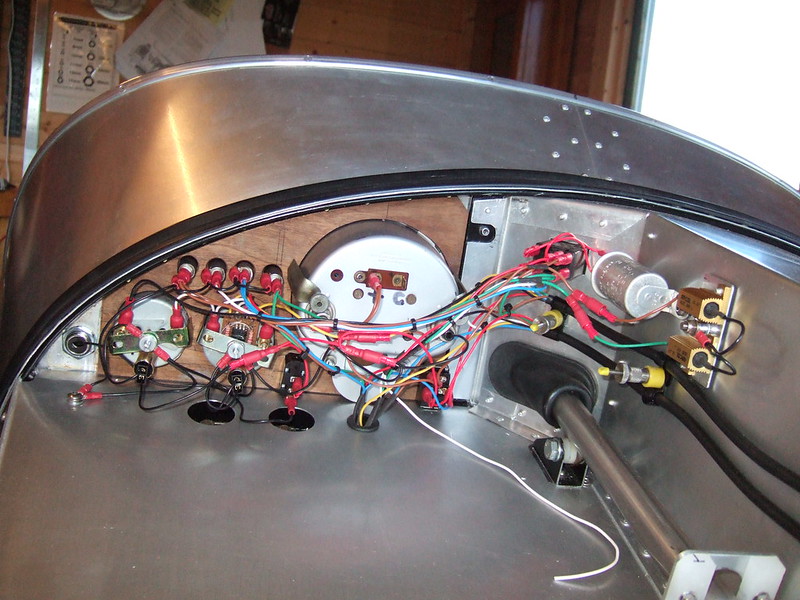 DSCF2107
 by
Robin Martin, on Flickr
Engine electronics - a bit simpler than the Marlin
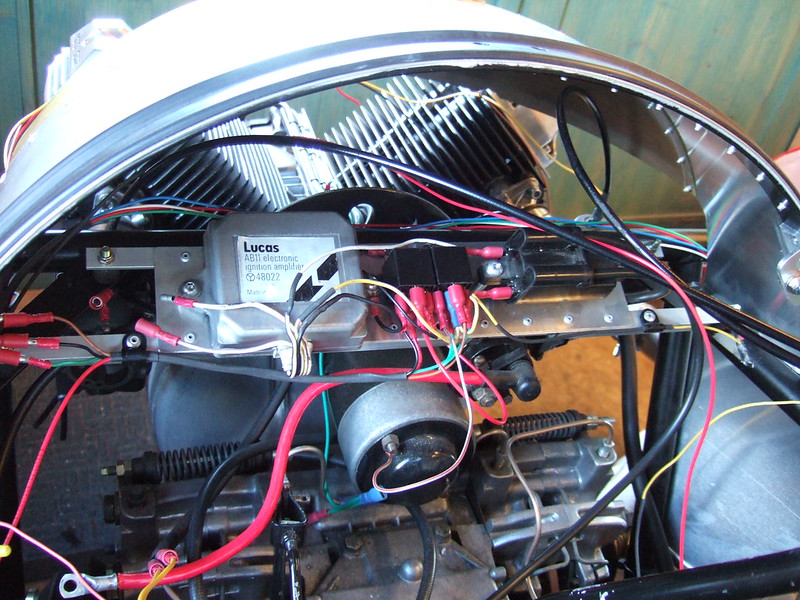 DSCF2111
 by
Robin Martin, on Flickr
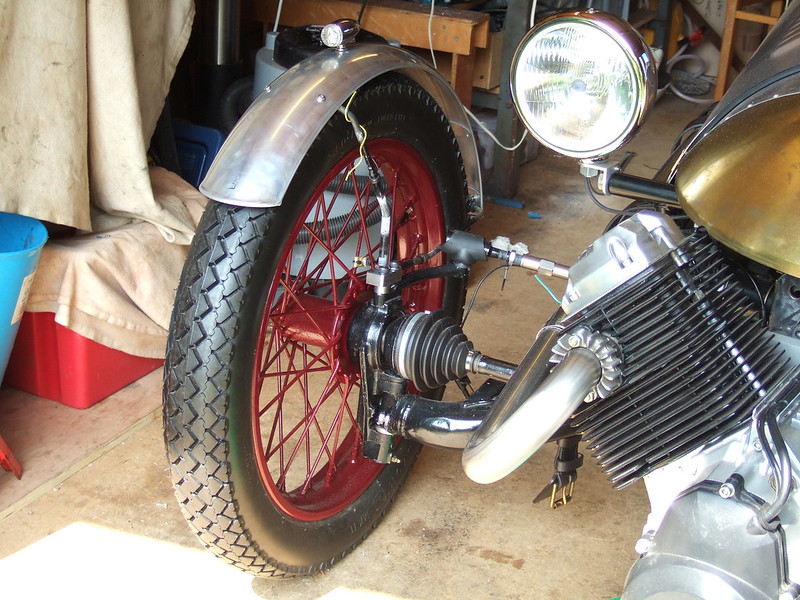
Front cycle wings. Considerably more stable than the Marlin
 DSCF2117
 by
Robin Martin, on Flickr
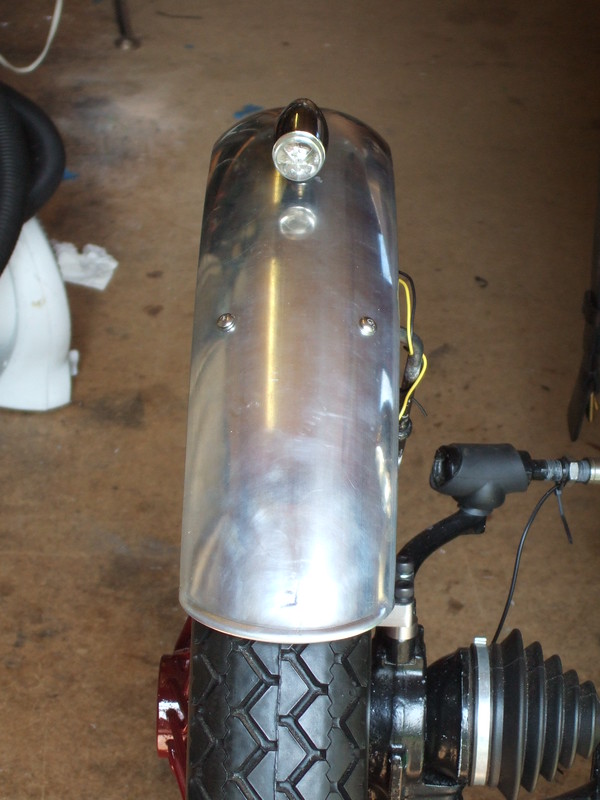
Cool LED indicators (cheap as well!)
 DSCF2118
 by
Robin Martin, on Flickr
Robin
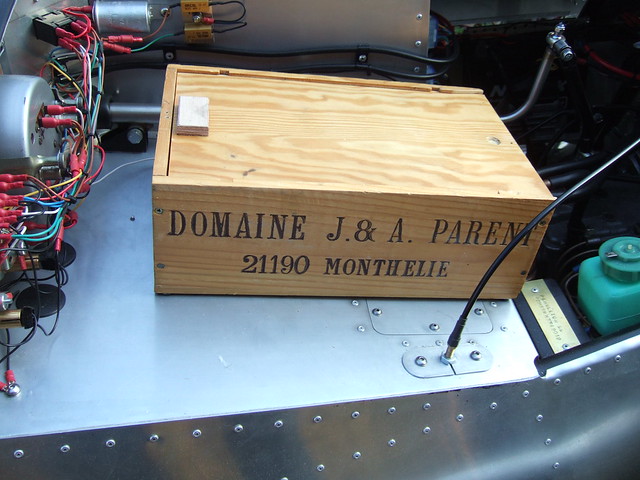
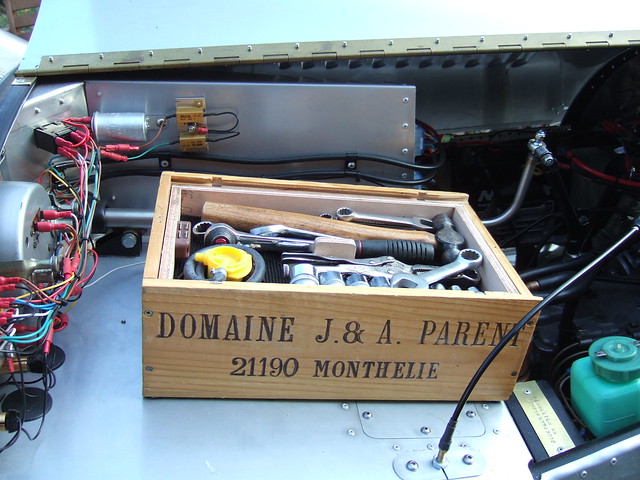
Almost ready for the MSVA and an alternative use for an old wine storage box...
 DSCF2135
 by
Robin Martin, on Flickr
 DSCF2136
 by
Robin Martin, on Flickr
 DSCF2137
 by
Robin Martin, on Flickr
MSVA passed today - yeay. A few pictures to follow shortly....
Robin
Alas I am elsewhere that weekend.....
Robin