This is a read-only archive of the old Madabout Kitcars forum. New posts and replies are no longer possible, but every thread is still here to browse and read.
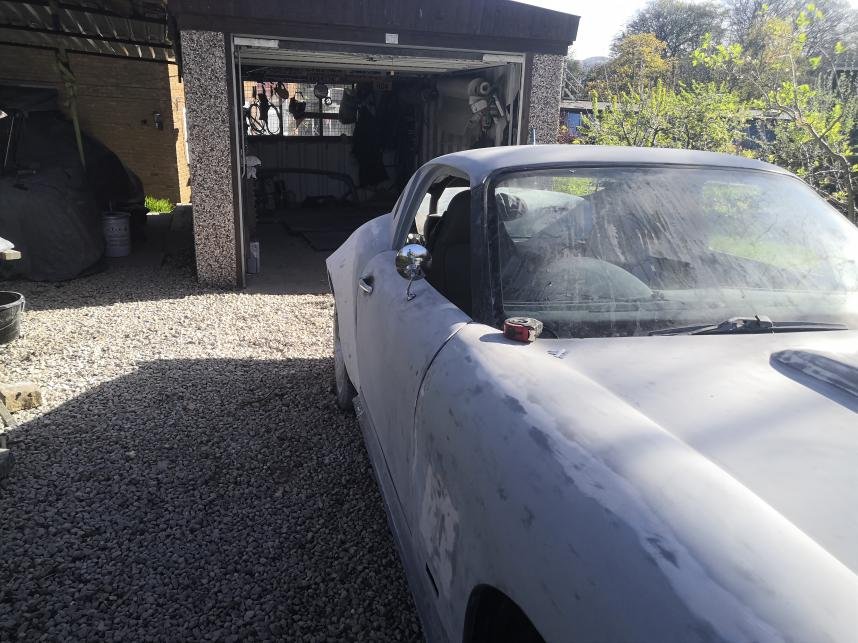
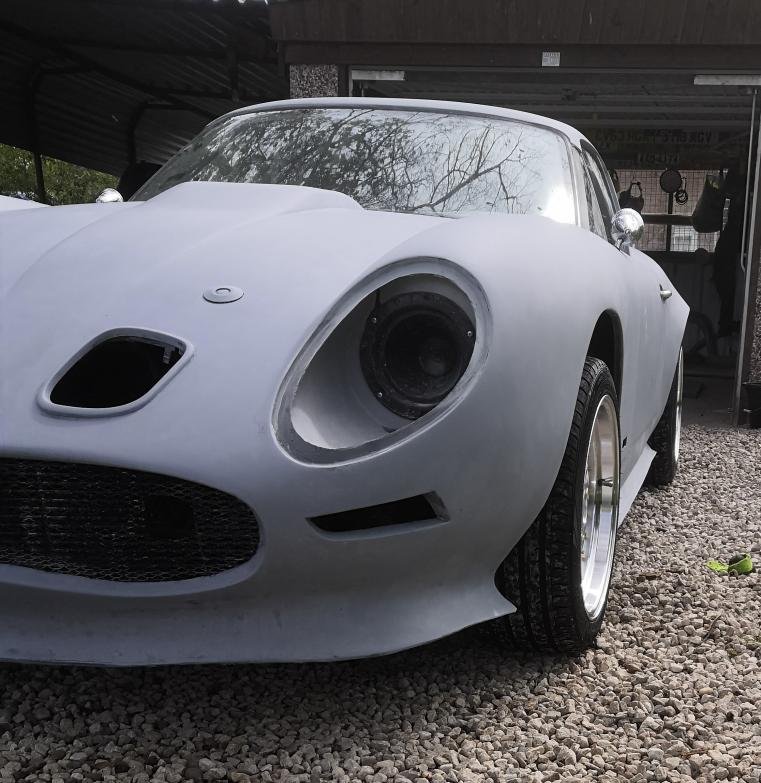
found My mojo my last build had a trim and cut to remove any likeness to other vehicles and has been parked a while, I seem to have some time on my hands so the garage door is open again and I needed to get out the house . after watching the ford v f film it inspired me to get out the hack saw and cut away
.
watch this space ...remember big brother is always watching you and he is a spoilt tw__t this is my BMW HB kit
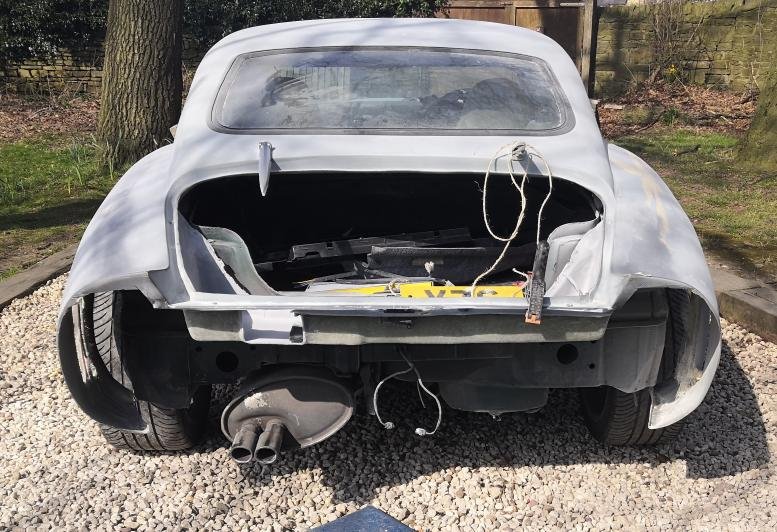
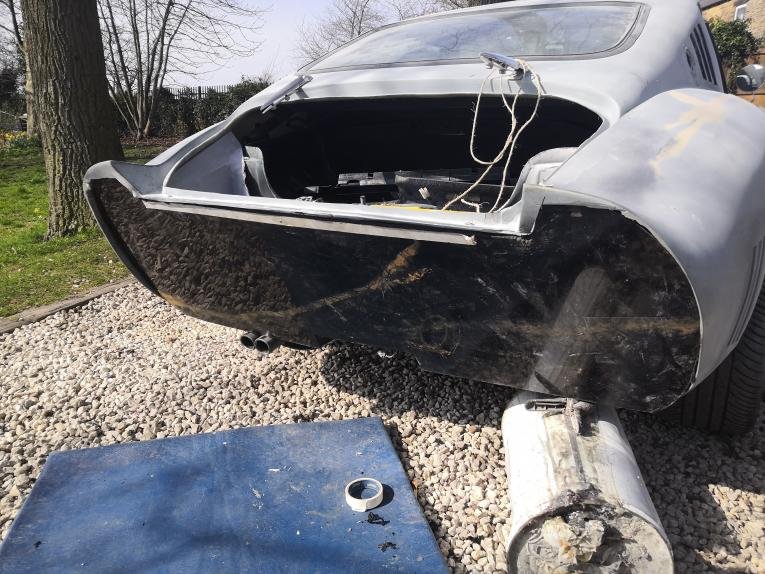
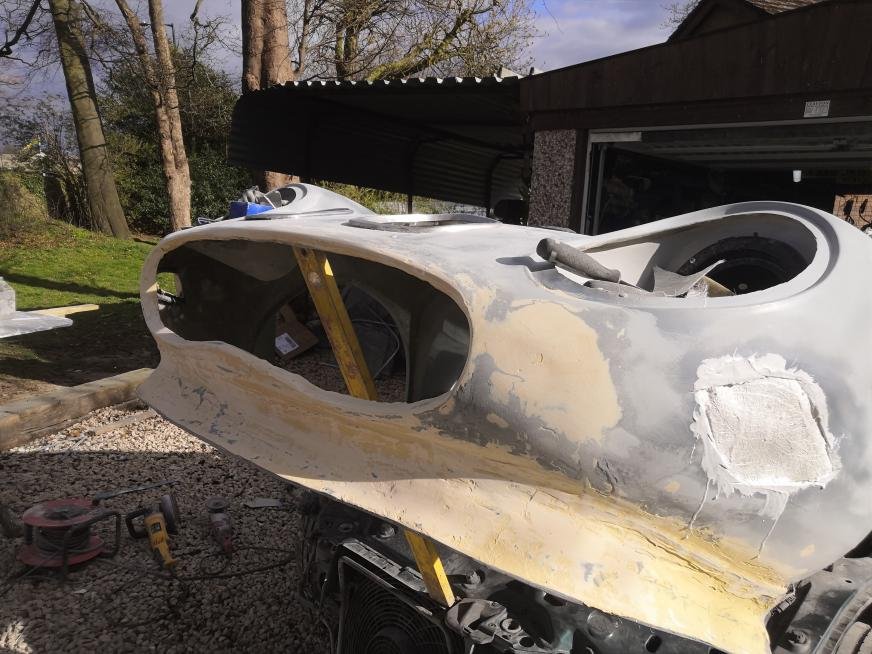
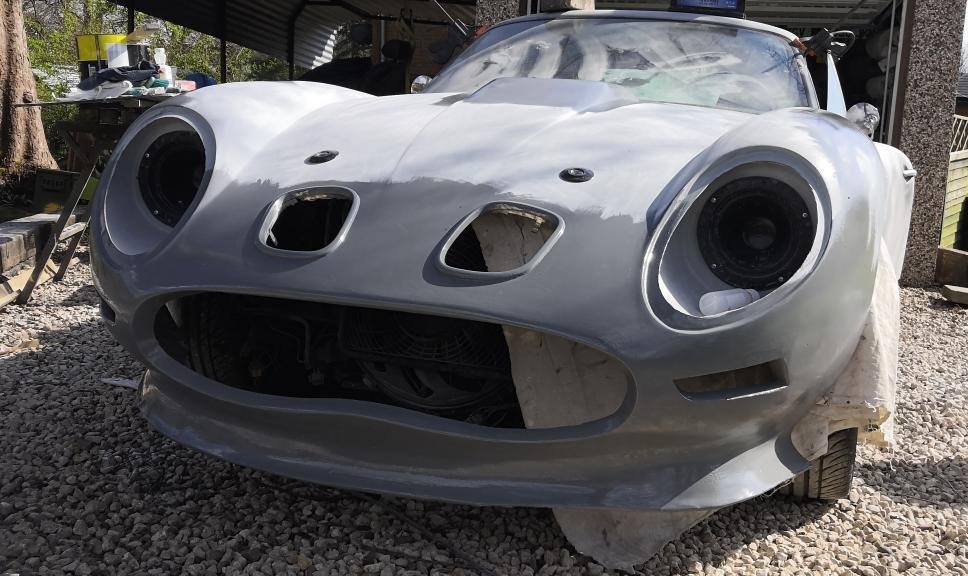
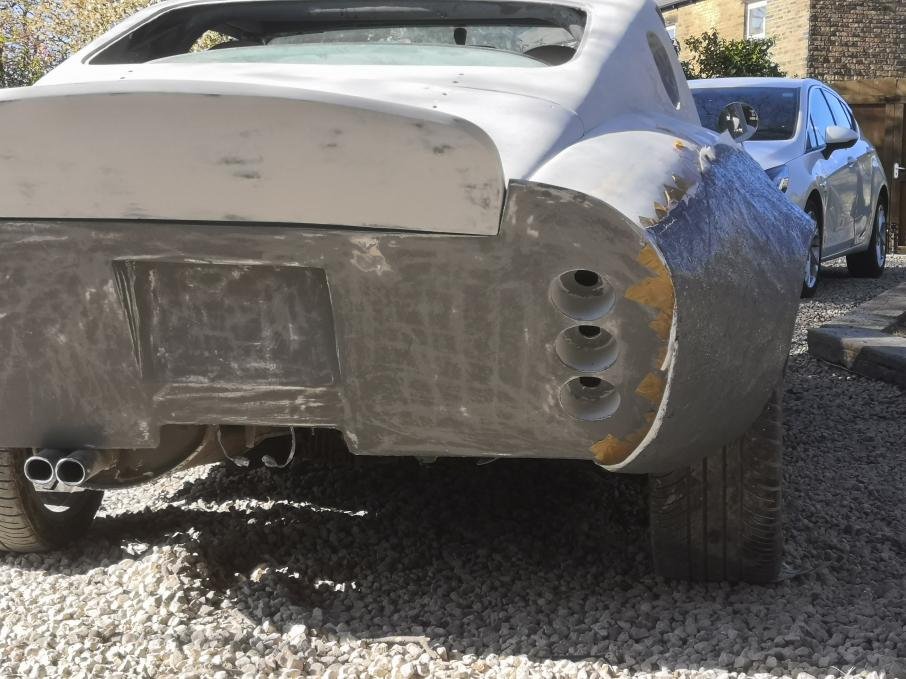
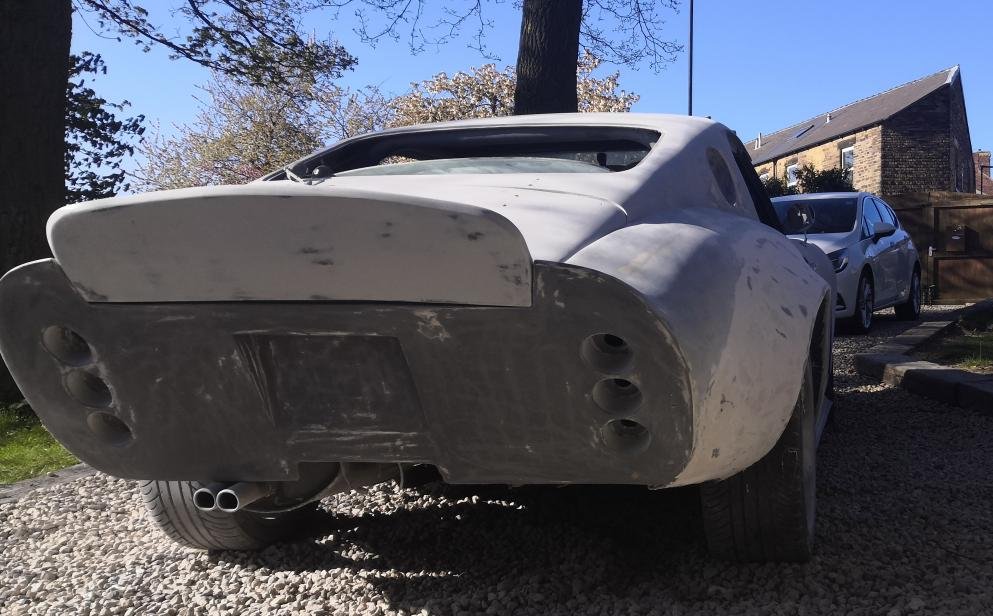
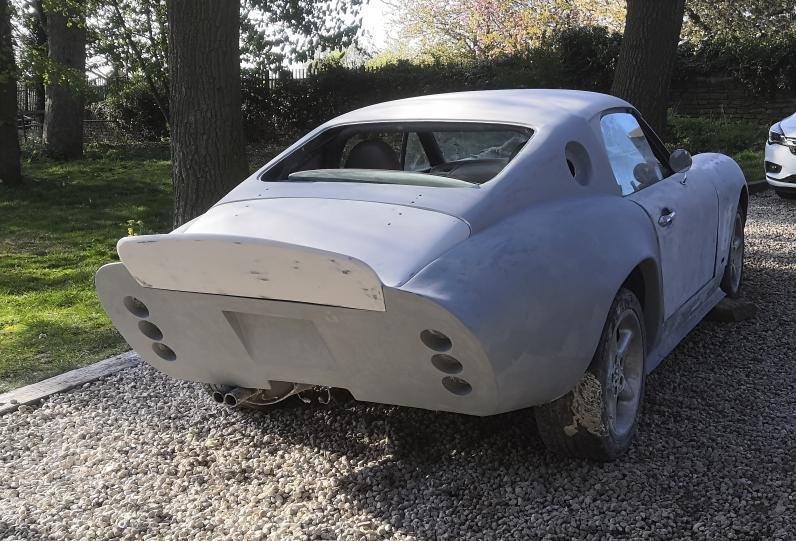
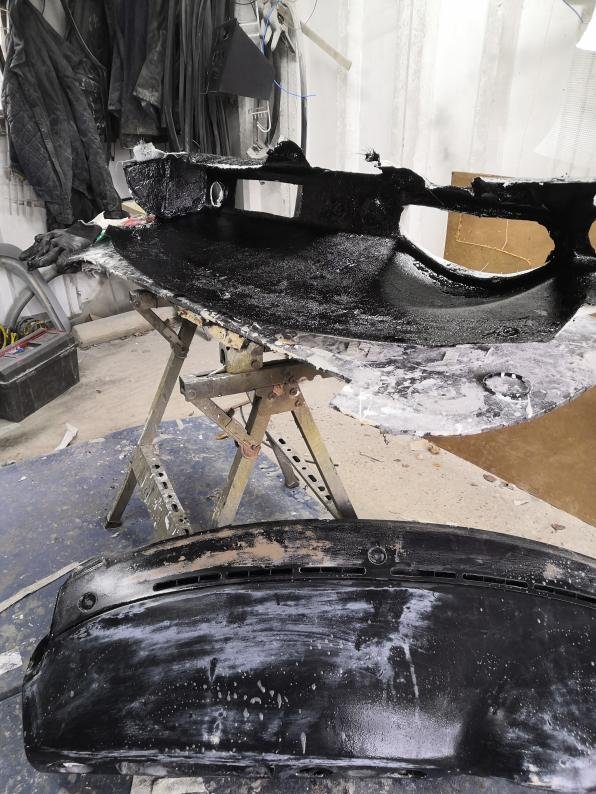
complete makeover new front and back design that should give me a one off in the end not that it wasn't perfect to start with. new back end in the making luckily I had some chunky plastic to make a template
from the first pic of the body cut this this one was a week of filling and sanding
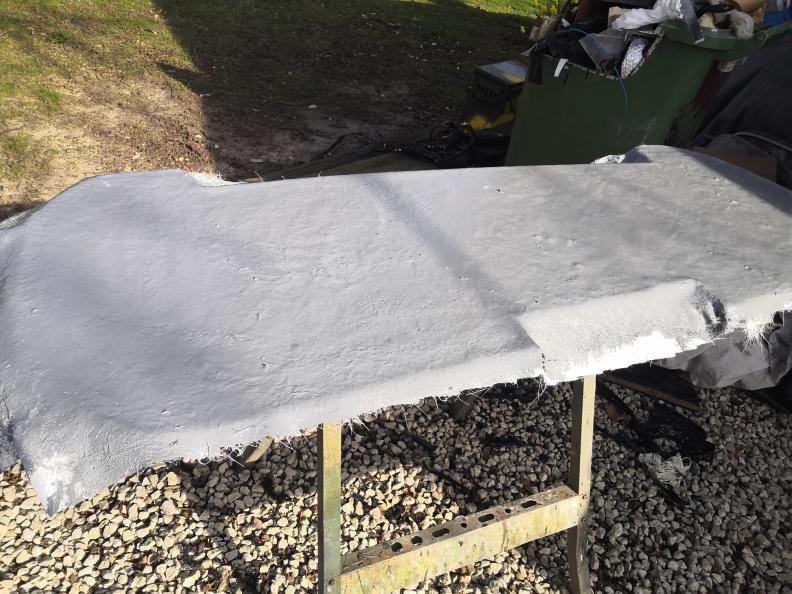
new boot lid in the making
take my hat off to chris and dan getting a good finish that is also strong is harder than you think.
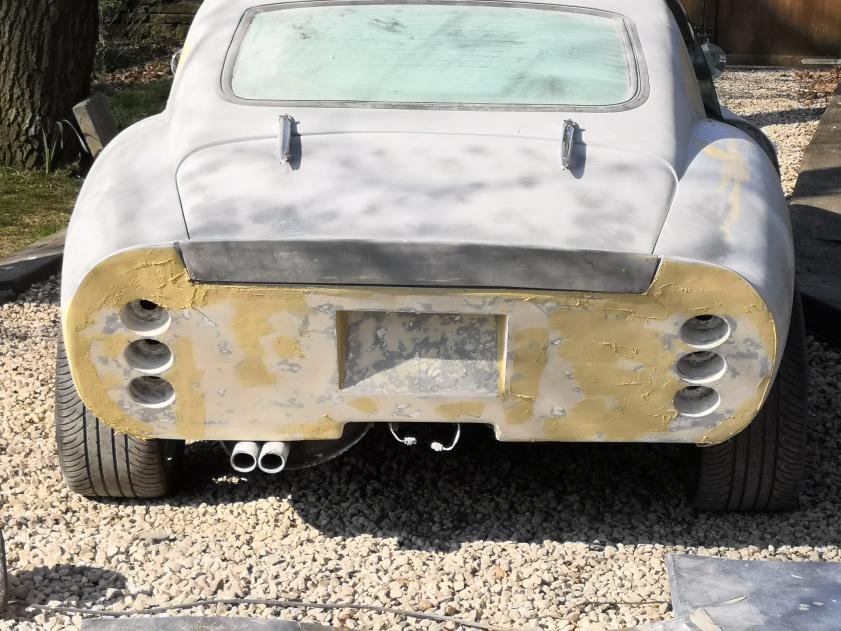
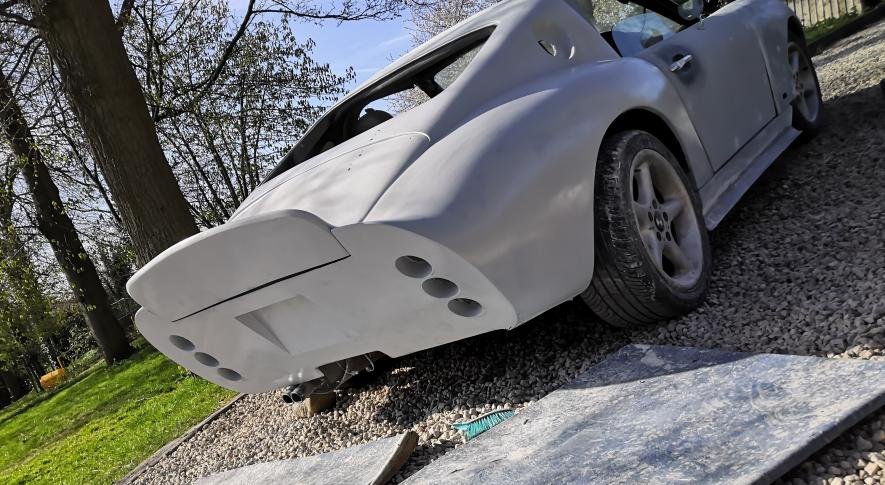
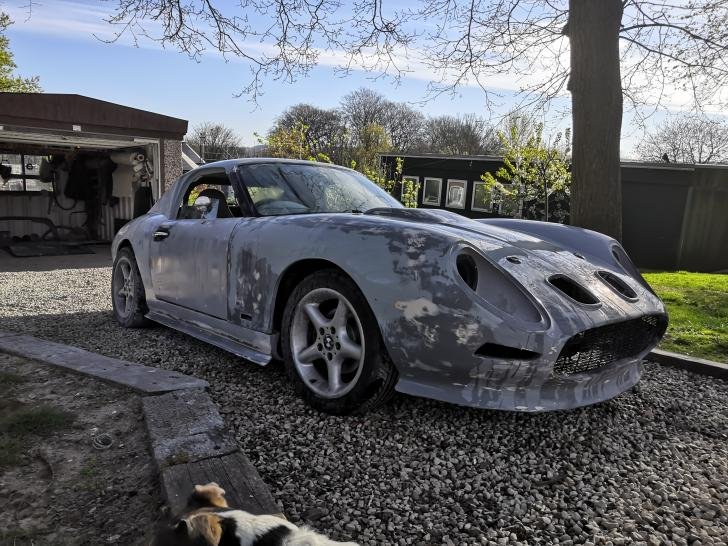
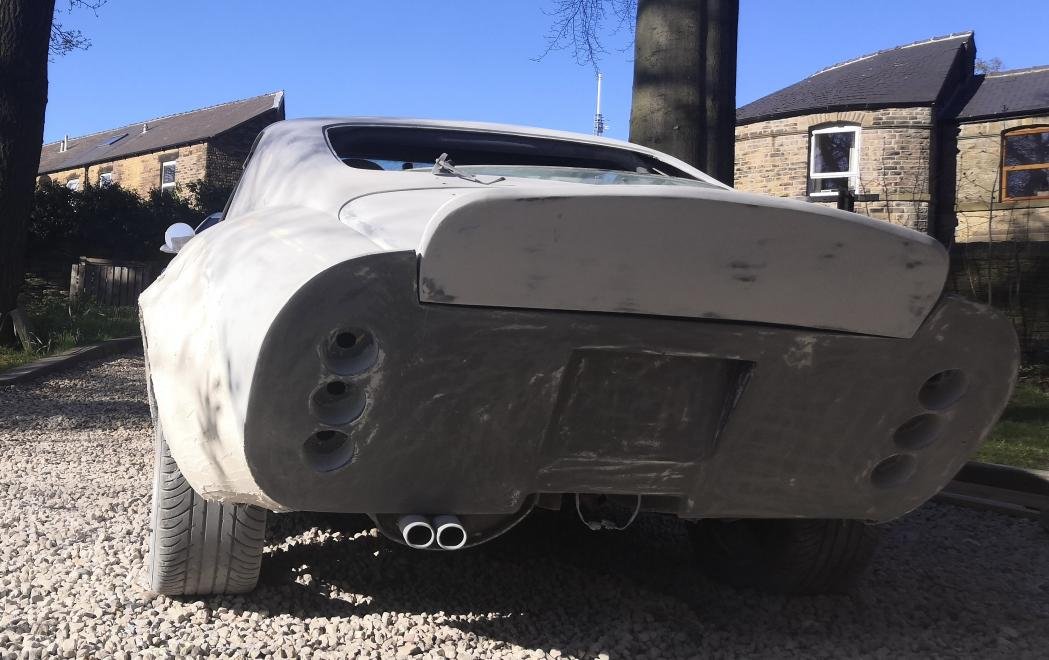
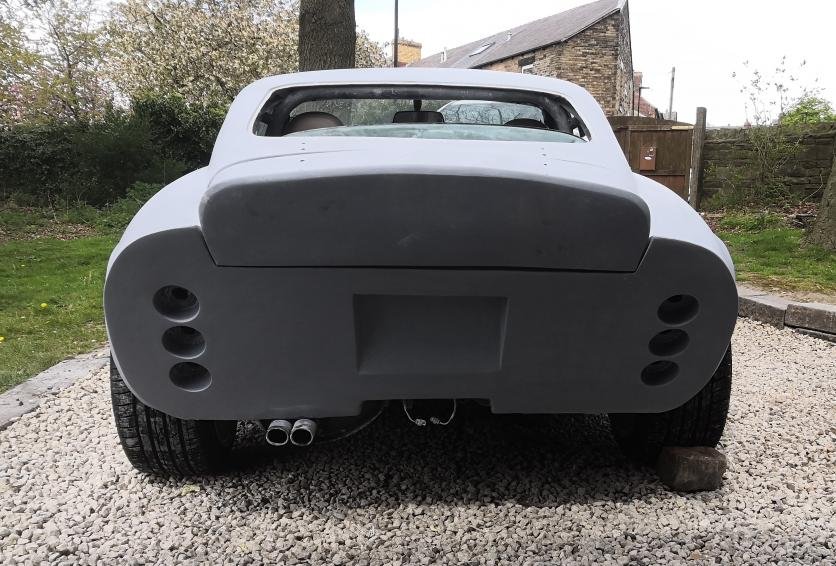
back end of the car now looks like this still work to do but getting there
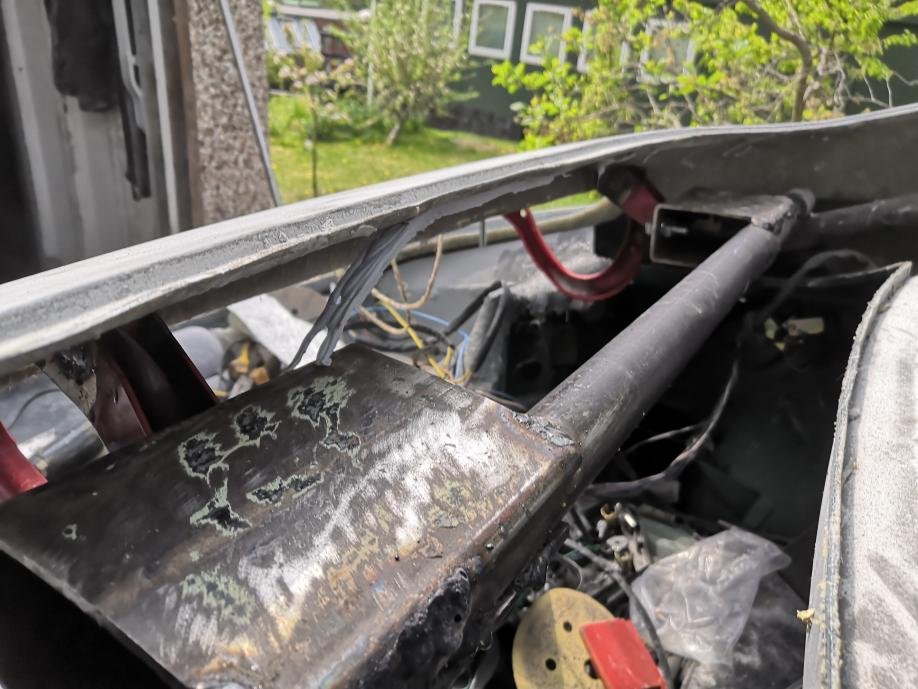
boot hinge has snapped so I now need to work on some hidden hinges I think rather than the old style chrome ones . now that's going to be a pain.
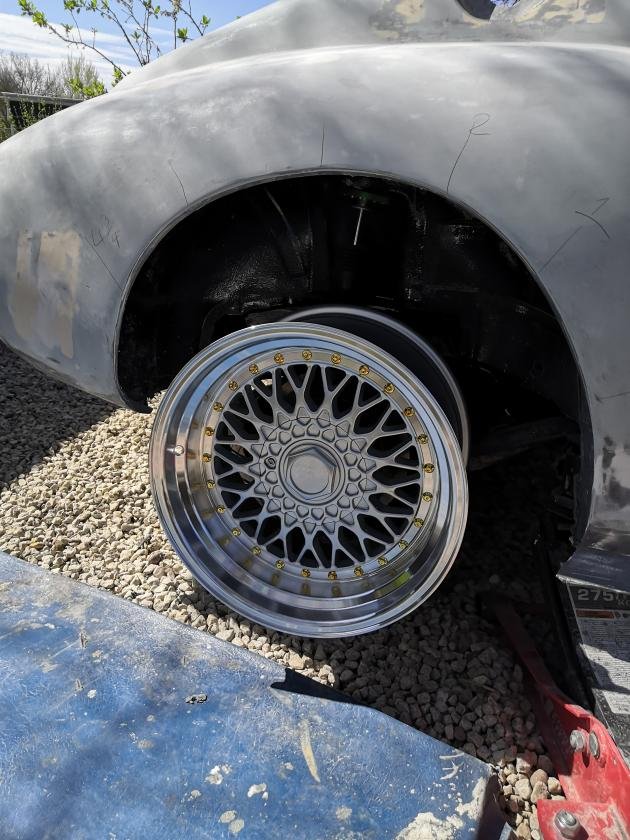
wheels on order 10" rears so there could be some other body mods
Attachment “s-l500.jpg” from the original forum could not be reliably recovered.
dropped an absolute bollock today today part way through using primmer run out and opened fiberglass topcoat and used it on the car if it drys I will get away with it . if not whole world of pain sorting it such is life
Zgt on order better get a move on lol
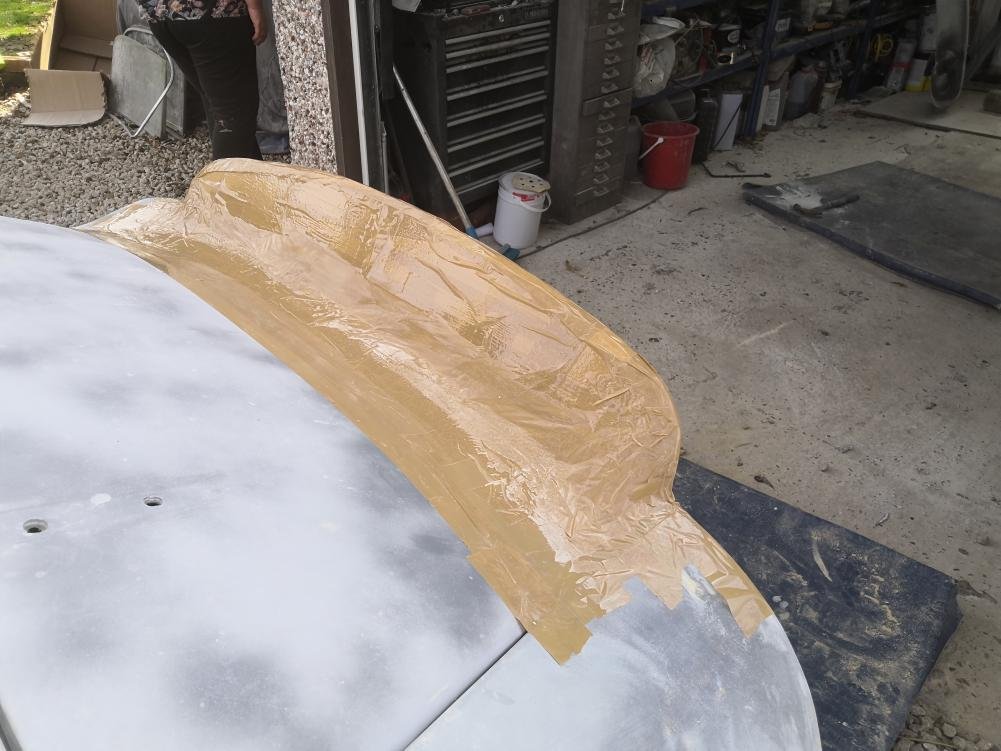
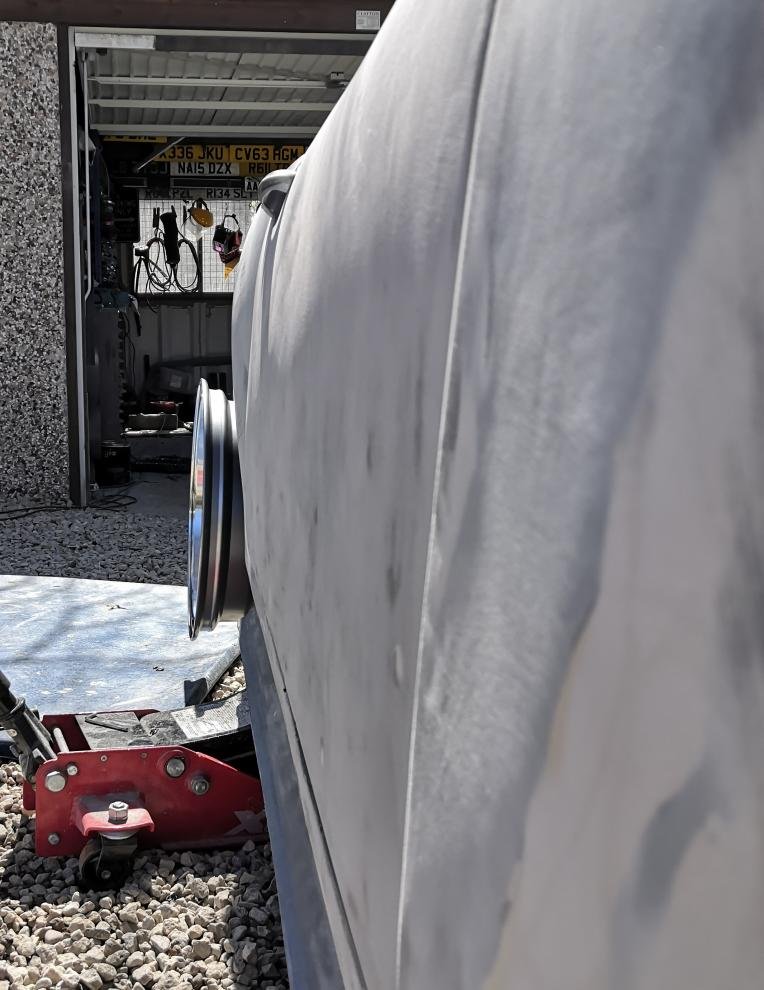
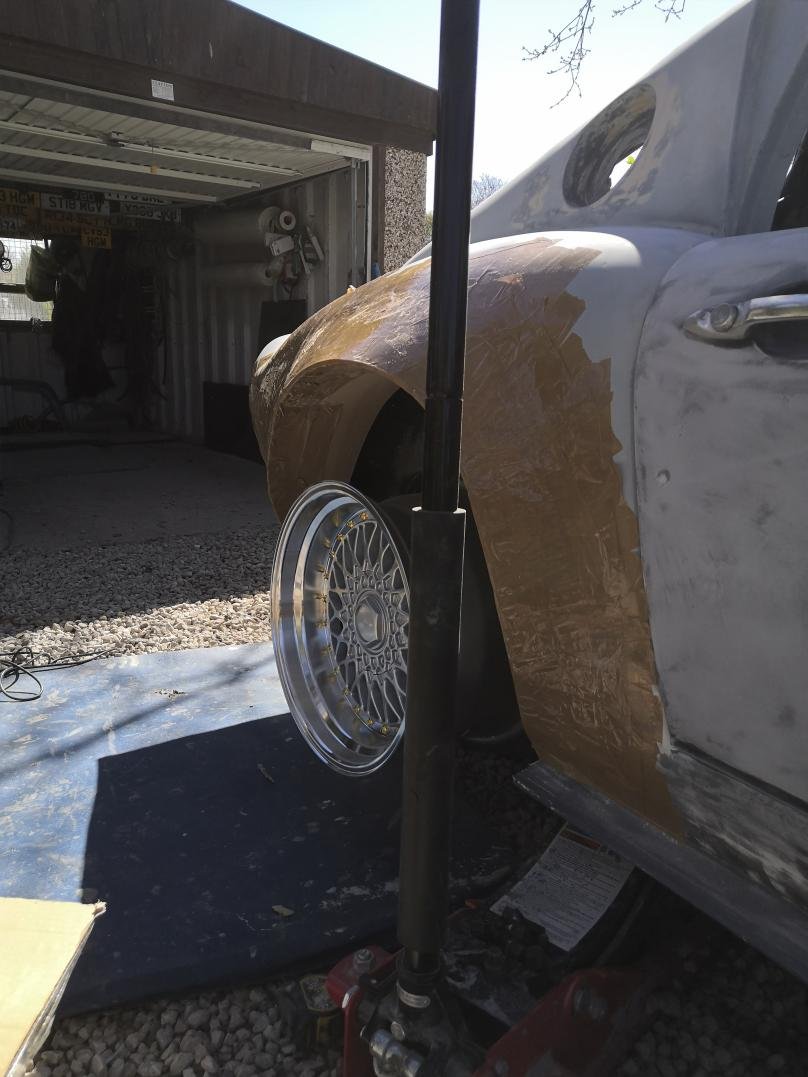
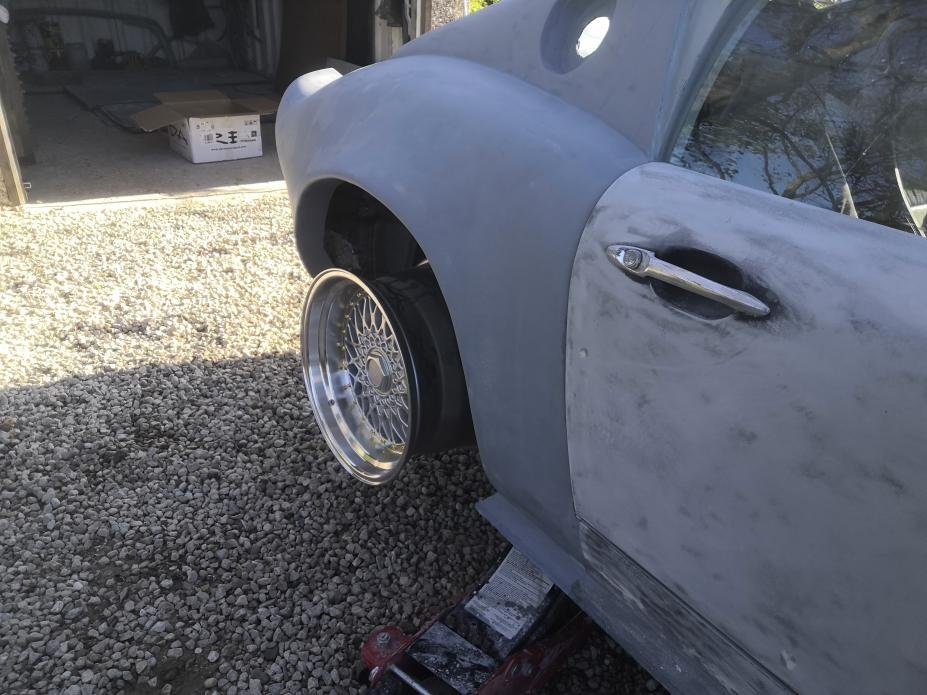
Well I was right about needing to body mods for the new wheels I did not expect it to be a complete make over again. The measurements around the arch were how much I needed to bring it out. guessing front will be the same going from 7.5j to 9j ...can tell I watched blue peter as a kid nice bit of parcel tape used
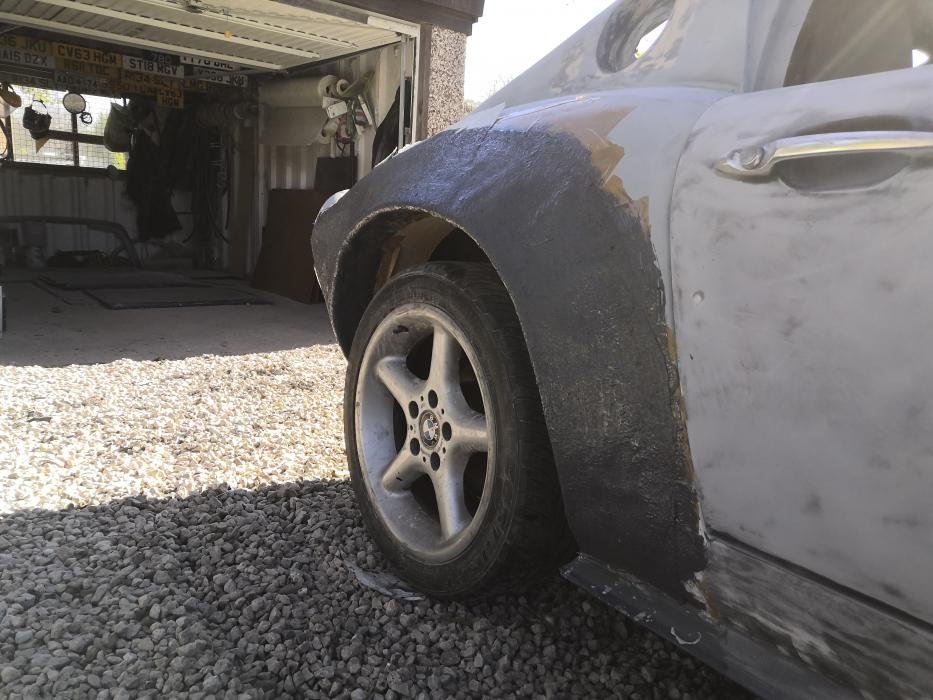
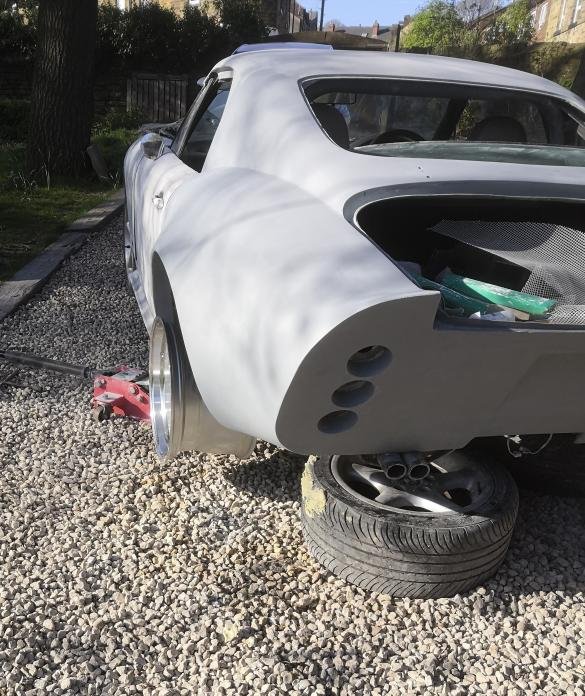
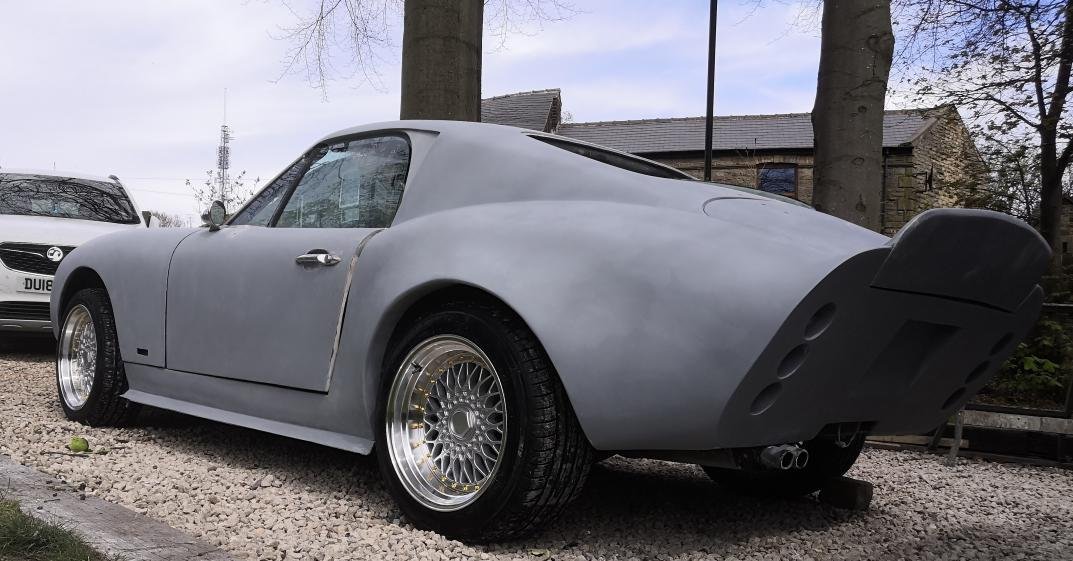
bit more progress both rear arch extensions now made and boneded on I also filled them with fast expanding foam. More filling and sanding tomoz should also get on the front ones not 100% how to do them for looks but I will work it out always think better after a class of blonk
should look puka when I fit the wider wheels looks a bit odd at the mo with a massive arch and smaller wheel.
whoop whoop what a difference a bit of prommer makes ,almost looks the same as before I started lol.
Bit of a bonus the front wheels will fit with no modifications to the arch with the 8.5j rim
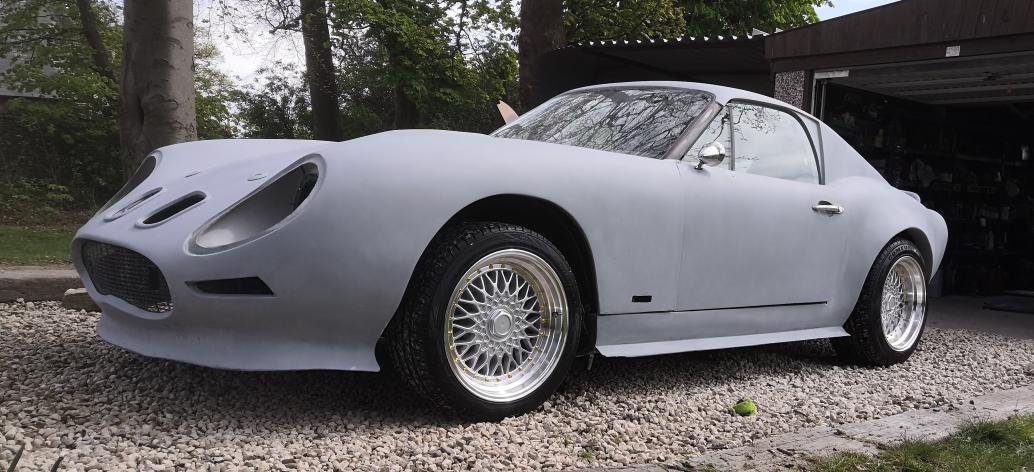
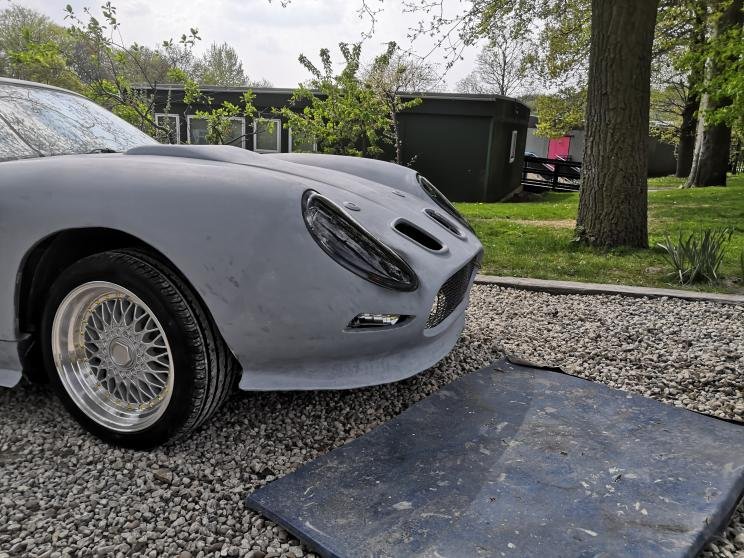
got me some rubber on my new wheels wheel chuffed with the rear end stance it's going to look wicked painted up
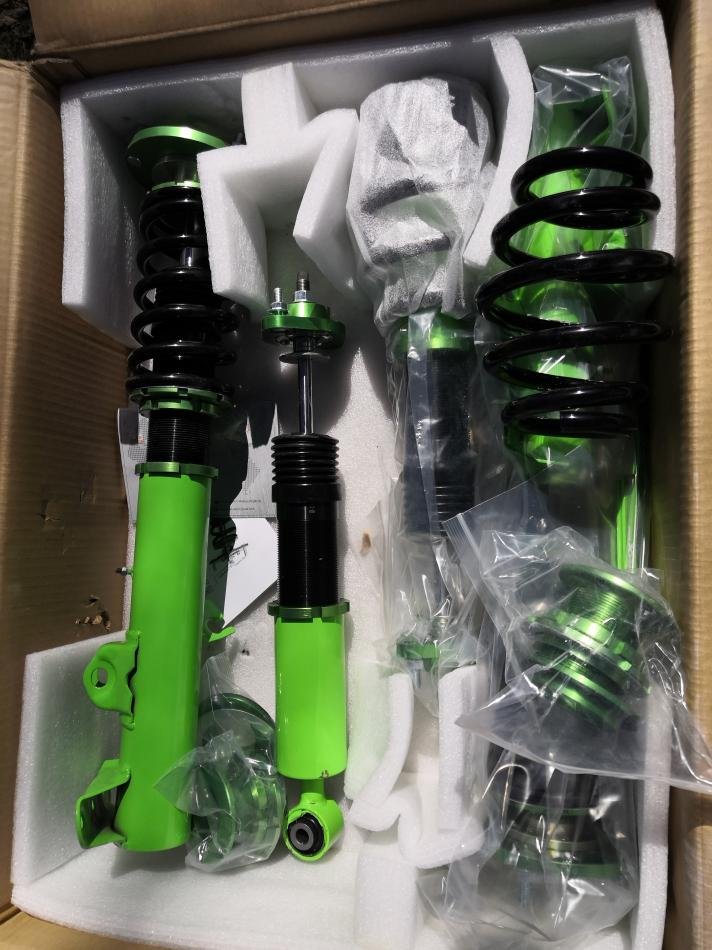
few more bits to change on the front running gear so while its off the ground I will lower the front coilover an inch or so to bring the gap down a touch
Very cool Andy, got a very nice stance that will work well with the shape.
Definitely a unique mash up of a few inspirations but you are putting it together well.....Awesome
You put the tape over the existing arch to get almost the shape you wanted, put cloth and resin over that. Then pulled the resin and cloth off, removed the tape and used expanding foam between the original arch and the new grp?
What did you do at the edges? How did you fix the new grp to the body? Overlap or used the adhesive power of the foam?
You put the tape over the existing arch to get almost the shape you wanted, put cloth and resin over that. Then pulled the resin and cloth off, removed the tape and used expanding foam between the original arch and the new grp?
What did you do at the edges? How did you fix the new grp to the body? Overlap or used the adhesive power of the foam?
Thanks for any advice. I’m new to grp mods!
grind back the gel coat back to the fiberglass lined up the arch so your happy and fixed it with screws for a good fit. next take it off again mix up some resin and basically glue them together using a bit of matting to fill any gaps. put the screws back in till dry drill a few holes and fill with foam dont over fill it could move the arch. when it's all hard remove the screws sand it back and glass over the joint , away you go
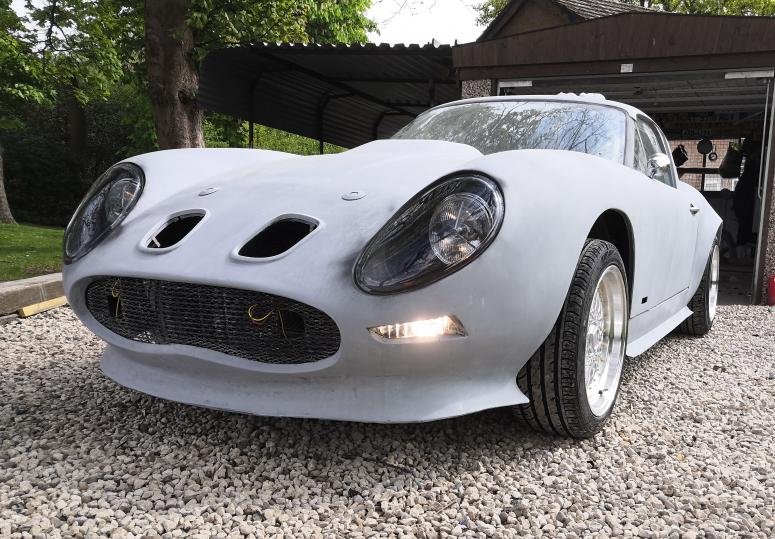
wired my lights up and also fitted DRL but I am going to switch them so they can be turned off.
I have also wired up for the spotlights in the grill so ebay here I come again. my bank should be called paypal that all it says on the statement.
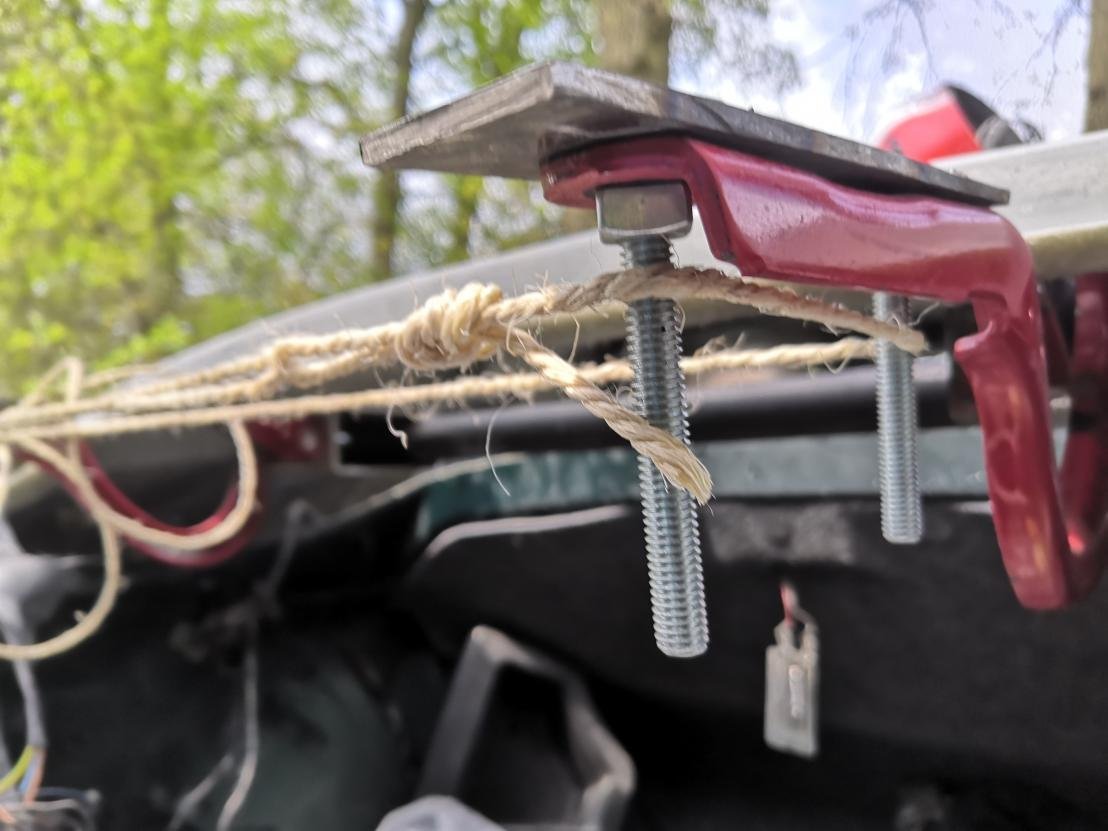
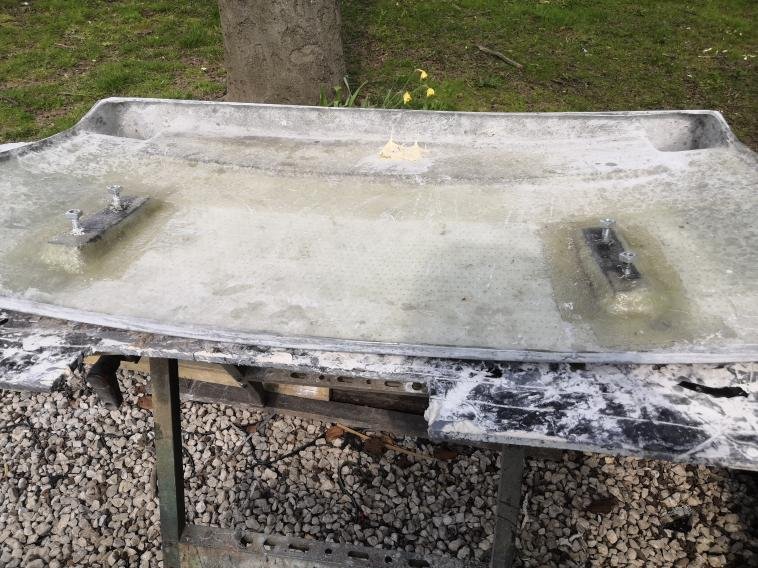
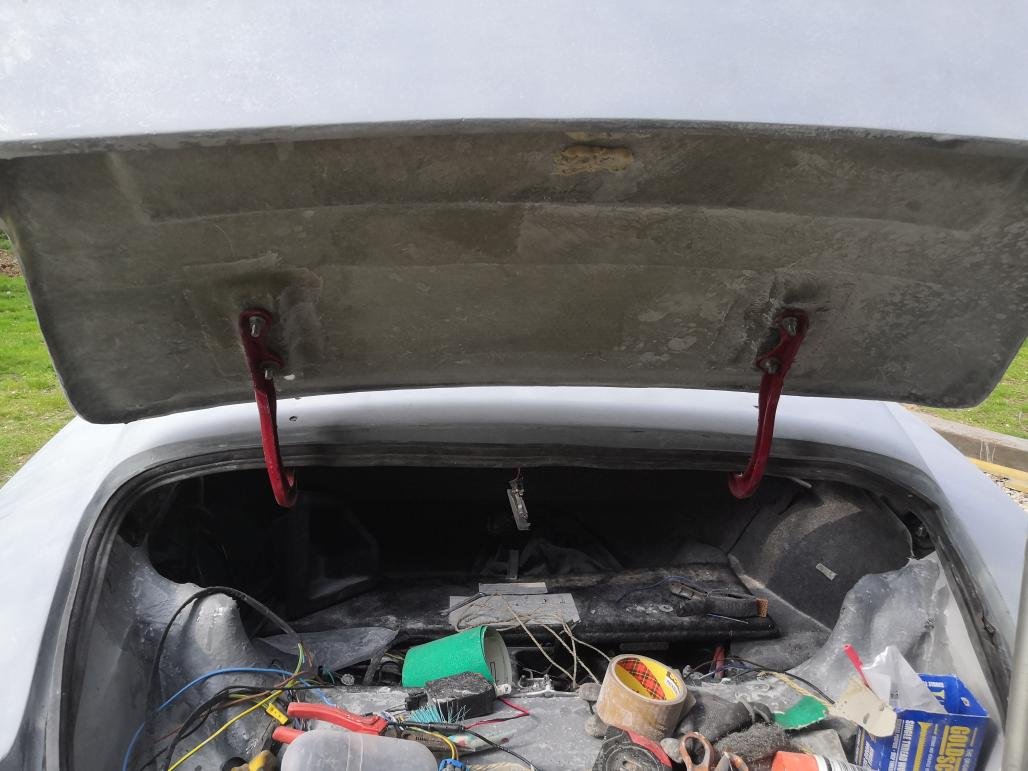
with the hinge breaking on the boot lid I made some modifications to MX5 hinges and made some captive bolt plates for the back of the lid . works a treat just need to figure out the latch.
grind back the gel coat back to the fiberglass lined up the arch so your happy and fixed it with screws for a good fit. next take it off again mix up some resin and basically glue them together using a bit of matting to fill any gaps. put the screws back in till dry drill a few holes and fill with foam dont over fill it could move the arch. when it's all hard remove the screws sand it back and glass over the joint , away you go
Thank you for taking the time to reply and teach me!
This is looking amazing. Can’t wait to see your Z3GT when that happens.
Timing seems to be tripping me up. I tried to get in touch with Chris when the 250 came out but there was a little delay and I ended up with a 911 project. I’ve just bought a Caterham project but so tempted by the Z3GT and seeing all the fun you are having...
lol zgt is on order and the car is sat striped ready to bolt it on it's even got wire wheels on ready. best thing to do with chris is call him if you need a quick answer. but seems you have got your hands full at the mo. have fun
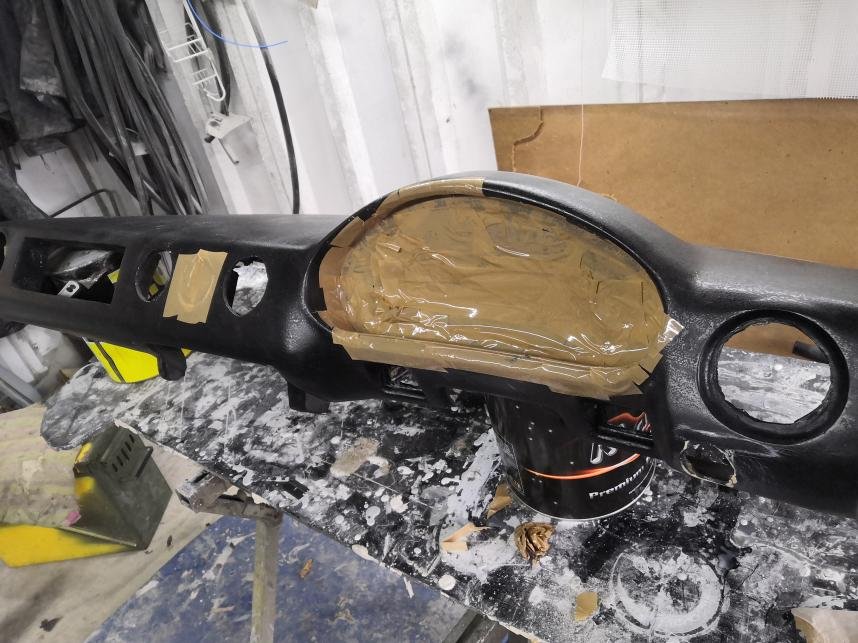
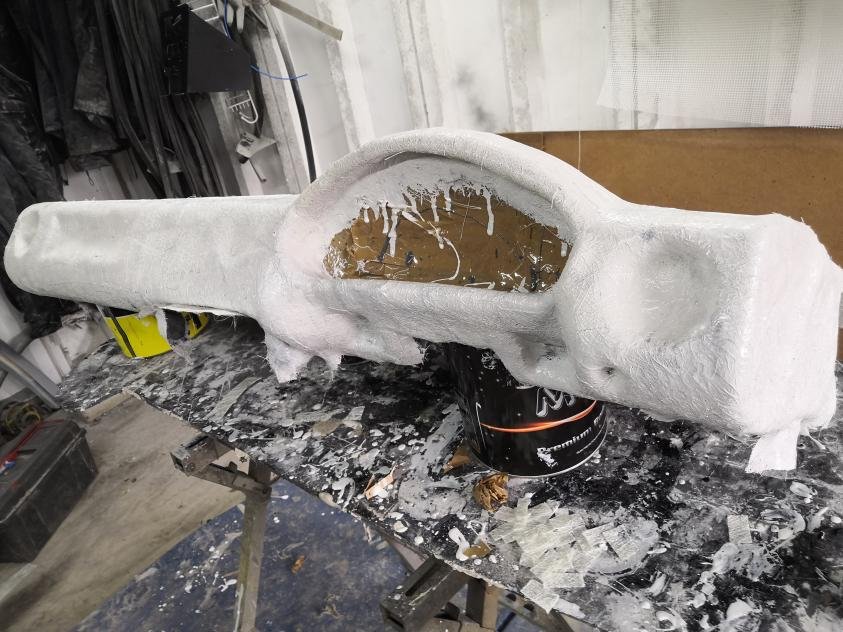
my car has a light tan dash and interior I don't mind it wife hates it lol. we won't have the car 5 mins when its finished but hey ho anything for a quiet life . I bought a dash from chris I have modified it for a better fit, it now goes all the way down to the screen. started the process of taking a mould off it as I now need two
wired my lights up and also fitted DRL but I am going to switch them so they can be turned off.
I have also wired up for the spotlights in the grill so ebay here I come again. my bank should be called paypal that all it says on the statement.
with the hinge breaking on the boot lid I made some modifications to MX5 hinges and made some captive bolt plates for the back of the lid . works a treat just need to figure out the latch.
Liking the internal hinges. How have you fixed the hinge onto the body side ? Any photos ? I might do the same my Z3GT convertible