MadaboutKitcars

This is a read-only archive of the old Madabout Kitcars forum. New posts and replies are no longer possible, but every thread is still here to browse and read.

Speedster restoration.. Y.. Oh Y.. Oh Y..

28 May 2016, 2:58pm
Hello everyone,

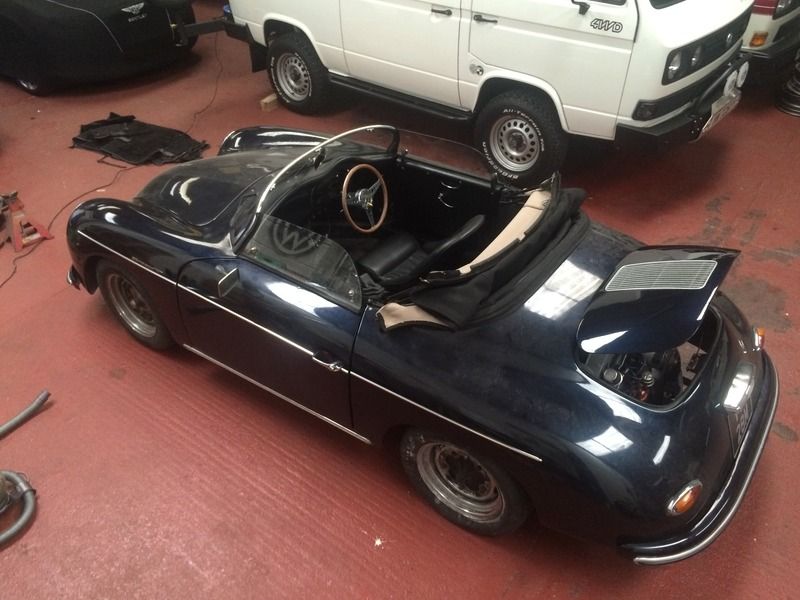
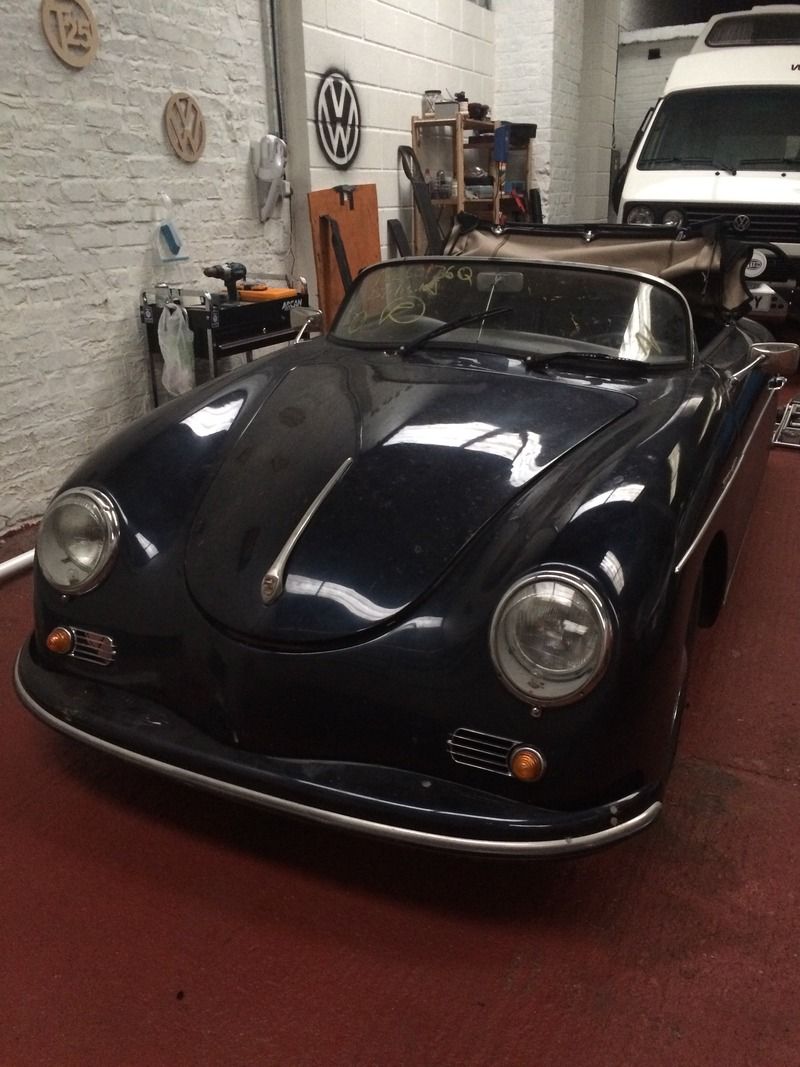
I'm new here and new although not new to classic cars earlier in the year I became new to kit cars as I became the owner of a Chesil Speedster replica which was in a bit of a sorry state.

I'm not sure exactly when it was built but she's been slowly undergoing a light restoration as and when time permits.

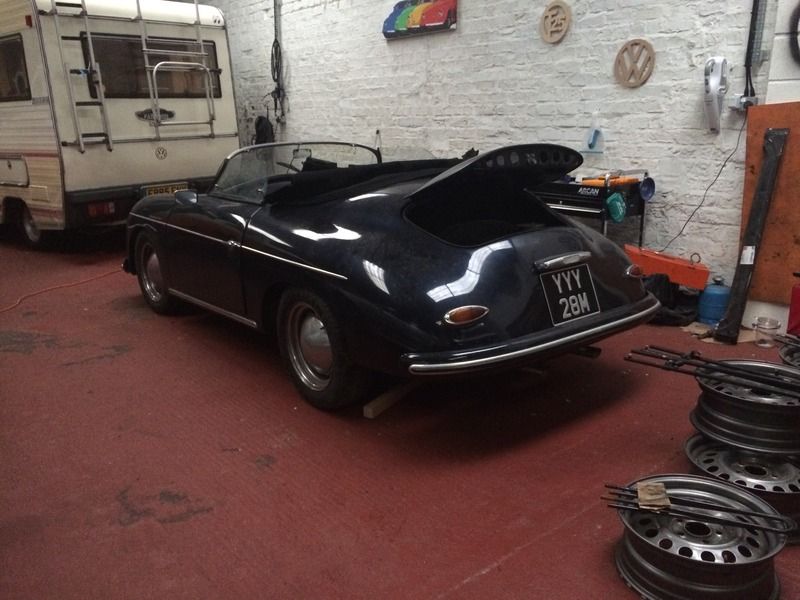
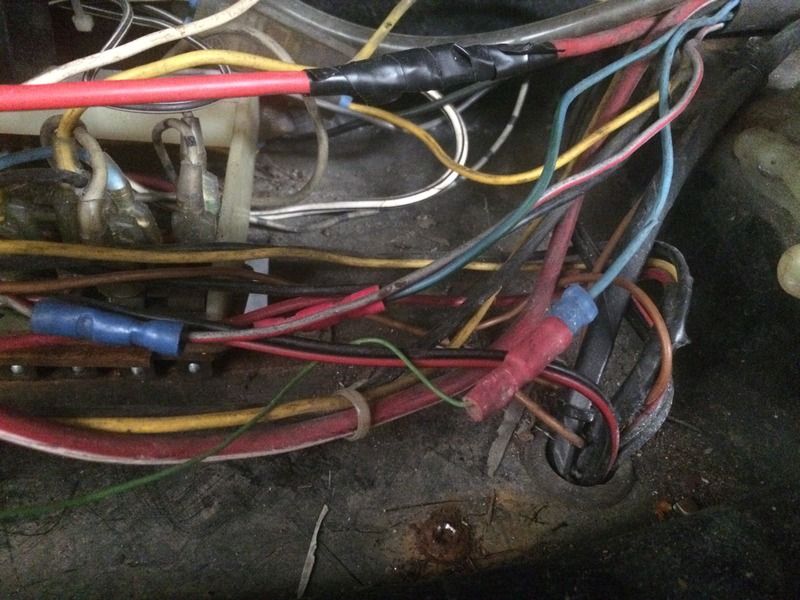
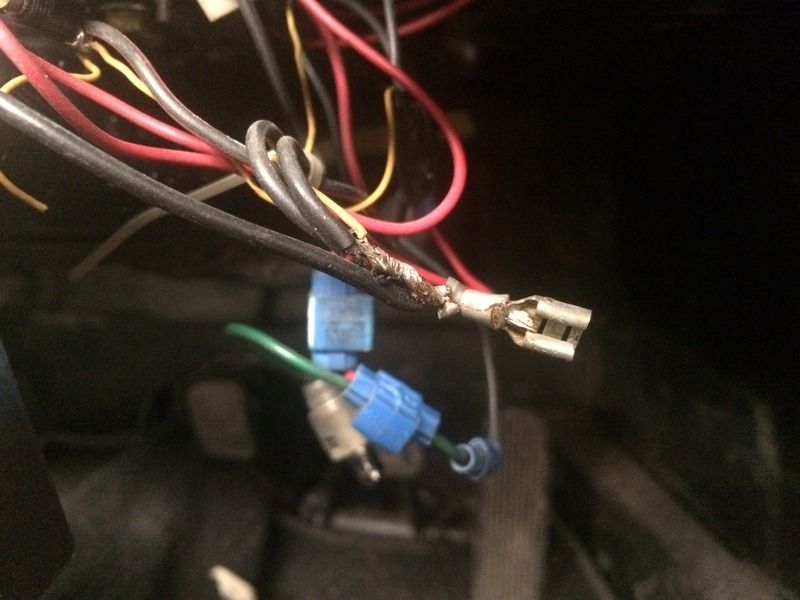
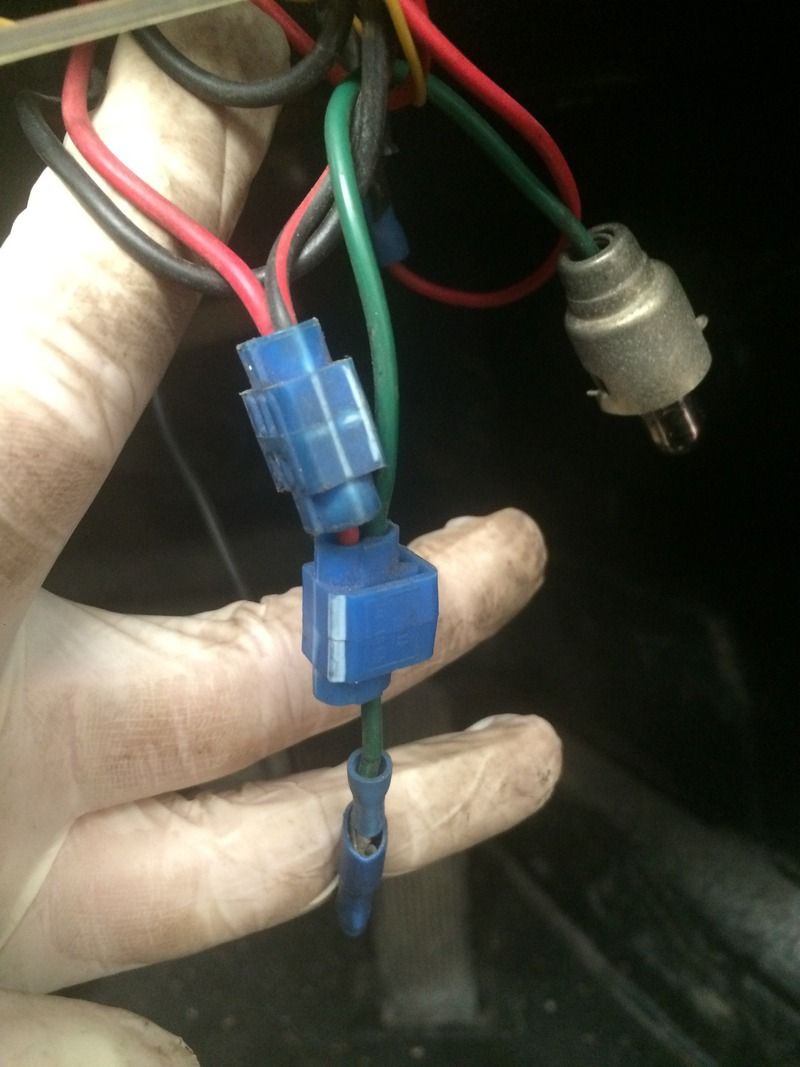
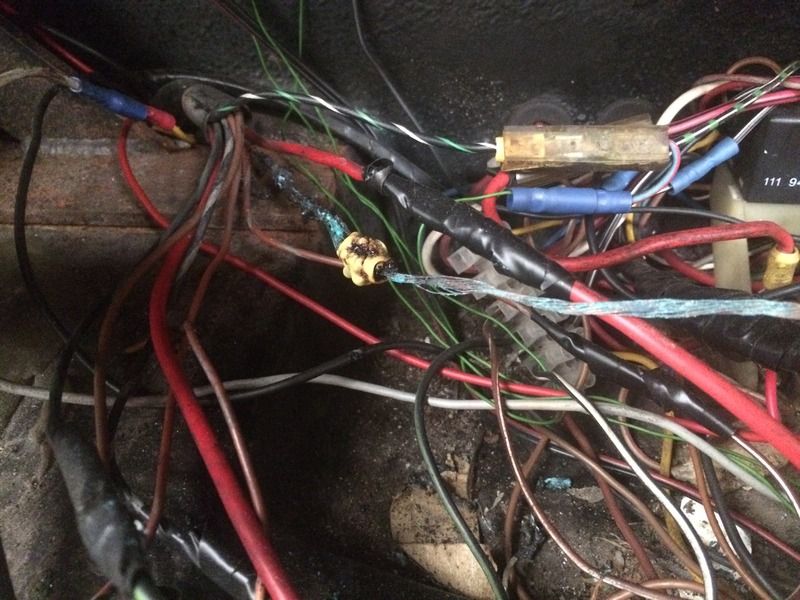
I actually bought Y.. Oh Y.. Oh Y.. (As she's affectionately known) from a salvage yard, after it had suffered from an electrical fire, more on that later though.

As she was delivered in all her dirty gloriness..


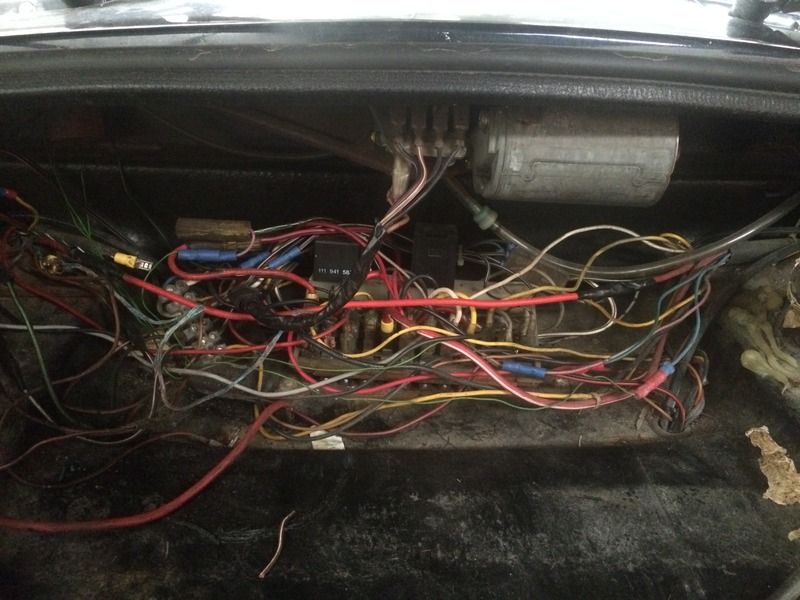
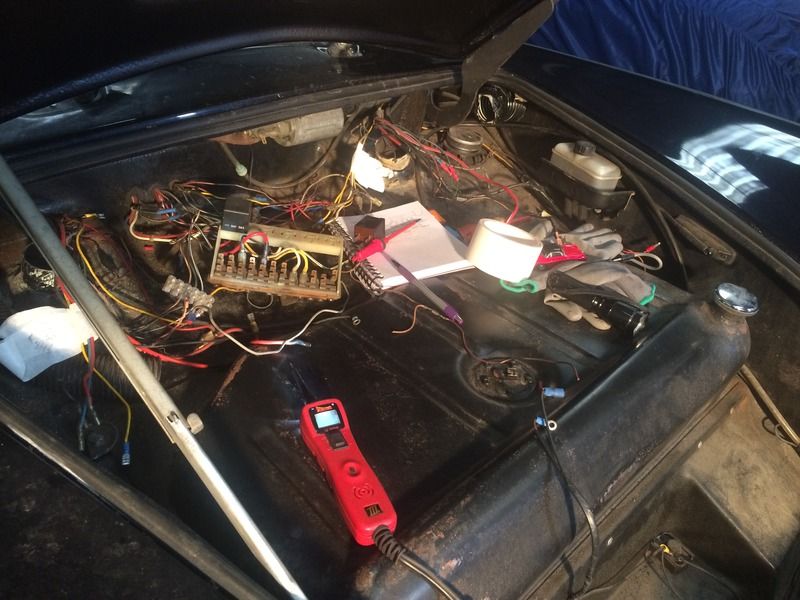
Right old tangled mess in here.

28 May 2016, 3:56pm
So i do wonder if the previous owner was suprised that the wiring caught fire!


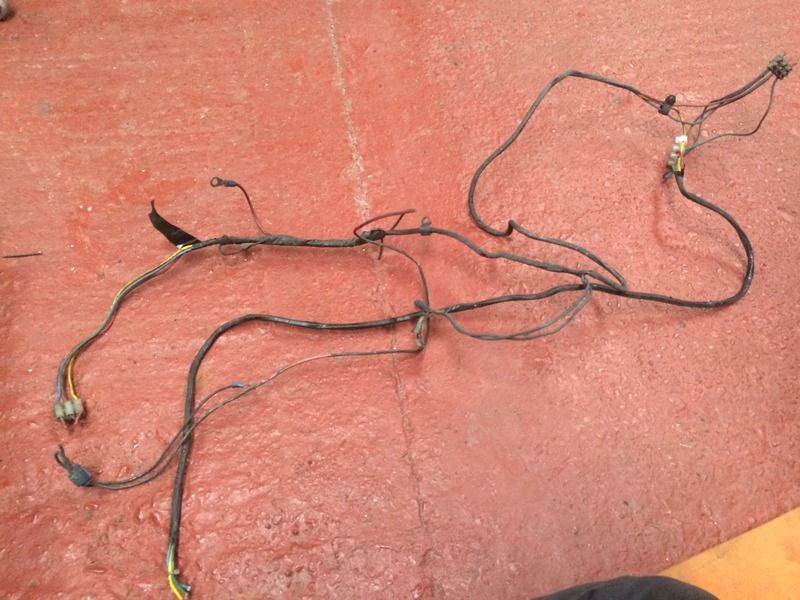
So there was nothing else for it but to rip it all out...


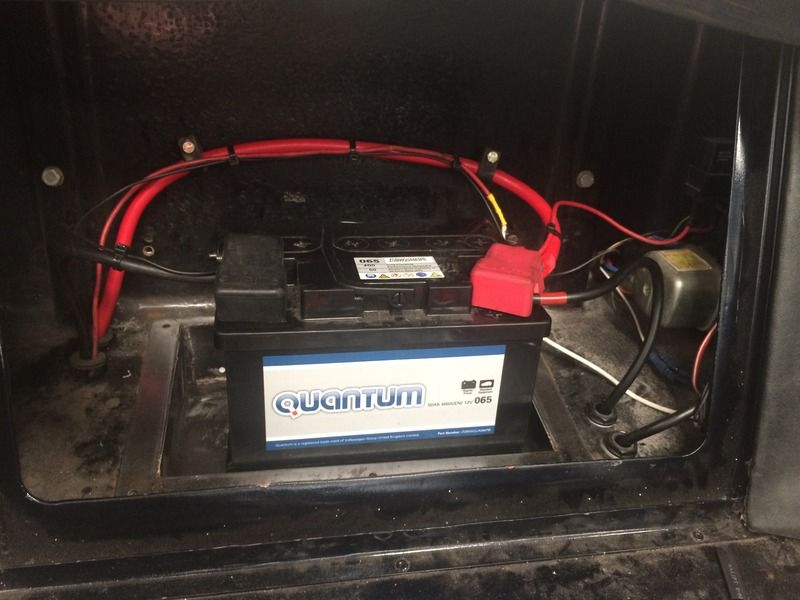
And start from scratch..


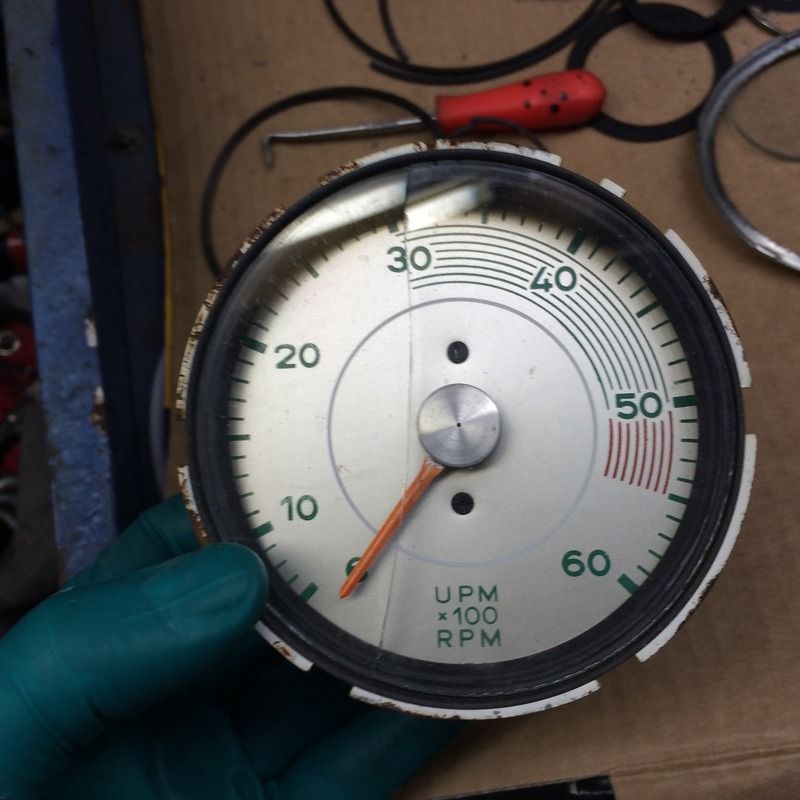
Gauge overhaul,


Im looking for a supplier for the gauge faces, failing that im thinking maybe someone who can print a vinyl transfers to re-do the faces as a sticker.
28 May 2016, 4:13pm
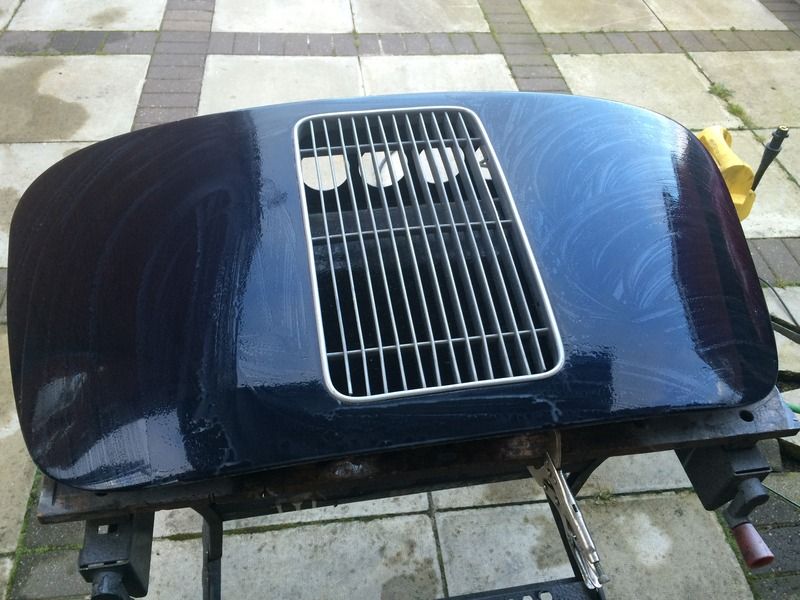
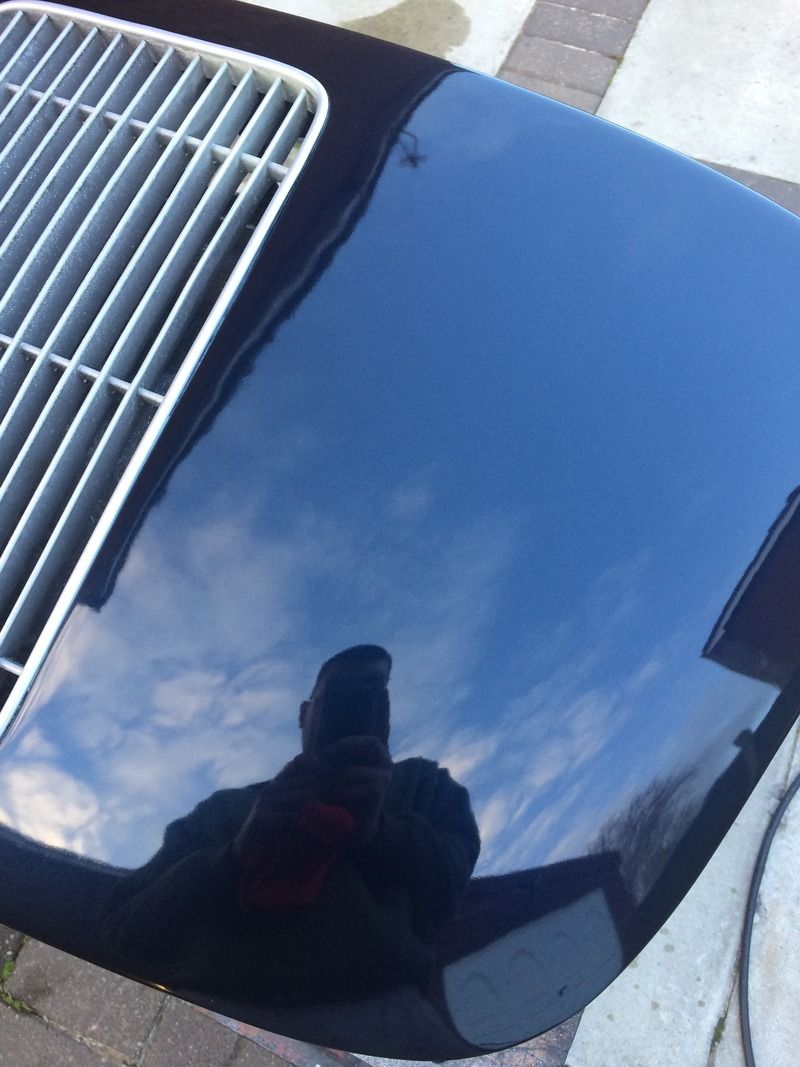
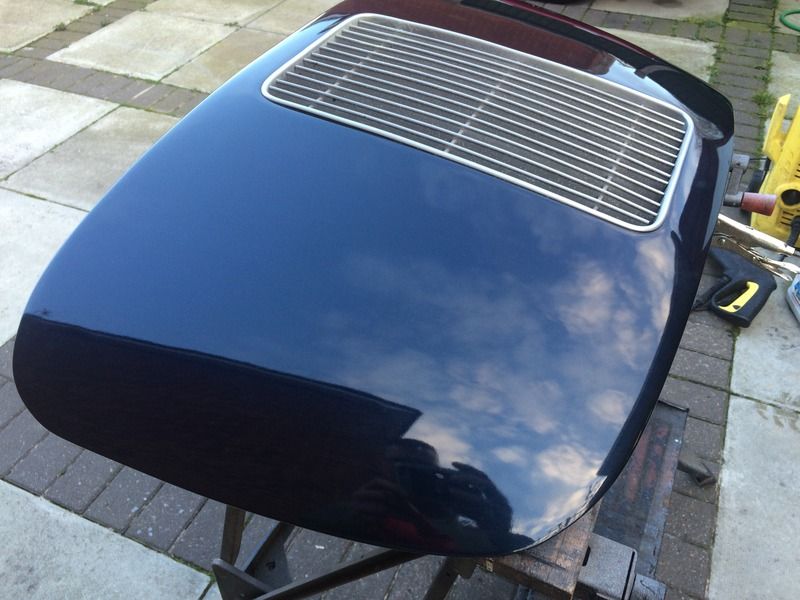
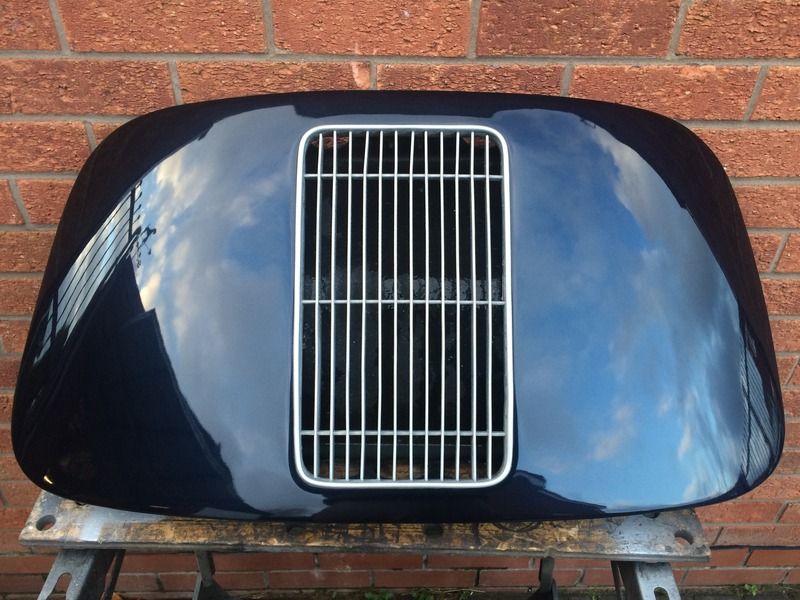
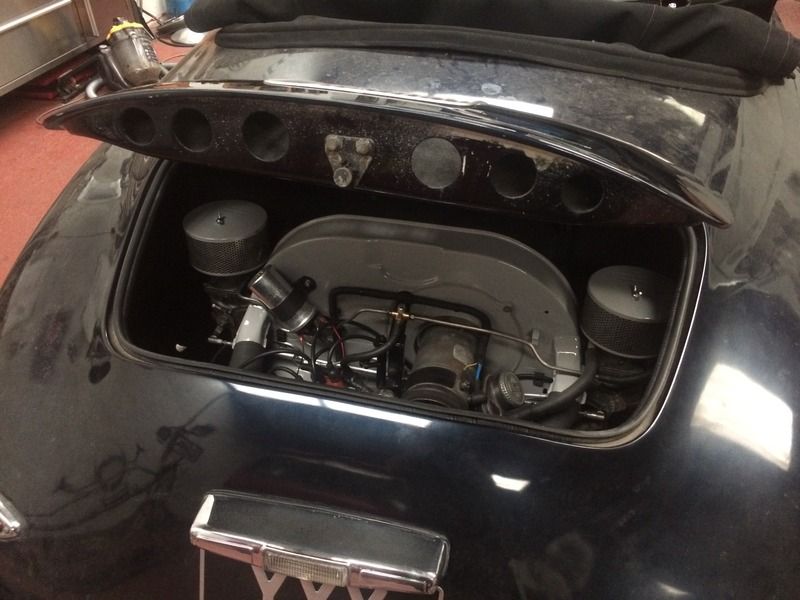
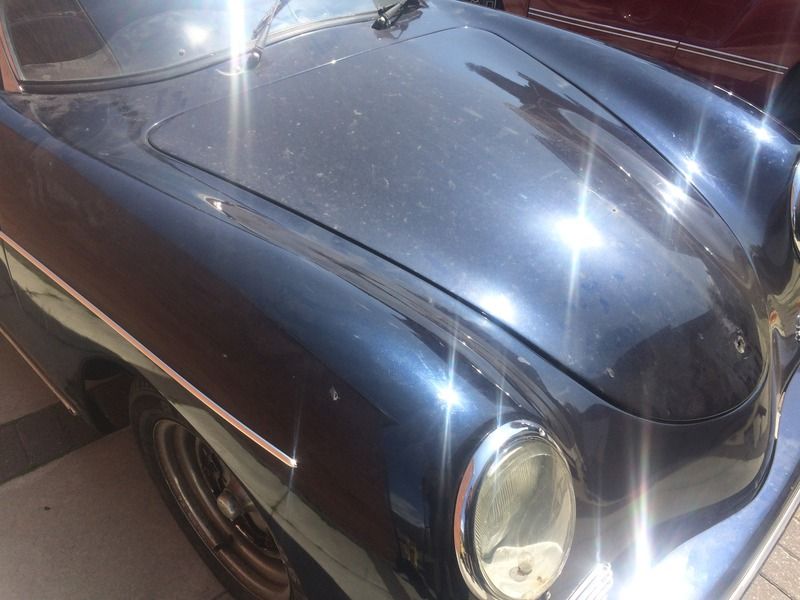
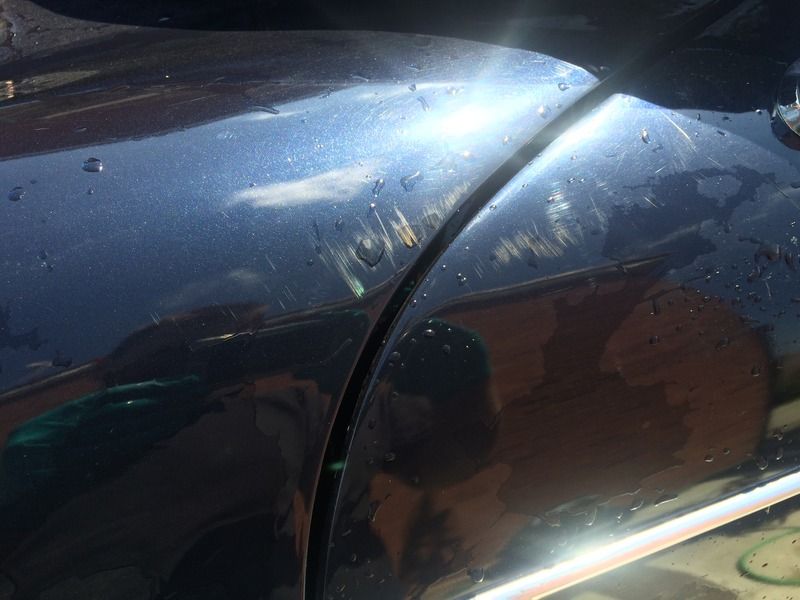
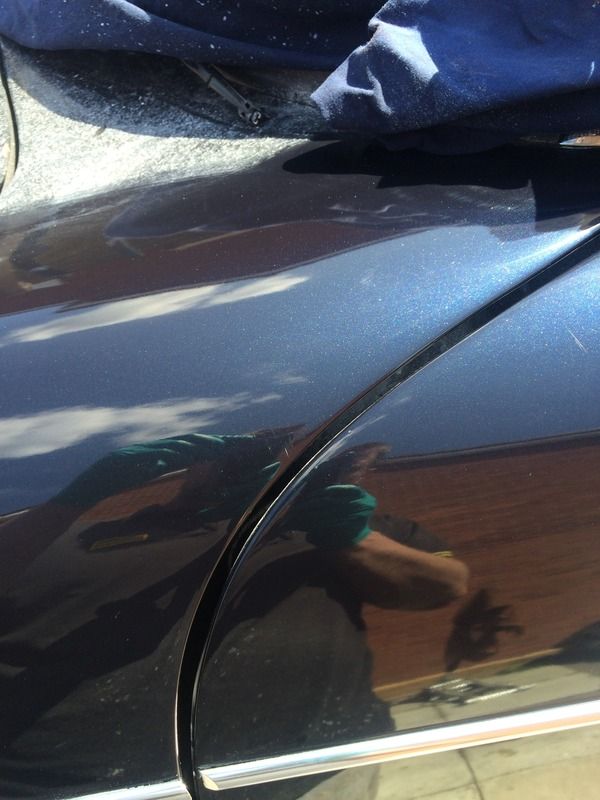
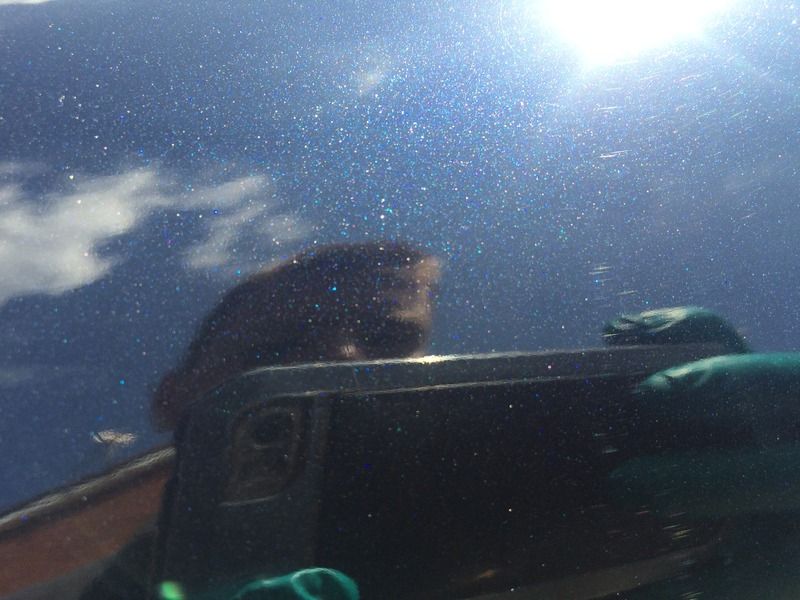
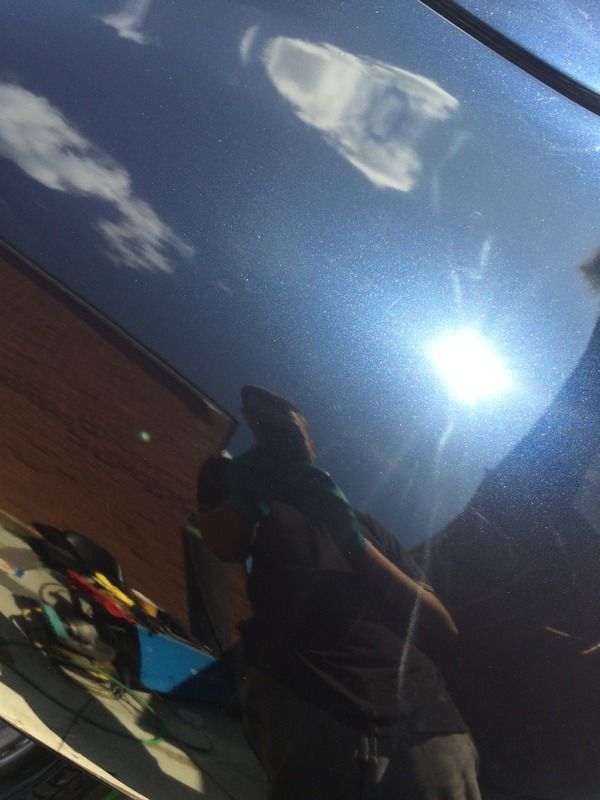
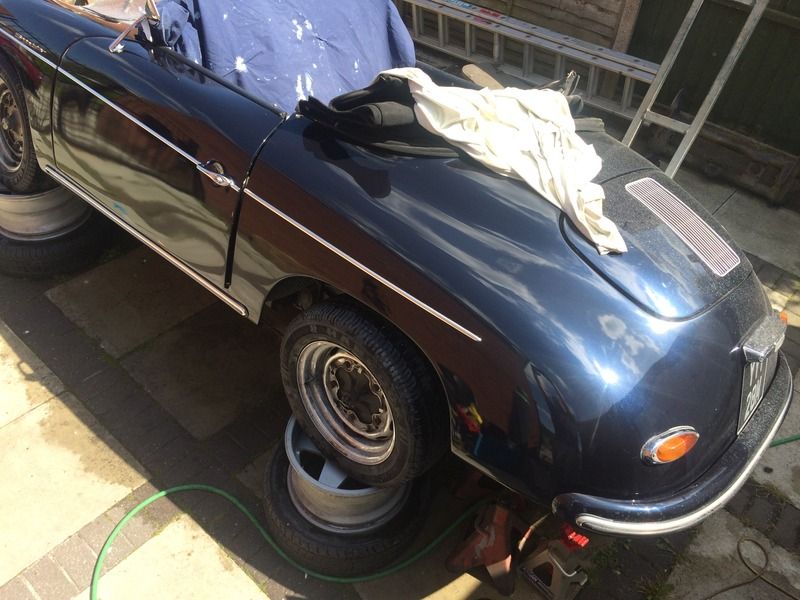
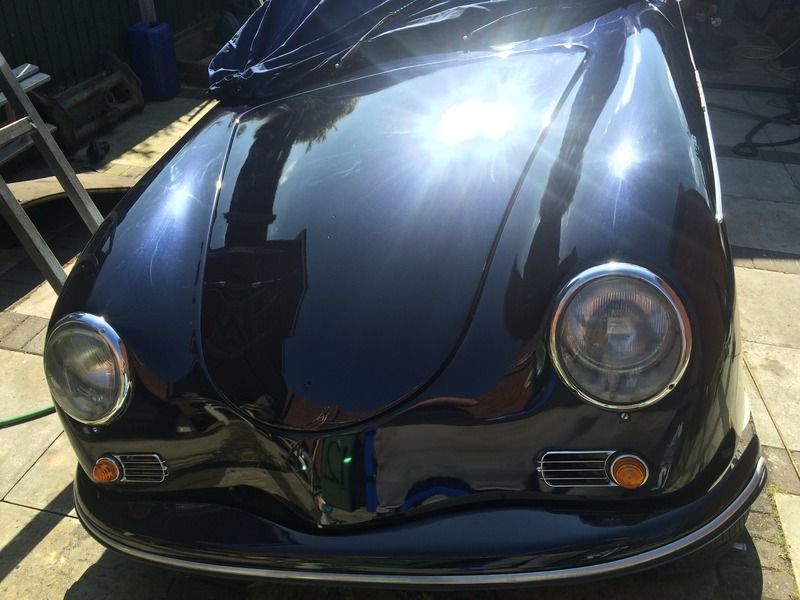
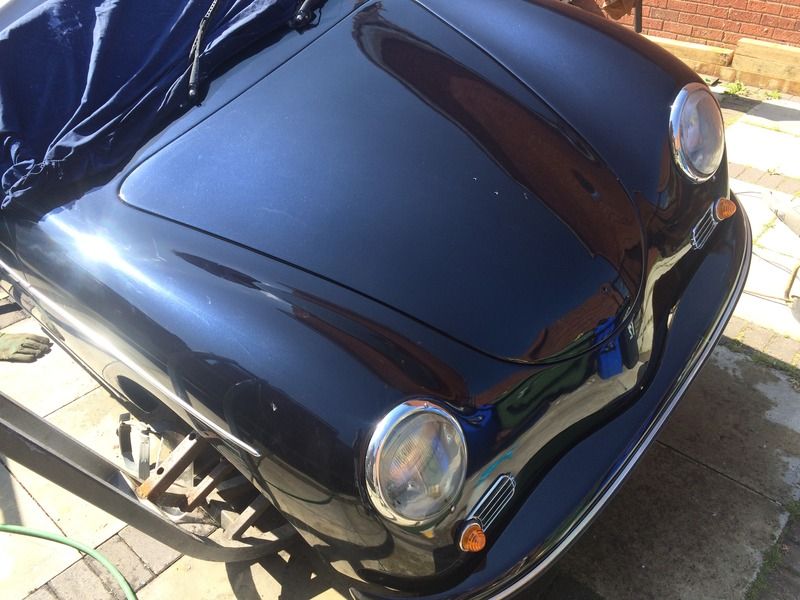
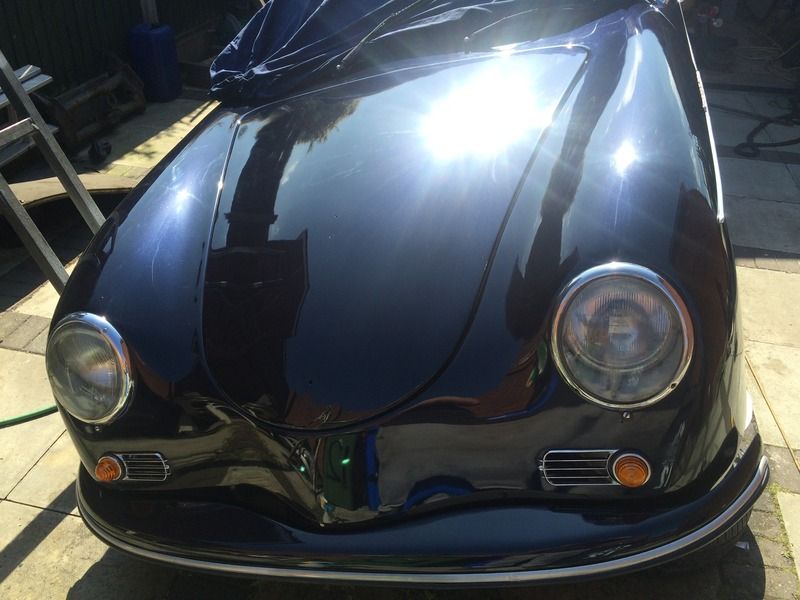
We have no water at our lock up so havent really been able to clean the car off properly, so when the engine lid came off I couldnt resist giving it a proper buff and polish.

Blues not really my colour and a repaint may be in order in the future but if the whole car cleans up this well ill be more than happy.


and more elbow grease..


Its not perfect but a massive improvement


28 May 2016, 11:10pm
Looks like that will come up a treat. Great find.

And welcome to the forum :welcome:

John
29 May 2016, 5:04am
JG wrote:
Looks like that will come up a treat. Great find.

And welcome to the forum :welcome:

John


Thanks John,

I'll add bits and pieces in no particular order from the last few weeks of hair pulling pleasure lol

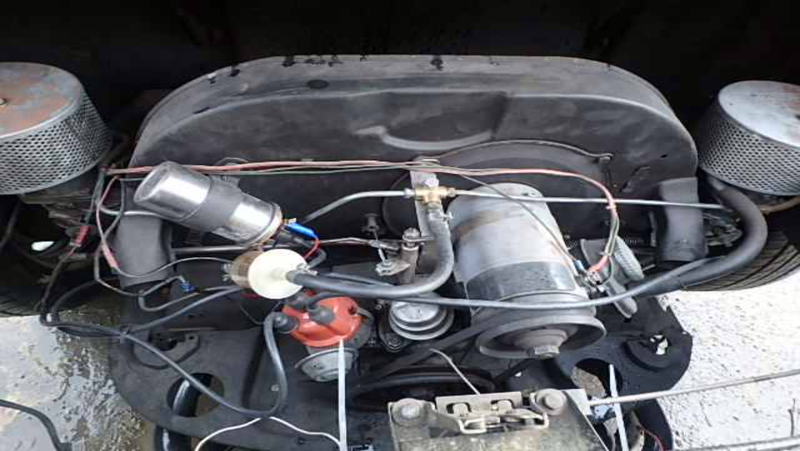
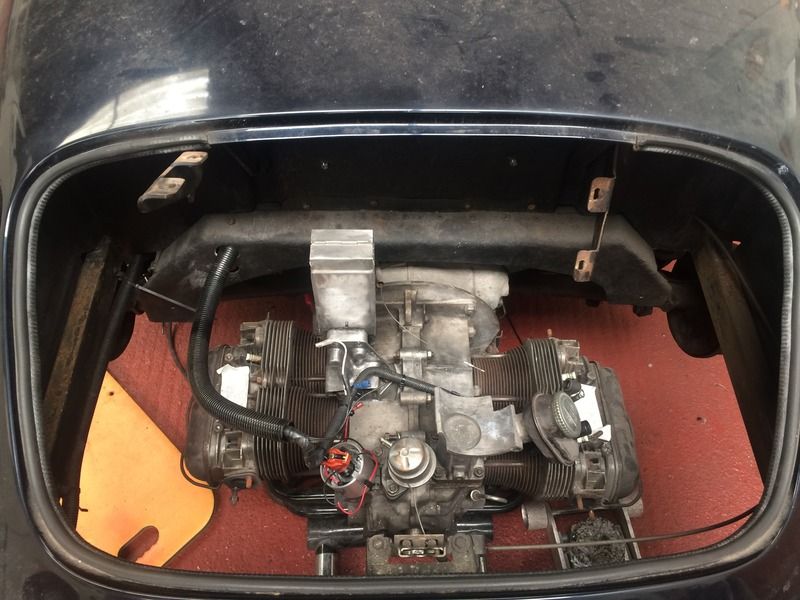
Didn't really want to take the engine out, I knew it would run simply from the fact that someone had recently fitted a brand new exhaust system. I'd already checked it for oil pressure which was all good.

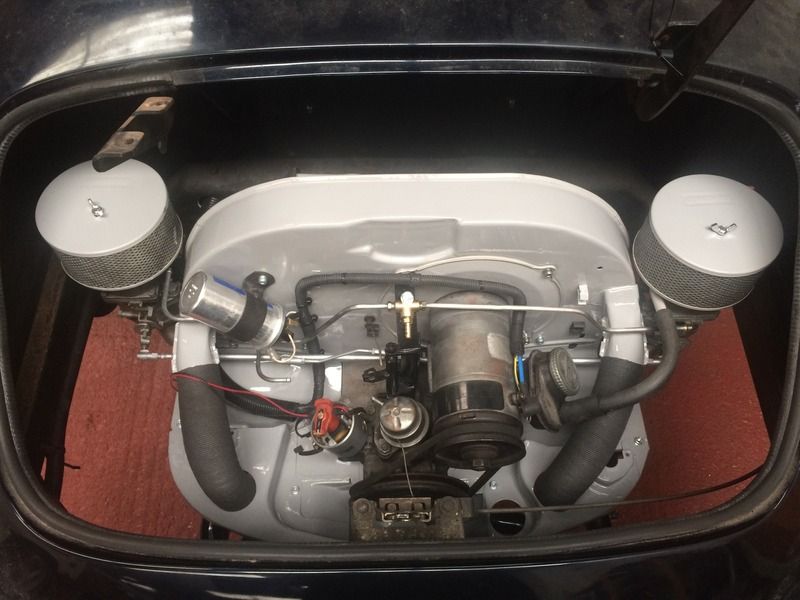
So I took the decision to pull the engine to bits in situ and give it all a freshen up, lucky I did really as the thermostat was seized solid amongst other things.

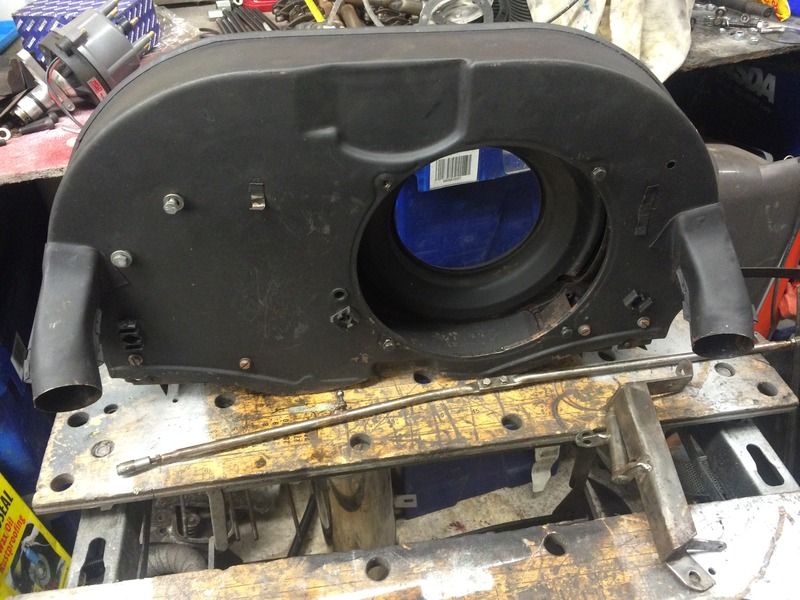
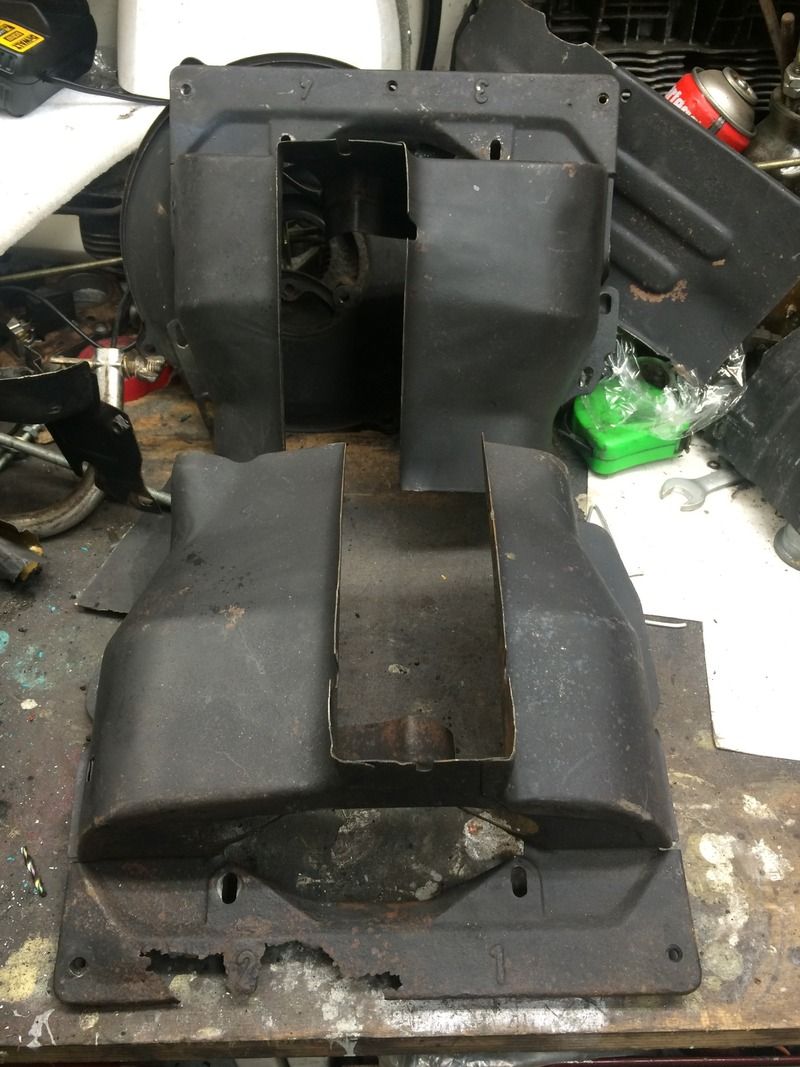
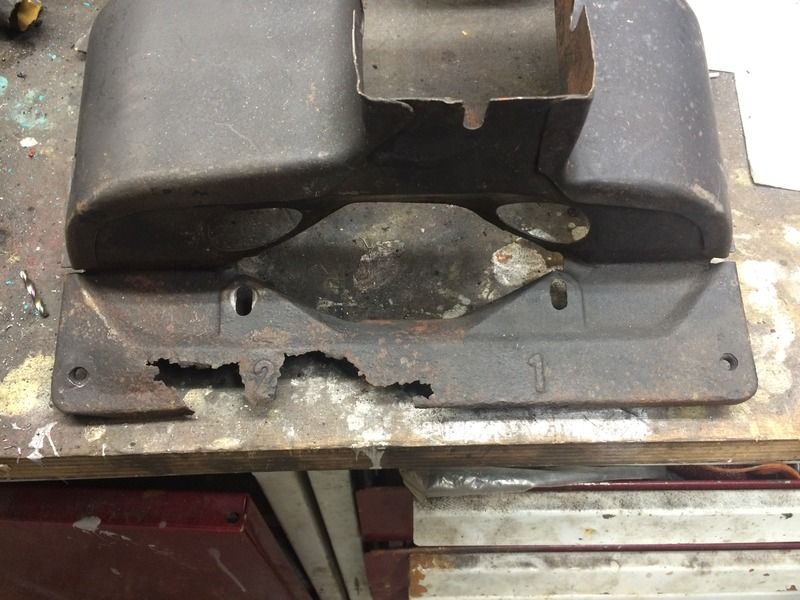
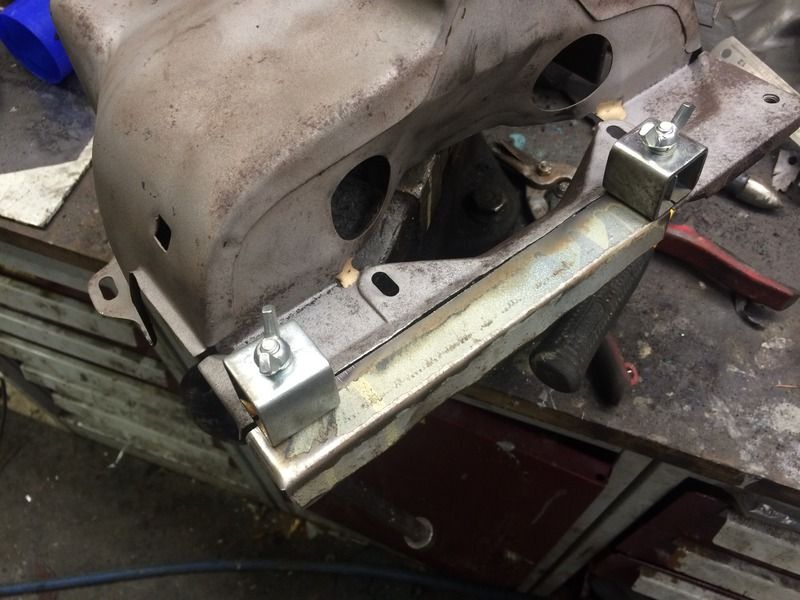
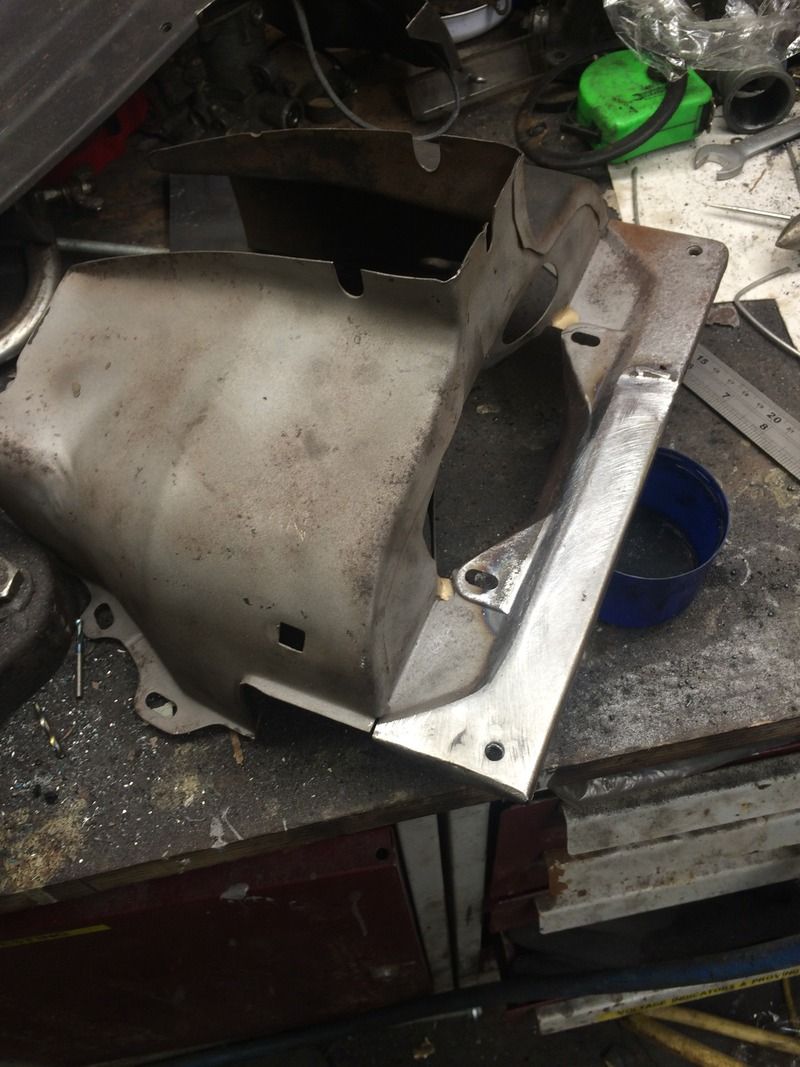
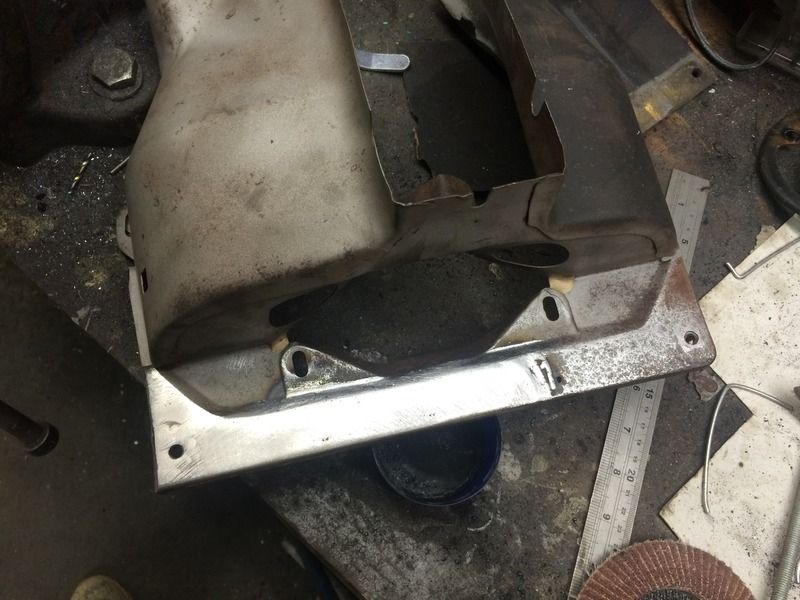
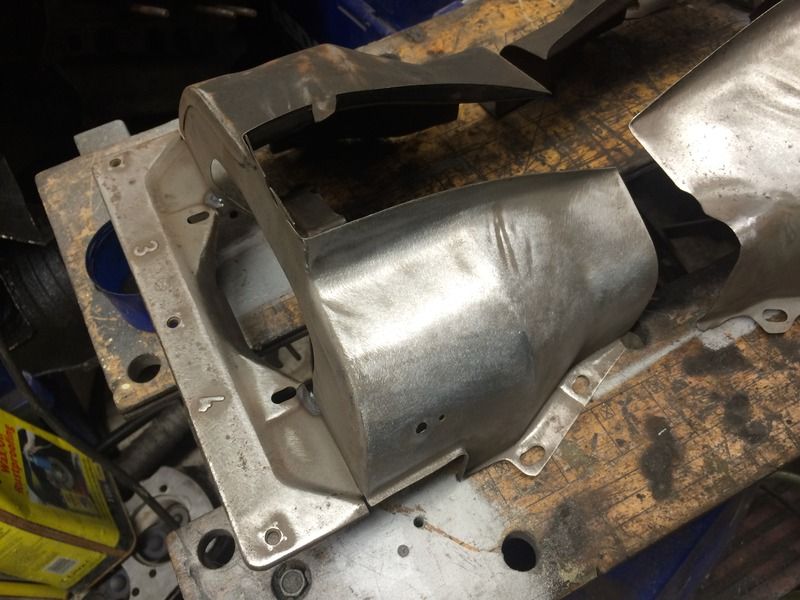
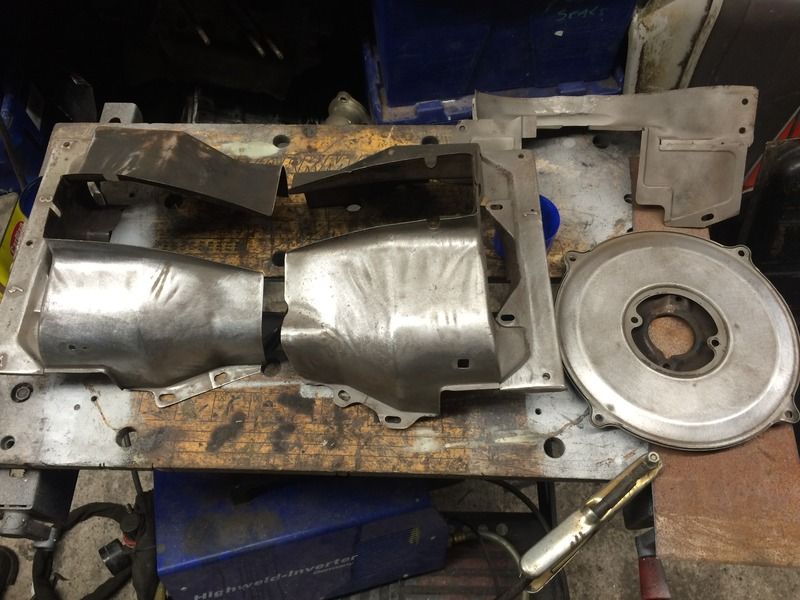
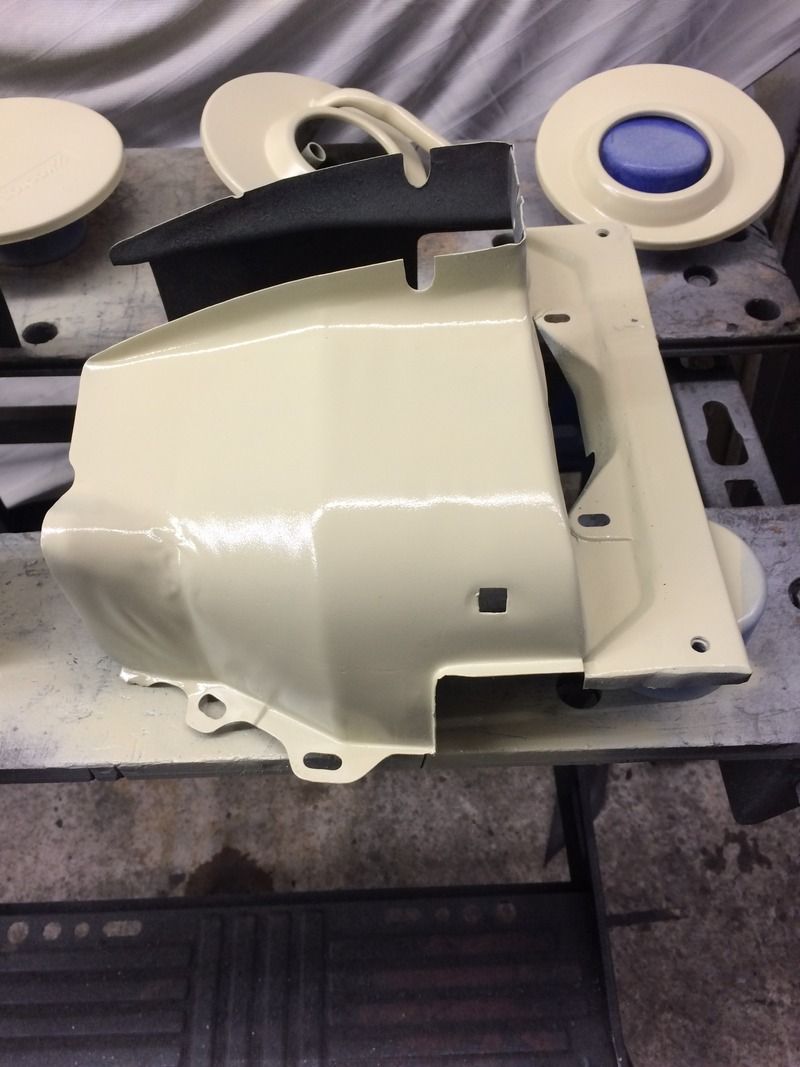
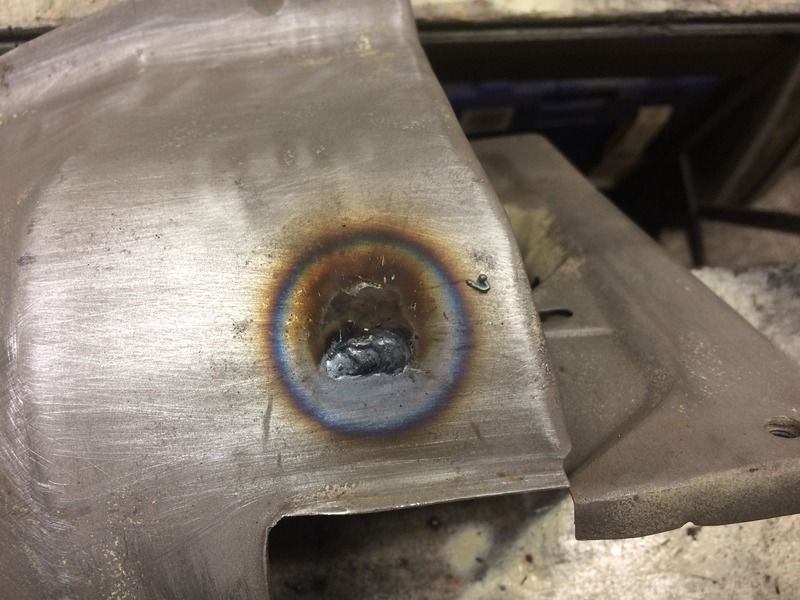
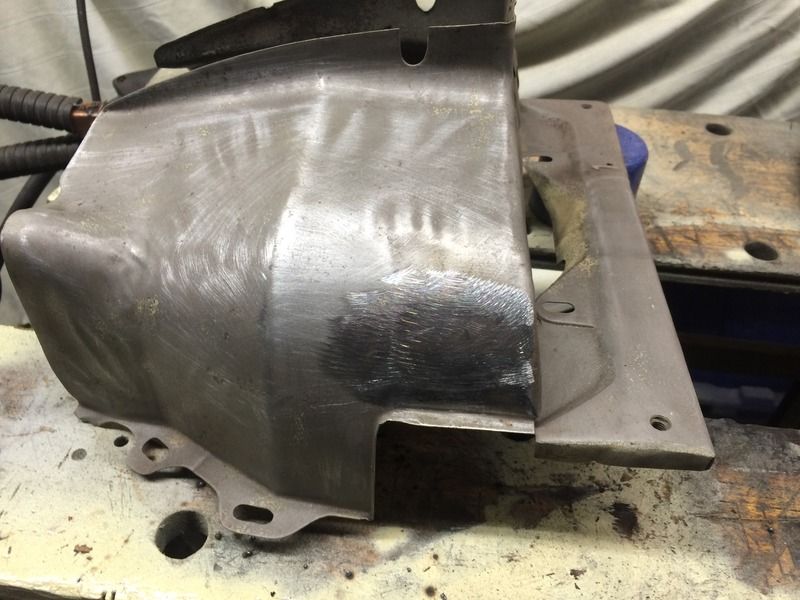
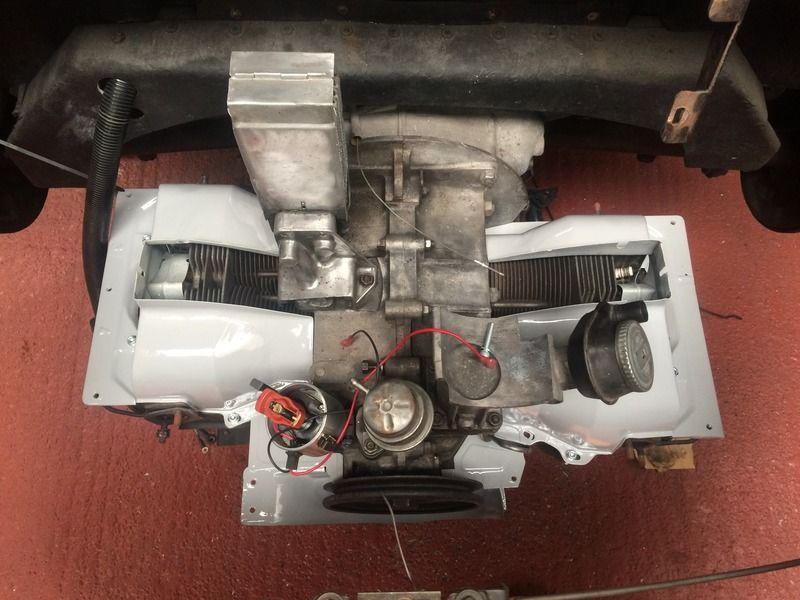
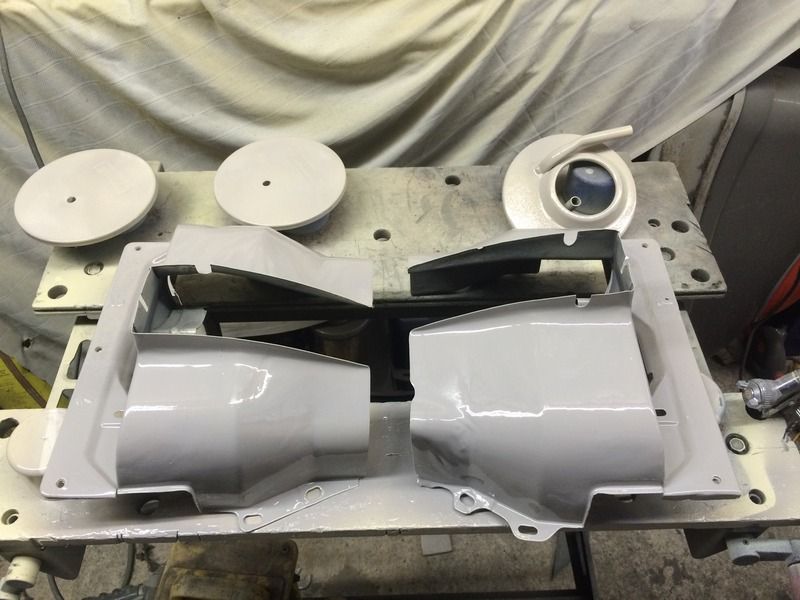
Nearly all of the tinware required repairs of some form, this stuff is available new but its pattern quality and we all know how well that fits. Since this was all genuine VW I thought it worth saving.


After the first coat of primer I decided I didn't like the holes in the front, so went back and removed them.


No that's not primer lol


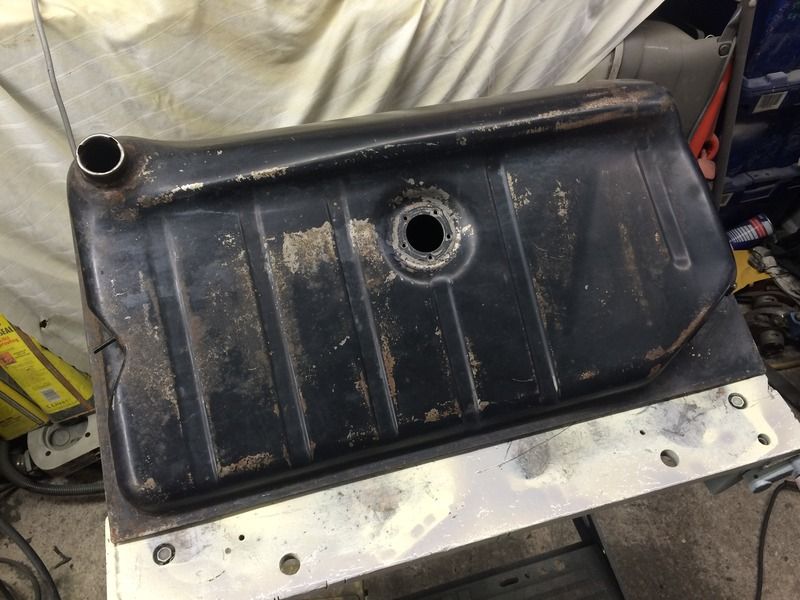
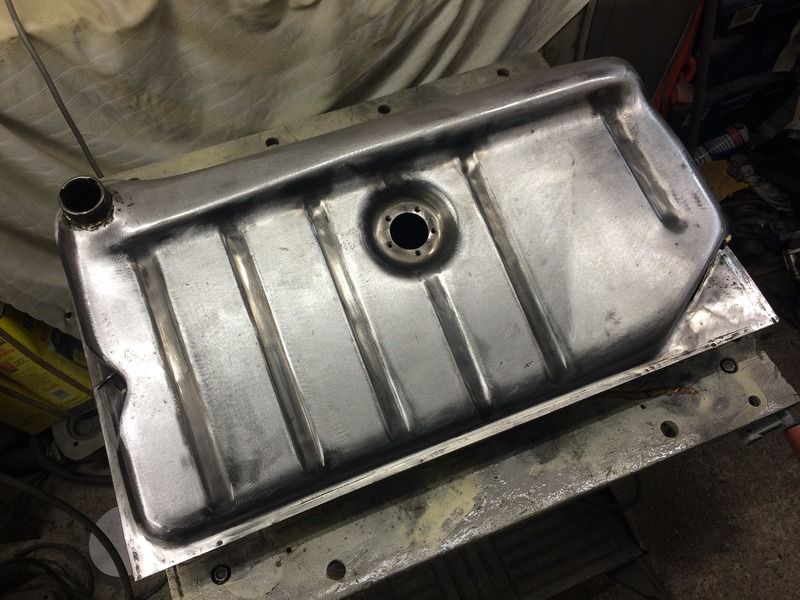
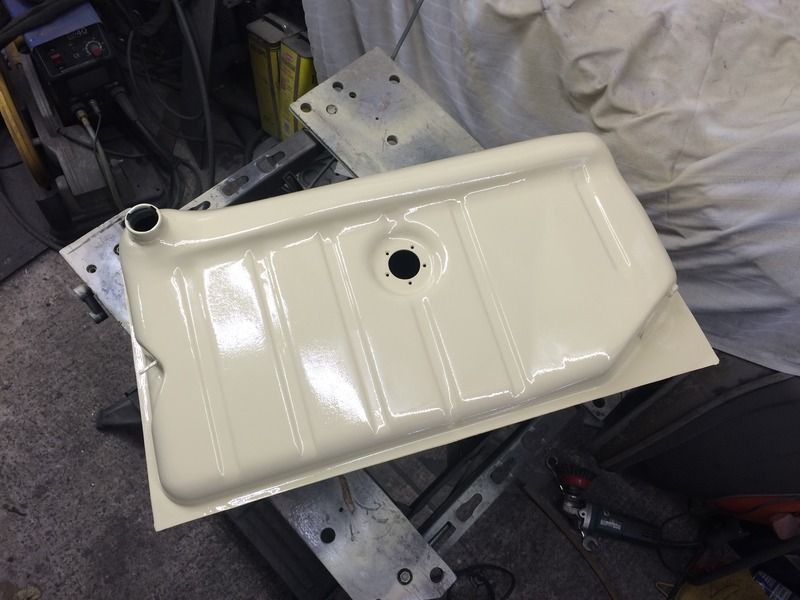
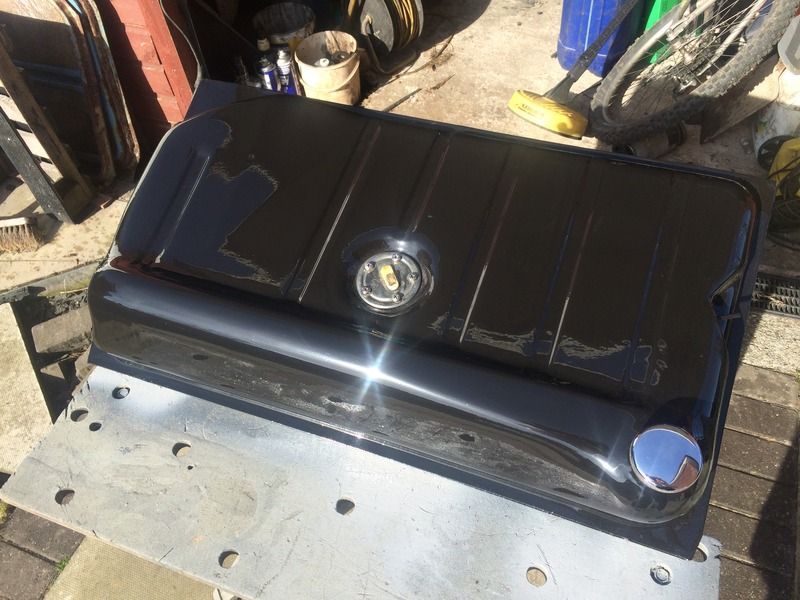
The tank and a few other bits also received the same treatment, paintings not ideal in my dusty garage but its turned out ok.


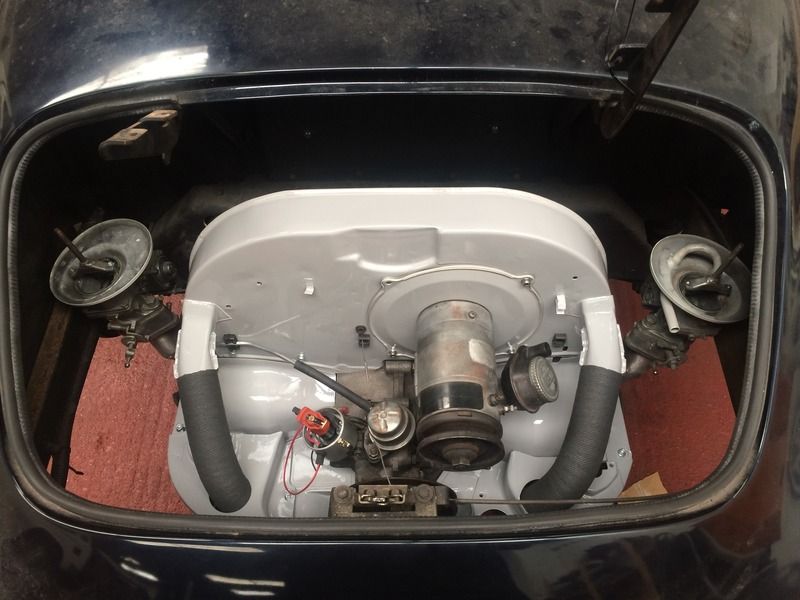
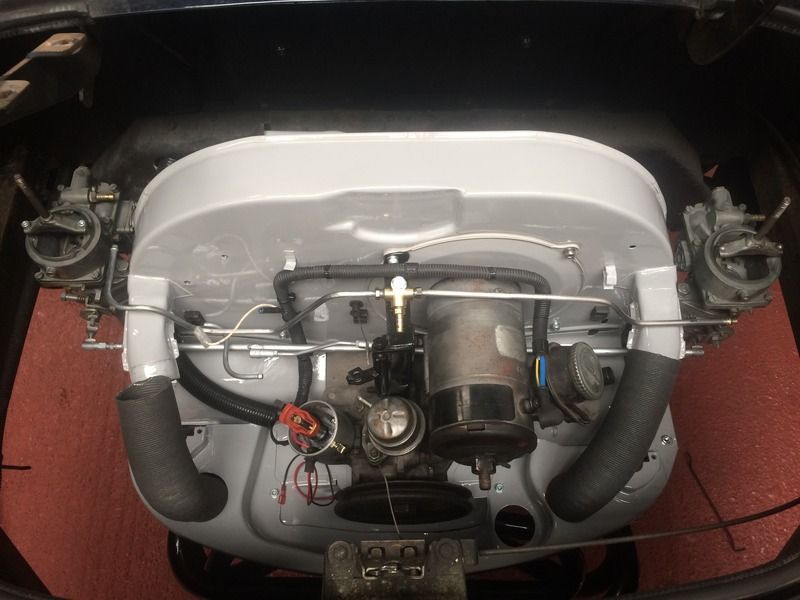
All fitted back in with new R9 grade fuel hose

29 May 2016, 5:06am
Building the longblock back up, the greys not to everyone's taste including mine if I'm honest but what can I say I got the paint for free from work and its growing on me! oh and its the only thing we had that goes with the blue


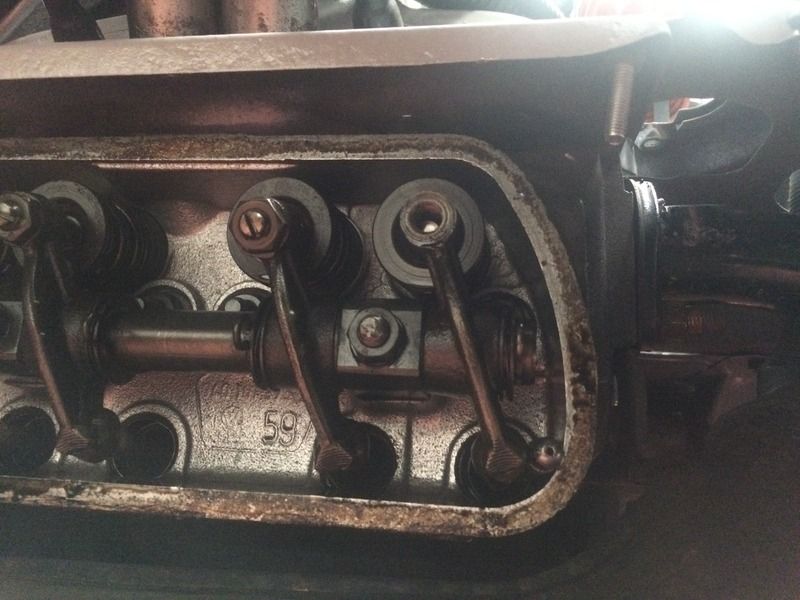
So after getting all the engine back together it fired up and was running like a sack of nuts, so on closer inspection and going back to basics it was decided to check timing and tappets.

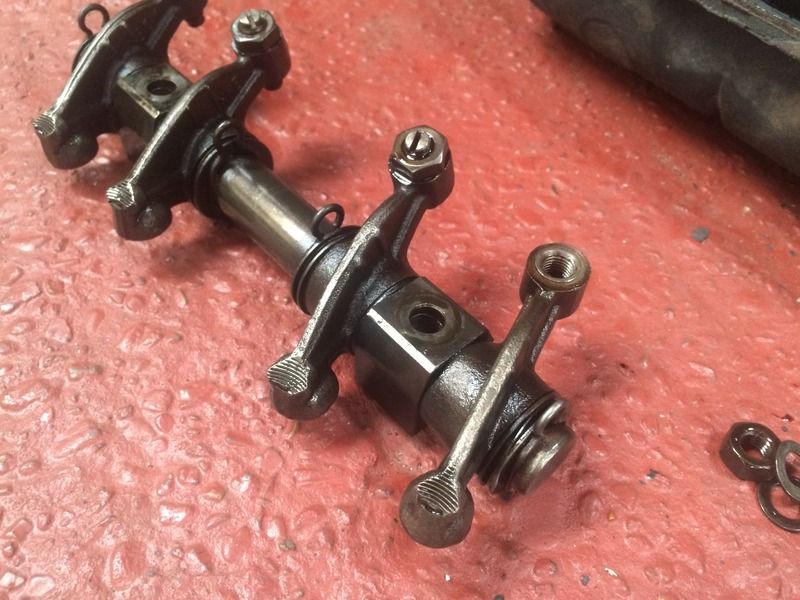
Where I discovered...


Very lucky really, the adjuster must have been stolen at some point as there is (luckily) no where for it to go if it had just worked loose and dropped out.


So with a replacement adjuster and everything all set, she runs!


sorry probably too many photos there!! that's what being stuck bored in work on a Saturday night will do!!
29 May 2016, 8:14am
Thanks for sharing this. You can never have too many pictures :)

Nothing better than seeing someone's work on a car

Dave
30 May 2016, 2:03am
Well don't say I didn't warn you!,

I'm nearly up to speed now,

While looking around for inspiration with the gauges it was hampering my progress with the re-wire. Apart from the indicators intermittently blowing the fuse all the time (I believe down to a new yet pattern switch) the wiring Is all but completed apart from said gauges and control/warning lights.

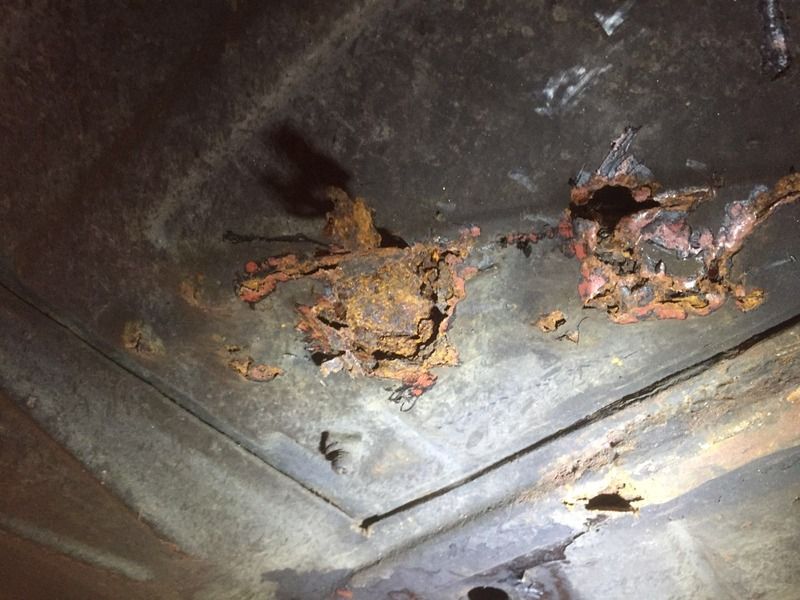
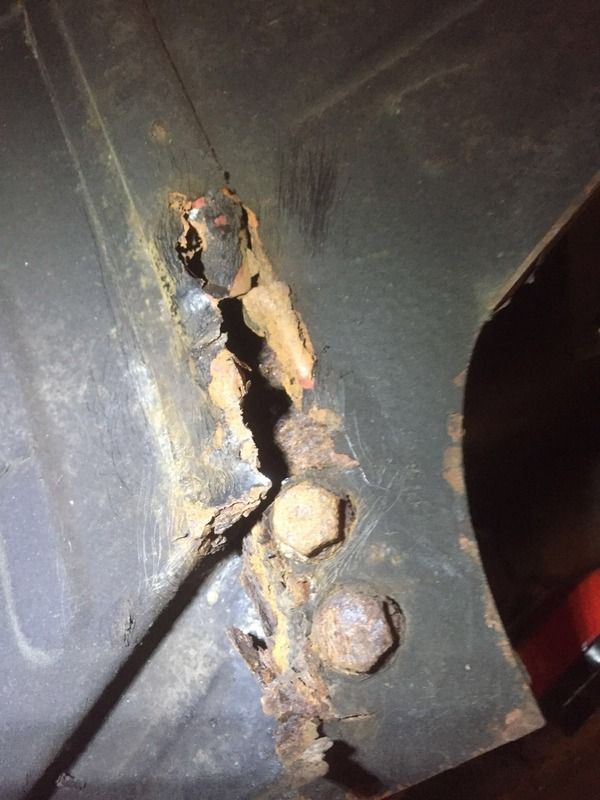
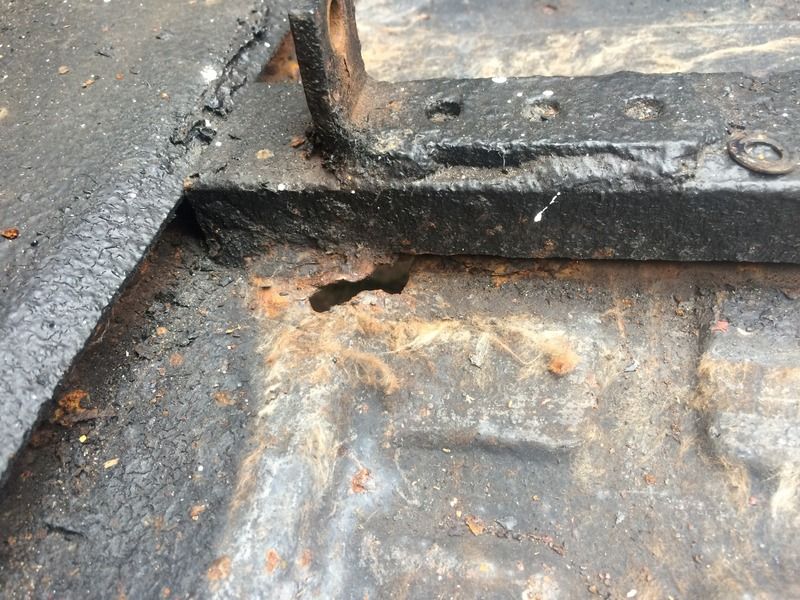
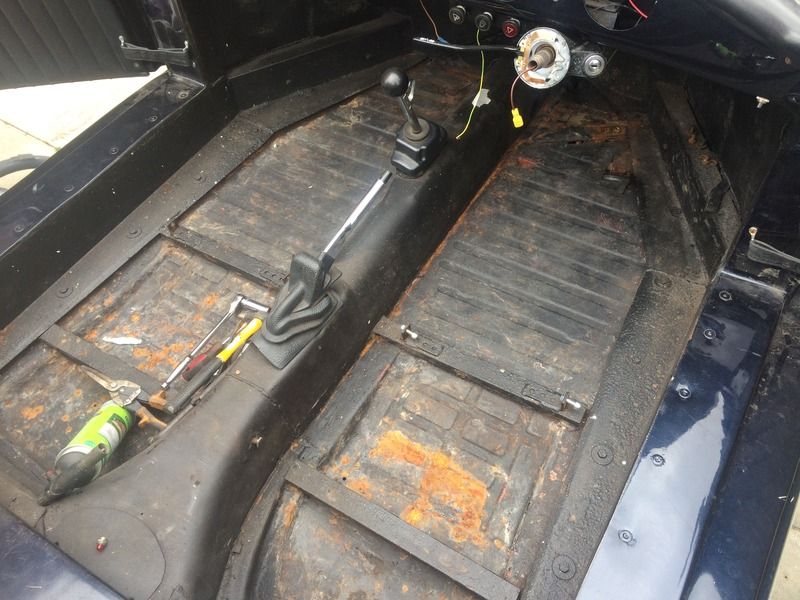
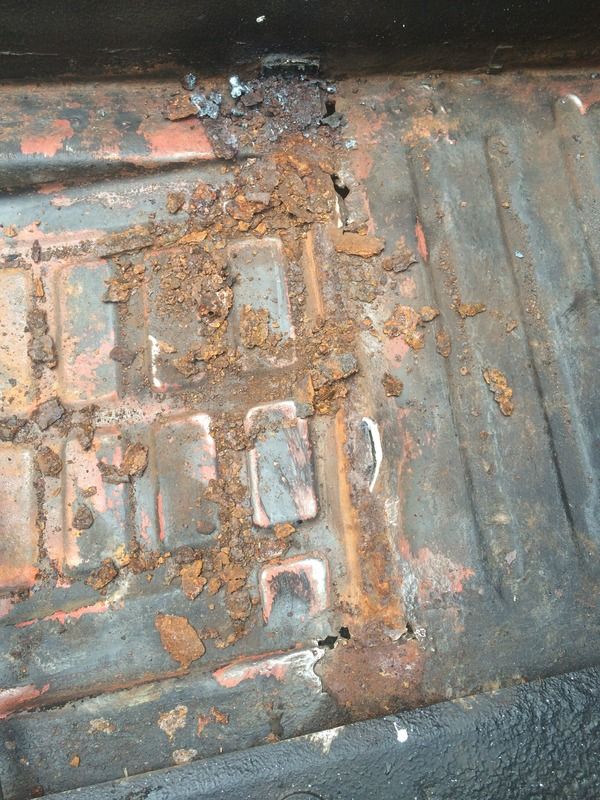
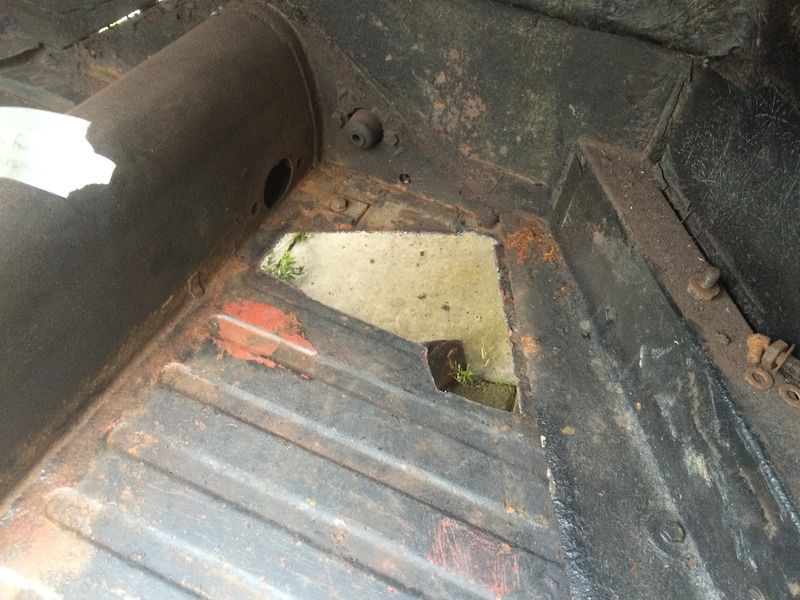
We started to have a little pre MOT poke around and things didn't appear to bad, well that was until a poke became a prod lol


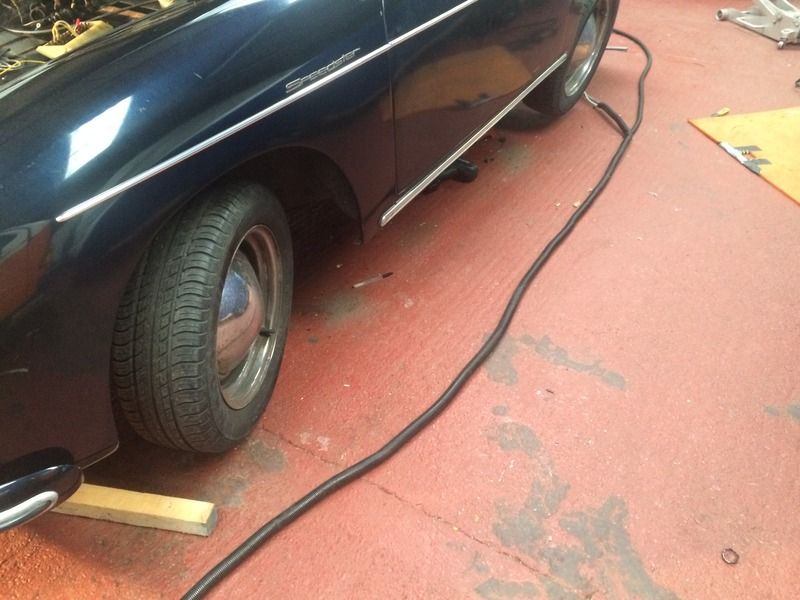
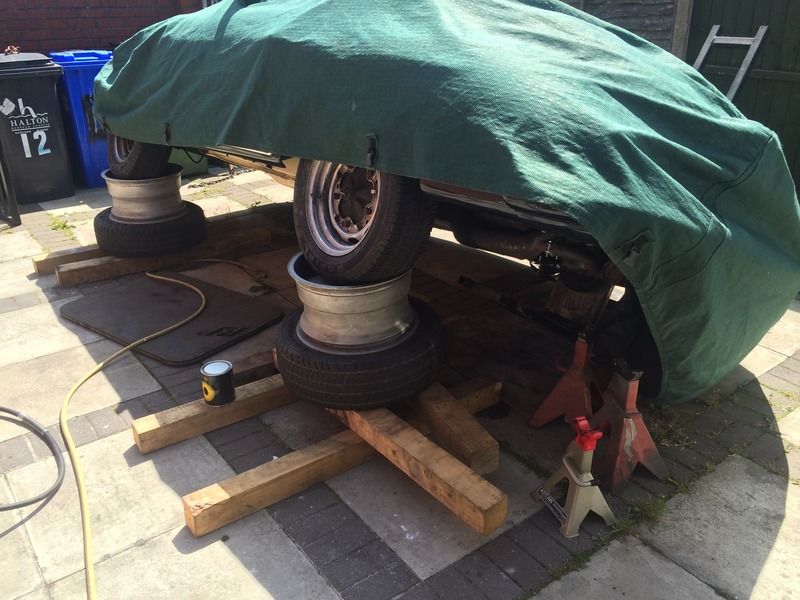
So I decided to tow the car home and much to the annoyance of my neighbours do the repairs there.

It did however give me the first opportunity to give her a proper bath.


There's a few marks on the body but im hoping the paintwork should buff up nice.


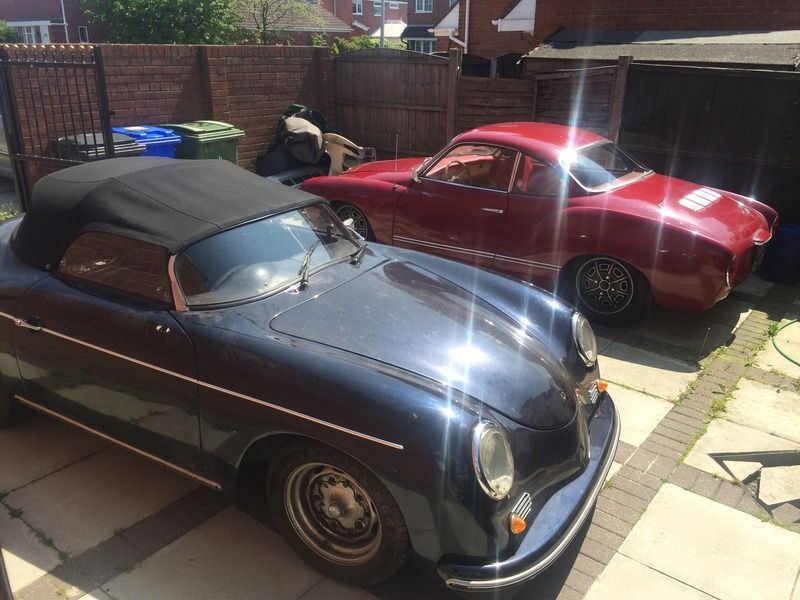
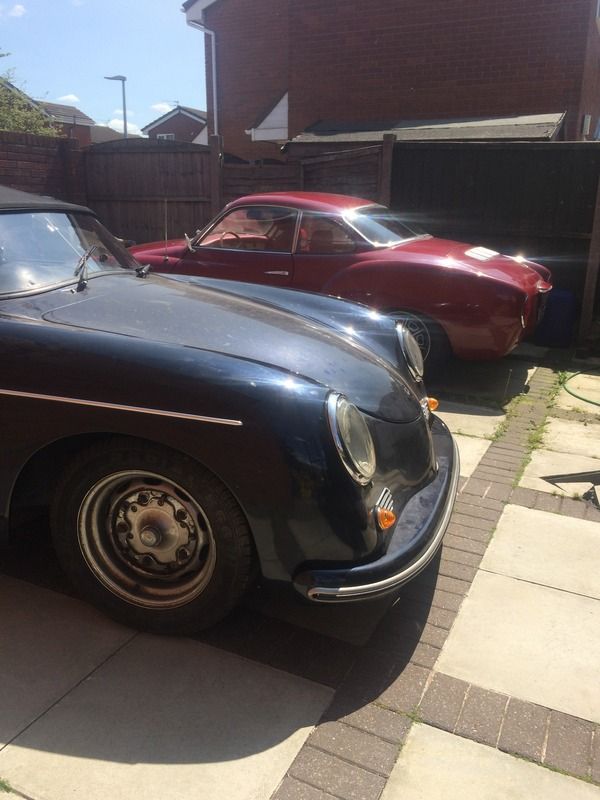
Pre-wash but it also gave a nice photo opportunity with her cousin


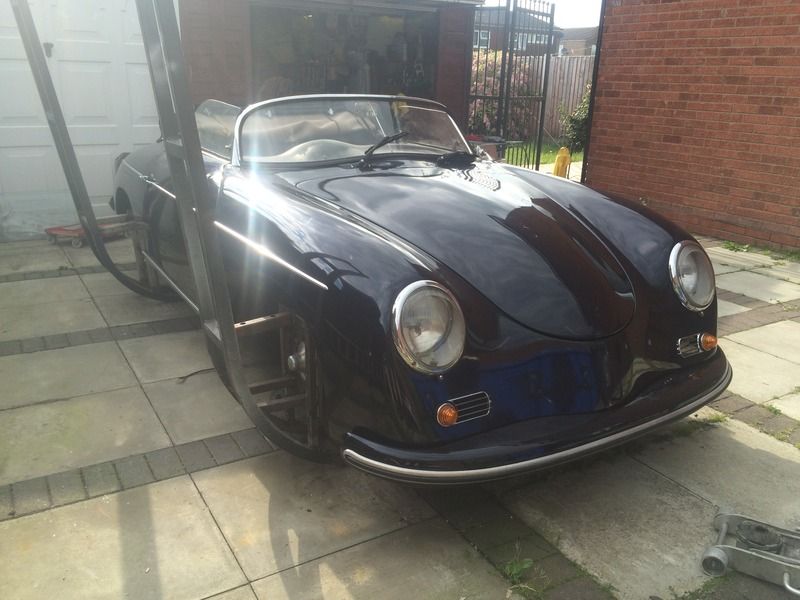
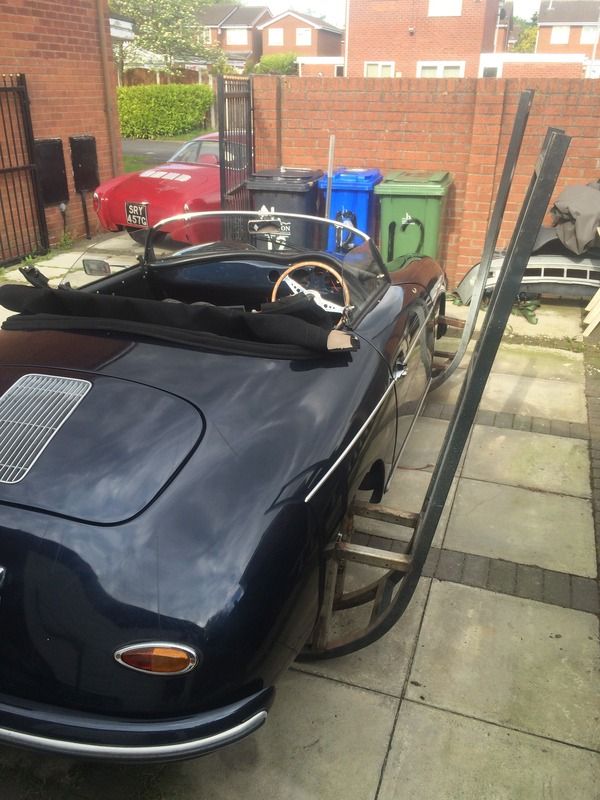
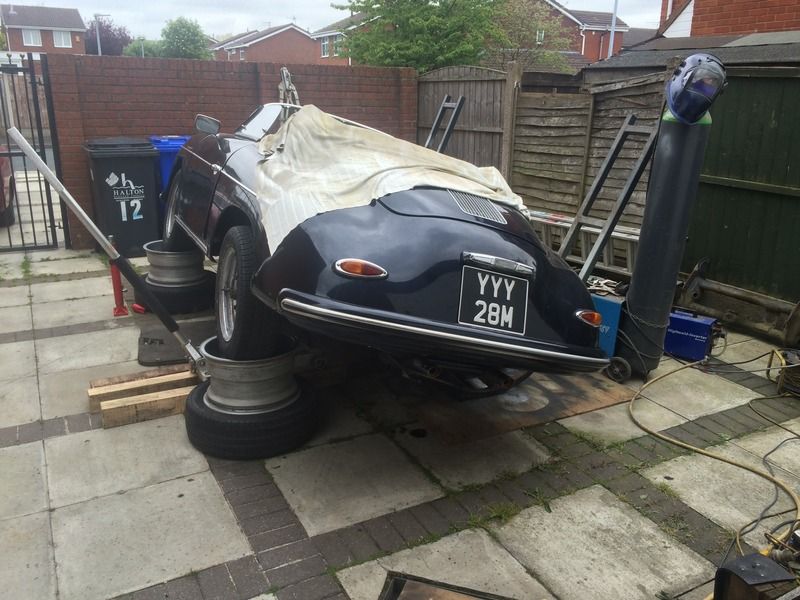
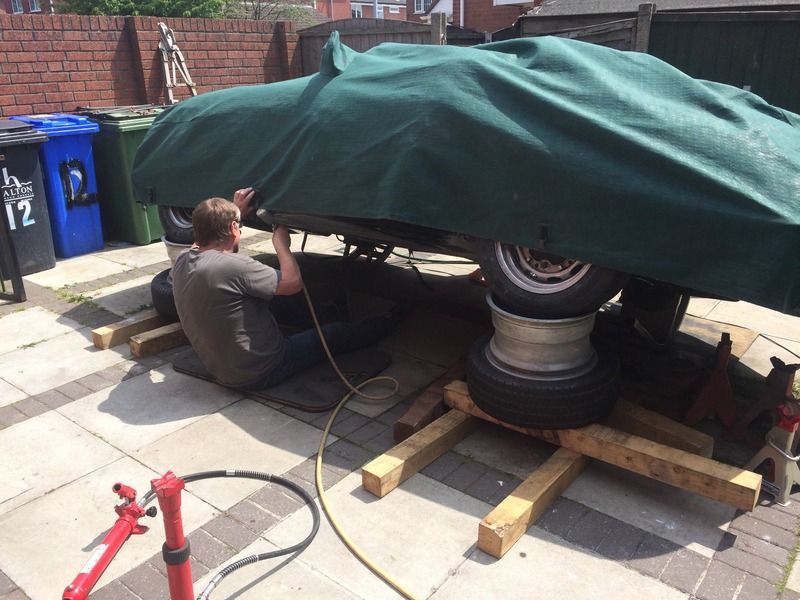
Anyway, I built a set of rollers many years ago and im now on Mk3 version for the beetle chassis


I did however fail, when I do this on my own I use a large porta jack but I found that with the fibreglass body the car actually didn't weigh enough to roll over and just kept sliding across. I guess I need more mates as I'm sure two/three of us would simply be able to push it over, another problem with working shifts if nobodies ever about through the week.

So plan B it was for now, getting burnt on my back lol


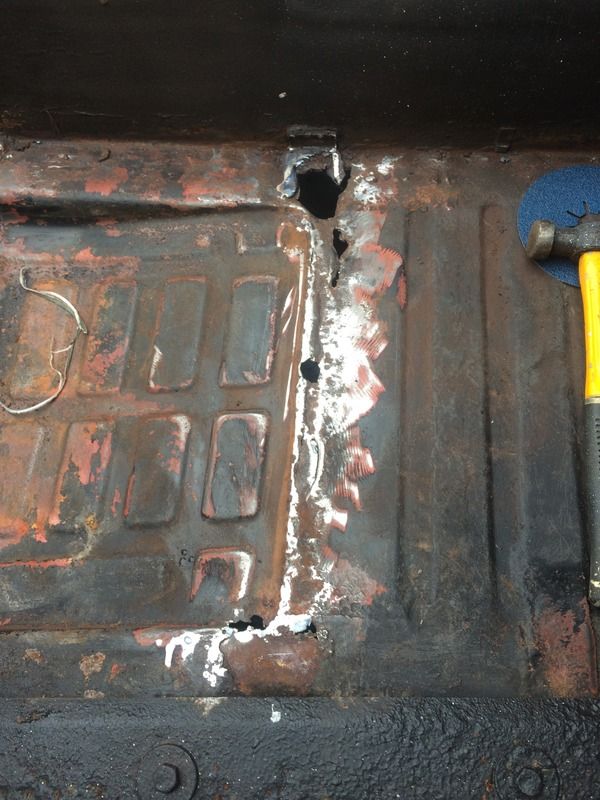
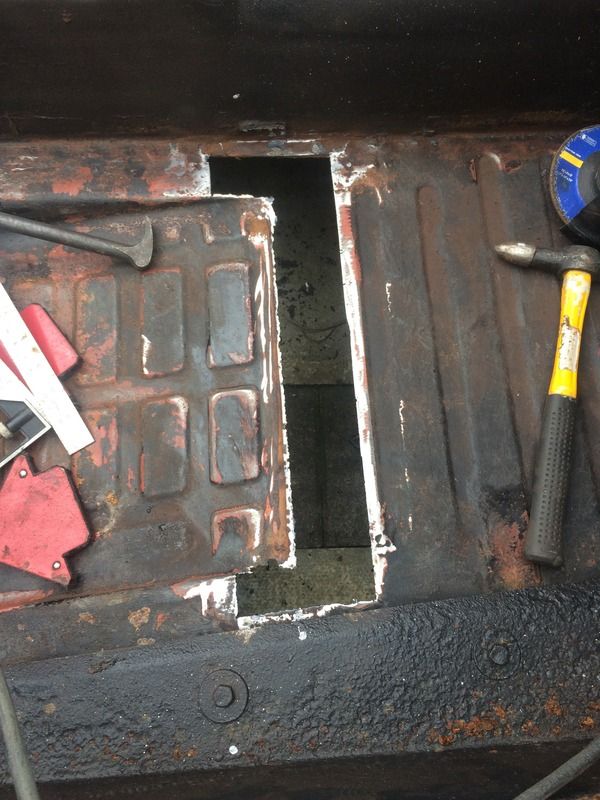
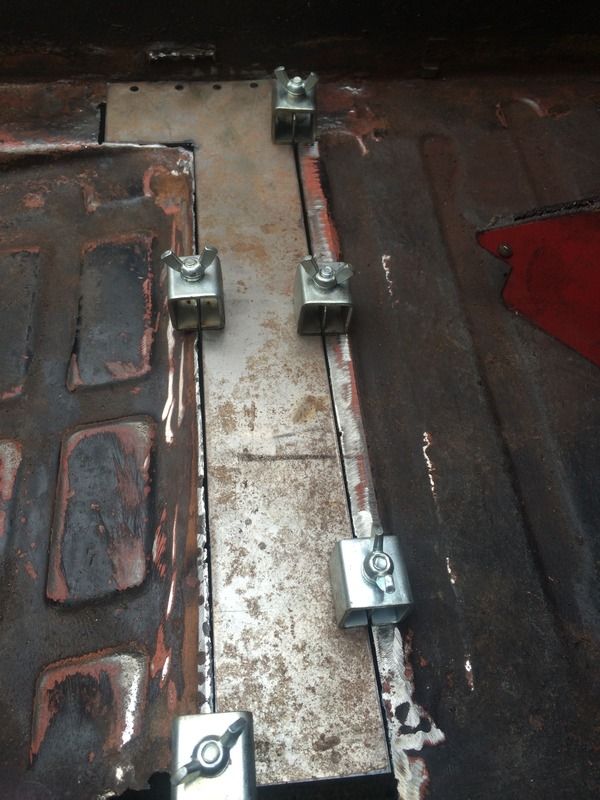
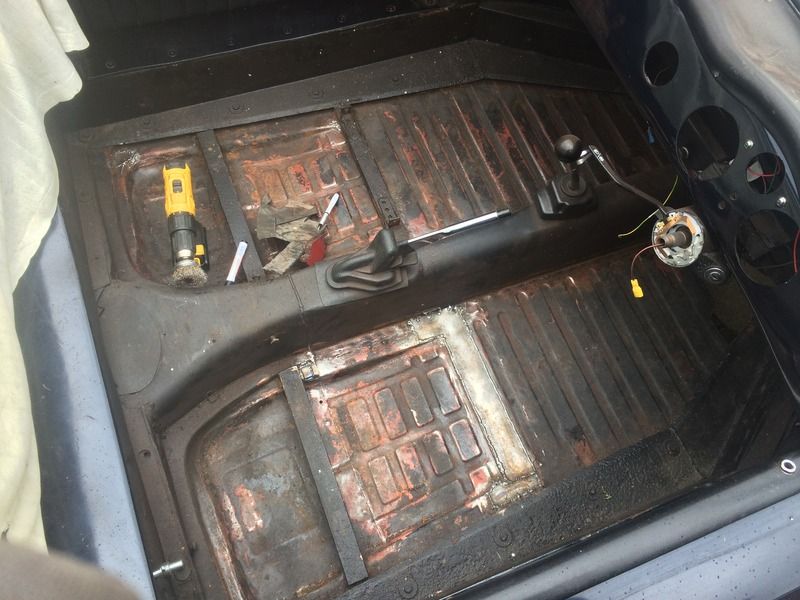
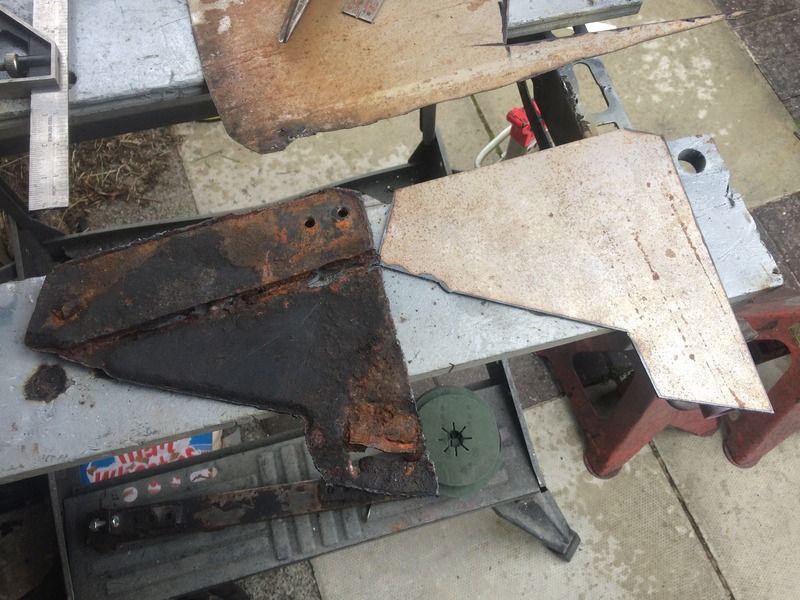
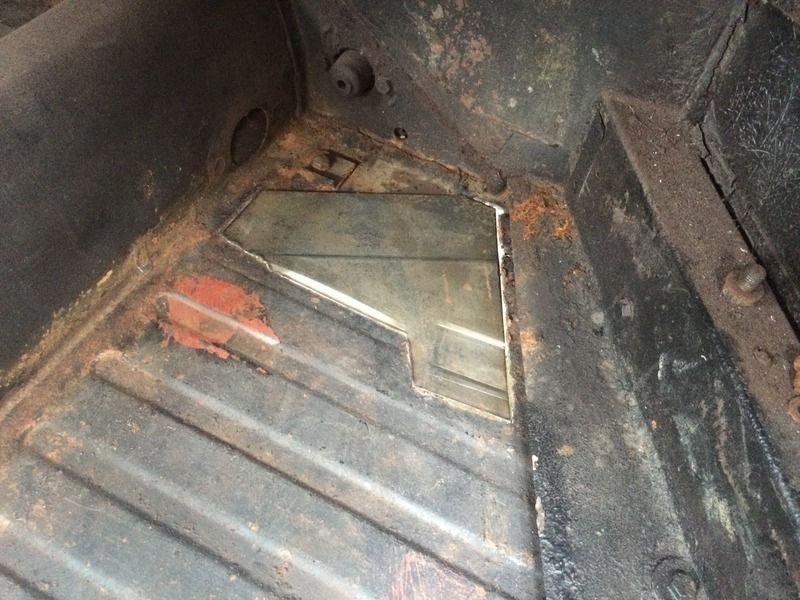
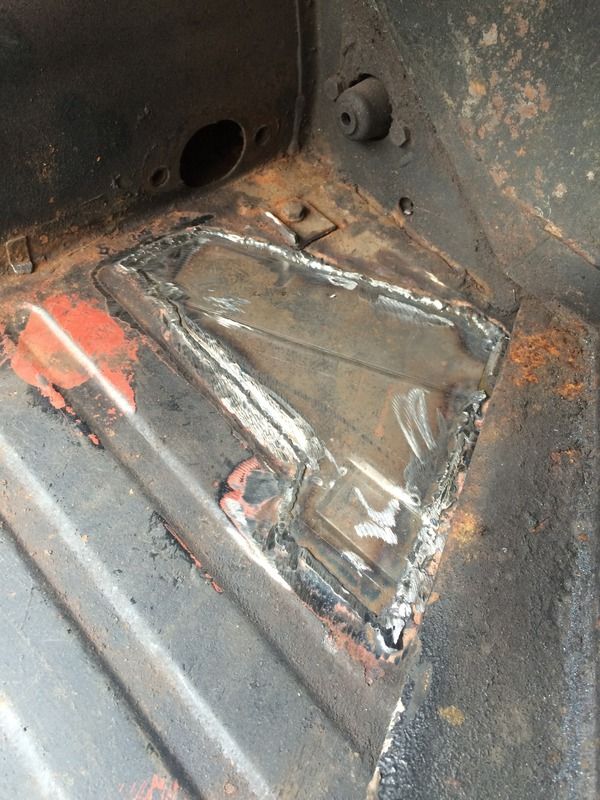
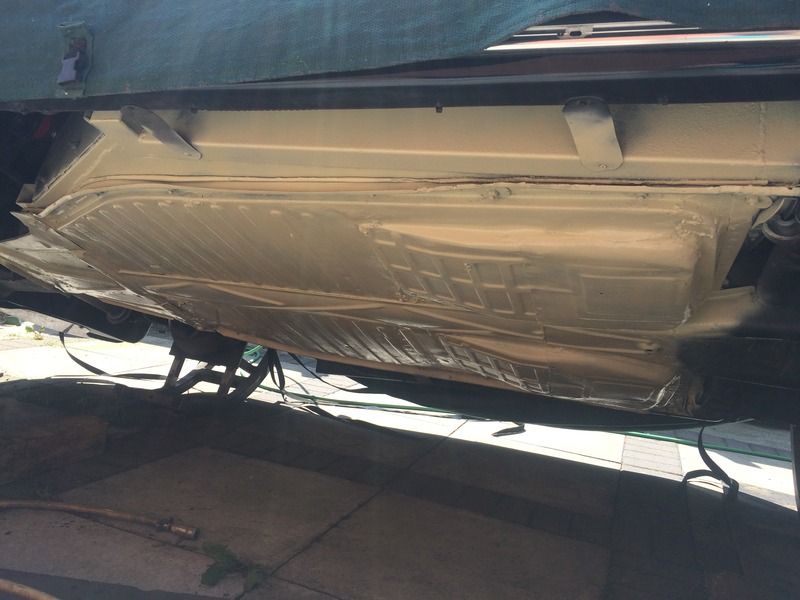
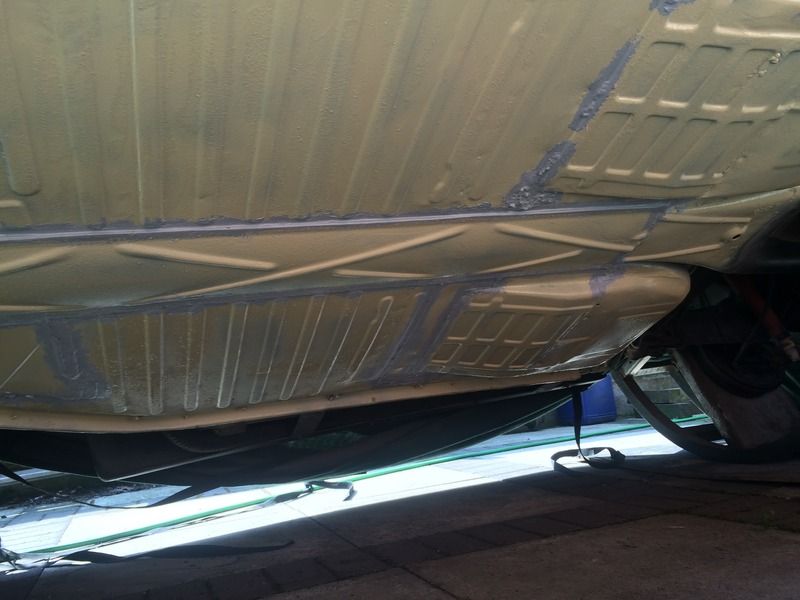
So let the cut, cut, weld weld proceed!


Cut roughly to shape

30 May 2016, 2:16am
Adding some shape and strength


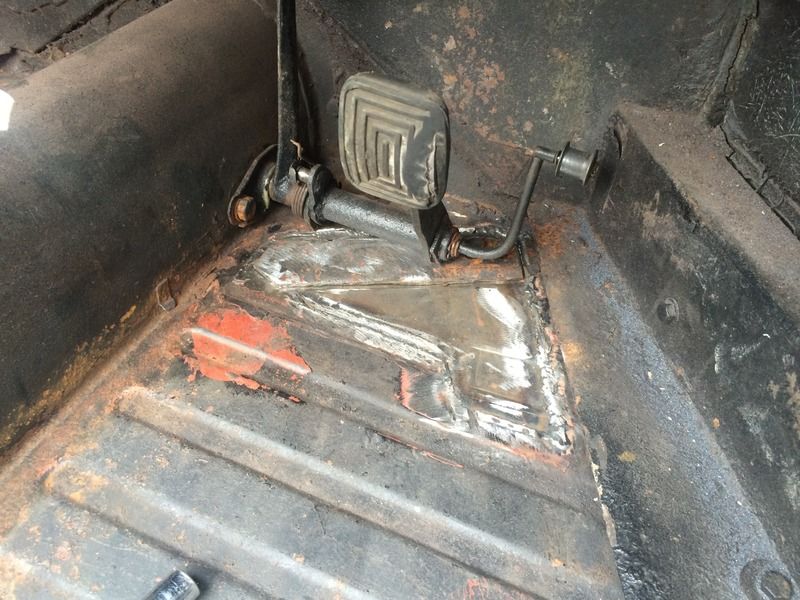
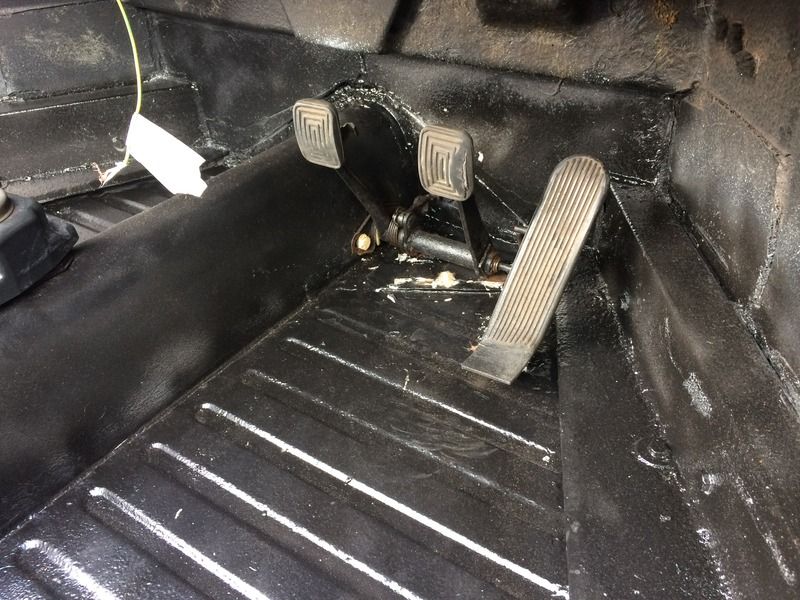
Trial fitting pedal assembly


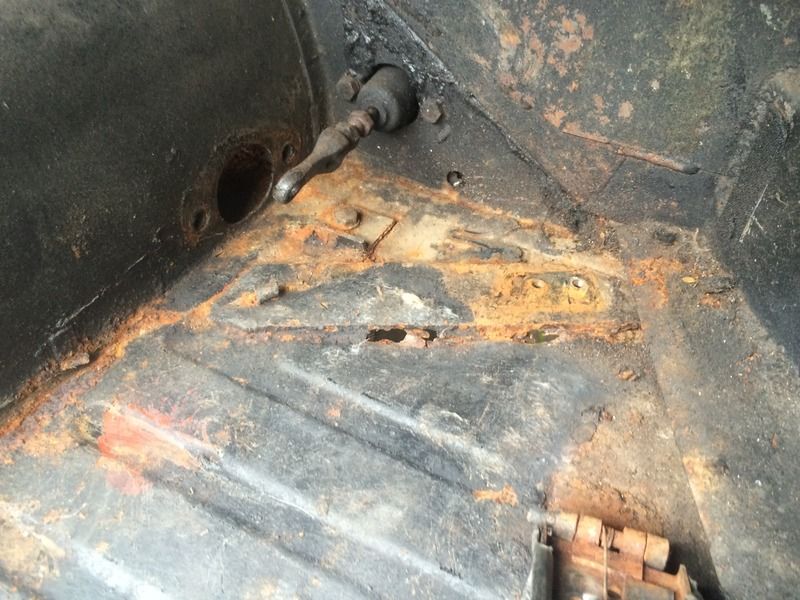
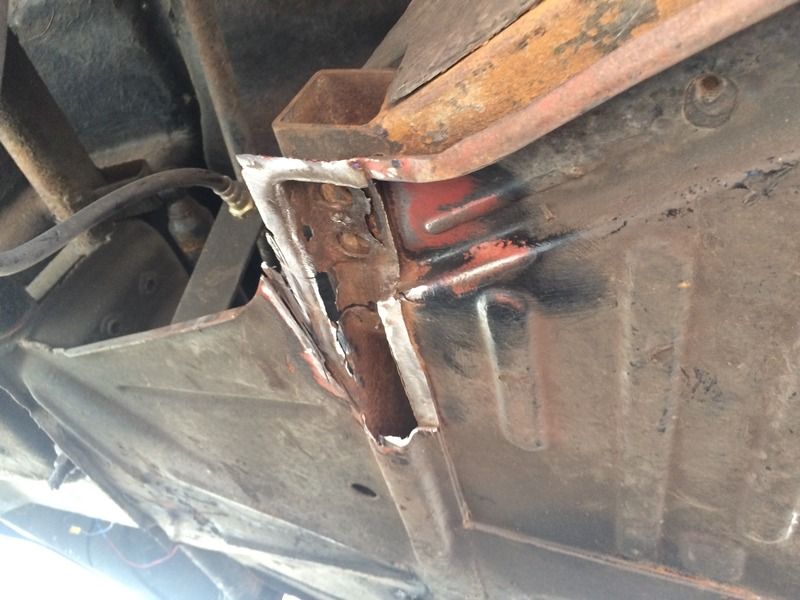
This was probably the worst of the damage, and a bit tricky as its part of the body mount.


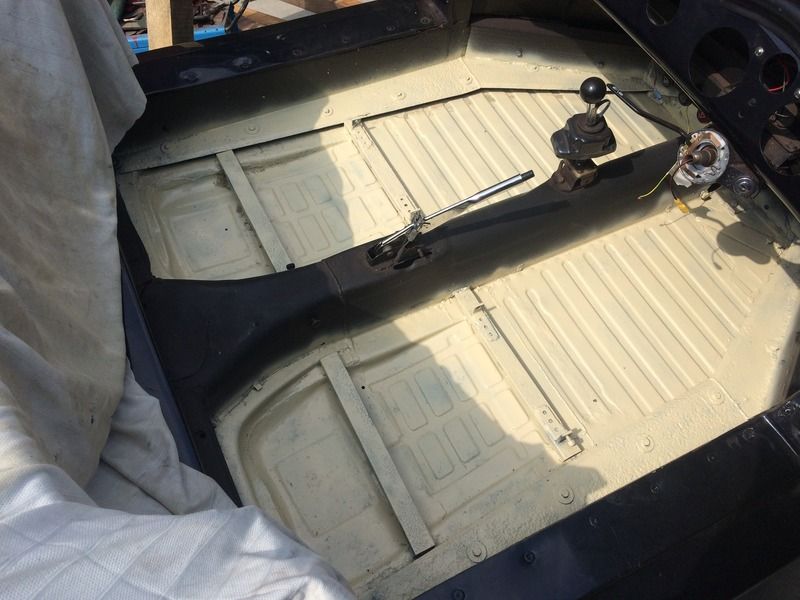
And a rather quick and messy coat of anti corrosion protection (mainly to protect it as I'm now back at work), just got one small piece to weld up then get some seam sealer and stonechip down to mask over all that dodgy welding lol


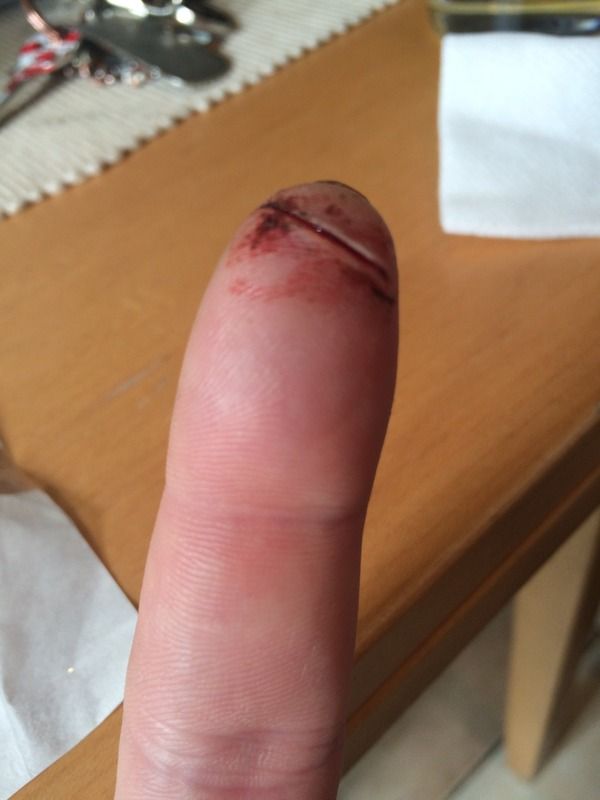
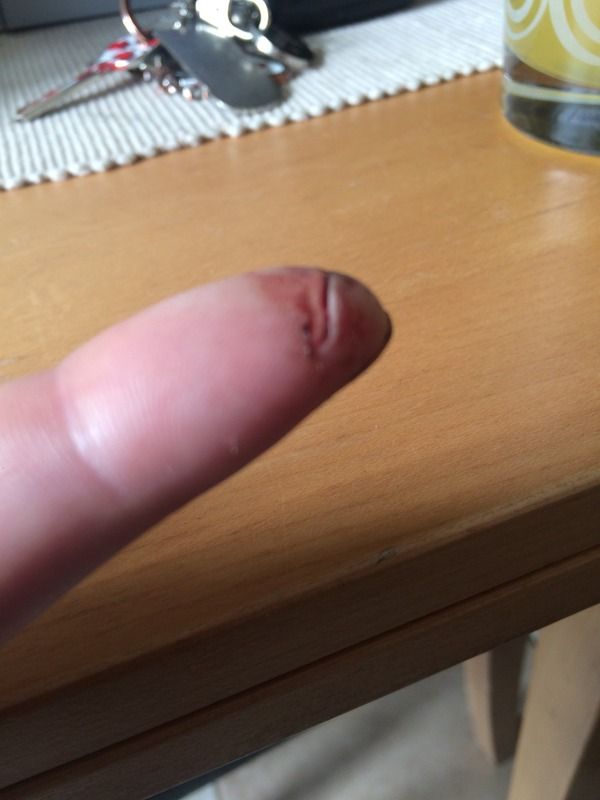
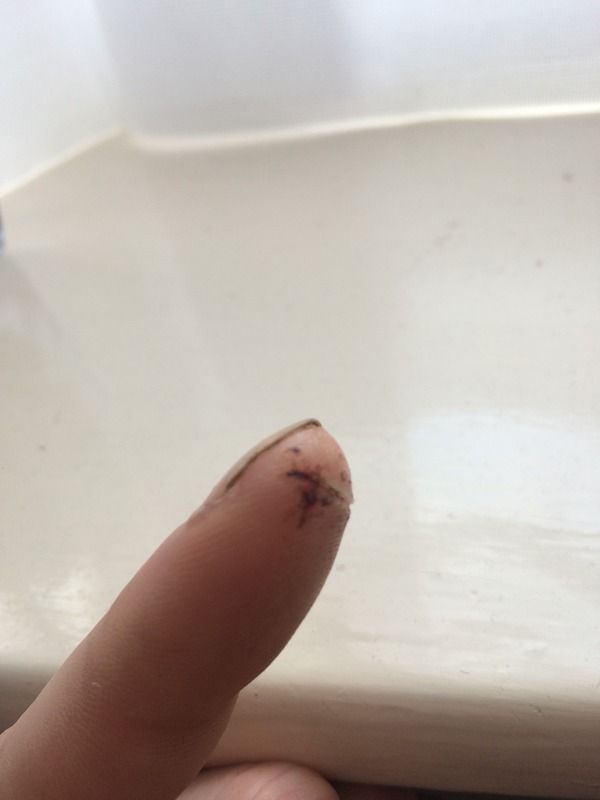
Oh and last note... PPE people!!!! not saying a glove would of stopped this but I don't think the damage would of been as bad. Not like me as we get bollock'd in work if caught without it but it only takes a split second.

Its nearly right through the tip of my finger but it could of been a lot worse.


30 May 2016, 7:59am
Ouch! :eek:

89Rallye - Belated welcome to the forum. :cool:

Looks like you are really getting stuck into the rebuild.

Good luck, Paul. :)
30 May 2016, 9:02am
Nice work, love the car, photos are great and give a great insight into the car and the task in hand.Keep posting!
30 May 2016, 9:36am
Great work, will end up with a lovely car.

Feel your pain with the cut as I just recently done the same, although mine was on the index finger joint. 1mm cutting discs go through metal like butter so had no problem with my finger! I had leather gloves on but no guard on the grinder :whistle:
30 May 2016, 4:28pm
Thanks guys,

Bizarrely, there was no pain and no blood. My other half a burns specialist at a children's hospital and it never goes down well when she comes home and I'm covered in cuts and burns lol
30 May 2016, 7:27pm
89Rallye wrote:
Thanks guys,

Bizarrely, there was no pain and no blood.


Same here, I think the heat from the cutting disc corterized the cut as it went, very efficient :faint2: Had to go to A&E for mine though as I couldn't get the black bits of grinding disc out of the cut (again no pain when trying). Wasn't until they cleaned the cut (had to be quite aggressive) that it started to bleed.
3 Jun 2016, 8:42am
So with my nightshifts over I have a few days to spare, I have to say with the sun shining it made climbing underneath with a grinder and welding set rather difficult.

I am thinking of renaming it project swiss cheese though, every time I touched the floor with a wire wheel on the grinder it'd open up like a colander lol

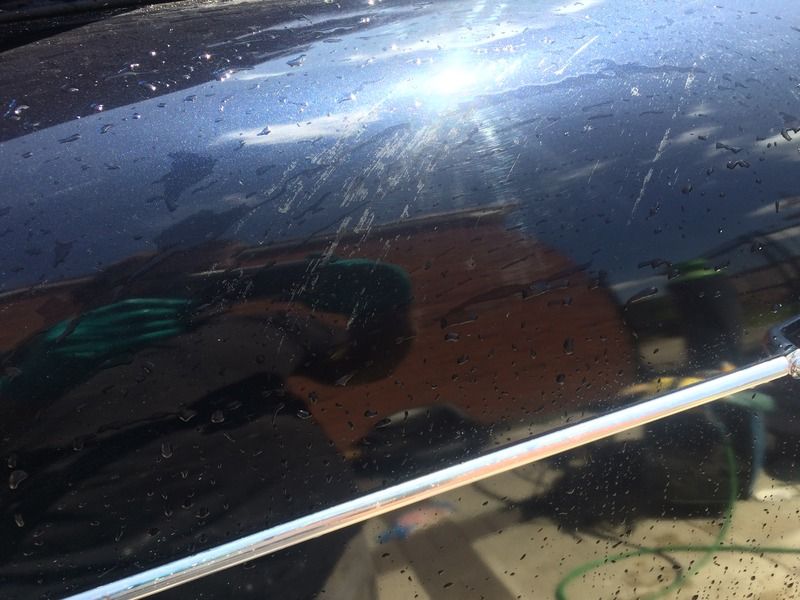
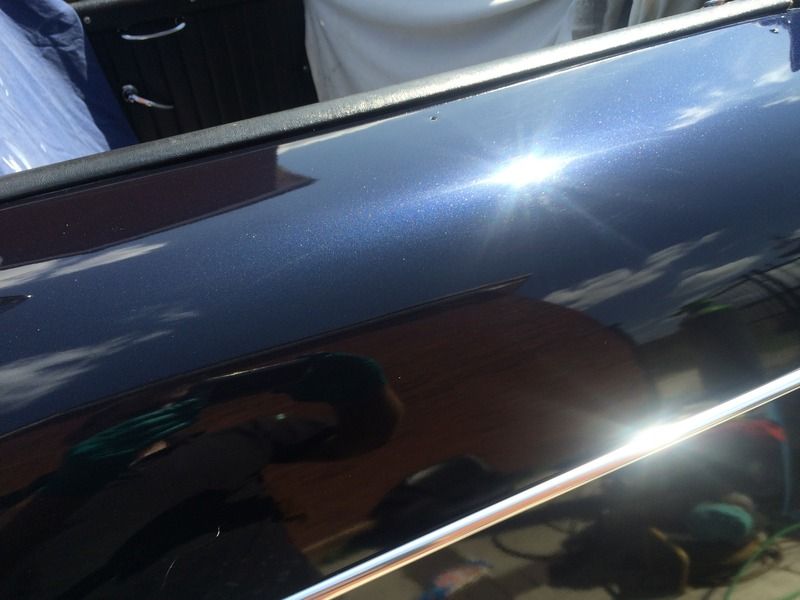
With all the welding complete and my seam sealer lost in transit somewhere I was at a bit of a loose end so thought i'd have a look at the paint. So I took advantage of the angle while it was up on the roller and cracked out the mop.

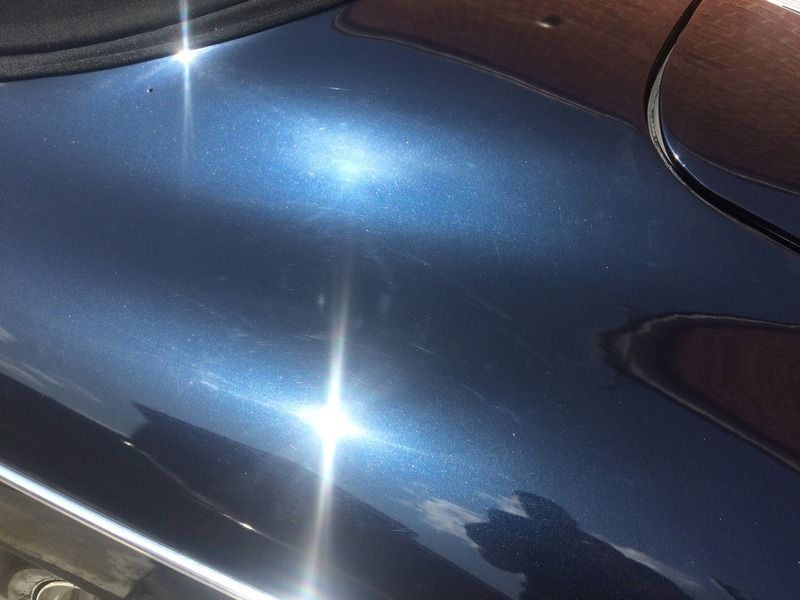
Its been lying around god knows where for god knows how long, the paint finish didnt look too bad although there are a few dodgy areas where poor prep is present (prep marks under the paint etc) and also a few wrinkly panels although this is a fibreglass tub so a little is acceptable I guess.

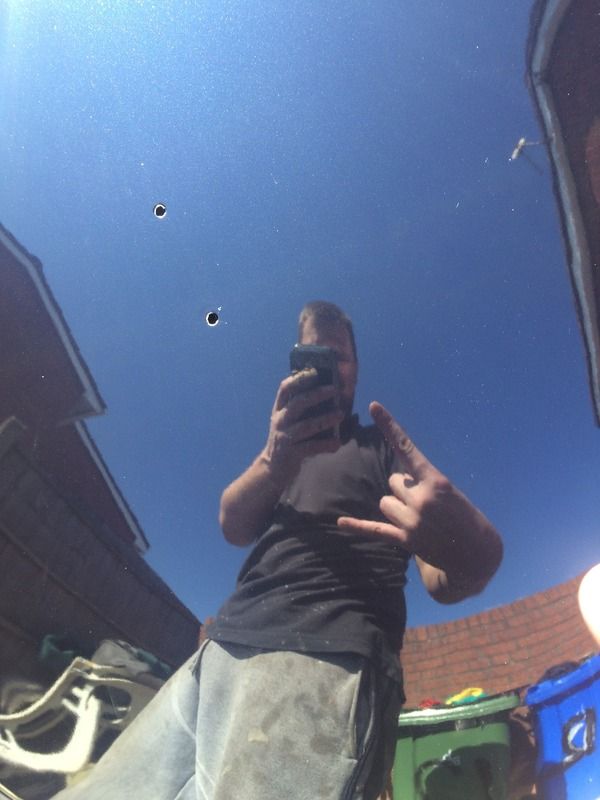
There were a few marks around the body, thankfully most of them came out although theres a couple that will want a little touching up.

This was probably the worst of the damage and tbh It looked right through the paint and I did not think it would come out.


Theres still a few tiny marks but I bottled out on going any further for fear of burning right through thr paint.


Im loving the sparkle, not just a plain boring blue after all.


Just want it finished now, especially with the sun shining. i'm aiming to have it ready for its MOT by the middle of next week
3 Jun 2016, 7:08pm
:whoo: :whoo: :whoo:

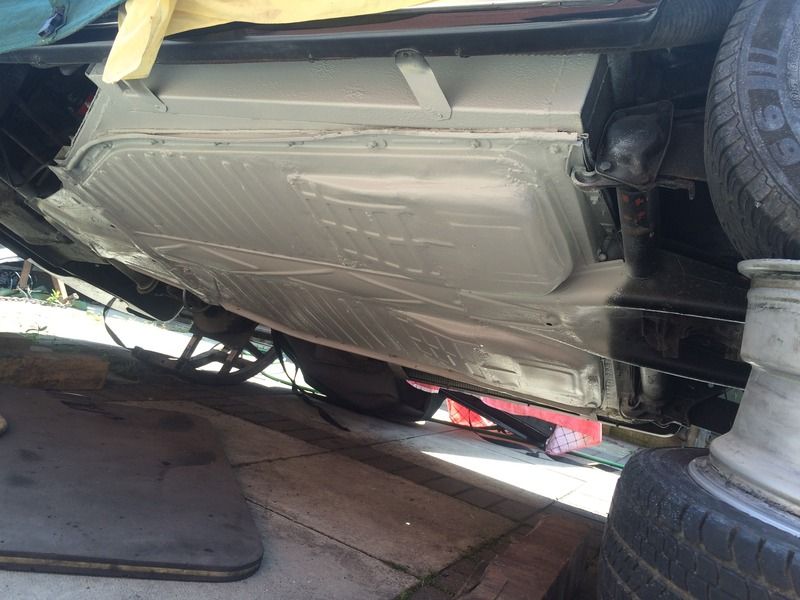
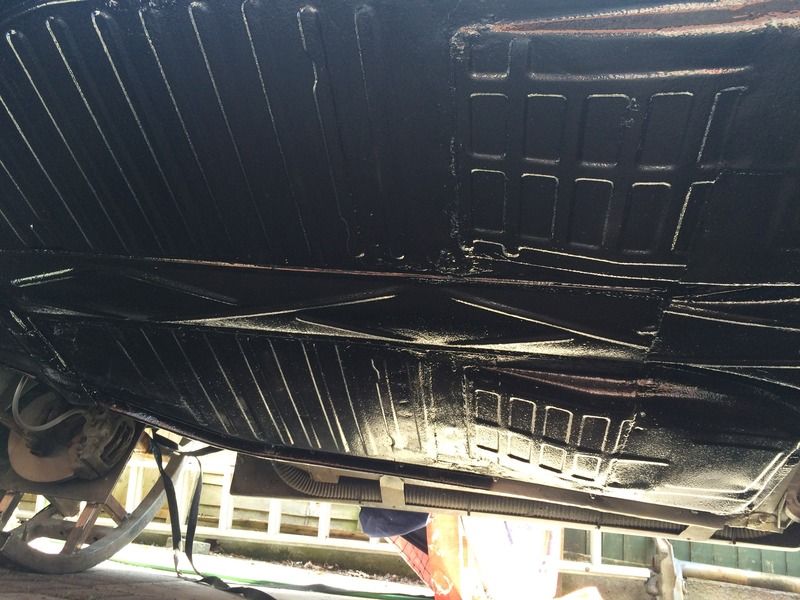
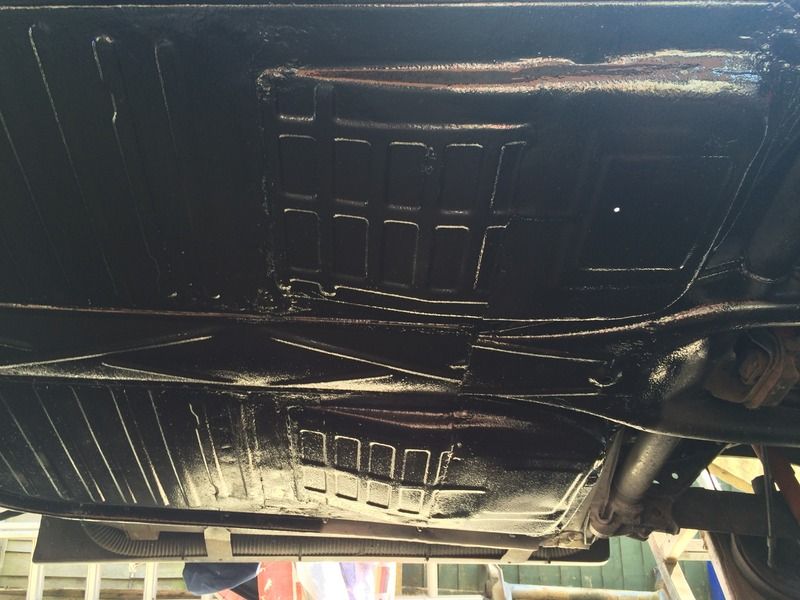
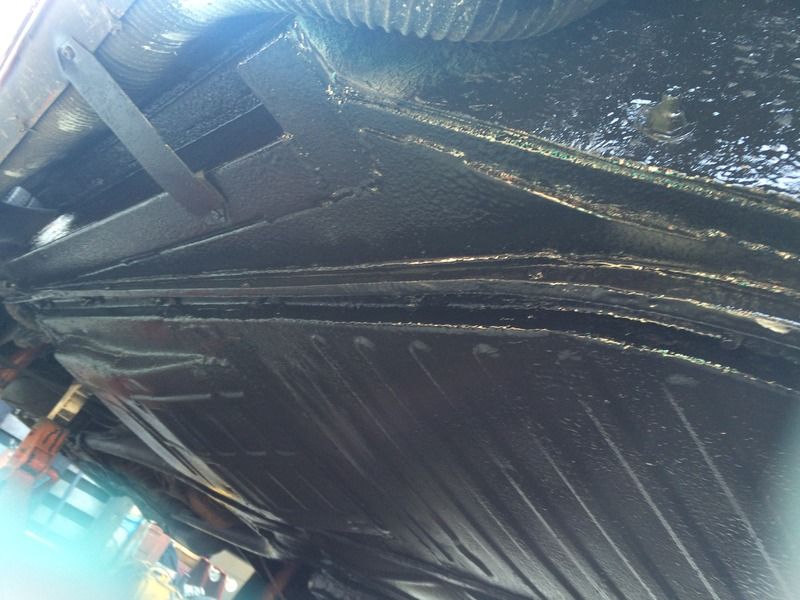
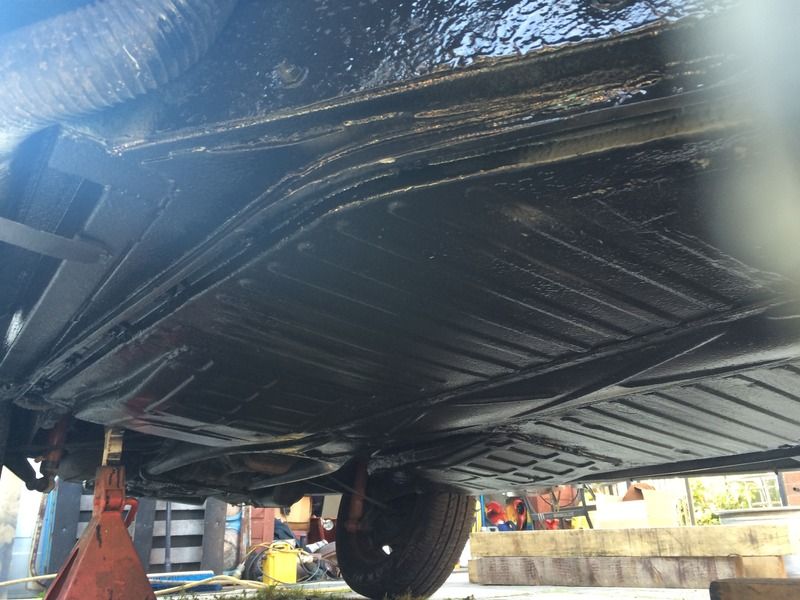
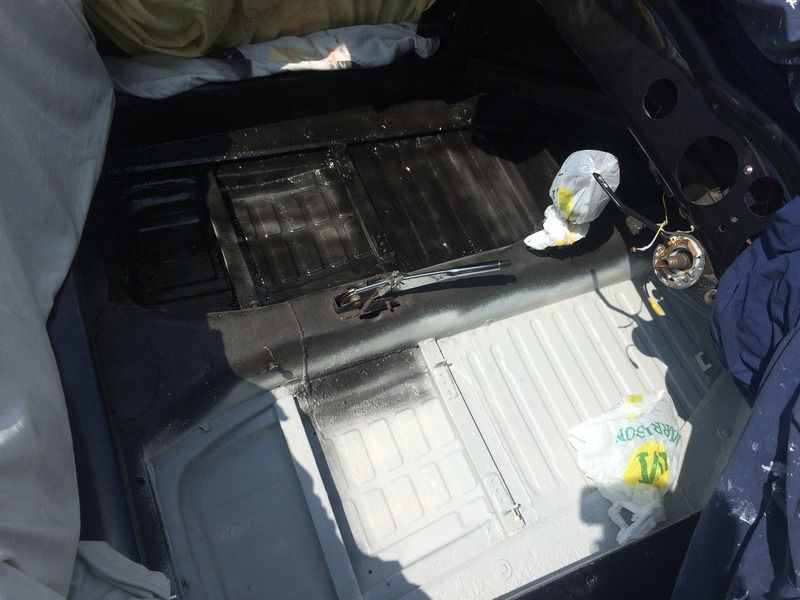
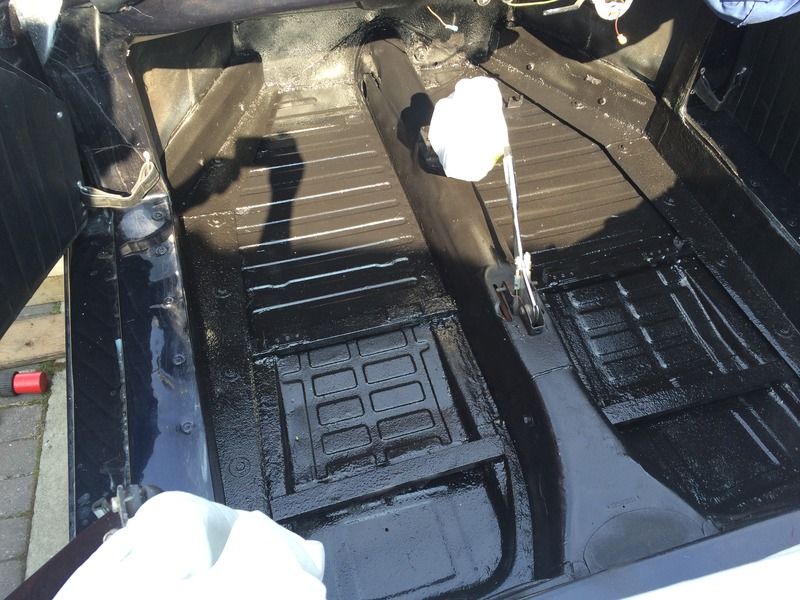
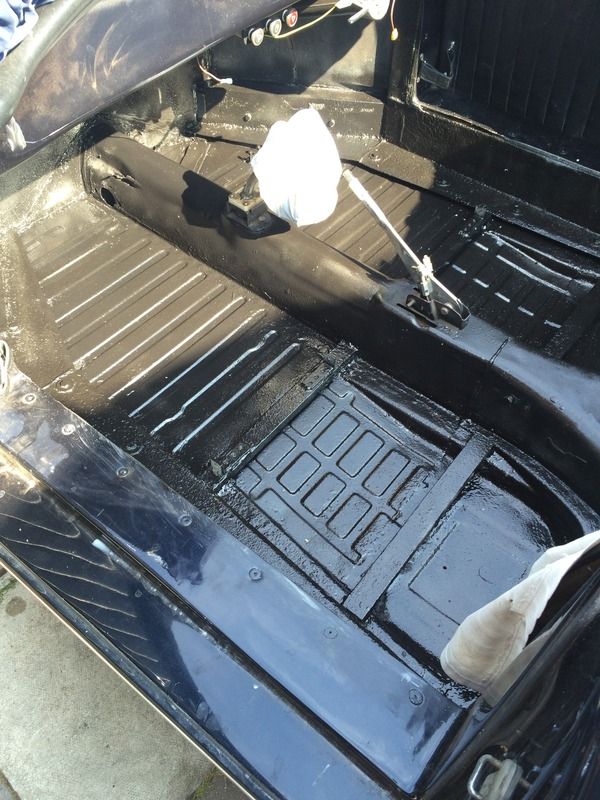
The underside is all done!!! Not the greatest photos but hopefully you'll get the picture.

Had help from my old man today too, was nice to see him with a spray gun in his hand again.


Nice coat of anti corrosion primer,


All seams and dodgy welding sealed,


Then a layer of stone chip,


Then a gloss black top coat, not the best photos but trust me its a 200% improvement.


Same treatment for the inside too, sealed, stonechipped and painted. Nothing pretty but important I think on a leaky cabriolet and hopefully it shouldnt require any more welding for a long long time!


Just have guages to rebuild, fit and rewire, few other bits of wiring to complete (fuel sender, horn). Seatbelts and seat to go in then I think she can go for an mot :pray:
3 Jun 2016, 7:47pm
Well done, looking really good!
5 Jun 2016, 6:15pm
molleur wrote:
Well done, looking really good!


Thank you!

Ive had a well earned break away in the sun today, although I did call into our unit to pick up some missing bits of trim id left down there.

Yesterday didnt go so well though really,

Shes now back down on her wheels again and hopefully this is the final run in of the mot preparations. I also remembered to fill the engine with oil again before running it up! (id drained it out as I was planning on putting it on its side which never happened in the end)

Now Ive been around beetles and beetle related cars (Karmann Ghia for one) for a long time now, so I dont know if it was a hangover from the night before or the heat but it took me most of the afternoon to get the pedal assembly back in connected up and adjusted correctly.

Thankfully though after all the welding everything has lined up again.


Then things took a turn for the worse, not the end of the world admittedly but it felt like it when it happened!

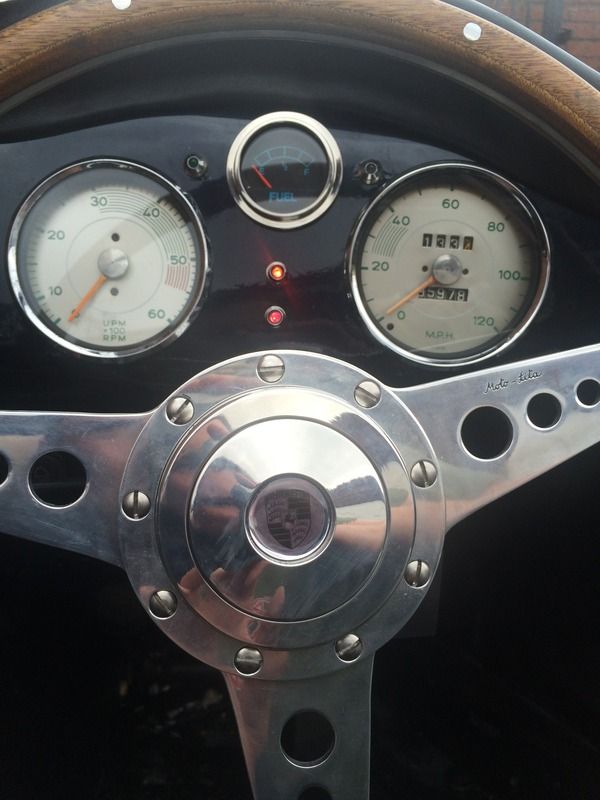
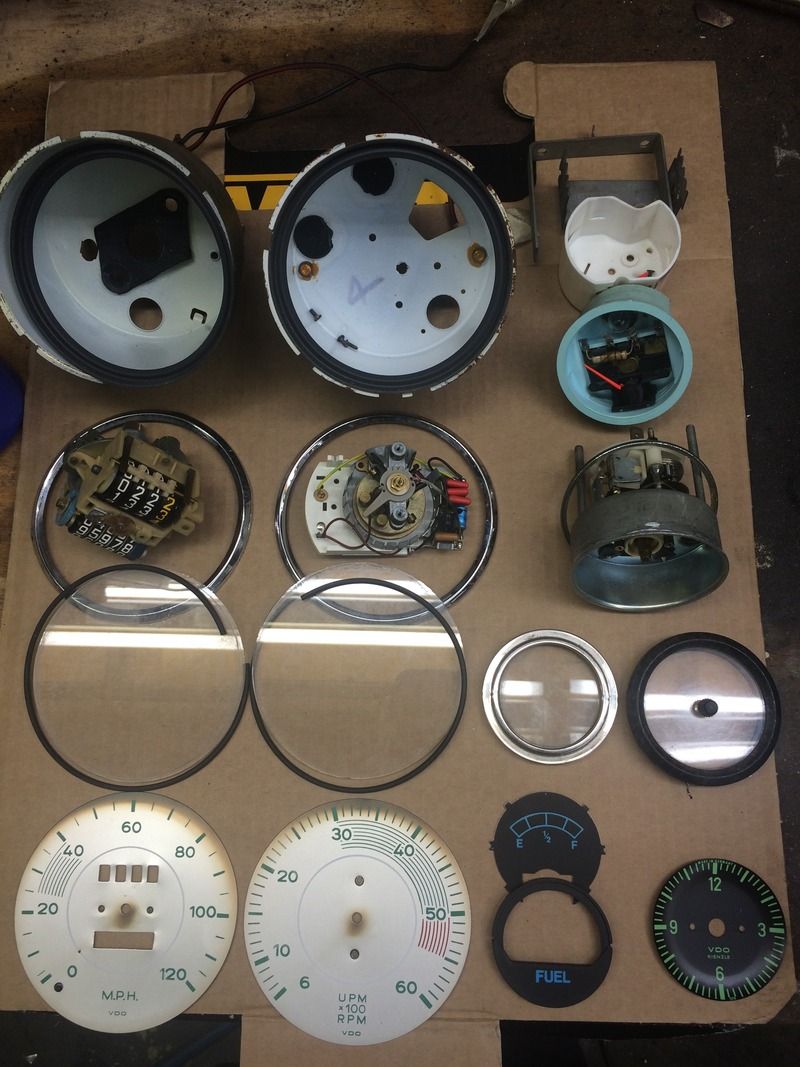
I've given up on the idea of changing the gauge faces and im pretty sure a speedo is an mot requirement anyway, so I started re-assembling the puzzle.


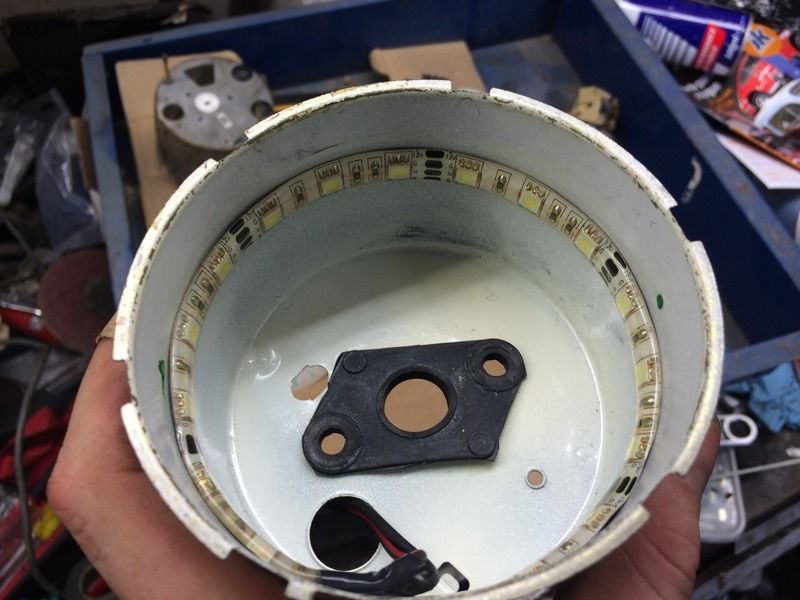
I also installed a little upgrade ive been thinking about for the last few weeks,

LED backlighting to replace the utterly useless single bulb, not that its ever going to get much used at night but you never know.
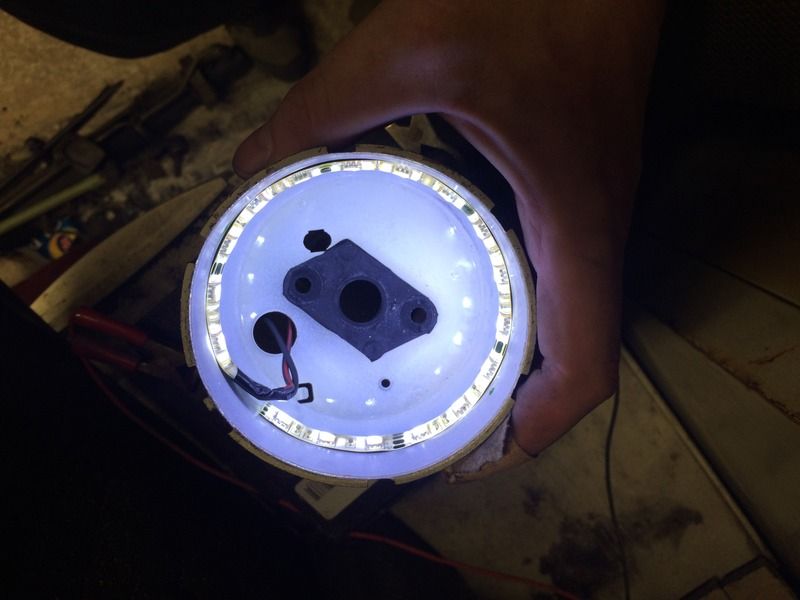
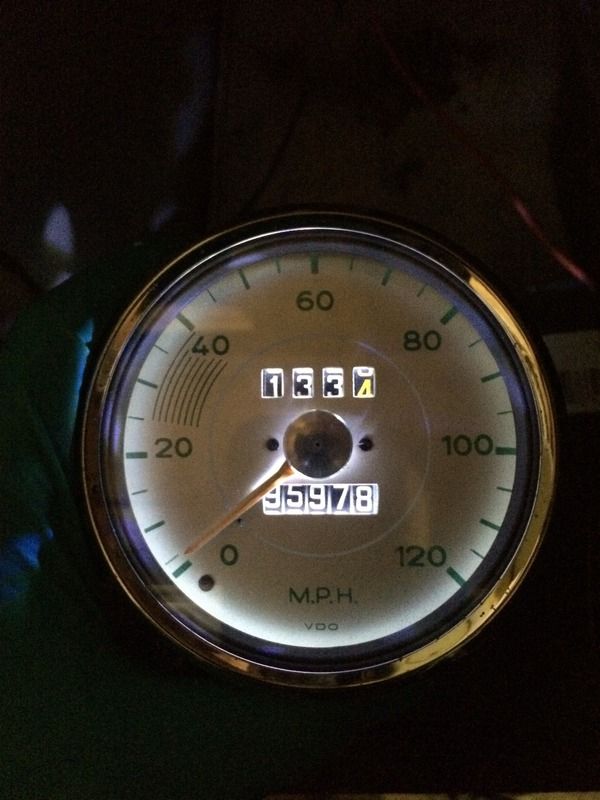


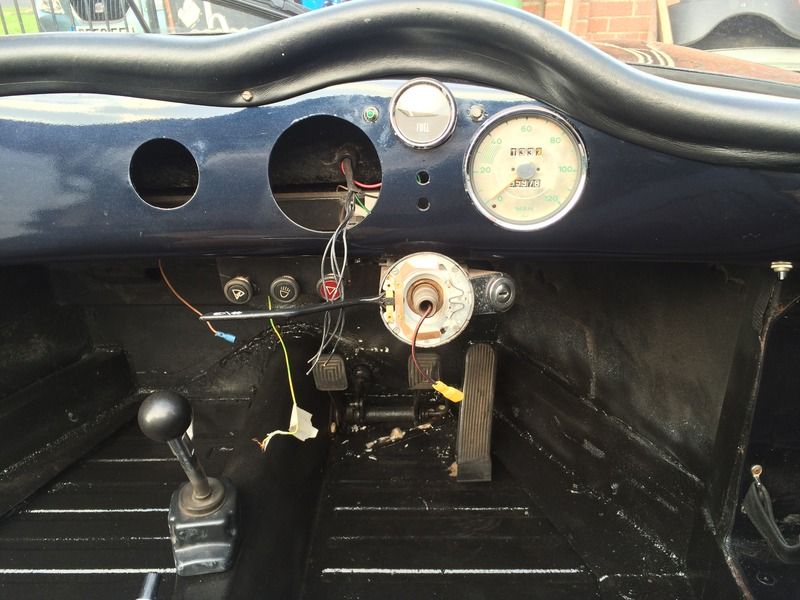
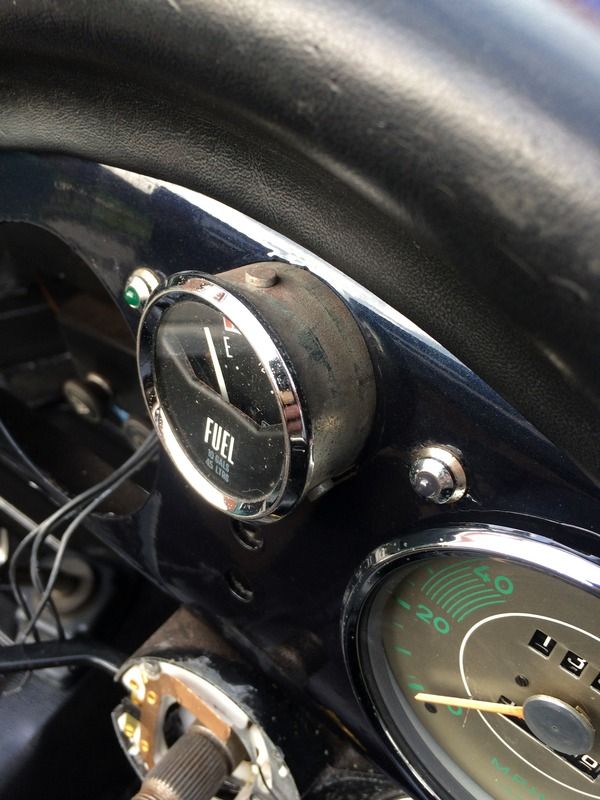
Then fitted back into the dash along with a fuel gauge I found in a box of bits left over from my Karmann build. Which I think is better looking than the one that came out.


Ive never seen this mounting though, its a US gauge so maybe it something they use? I dont really wanting to notch the dashboard so may file these off and make a standard style mount for the rear of it.

Anyone any ideas?


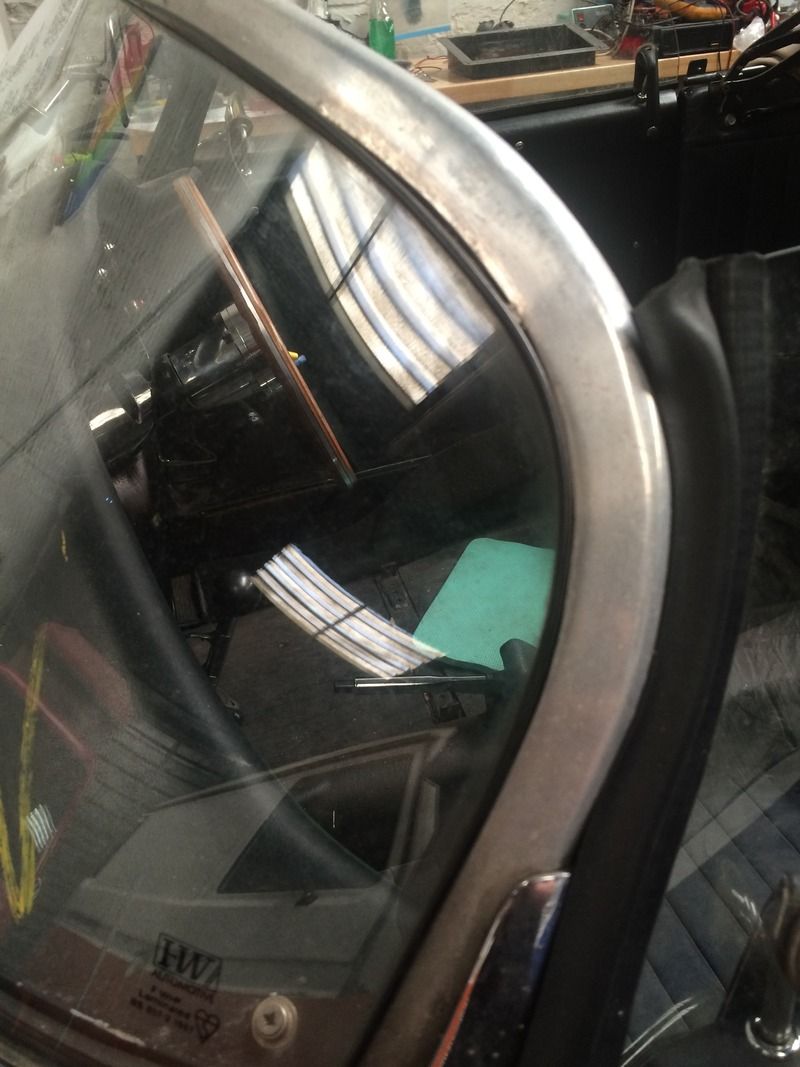
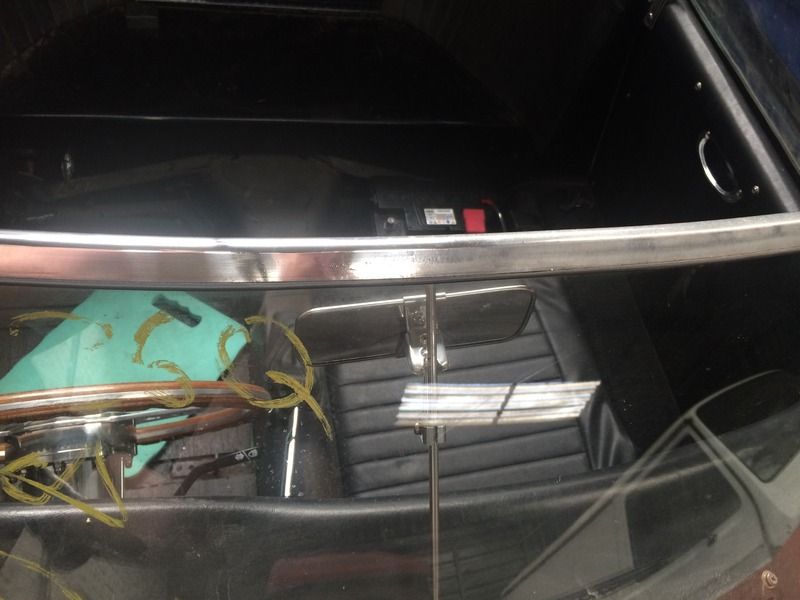
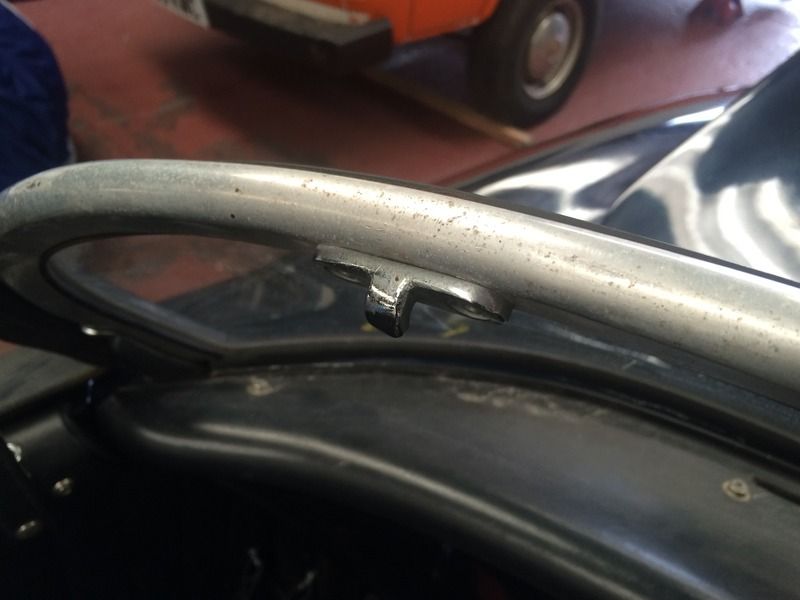
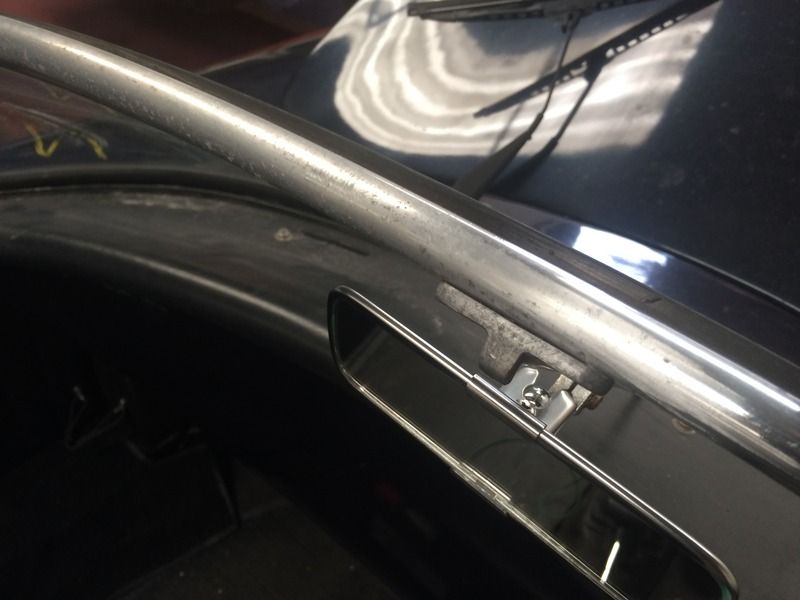
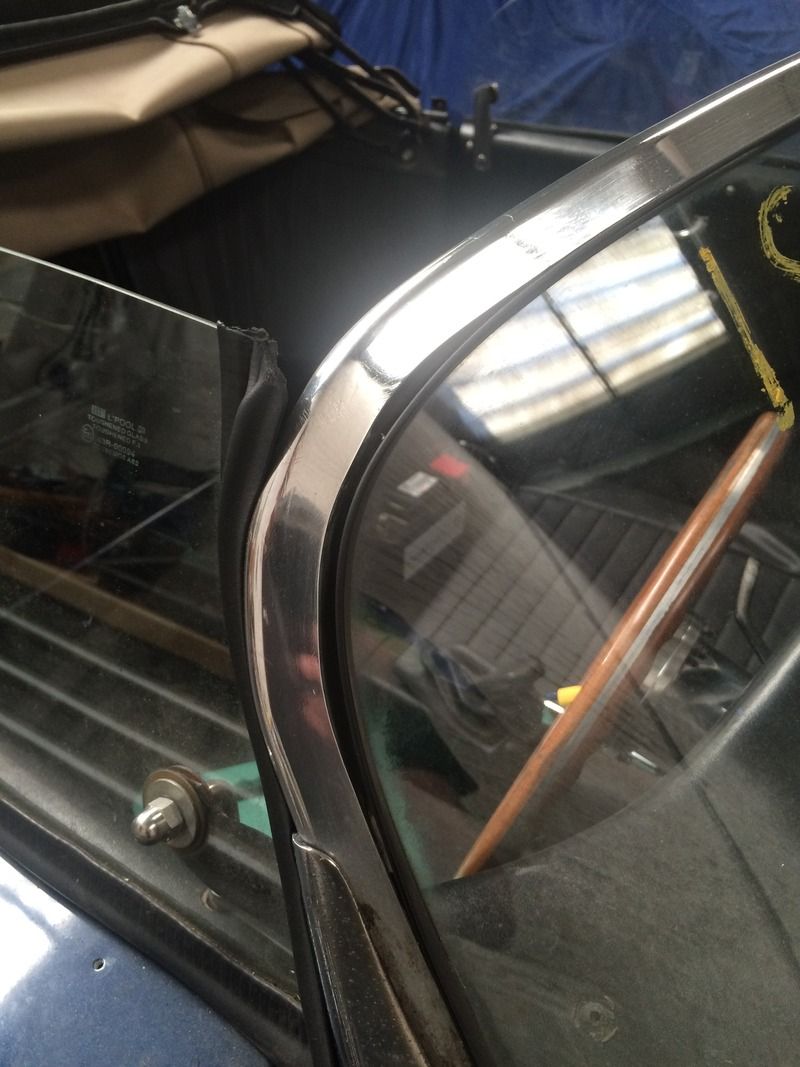
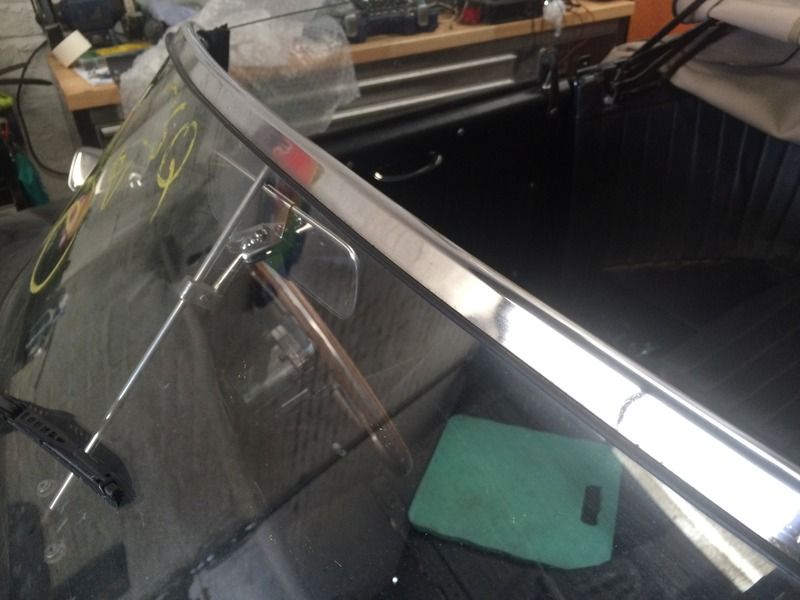
Then like a dick went and dropped this while cleaning it,
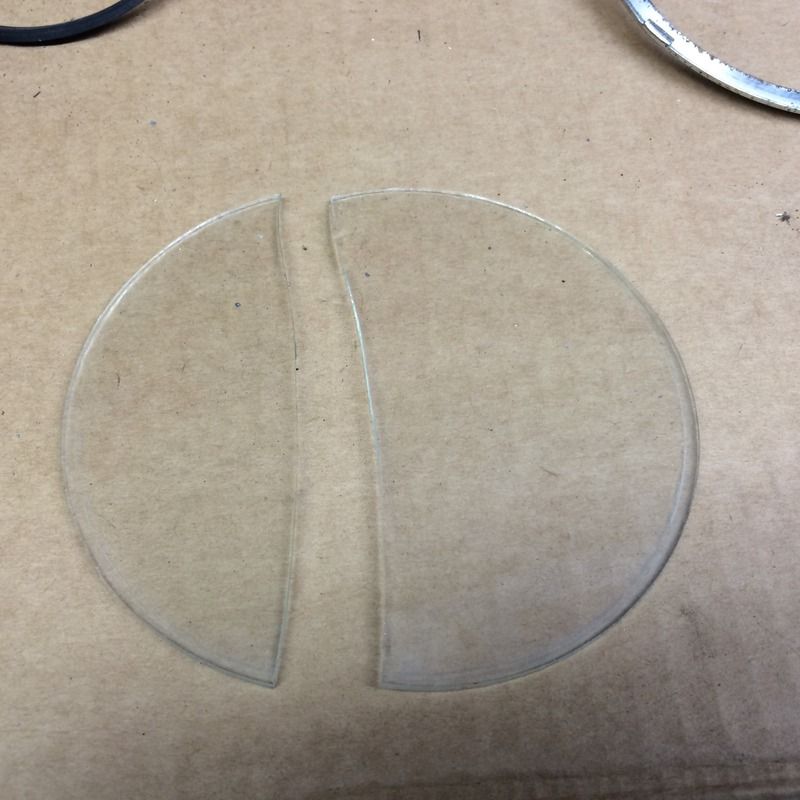


You can hardly notice it though, honest! :fear:


So things are on hold again while I order up some new glass but I can complete the wiring and then I think its just seatbelts to go in and Ive a set of boots to fit to the gearbox.
22 Jun 2016, 11:01am
Not much to update the last few weeks, working in between shifts I've been slowly beavering away at the seemingly never ending list of jobs to do and just when you list is completed there's quickly another.
I've now got all the electrics buttoned up, have to say getting the horn to work off the steering wheel was a nightmare! The previous owner has it on a switch from the dash but I wanted it back on the new horn push. Involved a lot of head scratching but it worked out to be a worn steer bearing in the column and the column was badly adjusted/aligned when fitted (from factory). Basically the wheel kept on earthing out on the metal cowling, so it took some filing, new bearing and all was good in the end.

Everything's now working how it should expect for a big one in that it's charging. I'm putting this down to a fault Dynamo, but I do have a spare alternator which I was planning on using on another project but needs must I guess.

All gauges and warning lights now working, I don't like the fact the fuel gauge doesn't match but I can sort this at a later date. It's temperamental anyway so will need changing.


Seatbelts in, all the trim back on and there was only one thing left for it off for the mot. :pray2:

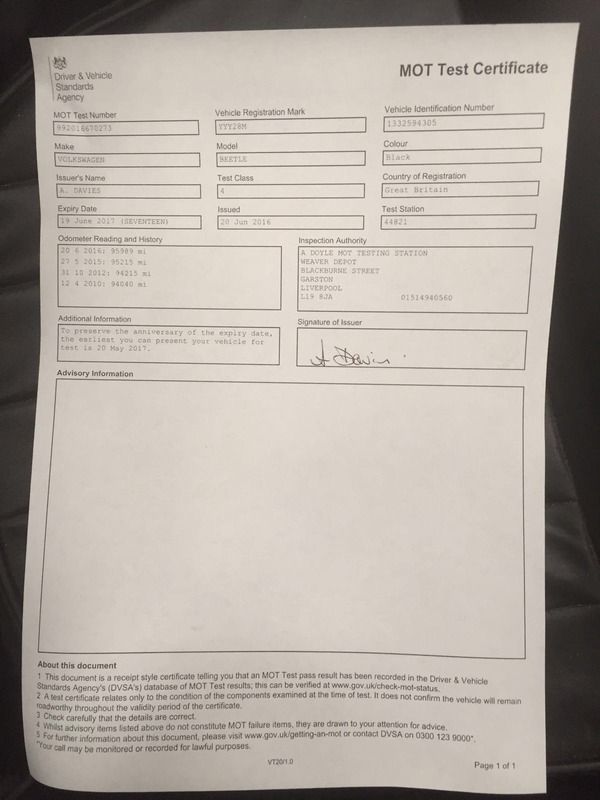
Which I'm happy to say she passed with no advisories and nothing needed apart from the near side headlight was out of adjustment.

My mate dropped it off for me so no photos, I did want a nice one of the underside while it was up on the ramp lol

The piece of paper is all that matters though,


:bounce::bounce::bounce::bounce:

So onto hopefully the final list, I've managed to have a drive around in it now and can say only one thing and that it's terrifyingly quick and seems to bounce a lot obviously due to its light weight body, so this is something that'll need addressing. Might be able to go a touch lower at the front which might help.

I've got the interior to finish off and the wheels to polish but I'm sure there'll be more to add to that lol

Need to sort out a supplier for carpets if anyone can help?
23 Jun 2016, 8:42pm
Hopefully you'll get it sorted for the one day summer we may end up having
24 Jun 2016, 7:56pm
Neat work 89Raylle on the refurb, just come across your thread which makes interesting reading.

Will you use the car or sell it on.
1 Jul 2016, 10:29am
swifty wrote:
Neat work 89Raylle on the refurb, just come across your thread which makes interesting reading.

Will you use the car or sell it on.


Cheers,

The car was bought to keep and the better half has fallen in love with it (apparently her childhood heart throb in Beverley hills had one, all be it no doubt a real one!) but after having a drive around in it now and being that I'm 6'4" it may be a little difficult for me to live with so I may sell it but probably next year.

I did have a video of me driving it but cant get it to work on here, looks a little noddy car'ish
2 Jul 2016, 7:28am
89Rallye wrote:
Cheers,

The car was bought to keep...

I'm 6'4" it may be a little difficult for me to live with...

...looks a little noddy car'ish


I know you've just spent ages restoring the floors, but it would be worth fitting lowered floorpans if you want to keep and enjoy it. Having seen your work I believe you have the skills to do it yourself, try angling the 'pans so they're about four inches lower at the back and regular height at the front. That will both lower and recline the back of the seat a bit more, giving taller drivers a far more comfortable driving position while for short ar*es, sliding the seat forwards also raises it.

It can mean the difference between having to pay a bunch of elephants ransom to get your best friend back -


...or having to alert air traffic control that your head is entering their airspace -


...and having the flies hit the flyscreen instead of your teeth -


...and not falling out in the corners -


Nice car btw, always been one of my favourites. Keep up the good work. :)
6 Sep 2016, 9:58pm
OK I.m curious what are the cars in the last pictures?