This is a read-only archive of the old Madabout Kitcars forum. New posts and replies are no longer possible, but every thread is still here to browse and read.
One of the things that lets down my Kalifornia is the fairly standard interior. Apart from Rover 75 seats and a wood rimmed steering wheel is basically stock. I am NOT trying to create an exact replica of a 250 SWB interior just a period setting based on a Ferrari/Classic car theme. The following posts are how it was done. This will also be serialised in Kitcar Magazine next year.
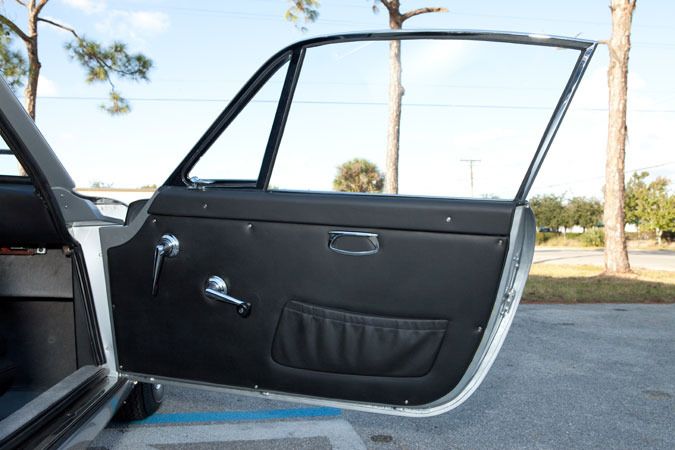
Here is a photo of what I’m trying to capture within the confines of a BMW Z3 door panel. Its pretty plain and uninspiring. The expensive part would be recreating the door pocket. This would cost a fortune at an upholsters. Luckily I have a solution. I will be using door pockets from a Mercedes SL 1999 model which I bought on ebay for £20 the pair.
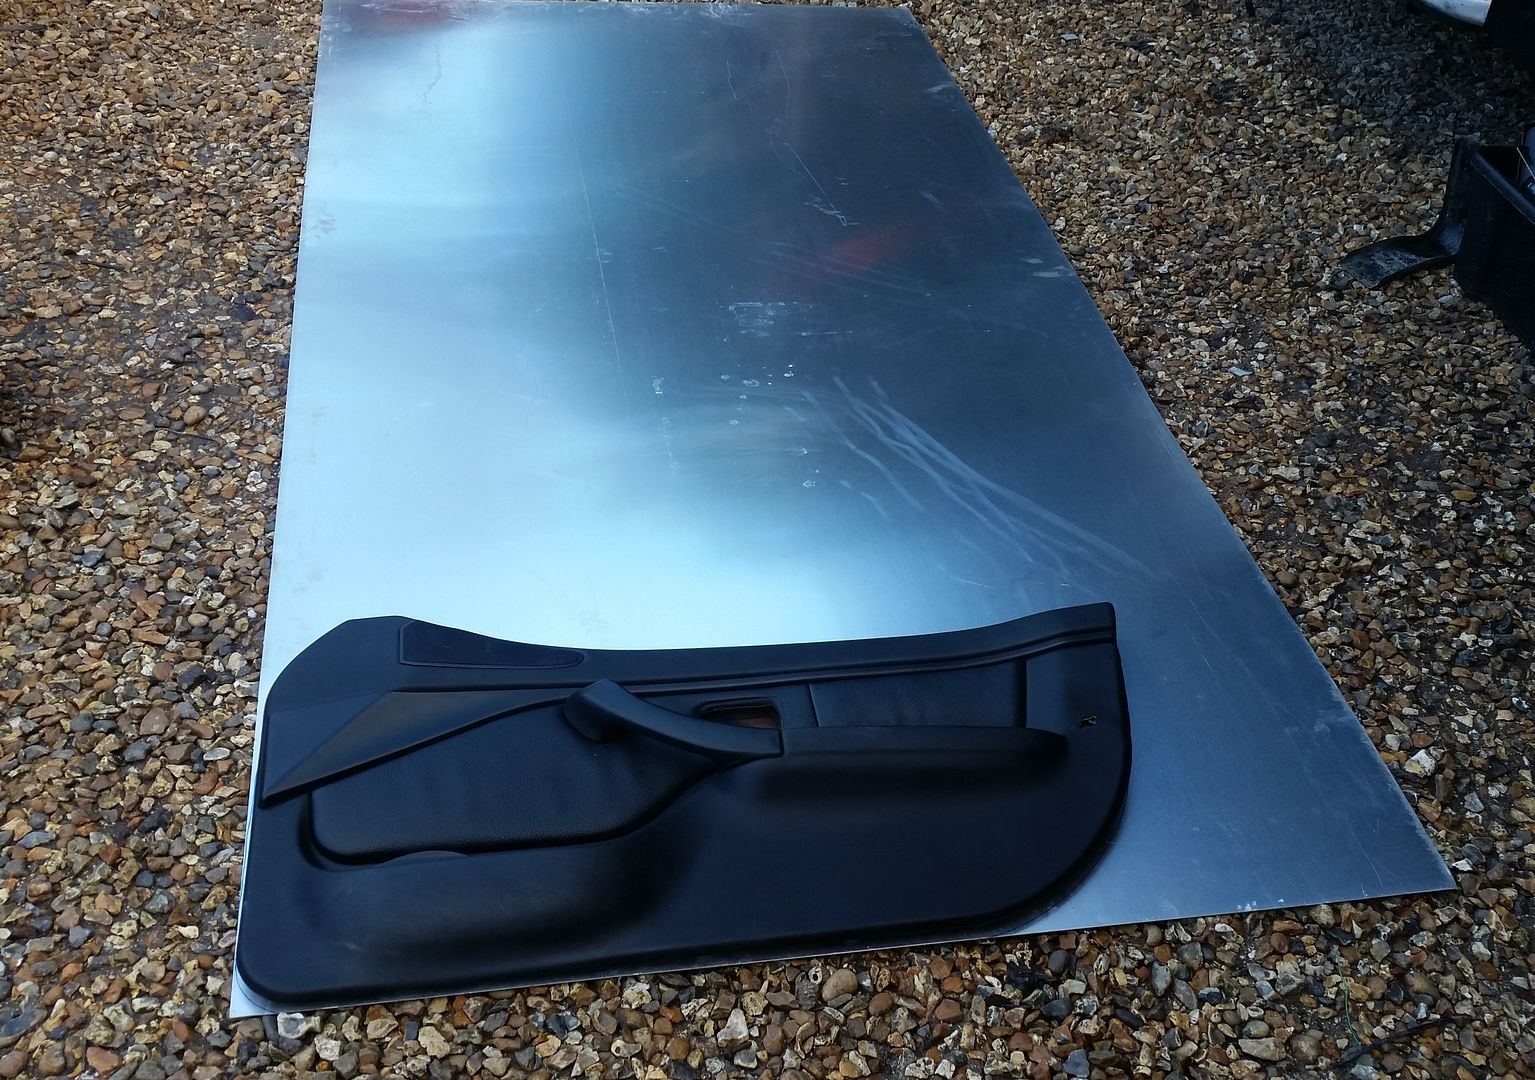
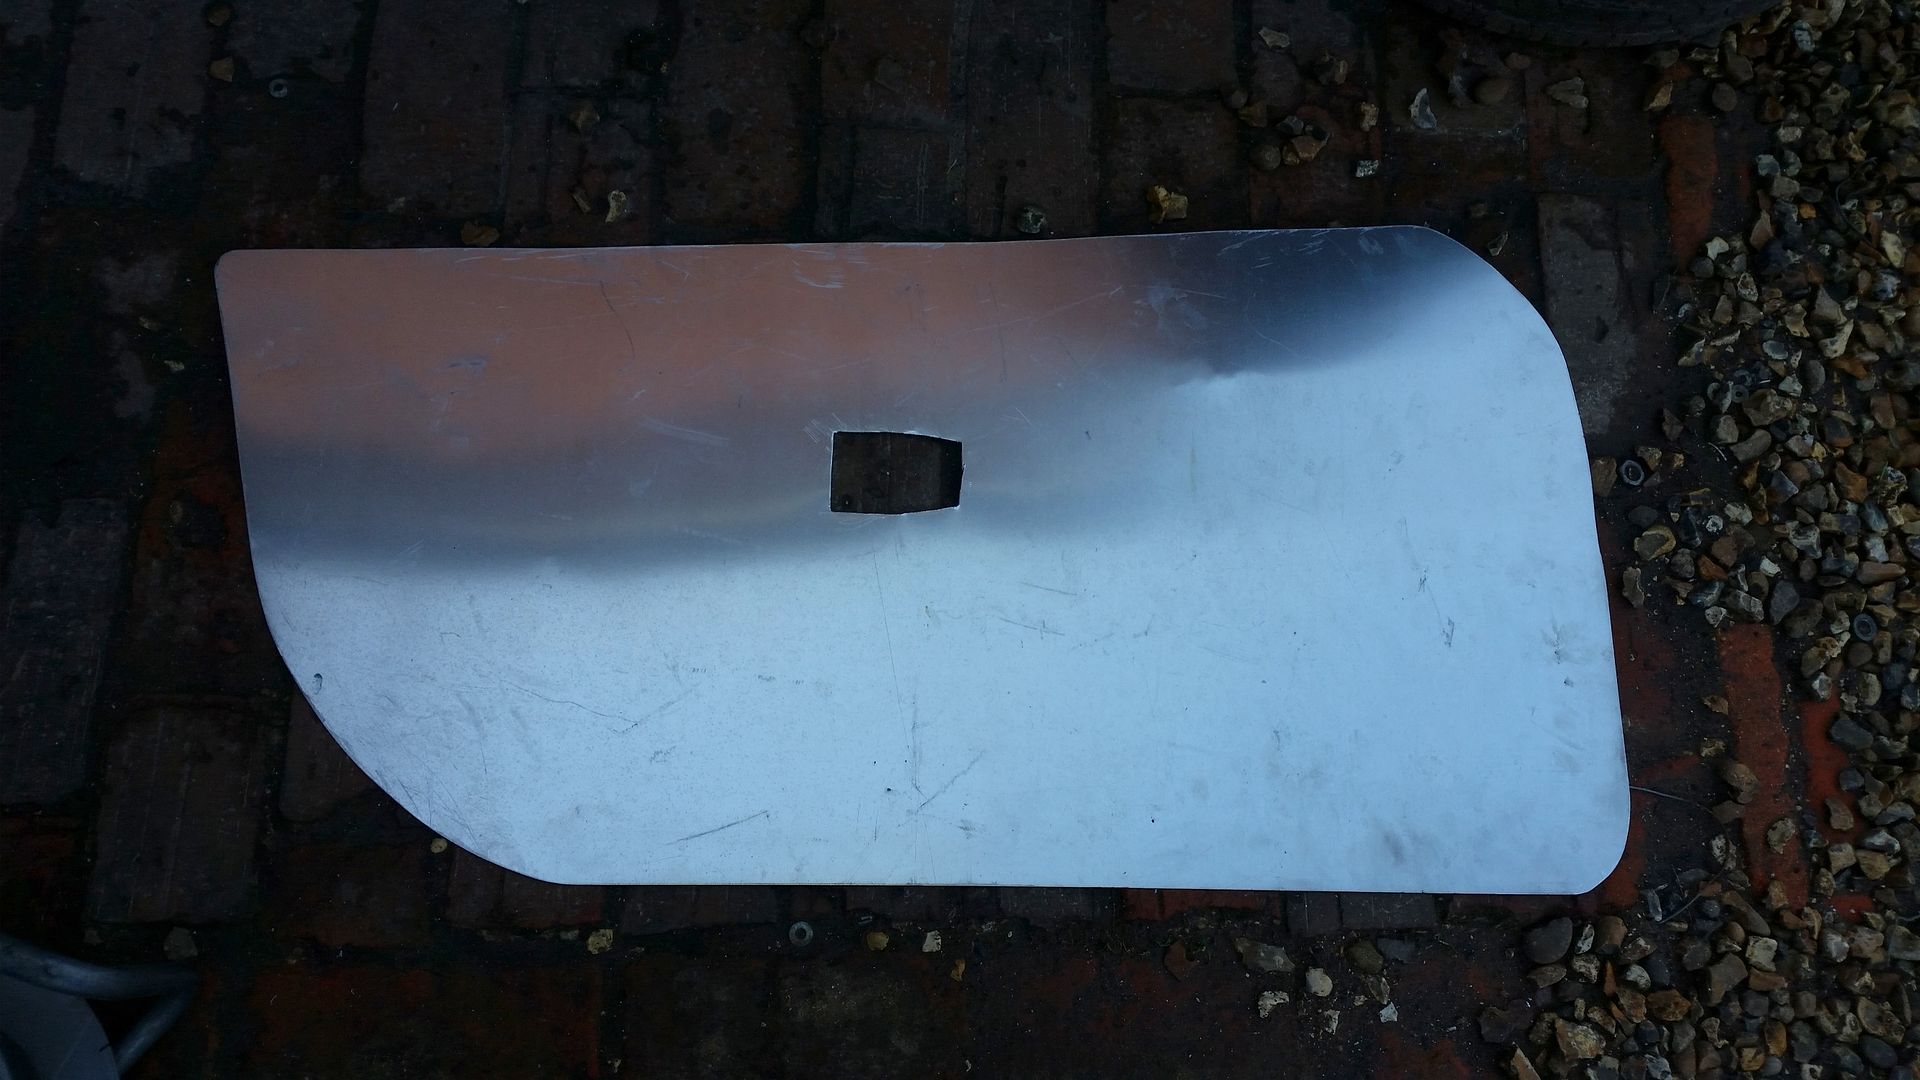
I am using an 8’ x 4’ sheet of 0.8mm aluminium sheet. This is the minimum thickness to use, you can go up to 2mm if required. Most people tend to use chipboard or hardboard but when it gets wet it becomes Weetabix so I prefer aluminium. It costs more but lasts forever. So lay the Z3 door panel onto the sheet and draw around it with a marker pen.
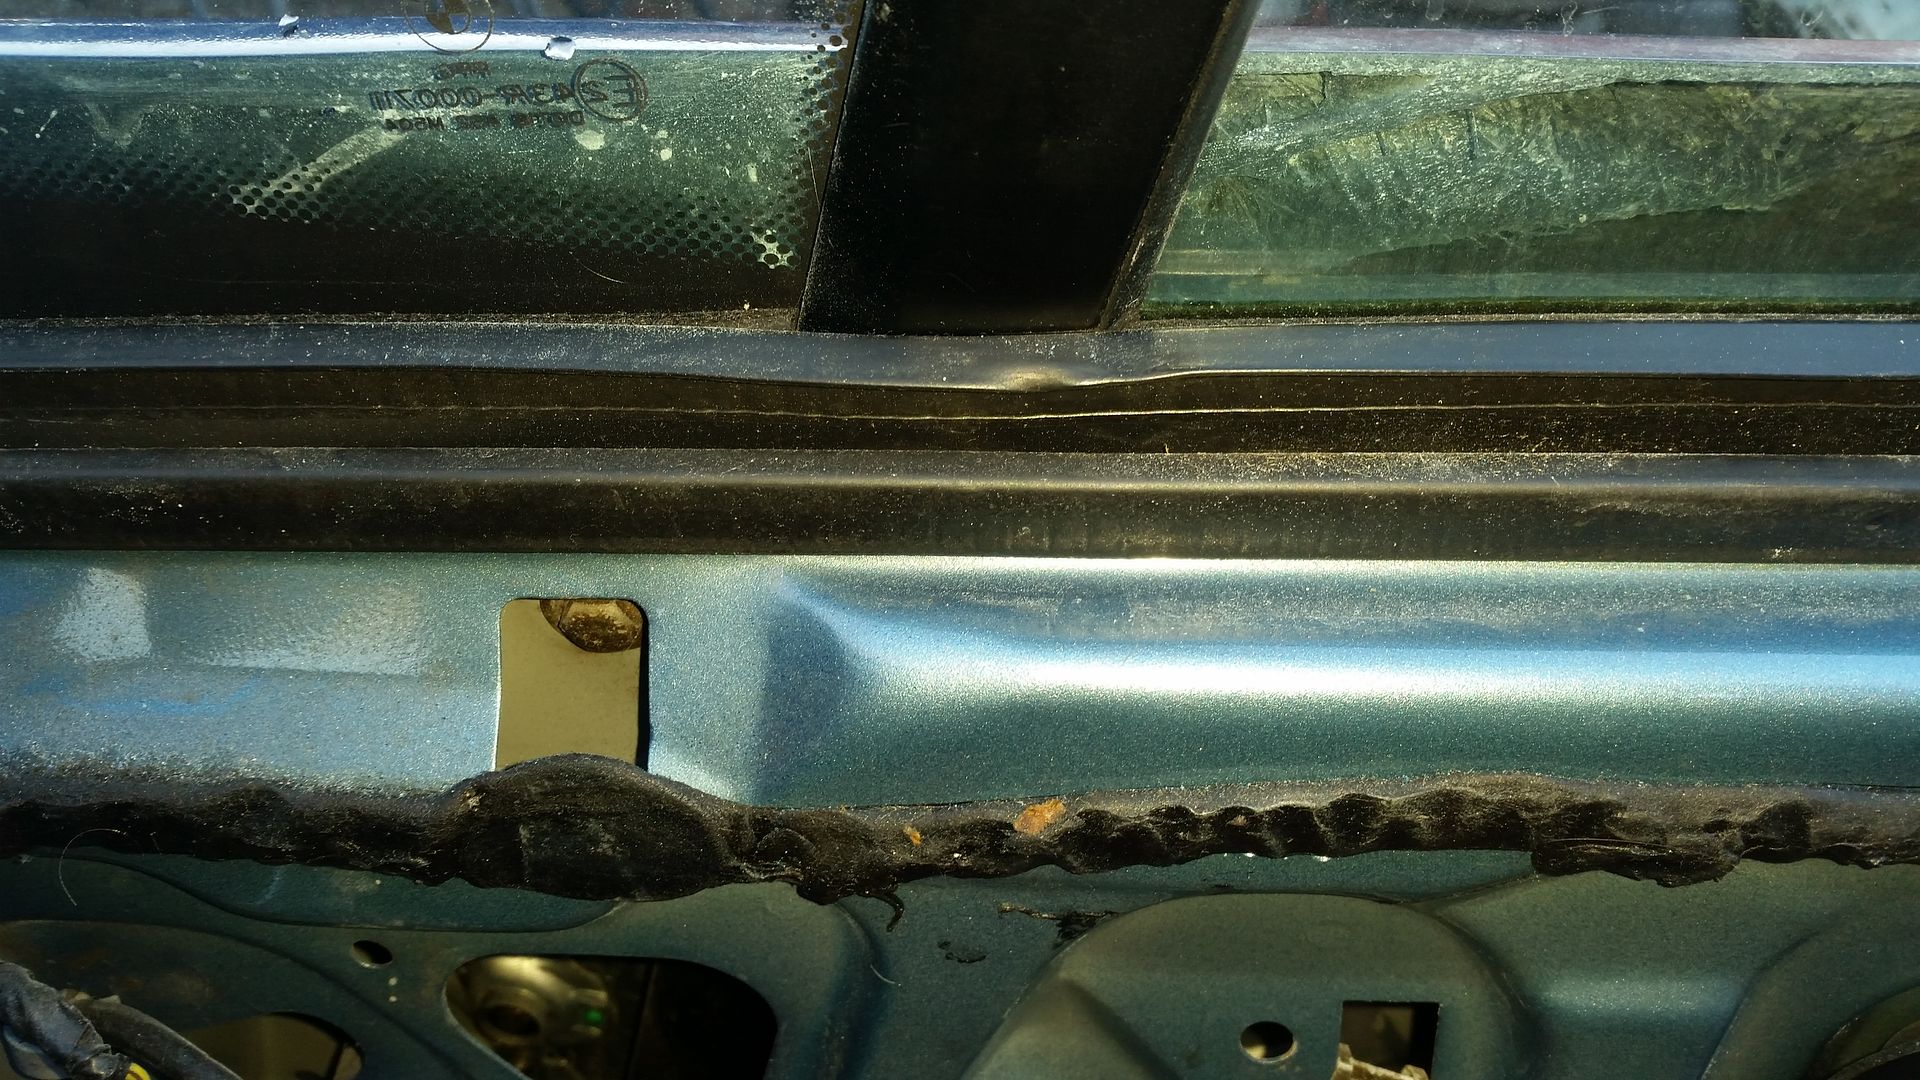
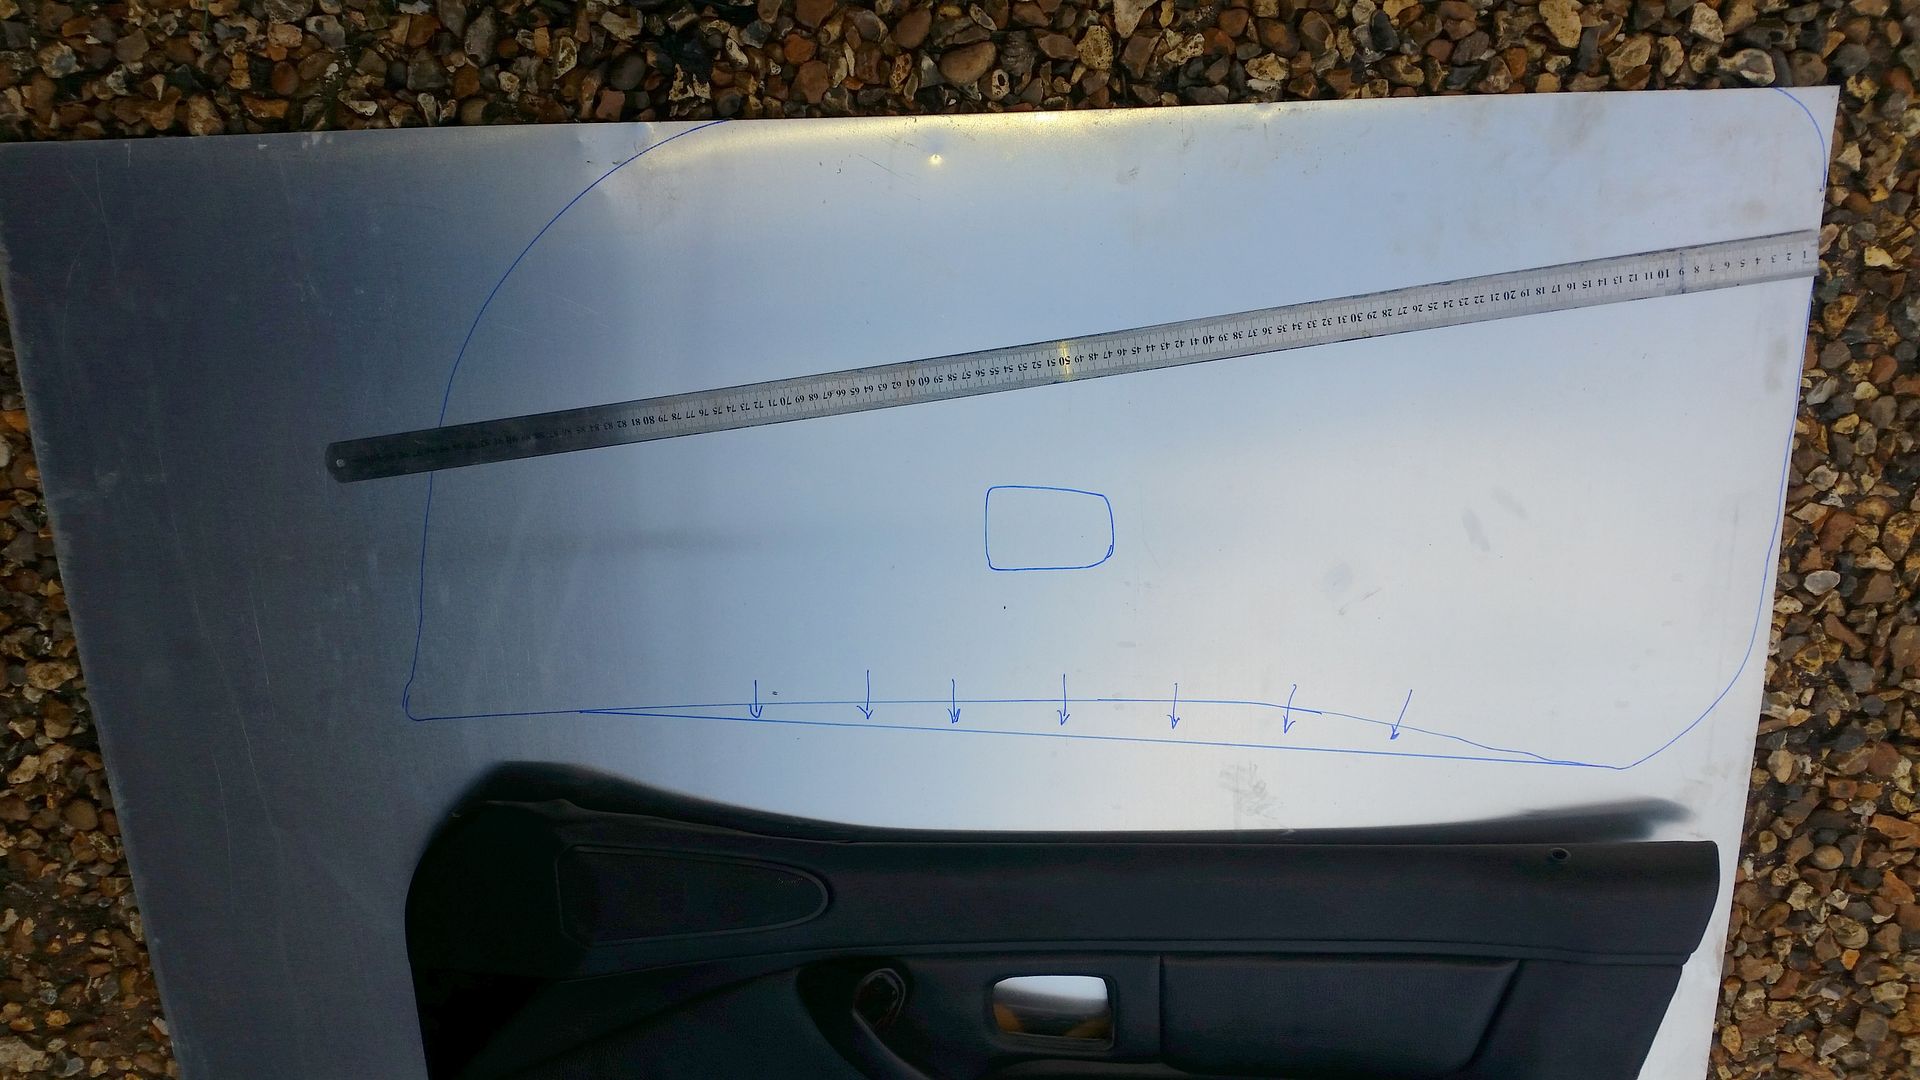
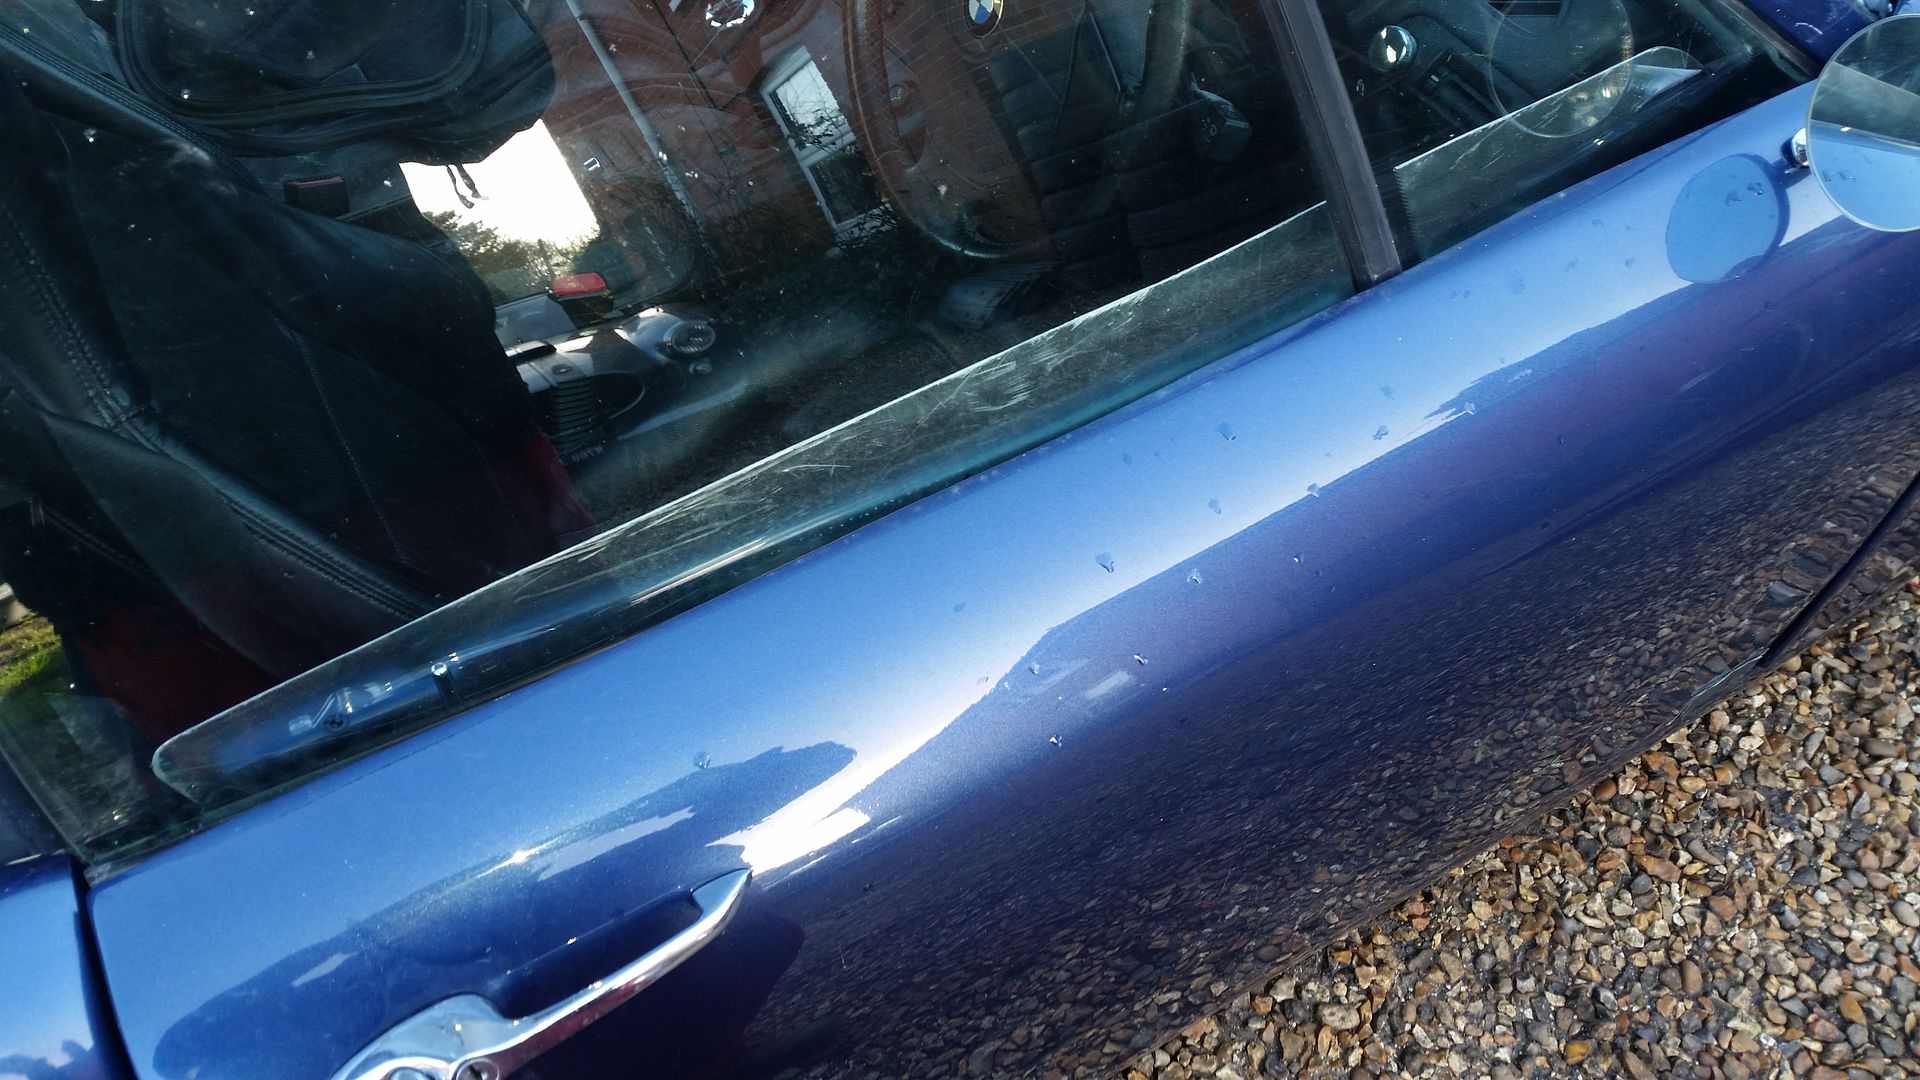
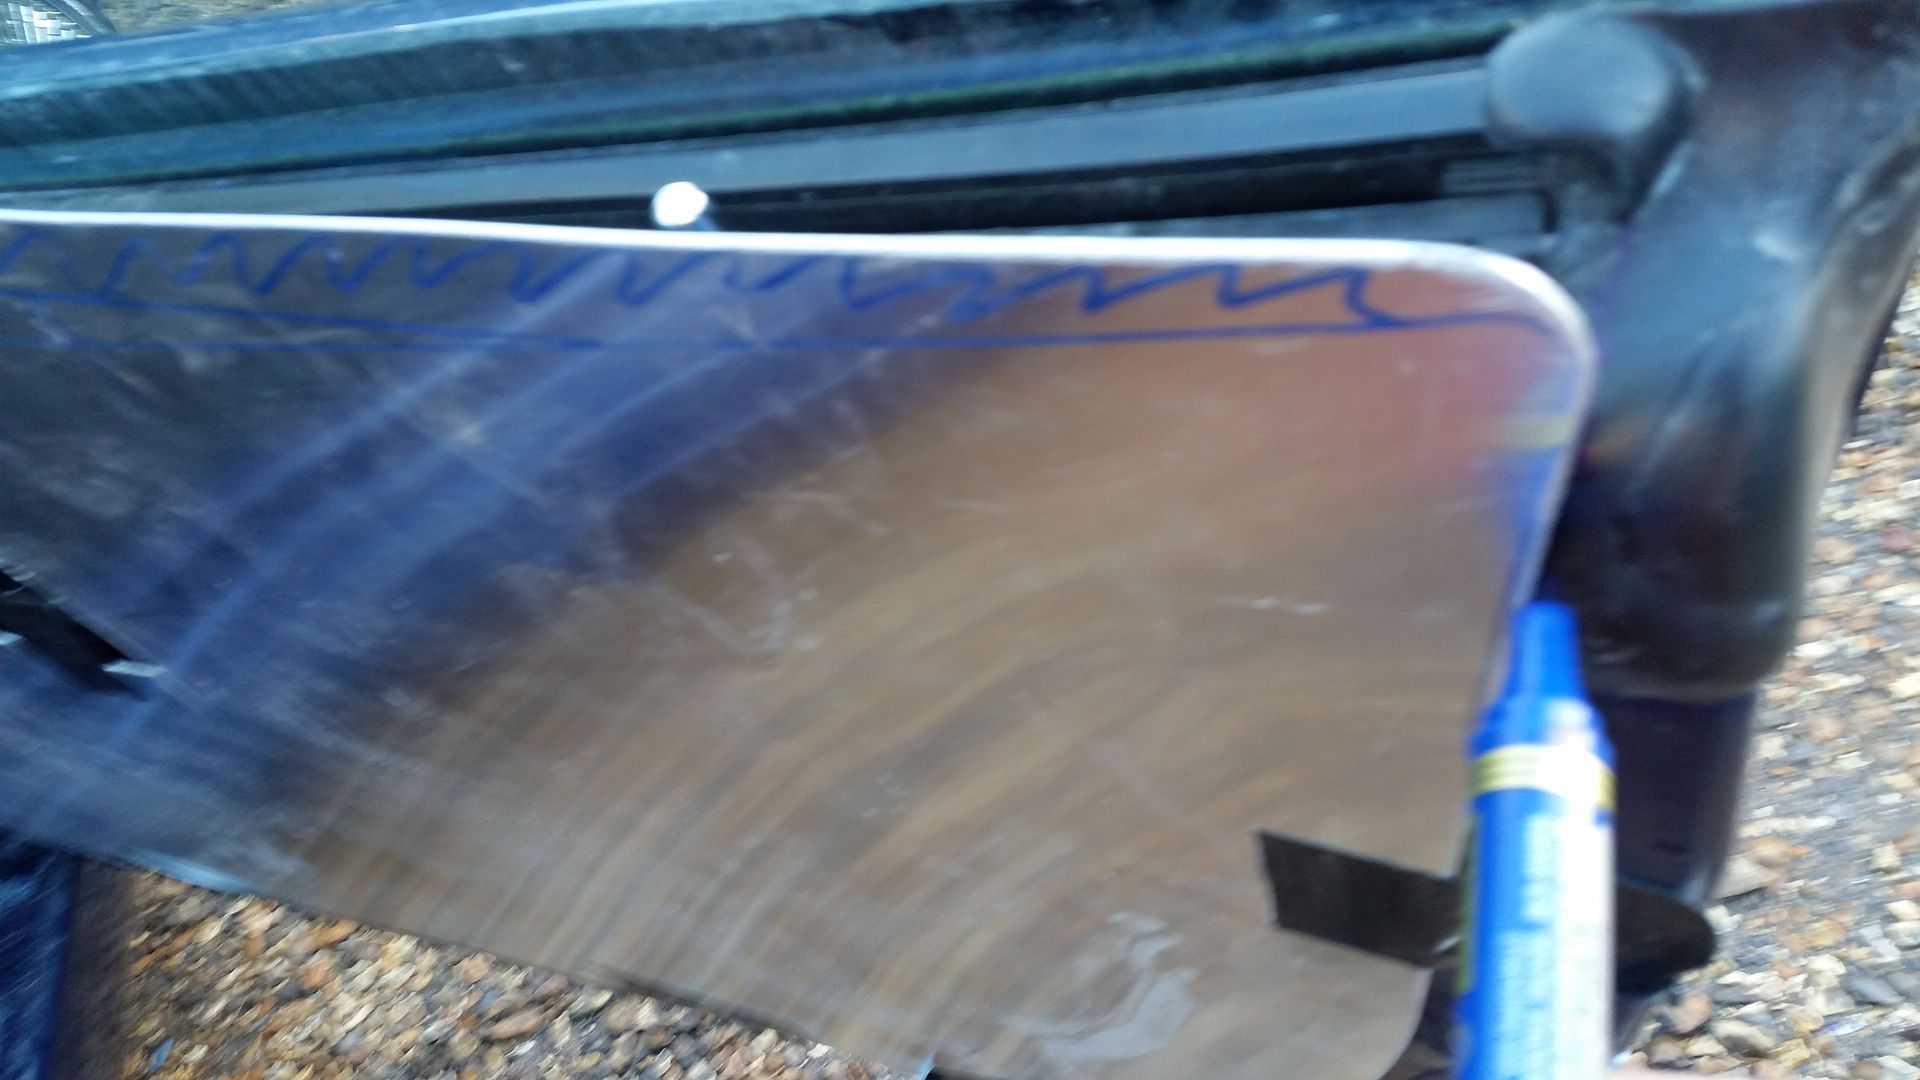
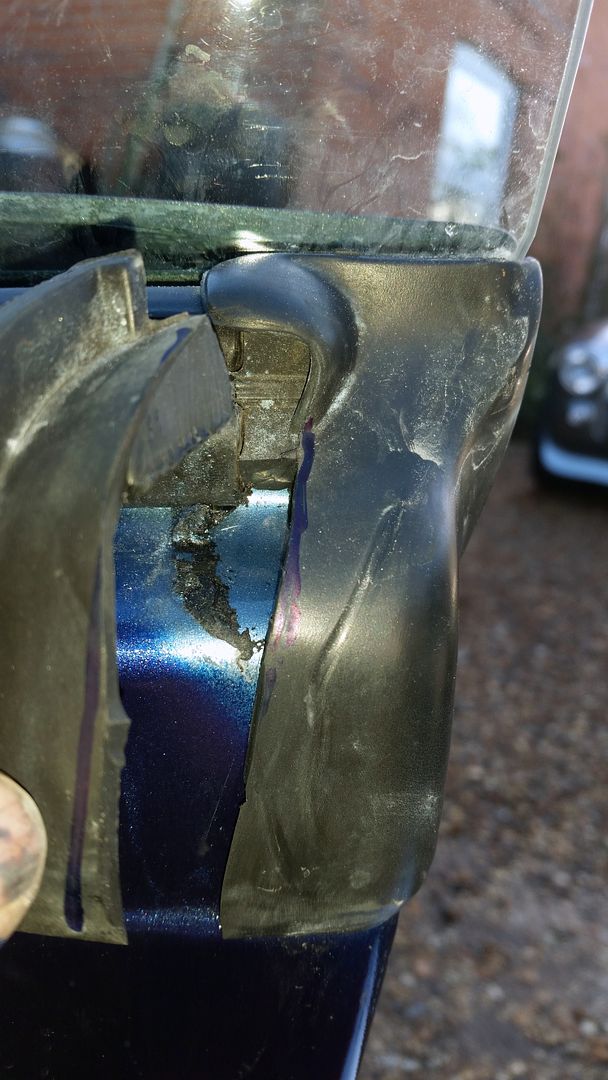
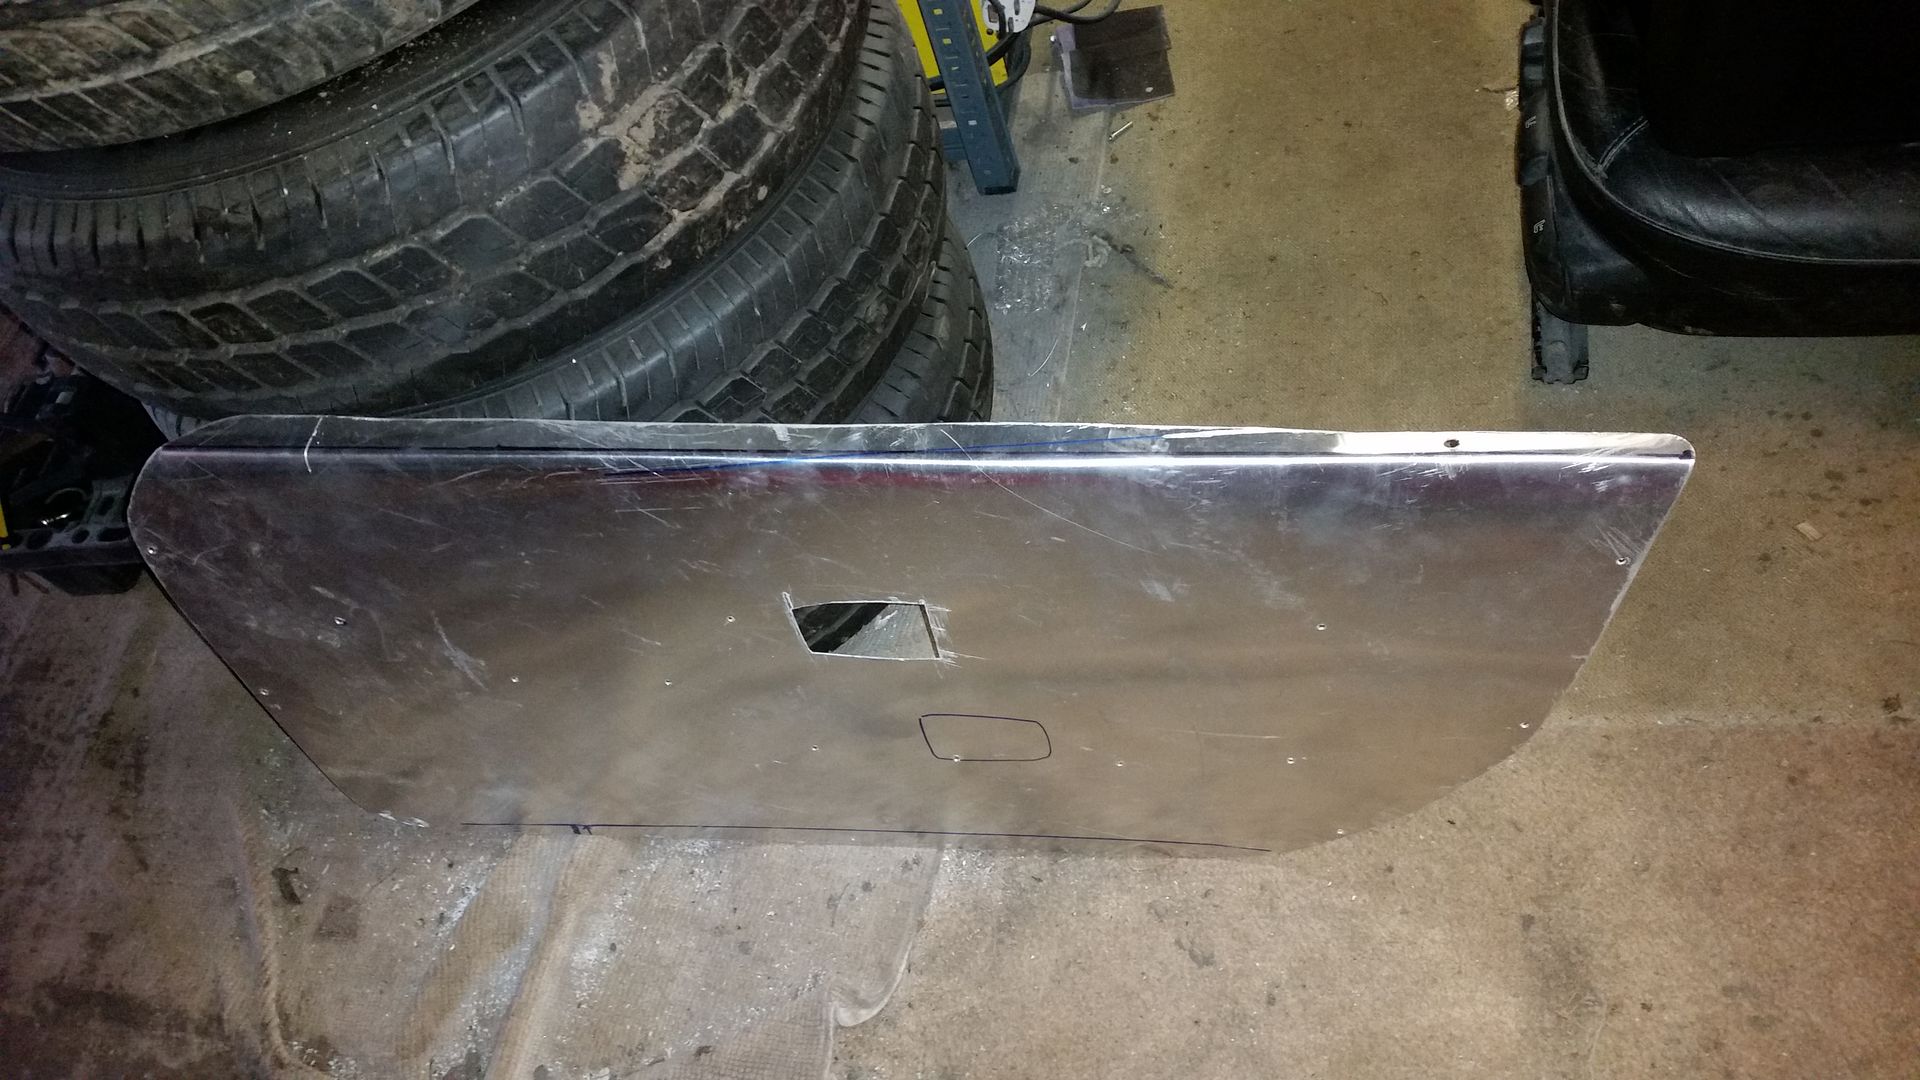
I’ve worked out I can get five panels out of this sheet. That’s two pairs and a template which I can use for years. In the next photo you can see the problem with the standard panel, you can see the rough side of the door skin. So I need to increase the height of the new panel to cover this, which I’ve marked on the panel before cutting.
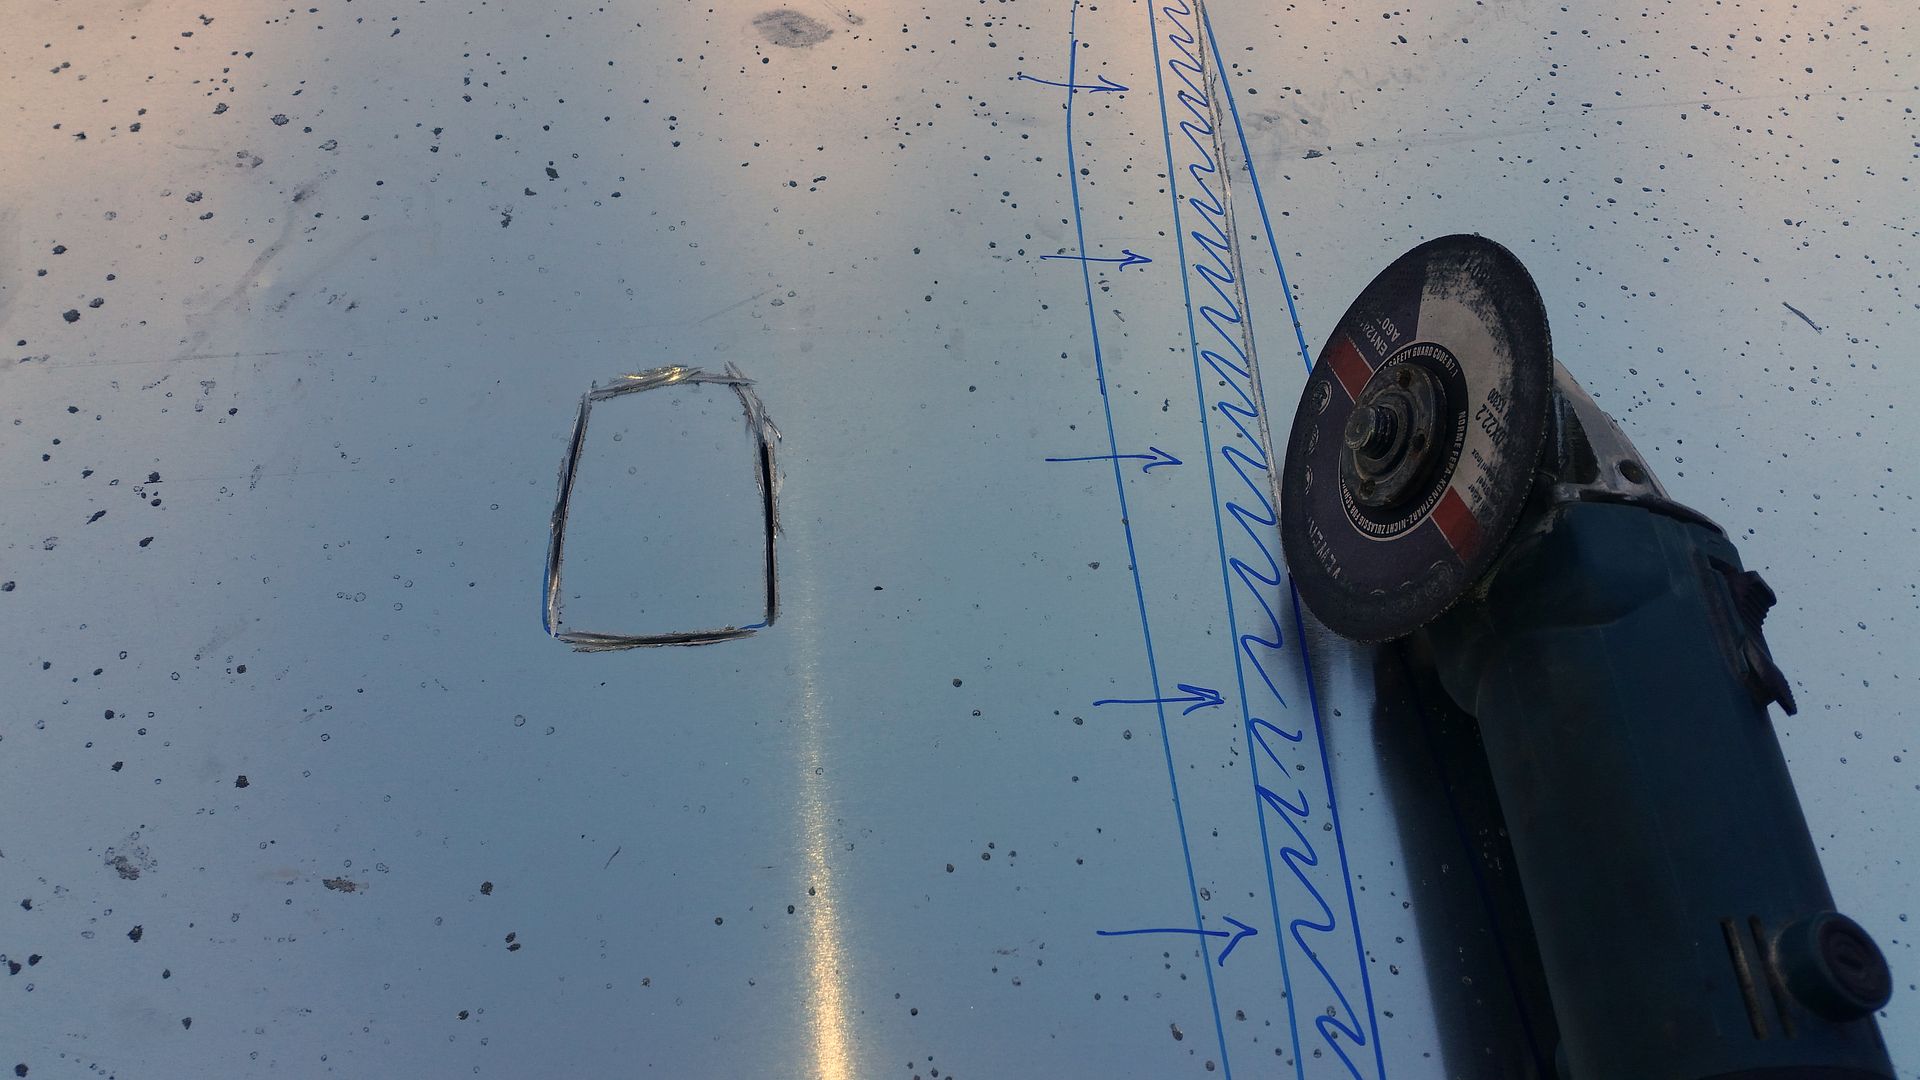
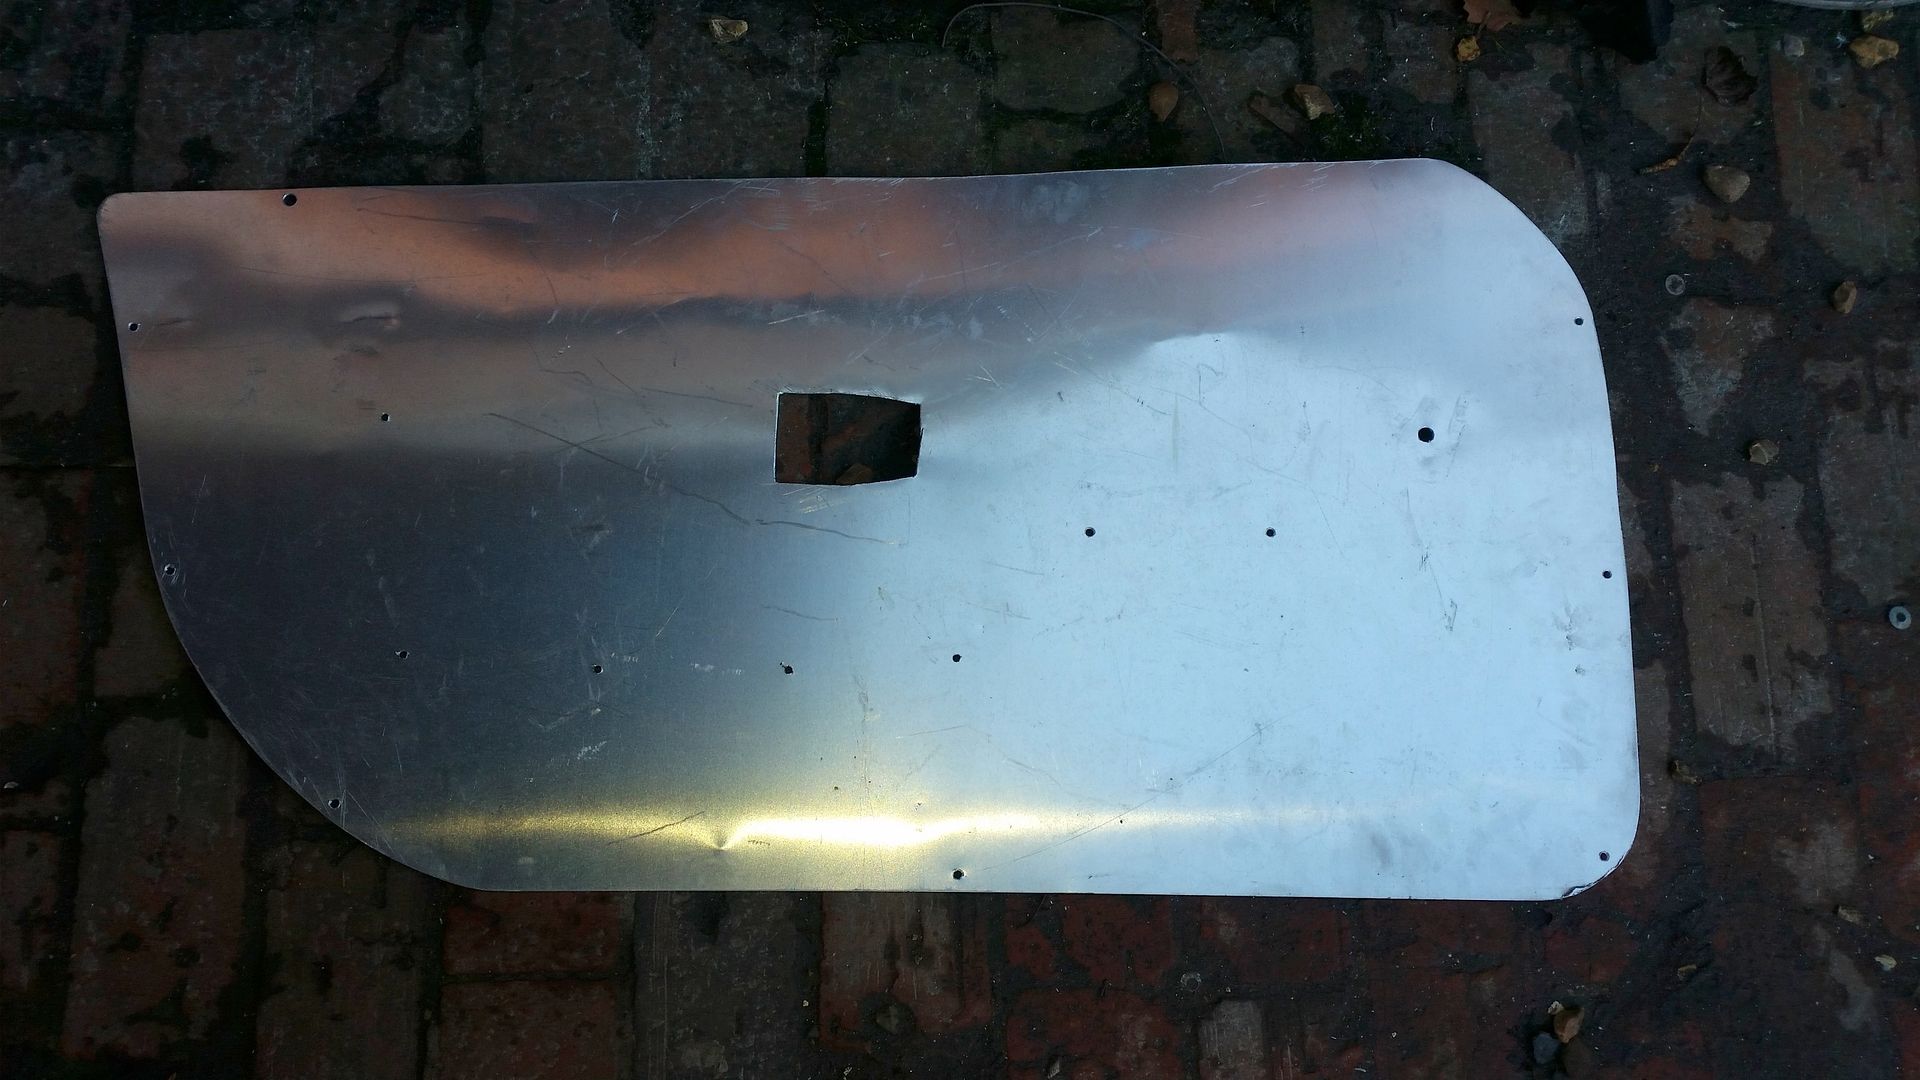
Now is the time to cut the panel. You can use a nibbler, jigsaw or tin snips. I prefer an angle grinder with a cutting disc. I use this tool everyday so I’m used to it. Mark the outside of the panel by ‘drawing’ with the grinder. This is done without going right through, then you can turn corners.
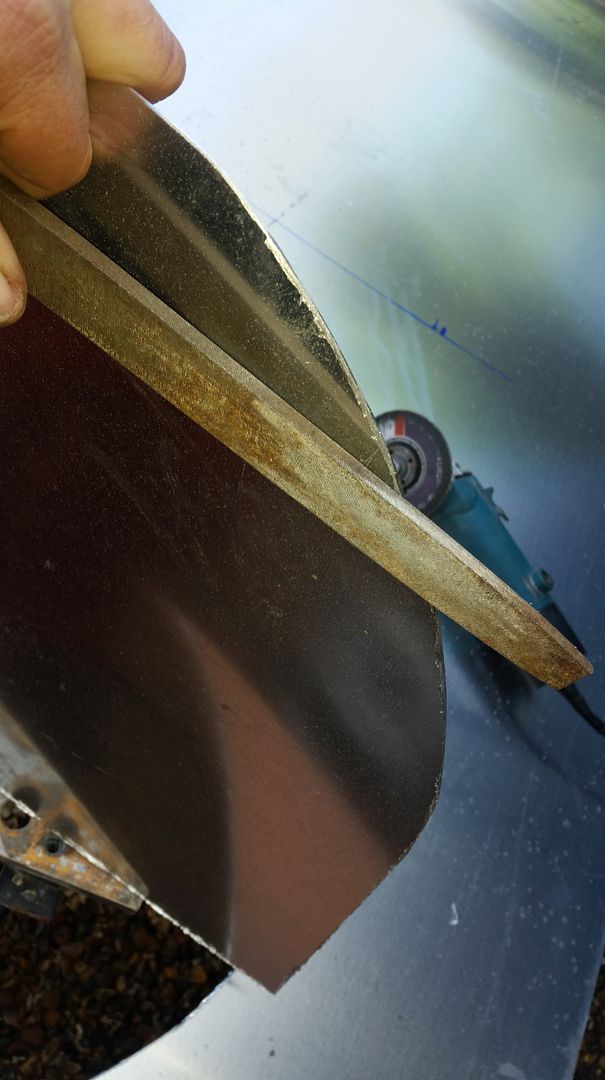
Once you have been around again and cut it out, clean up the edges with a flat file. Do not use the grinder as it makes the metal too thin on the edge and can cut the leather or yourself
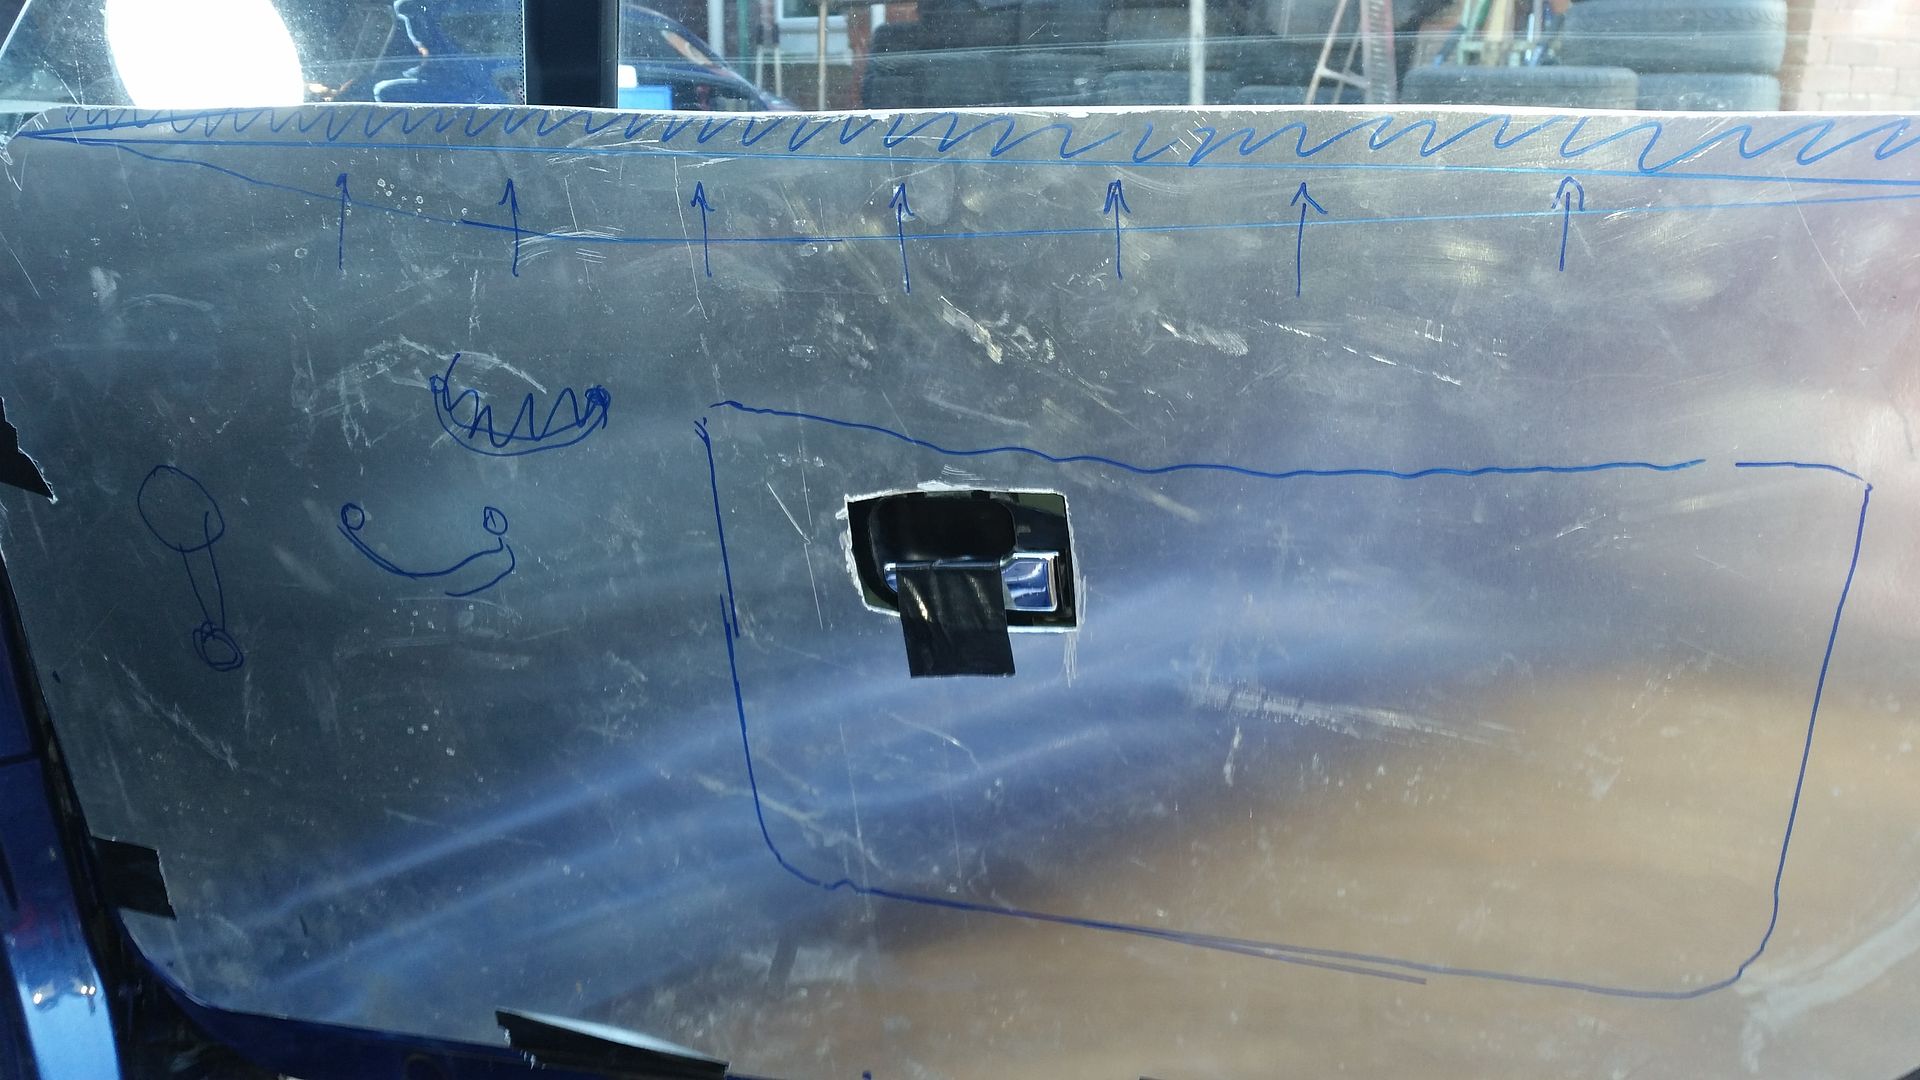
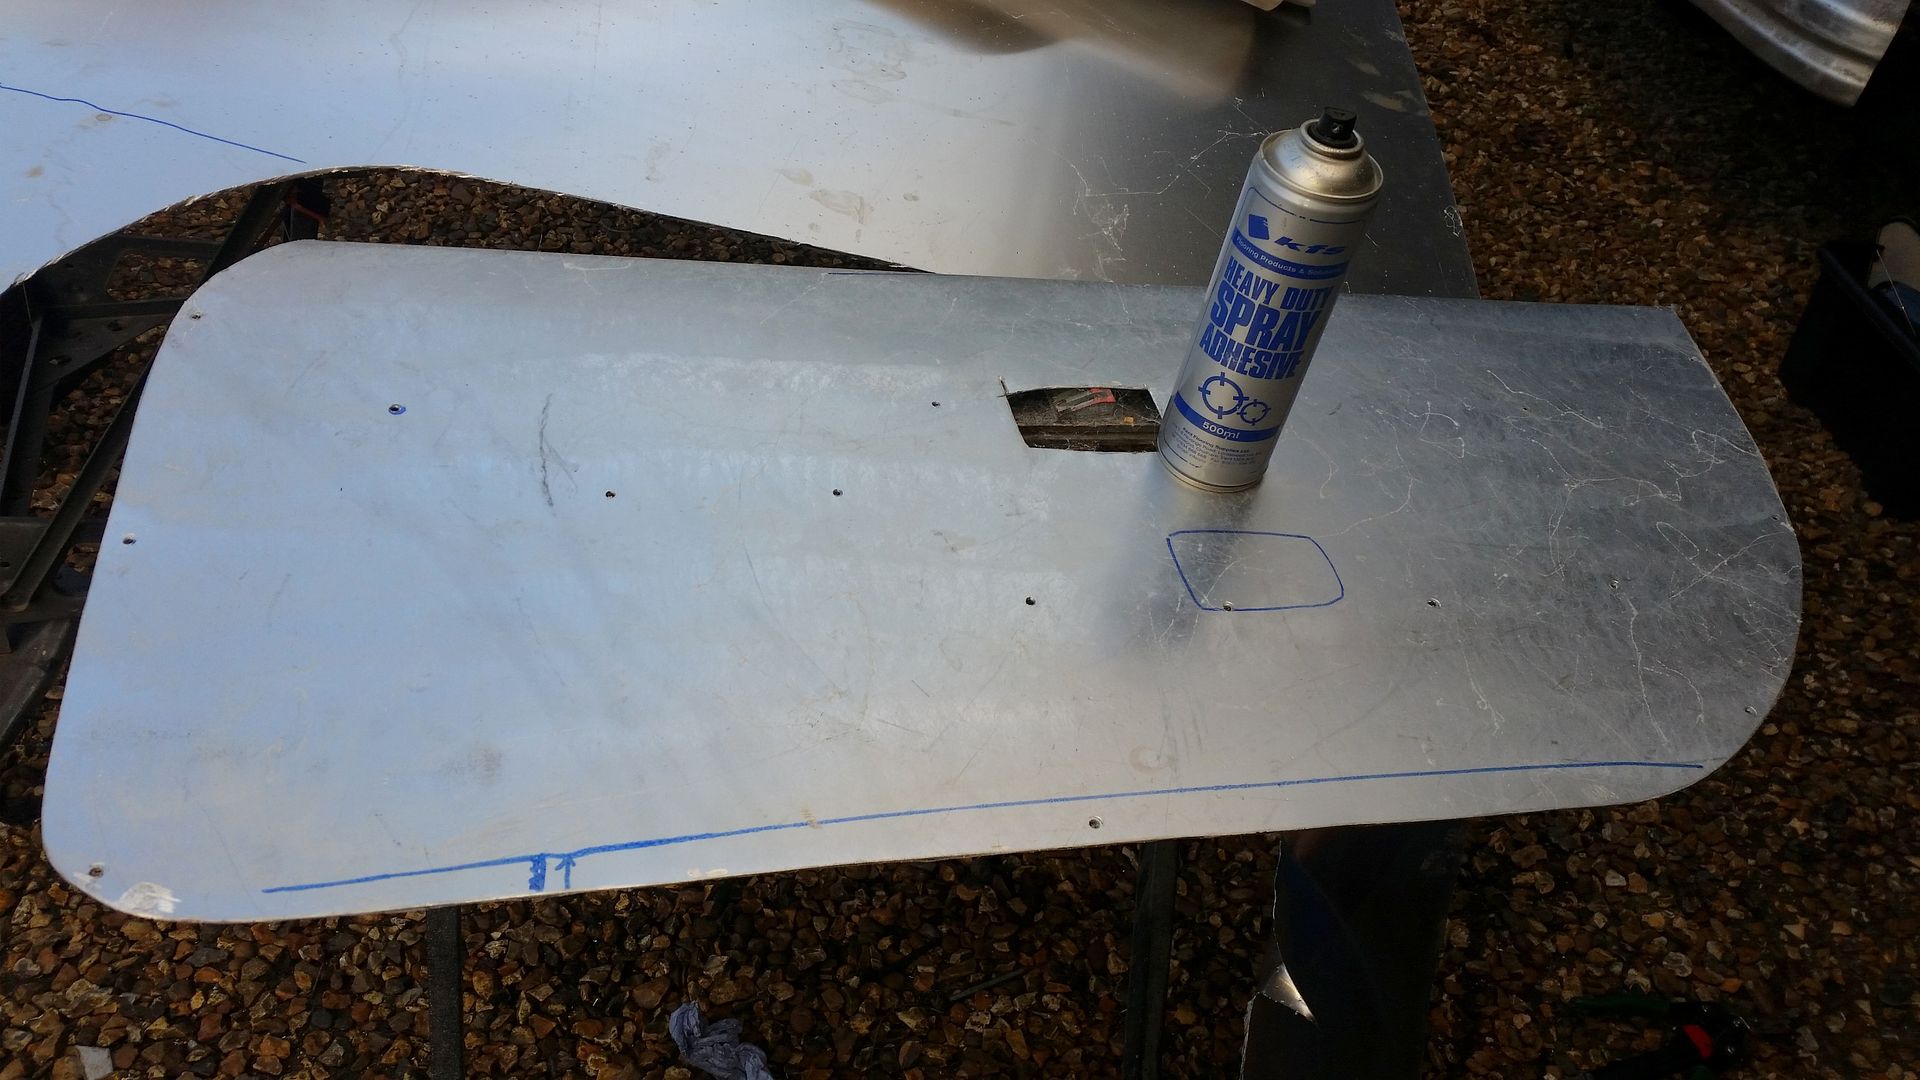
Once you have the panel in the perfect place you have to decide where the door furniture is going to go. Check behind the panel for clearance for each item. This will dictate where they go, not necessarily where you want them. I am fitting ‘dummy’ window winders, door pull and the pocket. I mark on the panel where I want them.
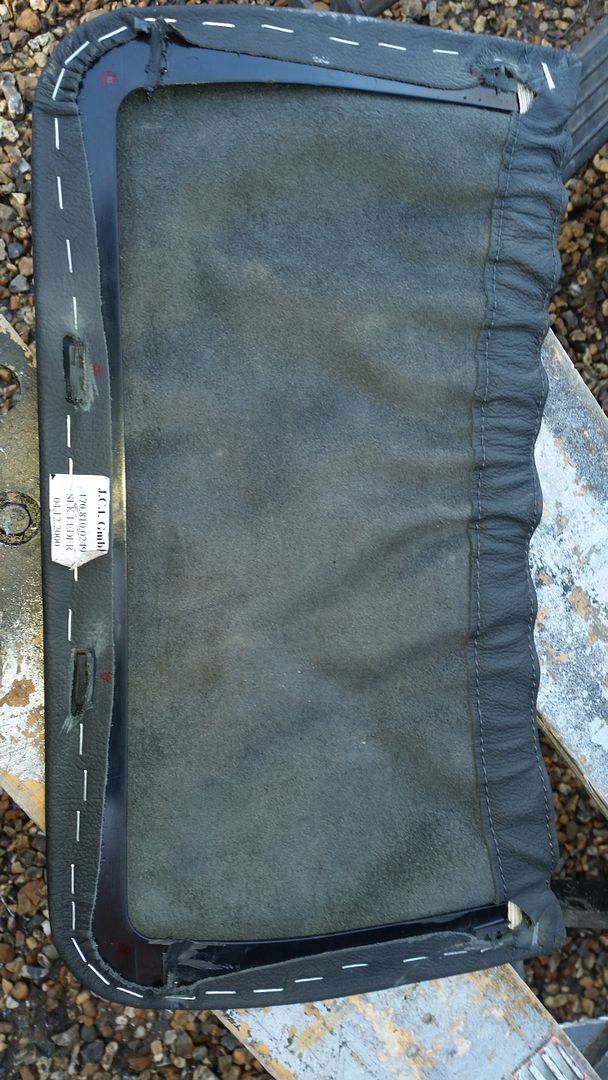
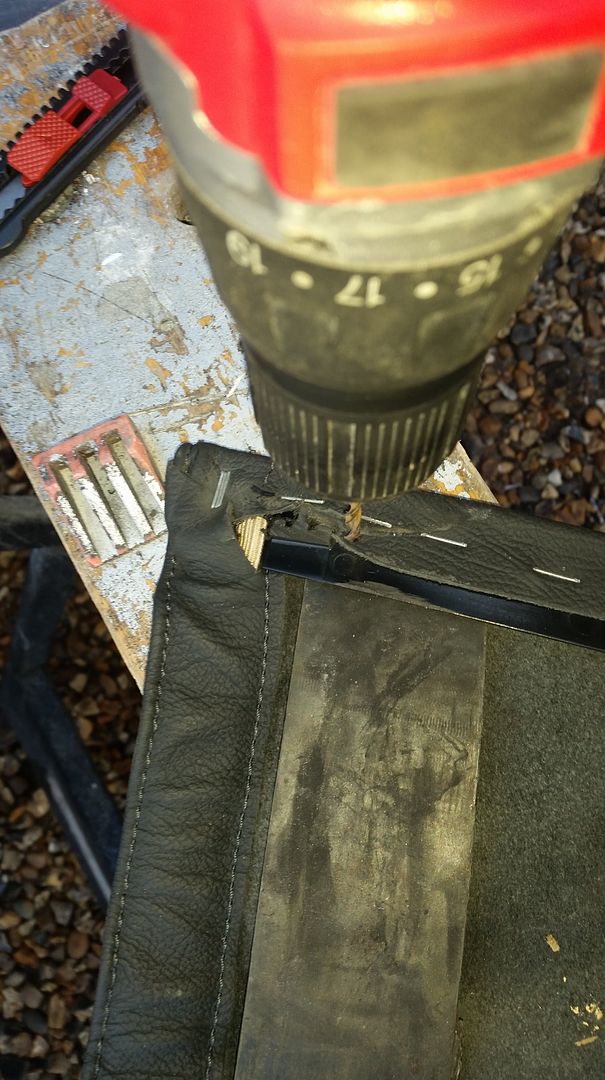
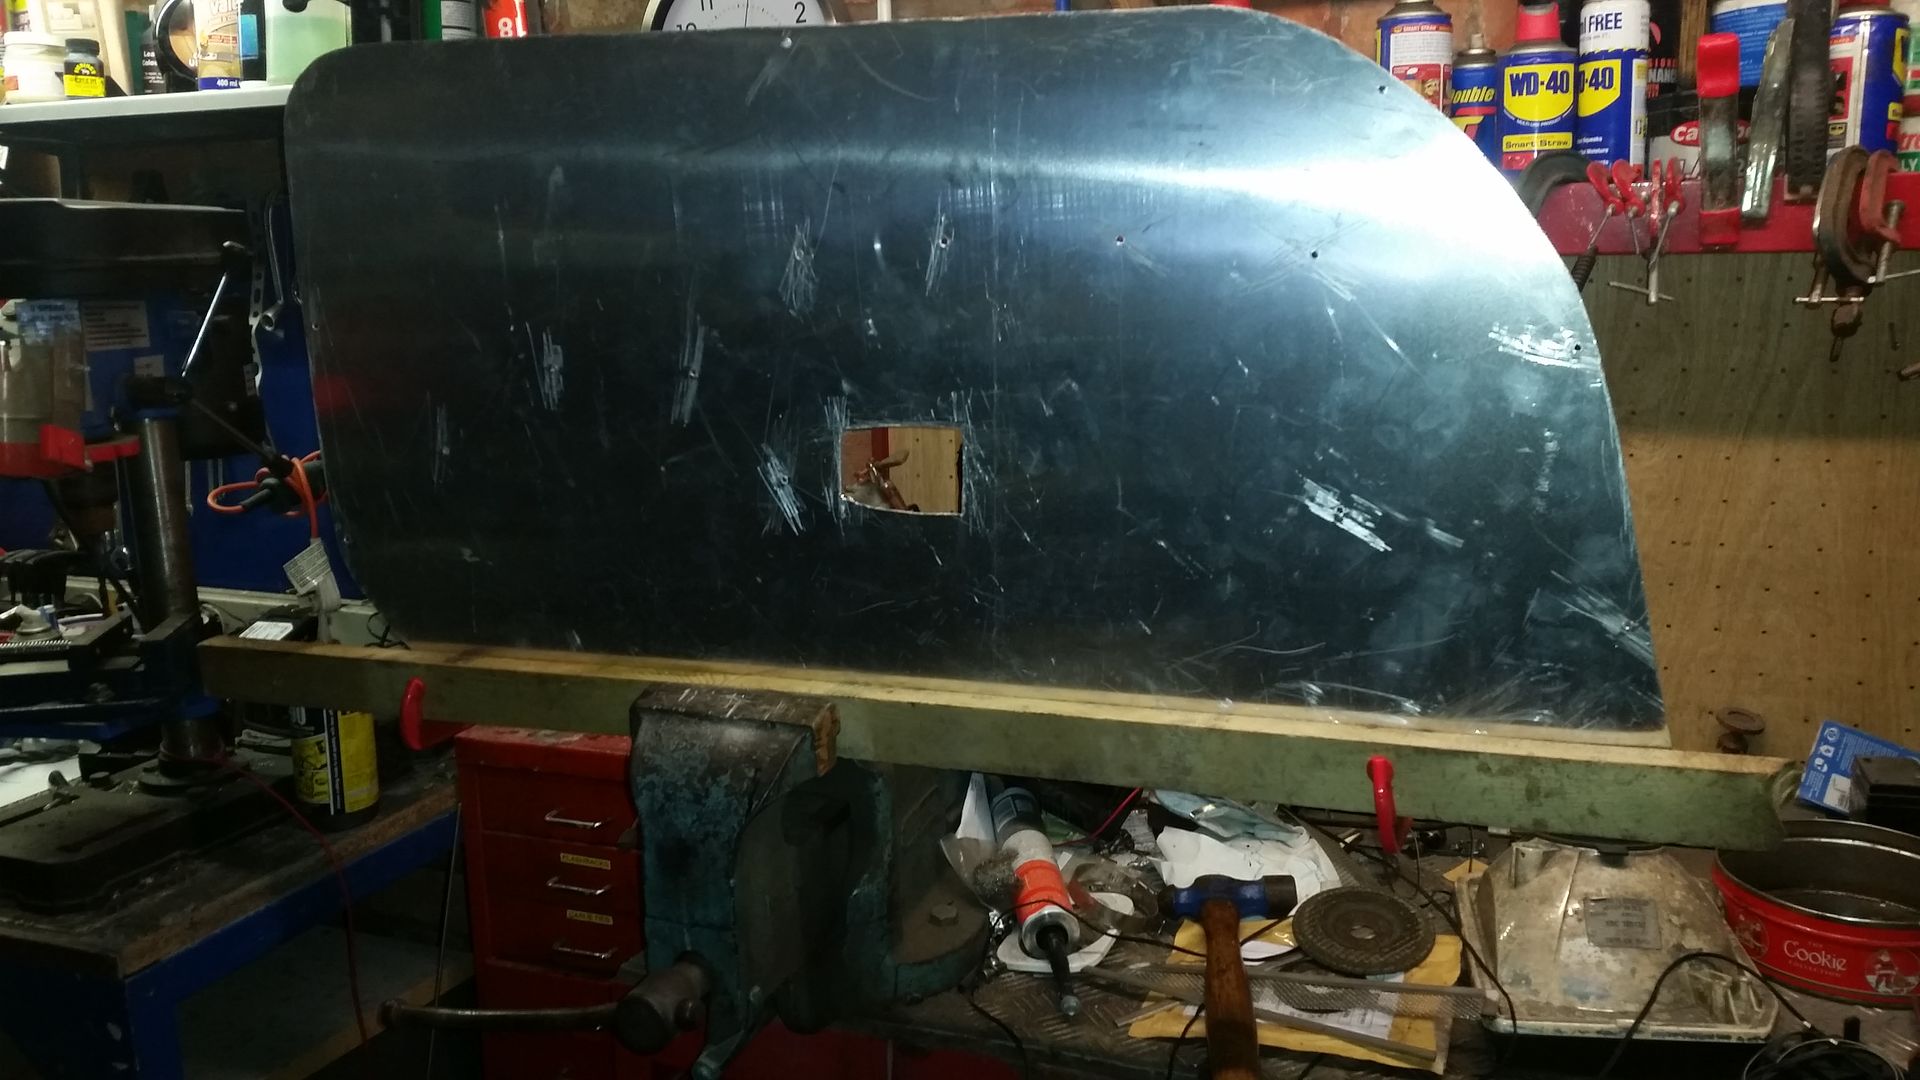
The door pocket has locating tags on the reverse. I want to bolt mine on so I cut these off with the angle grinder. I then drill holes with a strip of hard rubber inside so I don’t drill through to the leather. The holes are copied onto the template
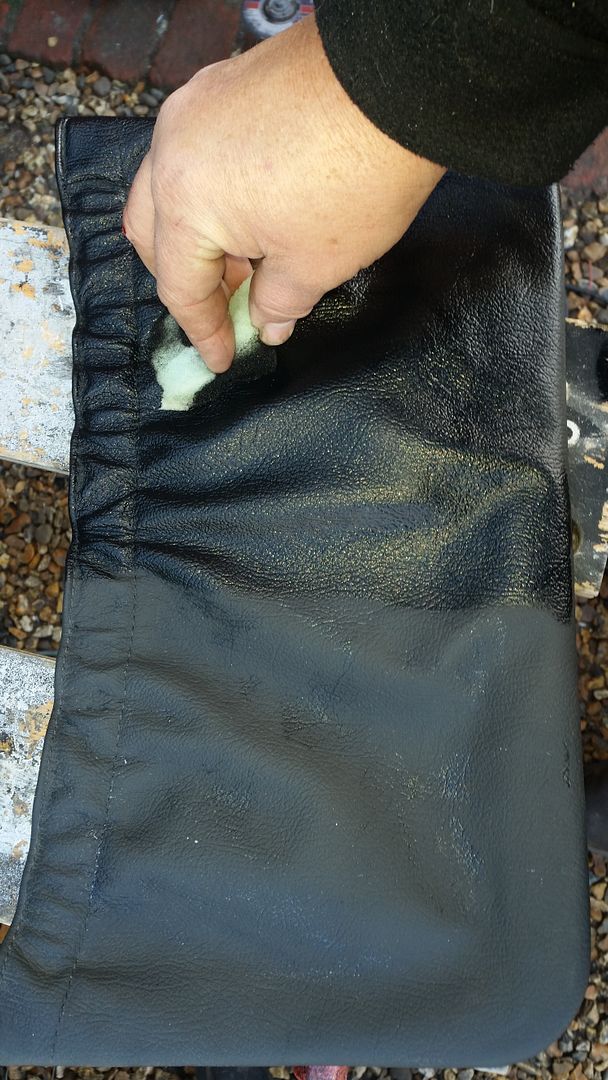
The problem with the door pockets is they are lighter than the door panel material, maybe due to age/fading etc. So I cleaned each one with fabric/ leather cleaner. I then applied some black leather dye which came from ebay, with a bit of sponge. Now it matches the material perfectly.
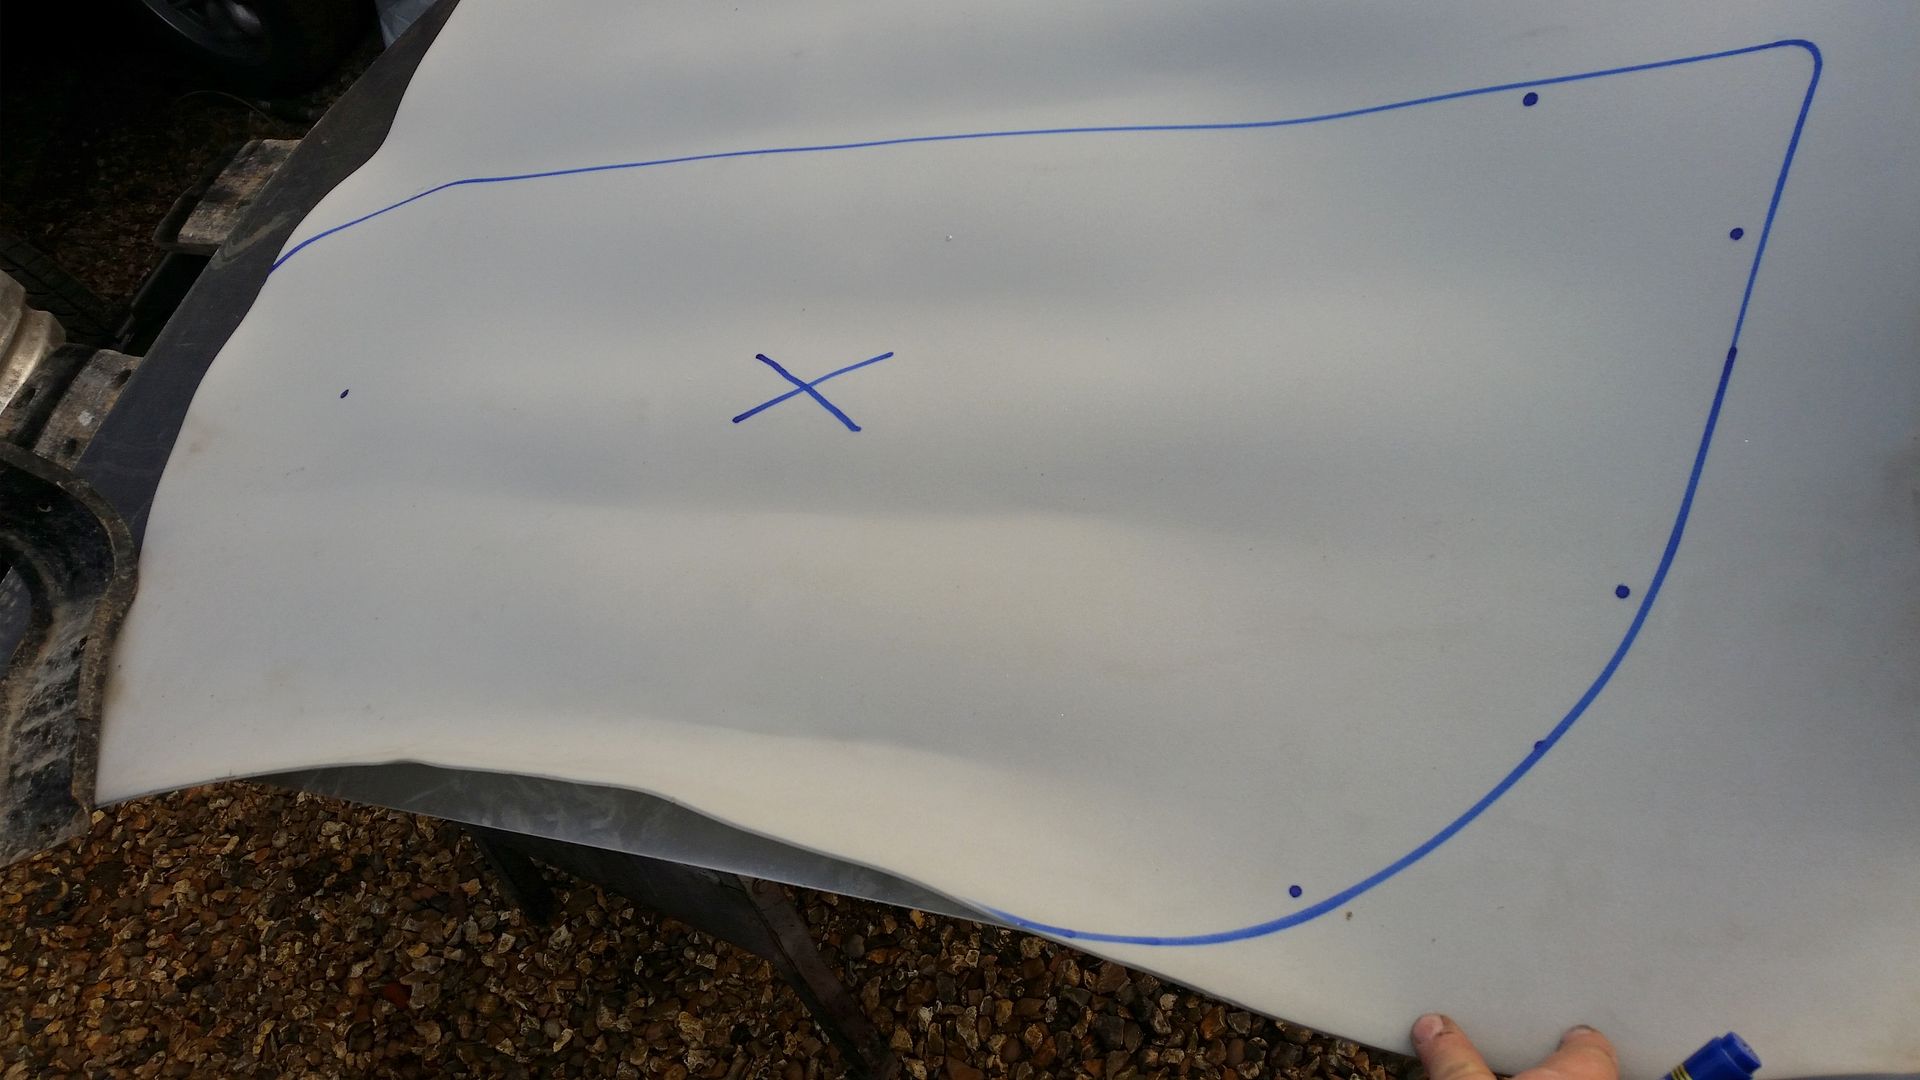
Next I laid out the foam for the panel (ebay, 6mm thick) and placed the panel on top. I drew around the panel to get the outline which I then cut out with scissors.
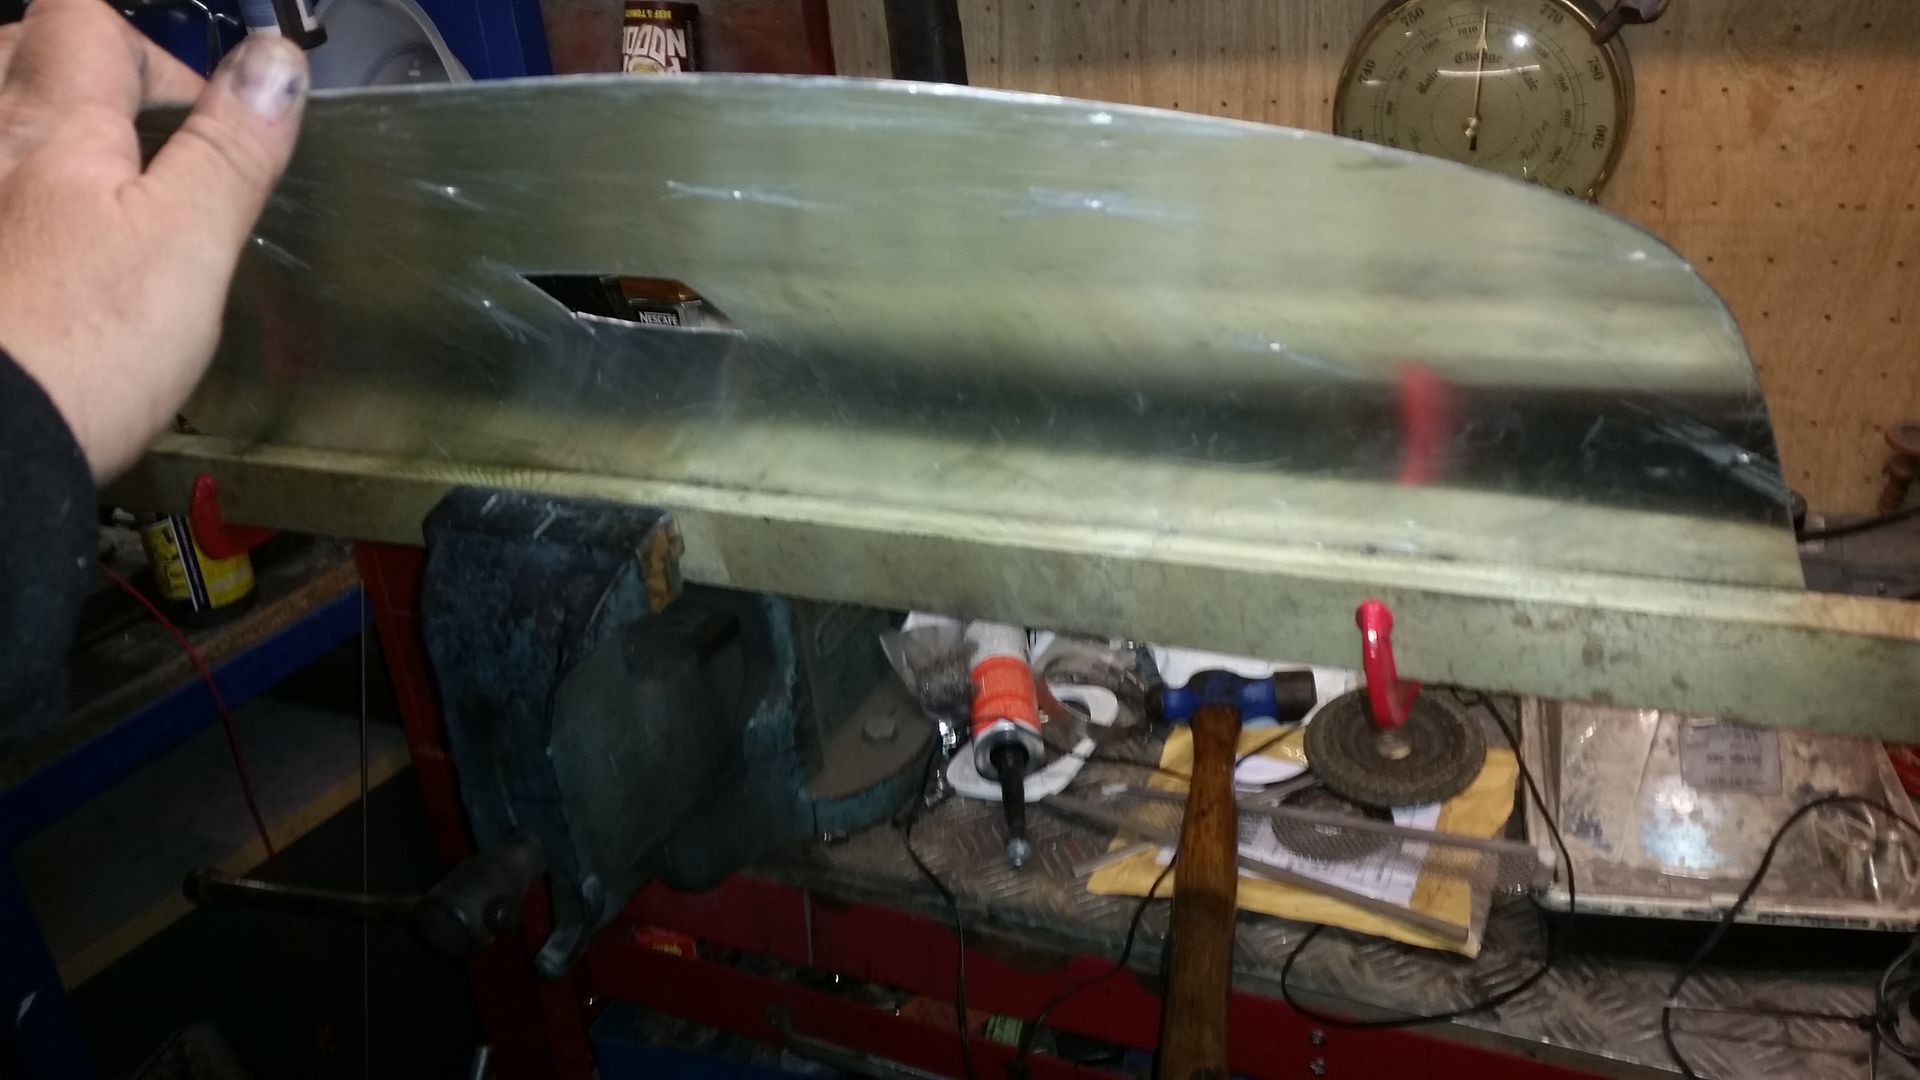
I now wanted to get the folded edge finished before fitting the foam. I have a metal folding press but I'm guessing most of you will not have one of these so there is another option. Get two lengths of 2" x 1" wood and clamp them along the bend line with a G-clamp at both ends. Now clamp the centre of the wood sandwich in a vice.
Bend the panel over till you reach the perfect angle.
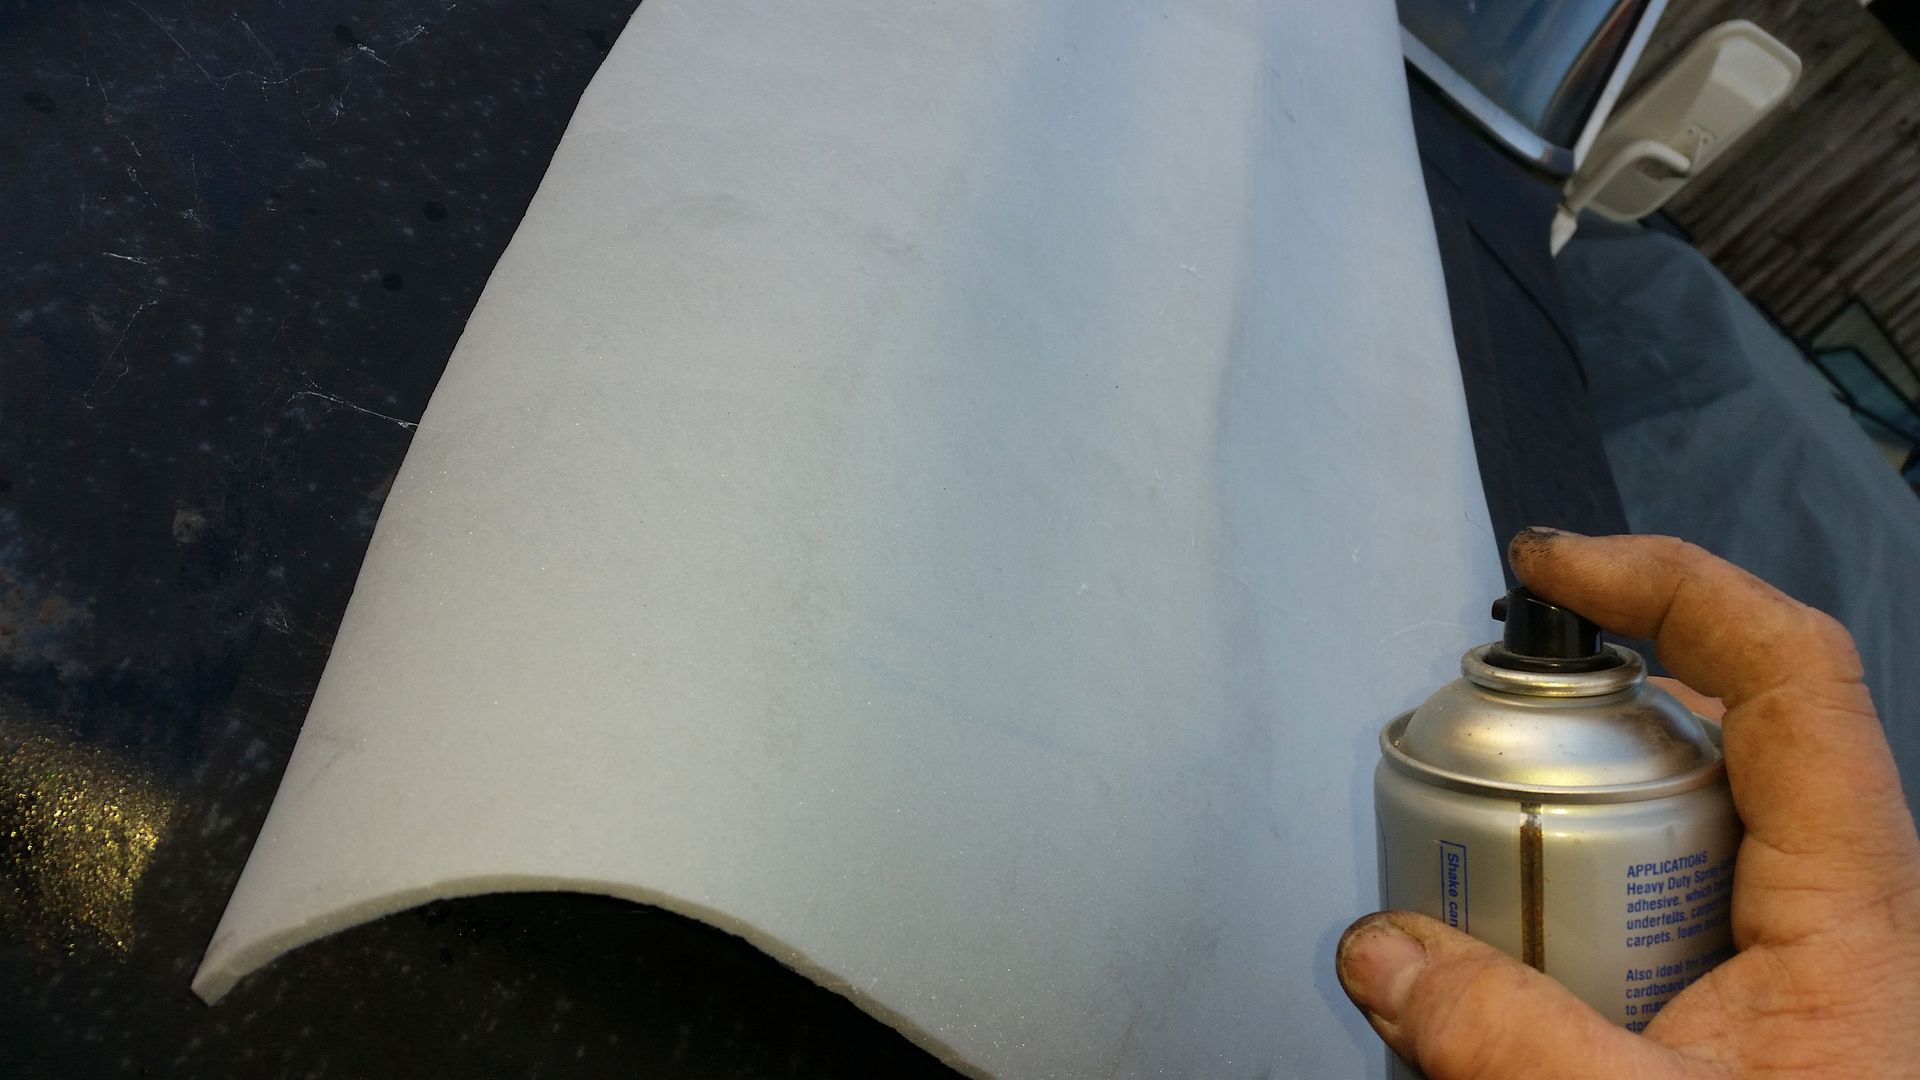
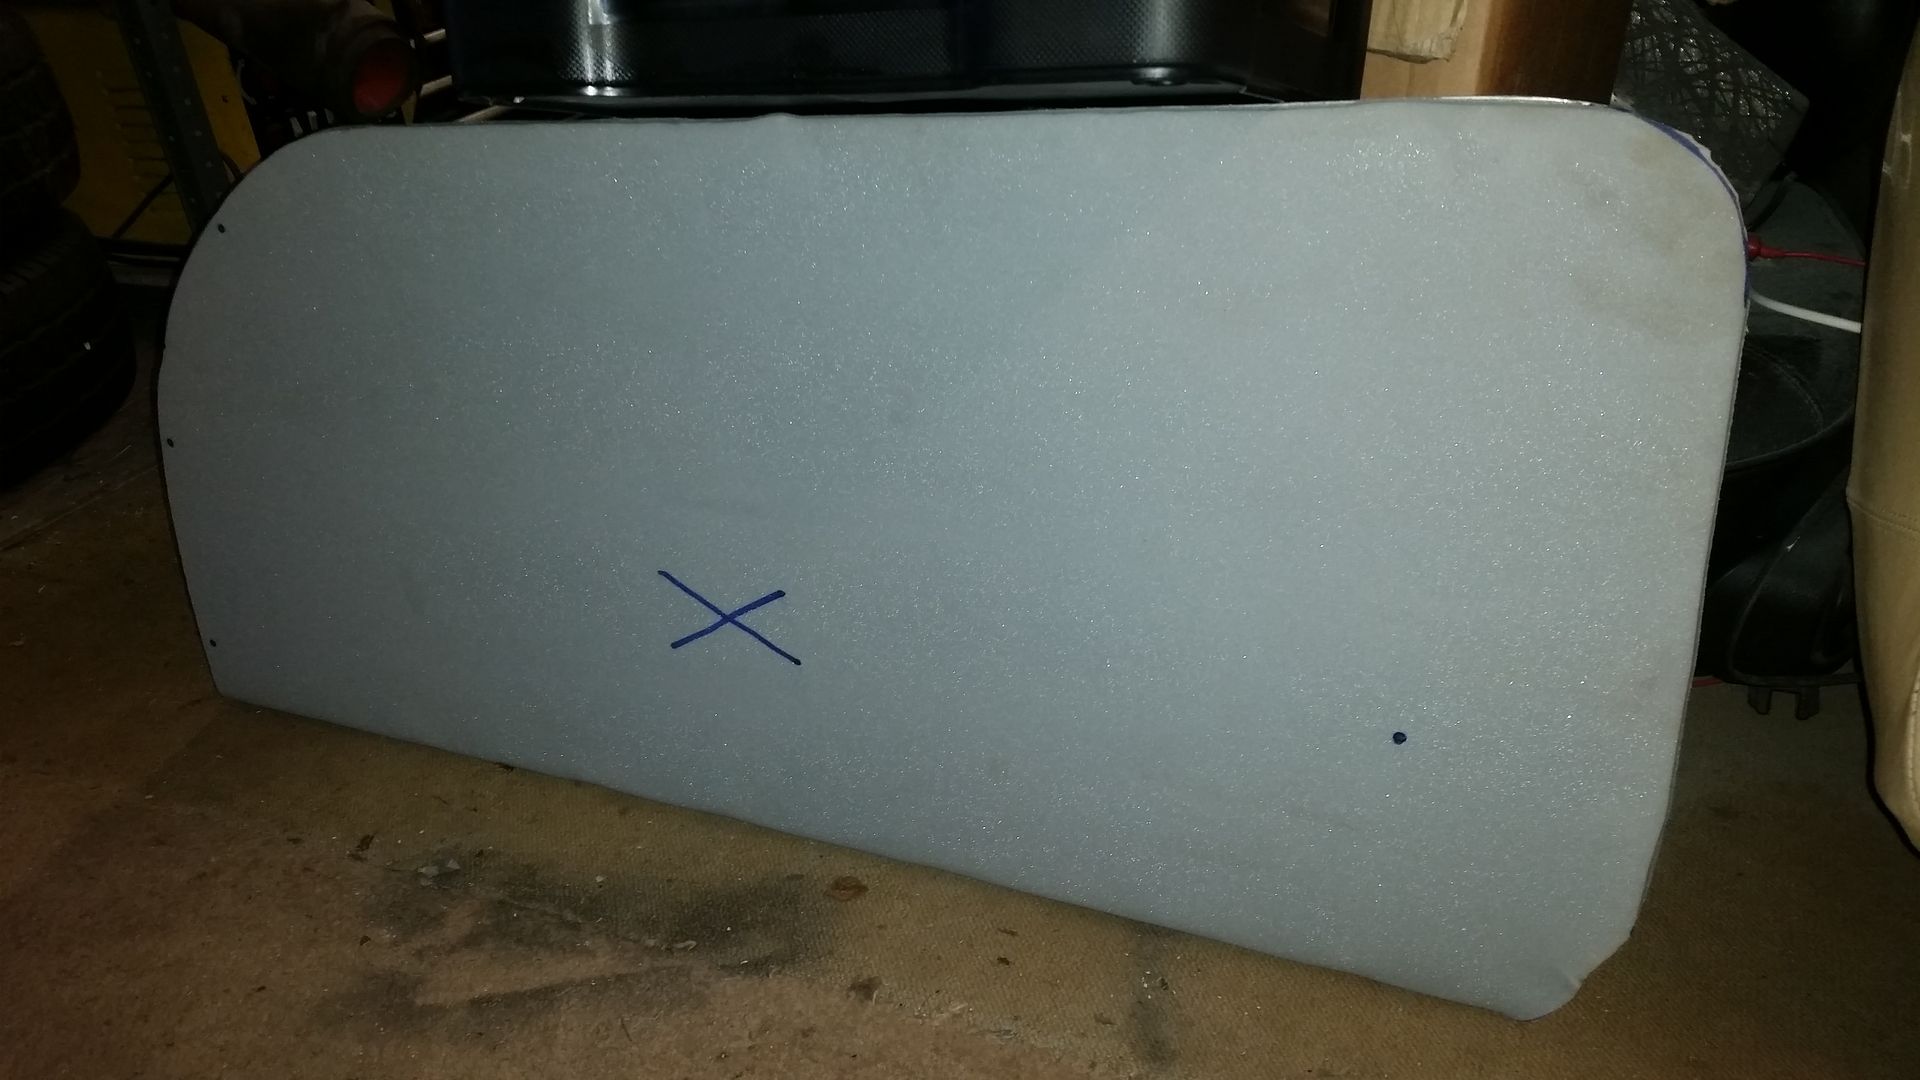
Here is the finished panel ready for the foam to be attached. Spray contact adhesive to one side of the foam and one side of the panel. Put double the amount on where the bend is as it will try to un-stick itself here. Leave for no more than five minutes then carefully line up two edges while pressing out the foam. You have a few minutes to re-position before the glue goes off so hurry up.
Neat job. I'm planning something similar myself so I hope you don't mind if I crib a few ideas.
I also intend to include door pockets, lever style internal door handles, dangly door pulls and old-fashioned window winders. I'm thinking I might try to link the winders to switches to operate the electric windows. Pull for down, push for up sort of thing.
Anyway, I look forward to seeing the rest of the interior develop. This is just the sort of thread that I find both fascinating and useful.
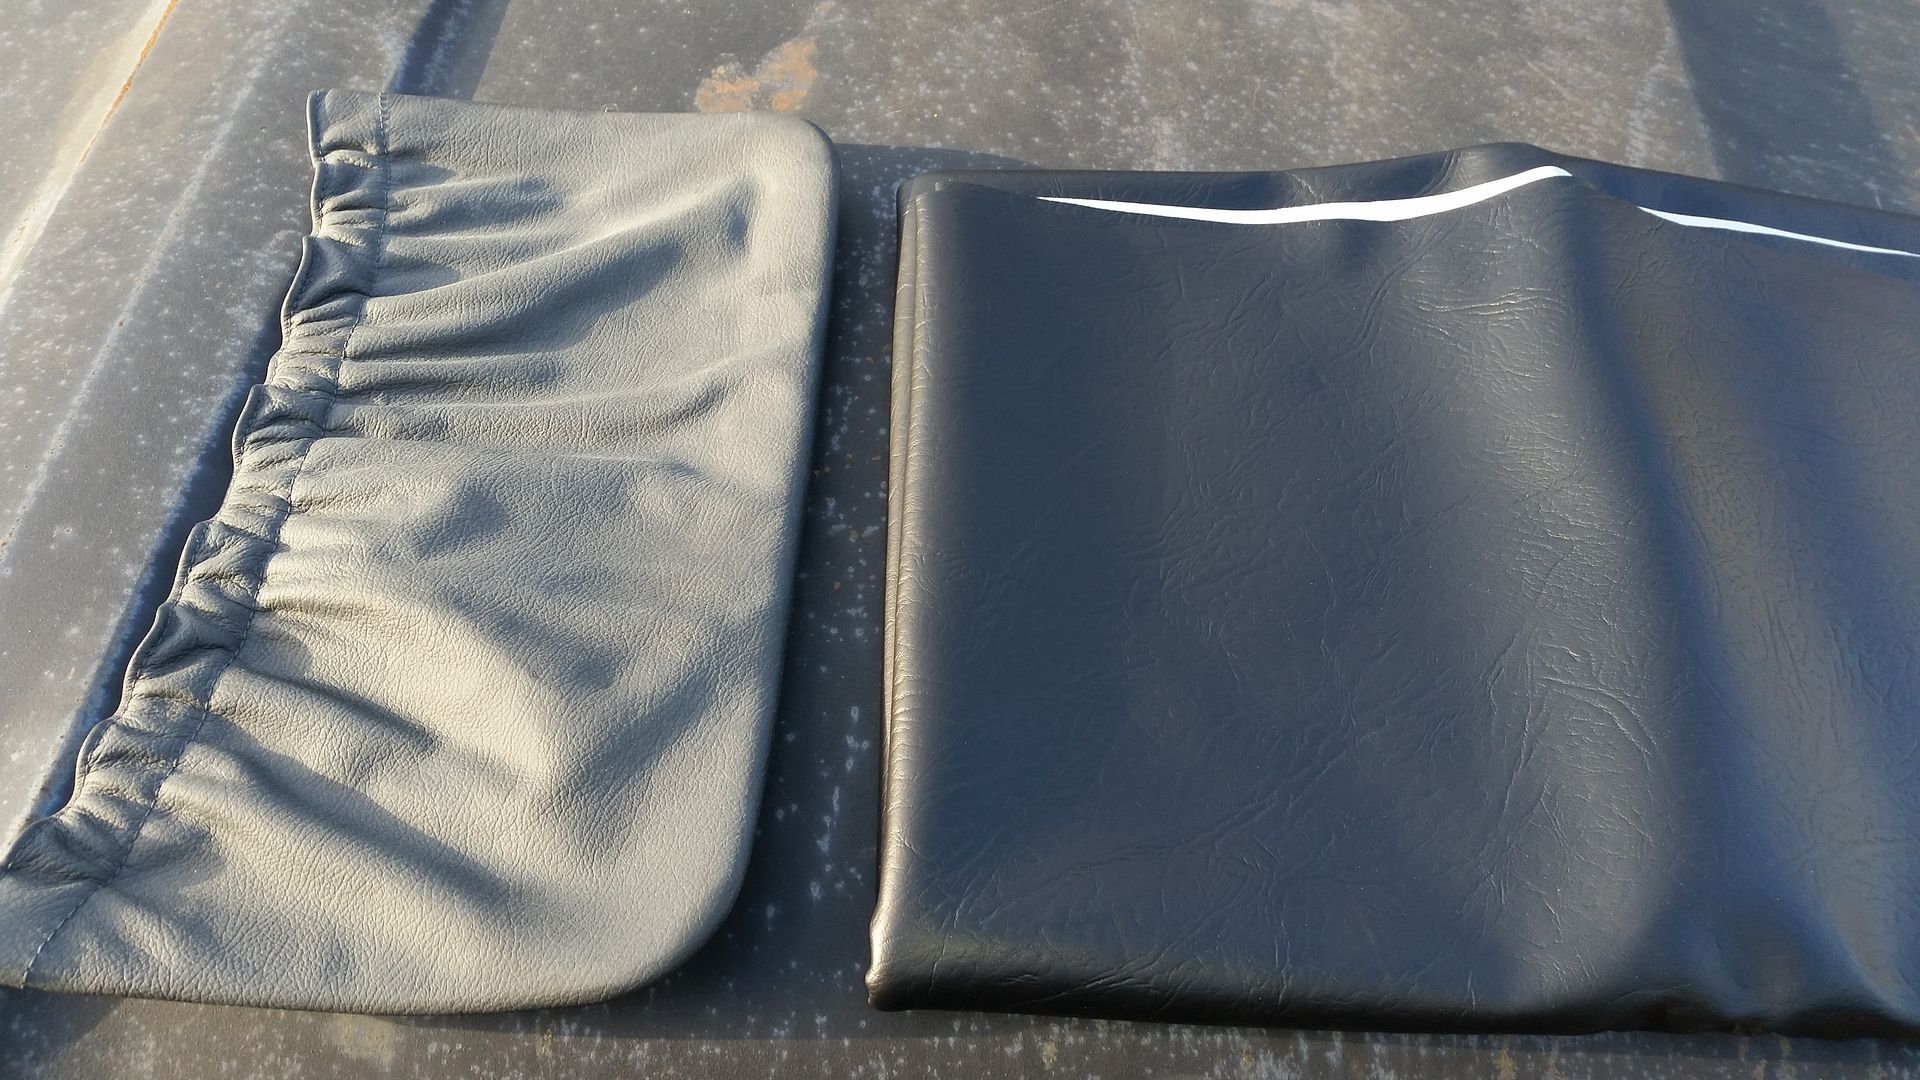
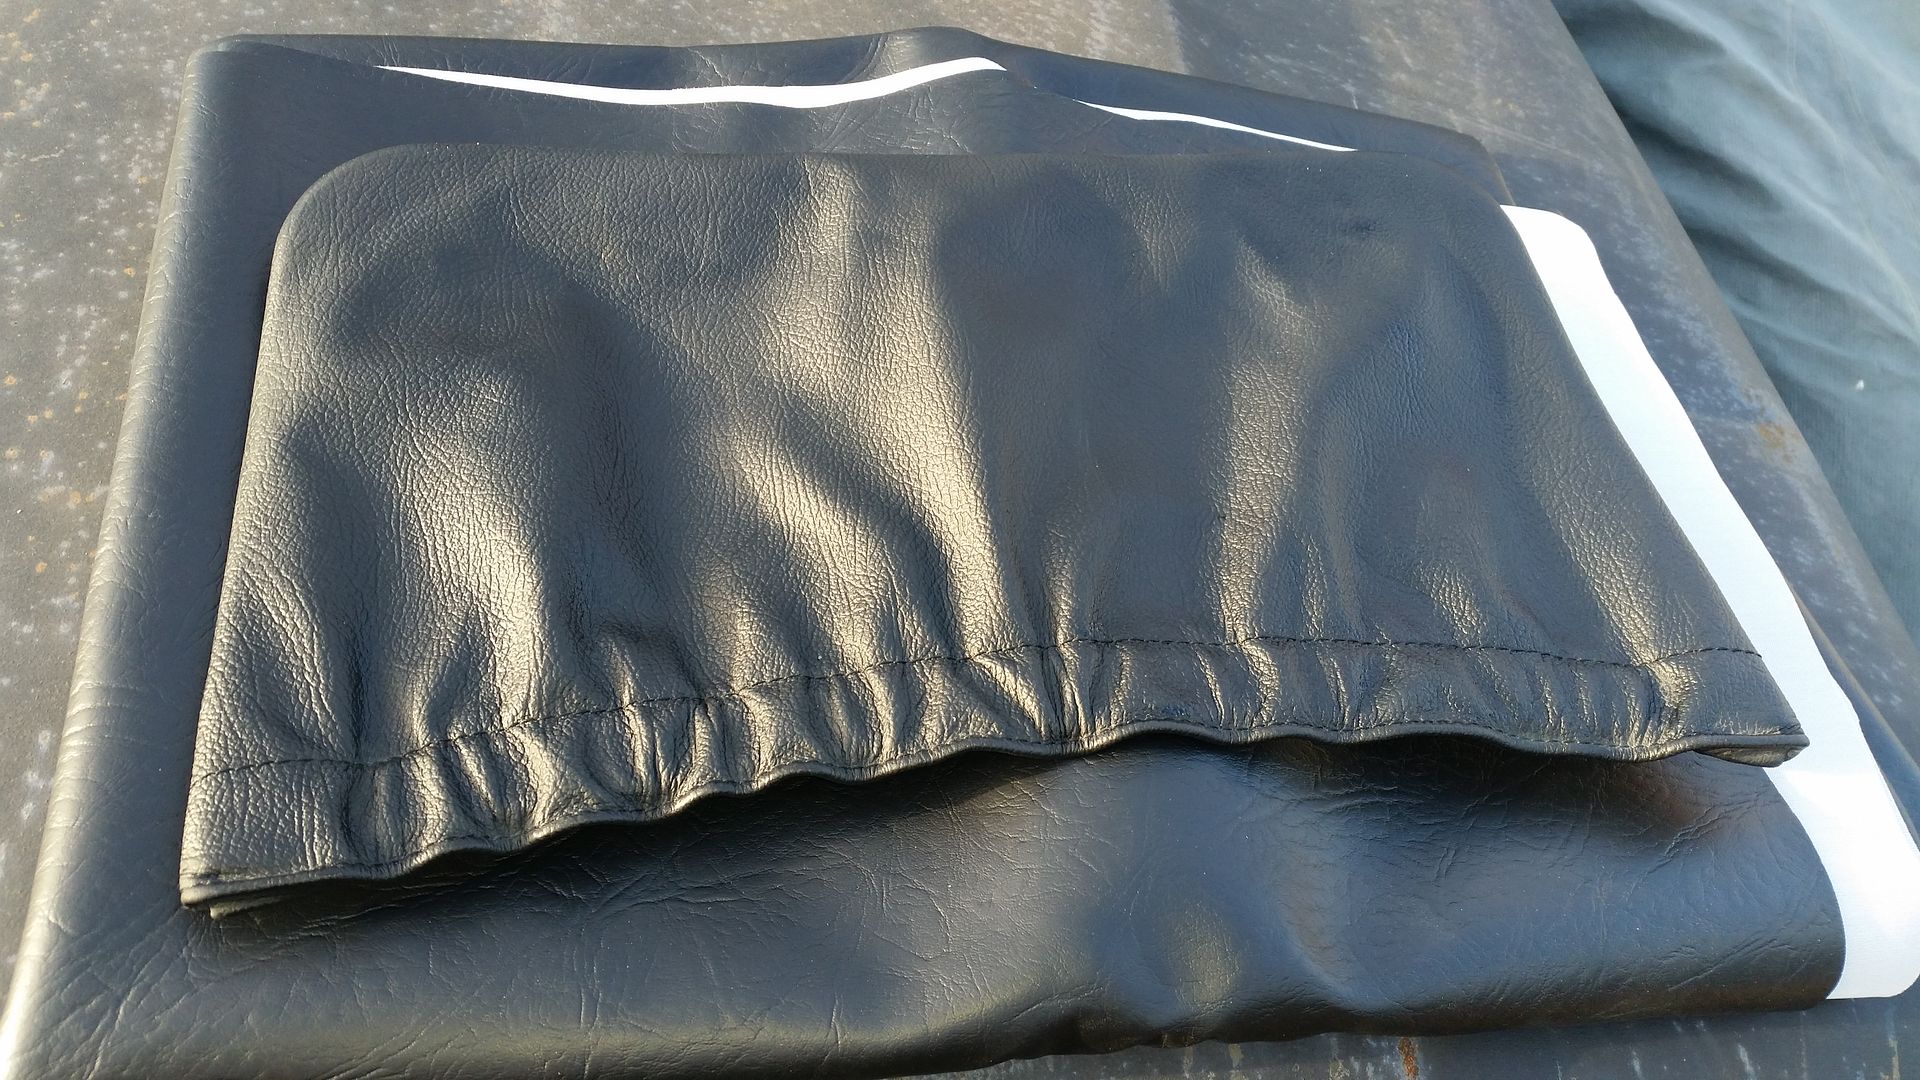
I now have a problem as the company that sold me the Leatherette folded it several times to post it. It would have being better to roll it and put it in a tube, dumb! However I do not have time to send it back and find a replacement. I am going to try and iron it out being careful not to melt it.
 -
-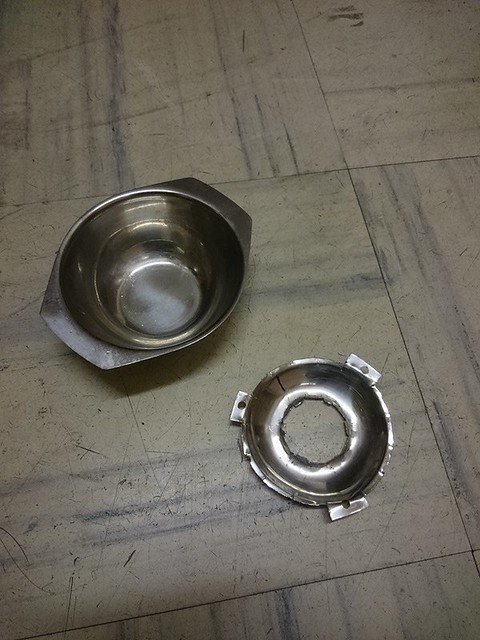 steering-wheel-2 by paul ward, on Flickr[/IMG]
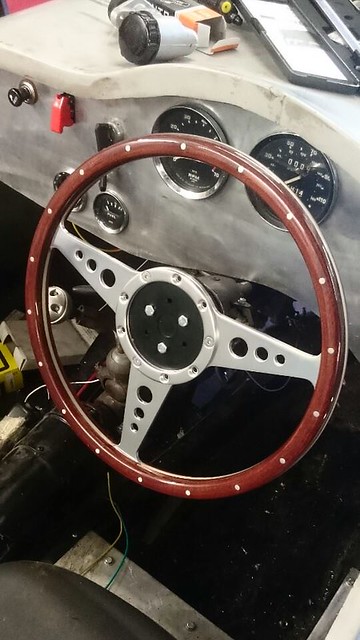 steering wheel 1 by paul ward, on Flickr[/IMG]
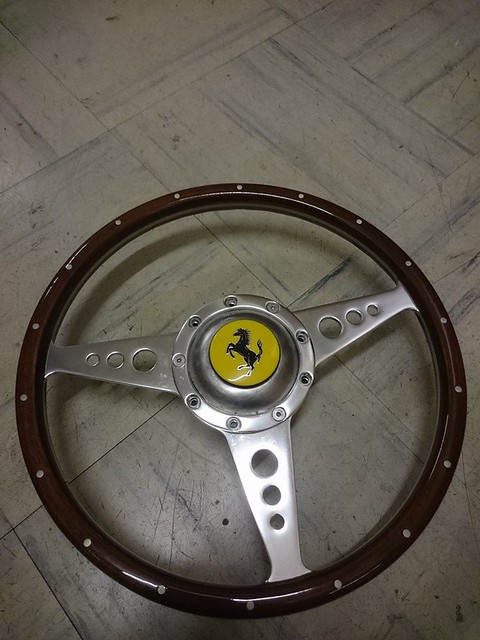 steering wheel 3 by paul ward, on Flickr[/IMG]