This is a read-only archive of the old Madabout Kitcars forum. New posts and replies are no longer possible, but every thread is still here to browse and read.
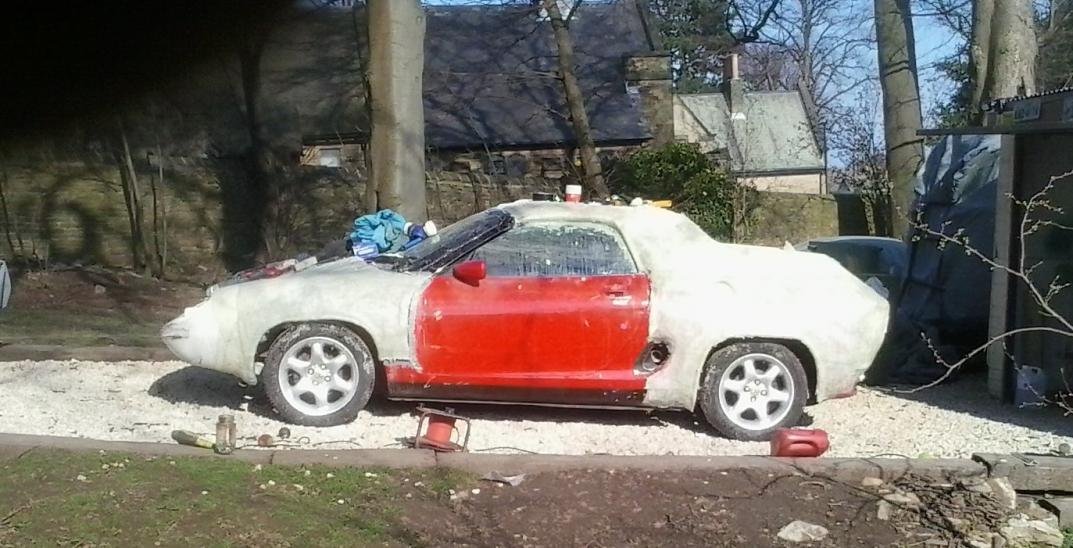
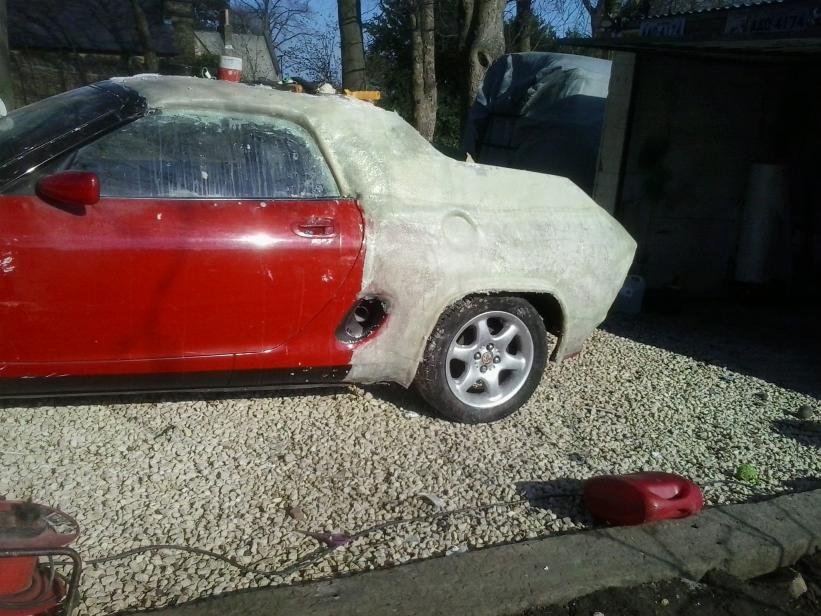
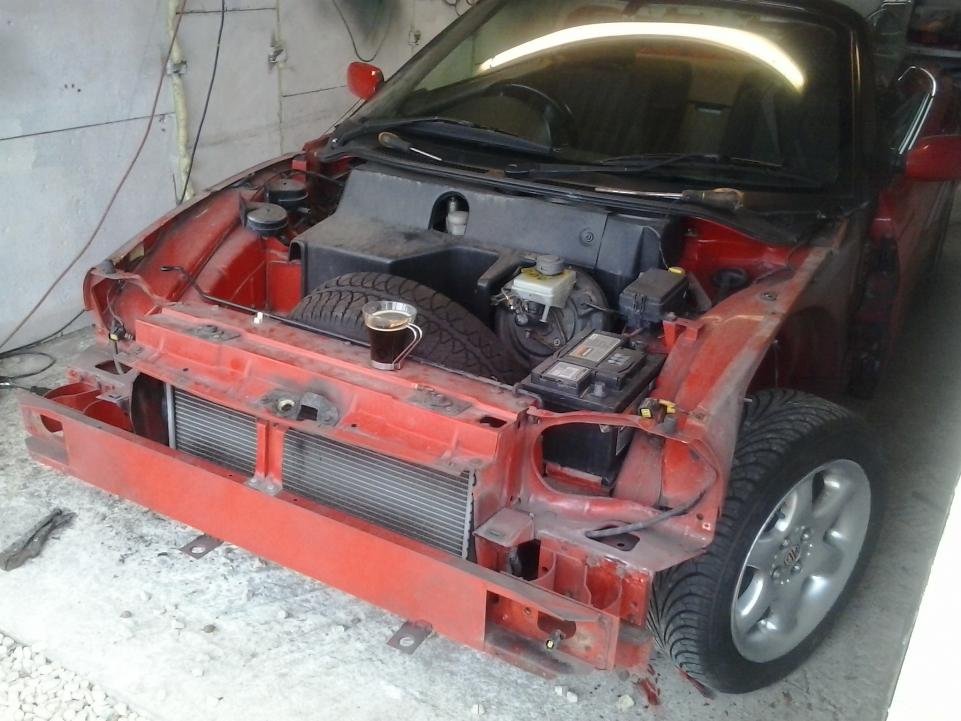
following on from hammy I have been wanting to build a Europa ish look alike so I have bought the panels off hammy bought a donor car and set about it yesterday so here is ware I am at so far. 1998 1.8i with good service and it had the head sorted nice drive loads of grunt.
Attachment could not be found in the archived database.
Attachment could not be found in the archived database.
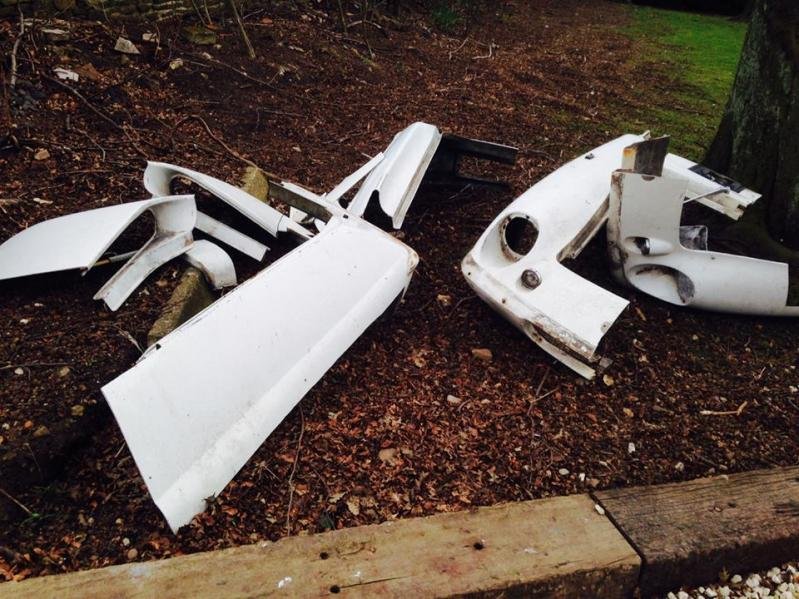
here is whats left of the panels not a lot but enough to give me some direction
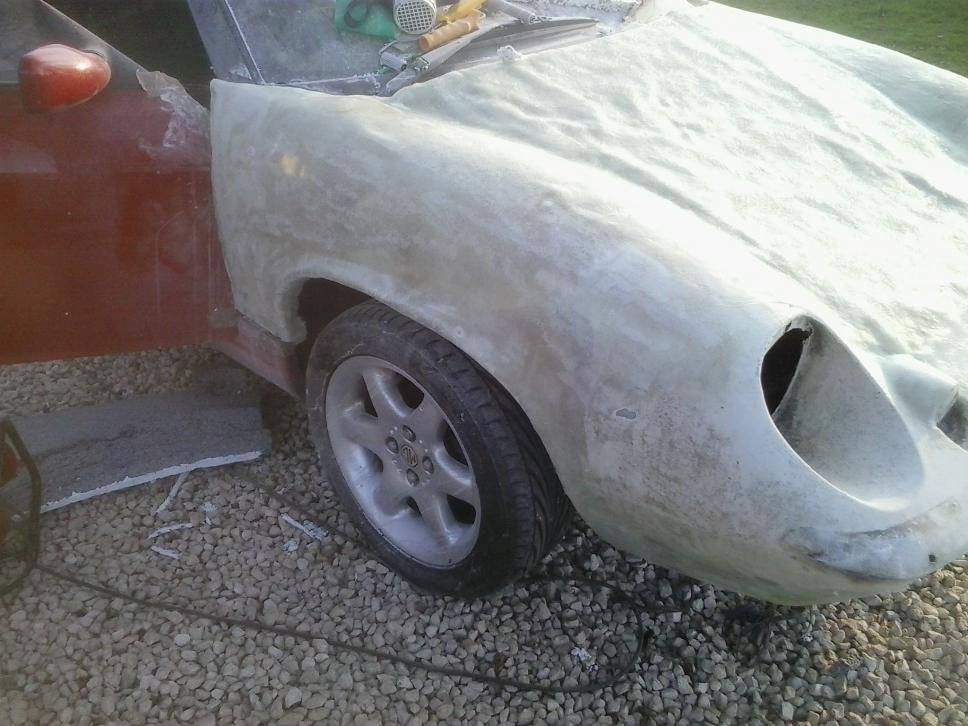
the front looks almost right for the car bit more tinkering to do.I have held the back end in place and the lines are looking good.
Attachment could not be found in the archived database.
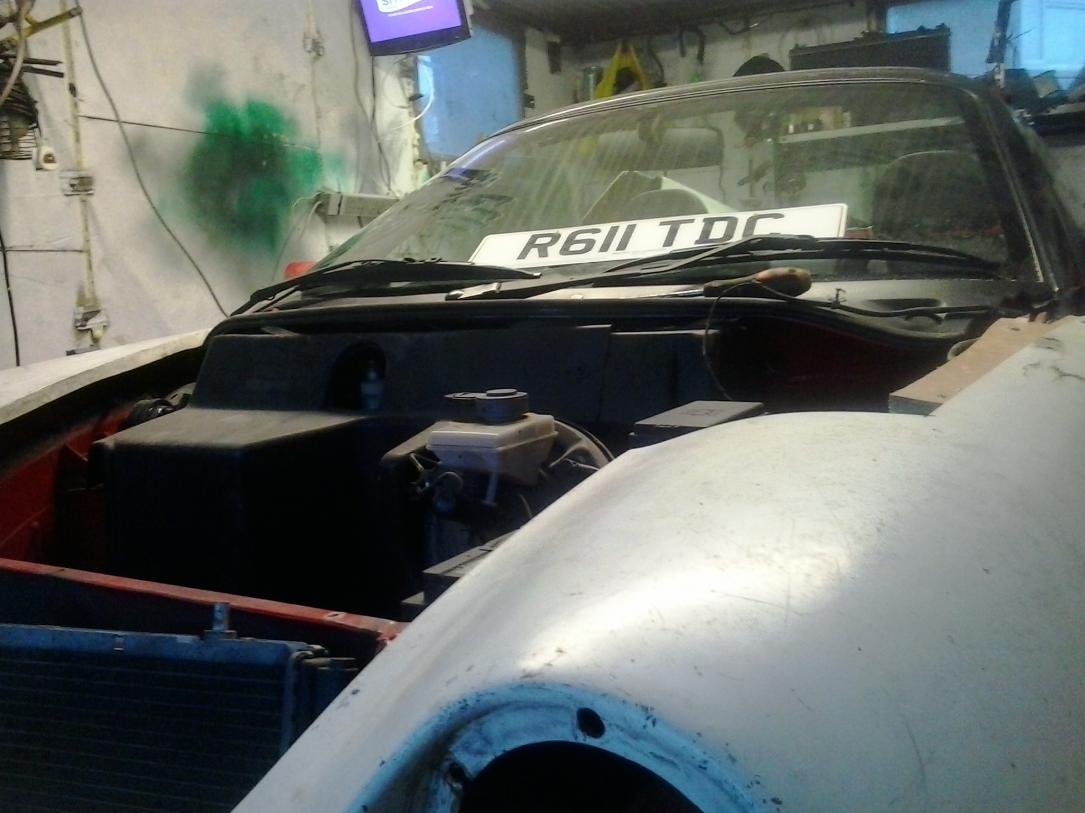
going to have to work on the bonnet its going to have a big bump to get over the wiper cowl
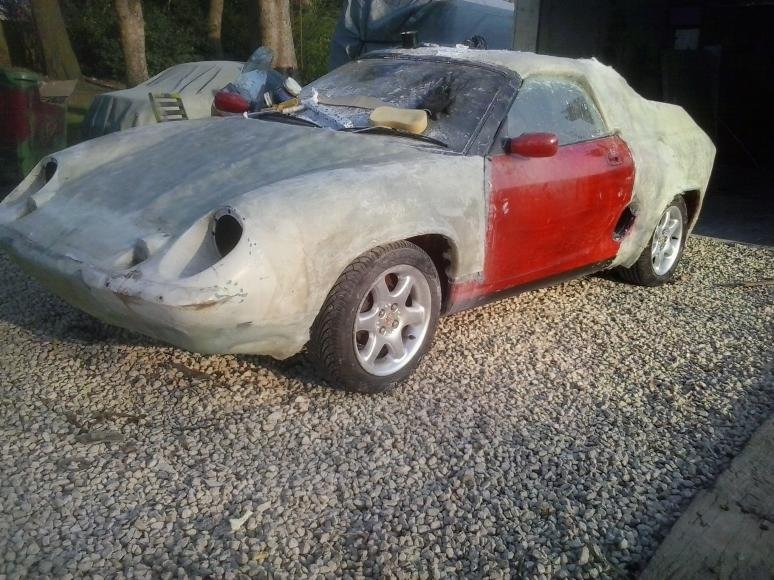
its roughly taking the shape once the back end is filled out and blended in it should look the part rather than a combination of bits screwed together. think I am going buy shares in fibreglass by the time its smooth and blended.
planing a flip front so I have just filled in the bonnet ready to glass over
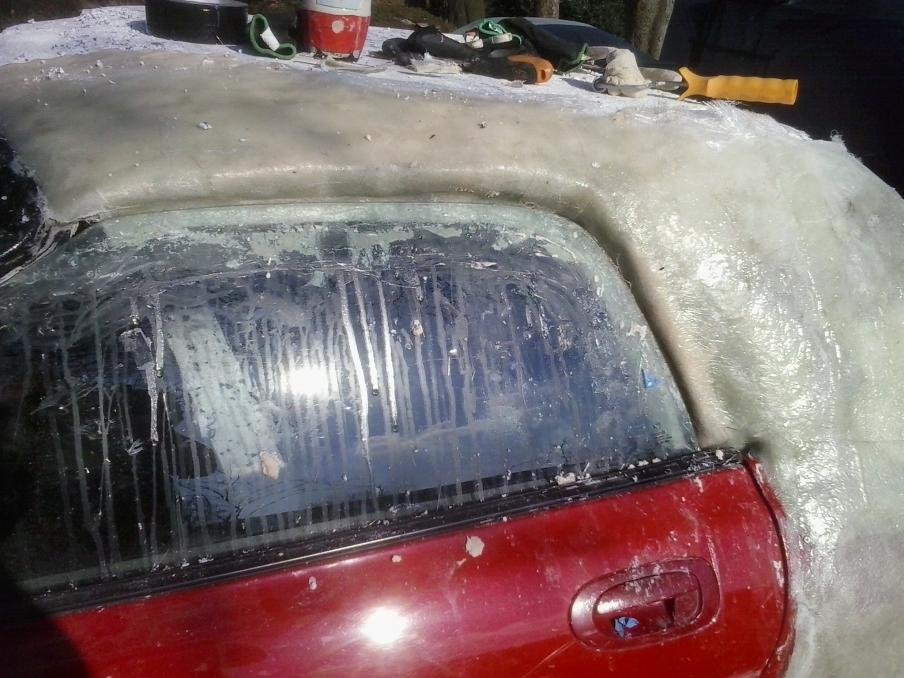
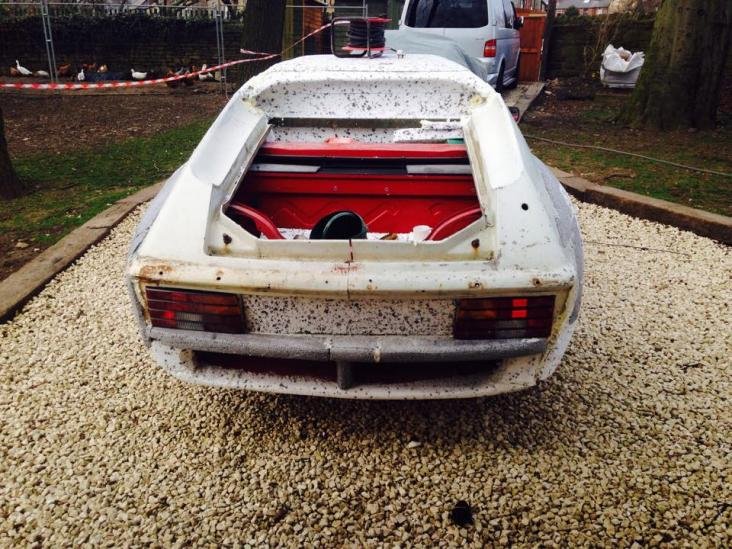
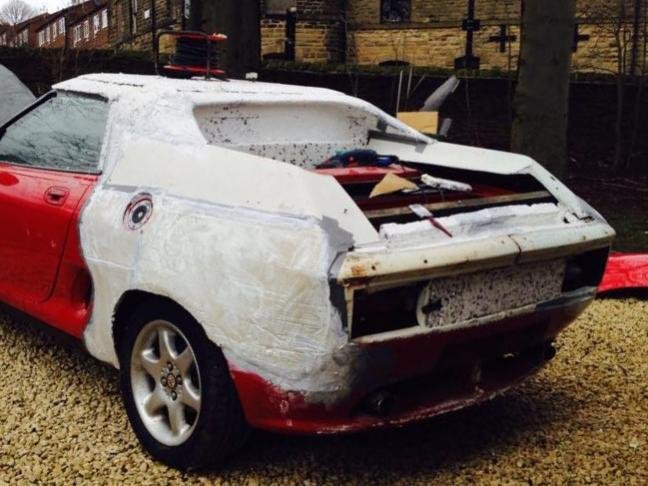
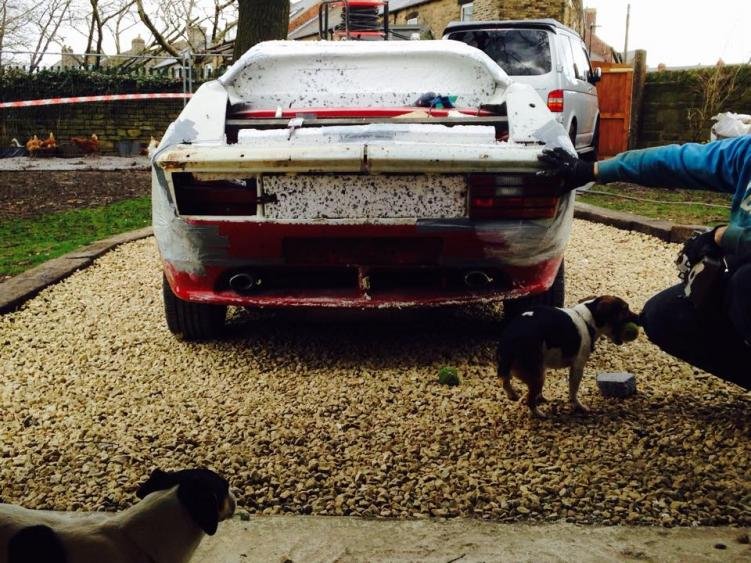
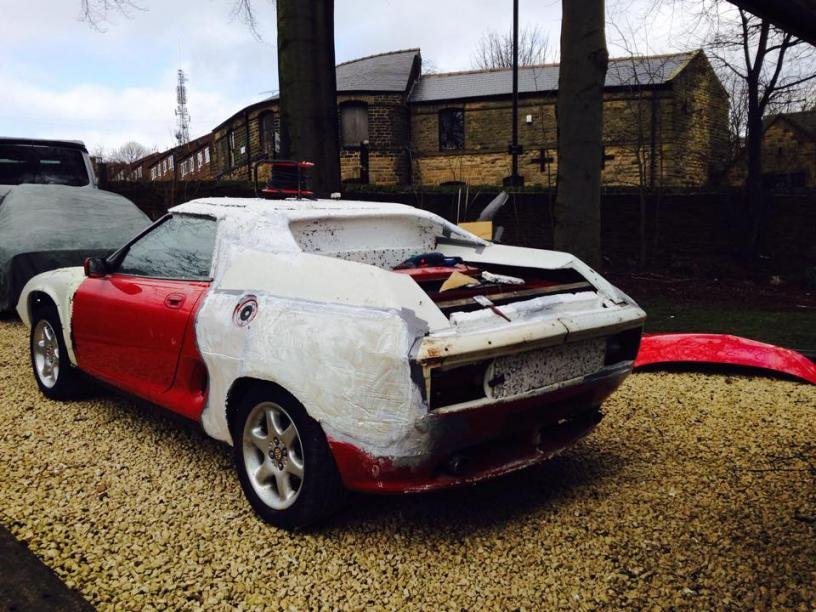
I spent all day yesterday working on the rear end it looked grate from behind but bluddy awful from the side, full days work took half hour to trash and start again. Think this time I have got it gong the right way need to work on the wheel arches and around tops of door glass to make up.
I know I 'failed' but the rear and the height is why I went with the MX as a donor mate and even that was hard enough the MR2 roadster would've been my next stop. The MG will be a challenge but keep on going mate cos if you make it work I'll be 1st in the queue for a kit!
cheers hammy the cars at the ugly duckling stage but give me a few weeks to get some glass on it, up close it looks ok if you can see passed what I am trying to achieve big wheels with low profile tyres and lower the arse a bit . all babies are born dam ugly but some do turn into page 3 girls. I am trying,
I tip my hat to the tribute guys its not as easy as it looks.
just my 2 pence worth, thinking the MG is going to be a bit too high for the Europa style. Have you thought of using a Fiat X19?
I went for the mgf as its cheap and plentiful, a half decent x19 would be a arm and a leg now days and are getting like hens teeth. getting a donor car that ticks all the boxes will never happen at least this way if it works great 250 quid for a donor car if not I can recoup my costs in breaking the car. to get it that low would be something like a triumph spitfire again hens teeth. its will never be copy but a looky likey well from the front anyway with a modern twist to the rear
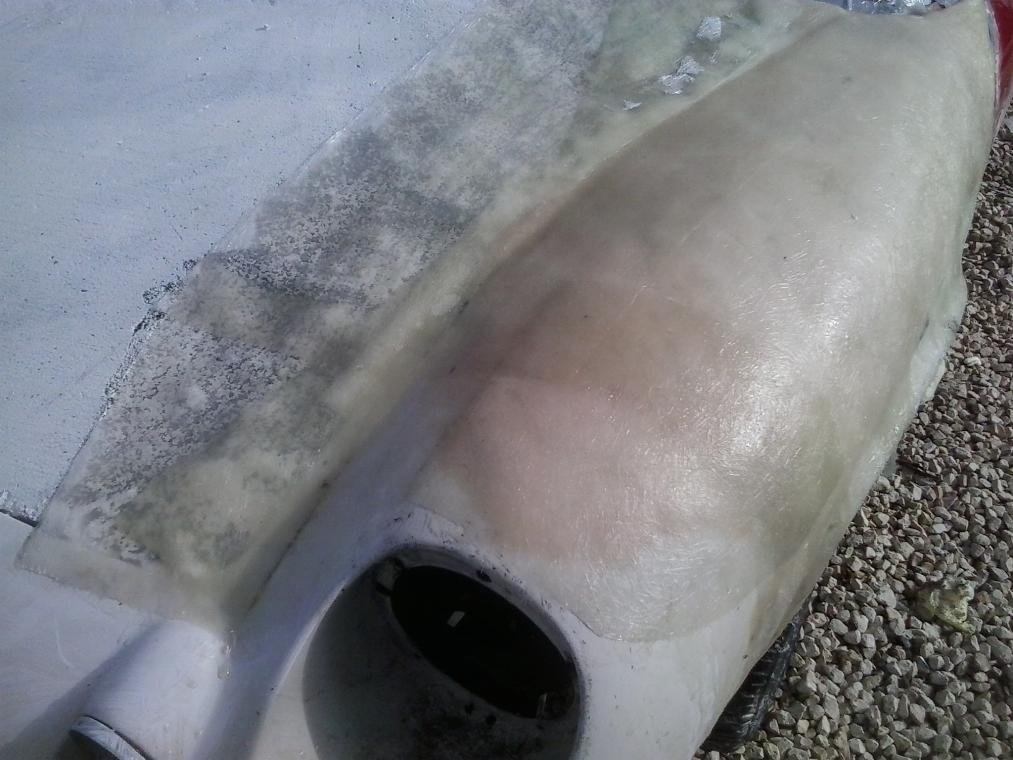
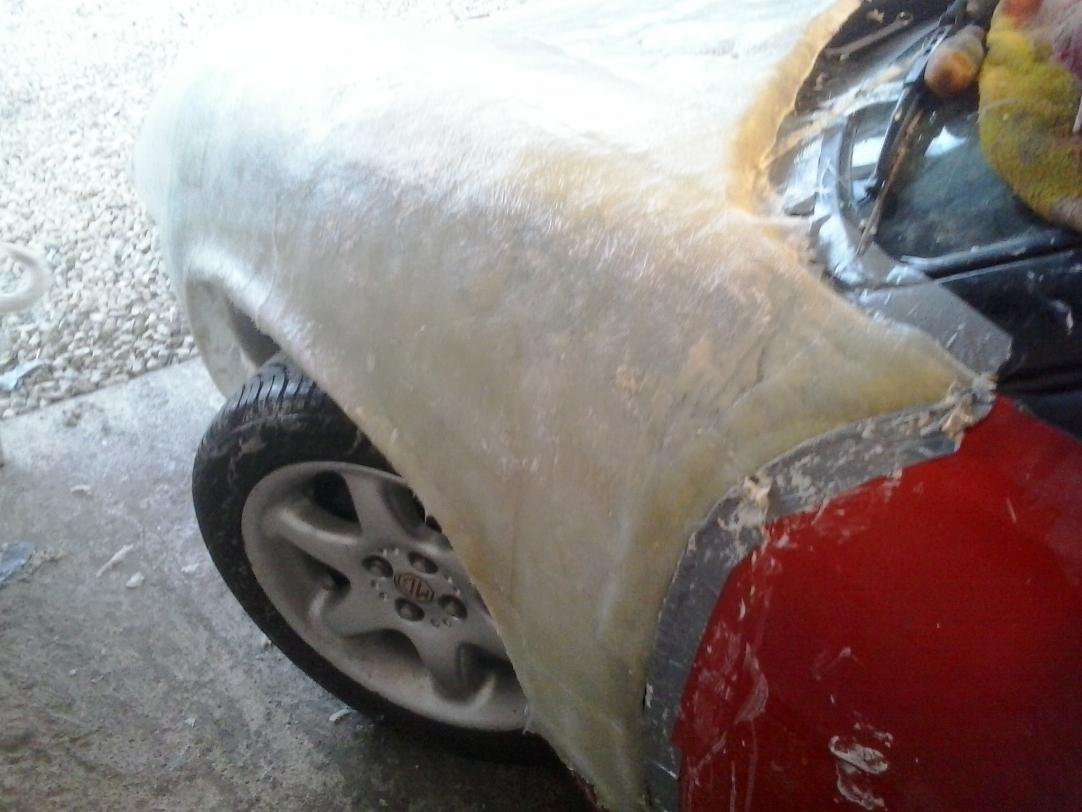
started to get some glass on one side, made up the missing wing top and laid to coats of 450g csm to give me something to sand back and smooth out. I watched a YouTube of a guy from ozz building a mg flip front he used a dry wall filler to smooth out the wings before tacking a mould off.as its not structural what I am doing as just mocking up to take a mould off I thought that I would try the same with a diy filler any one got a recommendation, easy sand car filler at 15qud a pot is a bit rich to cover the hole car. just looking at the side on pic think some side skirts would look good.lane:
Great progress Andy. We have experimented with various materials for bulking out bucks. We used Builders Finish plaster mixed with grp resin to shape the panels on the Z300S buck (see WCA's build tread 3), it's only £4 per 25kg bag, you do need to shape it's whilst it's just going off otherwise it's a little hard to sand. The Drywall filler sounds like a good idea as it does sand easily.
hi from what I have seen on the youtube clip it sands down very easy with wet and dry. skip the first bit he starts with a bumper then dose the flip front https://www.youtube.com/watch?v=GXzR17LktSg. I am going to have a look at different options so I will come back to you if I find a good one. I am all for taking the hard work out of the prep work and cost if we can
For my ten penneths worth, I think bigger wheels and arches will go some way to reducing the slab sided look. I think once the paint is on, it will also look much more coherent. Having played with tiny amounts of fibreglass, my hat is doffed to you sir for a great effort so far
thanks. I agree with the wheels and I am keeping a eye out for some wide 17s problem I have is mg are a odd ball fitments. going to work on some side skirts and also cut and drop the front valence a little. and yes paint makes the car when its ten different colours you have to be able to have the vision of what could be, or just stand and shake your head like the wife.
http://www.diy.com/departments/gyproc-quick-dry-powder-jointing-filling-10kg/35736_BQ.prd
Try that its very much like a good quality powder interior filler to sand once its properly dry but be warned its a pig to sand before hand, and 5mm depth takes 2 days to dry and that's inside on a plasterboard ceiling, not all smaller b&qs stock it I would mix a little PVA into the water too to help it stick and be less porous, I will be using it tomorrow I will do a test on something and stick it in the garage see how long it takes to set and if its up to the job. Ed/
http://www.diy.com/departments/gyproc-quick-dry-powder-jointing-filling-10kg/35736_BQ.prd
Try that its very much like a good quality powder interior filler to sand once its properly dry but be warned its a pig to sand before hand, and 5mm depth takes 2 days to dry and that's inside on a plasterboard ceiling, not all smaller b&qs stock it I would mix a little PVA into the water too to help it stick and be less porous, I will be using it tomorrow I will do a test on something and stick it in the garage see how long it takes to set and if its up to the job. Ed/
cheers going shopping tomorrow so I will try my local builders merchants see what they can come up with any thing worth trying will add it to the post
had a few days off work so been on the car, front valence cut off and lowered started to blend back in the grill gap I did not like so I am going to blend it and look for a grill to cut in latter. other wing made up and the complete front end will now lift off. its going to need a lot of filler to smooth the bonnet but I will get there the resin got to the polystyrene.
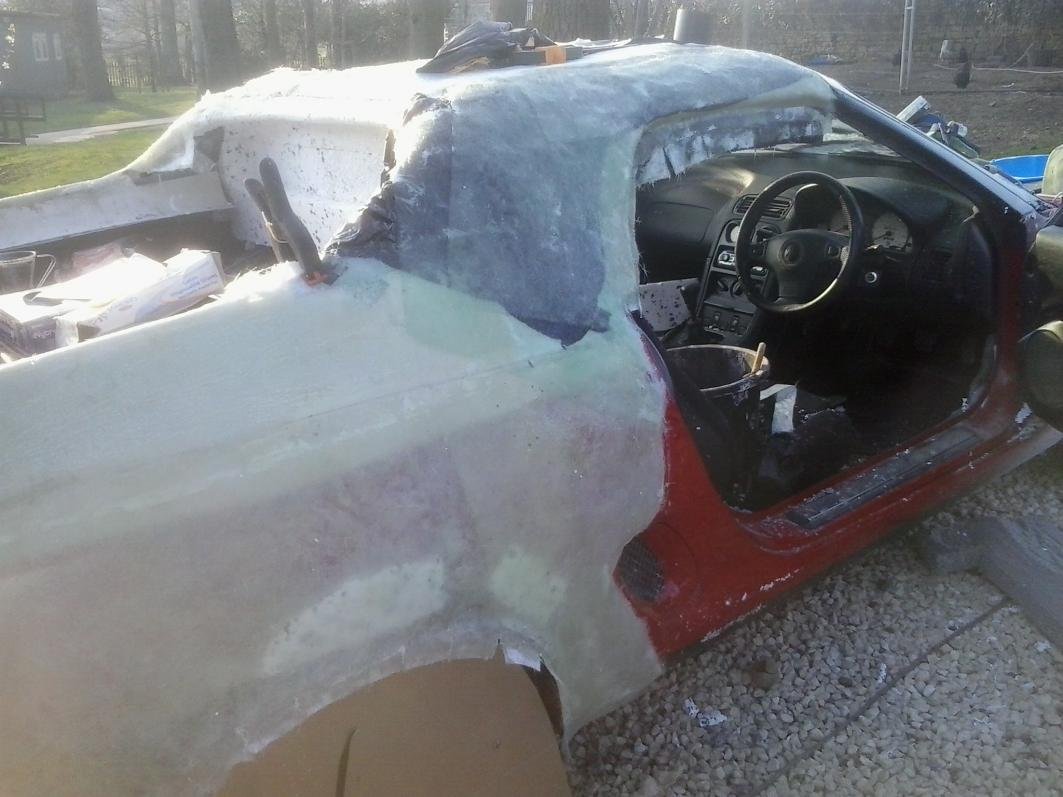
starting to glass the roof and drivers door so all been well for Sunday the complete back end should be removable to work on.
Attachment “20150409_181231.jpg” from the original forum could not be reliably recovered.
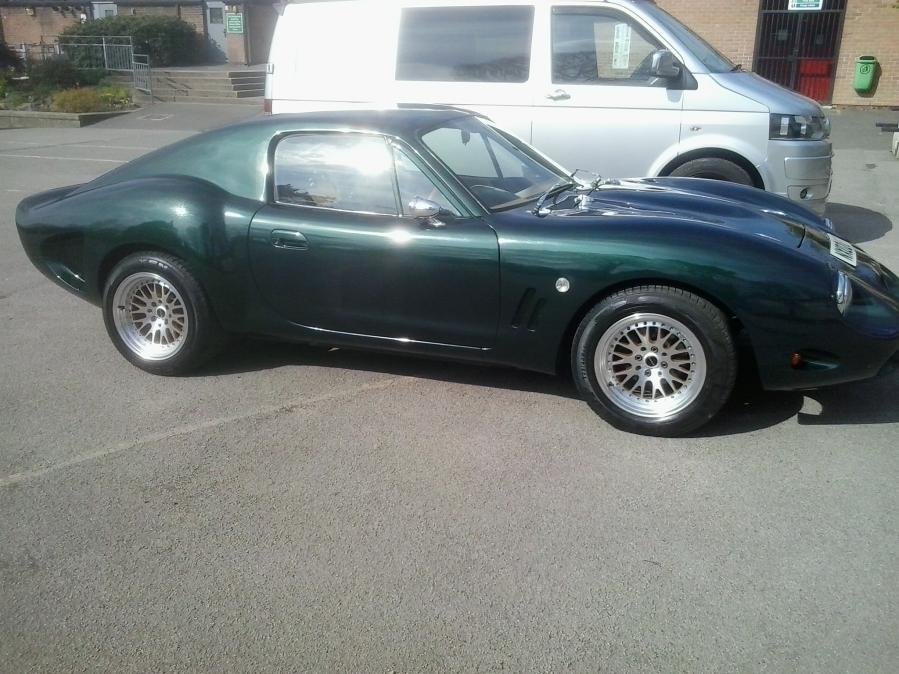
last pic the sun was shining on my toys so it would be rude not to take a pic
Why does stuff look better when the suns out? Nice green BTW, not convinced by my filler trails, its very very brittle and the paint just sinks in coat on coat, get some Polly filler powder and try yourself but I wouldn't fancy putting the effort in when it could go very wrong whilst molding ?
not all things look better in the sun should see the mother in law not a pretty site even with the sun making you squint. did you try a plaster sealer or even pva. from experience of trying to cover damp marks in ceilings oil base paint always works and seals it ware as a water base will always show the mark.


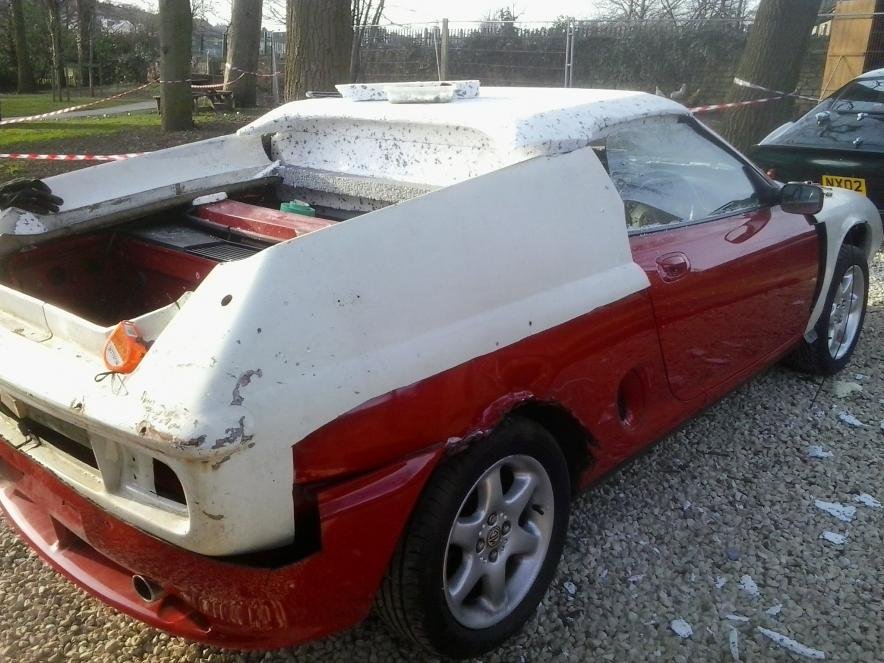
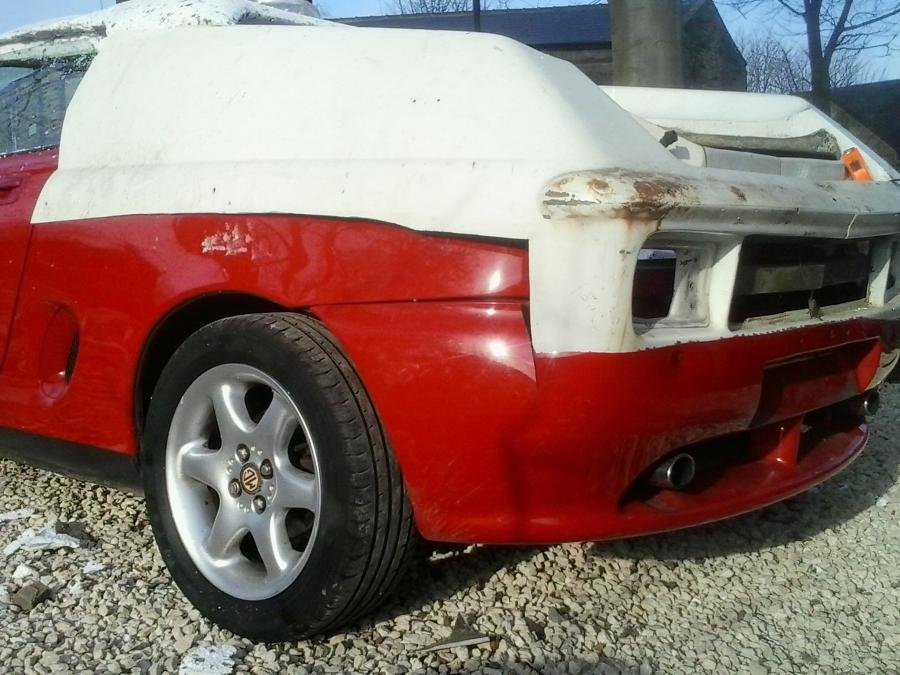
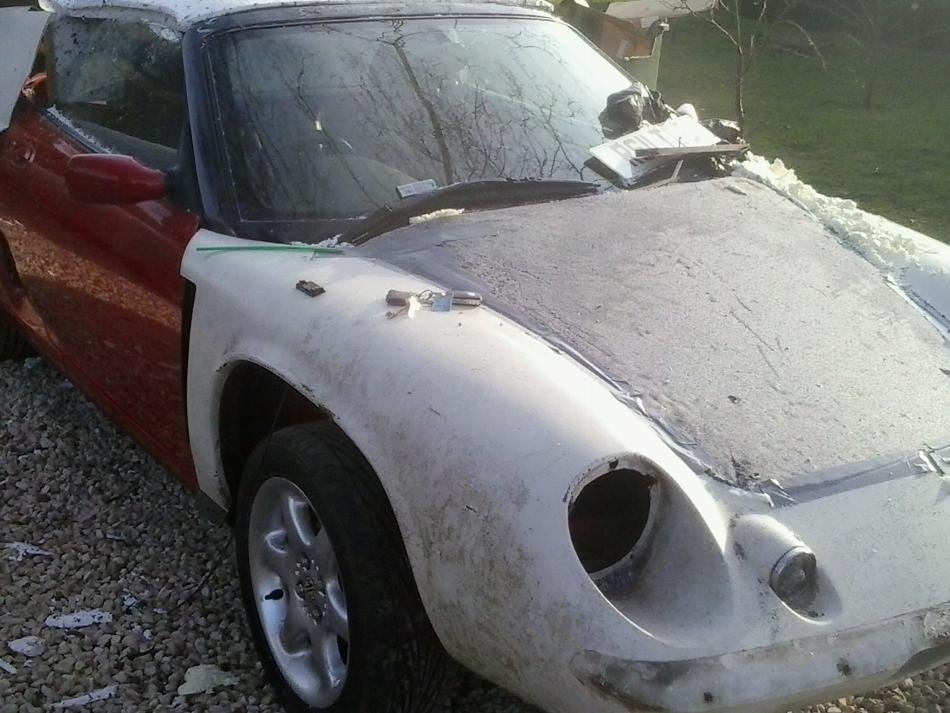
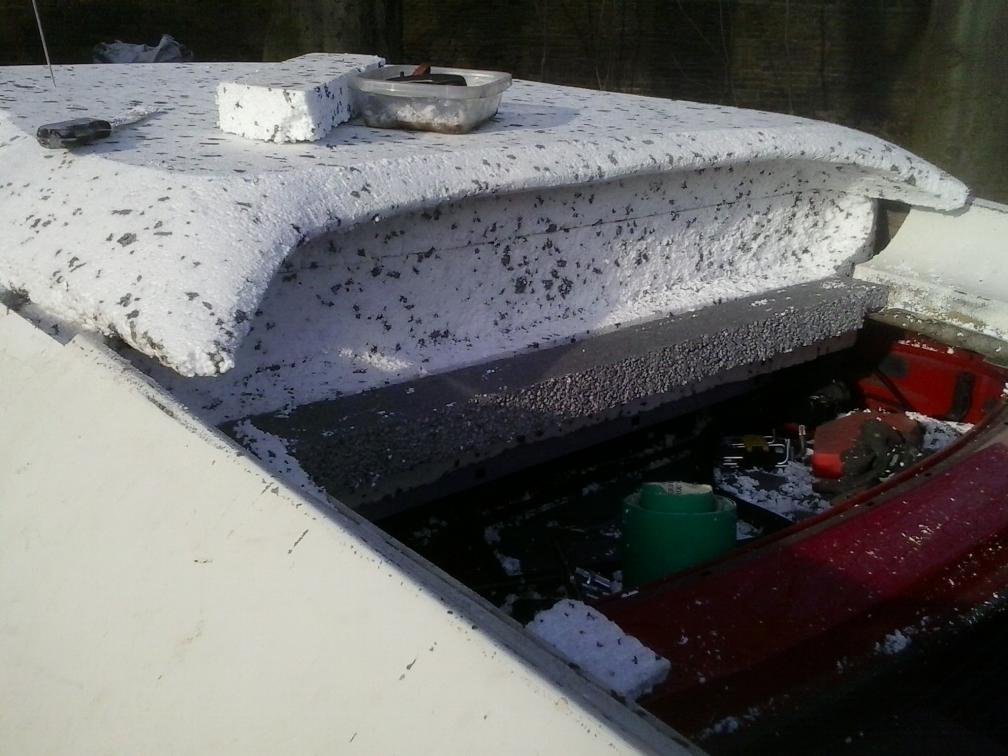



 lane:
lane: