MadaboutKitcars

This is a read-only archive of the old Madabout Kitcars forum. New posts and replies are no longer possible, but every thread is still here to browse and read.

Plugs.

17 Jun 2013, 12:16pm
So...having had an interest in fabrication, I have been attempting to create panels for my own projects.
Made a few mistakes...but found it to be mostly rewarding.

Circumstances have left my better half and myself waiting on relocating, house contents mostly packed/boxed for last two years, move in progress for five.

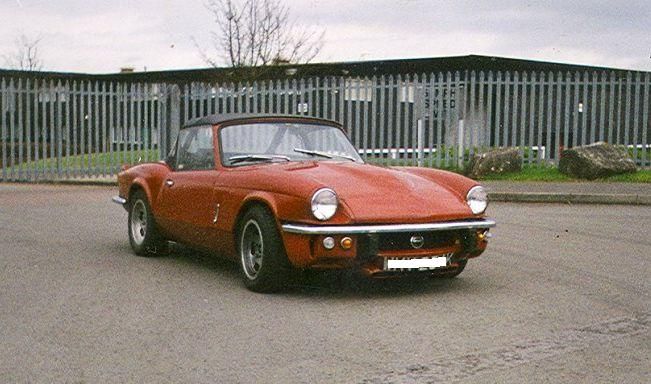
Decided to purchase Spitfire as a base car.
Changed suspension.
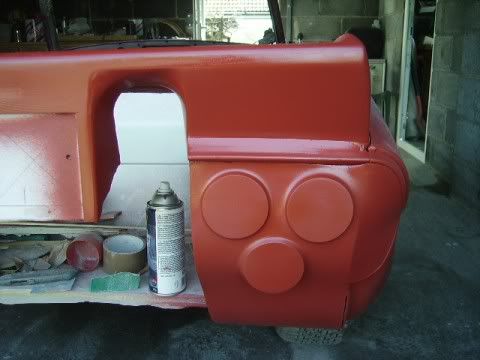
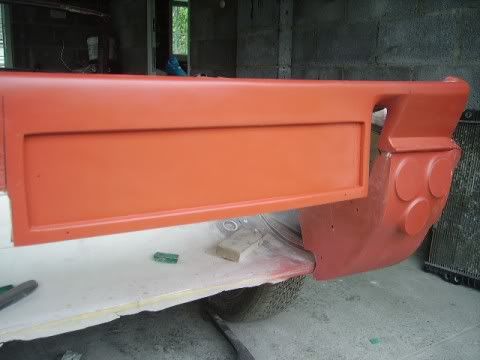
Used the Triumph 2.5 S, wanted re designed front grill, quarter panels, none available, phoned local shop, they said I'd need a plug.
Made one from filler/ re claimed wood, took to another GRP company, who persuaded me to give fiber glassing ago, and offered me employment...yay.
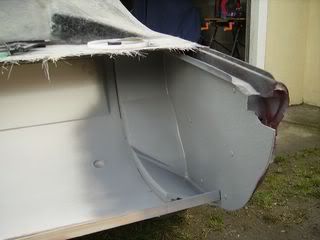
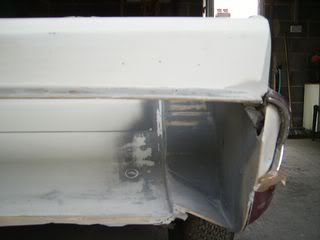
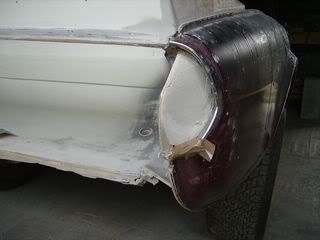
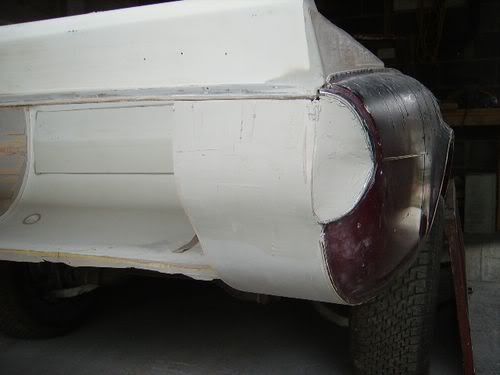
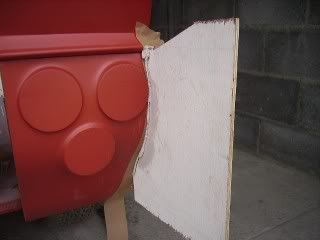
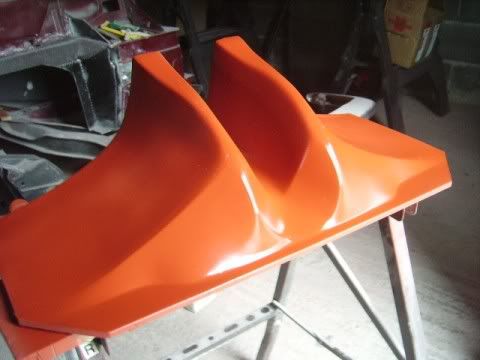
Molded plugs, gave quater panels deep draught, took all day to release,
still....once fitted took car to a company who offered contract..in principle...subject to alterations, clearance related.


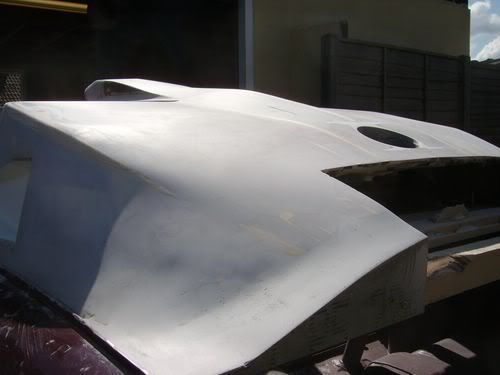
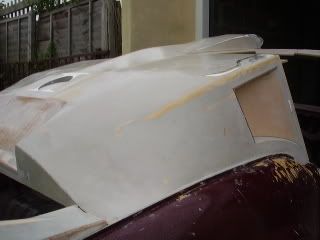
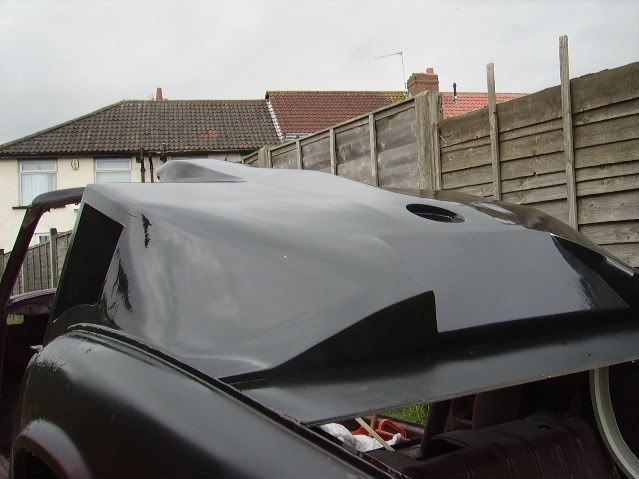
Decided to carry on experimenting, made a roof:


Junked, but kept some panels, built again, wooden skeleton, for rough idea of lines, templates across.
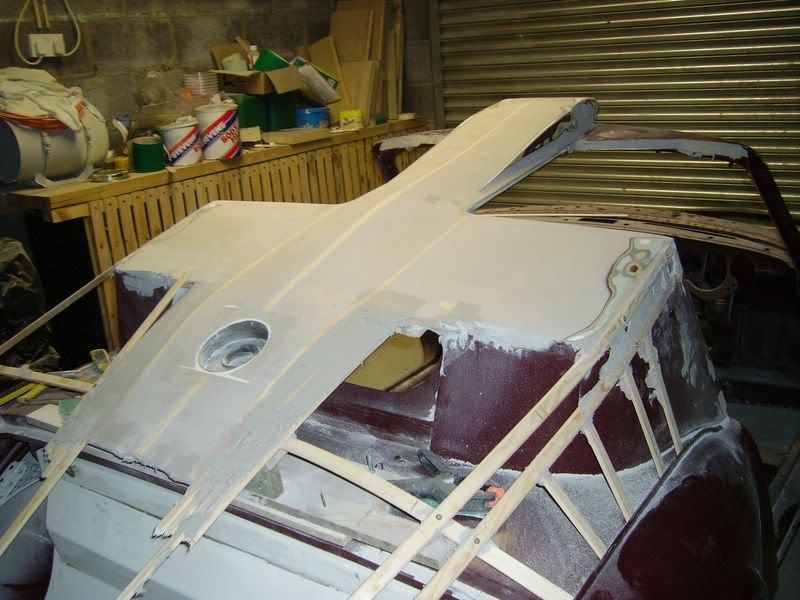
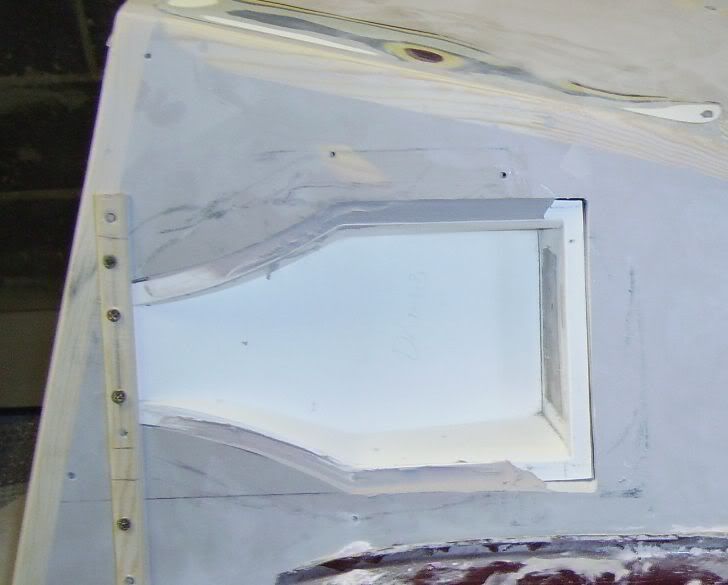
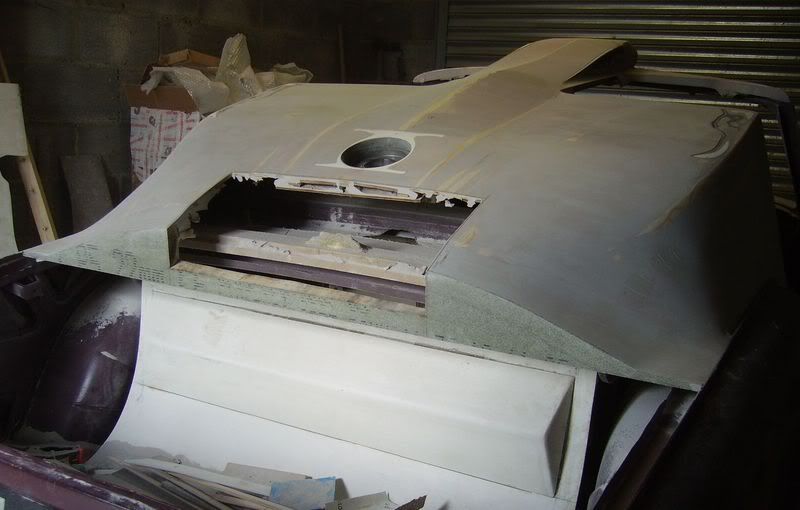
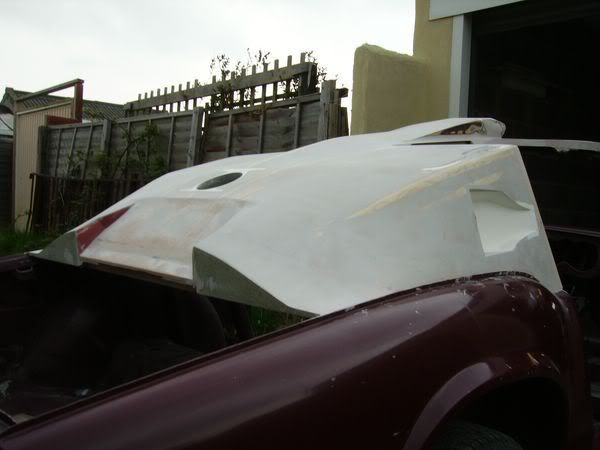
17 Jun 2013, 12:21pm
Found that there was a 8mm difference in car, from centre.


One of my favorite tools has to be the Grinder....


Wrong trousers?


17 Jun 2013, 12:34pm
Framed area for molding.


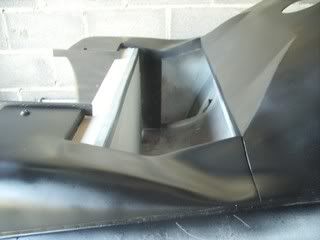
Layed up rear with Four plus layers of Gelcoat, Choppings, chopped strand matt 600, two layers, up to laminate wood divide, with locators.


Found that using one layer of release wax, on plug surface, before using sticky tape kept finish un damaged.
Cut laminate for divide, drilled edges, used filler to tape, trimmed with chisel, waxed etc.


Molded side vents separately, filled over to lay up rear.
After sections were laid up to two layers of 600, sanded, then continued at two layers a day/ sanding, till the mold was a bout twelve layers.
17 Jun 2013, 1:31pm
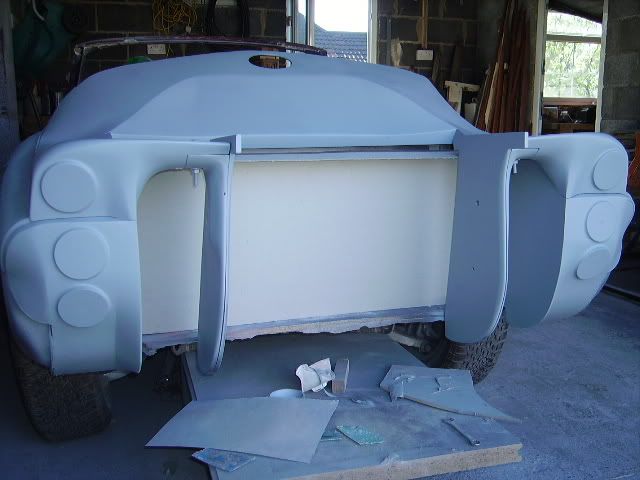
Was thinking of rear mounted rad', diffuser, and wing.


Added plastic strip.


Brought sides round.


Ply for edge, strips to add filler on.


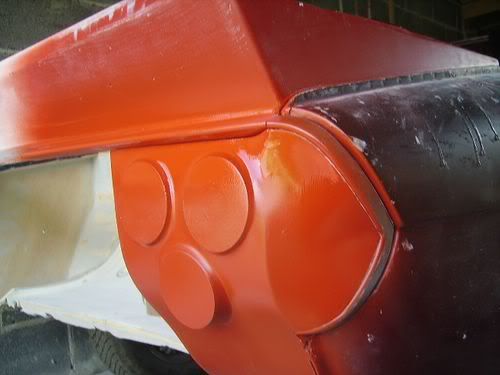
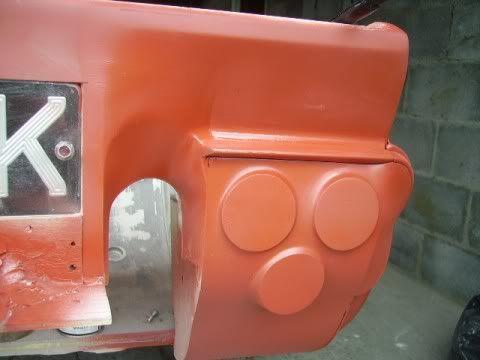
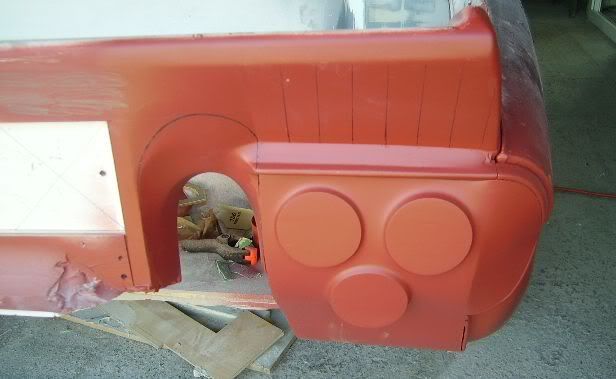
Added light bases..
17 Jun 2013, 1:46pm
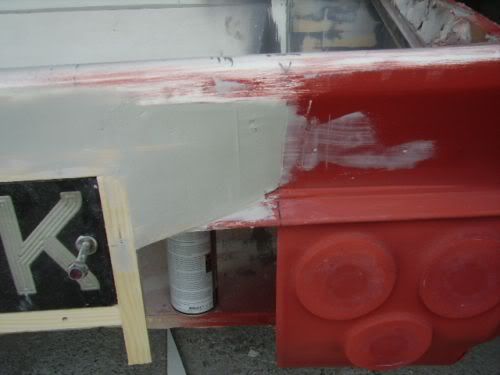
Set licence plate flush, built surfaces up.


Shaped ply for inner line, filled to outer edges.


Decided it was too thick.


Now why didn't I just stack those lights....


One of the Templates made, added release wax to plug, sticky taped the line to capture, cut wood roughly to match, drilled edges, added filler, held to line.
When set, angled back edge.
17 Jun 2013, 2:02pm
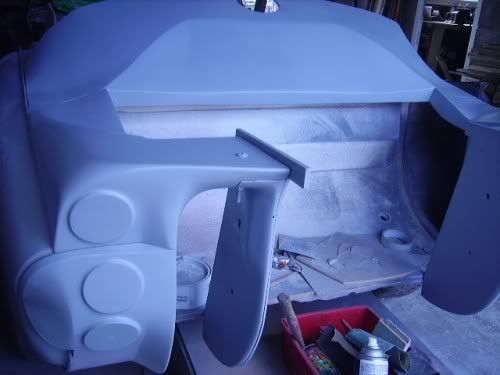
Felt the need to cut away.


Had a go at a rear channel-ling section..later scrapped.
Same deal, ply, filler.


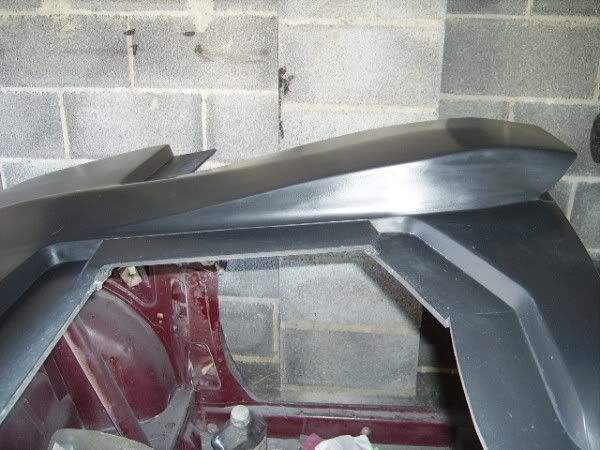
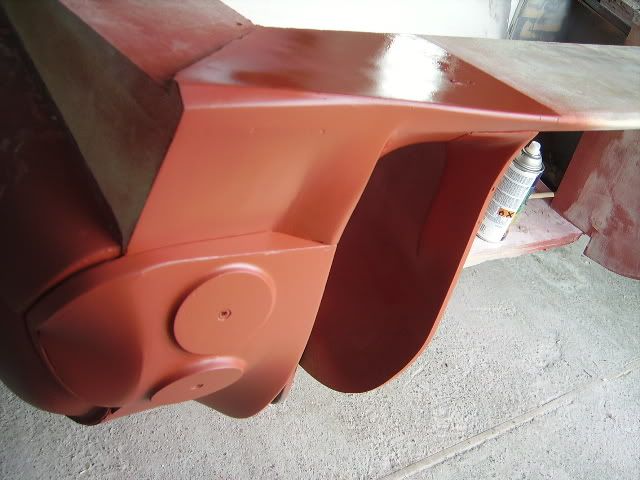
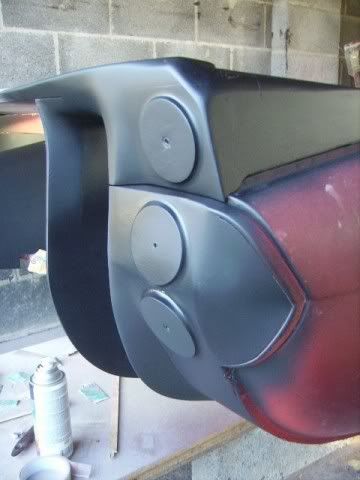
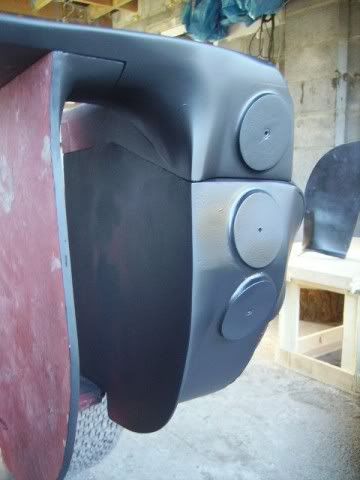
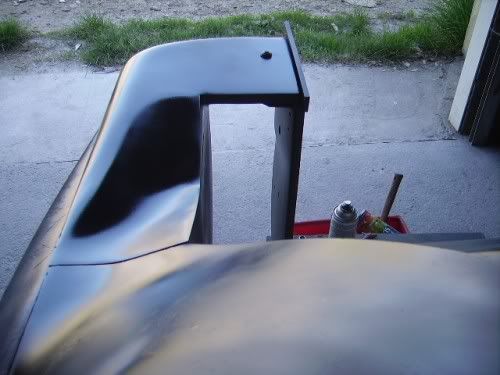
Reset lights, cut inner bracketing for adjustable wing. Rounded edges.


17 Jun 2013, 2:14pm
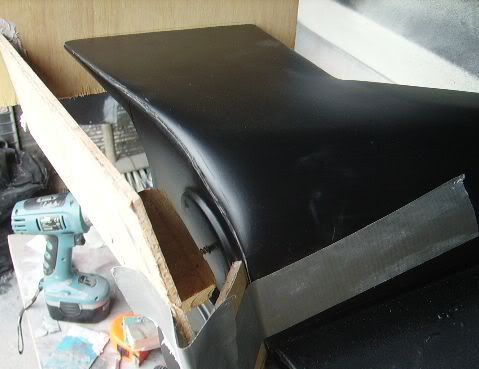
Adjusted mold, filled in areas, layed up section, one layer of Gelcoat, three of 600, polyester resin. Blended top lines.


Made example rad' from card etc. Earlier in the project had set up a wind test to see if there was any air flow at all to this area.


At last some shape, something to work with.


To take a mold, suspended wood from rear.
17 Jun 2013, 2:25pm
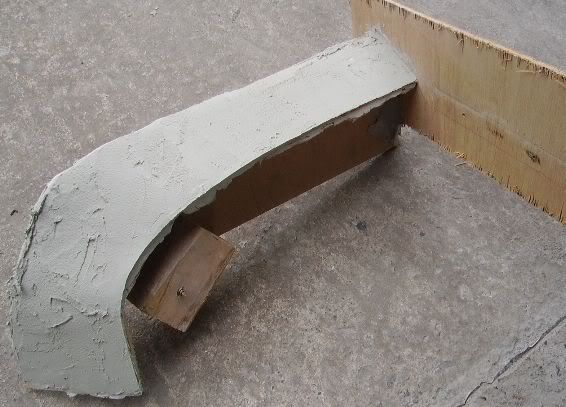
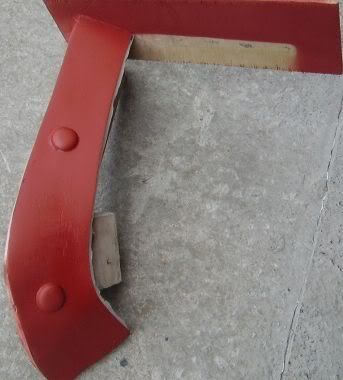
For a cleaner line, chiseled plug along edge.....


.....Filler applied had guide, aswell as color difference aiding visually to shape.


Handy to be able to remove.
My choice of paper was 60 grit, worn seemed ideal.


Framed, ready for molding.
17 Jun 2013, 2:38pm
First stages of taking mold.


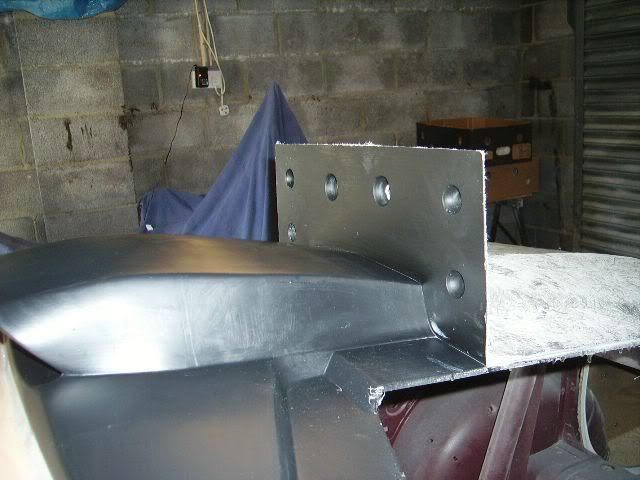
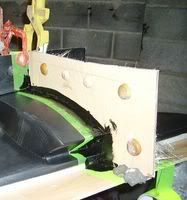
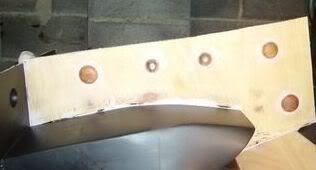
"Brackets" for adjustable rear wing, and diffuser, split in two to tidy, take molds etc.


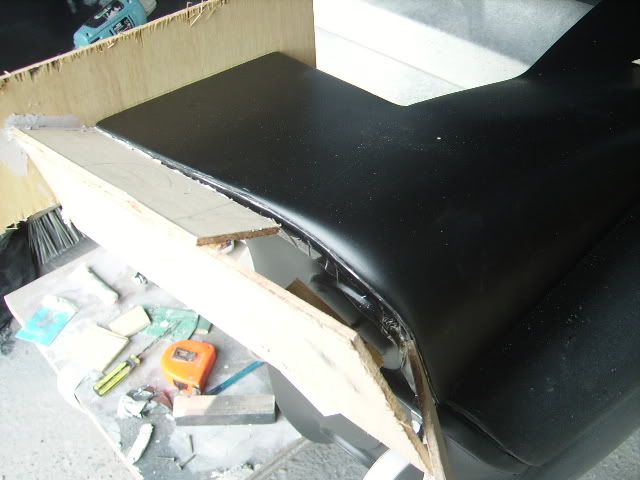
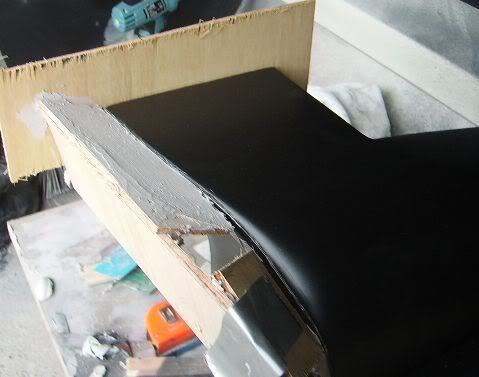
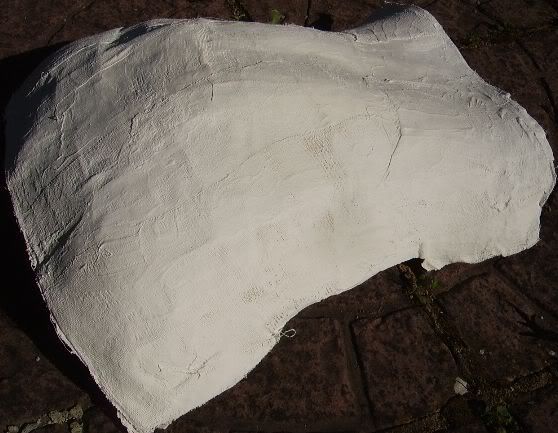
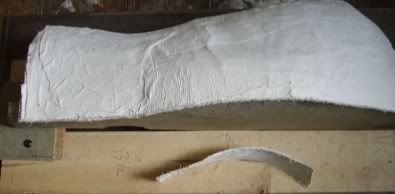
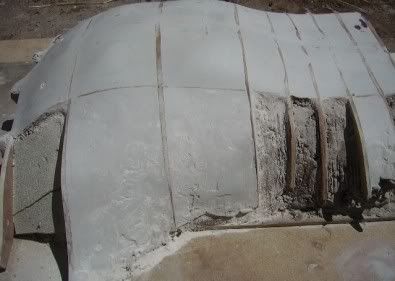
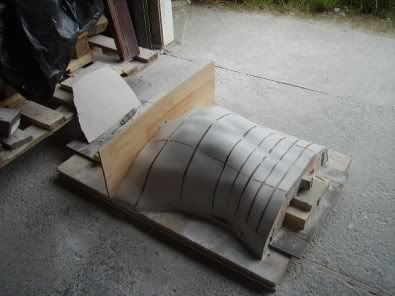
Decided to try a seat, back cast using plaster bandages, five layers thick, no alginate, nor re enforced, with fiberglass.
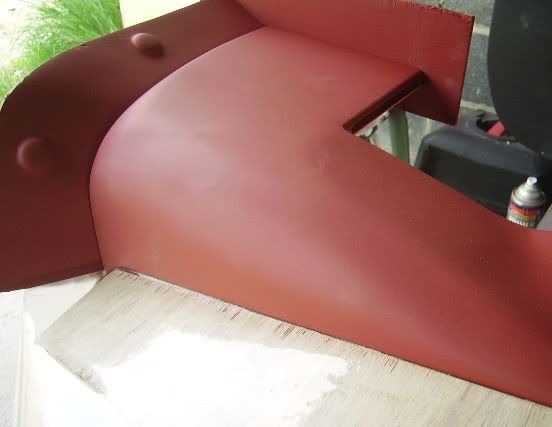


Form wasn't made to last.
Cut in half, one half kept whole, other cut into strips.
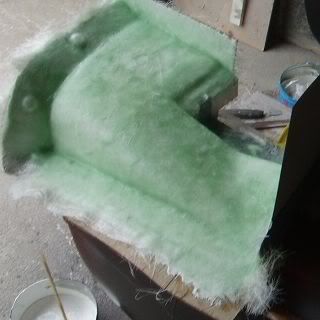

Made back bone curve, fixed to base.
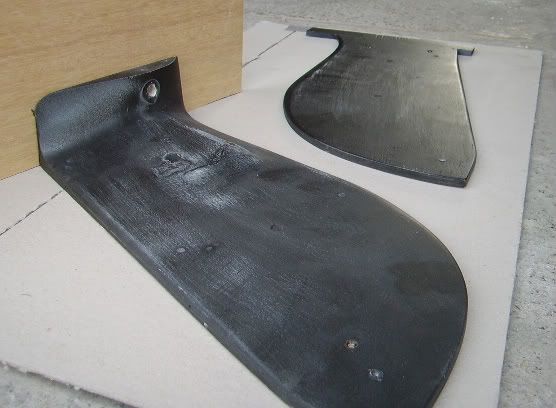
17 Jun 2013, 2:50pm
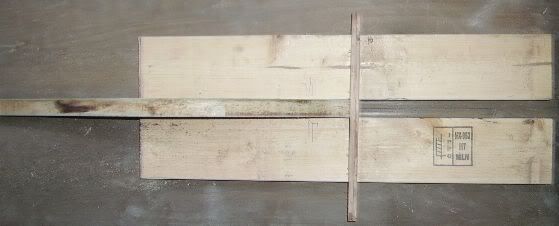
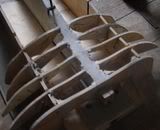
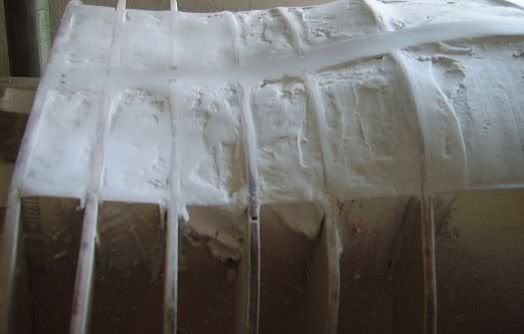
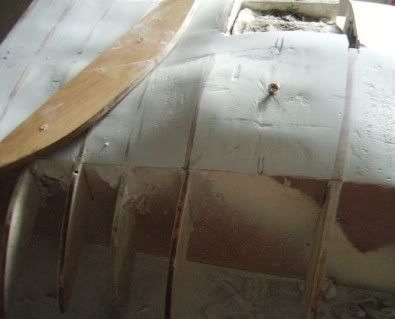
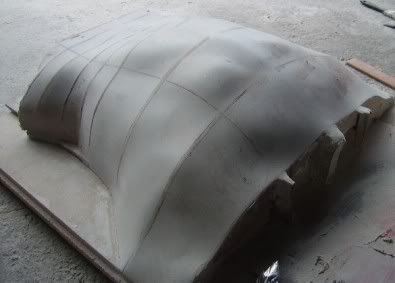
Lines from plaster strips transferred to wooden strips, cut/sanded together, positioned onto base.


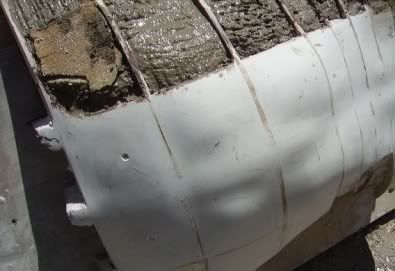
Packed gaps with junk, including concrete.


Added filler, treating each section individually.


One helpful aid was adding height screws for some areas.


The ply gives a solid reference. Most of the time simply "Sweeping" away filler, or, polishing, is all thats needed.
17 Jun 2013, 3:19pm
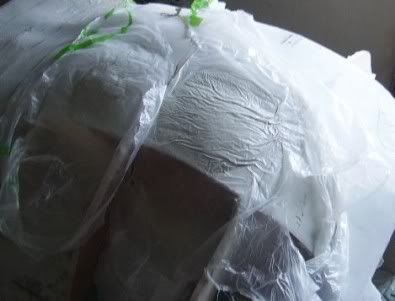
To gauge the height of one side, applied filler to area, covered in a sheet of plastic, compressed form.


Headed towards lines at base.
Biro/ink lines can be found/picked up, through the filler.


Almost there for back section...


During this period of being in limbo, managed to continue with plug fabrication, although on our GS:
http://www.bikechatforums.com/viewtopic.php?t=263785
Plugs fabricated in similar fashion, although used Carbon fiber/ Kevlar and Epoxy to fabricate panels.

Did purchase some beautifully made epoxy doors.
Strengthening of the chassis was a priority, so was going to GRP half doors, then fabricate door to fit, but figured...who needs doors.

Our re location looks like its going ahead, within couple of months.
Itching to get on with things.
Looks like most of the metal bodywork is gonna be junked.
Will take some copies, or molds from rear wings, and get to work.
Would like to move engine rear wards, CF/ Epoxy floor, and panels.

If theres any progress in future, I'll be sure to share.
All the very best.
21 Jun 2013, 5:21am
Sir, you have a gift!

<<<Would like to move engine rear wards>>>
I THOUGHT about moving moving a small Triumph engine back a few inches, but many years ago and I don't have your skills. The easy way SEEMS to be to reverse/swap the front suspension turrets over, which would move the engine supports back a bit, using spanners ... but I don't know if its that easy. Another problem was that the clutch housing is too big to move back, as chassis rails get closer together. But look at the MG Midget 1500, which shares the Spitfire engine. I believe there is very limited space in the MG transmission tunnel.

I often wondered about extending the Spitfire rear suspension tie-bars forward to connect with the chassis, which would take the floor pans out of the MOT equation.

Power to your elbow.

602
25 Jun 2013, 4:28am
Very Talented, excellent work