MadaboutKitcars

This is a read-only archive of the old Madabout Kitcars forum. New posts and replies are no longer possible, but every thread is still here to browse and read.

Updates!

24 Sep 2011, 7:13pm
A small update:

It was time for an upgrade after spending a year on and off cleaning contacts and still having the number plate lights blink sometime. Using the original housings the standard bulbs have been switched for LED blocks from CBS. These are the same as the type used for the interior lighting. Not tried them in the dark yet as it’s a really nice day today!


Did a bit of surface rust clean up on the bottom of the chassis too, mainly on the drivers side. MOT in a couple of weeks!
3 Oct 2011, 3:27pm
Hi Patrick,
well done on the MOT pass and interesting that you have a ball joint on the way out.

Marlin are currently supplying 'First Line' which is what my local motor factors tend to sell.
http://www.flickr.com/photos/58068042@N07/5815784499/in/set-72157626800104389 (Ian Morris may have the part number?)
But I have no idea if they are any good.

I would avoid buying anything that is not in a recognised packaging. I have collected a couple of new old stock 'Unipart' original parts as spares that do come up on eBay from time to time.

I think there are two different types of metro ball joints and I think the ones you want are GSJ269 but to be honest I have not yet fitted any of these.

Out of interest, how many miles have you clocked up now?
3 Oct 2011, 4:13pm
Thanks :) Just under 4.5k now been a slow couple of years for one reason or another (weather being a big one)

Will have a closer look when I get home, surfing and being a passenger in a car make my gut queeezy
9 Nov 2011, 8:56pm
Interesting, something I had been planning on doing for while. Need to see what the weather will be like :)
9 Nov 2011, 10:20pm
Patrick wrote:
Interesting, something I had been planning on doing for while. Need to see what the weather will be like :)


Ah, yes, I had forgotten you are 'hoodless' :plane:
20 Jan 2012, 11:35pm
Patrick wrote:
It passed MOT today :)

Are there any good quality Metro / MGF ball joints out there or are they all made of cheese?

This looks to be the right type to get: http://www.minispares.com/Product.aspx?ty=pb&pid=34748&title=


Hi Patrick,
did you get the Minispares supplied ball joints?
Any comments on quality and make, etc.

thanks

Peter
20 Jan 2012, 11:53pm
its on my to-do list, been busy with other stuff recently - that has reminded me to order some! :)
1 Sep 2012, 10:30pm
Did a little bit on the Sportster today, Richard was following me a while ago and commented that the brake lights were not so easy to see. So as a temporary fix I stuck a 3rd brake light on, Richard sorted the wiring:

(Sorry about the poor pic, the camera in my phone is shot and I left my DSLR at home)

6 Oct 2012, 9:42pm
It was MOT time this week. I change the driver side ball joints as they had a warning last year, the lower one had noticeable slop.

I didn't check the handbrake, or the driver side ball joints this year - guess what it failed on... hindsight a wonderful thing.

The rubber on the lower driver side ball joint was perished so failed on that. I replace the whole ball joint as I had spare ones.

The passenger side handbrake had no brake effect, on checking the cable seems to have stretched a bit and there was not enough thread to tighten it up properly, so put a space it and did them up.

Passed just fine with those two little fixes - could have avoided them if I'd spent a bit more time check the car over before the test.
7 Oct 2012, 5:22pm
Glad you got your pass eventually.
Those metro ball joints do seem to be a weak spot in the design.
Watch out for your steering rack gaiters. They'll be next to go....:eek:
...peter
7 Oct 2012, 5:34pm
Almost seems like the balls joints spent 20 years on a self while the rubber rotted. Odd that the passenger side ball joint went as the rubber was fine on that one. At least they are easy to change!

Started on swapping out the metro brake servo for a dual diaphragm servo - been a while now so this is long overdue.

So far I’ve fitted the new servo by expanding the mount holes of the old servo, extended the push pin with a bolt and started making the servo to master cylinder adapter.

Need to wait for a rose joint to connect the servo to the brake pedal. Also my counter sinker isn’t making much of dent in the servo master cylinder adapter plate so need a better one!


7 Oct 2012, 9:10pm
Another thing while I remember, I'm considering one of these:

http://www.megasquirtpnp.com

Looks to be one of the most straight forward ways into megasquirt and it's all laid out for the m20 requiring only a few minor changes to get the engine running on the base map.

I was looking at the millermaf / WAR chip which looked interesting and has some good feedback, as well as a few negative ones online. What I like is that it's simple, what I don't like is that it seems like a very closed system.

I might start with a wide band lambda sensor and AFR gauge to get an idea of how the engine is running. I know is rich on idle and lower down the rev range but I don't know what it's like furhter up. In theory the standard 2.5 injectors are getting close to their limit with the 2.8.
10 Oct 2012, 8:31pm
Finished off machining the adapter plate today, brought some proper countersinking bits with me! Had to machine down the bolts ever so slightly to fit in to the counter sunk holes.

Bought a rose joint to go on the servo, minor issue bought the wrong thread direction – oops! New one on order :der: . Also 10mm bolts don’t go through 3/8″ holes by about 0.4mm so ordered some 3/8″ nuts and bolts to use.


11 Oct 2012, 8:34am
Very neat Patrick!

[QUOTE=Patrick]Finished off machining the adapter plate today, brought some proper countersinking bits with me! Had to machine down the bolts ever so slightly to fit in to the counter sunk holes.


[QUOTE=Patrick]
11 Oct 2012, 8:02pm
Thanks Mike, hopefully I'll get the new rose joint and 3/8" bolts tomorrow then I sort out the mechanical side of it at the weekend. Brake pipes I'm think of getting some braided flexi pipe to get a nice finish. Either that or I try and sort out the copper.
27 Oct 2012, 12:36pm
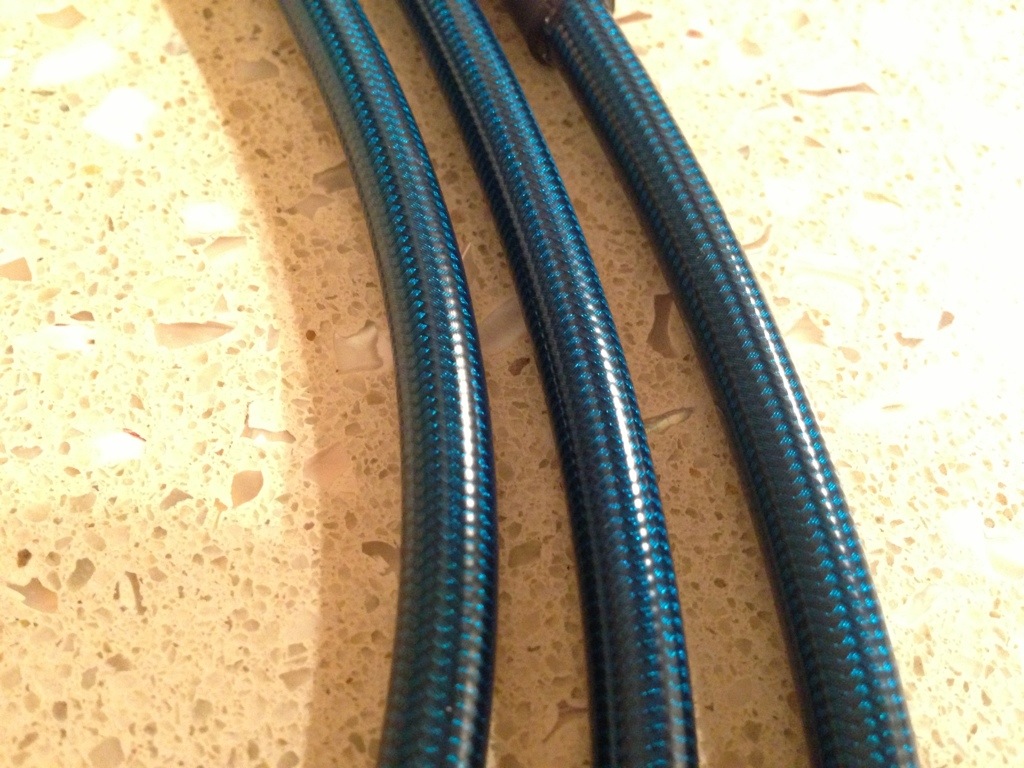
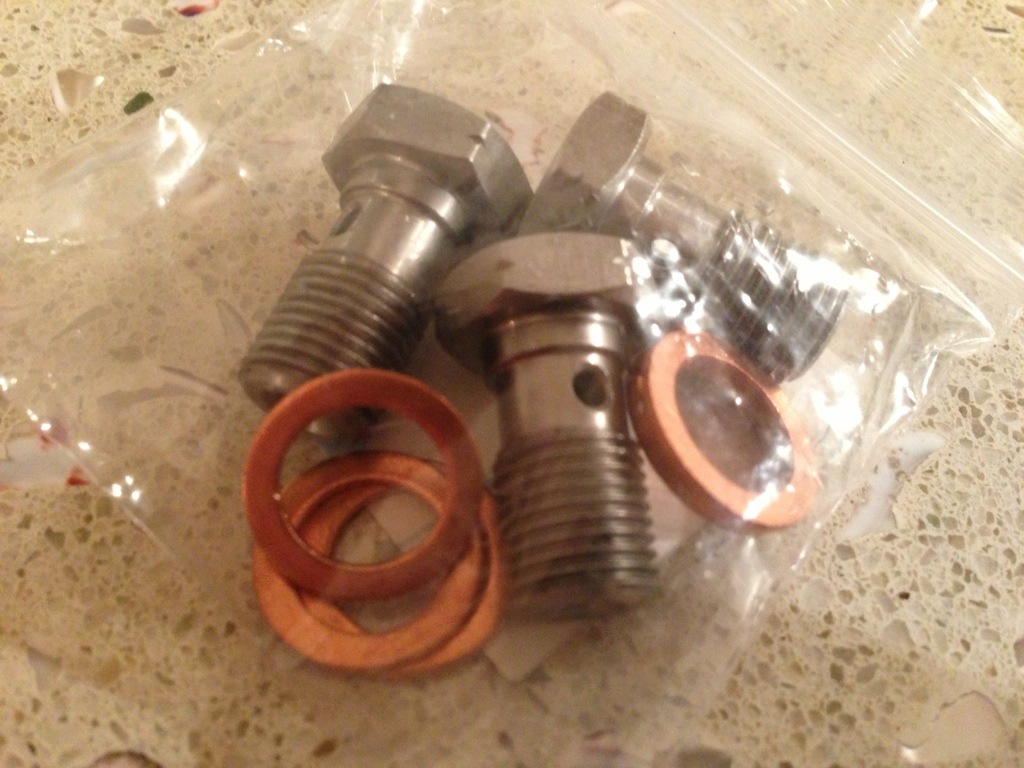
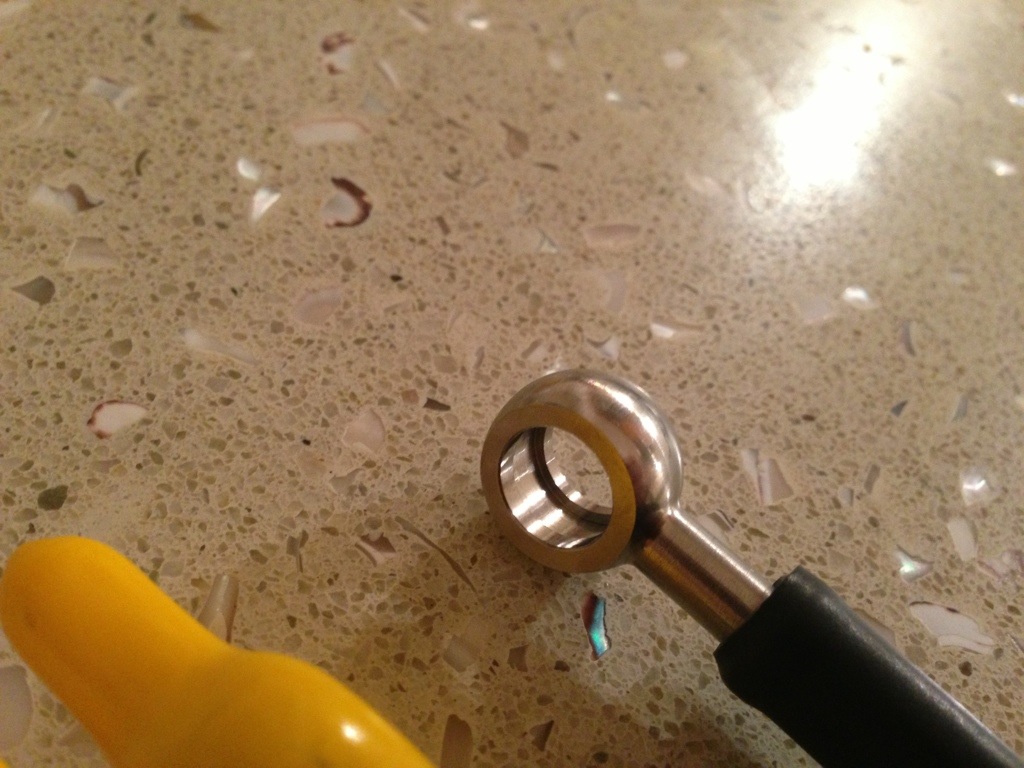
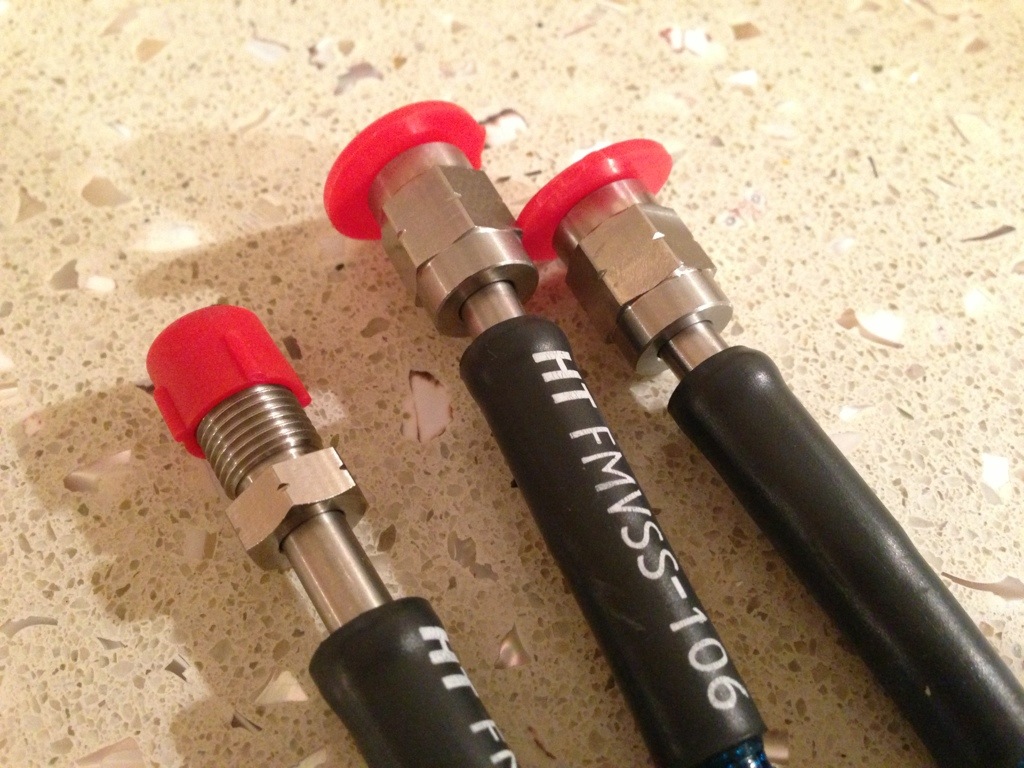
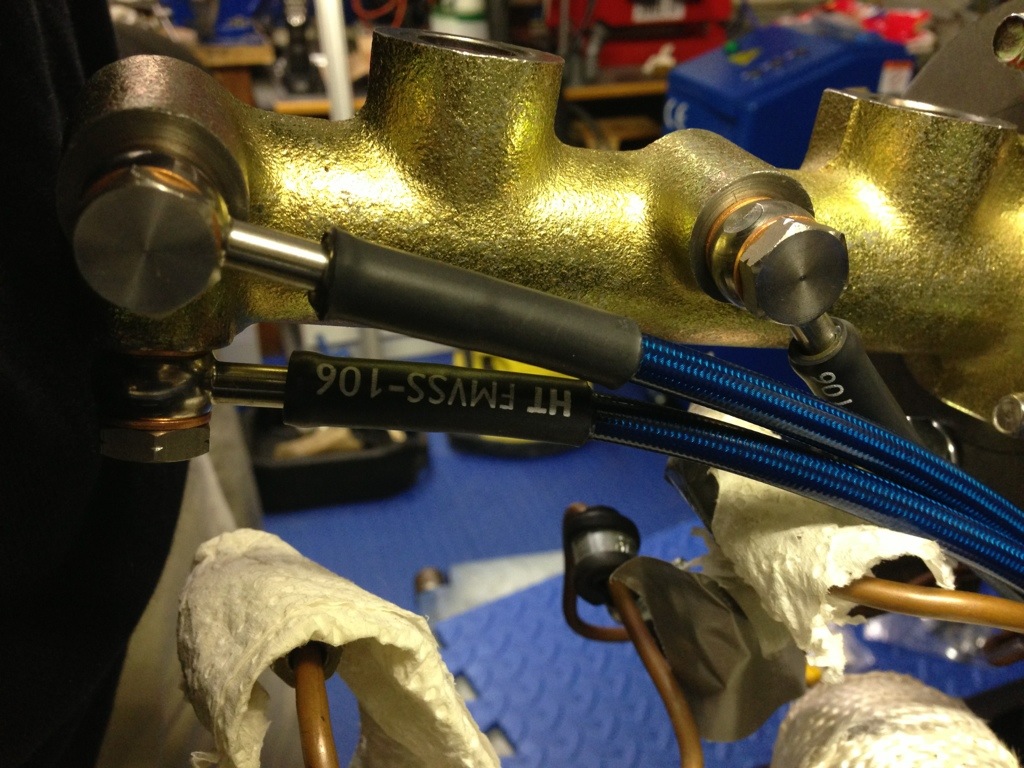
Got hoses this week, they’re really nice:


29 Oct 2012, 2:46pm
They look really good quality Patrick.

What have you done at the other end, do they connect up to some sort of bulkhead bracket or are they just spliced inline onto the original copper pipes.

John
29 Oct 2012, 3:40pm
They're just test fitted at the moment - the plan is to shorten the existing copper pipes putting a new flare on the end. The rear one goes directly into the pressure valve. I'm probably going to create some kind of bracket to attach it to the bulkhead. I just need to find time to head back into the garage!
30 Oct 2012, 12:55pm
I like the idea of the banjo fittings on the M/C, it looks very neat. I will take some pics of my lines from HEL when I get home this week. They appear a bit different at the ends ie the crimping,
John
3 Nov 2012, 8:58pm
I know, I'm taking my time over this one ;)

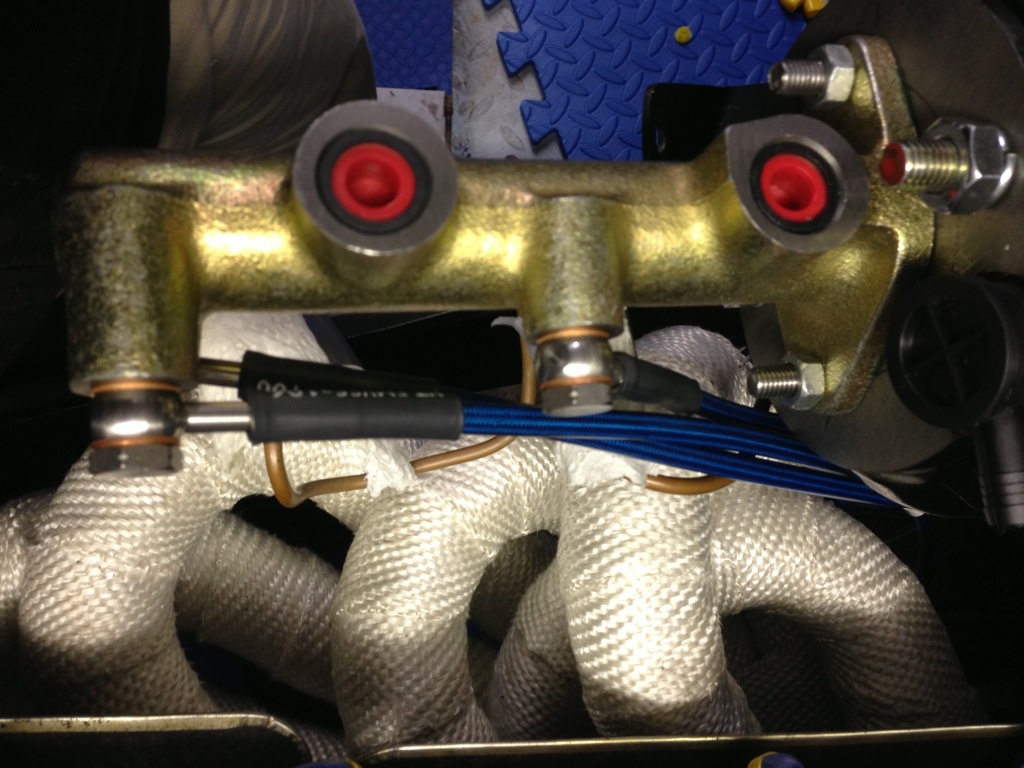
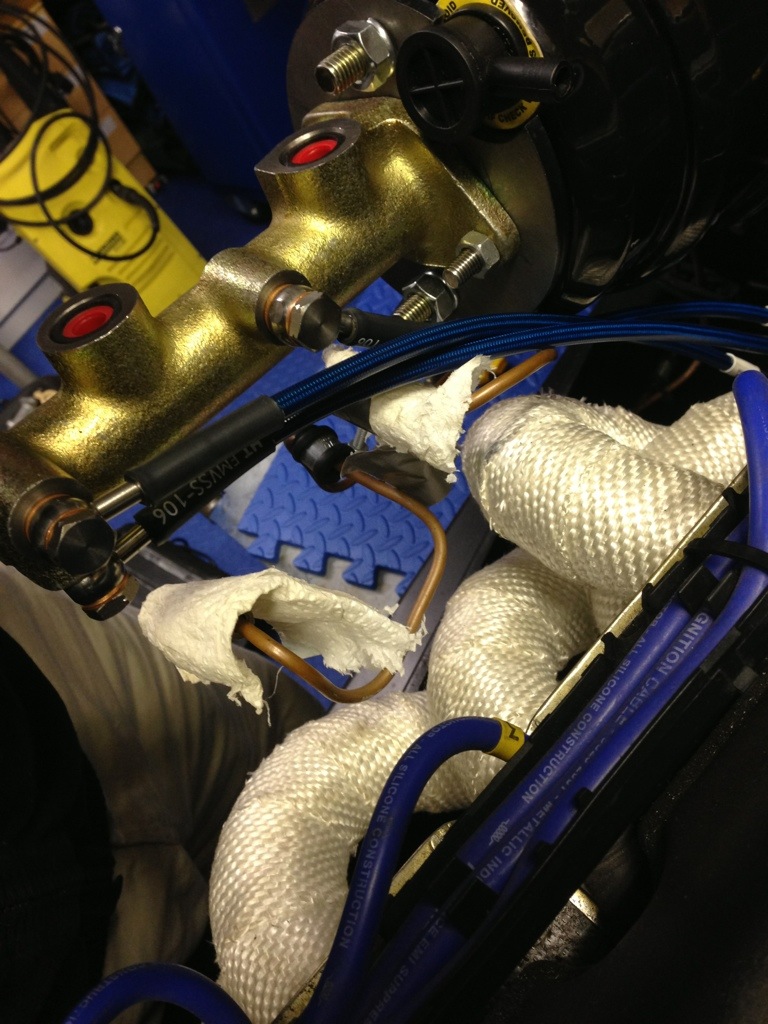
Made good progress today installing the new flexi brake hoses from the master cylinder.


Old copper pipes still there, but the flexi hose fixing located and bolted in


Painted the master cylinder adapter plate


The pressure reducer for the back is relocated just above the steering column and all 3 pipes have been chopped and re-flared. I was a bit worried about running the flexi pipe at this radius but it feels OK.


Pressure reducer peaking through from the top.

Next time I go work on it I'll be able to bolt everything up and fill the system back up with fluid, had to wait for paint on the back of the adapter plate to dry first.
3 Nov 2012, 11:14pm
Cor, get you with your pretty blue pipes and adaptor plate! :)

Looking good - those banjo fitting on the MC look a very good idea, especially with how close my pipes get to the side and top bonnet.
11 Nov 2012, 3:09pm


Paint on the back of the adapter to avoid any rust


A tube of heat shielding goes over the brakes hoses, this adds extra heat protection as they run past the servo underneath it.


The most useful tool ever in a situation where you can’t see – a camera on the end of a long bendable probe!


Snake cam, allowed me to easily locate bolts and screws while using the laptop screen to see what was going on.

With the aid of this tool I bolted up the rose joint to the brake pedal.


Old heat shield adapted and fitted under the master cylinder, the extra tube covers from the heat shield back.


The heat shield keep everything nice a cool as it’s directly above the exhaust manifold. The servo gets close to the side, but there’s more than enough room! (Zip tie is temporary until I get some ali foil tape to finish it off properly.


Lots of clearance for the bonnet to close.


Here is is all back together again! Took it for a quick test drive, it was cold dark and the first time I’ve needed to use the fog light on the car!

Initial impressions – pedal travel is longer, but way more progressive. The feel is much more like my tintop – not as much bite but much easier to use.
Took it out again today and tried a few emergency stops, it stop nice and straight and you can pump the pedal relativity easily to stop the wheels from locking.

All in all a very good upgrade!