This is a read-only archive of the old Madabout Kitcars forum. New posts and replies are no longer possible, but every thread is still here to browse and read.
Thought it was time to start a thread for my build.
Have had the Herald donor a couple of weeks now but promised the wife I wouldn't start on it until I had completed her rebuild ( Herald Convertible).
However the weather has been too damp to spray of late so today I thought I would begin the strip down while I wait.
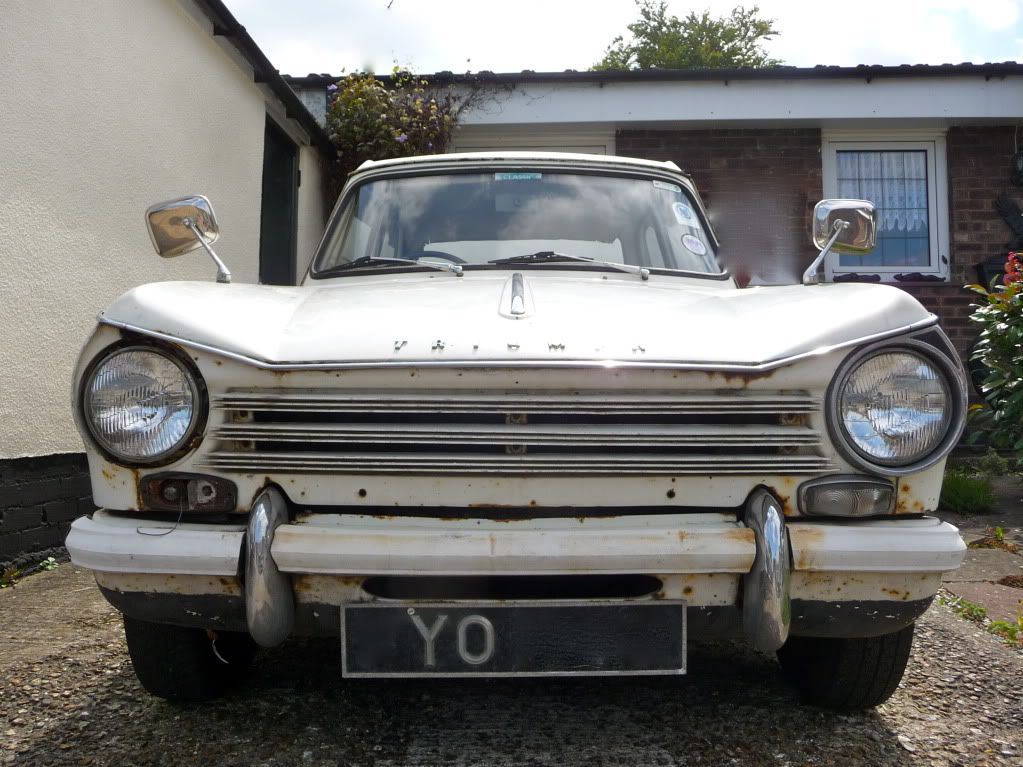
Heres how the car looked this morning
Got on well today, Doors, roof, Body and Bonnet are off and the screen has been cut away just for easier access around the car.
Have left the hinge bar for the bonnet in place just in case I can adapt that to fit the new bonnet as an alternative to the nose hoop hinge method.
I realise now that I am at a big disadvantage in that I have ordered the body and have never seen a Sammio in the flesh.
Its hard to gauge the actual height and curves just from the pics.
It is good to see the chassis state and have found that it will need just two small repairs to the rear of the side rails.
It wont be a fast build I am aiming for next summer, think i missed this one..
Will keep posting as and when I achieve each milestone.
The floor pans are sound, looks like they were wax oiled or similar early on so have remained in original state, happy days.
Yes the space is handy and will be better when I have cleared out the panels / parts on e bay. Its amazing though the more space you have the more clutter you seem to collect.
Re the rustmite's and tinworm no doubt they will pop their heads up when least expected
Has any one replaced the bushes before the rebuild?
I have looked at two complete bush sets on E bay, Herald or Spitfire, not sure which to go for, if the suspension is the same on both I am guessing the spitfire set would make sense as I want to replace the rear spring to swing spring and upgrade the anti roll bar, both of which are covered in the Spitfire kit.
Its an expensive mistake if I get it wrong. Ideas anyone...
hi pops i done a full bush replacement with all new matching bolts, while i had the car striped down, mine was from rimmer bros....£150, for bush`s and bolt kit including trunion kits , and new diff seals just for xtra bit fun.
Thanks Mulberry, was it a Herald kit or Spitfire to allow for the swing spring and upgraded roll bar? I will be doing the trunions and diff seals also while it is apart.
Collecting the body spurred me on to do a bit to my chassis,
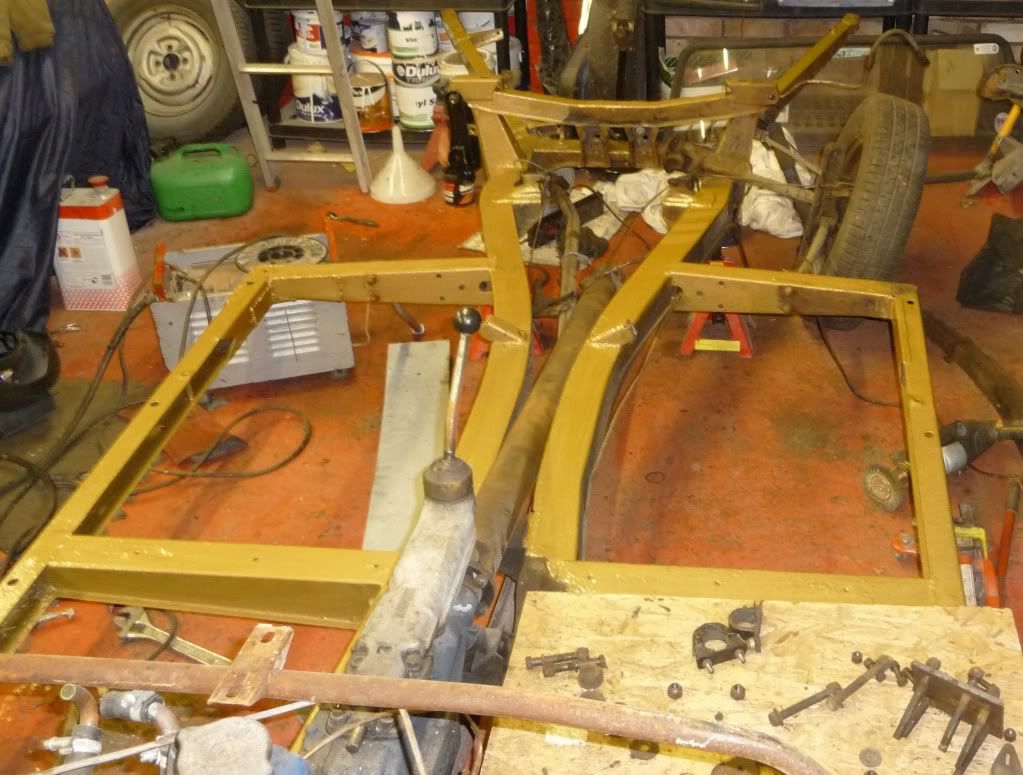
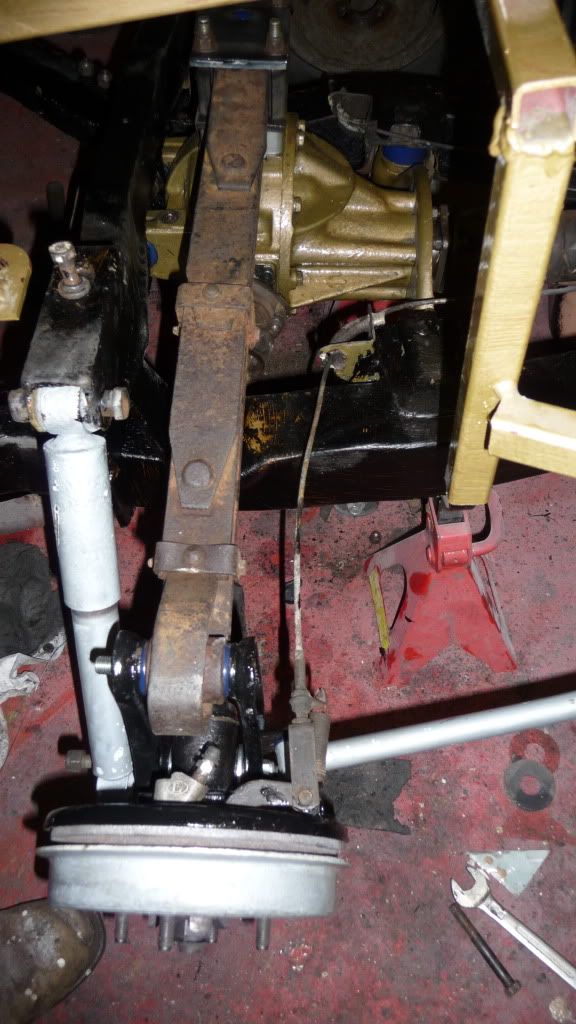
So far I have stripped the left rear suspension right down, wire brushed to bare metal and repainted each part.
I overhauled the brake cylinder replacing piston, seals etc.
Started to wire brush the chassis back to bare metal and then paint using hammerite.
Cannot reassemble until I have the new polybushes, and I want to fit the Spitfire swing spring .
Diff is out for clean up and replacement of all seals.
Will only strip one side at a time so I can reference it for reassembly.
Oh have removed the bulkhead and engine cowlings along with the rad to gain better access to the entire chassis.
Has been a busy couple of days but progressing well.
Good to see a few of you guys nearing completion, for me no progress as I am stuck in the Bush in Nigeria for a couple more weeks.
Looking forward to getting home and back into my build.
Keep posting as it makes good reading out here.....
Progress report
Home again and got stuck into the Sammio again,
One step back after thinking about the Hammerite on the chassis although it looked clean in gold I decided it wouldn't offer the stone chip protection I wanted so have gone over this with Hammerite stone chip underbody paint, yes its dull and black but shouldnt need any more attention for some time.
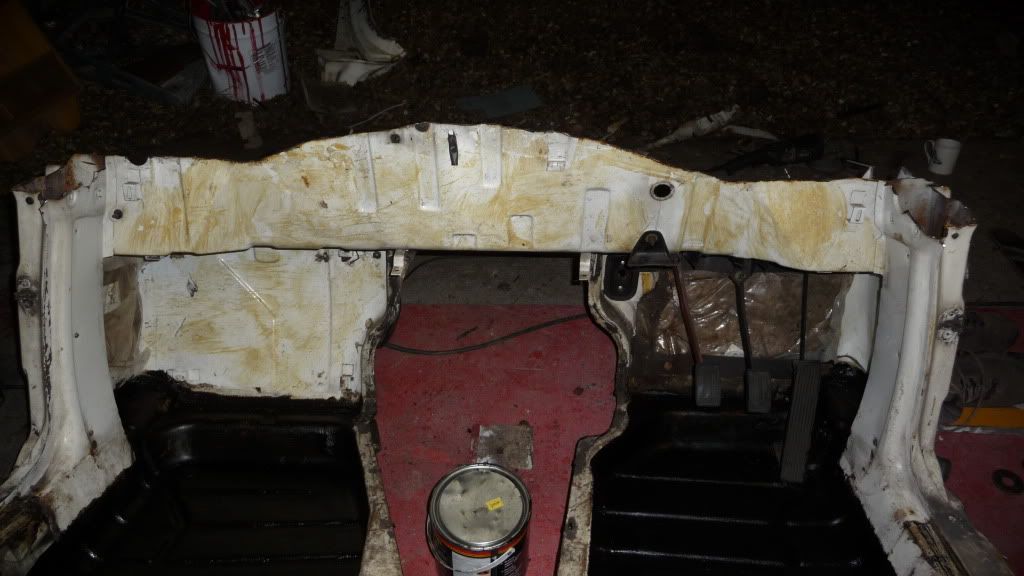
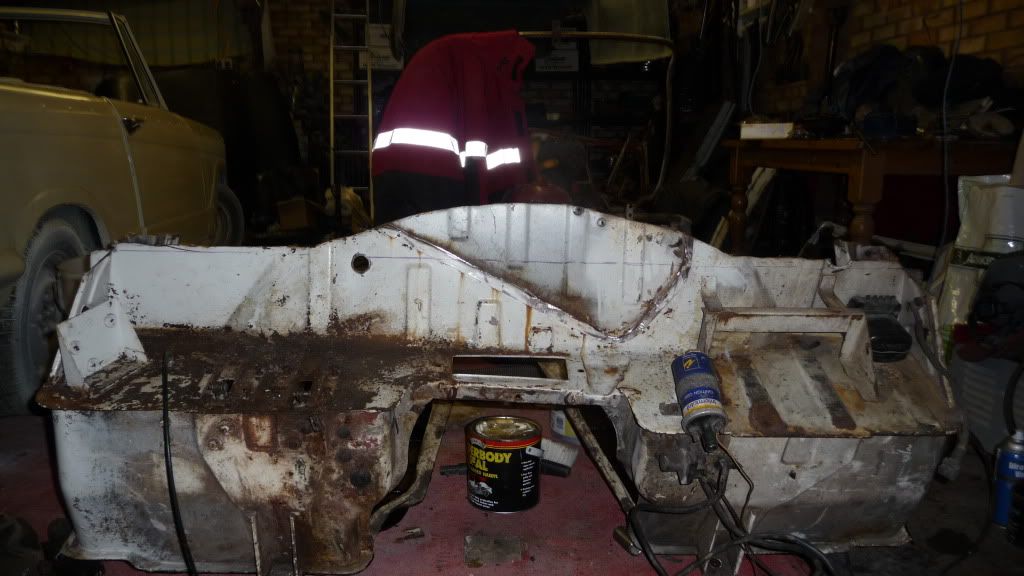
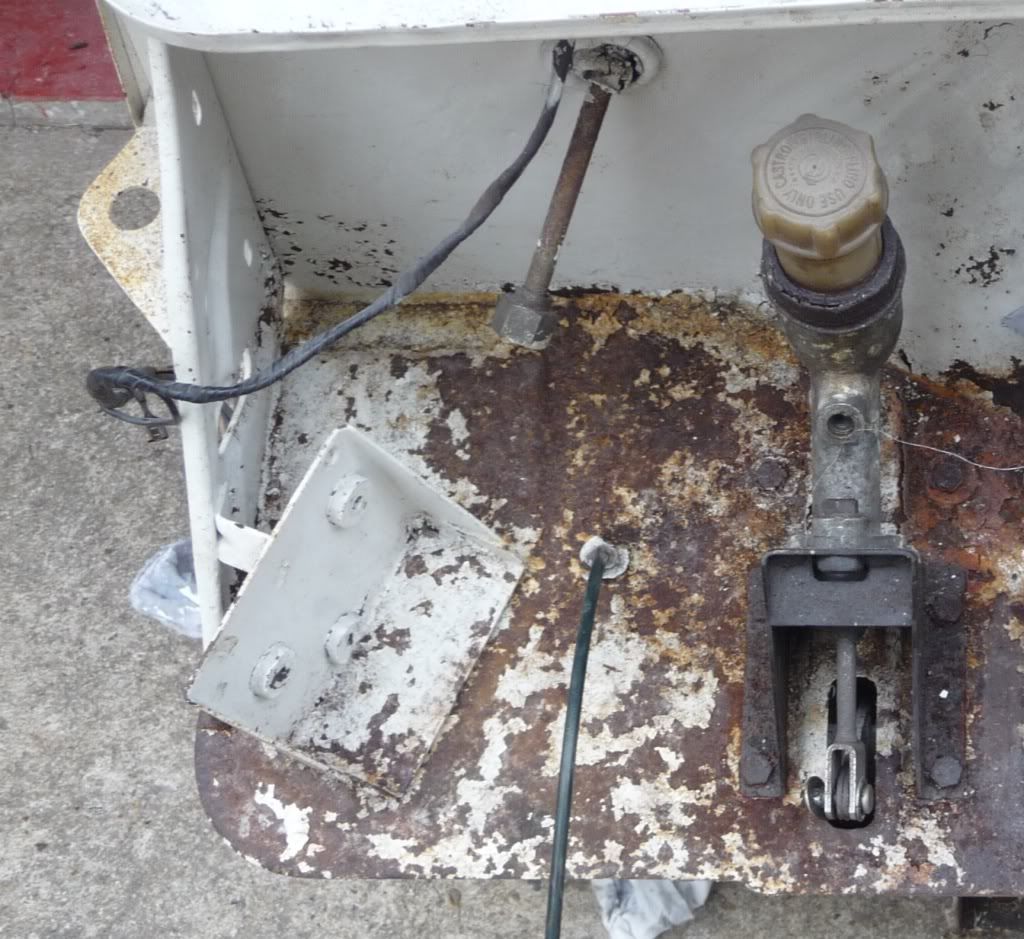
Cut the bulkhead down to size, thought rather than a straight cut across I would try matching it to the shape of the body, took a bit of fine trimming at the edges but overall pleased with the result, should be easier to seal the gap between the bulkhead and the body as this cut leaves about a 1/2" gap along its width once the body is place down onto it.
This should also leave plenty of space for the wiring loom to pass through.
Inside
Engine side
Rebuilt the rear Hubs, with Polybushes (Blue), Rebuilt Trunnions
and fitted
Fitted the Swing spring, new centre box, lowering block and Poly Pad,
Diff is back on after new oil seals and bushings.
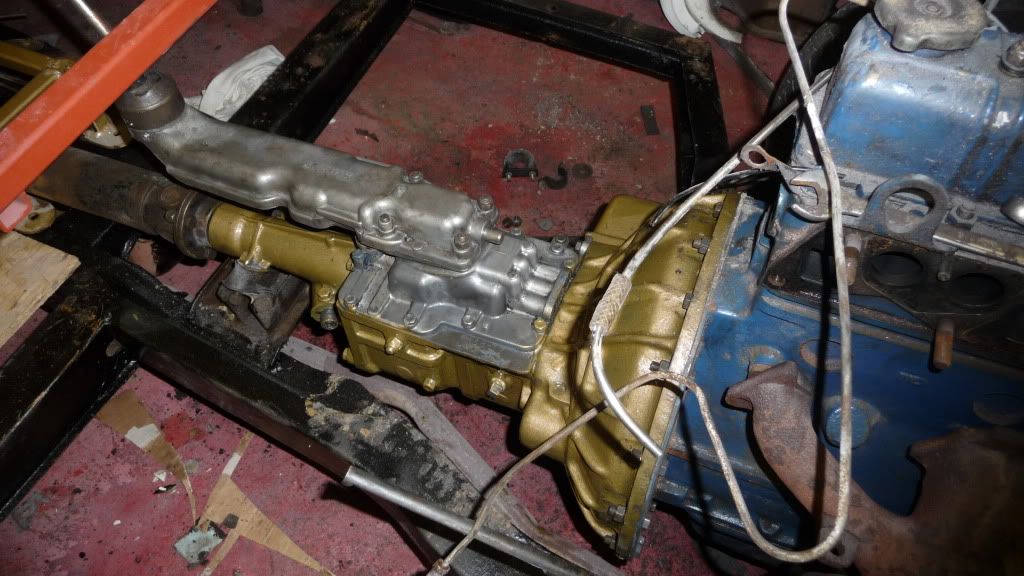
Finally decided to stick with the four speed gearbox ( J type Overdrive for sale shortly) so serviced and refitted same.
question. the handbrake cable used to have bracket attached to the underside of bodywork before it goes to left/right drum, what happens now?
I have a plan to weld a nut into the corner of the handbrake tunnel frame and fix with a bolt from the underside, will post a picture when its done. The rear seat belt securing bolts fit the eye perfectly and should allow the pivot no problem...
Those who are a little further on may be able to answer this one,
The frame that held the wiper motor is now redundant can it be removed, I have seen a lot of pictures with this in place is there something i don't know?
Those who are a little further on may be able to answer this one,
The frame that held the wiper motor is now redundant can it be removed, I have seen a lot of pictures with this in place is there something i don't know?
Bracket on the left - Can it be removed?
I've cut mine off to free up a bit of space for a water tank for the methanol injection.
Just watch that you dont also cut off the accelerator cable.
I know I cant cut of the rear arms on the chassis but what about the exhaust bracket, can that fall off before inspection, it just seems to be exactly where I want to put the back of the tub.
Cheers Psycho
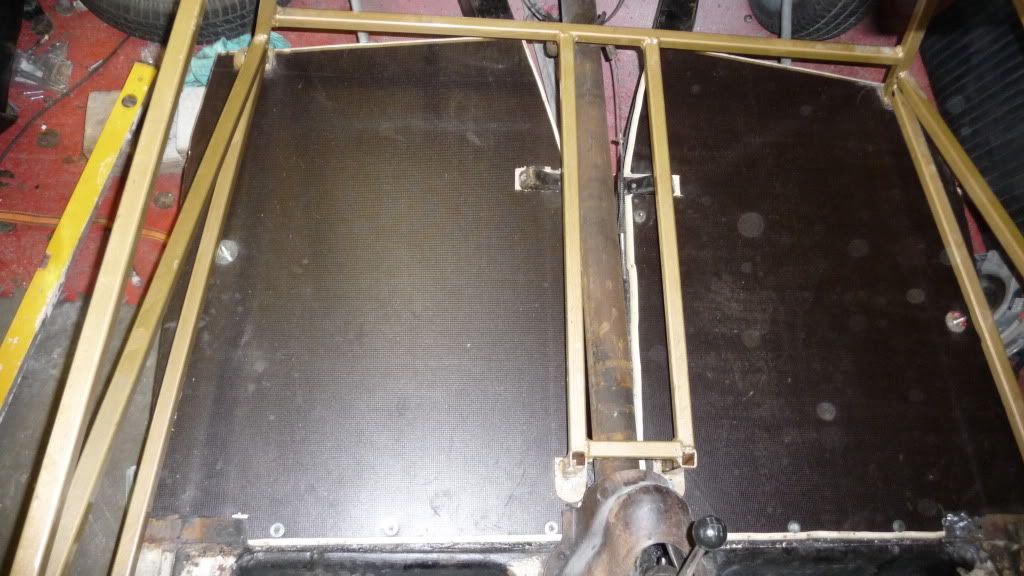
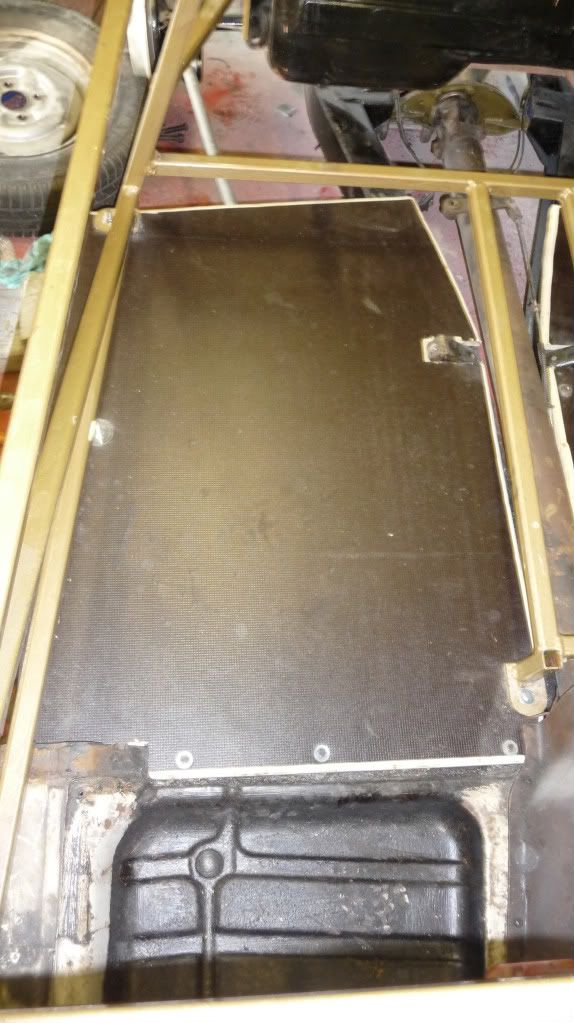
Got the floors fitted and secured over the last two days, ended up using Phenolic resin coated ply, (as used in trailers and truck beds).
May have gone a little overboard with 18mm thickness but very happy with the results, it has a smooth waterproof underside and non slip waffle surface on top.
Where it joins the bulkhead I have cut an angled slot and pushed it underneath the raised outer edge just to give it a nice finish before fibre glassing in.
A bull nosed edge just keeps it looking neat along the edges but these will not be seen.
It still needs a little trim down the outside rear where the body tucks in and the fresh edges sealed but overall has gone down ok and feels very sturdy
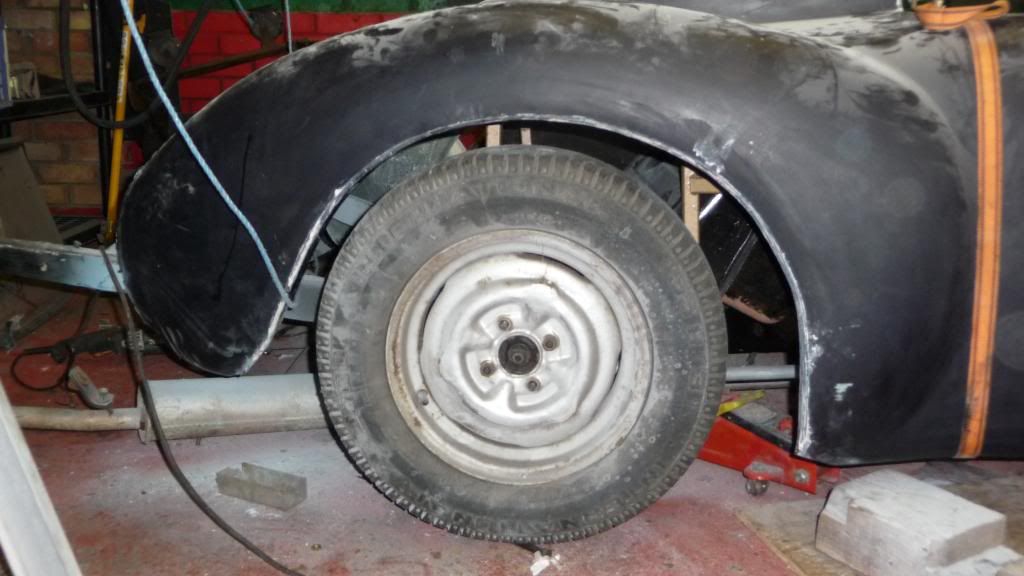
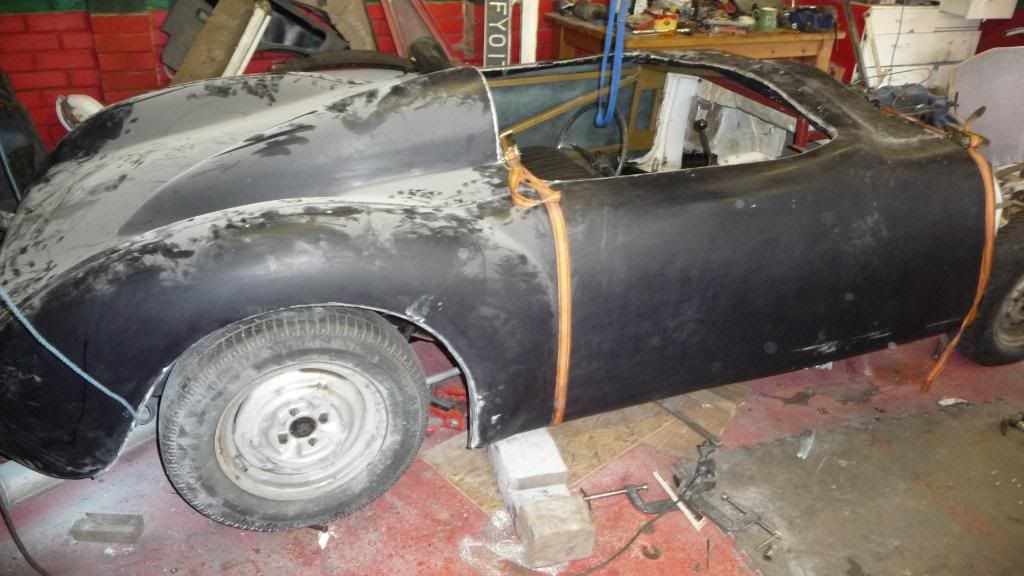
Fitted the framework and test fitted the body and had a little trouble getting the Drivers side low enough to cover the chassis side rail, I searched this forum and Trevors Blog scouring photos of how previous builds had gone.
I noticed that frames differ from build to build,
This is Daves frame (if i remember right) see how the top front rail is fixed inside the framework ,
This is mine the same rail is on top of the framework .
In order to drop the tub low enough the corners had to be fettled away ( read angle grinding frenzy) until it sat where I wanted it.
I am just about there with the position now.
Any one reading this before starting a build, I would recommend buying the ratchet straps - think mine were £10 for four, fitting the frame without them would have been nigh on impossible, they will be needed for holding the tub in place while fibre glassing too.
I know I cant cut of the rear arms on the chassis but what about the exhaust bracket, can that fall off before inspection, it just seems to be exactly where I want to put the back of the tub.
Cheers Psycho