That canal boat painting video was brilliant, talk about a man with great skills making it all look very easy.
- - - - - - - - - - - - - - - - - - - - - - - - - - - - - - -
Thursday - Part 1:
What a surprise, another day with rain in the forecast.

So I tried to make the most of the dry start to the day…
This involved relocating some parts and tools to the Summerhouse where I could start drilling before 9am.

I finished making the larger tabs on the driver's side panel
( These tabs will be hammered into shape along the outside edge of the Spitfire wheel arches. )

I had also drilled some holes in both panels in preparation for riveting them into place..
( The main job of the rivets will be to hold the panel in place while I bond/fibreglass the edges on both sides. )

The problem was I only had a few large flange rivets left and the others I had were going to be too small.

So I had make a trip to Screwfix and they only had large flange rivets in the next size up.
( Therefore, all the holes I had drilled would need to be enlarged.
)
Anyway, I started with the passenger side panel, clamping it into place.

This allowed me to drill through the hole in the panel, into the Spitfire wheel arch behind it.
Working my way around, from one end to the other, drilling & riveting one hole at a time kept everything tight.
( Even at this stage, it feels very solid.
)Leading edge:

Top of wheel arch:

Trailing edge:

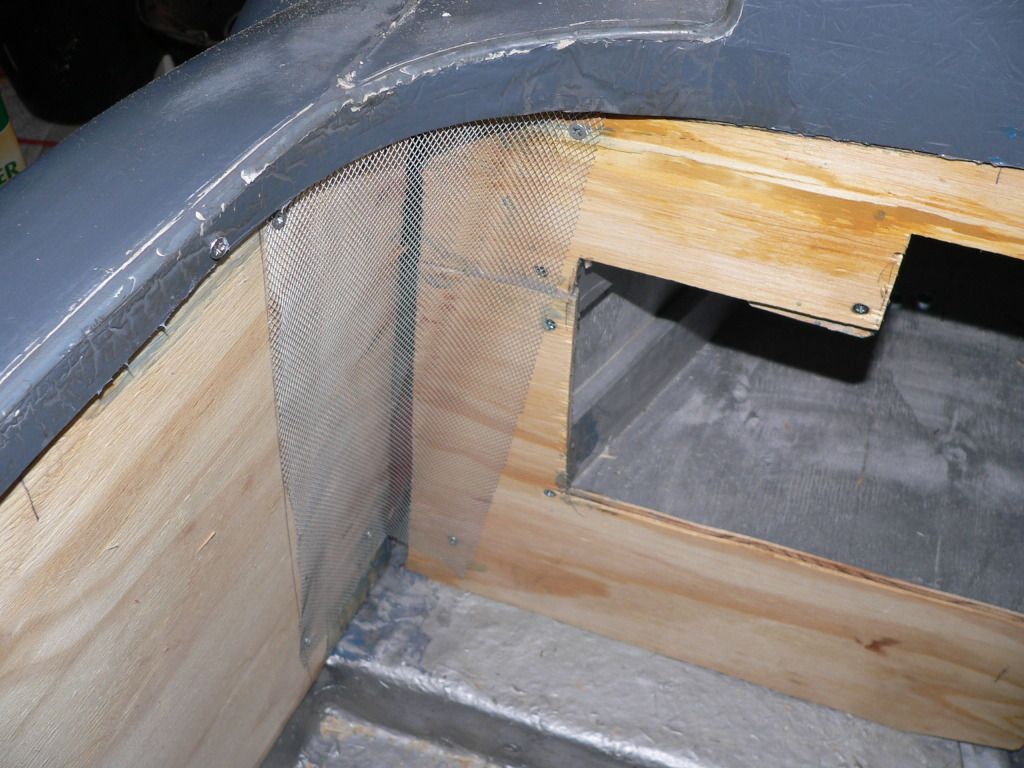
Which leaves the "teeth" pressed against the inside of the body shell.

End of Part 1…


 today.