MadaboutKitcars

This is a read-only archive of the old Madabout Kitcars forum. New posts and replies are no longer possible, but every thread is still here to browse and read.

Another Cordite Is Born ...

7 Apr 2016, 4:56pm
Nothing Much:
Looks like I'm back to the old tradition of having time available for car work, but not the weather. :icon_sad:

But in between the wind, rain & hailstones (& other chores) I have cut out the first fibreglass panel for the wheel arches.


Which doesn't leave much left of the original Cordite bulkhead.


I've also ordered an off cut of aluminium sheet which I plan to use for part of the inner wheel arch join too.

The current plan is to use fibreglass for the joins at the bottom edges of the wheel arch (on both sides) & the aluminium for the rest.

This will require some sort of riveting / bonding / fibreglass work to connect the Spitfire inner wheel arch to the body shell.

Thankfully, the gap I need to bridge is just a few inches wide.

With a bit of luck I will get a chance to at least start this work tomorrow. :pray:

So until then, take care, Paul. :)
7 Apr 2016, 9:53pm
Looking great Paul

Loving the details in your thread

Dave
8 Apr 2016, 5:54pm
DaveP - Thanks. :cool:

I've always liked reading build threads with lots of detail, so I figured I would do the same.

It also acts as a reminder of why the build has taken so long, as even small jobs can take a lot of time. :rolleyes:

- - - - - - - - - - - - - - - - - - - - - - - - - - - - - - -

Fiddly Friday - Part 1:
First of all, apologies for not spotting the smear on the camera lens, so the first few photos appear as "soft focus".

Started the day with a quick tidy up of the Summer house.


The good news is that I found the second original tail pipe rubber mounting (which was buried under other stuff).

The bad news is that I didn't have as many plastic containers as I thought for use with resin & bonding paste.

Even worse, the recycling had just been collected, so I ended up having to decant some milk to use the container.


Once outside, I removed the rear wheel on the driver's and quickly spotted a school boy error. :rolleyes:


Don't ask me why I left this in place and therefore didn't cut out this panel in fibreglass yesterday.

Not easy to see in the photos, but I needed to clean the inside surfaces of the existing 'boot floor to body shell' panels on the drivers side.


Then I added some fibreglass matting along the joins (again, not easy to see).


I also 'glassed in the following:

- Two panels on the leading edge of the rear wheel arch on the driver's side.


- Two panels on the trailing edge of the arch on the passenger side.


Note:
I had struggled to work out the best way of sealing this gap, as there were too many angles to play with.

So I figured that fixing these panels in position would make it easier to see how to finish the job.

At this point, I could see blue sky over my right shoulder...


And dark clouds over my left.


So I quickly cut out the next series of panels that I would need, including the one I forgot yesterday, before getting the covers back on.


Note:
I ended up cutting the biggest panel into two pieces, to help it follow the curve of the arch better.

End of Part 1…
8 Apr 2016, 5:55pm
Fiddly Friday - Part 2:
Later on I did my second round of fibreglassing:

- The panel I missed on the leading edge of the driver's side.
( Which could now be joined to the panel above it, that I put in this morning. )


- Two panels on the trailing edge of the driver's side.


- The big panel (now two pieces) on the leading edge of the passenger side.


- An "in fill" panel between the bottom edge of the framework on the passenger side and the body shell.
( The rest of this gap is much narrower and was sealed with bonding paste. )


Once this is finished I'll try to take a photo from underneath than should make more sense.

Unfortunately, by now, the dark clouds had returned, so I put the covers back on so everything could set without fear of rain hitting it.

As it turned out, other things then got in the way of me doing any more today.

Despite the fiddly nature of this work, at least it is slowly starting to take shape.

So until next time, take care, Paul :)
9 Apr 2016, 1:36pm
Saturday:
It was a very wet start to the day, so it was mid-morning before it was dry enough to work outside.

Thankfully, all the fibreglass work done yesterday had set solidly over night. :cool:

Although I knew that resin & bits of matting ended up on some of the tape I used to temporarily hold the panels in place.


So I needed to use my Dremel lookalike tool to carefully clean this off before I could remove the tape completely.
( I also ground down any other areas with stray pieces of matting. )


I then spent some time making more cardboard templates for the remaining panels that I need.


In the end, I abandoned any thoughts of keeping the panel designs vaguely symmetrical on both sides.

To be honest, given how much work this has been already, I will be happy just finishing the job.
( Especially as many, if not most, Sammios have absolutely nothing in this area at all. :rolleyes: )

In this photo you can see two separate panels on the leading edge of the passenger side arch.


The "inner" panel was put in place when I initially bonded the body shell to the Moon Rover.

So I intend to join the two panels together, as the aluminium sheet will continue from here.

Next I added fibreglass matting to the areas where the tape had been on yesterday's panel work.

Driver's Side: Leading edge & trailing edge


Passenger Side: Leading edge & trailing edge


Next job was cutting the next batch of panels out of my fibreglass scrap pile.


By now, the sky was telling me that it was time to get the covers on.

So that is as far as I've got and it is raining outside as I type this. :icon_sad:

If I can't get back out today, hopefully I can carry on tomorrow.

So until next time, take care, Paul. :)
9 Apr 2016, 6:10pm
Saturday - Part 2:
The rain eventually stopped and the sun came out, so I continued working on the car...

Started by tidying up any stray bit of fibreglass and then had a slight change of tack.

Initially, I was planning to add some more matting to the inside edges of the latest panels.

However, access is really restricted, so I mixed up some bonding paste instead.


Using my (gloved) fingers to apply this paste was still tricky and very messy indeed. :rolleyes:
( Sorry, I couldn't get any decent photos of the inside edges either. )

Then it was a bit of a race against time to tape the new panels into position and start fibreglassing.

Especially as the sky was looking like this, with the dark clouds heading towards me.


Still, I managed to make a good start on the remaining three sides.
( The trailing edge on the driver's side is now completed. :cool: )


- - - - - - - - - - - - - - - - - - - - - - - - - - - - - - -

Top Tip:
Covering the wheel hub with a dust sheet does not protect your head from any impacts!


Ouch! :tape:

- - - - - - - - - - - - - - - - - - - - - - - - - - - - - - -

Well the rain has started again as I finish typing this, so good timing today.

So until next time, take care, Paul. :)
10 Apr 2016, 11:47am
Sunday Service - Part 1:
I quietly removed the tape holding the last batch of panels in place & sanded down the fibreglass.
( As I wasn't going to use any power tools at this time of the morning. )


There is small panel left to fit to close this "hole".
( I couldn't fix this yesterday, as I needed the access to 'glass the "floor" panel into position. )


I have now completely, run out of recycled containers for mixing resin, so this was the best I could do. :rolleyes:


After 2 x 100ml sessions I came up a little bit short, so these last few pieces will be added later.


Still, at least most of the matting was now been added to the arches and they are shaping up nicely. :cool:


Note:
Obviously, these inner arches will all look a lot better when they have been painted black.
( I just hope the MOT tester appreciates the effort, as no one else is going to see this. :icon_wink: )

I'm just going to grab a bite to eat while that sets and will be back later...
10 Apr 2016, 3:24pm
Sunday Service - Part 2:
I ended up taking the long way back to the car via mowing the grass and a bit of pruning. :rolleyes:


At some point I am going to have to put a lot of hours into more pruning, weeding, edging & moss killing.

Mr Clumsy #1
While using the mower, the starter handle came loose and before I could stop the mower, I ran it over. :doh:


At least Ebay means that a new handle is on its way and I didn't even need to leave the house. :cool:

- - - - - - - - - - - - - - - - - - - - - - - - - - - - - - -

Meanwhile, back at the car…

The first job was to trim the bottom panel on the leading edge of the passenger arch.


I had kept this deliberately long, as I wasn't sure how the rest of the panels would line up when I started.

Thankfully I could now use power tools, so this was a very quick job.


Another 2 x 100ml sessions were enough to put all the fibreglass matting I needed into place.


Mr Clumsy #2
I thought I could save some time by pouring out resin into 2 cups, but only adding catalyst to 1 at a time.

This would have been a good plan if I had kept the 2nd cup a safe distance from my working area…

Yes, obviously I kicked it over in the middle of applying the 1st round of matting. :doh:


At some point, I need to work out how much more fibreglass matting I will need, as my 2nd 5kg roll is almost gone.


The main fibreglass jobs left are:
- Reshape the front wheel arches
- Attach a section of the front arch to the sides of the body shell
- Add some bracing to the inside of the bonnet to help it keep its shape.

- - - - - - - - - - - - - - - - - - - - - - - - - - - - - - -

Despite the great weather today, I am going to starting packing things away in a minute.

We will be heading out for a family meal later and that is more important than a bit more time on the car.

Especially as it looks like I will be able to spend a few days on the car next week. :cool:

So until next time, take care, Paul. :)
10 Apr 2016, 6:00pm
Loving your thread as usual Paul. It's like being your neighbour :)

Keep up the good work. Oh and excellent work on the Main Tribute Thread too. I didn't want to 'ruin' it by commenting directly

Dave
11 Apr 2016, 7:24am
DaveP wrote:
It's like being your neighbour :)

without the dust and noise ha ha ha
11 Apr 2016, 11:41am
DaveP - Cheers. :cool:

The scary thing about the Tribute "sticky", is the sheer number of new models that have already been finished.
( As the A352, Z300, Kobra & 250 SWB models were all introduced after I started this build. :rolleyes: )

Next week marks 4 years since I bought my donor car and I still don't know when I will finally be on the road.

Hopefully, the "all new Sammio Spyder" will bring these much shorter Tribute build times to the world of Sammio.


Talking of build times, the fact Swifty built his Navigator in 2 years, with so many bespoke parts is amazing. :cool:


- - - - - - - - - - - - - - - - - - - - - - - - - - - - - - -

RedRatBike: - Oi cheeky! :icon_wink:

Thankfully there always seems to be building work going on in our street, so I'm not the only one making noise.

But I have cleaned up my dusty mess from my neighbours' front gardens on both sides more than once. :rolleyes:

- - - - - - - - - - - - - - - - - - - - - - - - - - - - - - -

Hands on Fire:
Woke up at Silly O'Clock this morning due to the fibreglass itching in my hands. :icon_sad:

The space around the arch panels is so tight I've not been able to wear gloves for a lot of the sanding work.

Which has lead to my hands getting scraped a lot, in addition to picking up the usual fibreglass splinters. :rolleyes:

It took a while before some hand cream calmed them down enough for me to go back to bed.

- - - - - - - - - - - - - - - - - - - - - - - - - - - - - - -

Monday Morning:
Despite the bad night's sleep & my wife volunteering me to drive my daughters to school this morning, at least it was dry outside.

Started by removing the wheels (again) and leaving them in their temporary home in the porch.


Spent a while grinding/sanding down any stray bits of fibreglass matting / bonding paste from the other day.

I also hoovered the inside of the cockpit as there is dust everywhere and cleaned up the areas I wanted to work on.

I did two rounds of bonding paste to cover a number of areas:

Finished sealing the gap between the framework and the body shell on the driver's side.


You can also see that the bottom fibreglass panel I fitted has been entombed in bonding paste.

I adopted the same approach on the passenger side.


Just to put this photo in context, it is at the bottom of the panel work joining the leading edge of the rear wheel arch.


Finally, more bonding paste was added to the inside edges of the leading edge arch panelling work (via the cockpit).

Passenger Side:


Driver's Side:


Thankfully, all of this mess will be out of view behind the internal cockpit panels.

Although I will not start fitting those panels until I have added the final inner wheel aluminium panels.

Whilst the panels joining the Moon Rover to the body shell resemble a patch work quilt, they have a real strength now. :cool:

I am sure there are easier/quicker ways of doing this, but I am just pleased that it actually seems to work. < Touch Wood >

With a bit of luck I will get a chance to play with the tail pipe brackets this afternoon.

Until then, take care, Paul. :)
11 Apr 2016, 1:17pm
Was pulling your leg....you always show us the evidence of hosing down etc. you are a great neighbour no doubt

When I pulled all the render off the front of my house and ground out all the pointing I bought a couple car covers for the neighbours cars ....a little goes a long way .....

I have moved the motorbikes for now as well as noisy vee twins revving up seem to get on their nerves haha
11 Apr 2016, 1:54pm
RedRatBike - I remember a particularly noisy 4-into-1 pipe I had on an old CB550/4 I had at college.

If I was leaving home in the early hours of the morning, I'd end up pushing it down the street before firing her up!

- - - - - - - - - - - - - - - - - - - - - - - - - - - - - - -

And then my luck ran out…
I checked some old photos to see which side of the mounting bracket the tail pipe rubber went.

Then I double checked how many exhaust mounts I should actually have in the first place.

This bracket is at the gearbox end of the pipe.


But then there is nothing until the tail pipe brackets in the boot floor.

Looking at various other websites would indicate that I should have at least one more in the middle.

So I will need to look into this a bit more at some point.

Anyway, I started to sand down a few rough spots near the tail pipe cut outs.


While I had the sanding blocks out, I also cleaned up any resin drops, & other mess, on the rear passenger wheel arch.


This lead me down the side of the body shell to tidy up this bottom edge too.


Unfortunately, with my head under the car, I didn't notice the sky above, until I felt some rain.

The last few days I've only peeled back the covers from the rear of the car.

However, today I had removed everything to give me better access to the cockpit.

So there was a bit of running around to get everything under the covers.


By this point I was quite wet myself, but feeling quite happy that the work I had done early was protected.

It was only when I got back inside that I realised there was a problem in the garden.


Unfortunately, the 3 loads of washing I had out on the line were now soaked. :rant:

I tell you, a car builder's domestic chores are never done! :icon_wink:

Until next time, take care, Paul. :)
11 Apr 2016, 7:40pm
Good progress Paul, your comments regarding your exhaust made me go and have a look at my set up, I have the twin stainless sports exhaust supplied by Rimmers and have only the tail pipe mountings no others along the entire length, ( not even the gearbox mount) seems to be rigid enough, I know mine is the Herald chassis the but the exhaust is same and was supplied with the full fitting kit!
Pops
11 Apr 2016, 9:33pm
Good progress made over the last couple of days Paul.

My exhaust has only one mount at the rear end on each silencer so basically the manifold holds the other end up with nothing in between.


Attachment could not be found in the archived database.


Couple of pics to help.
12 Apr 2016, 6:11am
Pops & Swifty - Thanks gentlemen. :cool:

Exhaust - By comparison, it sounds like I actually have one more support bracket fitted.
( My twin pipe set up was brand new and fitted by the previous owner. )

Progress - Bridging the gaps between the Moon Rover & body shell has been very fiddly work.
Thankfully, it is slowly, but surely, taking shape and when completed I can finally fit the cockpit panels. :pray:

- - - - - - - - - - - - - - - - - - - - - - - - - - - - - - -

Monday Afternoon:
A complete wash out. :icon_sad:

- - - - - - - - - - - - - - - - - - - - - - - - - - - - - - -

So let's see what I can do today, cheers, Paul. :)
12 Apr 2016, 10:52am
Paul,

You are doing a very thorough job on this, I don't think I would have the patience to be able to build one up to this level so a big congratulations on what you have achieved to date.

Just to add another thought on the final finishing and paint, on another forum I read with link below, one of the guys has roller painted his VW T3 Doka, and if you can get a a good thick layer this will leave you with enough paint thickness to be able to flat it back and get the shine you would need.

http://retrorides.proboards.com/thread/85333?page=16
12 Apr 2016, 1:05pm
Ian D - Welcome to my build thread and the forum. :cool:

Thanks for the link, I'd have a good read of that later on.

I've previously posted a link to a guy hand painting his car & he used a roller too.

This was his three step summary.
1. Put enough paint on so you can sand half of it back off again without breaking through to the basecosts.
2. Spend ages sanding it smooth without getting bored & thinking - that will do.
3. Spend ages polishing it without getting bored & thinking - that will do.


I am actually looking forward to painting the car, but that is still a long way off at the moment.

- - - - - - - - - - - - - - - - - - - - - - - - - - - - - - -

Tuesday - Part 1:
Even though it was not raining, it was still very damp outside this morning.

So I continued to tidy up all the areas I have been working on lately…

Passenger side:

- Outside of the wheel arch


- Inside of the wheel arch


- Inside bottom edge of body shell to join with framework (which was a real pain to reach/do).


- Outside of bottom edge of body shell, where a bit of 'mission creep' slipped in. :rolleyes:


Rear side:

- Either side of the tail pipe cut outs.


Driver's side:

- Outside of the wheel arch


- Inside of the wheel arch


- Inside bottom edge of body shell to join with framework (did I mention this was a pain?).


- Outside of bottom edge of body shell, where I still got carried away a bit, but not too much.
( There is no point in doing any extra bits now, as these will be tackled when I finally prep for paint. )


End of Part 1…
12 Apr 2016, 1:06pm
Tuesday - Part 2:
After cleaning all the panels, it was time to get some etch primer on.

Note: I've left some space at the top of the inner wheel arch panels to attach/seal the aluminium panels.


So with a bit of luck I will be able to slap on some Tetroseal tomorrow. :pray:

- - - - - - - - - - - - - - - - - - - - - - - - - - - - - - -

Anyway, I left that to dry and got on with some other chores.

However, I kept an eye on the sky, as the weather forecast promised rain at some point.

And, in the words of "The Gambler"…

You've got to know when to hold 'em
Know when to fold 'em
Know when to walk away
Know when to run


Well I let the clouds reach this stage before I brought the washing in from the line.


Then it was definitely time to run and I got to the car just as the rain arrived.


Thankfully, the primer was at least touch dry by now, so the covers are all back on.

Not sure if I will get back out again today, but at least I am another step closer.

Take care, Paul. :)
12 Apr 2016, 4:17pm
Tuesday - Part 3:
Well after a heavy downpour, the sun came out again, so I decided to take a chance…

Although, I didn't peel the cover back too far (just in case).


I zip tied the two end pipes on the "Y" section of the exhaust to help support the weight of the tail pipes.


I used the old rubber mount as a spacer to give me a decent gap between the pipe & the body shell.


Then I put a hole in a cardboard template used to work out the length of rubber I needed.


If you compare the old and the new, you can see there isn't much of a difference.


After a bit of trial & error, I discovered it helped to tighten the tail pipe to the "Y" section first.


Then tighten up the mounting bracket.


One down, and one to go.


Repeated the process above and eventually I had both pipes in. :cool:
( Hard to get a decent photo with the hedge in the way.)


Following the work Pops did on his pipes I thought I'd measure how far my stick out.


And just over 6 inches is the answer.


By now the dark clouds had returned and I didn't want to push my luck.


So that is all for today, but I hope to do some more tomorrow.

Until then, take care, Paul. :)
13 Apr 2016, 9:38am
Wednesday - Part 1:
Yet another day where the weather forecast included the chance of rain. :rolleyes:

So I started the day by masking off the edges of the body shell in preparation for painting with Tetroseal.


As always, this is messy stuff to work with, but it makes a big difference seeing the panels in one colour.

Although, even with a work light, it is impossible to get a decent photo of the frame to bottom of the body shell join.


Passenger Side:

- Leading Edge


- Trailing Edge


Driver's Side:

- Leading Edge


- Trailing Edge


I know my patch work quilt panel work is "lumpy" (to say the least), but I really like the "organic" contours. :cool:

- - - - - - - - - - - - - - - - - - - - - - - - - - - - - - -

Another Camera Bites The Dust:
I had to come it at this point to order another compact digital camera.

As the one I am currently using is really on its last legs (well, they do have a tough life in my clumsy hands).

I get them second hand on Ebay and this will be either my 3rd or 4th "build" camera. :rolleyes:

Anyway, while I am here I might as well post this update and something I prepared earlier

- - - - - - - - - - - - - - - - - - - - - - - - - - - - - - -

13th April 2012

Hard to believe that it was 4 years ago today that I put a deposit on Cordite kit No.7.


Little did I know that I was about to open the door that always leads to adventure. :icon_wink:


Thankfully, I have now reached the stage where I am slowly edging towards the finish line.

As the front wheel arches/bonnet/body shell work should be the last major alterations required. :pray:

- - - - - - - - - - - - - - - - - - - - - - - - - - - - - - -

VW T3 Doka & Jaguar XK140 Carrera Panamericana Replica:
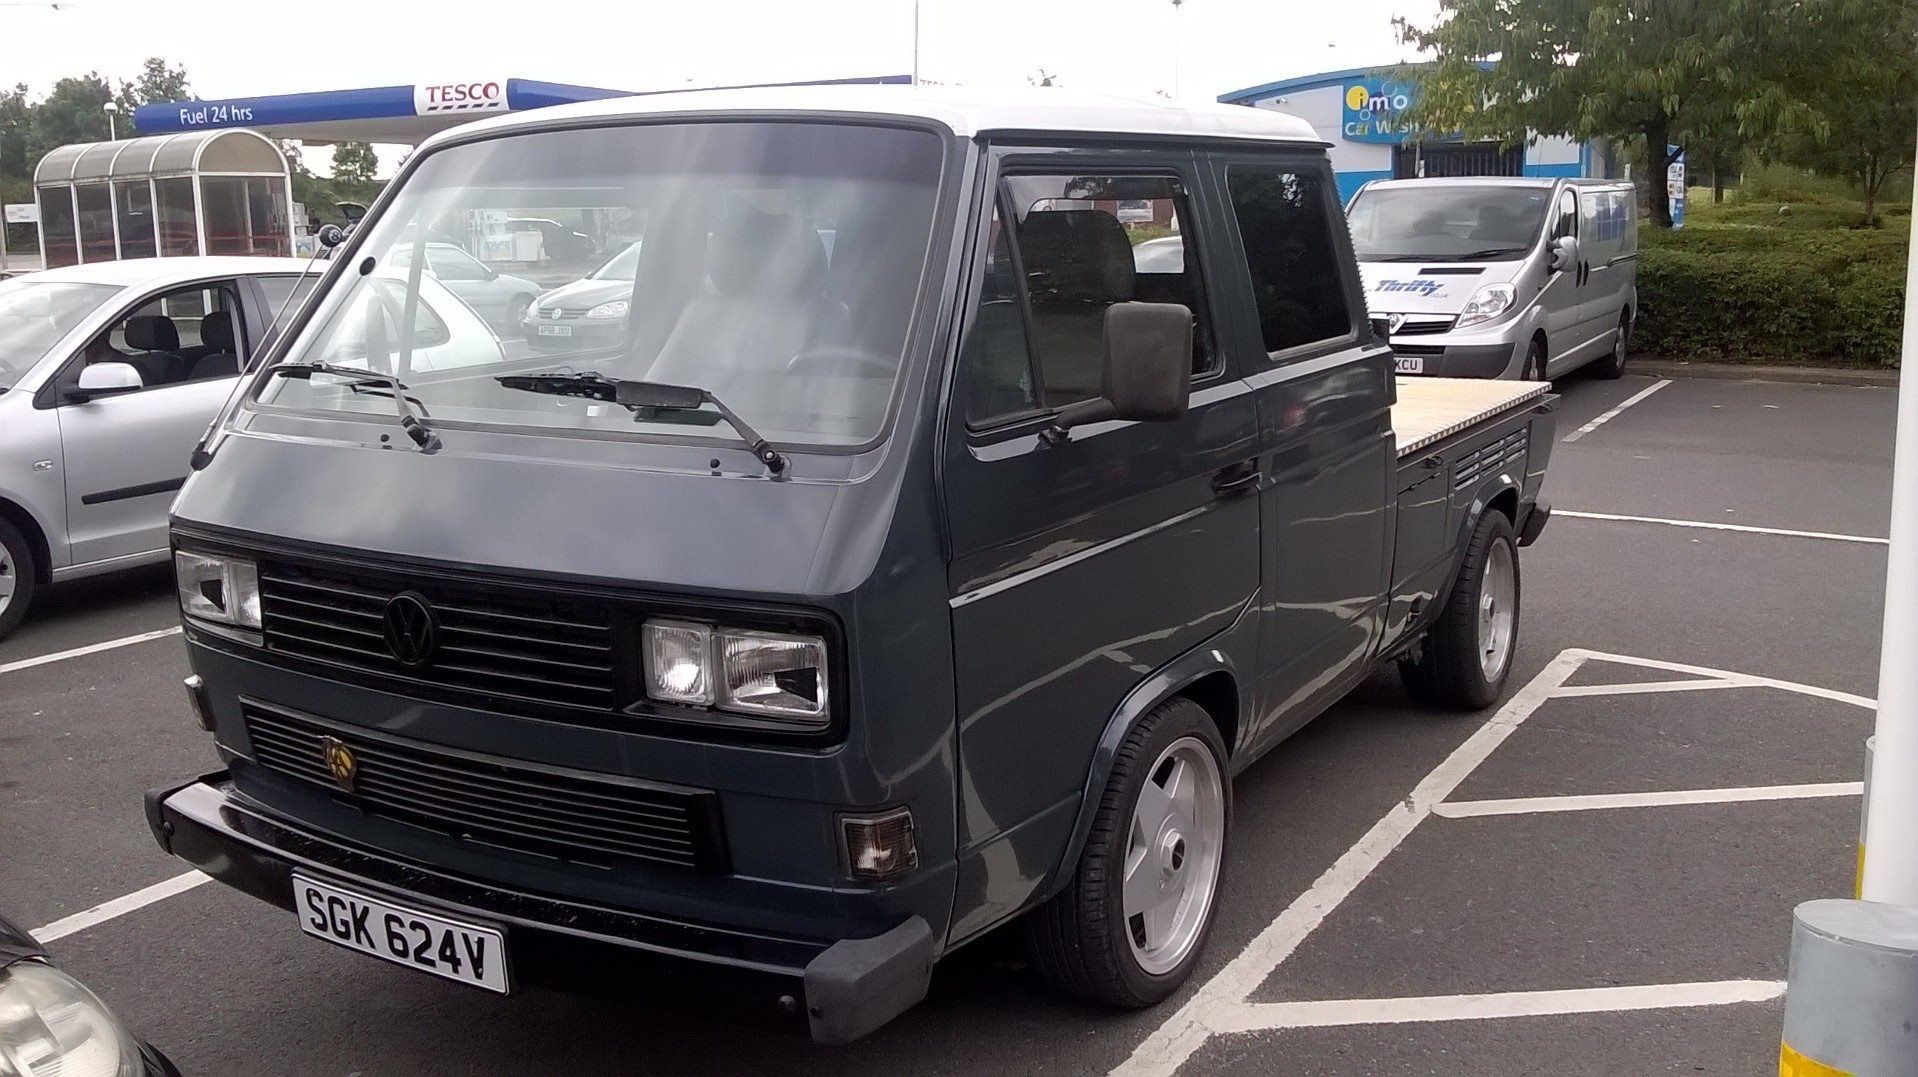
Had a quick look at some parts of the build thread that Ian D kindly provided a link to yesterday.

The "Before" & "After" photos are quite amazing.


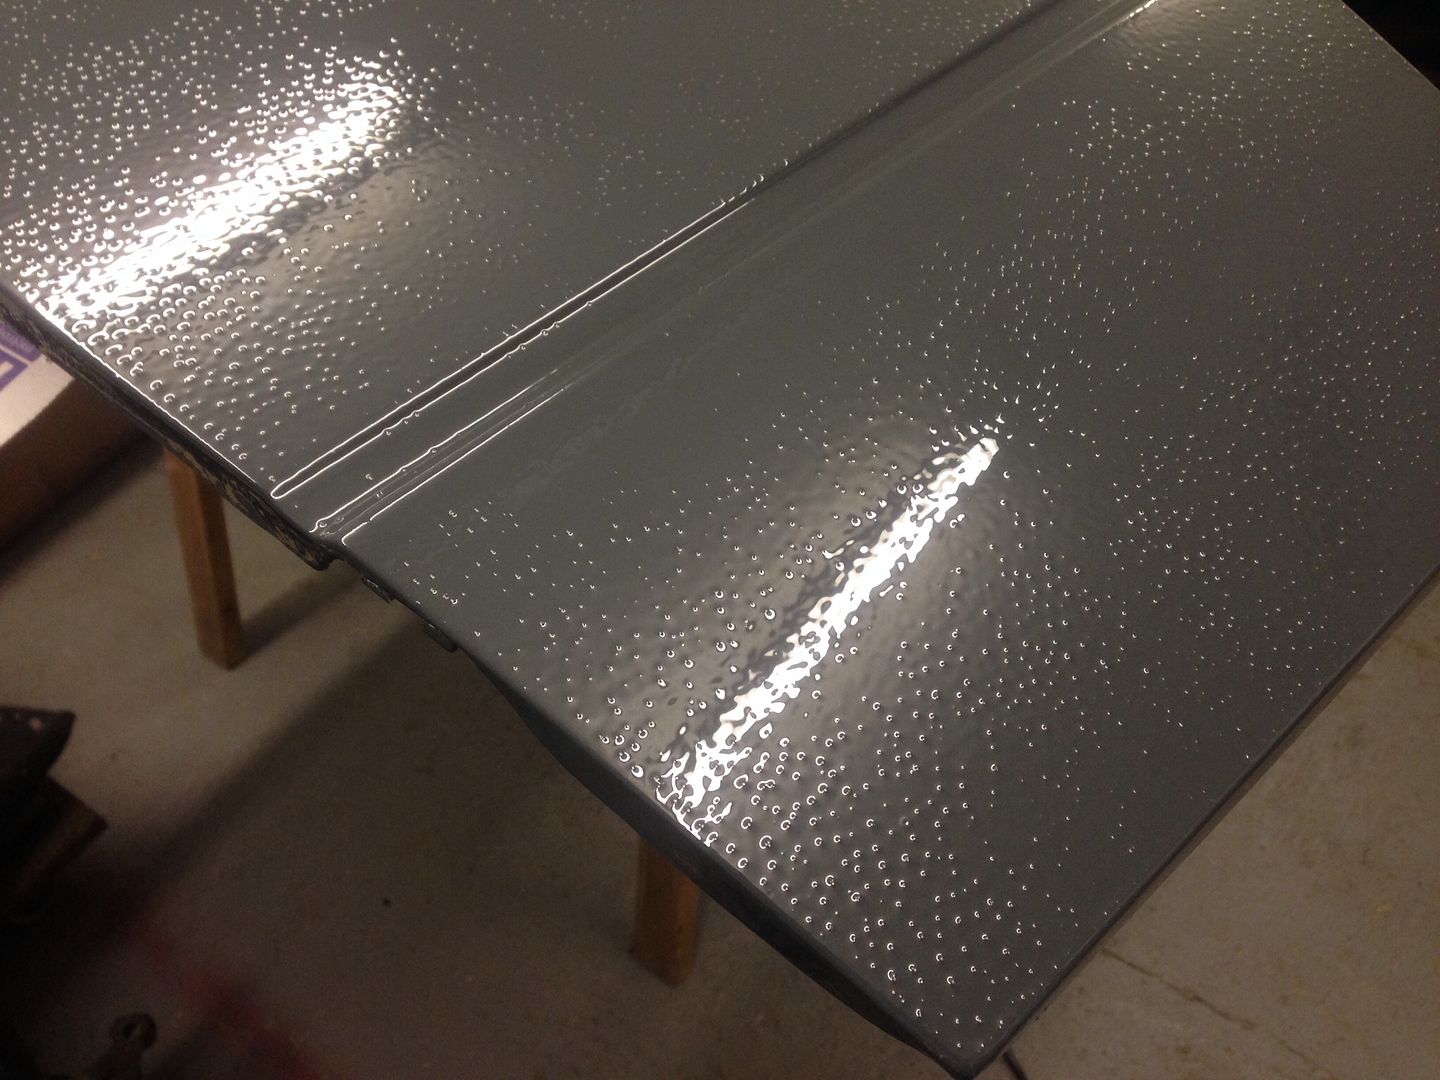
Apparently the bubbles were left as a result of using a roller, so I think I will stick to using a paint brush.

The key point is that no matter how badly the paint goes on (within reason), it can be sanded back to an acceptable finish.

Also RedRatBike posted a link to this car on the Tribute forum "next door" the other day.


So if my paint job is a real disaster, perhaps I just need to bury it under a ton of "accessories". :icon_wink:

- - - - - - - - - - - - - - - - - - - - - - - - - - - - - - -

Right I heading back outside to see what else I can do today…
13 Apr 2016, 11:36am
Happy Birthday to your build Paul. It has been a long and interesting journey so far and I salute you for sticking with it. Your thread is always an interesting read and motivating to many I am sure.
13 Apr 2016, 4:30pm
Froggman - Cheers. :cool:

- - - - - - - - - - - - - - - - - - - - - - - - - - - - - - -

Wednesday - Part 2:
While I was indoors earlier, I also went through some old build photos so I could quickly drawn this.


Which is a basic guide to this cockpit panel jigsaw puzzle.


As I wanted to check where the panels that form part of the rear cockpit wall meet the body shell.


Then I used some masking tape to ensure the area where the bonding paste will go was not painted over.


I also did the same thing on the driver's side.


I cleaned up the excess bonding paste from the inside of the wheel arch panels on the cockpit side on both sides.


At this point the wise words of DaveCymru stopped me "over thinking" a solution to a problem that wasn't really there. :rolleyes:

I have already joined the main sides of the body shell to the Moon Rover at four levels:
- Below the bottom frame rail (which I was painting this morning)
- Above the bottom frame rail (Effectively the internal cockpit floor)
- Plus along two of the frame cross members

So I think it is fair to say that it is not going anywhere in a hurry, especially with my over-engineered rear panelling work too.

However, I was still thinking of a "belt & Brace" solution for this small "hole".


I had deliberately not extended the cockpit floor join at this point, because the wheel arches needed reshaping.

I got as far as making a template for a closing panel...


Before I came to my senses, left it well alone & added some paint instead.


I also gave a second coat of Tetraseal to all the areas I did this morning.
( See earlier photos as it all looks just the same. :icon_wink: )

End of Part 2…
13 Apr 2016, 4:31pm
Wednesday - Part 3:
The other job I made a start on today was templates for the final closing panels for the inner wheel arches.

I made cardboard templates for both sides, this is the passenger arch.


And this is the view of the panel from inside the cockpit.


In a spooky bit of timing, the aluminium sheet was actually delivered shortly afterwards. :cool:


So I cut out the passenger side panel, leaving some extra room for the "teeth".


Then I cut the "teeth" out, leaving me something that looked like a giant saw blade.


Then after a lot of messing about (+ more head vs. wheel hub impacts :rant: ) I eventually had this.


Which slots into position nicely like so.


Unfortunately, by now the temperature was dropping and the dark clouds were gathering.


So I decided to pack almost everything away and leave myself just enough room to continue.


This is as far as I managed to get with the driver's side panel before the rain finally arrived.


With a bit of luck I will be able to finish this panel off and fix them both into position tomorrow. :pray:

So until next time, take care, Paul. :)