This is a read-only archive of the old Madabout Kitcars forum. New posts and replies are no longer possible, but every thread is still here to browse and read.
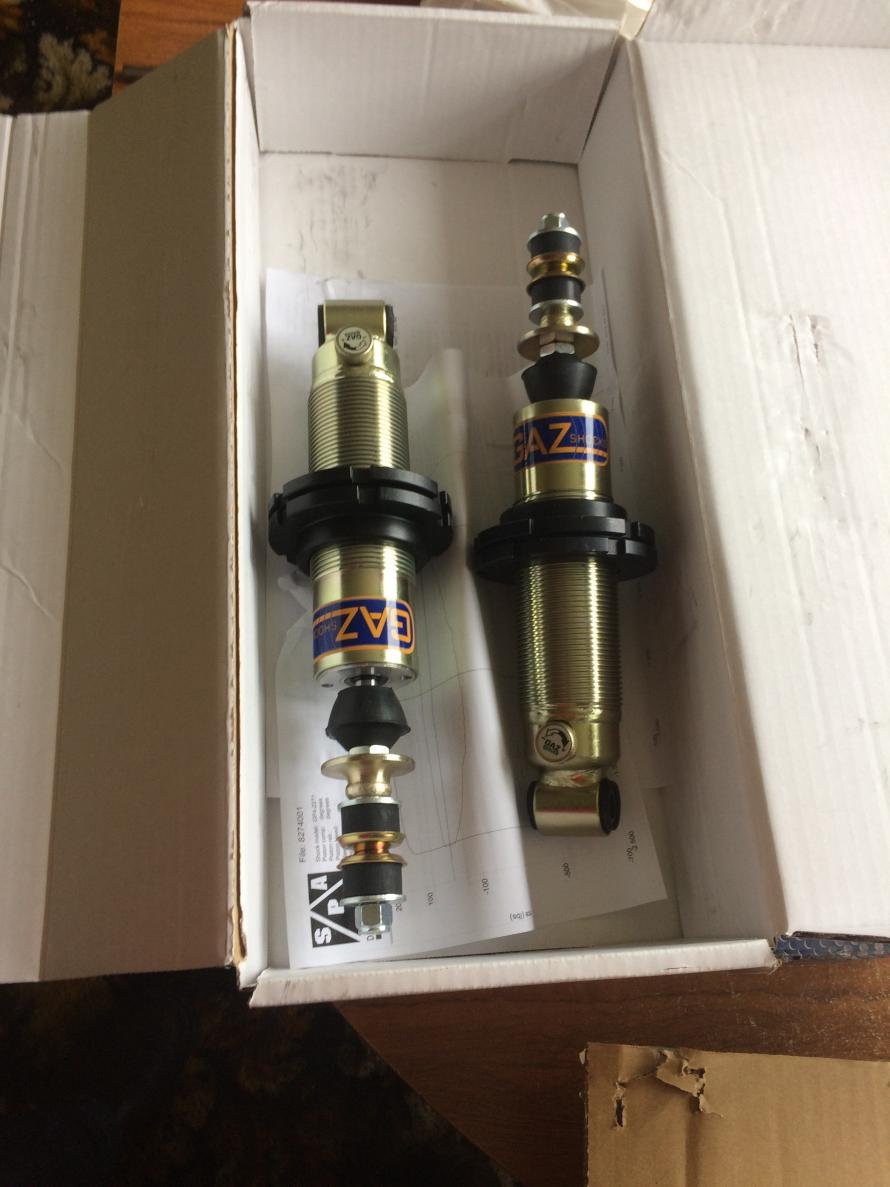
I have bought a pair of front GAZ ride/height adjustable shock absorbers and I am seeking a bit of advice/opinion on the springs rating and their unfitted length most suitable for me to buy.
I know that Mister Towed opted for 180lb and 11 inch unfitted length springs for his Spider, with 6 cylinder engine.
I also know that Dave Cymry at the end opted for 200lb, 9 inch unfitted length springs for his Miglia, also with 6 cylinder engine.
From Dave's pictures it seems that the ride height was easy to adjust, but I would like to check if I have understood the adjustment description. I was reading that it started with the shock height adjuster 2 inches from the lowest setting and by raising the shock adjuster further up (and compressing the spring more?) the front end was raised - is that correct please?
My car is fitted with 4 cylinder Spitfire 1500 engine, so it's a bit lighter and I have to lower the front end of the car probably 2-3 inches.
I have a feeling that 180lb rating would be ok for my car, but I am not sure about the most suitable unfitted length to be able to lower the car sufficiently.
I apologise if I sound a bit confused, but I am a little… ….any advice is helpful and welcome.
You're right about height adjustment on the GAZ shocks - wind the adjustable spring-seat down the shock to lower the ride height and wind it up the shock to raise it.
As for spring rate, that really depends on how you want the car to behave and where you're going to drive it. 330lb. springs work great on a race circuit, but would throw you into the nearest ditch on the fen roads of East Anglia where I drive. As your car is likely to be 2-300kg's lighter than the donor, standard 180lb springs should give you a firm but still compliant ride.
The free length isn't too critical as you have about 5" of adjustment on the Gaz shocks, with a light car I'd say the shorter the better. Just don't go so short that the spring is free to move up and down between the top and bottom seats at full extension. They don't need to be under much compression, they just shouldn't be able to move. I'd measure the distance between the inner faces of the top and bottom spring seats at full extension and add 1" as a minimum spring length (I hope that makes sense).
One final thing worth mentioning, you might find that the inside diameter of the spring is narrower than the raised portion of the lower spring seat that it's supposed to slide over to locate it laterally.
I had to grind about a mm all round from the spring seat to get the (standard Spitfire) springs to fit and I don't think I'm the only one who's had that issue with them.
Ultimately, suspension and wheel alignment/geometry on these cars is very much down to owner preference and trial and error testing.
Thank you so much for your advice Mr.T. You're spot in regard to my uncertainty about compressing the spring too much if it is too long, so your clarification is much appreciated.
Thanks for the heads up regarding the lower spring seat too!
I know that achieving a good suspension set up (in our case) is not an exact science, but your advice helps a lot, so ta mucho.
Finally had some time and opportunity to work on the car....
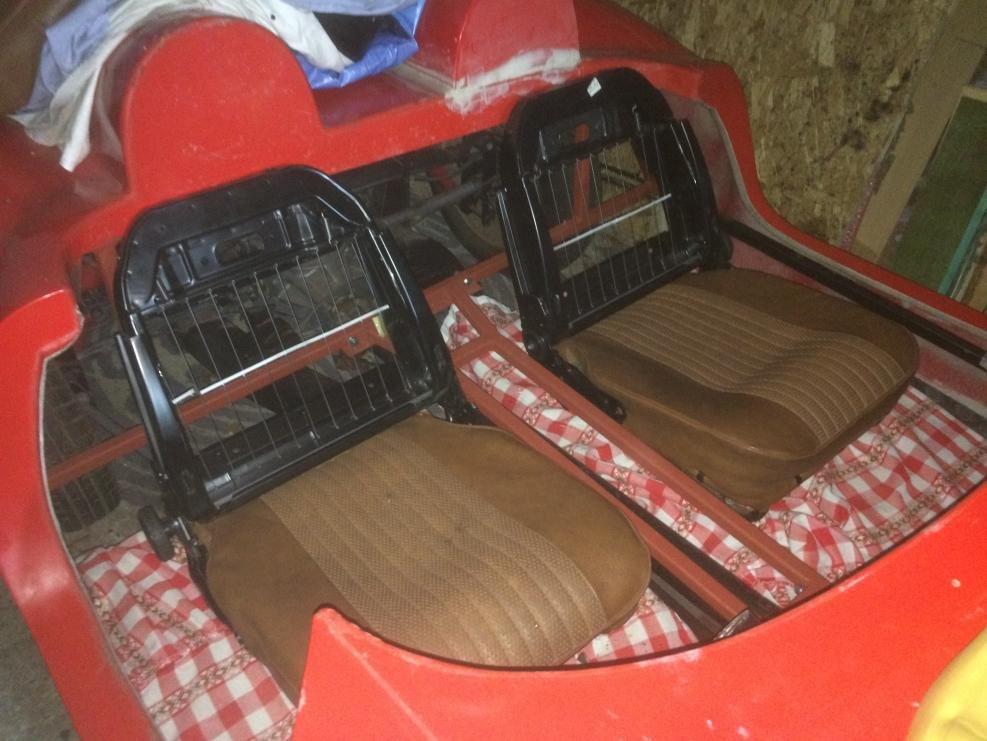
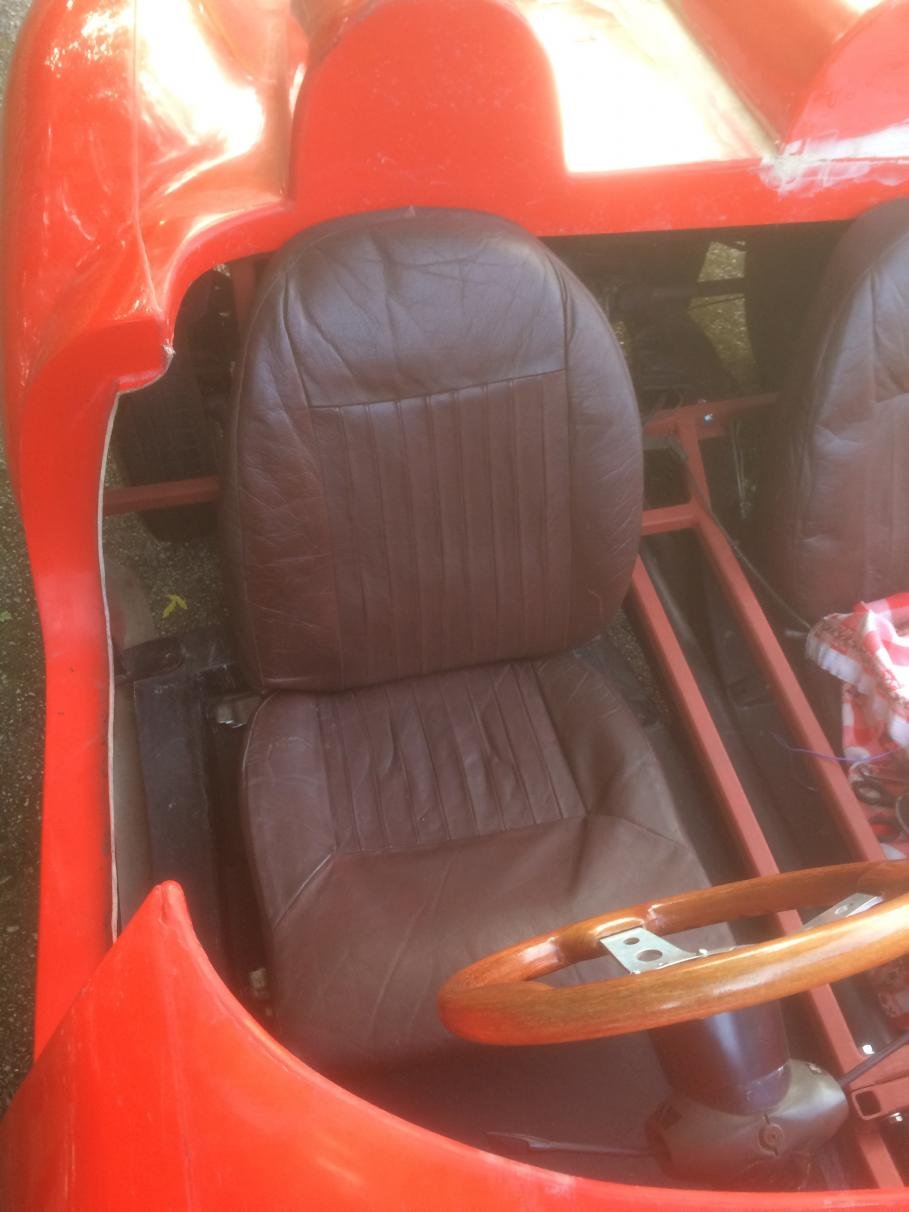
I have experimented with modification of the seats in order to get the height of the back rest right. The base of the seats is a bit wide, so if I raise the seats the backrest sticks out too much. However, by raising the seats I am gaining more space to move the seats left and right and I can position them more towards the centre of the hump. This is just a mock up before I decide to cut the original frame.
This is a work in progress and I will continue experimenting with this as I really want to end up using these seats.
This is approximately what I'm aiming to achieve.
I've used a Ford Focus backrest and chopped it to see how it could look when it's done.
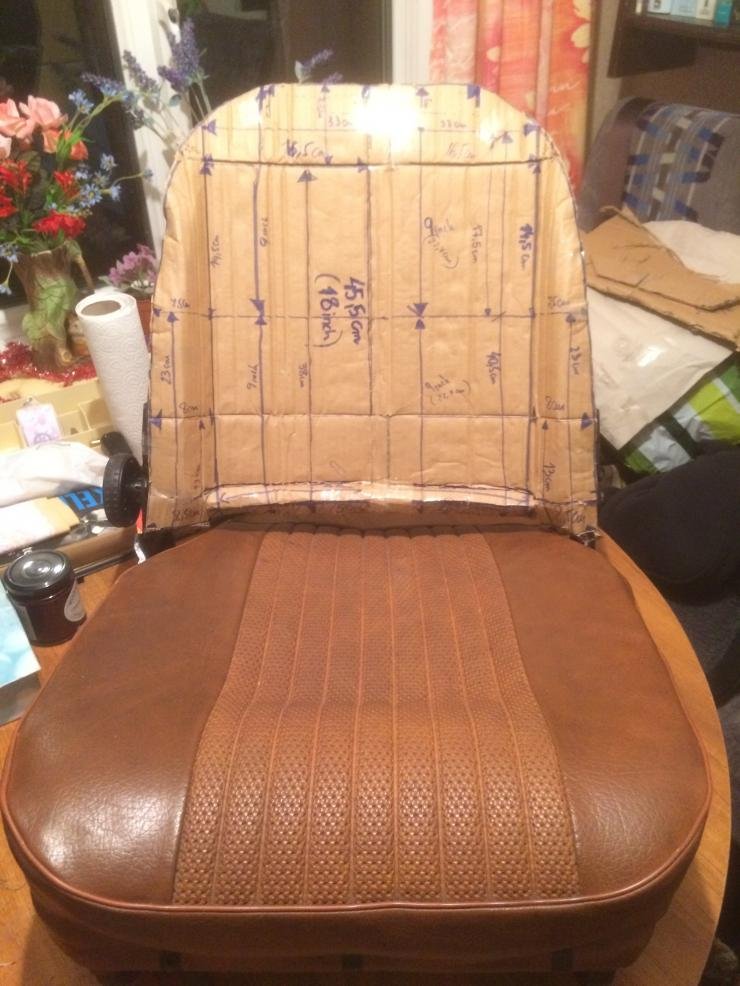
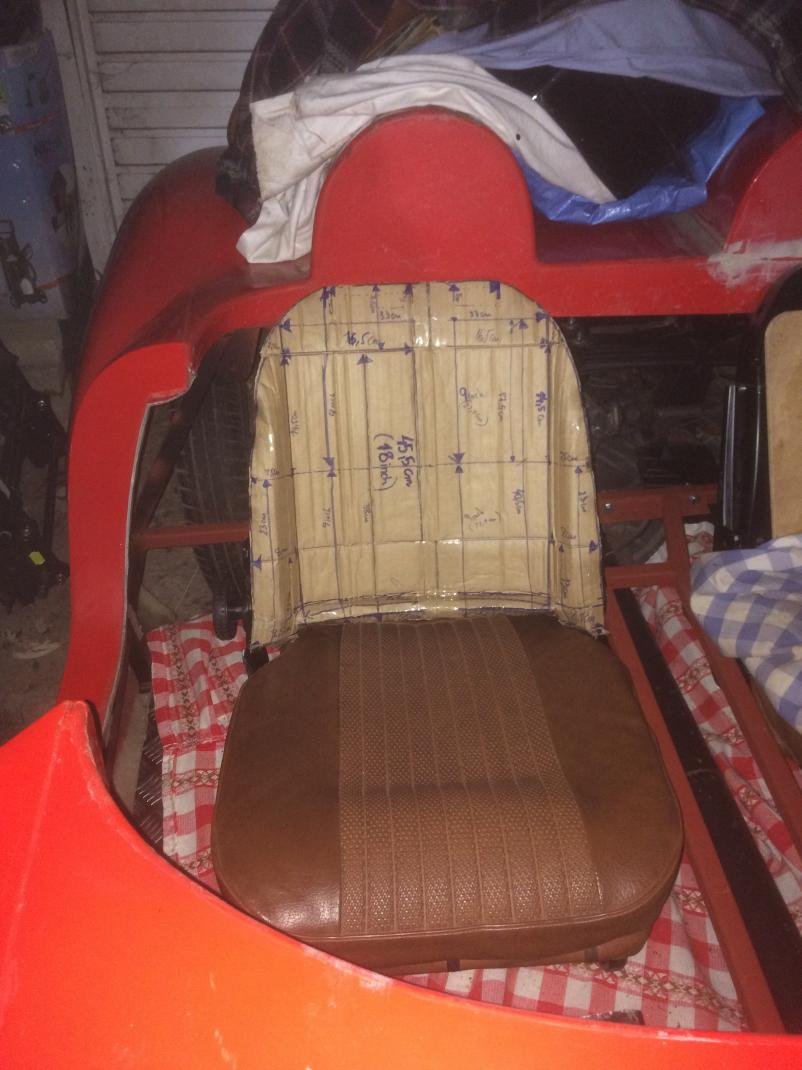
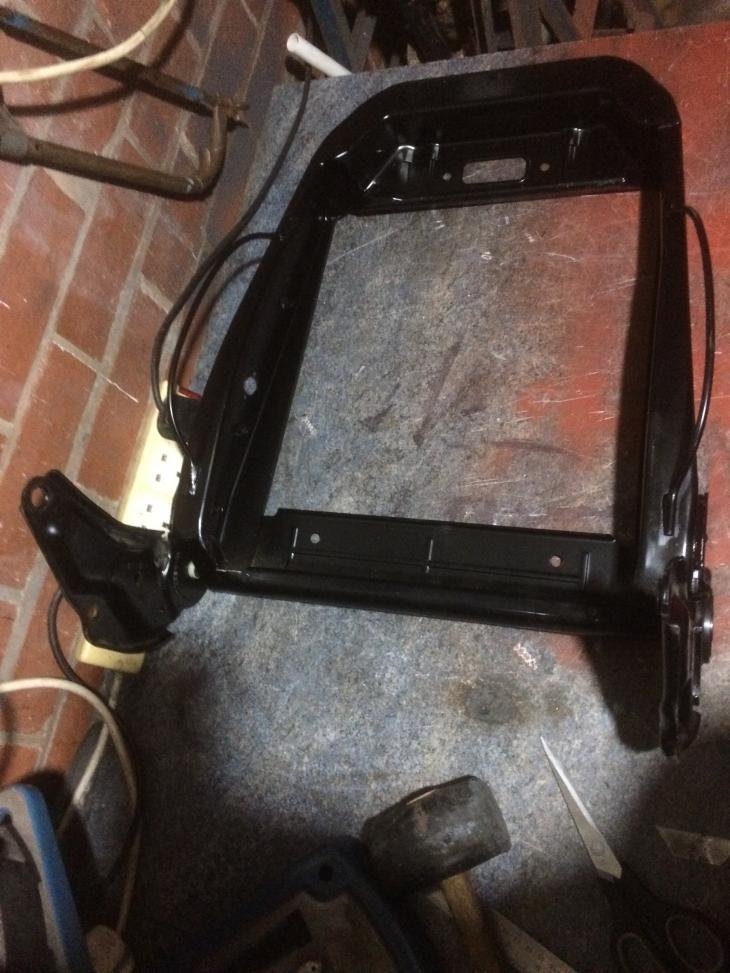
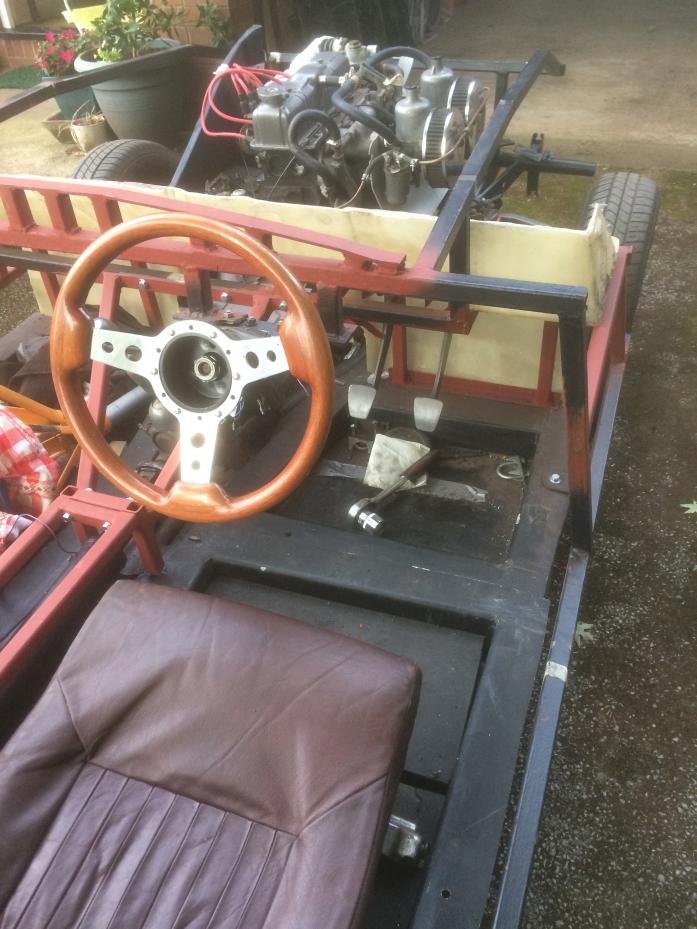
However, to not lose a lot of time with this at this stage, I bought a pair of Spitfire MK4 seats which I will use in the meantime. They have a much narrower base and are easy to position. I will clean and recondition the leather, so they will look nice when it's done.
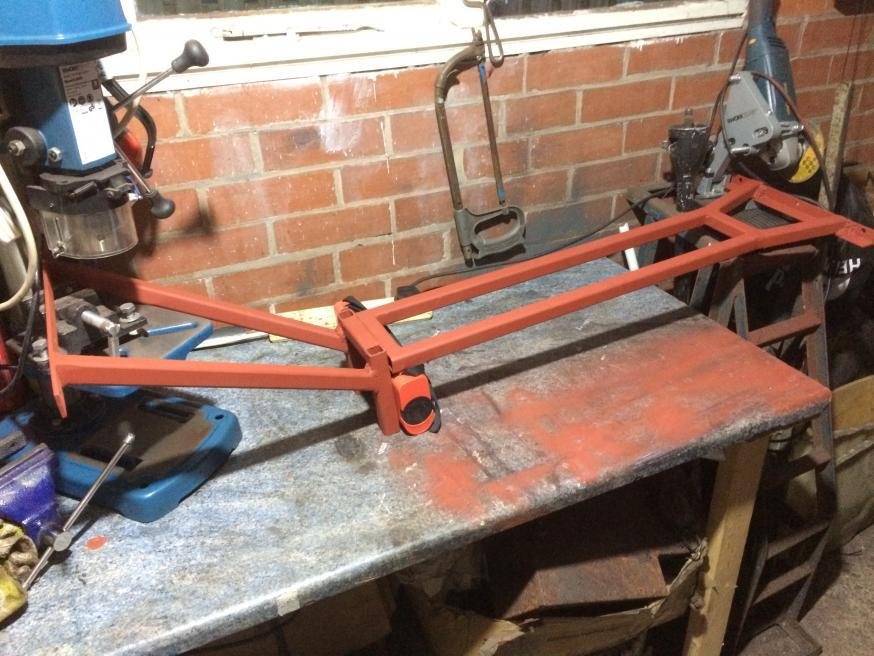
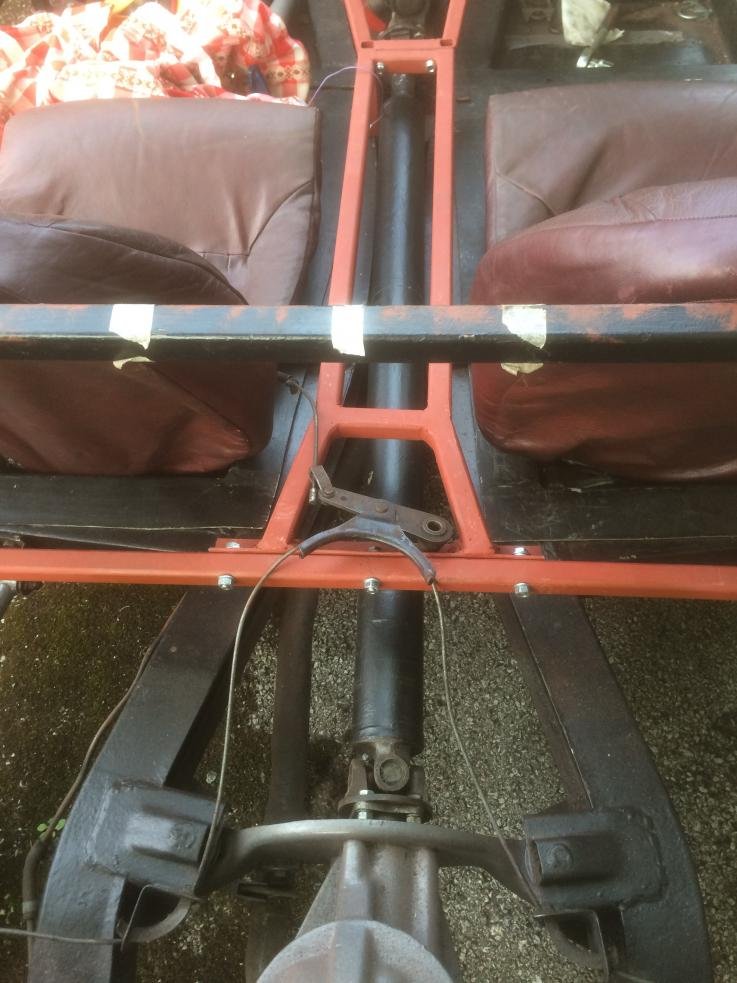
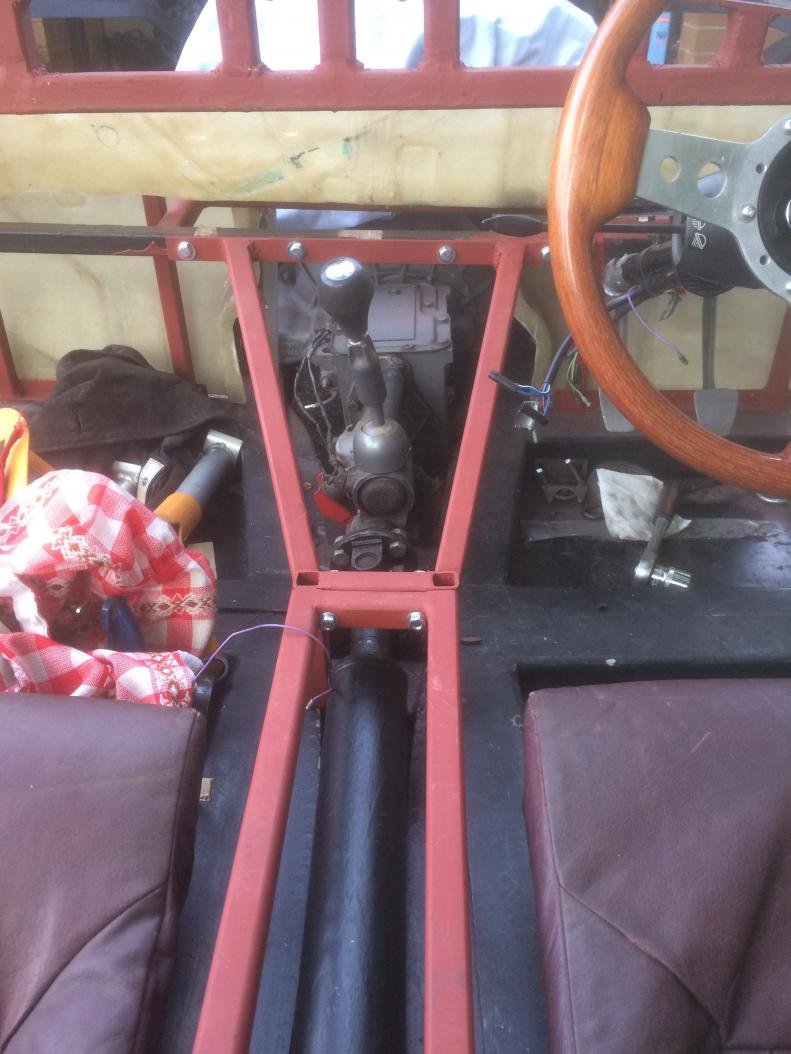
I have also fabricated a two-piece centre section to further improve the frame. I will probably weld the back to the frame and leave the front piece removable for easier access to the gearbox if necessary.
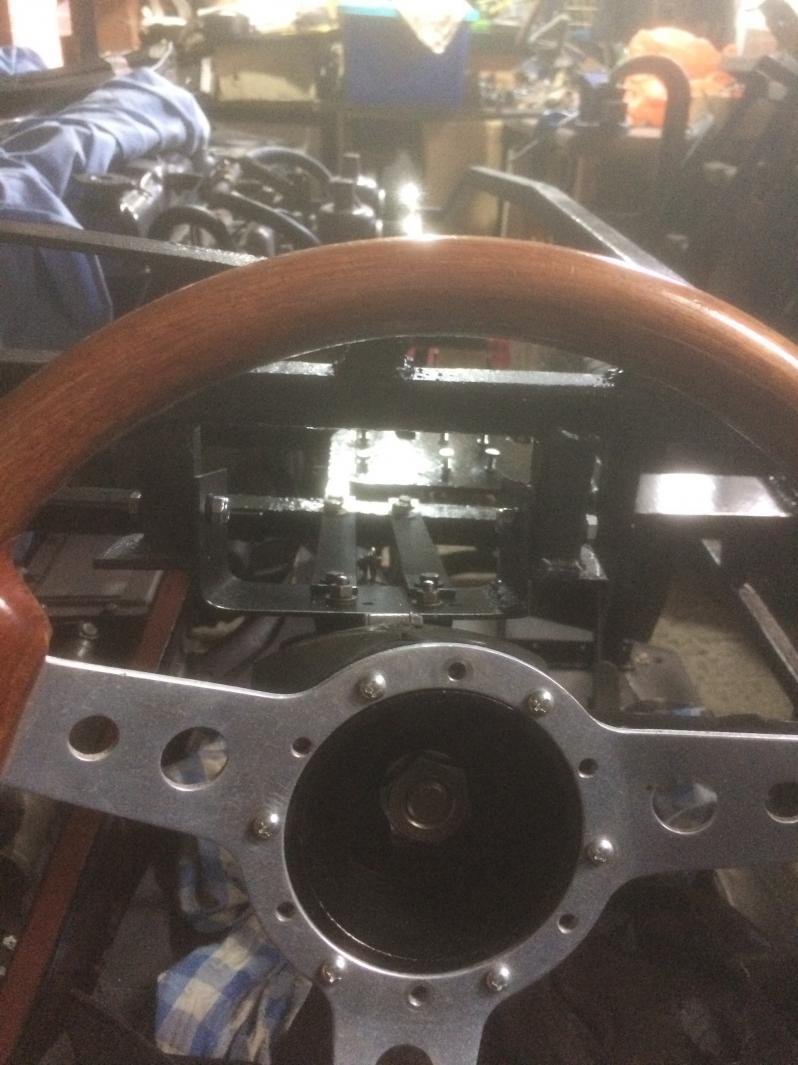
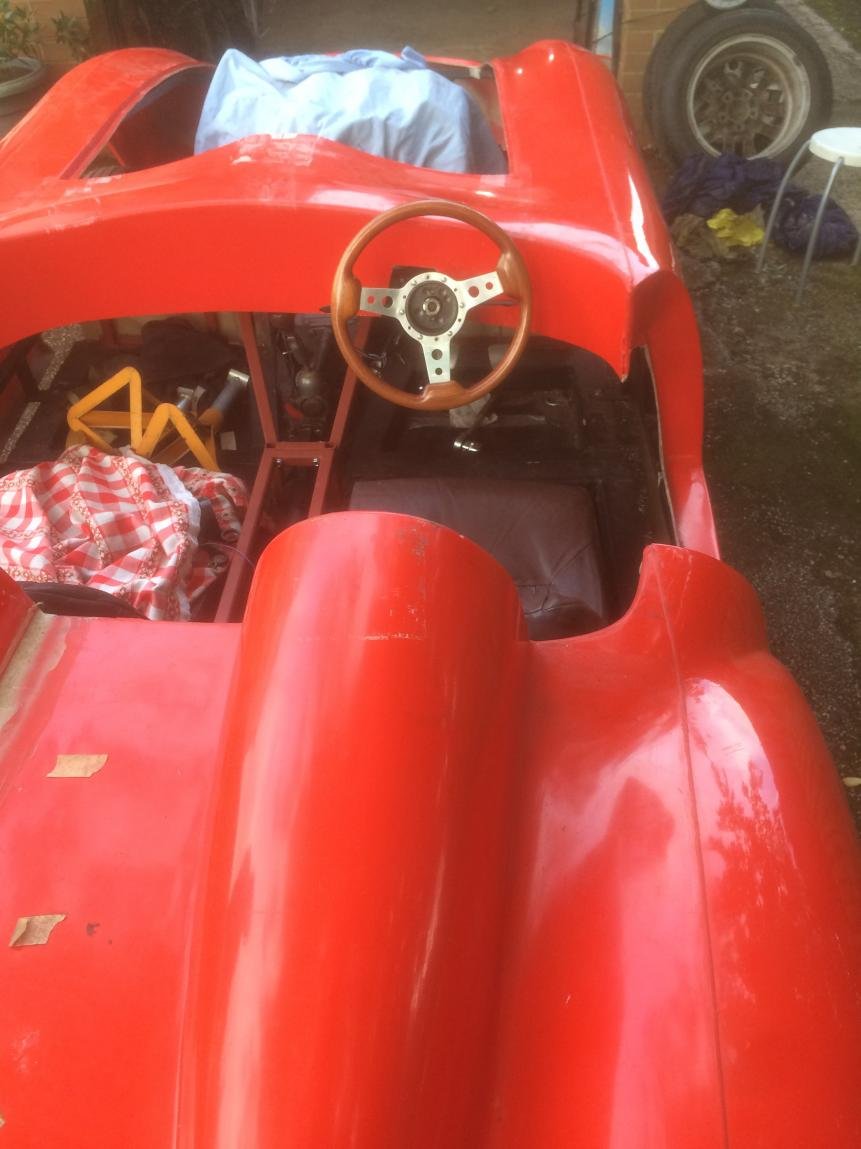
Having the seats at the right height and position helps with positioning the steering wheel. I have mocked up the mounting for it for now and will weld the proper mounting and bracing next time I work on the car.
I also need to make a subframe for the seats, as I need to raise them for 7 cm.
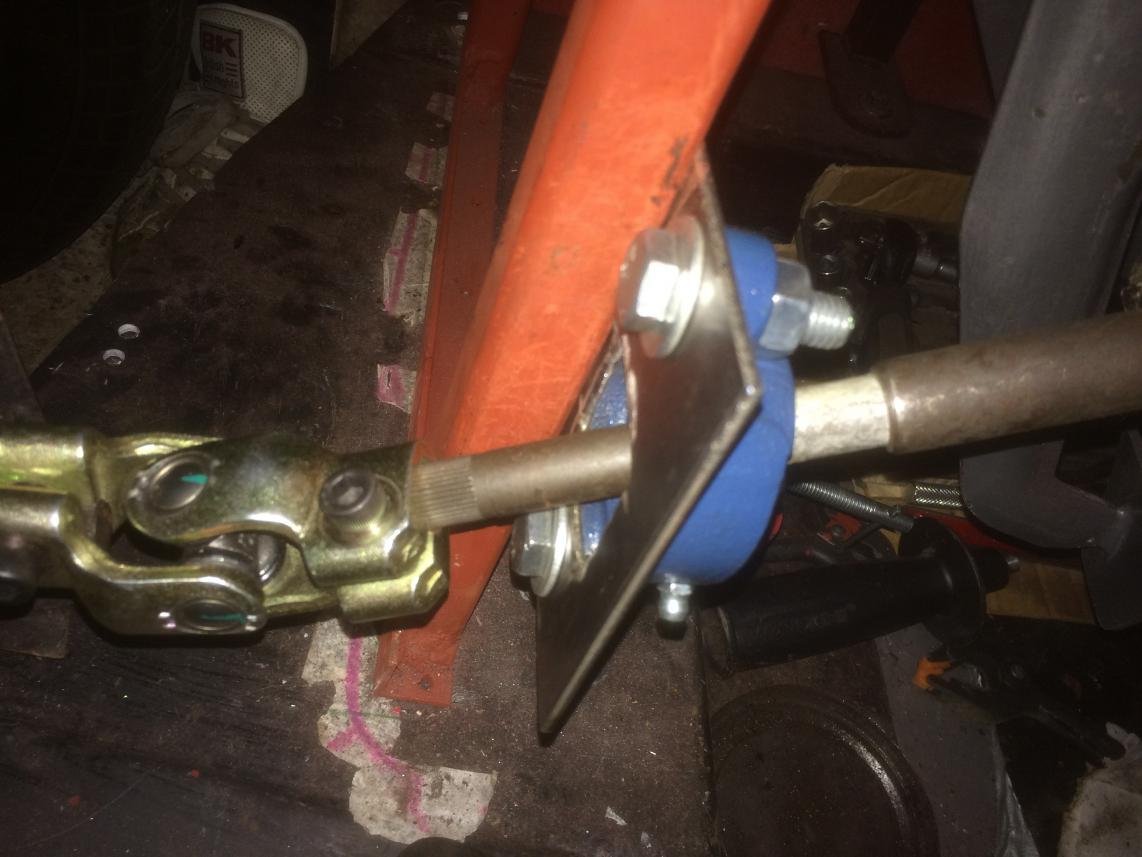
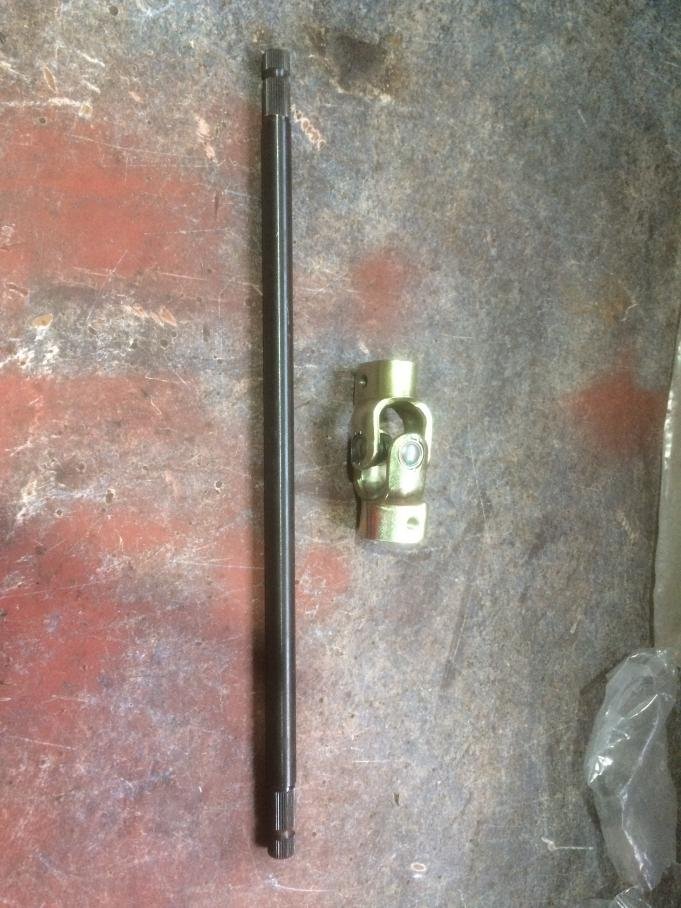
I will also modify the steering column. I have bought a 40cm steering shaft and UJ from CBS and another, bit shorter UJ from Canleys, to attach the column to the steering rack. This is needed as the steering column needs to be extended more than it is possible with the original setting, and because the angle of the steering wheel is different from the original.
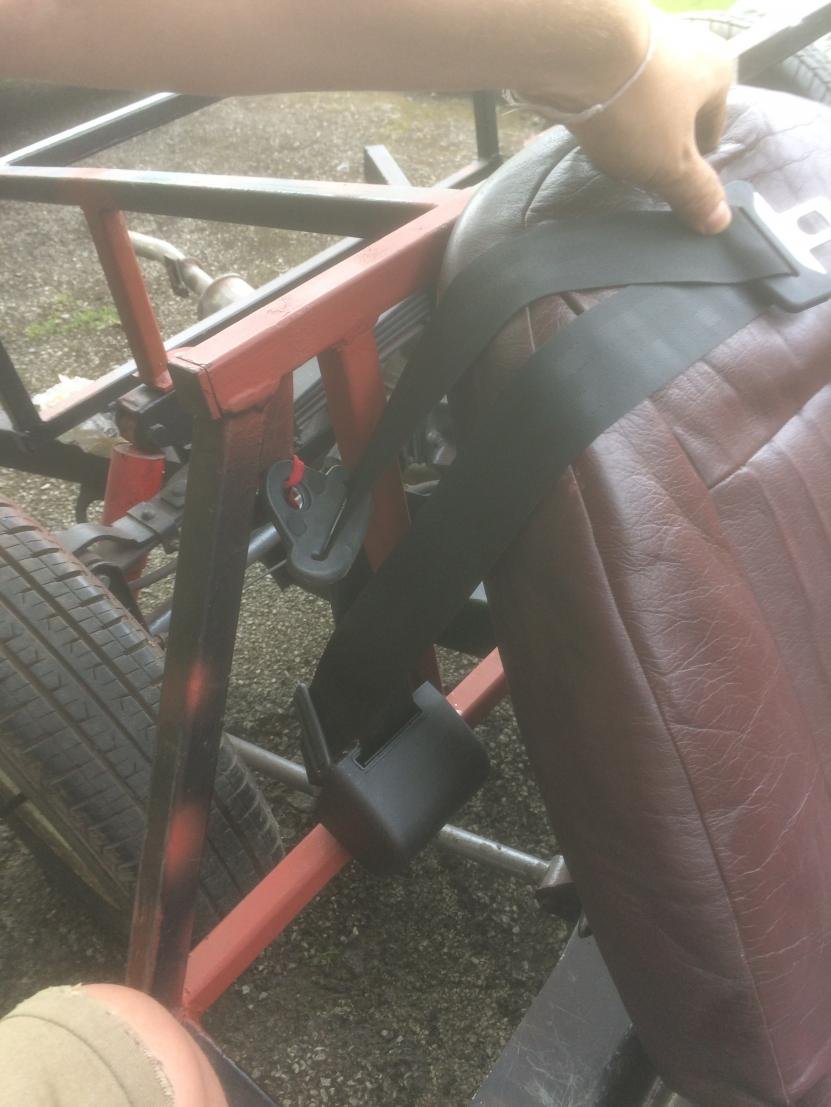
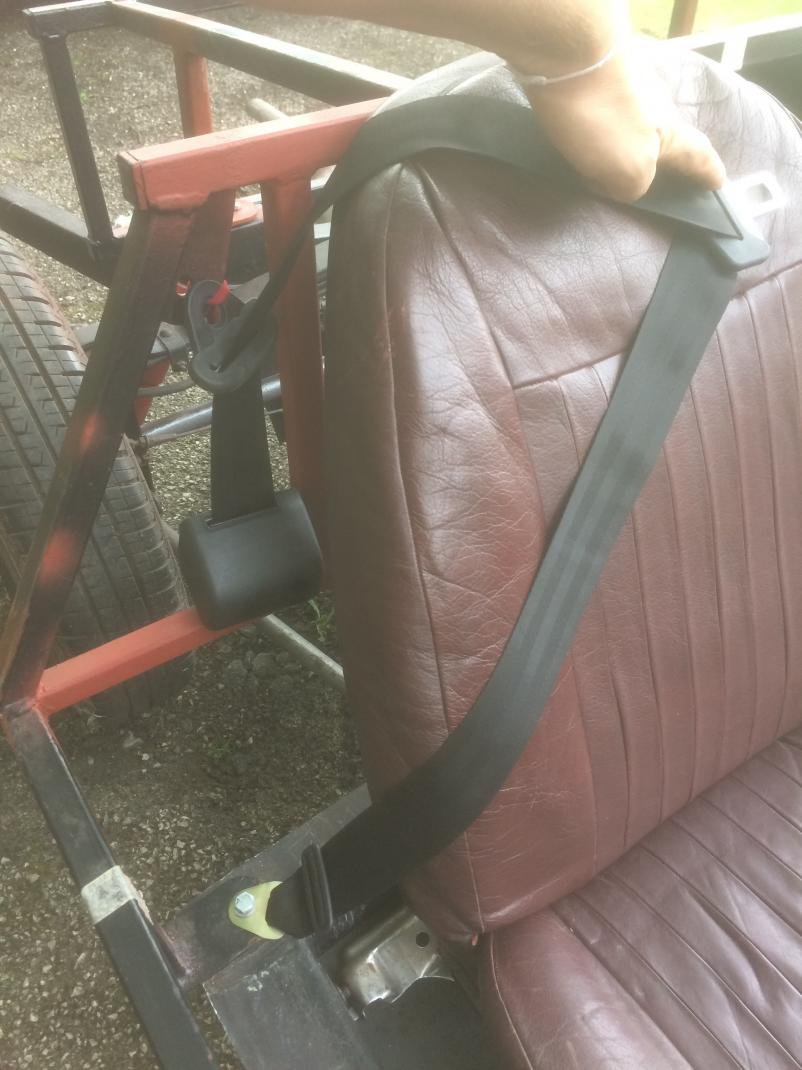
I was also trying to figure out where and how to install the seat belts. I think the approach in the second photo is better, but instead of mounting the third point using the frame-to-chassis bolt, I will weld a mounting point onto the frame just above it.
As I have mentioned before, I bought a pair of GAZ adjustable shocks a while ago. When all the above is done, I will (try to) tackle the front suspension.
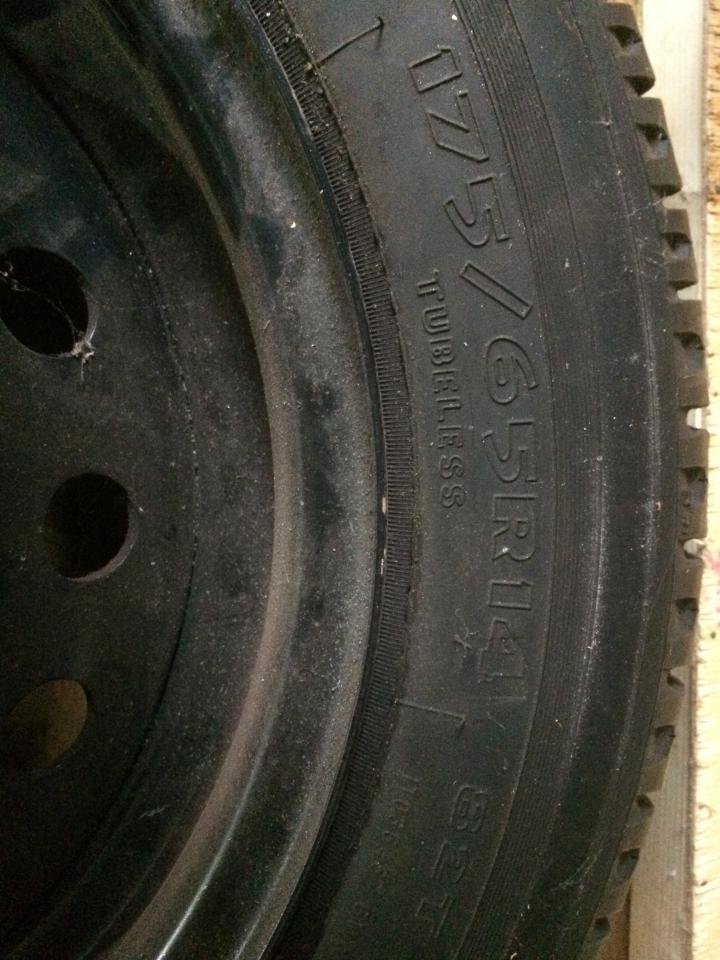
I will use 14" steel wheels with 175/65 tyres. I reckon I will need to lower the car for about 2 inches.
So much for now, I'll post more photos when I progress further.
I'd stick with the narrow seats or similar and mount them as low as possible rather than going for the bigger bases.
The reason is you'll end up with your head and upper body sticking up into the air flow above the wind deflector if you have the wide ones high enough to clear the chassis rails. That's not only bad for the aerodynamics, but it's also very uncomfortable and you'll look like Noddy tootling through Toytown.
Ideally, when seated you need your shoulders to be level with or no more than a couple of inches above the cockpit edge.
Ultimately it's your choice and it's nice to see your build progressing.
1iTim- Thank you for letting me know so I don't get too frustrated about it I am looking forward to seeing how you are going to bond the body to the frame, so good luck with it. I also enjoy your YouTube videos, nice to see more Miglias being made!
I'd stick with the narrow seats or similar and mount them as low as possible rather than going for the bigger bases.
The reason is you'll end up with your head and upper body sticking up into the air flow above the wind deflector if you have the wide ones high enough to clear the chassis rails. That's not only bad for the aerodynamics, but it's also very uncomfortable and you'll look like Noddy tootling through Toytown.
Ideally, when seated you need your shoulders to be level with or no more than a couple of inches above the cockpit edge.
Ultimately it's your choice and it's nice to see your build progressing.
Hahahaha, thanks for your advice Mr T. I will certainly try to avoid looking like Noddy! I am not very tall though, and I will make sure my shoulders do not stick out above the cockpit too much. I just want to make sure I can see above the screen and make the MOT guys happy (possibly with the help of a cushion )
I am finally able to continue with my build and I hope to make some good progress in the next few weekends.
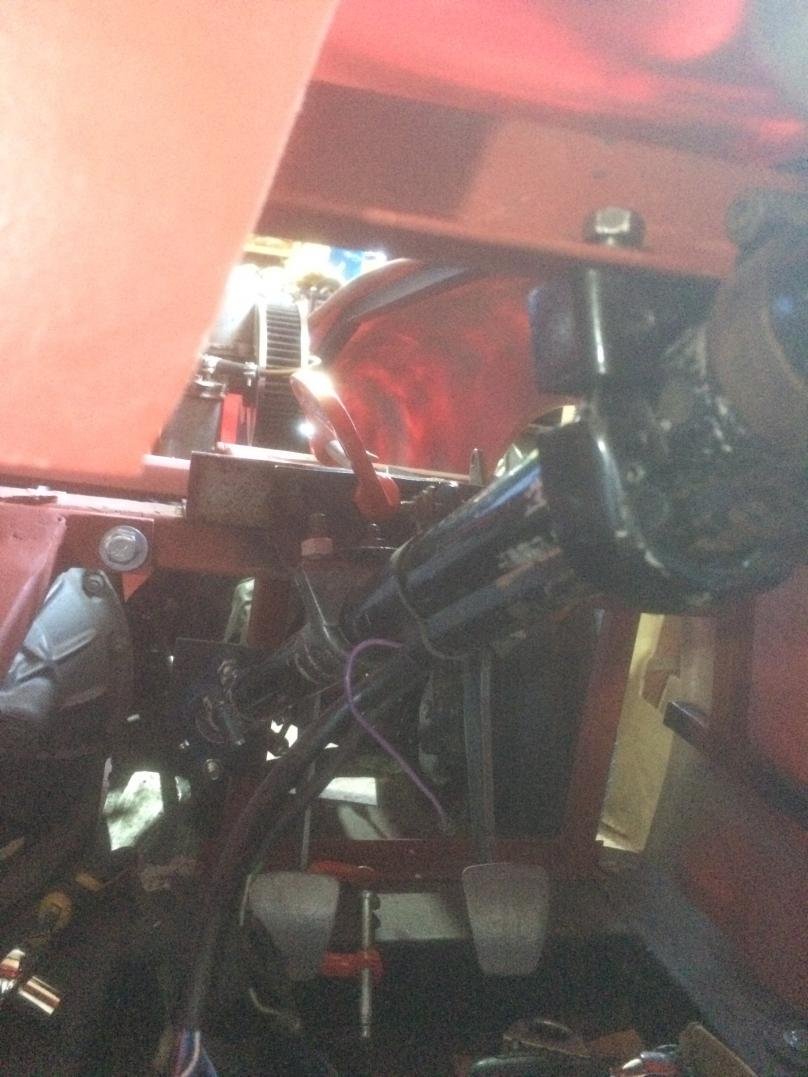
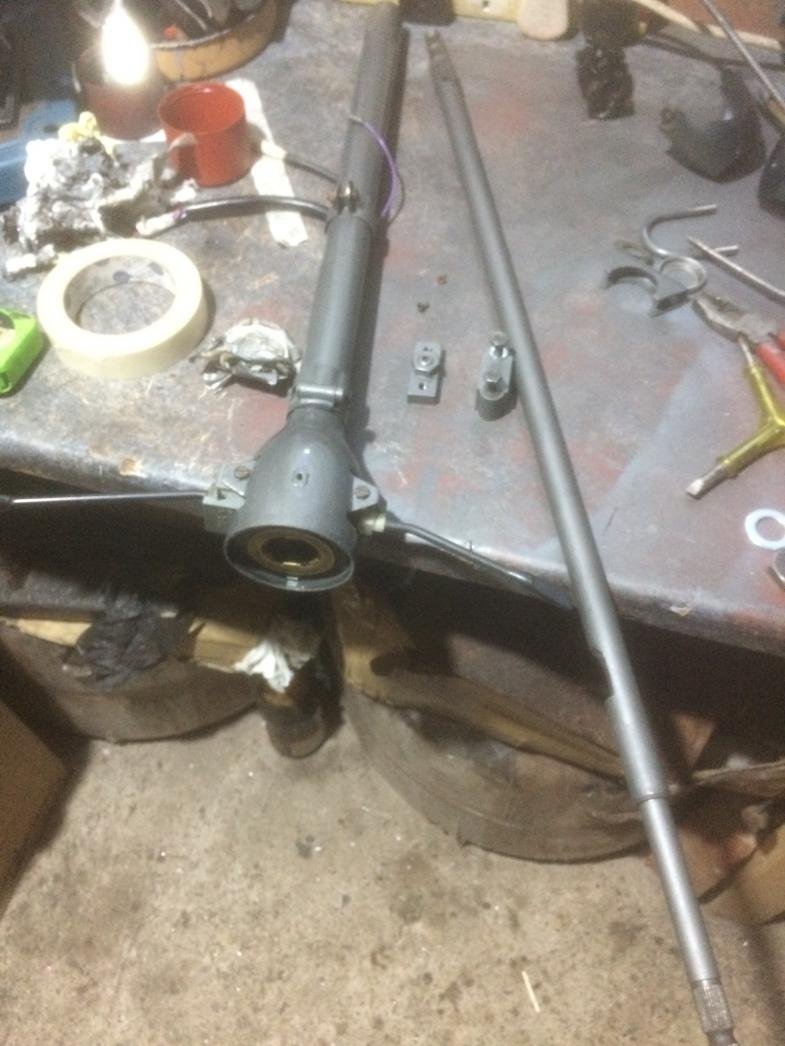
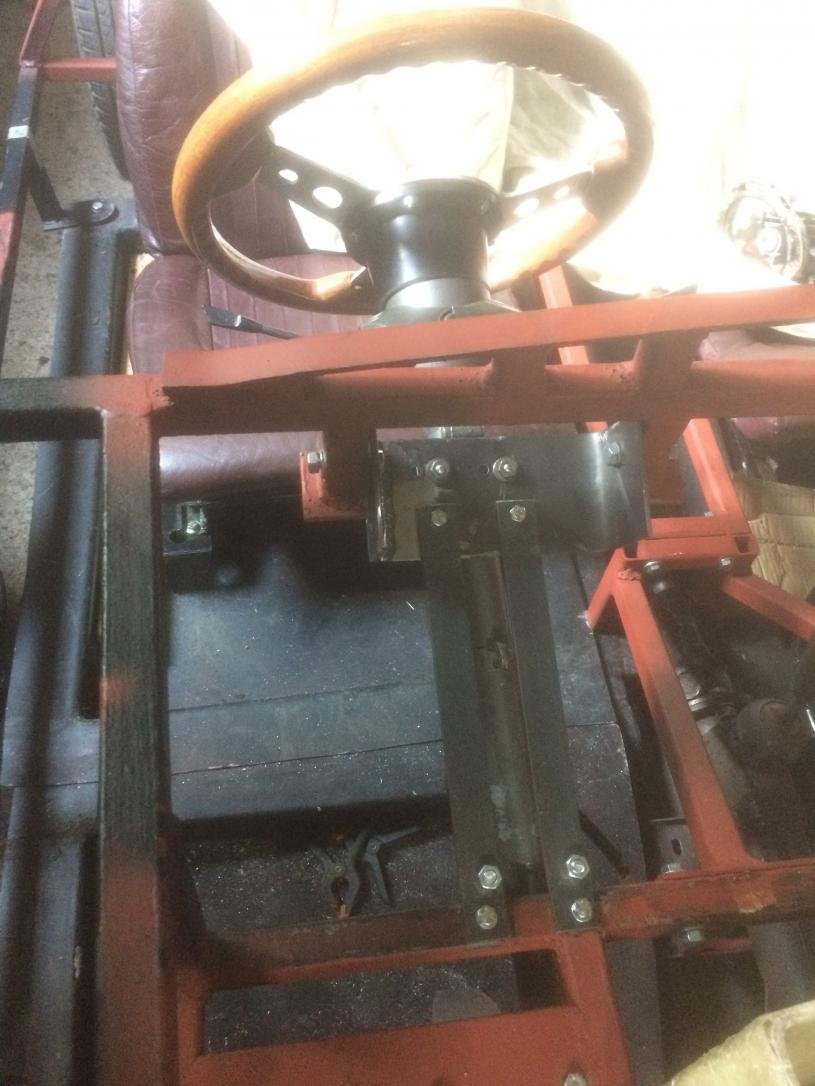
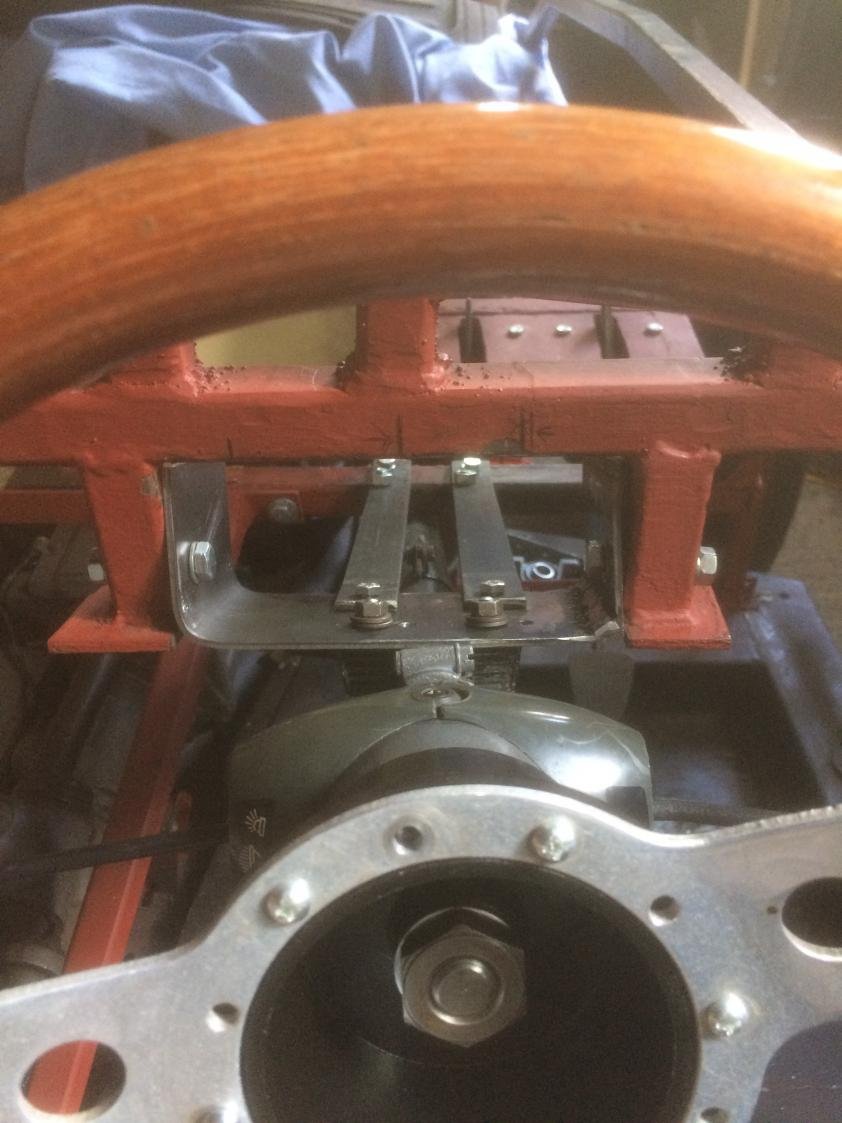
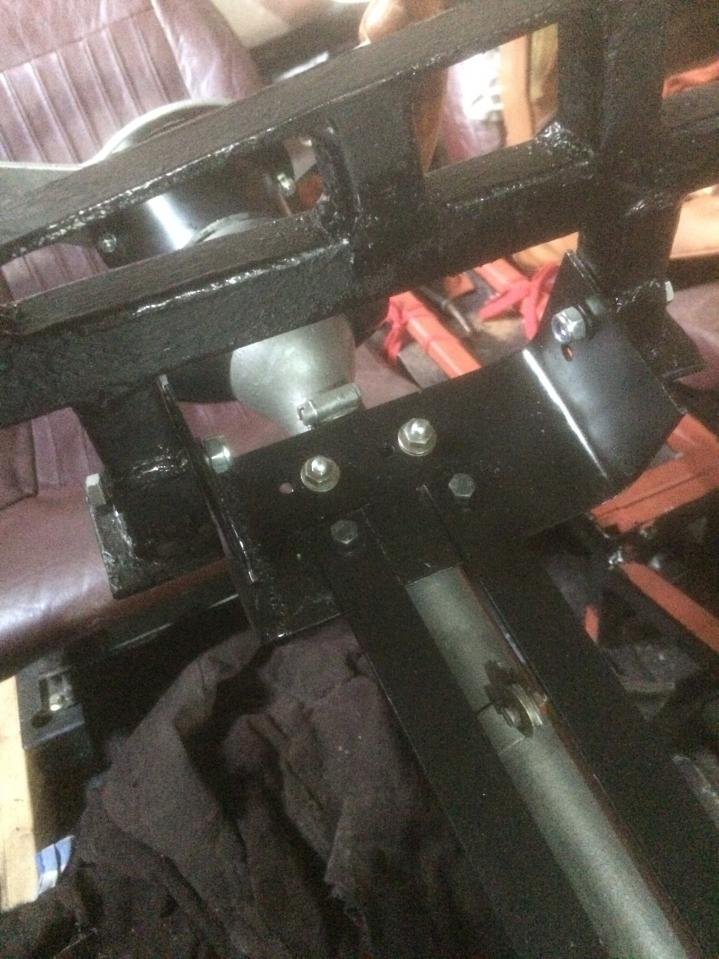
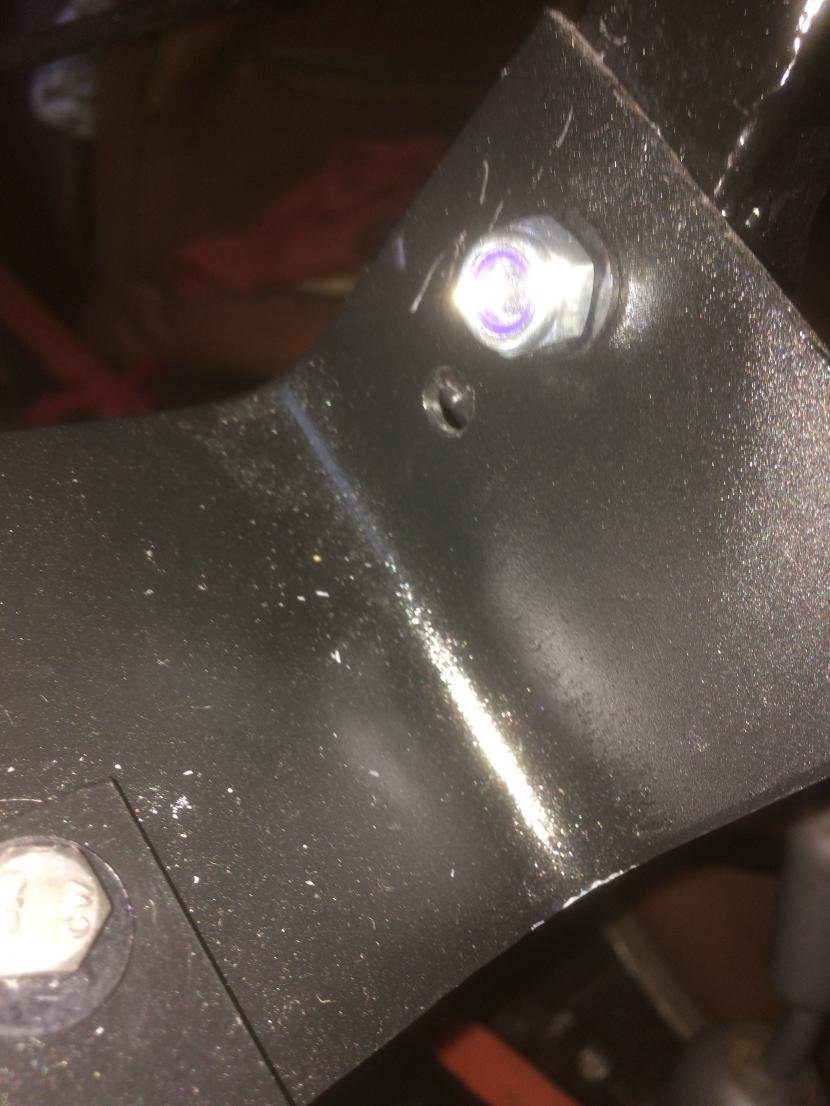
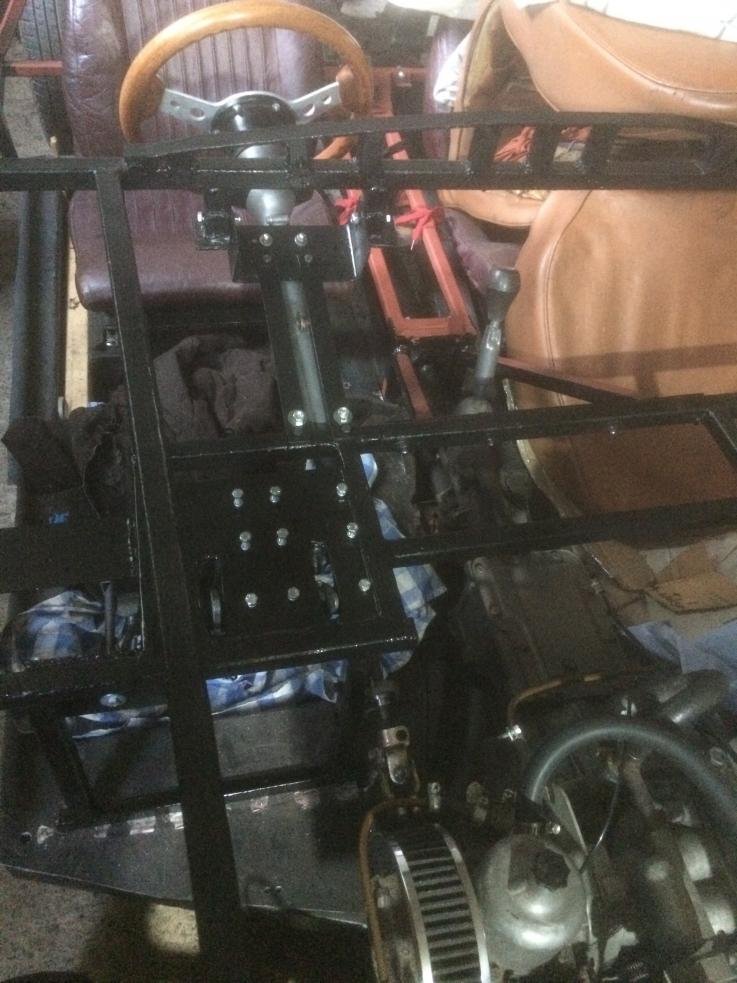
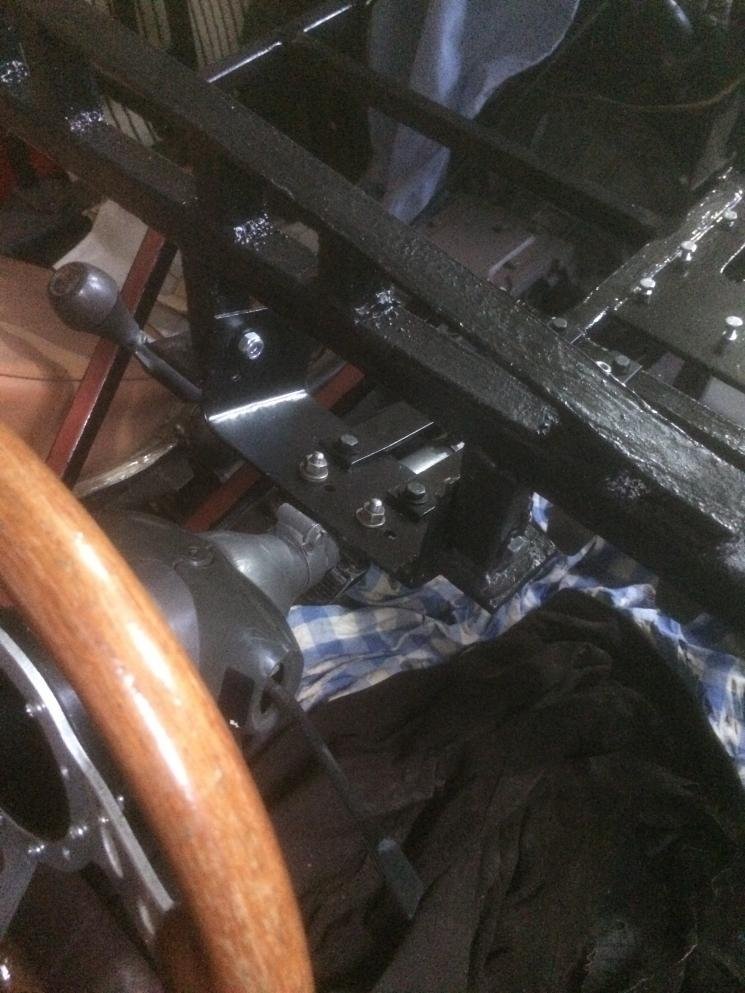
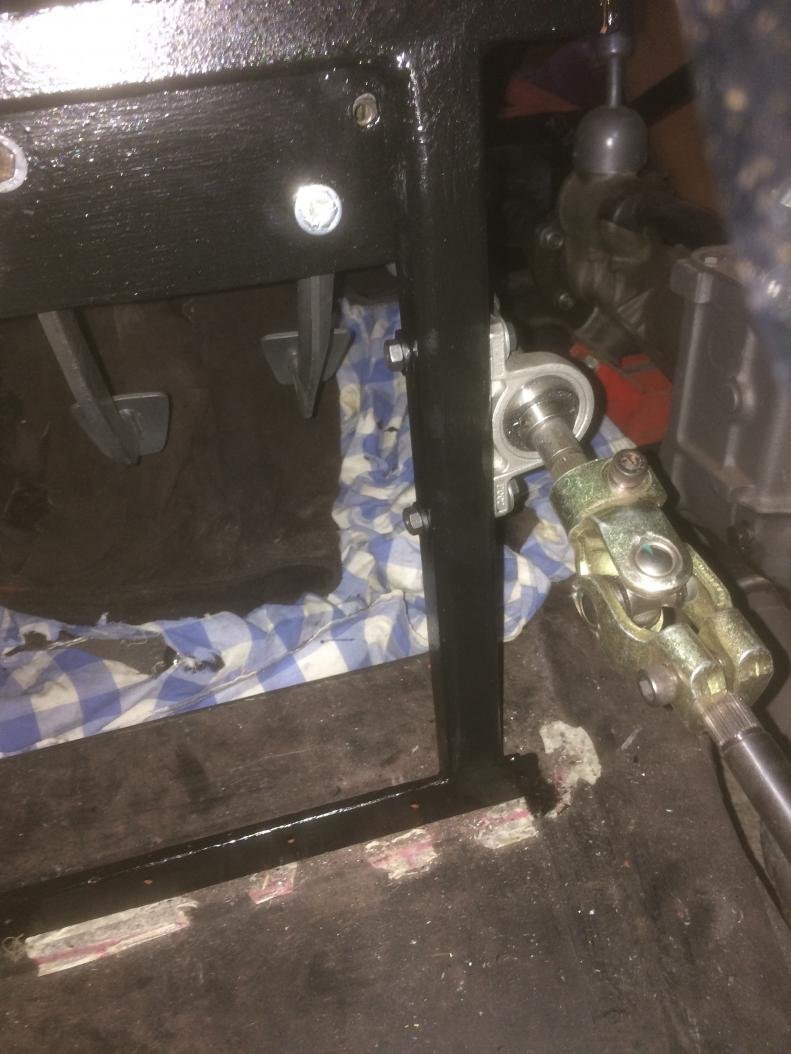
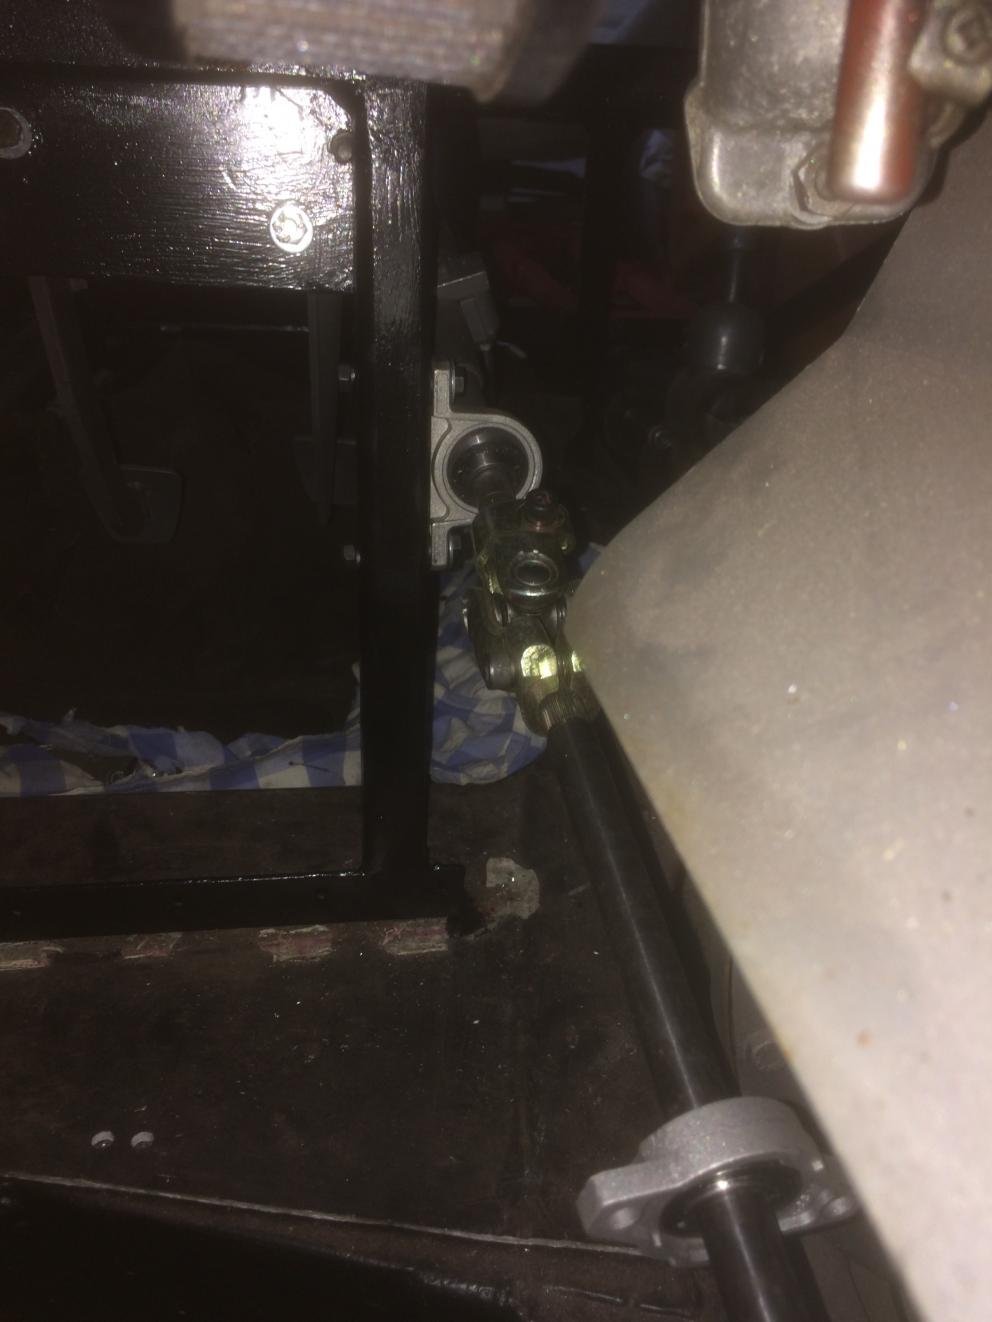
I have started to finalise the steering column installation, and I am still working on it, but here are some photos of the mock up that show what I am trying to achieve.
I have already improved the mounting and bracing of the column bracket and I will post more photos of the finished product shortly.
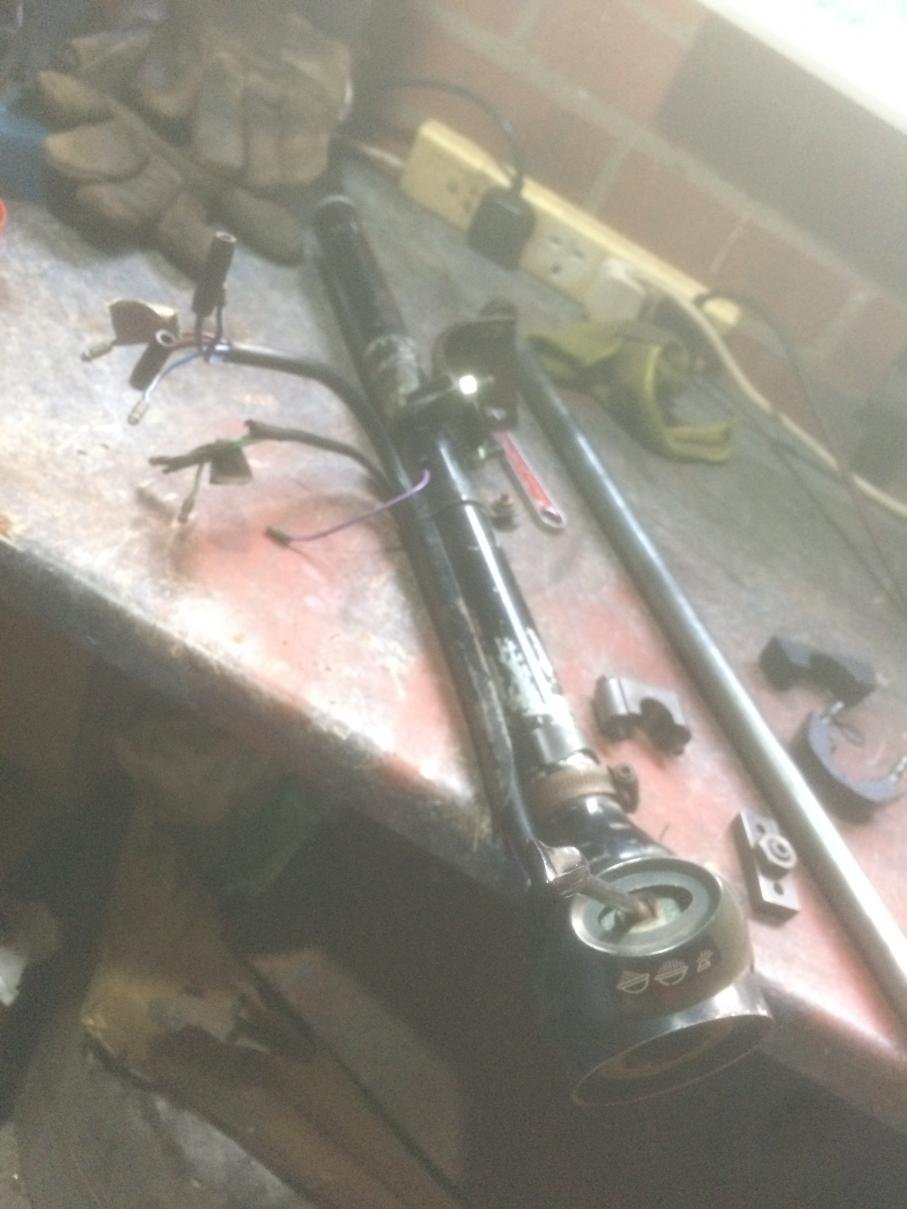
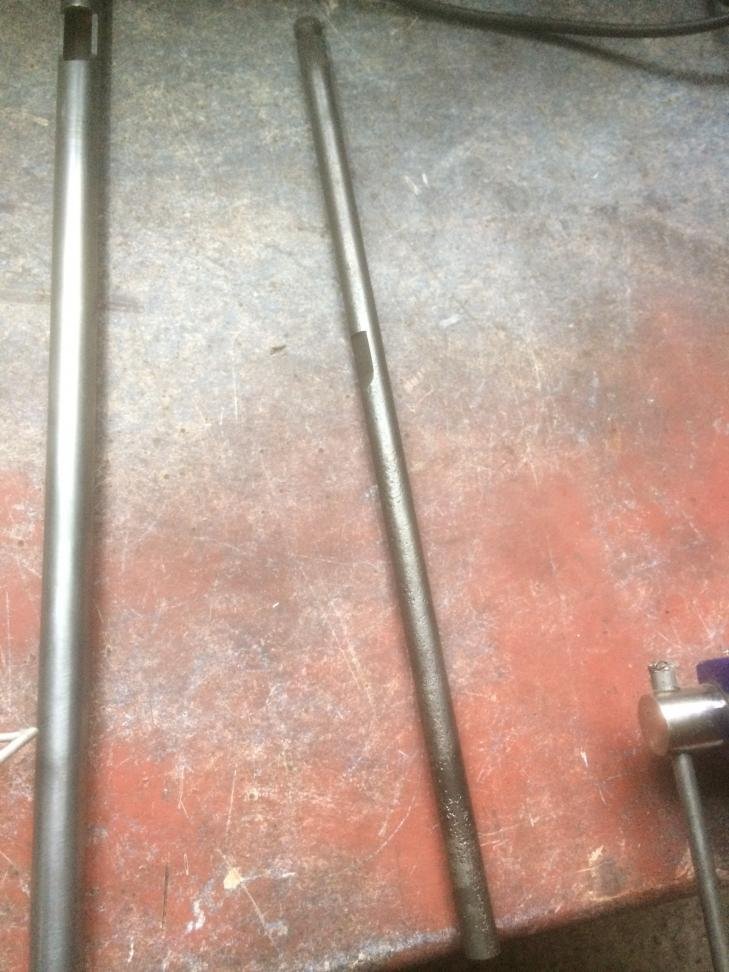
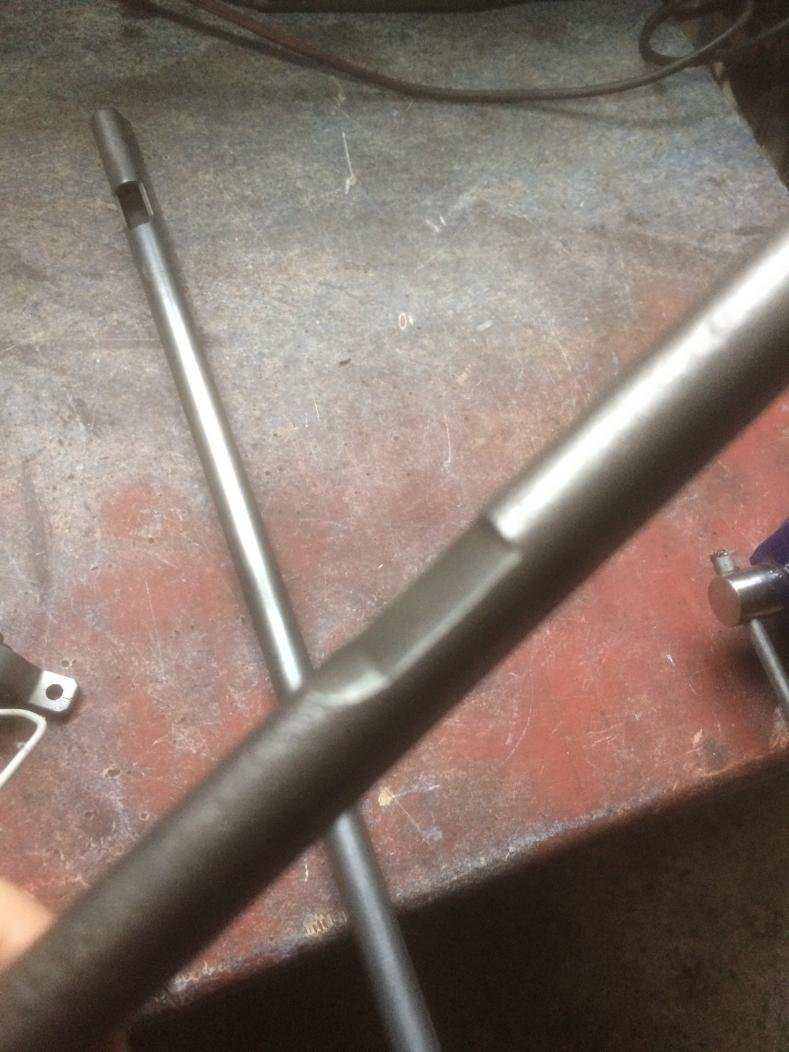
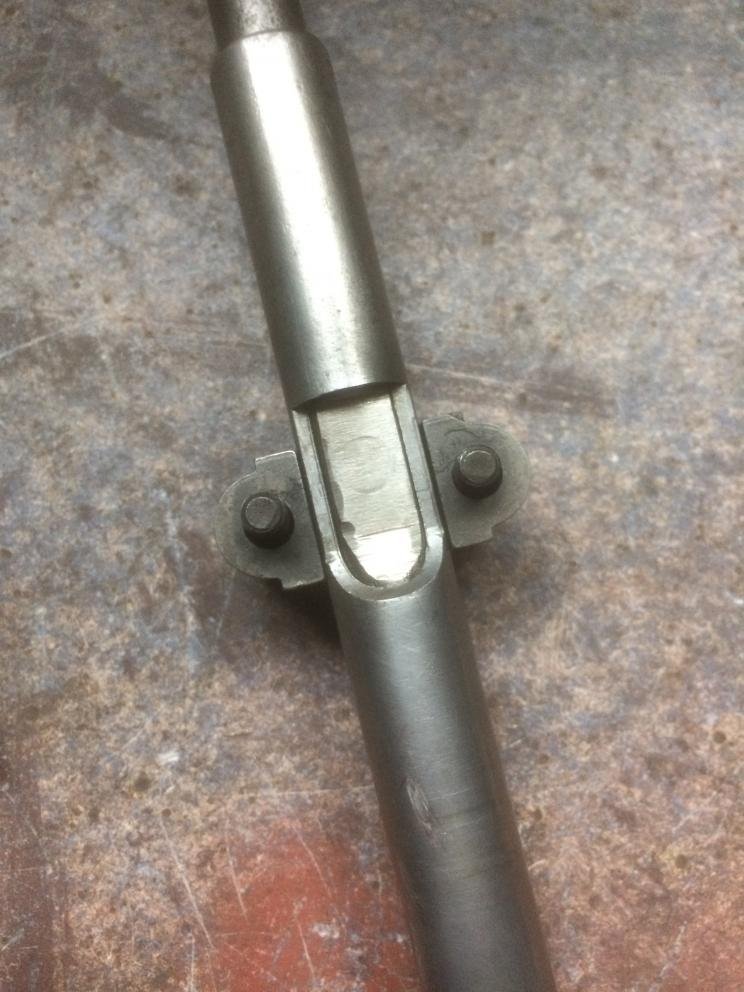
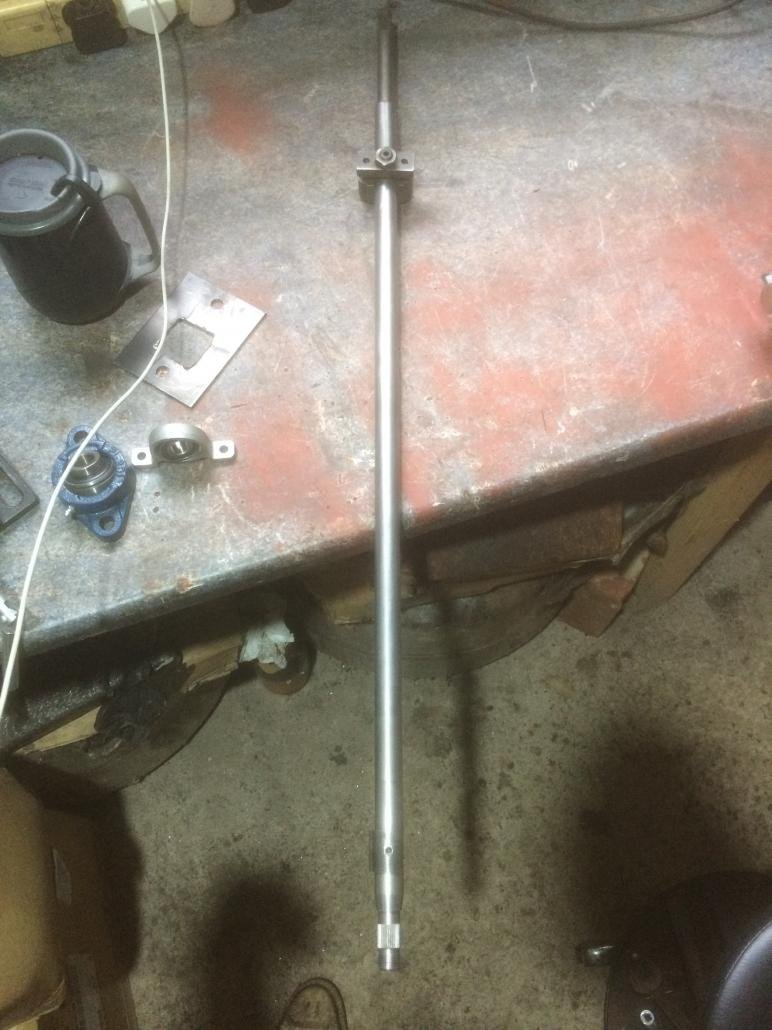
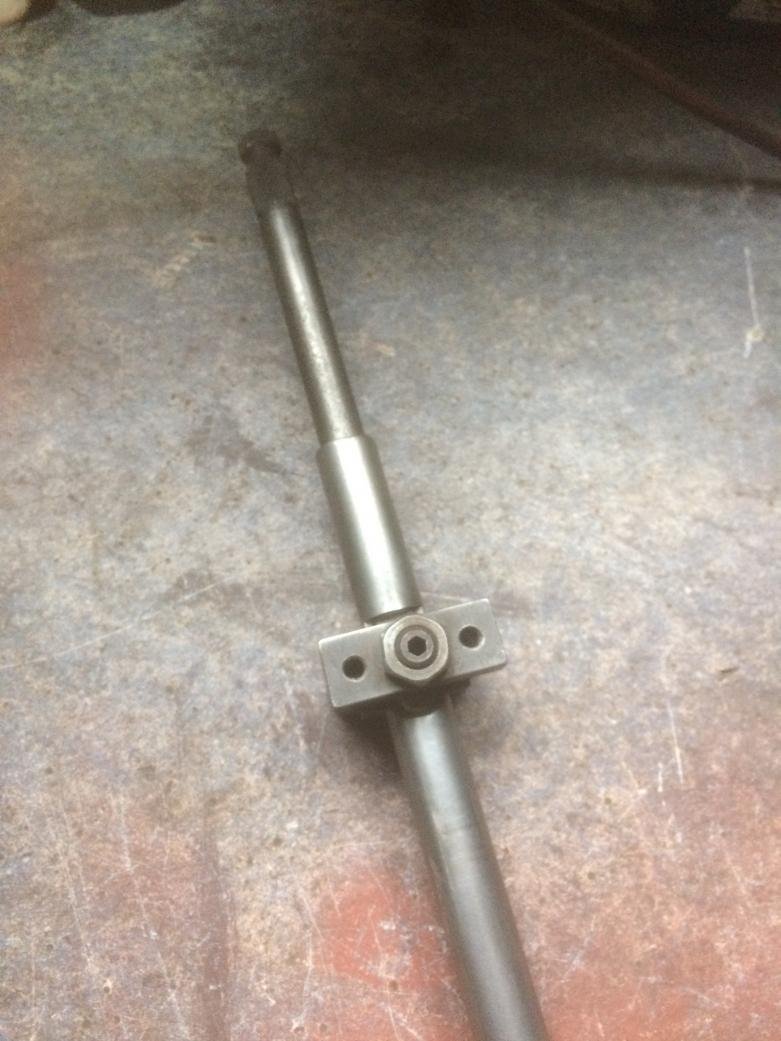
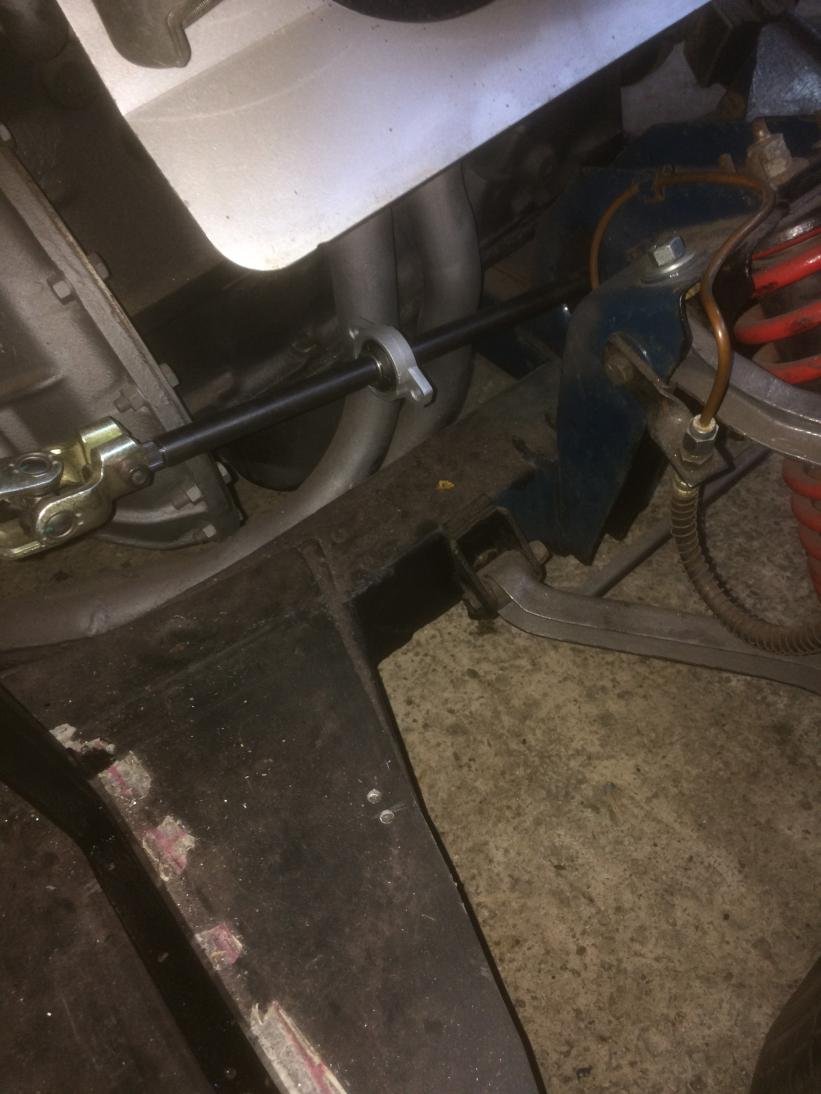
I have also refurbished and repainted all parts and shortened inner column shaft, so I can use UJ's to extend the column and to avoid welding it. Also, this way I'm more flexible with the positioning of the steering wheel.
Below are the photos showing shortening of the inner column shaft and grinding off the column surface to be able to lock it in place with the locking bracket.
That's it for now. It's good to be back...I will post more photos soon.
Thanks Paul, it’s been a while since I was able to work on the car, but I’m finally able to get back to it, which is great.
I am glad to read that you’re planning to get back on the road and enjoy driving the Swoordfish again.
I hope weight lifting is going well (great idea btw), and you’re on track with loosing another stone before the end of the summer...I’m pretty certain you’re more successful with that than I am 😉.
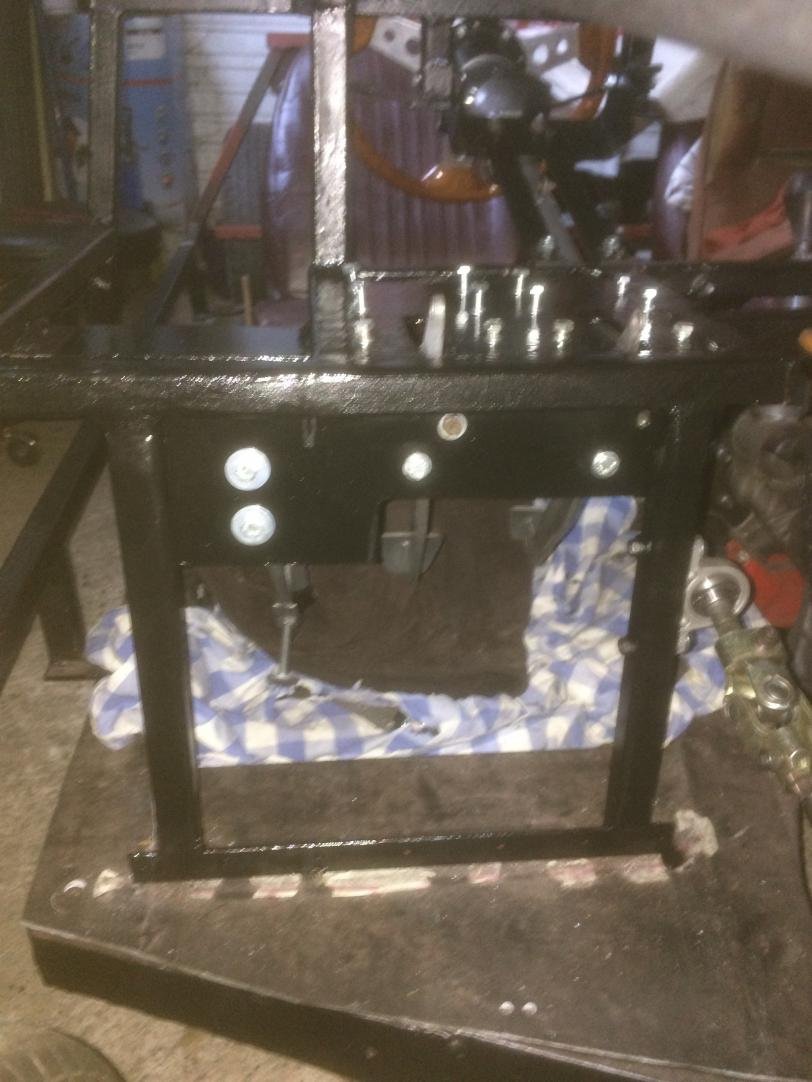
It took me a while to figure out and decide how to do this and I'm happy with the result. It is strong and sturdy, as I said before, and it is easy to remove the column and the whole assembly if necessary.
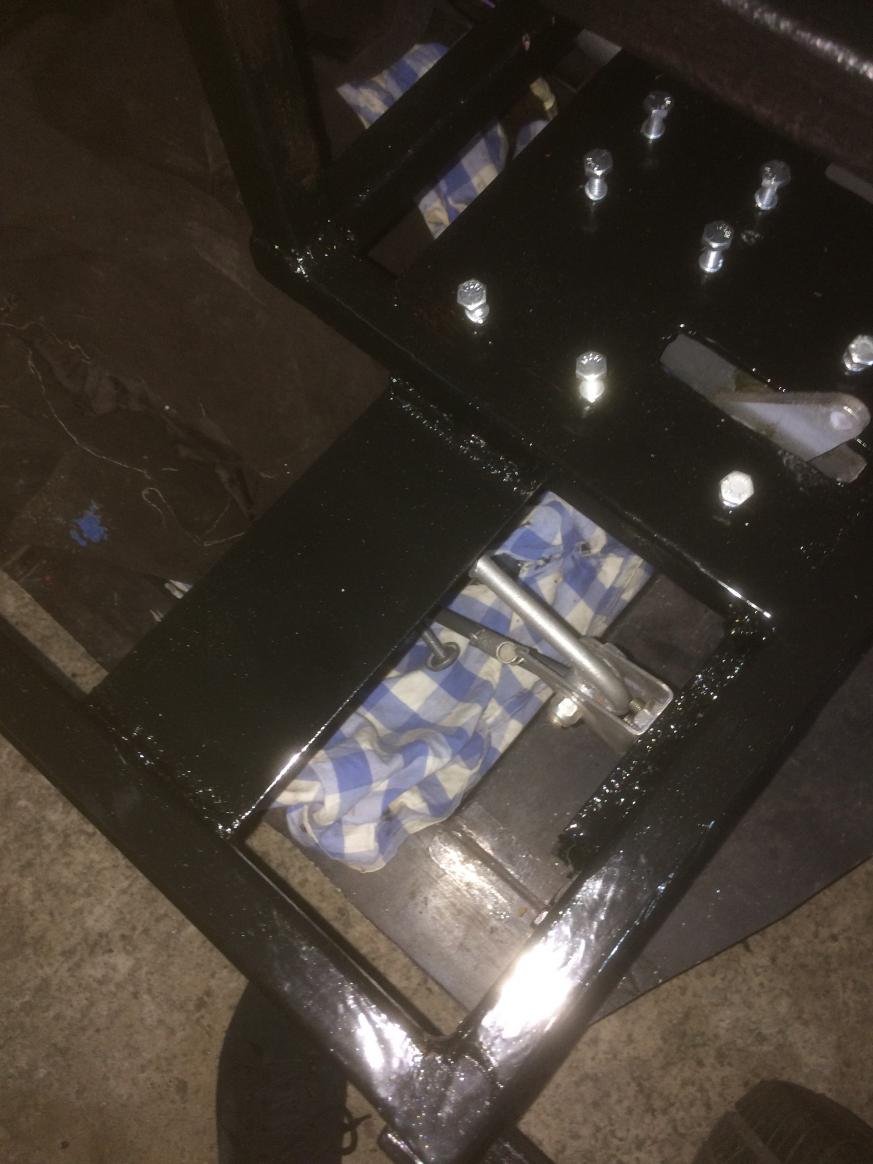
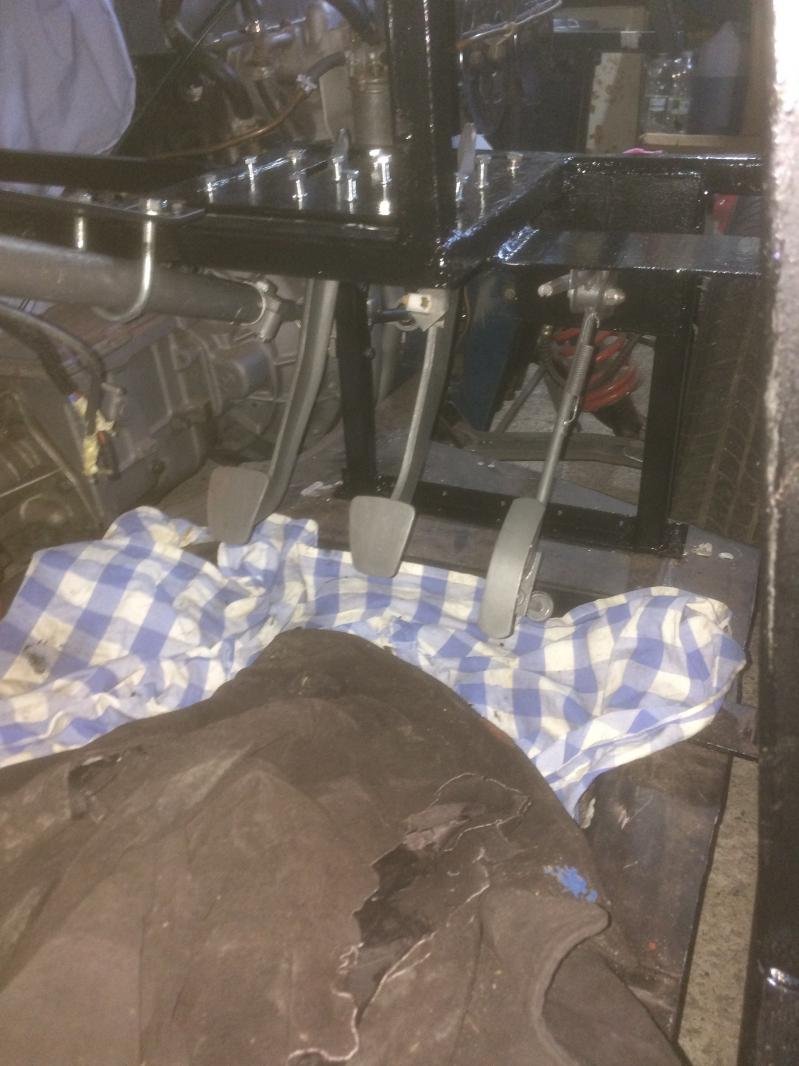
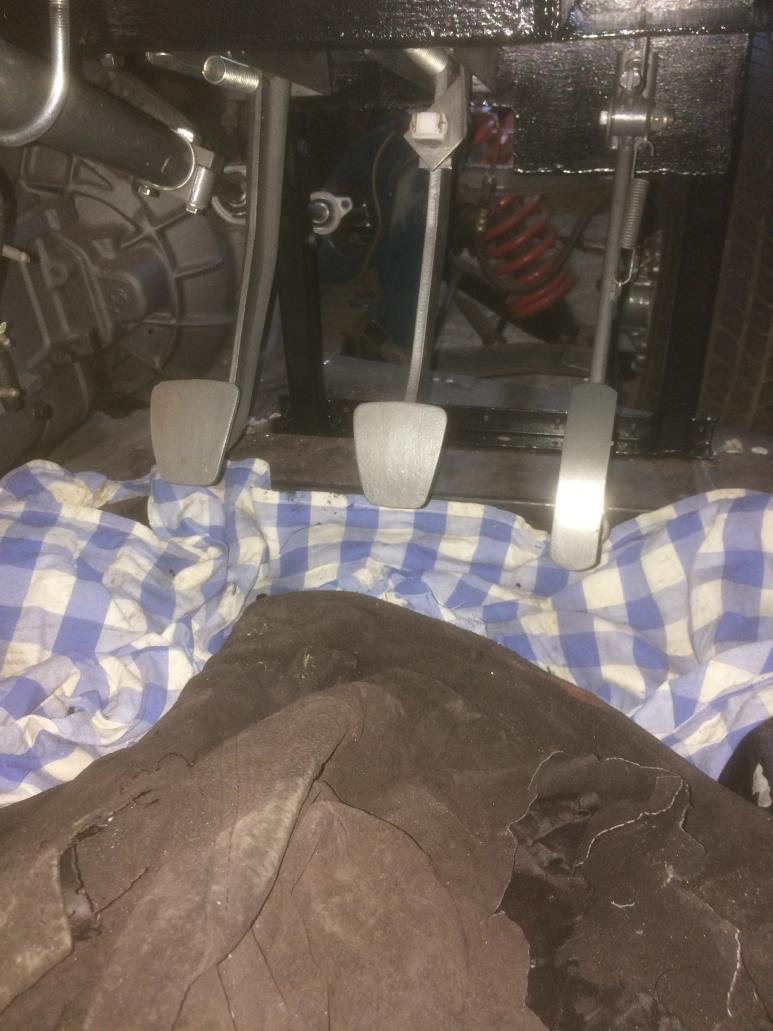
I have also fabricated a back plate to bolt the back side of the brake and clutch pedals on, and to mount the accelerator pedal.
I've also added a stop plate for the accelerator pedal and to have a solid base to drill a hole and attach the accelerator cable too (as I'm not sure if the bulkhead cladding will be at the right height).
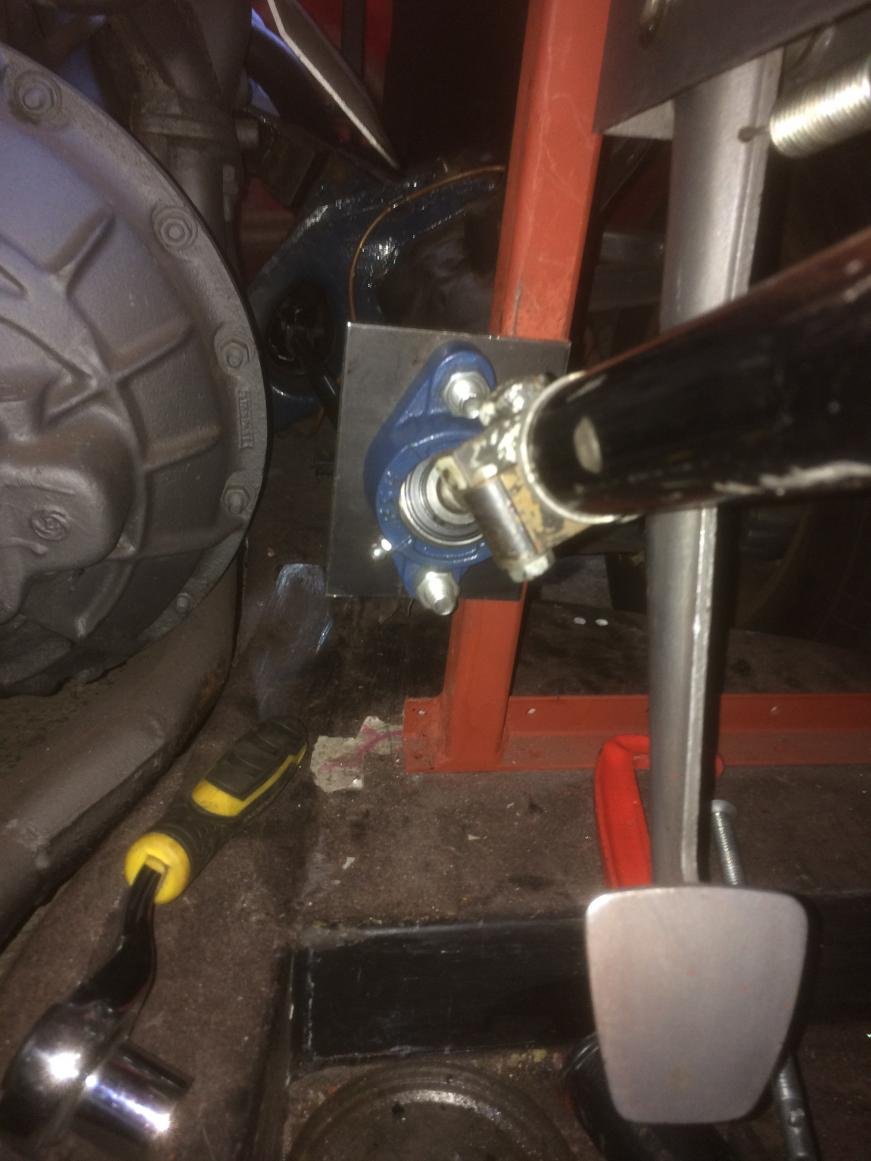
I have added a self-aligning bearing too, to add extra support to the upper steering column.
I'm not sure if it is necessary, but I am thinking of adding another self-aligning bearing further down (which would be mounted on the steel bars welded onto the chassis), to add extra support to the lower steering shaft. Any comments and advice are welcome.
Attachment “IMG_3110.jpg” from the original forum could not be reliably recovered.
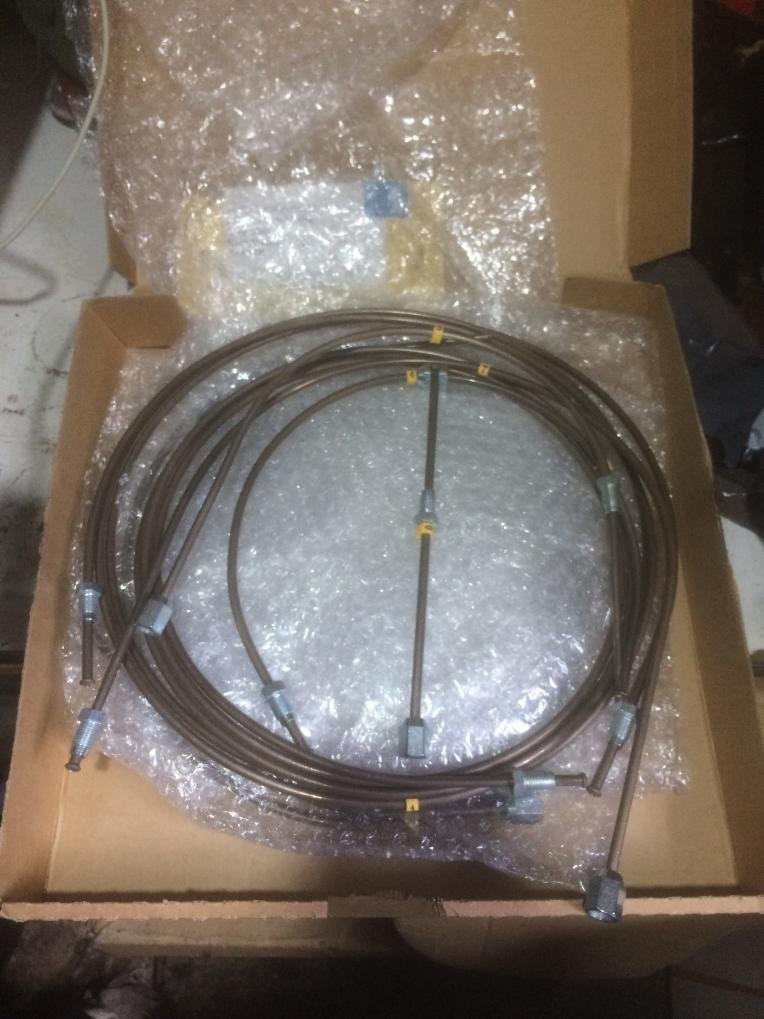
I don't know if the previous owner has ever changed the brake pipes, and if so, I don't know when. Even though the brake and the fuel pipes look to be in good condition, I have decided to replace them. I've decided to use Cupro-Nickel (Kunifer) pipes instead of copper ones. I bought a pre-made set and they look and feel strong, yet easy to bend and install.
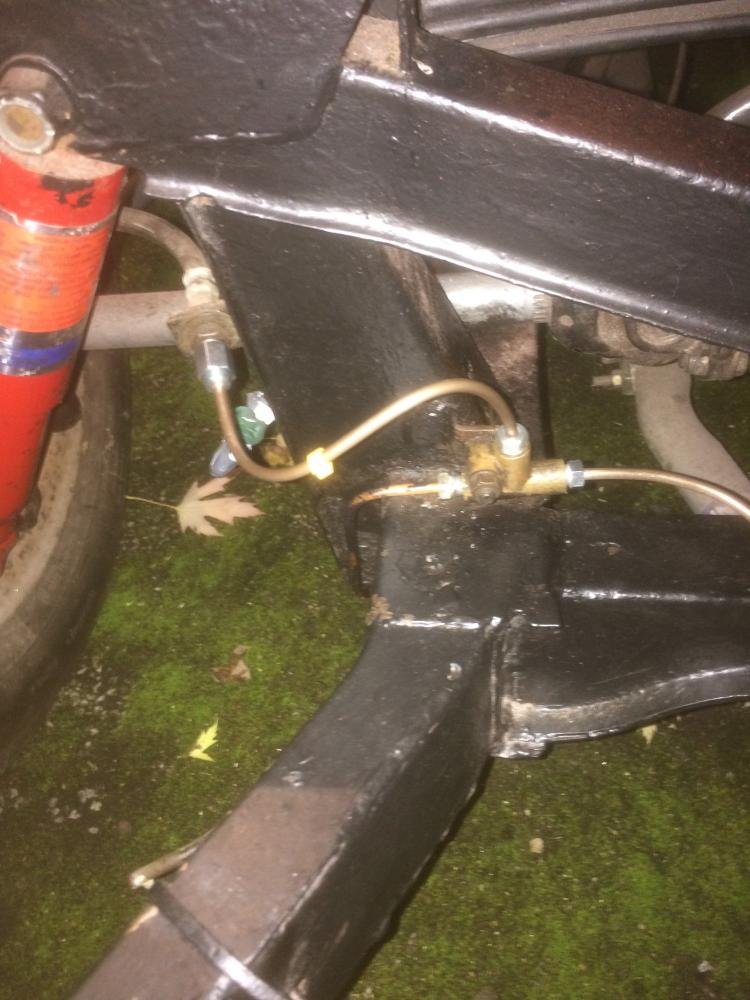
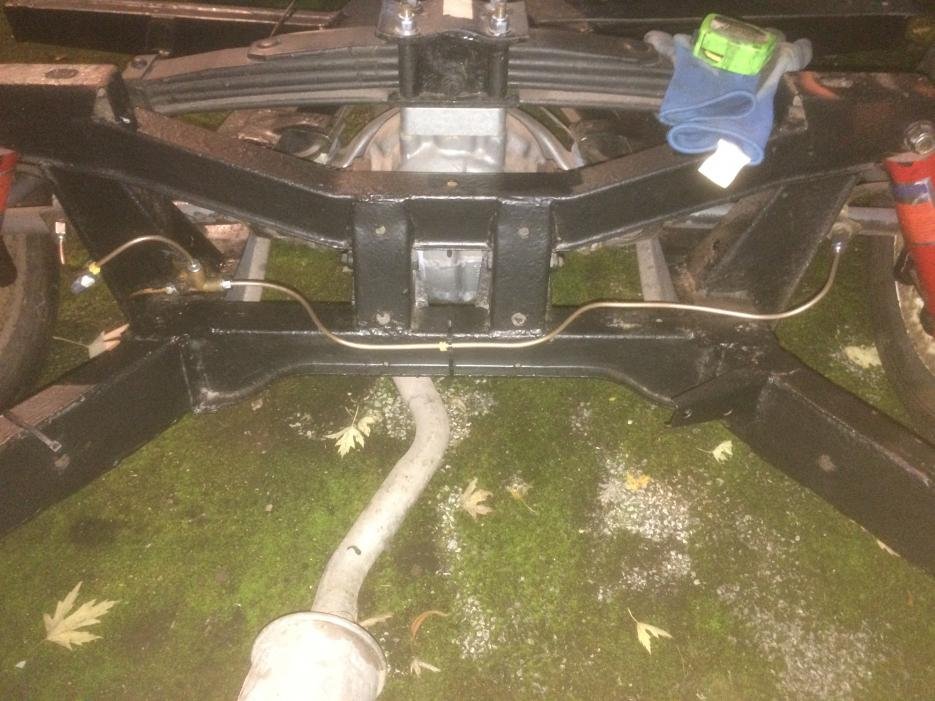
I have never done this before (like most things I have done so far in this build) and I was curious if I will be able to do this. It's going well so far I think. As you can see from the photos below, I have managed to change the back brake pipes.
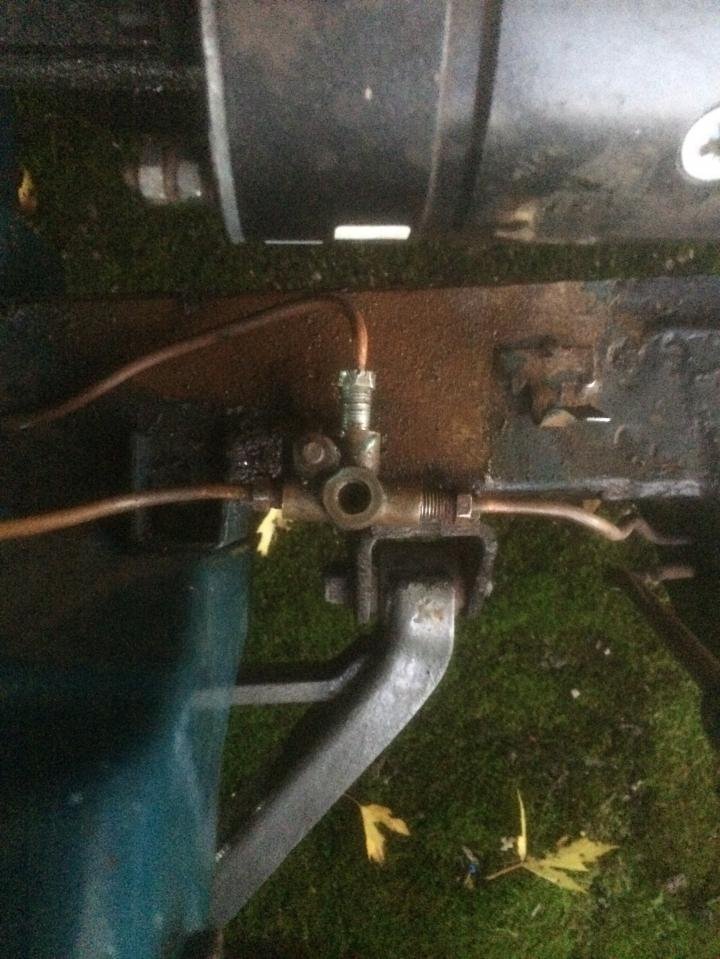
I found a bit of surface corrosion below the front brake splitter (where the brake fluid was dripping I guess), so I will first clean, apply rust treatment and paint this area before replacing the front pipes. I guess I could replace the line splitters too while I am at it, but I am not sure if that is necessary. Again, any advice is welcome.
It was already getting dark by the time I wanted to do this, so I will finish the job next time I am in the garage.
I will also replace the rubber brake hoses when they arrive. They are not in the stock at the moment and are on back order with Rimmers.
So much for now.
Cheers, Deni.
P.S. I am not sure what is the build progress of other Miglia builders - I am curious how the other builders are progressing and how far on they are. Come on peeps, let us know how it's going ;-)
 ….any advice is helpful and welcome.
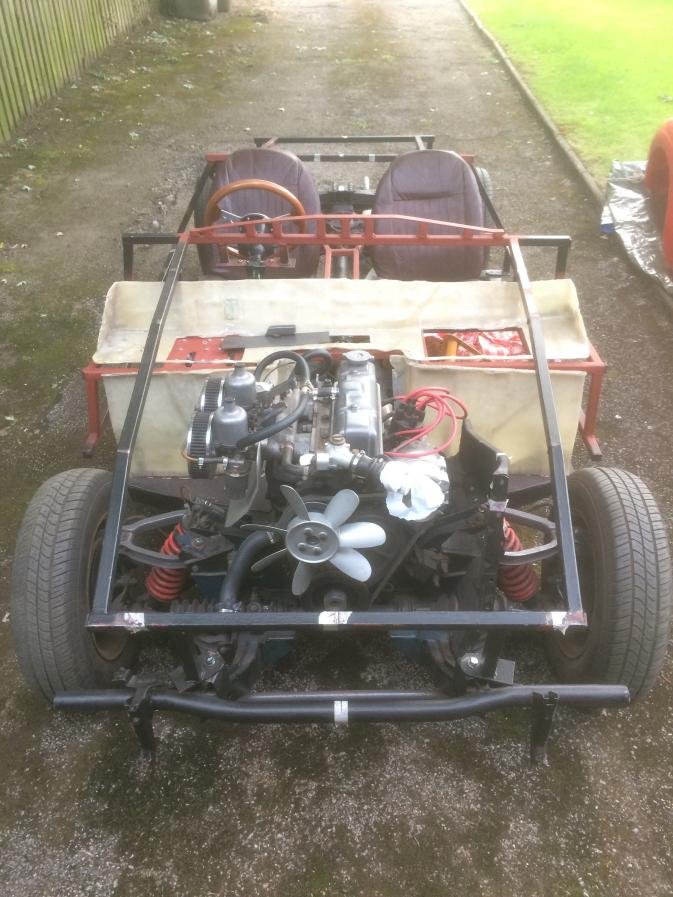
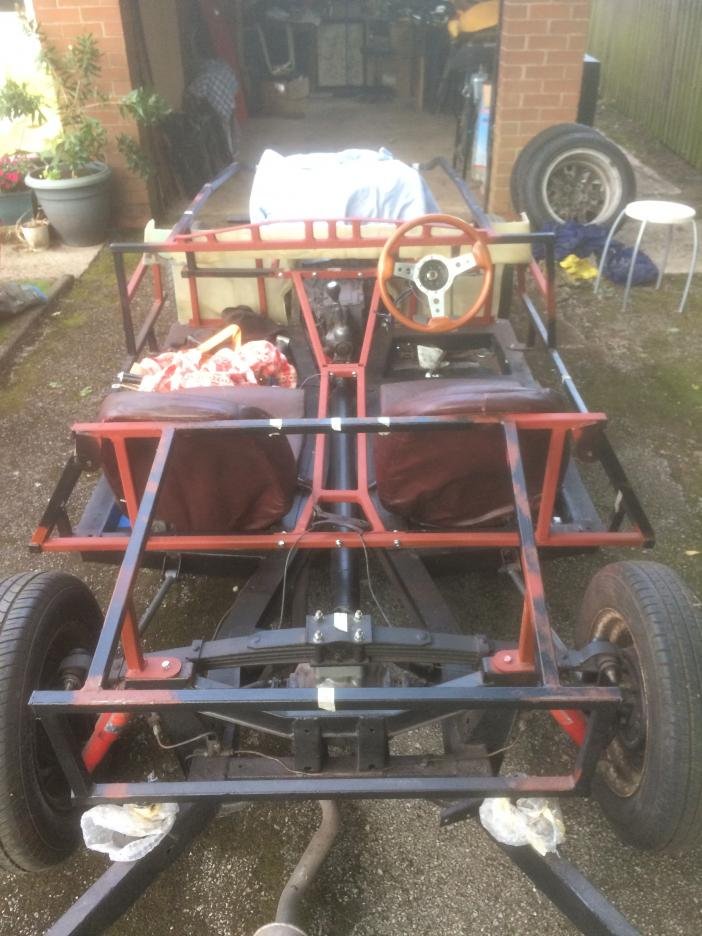
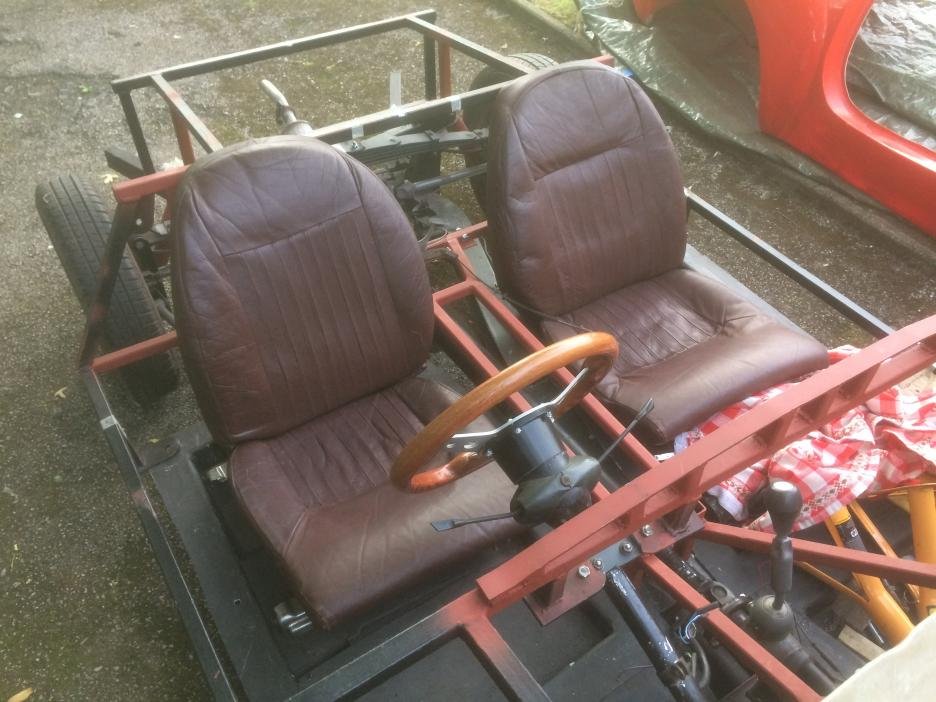
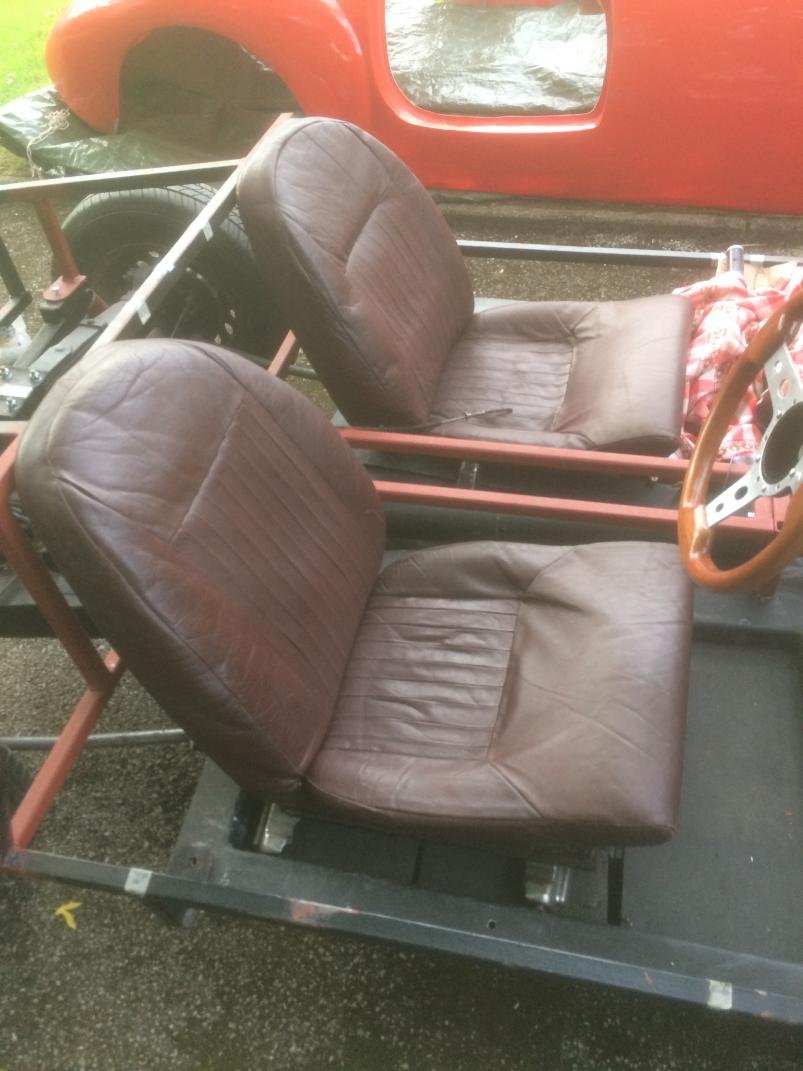
 I am looking forward to seeing how you are going to bond the body to the frame, so good luck with it. I also enjoy your YouTube videos, nice to see more Miglias being made!