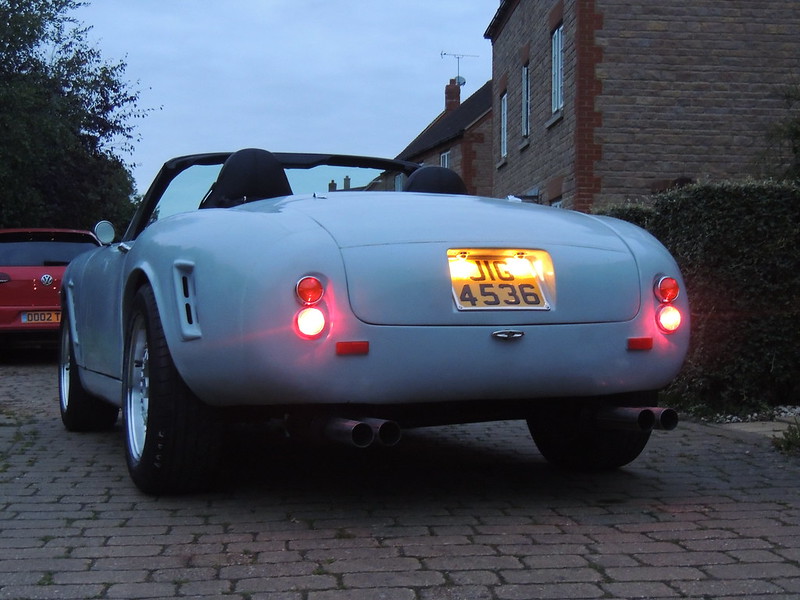
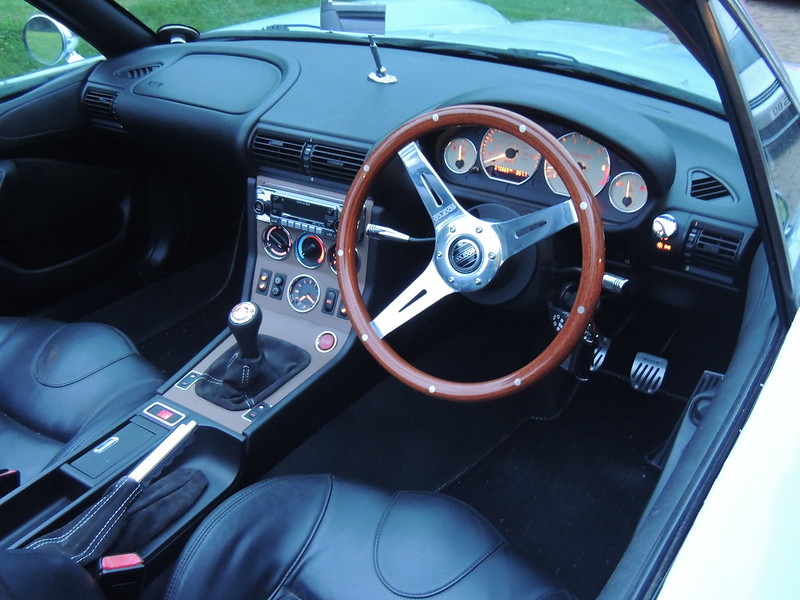
This is a read-only archive of the old Madabout Kitcars forum. New posts and replies are no longer possible, but every thread is still here to browse and read.
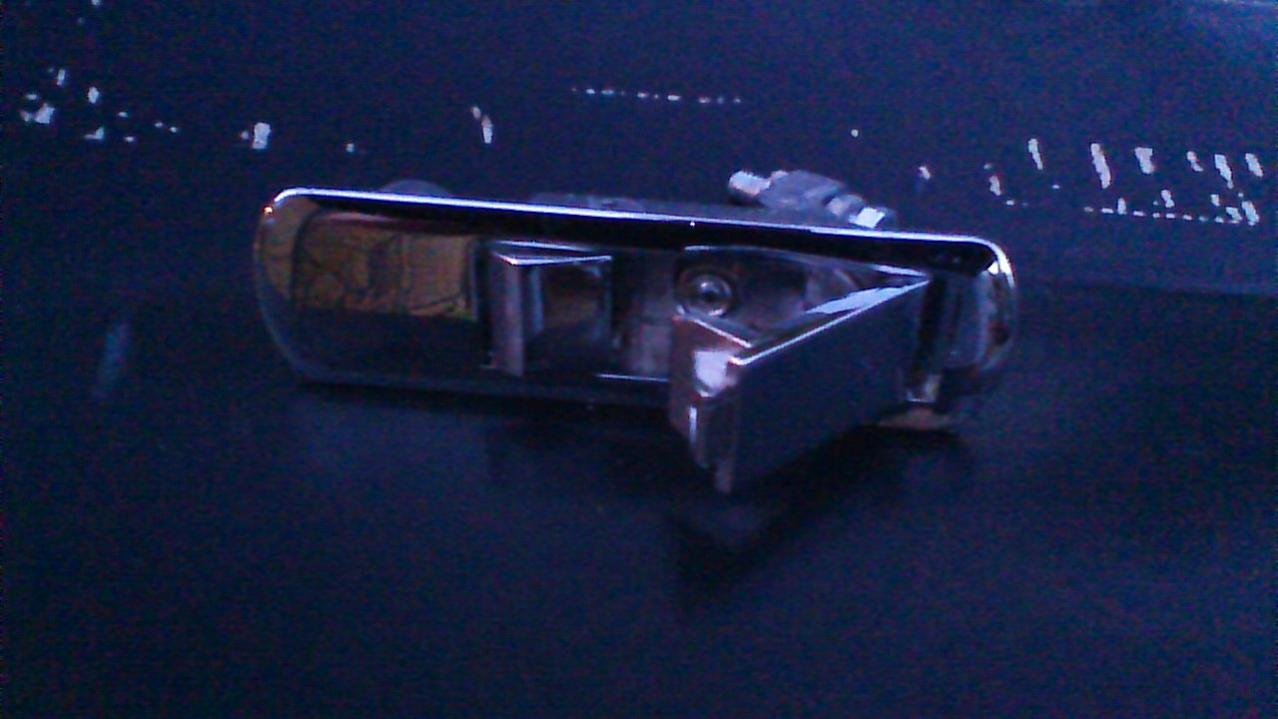
Paul L - for the door mods i am using a standard mini handle and it has a bullet type piece of plastic that pokes out when the handle button is pressed. This hits the 41mm x 35mm 'strike' plate that you see I have bolted on to the door working on the pictures in my previous post.
As you can see I had to open up the hole a little bigger to be able to get access to secure the strike plate, I did all this from the outside of the door without taking any of the interior trim off.
So the strike plate pushes inwards and opens the door.
The mini handle is attached to the new door skin that covers the outer part of the door and just bolts on like a veneer piece.
No idea about other door handles, as only using Mini ones, sorry.
I hope this all makes sense.
It's gonna be a nice day again today so will continue efforts, my todo list on this build in much smaller now and fits on one page in my note book. Yay!
I would suggest you drill a large hole through the inners of the doors metal, opposite the small holes required to fit the doorhandel, this way you can bond on and screw the door into place prior to paint.
Then after paint you can screw the mini handle from the inside onto the door....
I would suggest you drill a large hole through the inners of the doors metal, opposite the small holes required to fit the doorhandel, this way you can bond on and screw the door into place prior to paint.
Then after paint you can screw the mini handle from the inside onto the door....
Hi, yes that's a good point, however, I expect the door skin to be removed for prepping and painting, especially as the surface of the skin can be seen through the bottom of the window right, so this would be impossible to finish and spray in position?
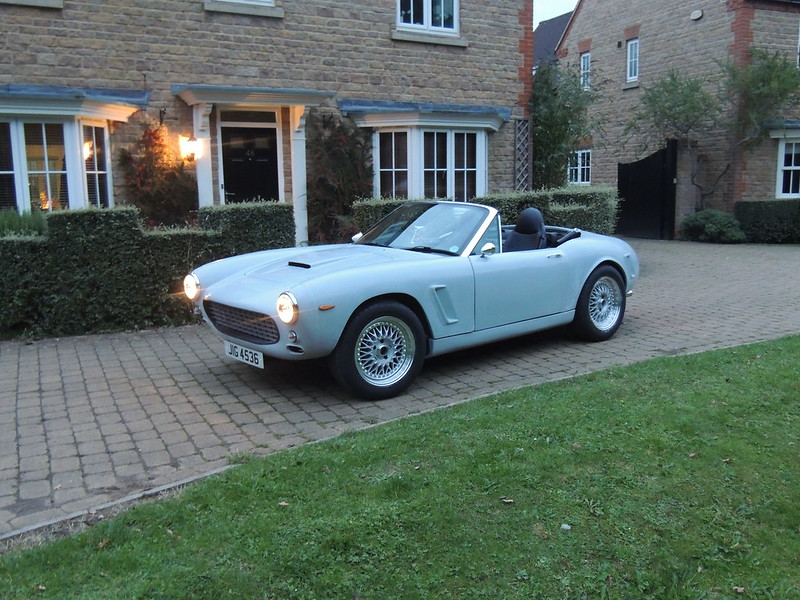
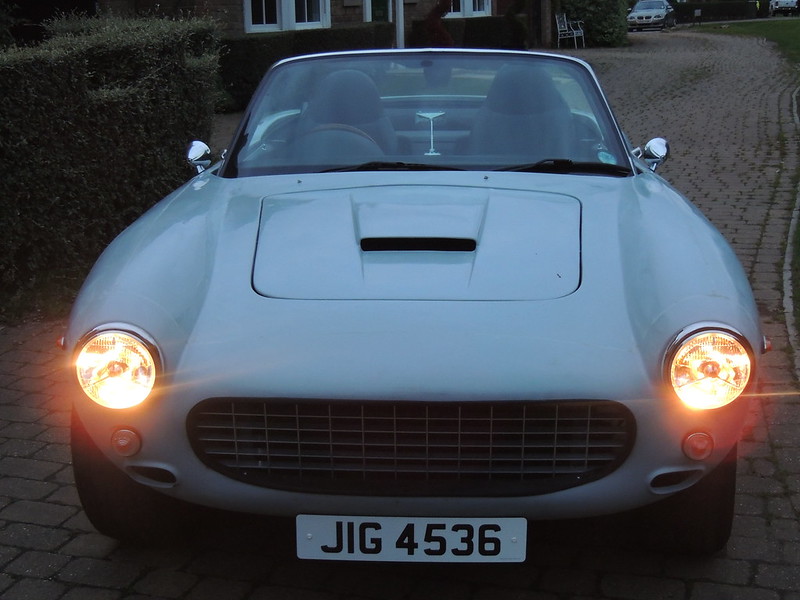
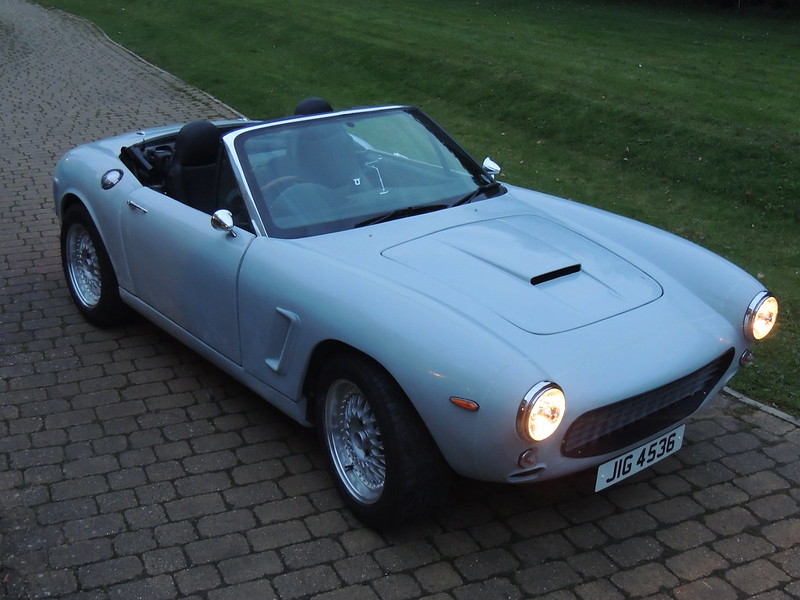
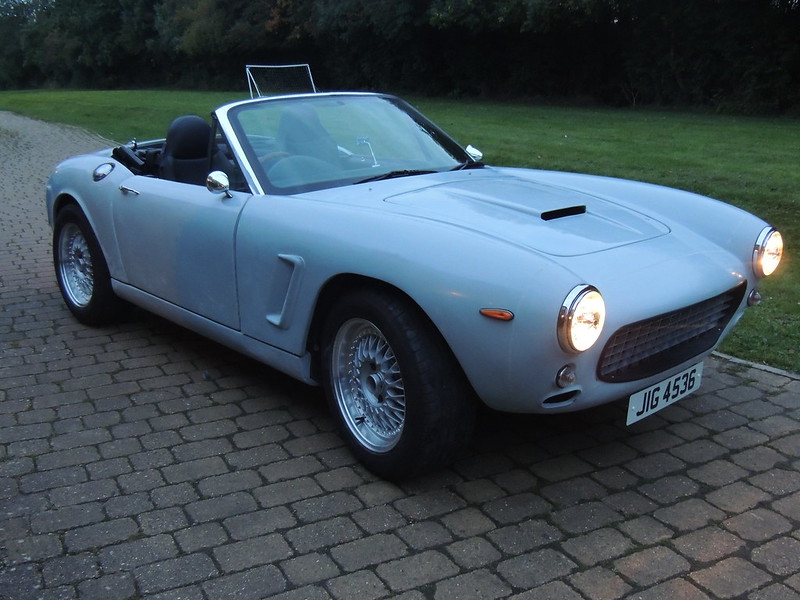
Nice job Eric and great to see you galloping towards the finishing post. I like your choice of tyre size as they fill the wheel arches and give the right stance.
Nice job Eric and great to see you galloping towards the finishing post. I like your choice of tyre size as they fill the wheel arches and give the right stance.
Thanks but finishing post Is a fair distance away yet. It's going to be all about the detail for me.
Great progress, enjoy driving it, don,t worry about getting it perfect yet or the project will stall
Re alignment
I have used horse box catches at the bottom of the bonnet to pull the lower bonnet into line with the sill
Attachment could not be found in the archived database.
Less than £20.00 on flea bay and easy to fit, require L shaped brackets to be riveted to the sill
Hi Bill,
Thanks for images, actually a bit of 'flap' on that section would help as I get problems when opening the door fully as it pushes on that bottom edge, I've adjusted the door skins so they are as far back as possible, actually they stick a little when opening the door on the back section. Also I have pulled the front section as far forward as possible and even shimed it, so have a huge gap between door and front section, you can literally drive a bus through and it still doesn't clear. Also moved front section spring latches as far back as possible to try and push front section far toward as possible.
Then there is the height of the door and the front section, both doors are considerably higher that the front section, but must be sitting right as the bottom of the doors have a good size gap that I would expect.
So not sure, other than giving to someone who can sort it for me.
Don't get me wrong it doesn't have to be perfect, but I like the word 'Reasonable'. Currently it's not reasonable.
Thanks for images, actually a bit of 'flap' on that section would help as I get problems when opening the door fully as it pushes on that bottom edge, I've adjusted the door skins so they are as far back as possible, actually they stick a little when opening the door on the back section. Also I have pulled the front section as far forward as possible and even shimed it, so have a huge gap between door and front section, you can literally drive a bus through and it still doesn't clear. Also moved front section spring latches as far back as possible to try and push front section far toward as possible.
Then there is the height of the door and the front section, both doors are considerably higher that the front section, but must be sitting right as the bottom of the doors have a good size gap that I would expect.
So not sure, other than giving to someone who can sort it for me.
Don't get me wrong it doesn't have to be perfect, but I like the word 'Reasonable'. Currently it's not reasonable.
The door issue is probably down to the fact that the door skin is quiet some way further out from the door pivot point so that its arc, when opening, is that much more exaggerated compared to the original door, not a huge amount but enough to have an issue on opening versus door shut lines.
I've no solution without seeing the car in the flesh, other than maybe taking a couple of mm off of the rear of the skin to even up the shut lines.
Just wondered how the other SWB builders, Chris and Richard have overcome this issue.
Wondering if it would be a better option going forward for Chris to alter the front clip so that the rear section finishes higher up the panel as per the Cobra, thus making it easier to open the door whilst at the same time getting rid of the variable shut lines along the bottom? Not exactly 'replica' changes I know and the front vent would need shortening. Just an idea.
I would seal and smooth over the rear sill to rear clip area as well which is in keeping with the original.
...I have used horse box catches at the bottom of the bonnet to pull the lower bonnet into line with the sill ... Less than £20.00 on flea bay and easy to fit, require L shaped brackets to be riveted to the sill
To lift the top of the rear front section and align it with the top of the door stick a couple of 8mm washers between the bonnet and hinge, once they are aligned the gap between the front clip and door can be narrowed and still allow the door to open
Horse box latches are item number 271812698984 on eBay Chrome compression latch
Many thanks for that. I see that they are available with keys as well. I have Spitfire type latches on the flip front of my Sylva Fury. I had to use separate key locks to secure that. These compression latches with locks would have been ideal.
 DSCN4748 by eric holm, on Flickr
 DSCN4751 by eric holm, on Flickr
 DSCN4754 by eric holm, on Flickr
 DSCN4756 by eric holm, on Flickr
 DSCN4759 by eric holm, on Flickr
 DSCN4760 by eric holm, on Flickr
 DSCN4761 by eric holm, on Flickr
 DSCN4762 by eric holm, on Flickr
 DSCN4764 by eric holm, on Flickr
 DSCN4766 by eric holm, on Flickr

 DSCN4768 by eric holm, on Flickr
 DSCN4774 by eric holm, on Flickr
 DSCN4777 by eric holm, on Flickr
 DSCN4779 by eric holm, on Flickr
 DSCN4780 by eric holm, on Flickr
 DSCN4781 by eric holm, on Flickr
 DSCN4782 by eric holm, on Flickr
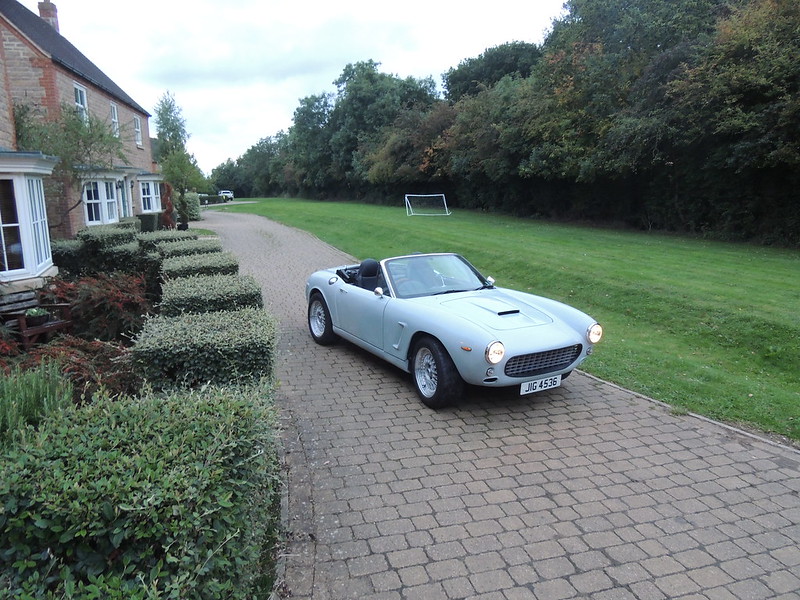 DSCN7816 by eric holm, on Flickr
 DSCN7828 by eric holm, on Flickr
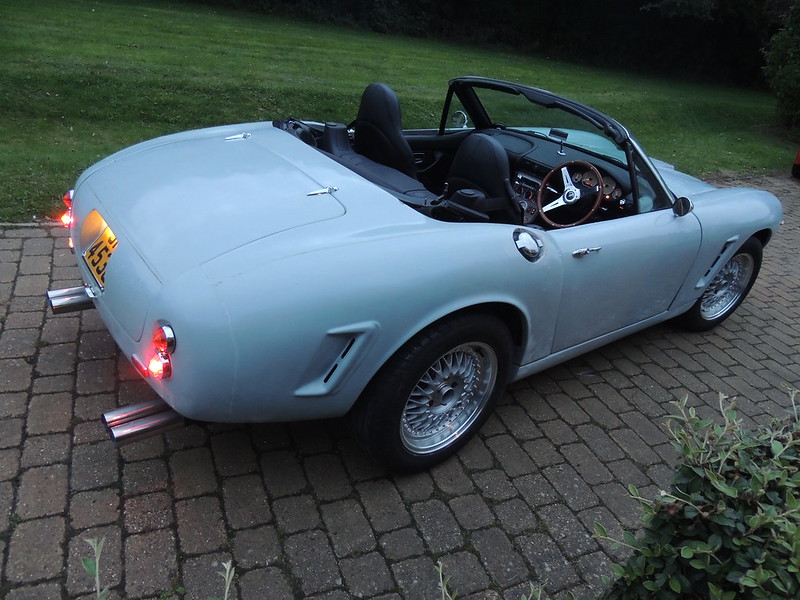 DSCN7833 by eric holm, on Flickr
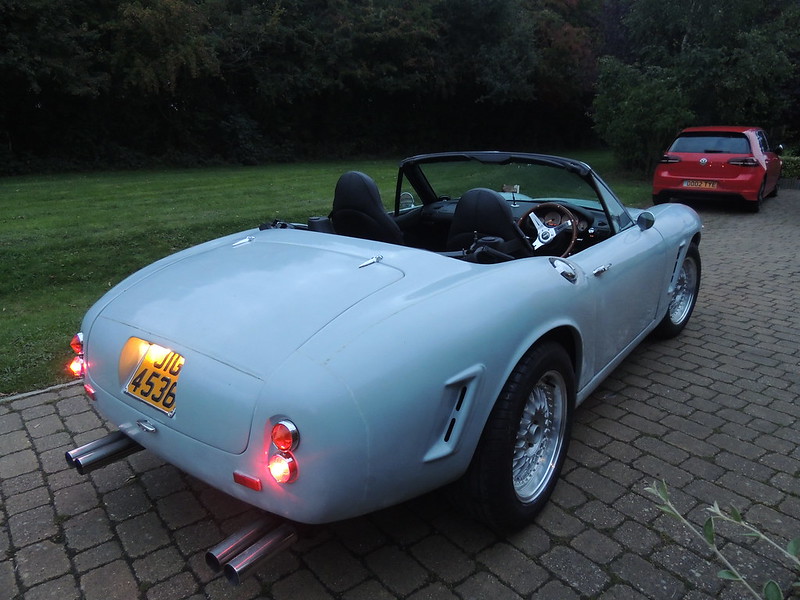 DSCN7836 by eric holm, on Flickr
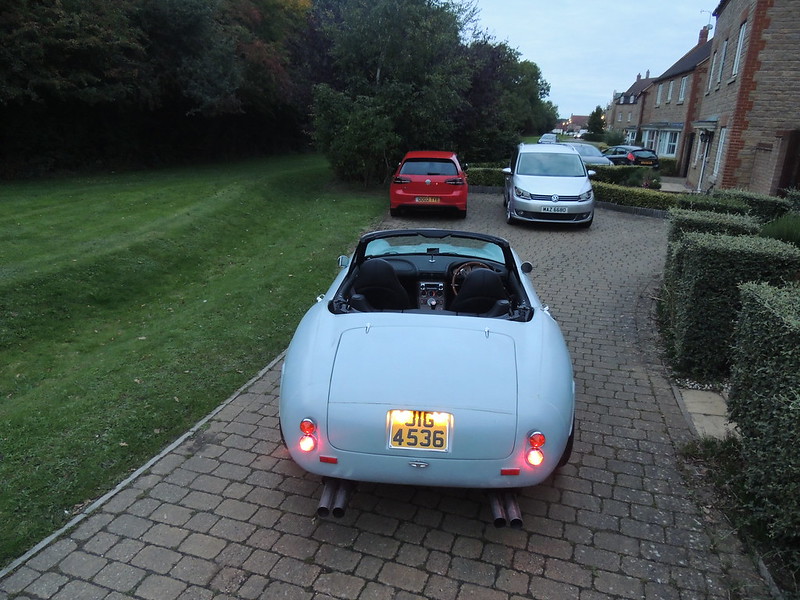 DSCN7837 by eric holm, on Flickr
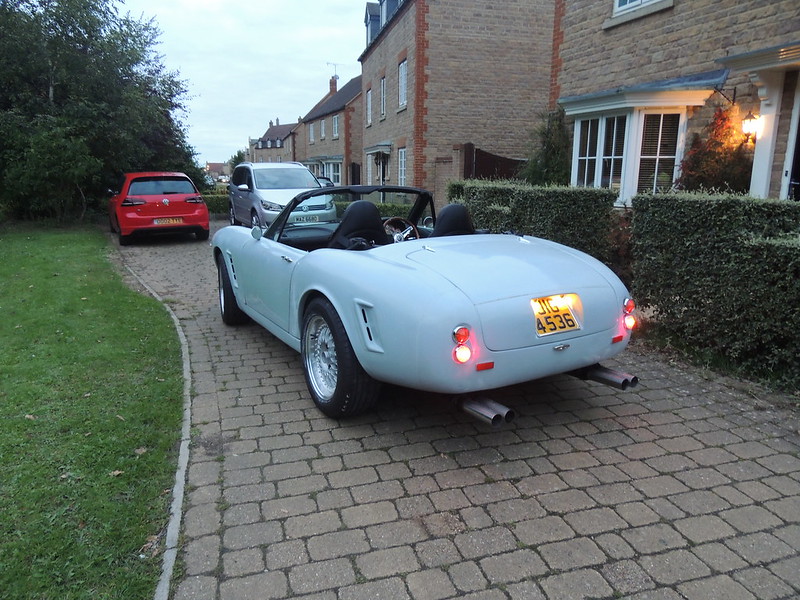 DSCN7839 by eric holm, on Flickr
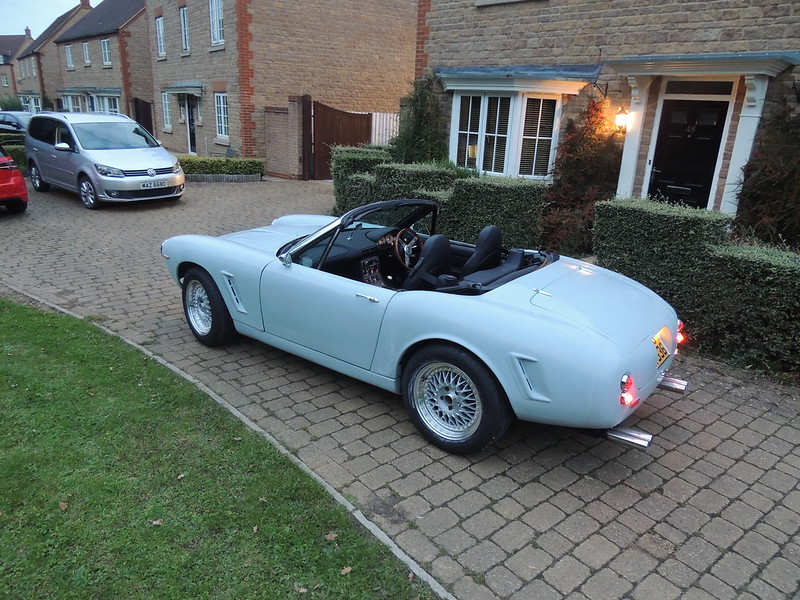 DSCN7842 by eric holm, on Flickr
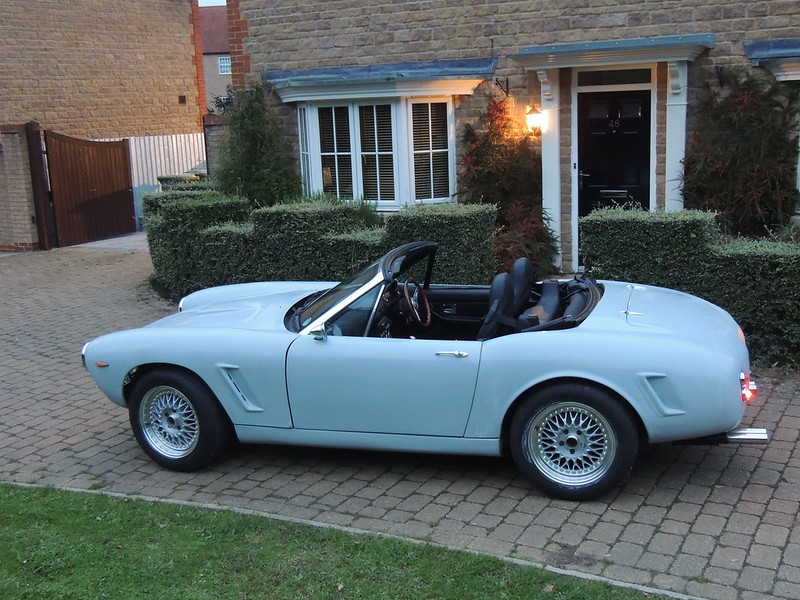 DSCN7845 by eric holm, on Flickr
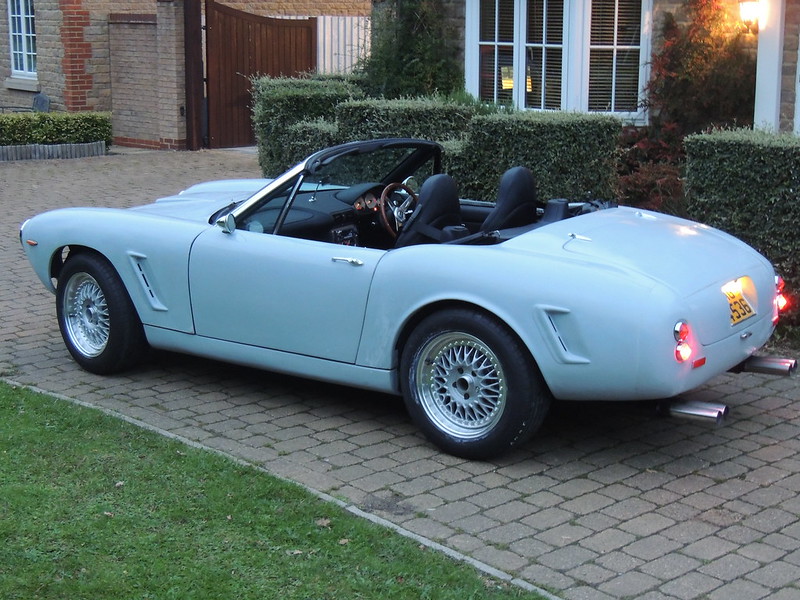 DSCN7847 by eric holm, on Flickr
 111Imag2e1 by eric holm, on Flickr