This is a read-only archive of the old Madabout Kitcars forum. New posts and replies are no longer possible, but every thread is still here to browse and read.
Thanks Tony, and hats off to you for doing yours OUTSIDE!
Yes Chris, in the workshop today. A steady two degrees so positively tropical!
I laminated over my formers today, then took them of this afternoon. Blooming cock up. Basically I had set them up wonky, simply because once the former was in I didn't check. Anyway come six this eve, picked up the grinder and removed the mid section just leaving the corners. Its all back together now, although I will probably find its all fallen off in the morning!
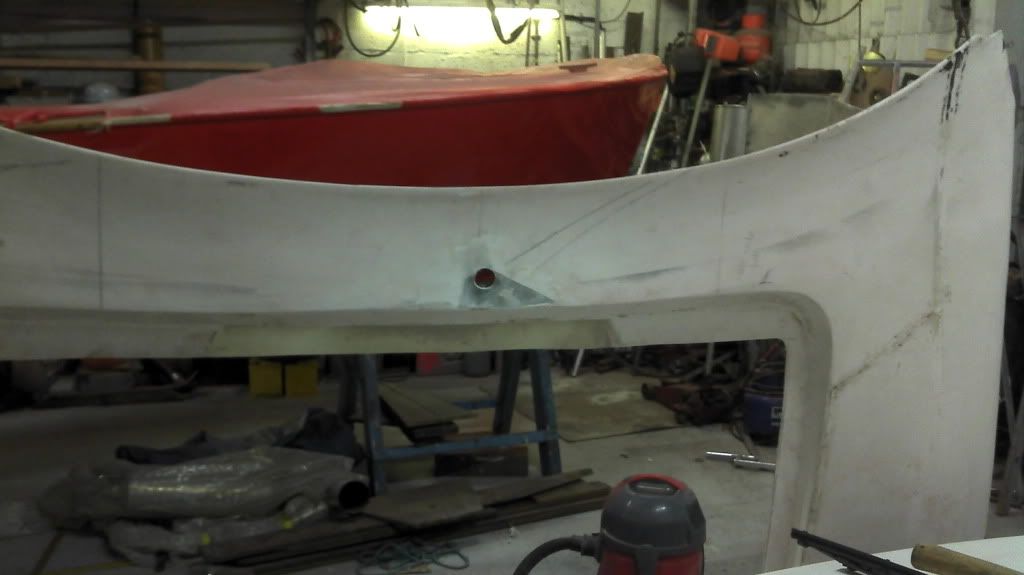
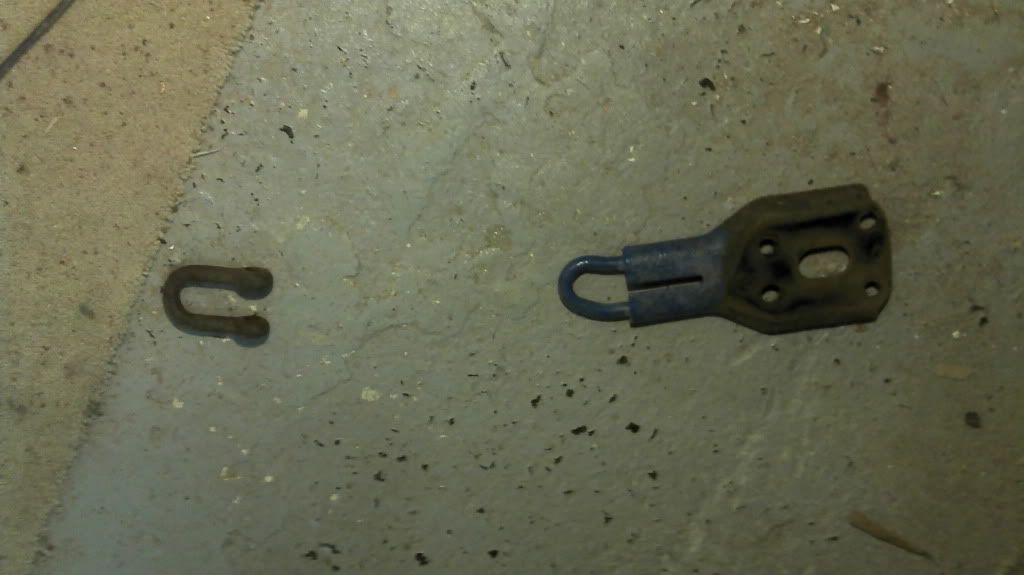
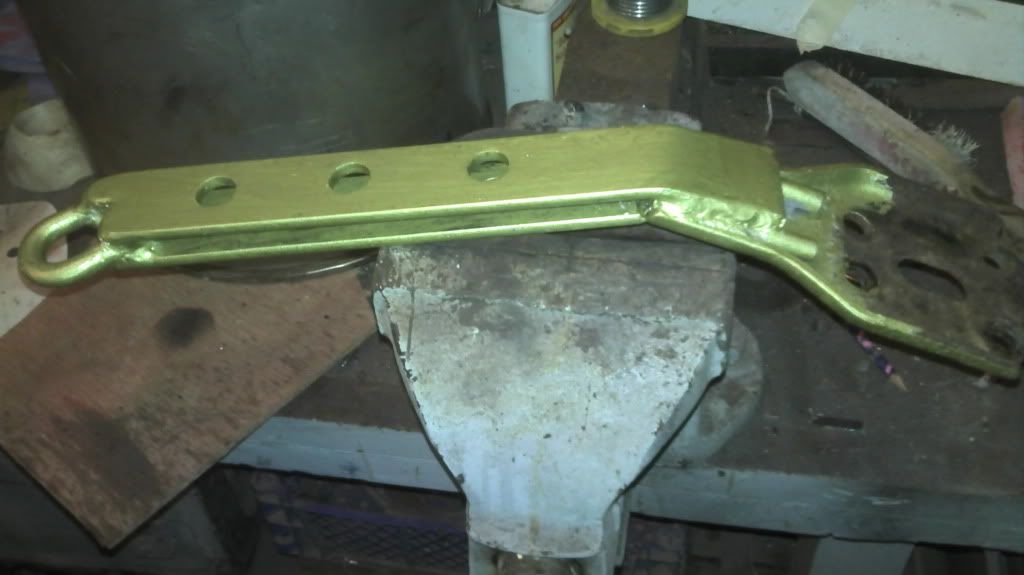
Extended the RH front towing eye so it is just gettable inside the grill. Im going to put som mesh further back to protect the radiator, but leave this eye accessible. Of course Mazda never break down, but I can stick one of those arrows with 'TOW' on it, he he![IMG][/IMG]
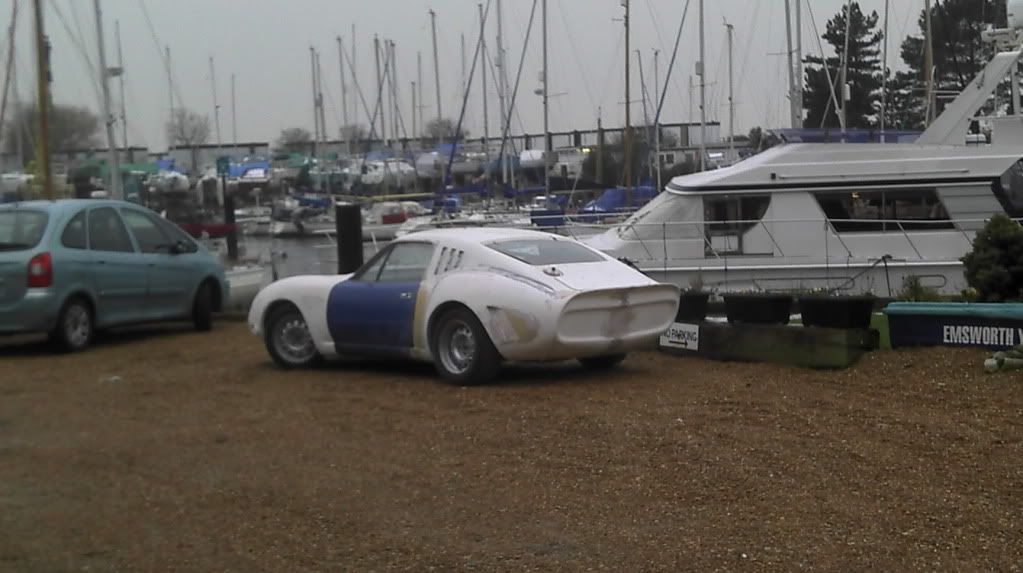
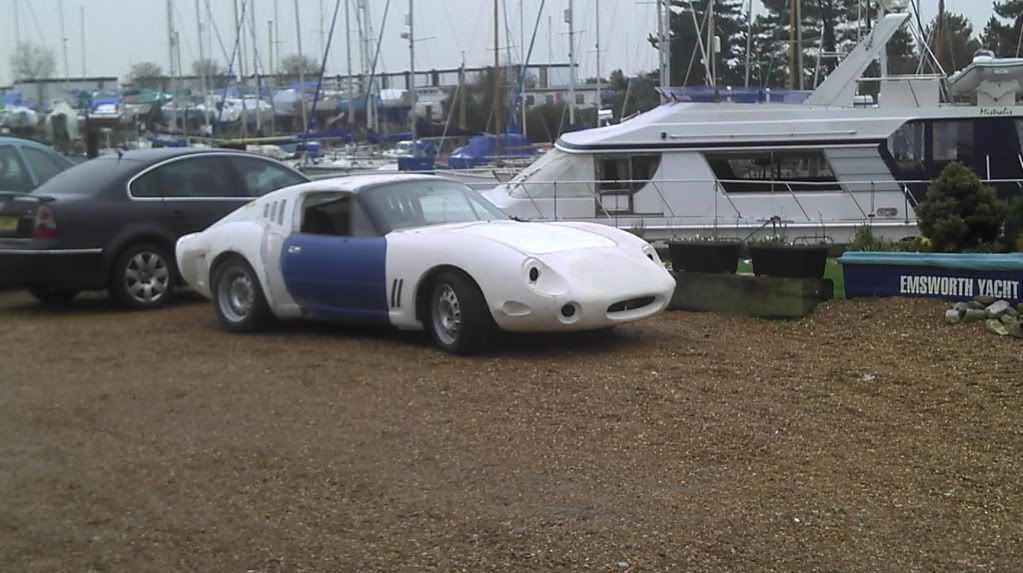
Had a shed reshuffle today, so took the car out for a run. Only mild acceleration caused the rear window to slide out, but it was caught by the auxiliary window scoop......the rear spoiler!
Anyway, heres some pics from a distance....
[IMG][/IMG]
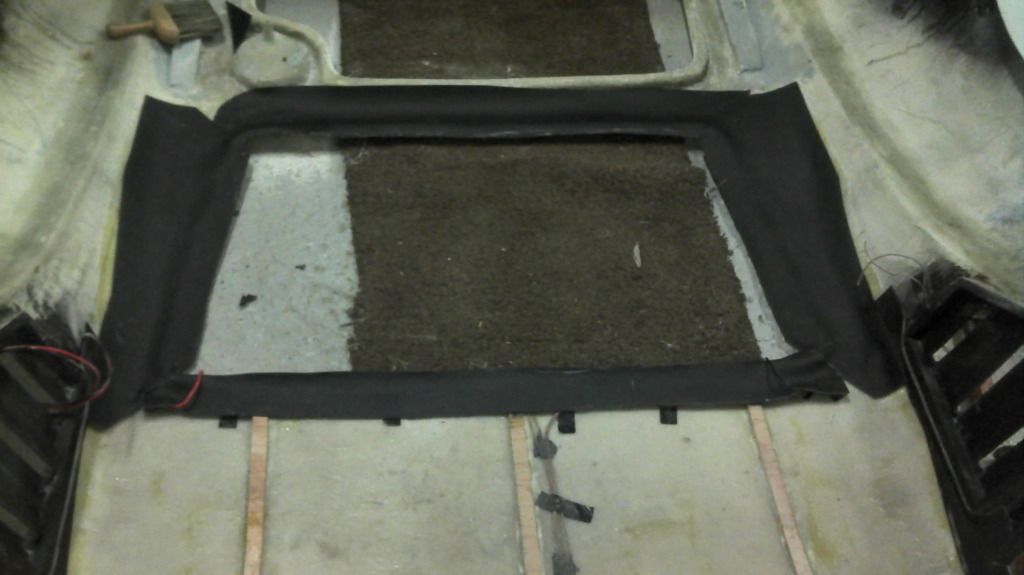
[SIZE="3"]To do the edges I stripped the foam off where the door seals will grip it to reduce the thickness.
Went around the door shuts and rear window.
[/SIZE][IMG][/IMG]
[IMG][/IMG]
[IMG][/IMG]
[IMG][/IMG][SIZE="4"][/SIZE]
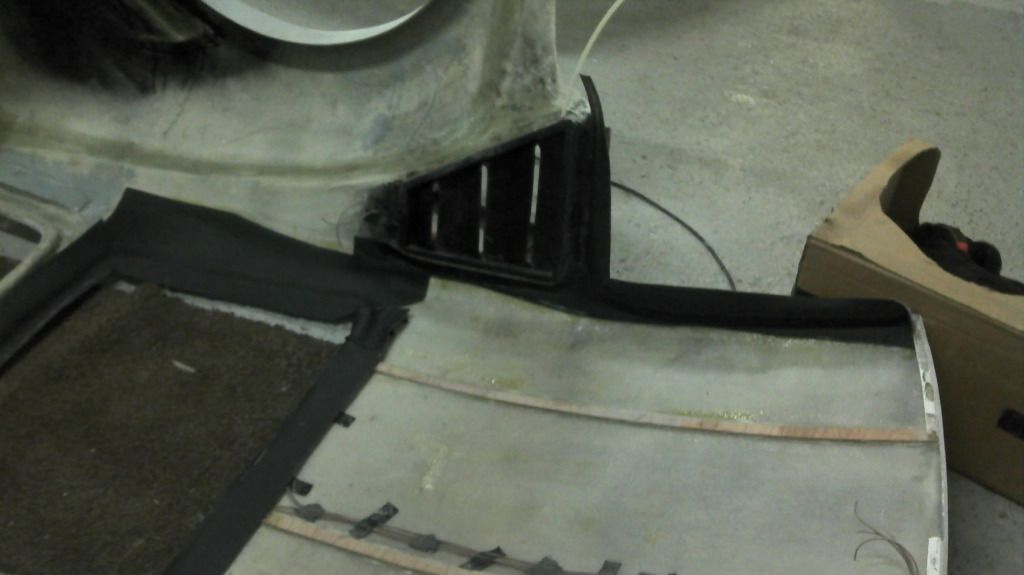
The louvres will be covered with 5mm tinted perspex, which I have cut out, but not fitted.
[IMG][/IMG]
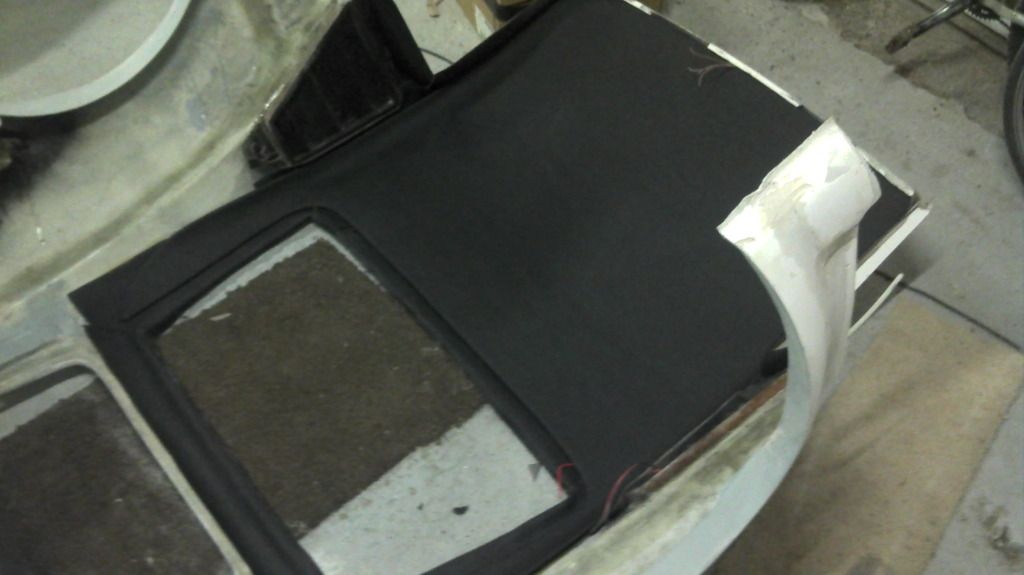
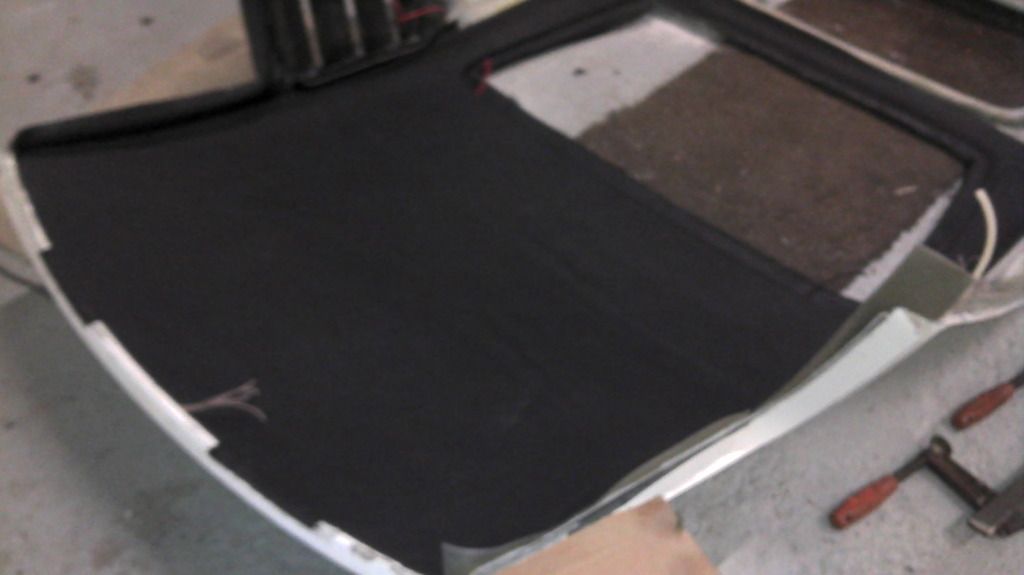
[SIZE="3"Finally slotted it all together. Its held up by slotting into the front lip and the sides run above the door shuts so its a good firm fit.
[COLOR="DarkOliveGreen"]Tomorrow is B day (bonding day)! [/COLOR]
][/SIZE]
Nick, what material have you used on the headlining mate
Hi All, couldn't add text last night as the phone was too tired!
Thanks Martini, and thanks RedRatbike the vents are a copy of those on the 275, but also there to help visibility, as there is tinted perspex behind.
Dave, I may be having a mid-life crisis, but I am still a child when it comes to things that go Brrrrmmmm!
Hammy/Chargerstang, the headlining is 5mm foam backed vinyl, the staple diet of a 60's interior!
And Tribute, I'm glad you like it. Sorry for making your straightforward kit appear so complicated and time consuming, when as Greyone and Billy showed it is not. Thank you for your understanding as I molest your bodywork!
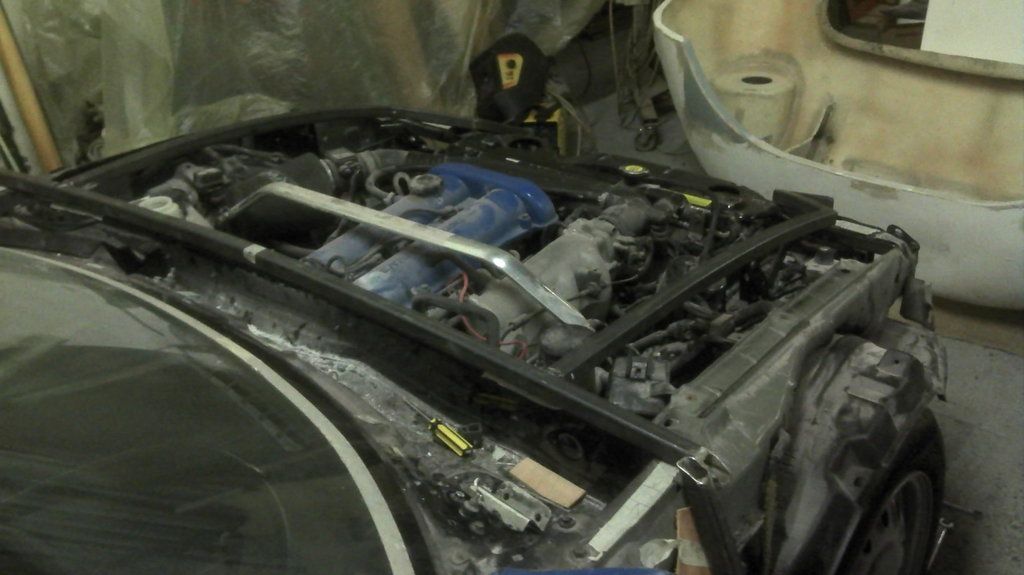
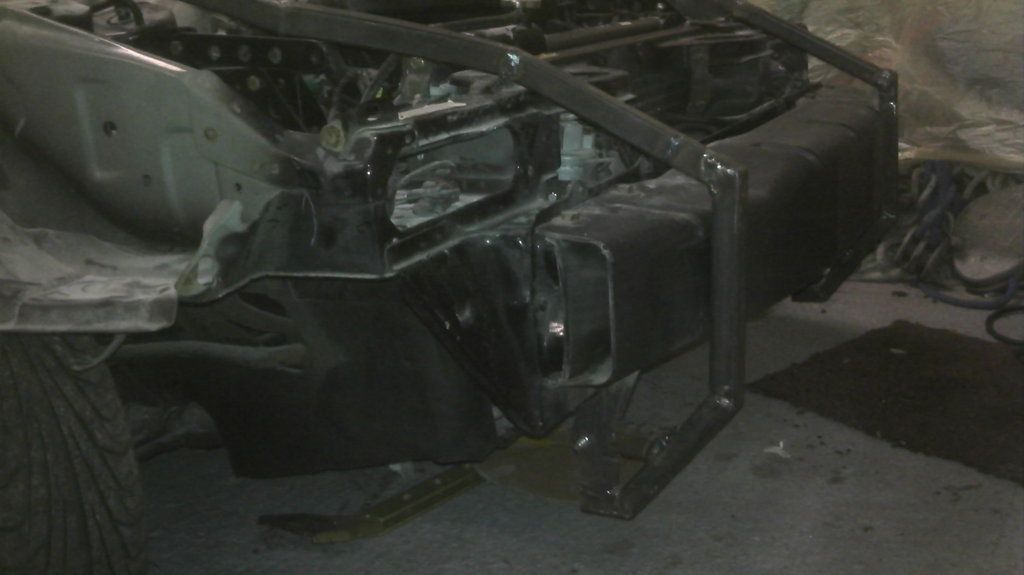
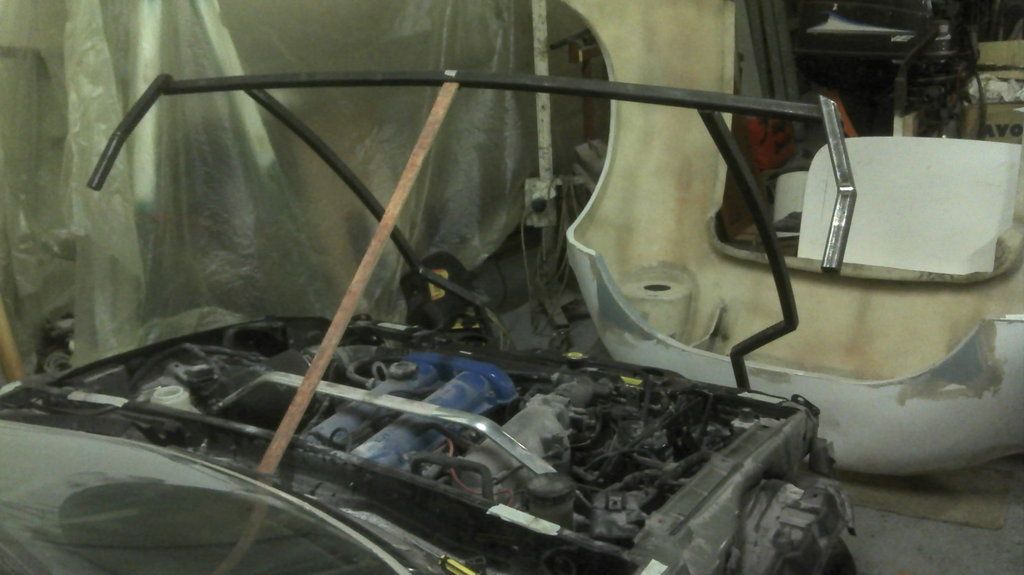
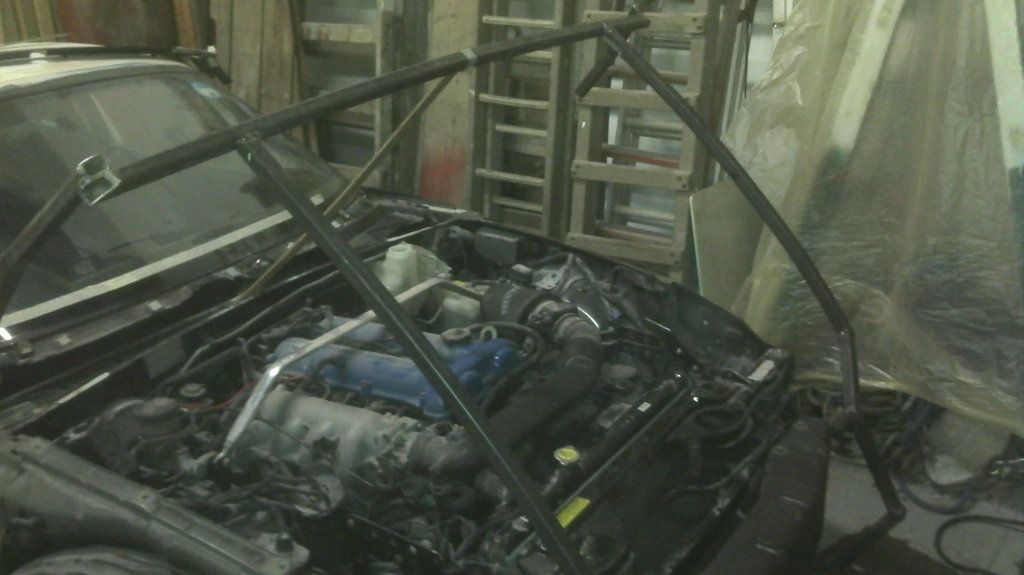
Anyway, as you may have notice I have performed a massive handbrake turn with regards to the front. After making some lovely hinges, raising the wipers and adding recesses for the wiper stalks and was about to glue the body on.......I changed my mind (again), and decided to see if I could make it into a flip front, as was my original plan.
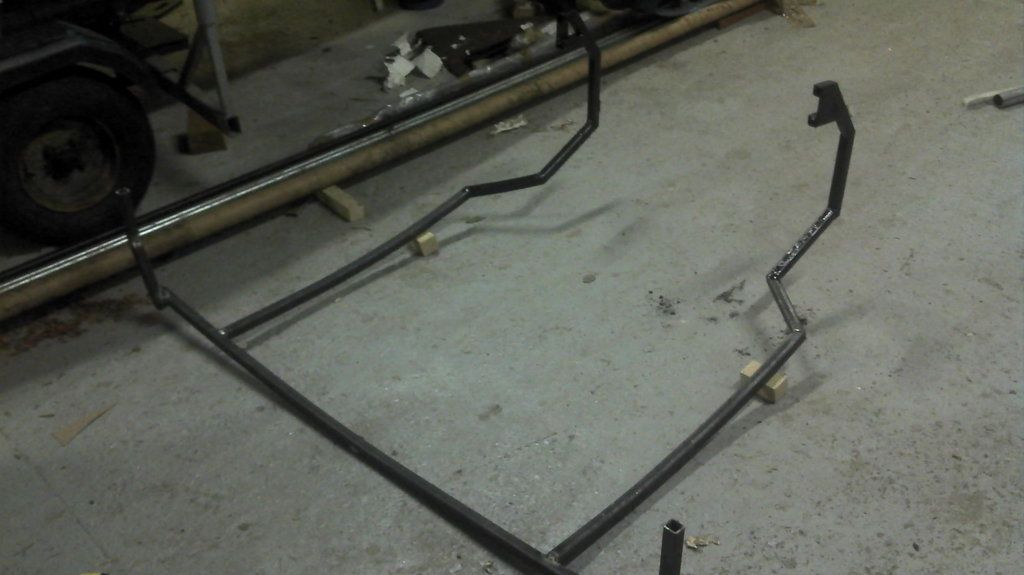
The pics are fairly self explanatory, but just to say in retrospect it could be simpler as I used 1"square (thats 25mm by 25mm Henri) box section which I formed around the bonnet apperture rather than going straight from front to the bulkhead. This was just in case there was not clearance for the framework and I had to go back to plan A.
I plan to use the redundant bonnet catch and cable plus one other (thanks Chris) bolted behind the front wing so no visible catches. I will leave the swage line in the door rather than filling it and use that as the break line for the bonnet.
On a dry run last night it opens to about 50 degrees, but would go to 90 it the car was run up 4" blocks.
Oh yes Hammy, the strut brace did touch the inner lining of the bonnet, until I cut it away. I think those braces are more show than go to be honest. The brackets at the end are very light gauge steel.
After spending a month of evenings searching fleabay, piston heads and Gumtree I gave up. By now I had sold the BBS Alloys and the car was on bricks. A mate leant me some 13" corsa wheels for the rear which look cool fitted inside out, even if very silly!! A spacesaver on the front and an Astra sport steel wheel completed The Look!
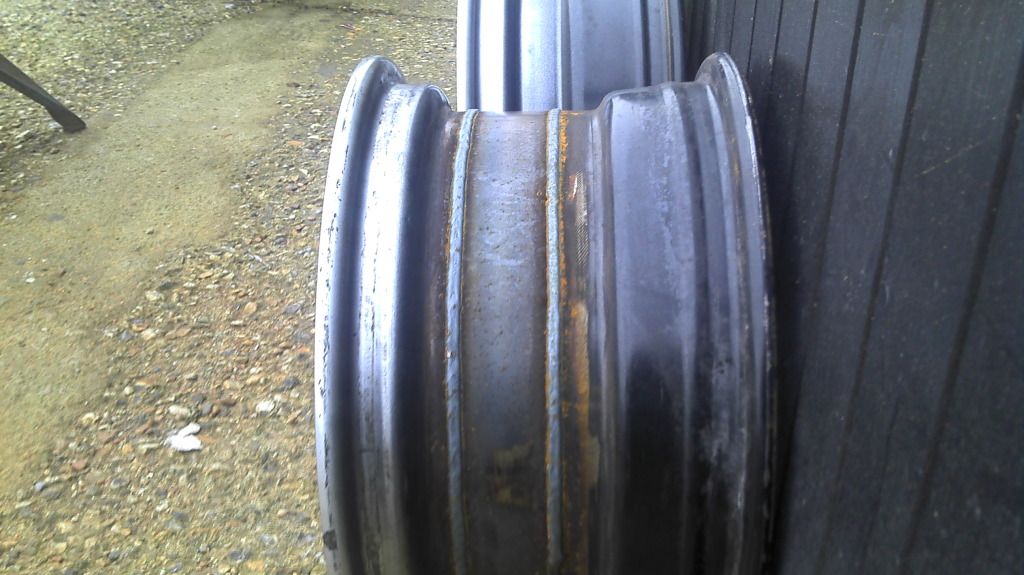
I then decided to go for steel wheels, but banded to get the size I wanted. I contacted a set up up north with a nice website and they agreed to source vauxhall wheels, band them, shotblast and spray them. However after four weeks nothing had happened, due to the owner having an accident on his bike. Eventually I received a refund, then began to search for someone else to do the job. Found the wonderful James on some forum, who offered to do the job.
I found a perfect set if Mk1 MR2 Wheels which I sent him.the rears to have a 2" band fitted. Picked them up last weekend.....a perfect job. This is what your mit welding should look like folks.....
[IMG][/IMG]
[IMG][/IMG]
I LIKE THEM!
They will have three eared spinners and nice tall tyres!
These are one fwd and one banded rear.
Hi Martini, not going to get too carried away with the interior. I have done a suspended headlining and some diamond pattern panels for the rear, but thats it.
Finally got a couple if hours in today.
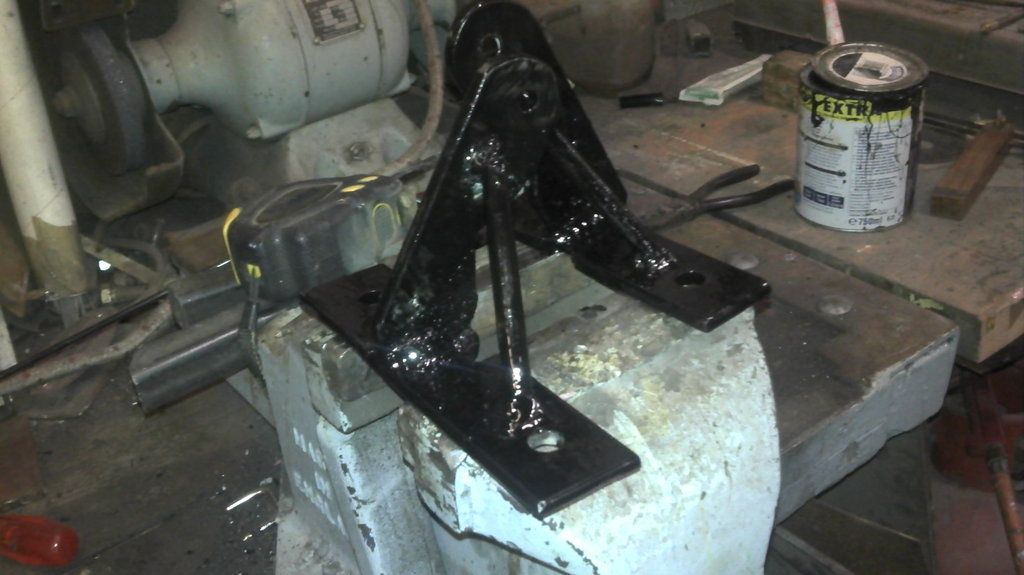
welded up the front brackets for the front frame and threw some paint at them. I also removed the frame and did the last upside down welds.
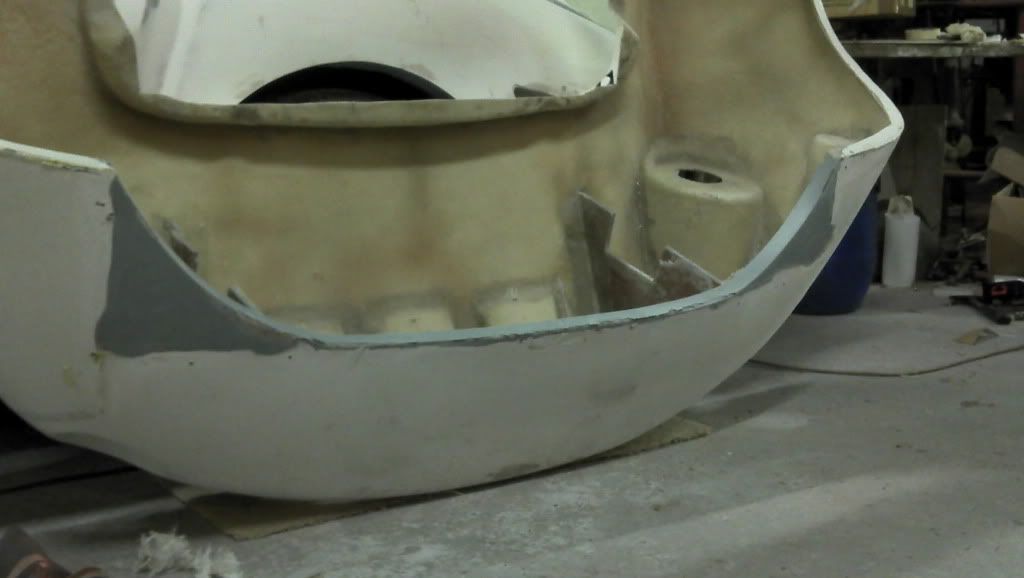
I also removed the remains of the front wings.
How to make a straight forward kit really complicated, bu t I spouse thats me!!
Tried to prise the inner moulding from the bonnet, but the polyurethane constructional adhesive is well stuck, so I shall have to order another bonnet from Tribute!
Tried to prise the inner moulding from the bonnet, but the polyurethane constructional adhesive is well stuck, so I shall have to order another bonnet from Tribute!
Nick, as I said on the phone earlier no problem, will make one on Monday if you want to pick up on Tuesday. Kettle will be on
Delivering an A352 on Monday and picking up some perspex at the same time, new flex on the oven, then off we go. I have to make a pair for the new owner of Billy's MX250 too, pictures of it resprayed soon!
Hi Martini, not going to get too carried away with the interior. I have done a suspended headlining and some diamond pattern panels for the rear, but thats it.
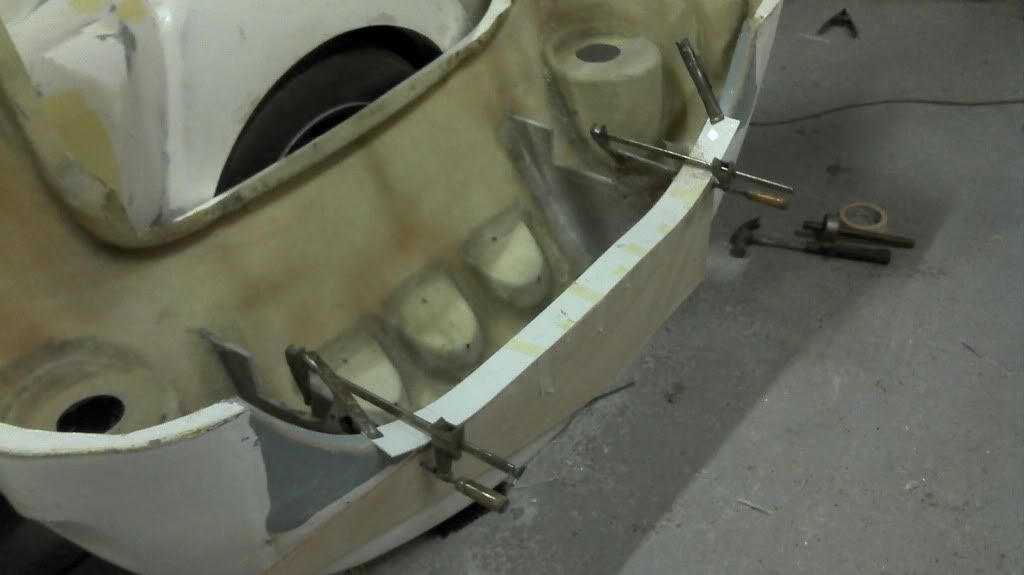
Finished off the frame this evening. Extended it back to near the screen to where One would lift it from. Added tabs on the front to bolt it to the ply gussets in the front of the shell. Finally added a couple of tabs at the rear, too which I welded 6mm studs. Onto these a cranked metal strip goes. Thus is glassed to the wing near the shut line on the door. The bracket is slotted so I can adjust the panel and shut line on the door.
 [/IMG]
 [/IMG]
 [/IMG]
 [/IMG]
  [/IMG]
  [/IMG]
 [/IMG]

 [/IMG]
 [/IMG]
 [/IMG]
 [/IMG][SIZE="4"][/SIZE]
 [/IMG]
 [/COLOR]
 [/IMG]
 [/IMG]
 [/IMG]
 [/IMG]

 [/IMG]
 [/IMG]
 t I spouse thats me!!
 [/IMG]
 [/IMG]

 [/IMG]