This is a read-only archive of the old Madabout Kitcars forum. New posts and replies are no longer possible, but every thread is still here to browse and read.
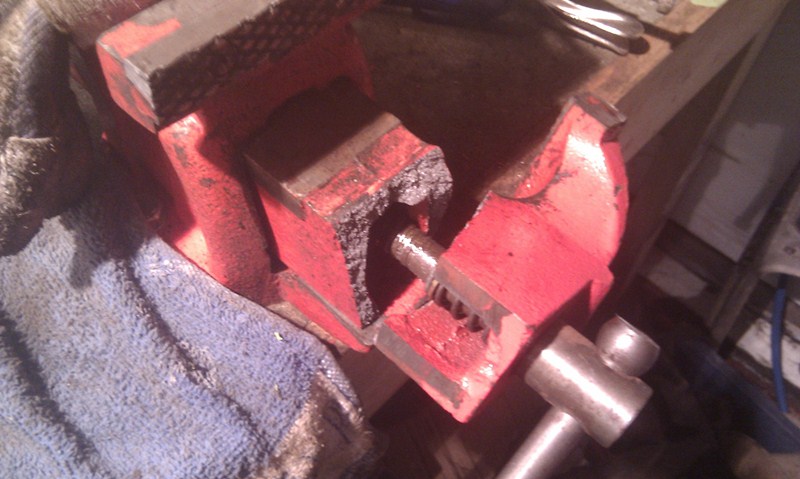
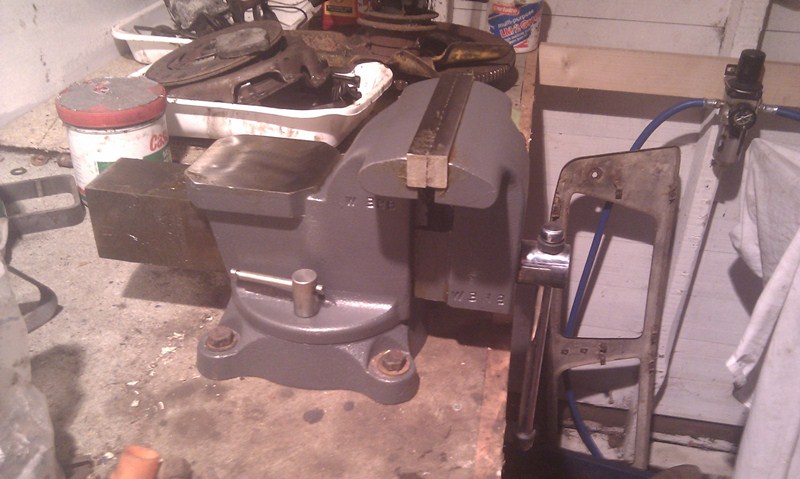
There was a bit too much "interference" on the interference fit for a draw bolt or G clamp so I took it to The Glade. Good news is that the first one went in with the help of the vice. Bad news is that the vice broke before I managed the second. To repeat what my grandfather always said, "You buy cheap, you buy twice."
I bought it early-on when I was feeling guilty about spending on the car. Thankfully that phase has passed so I shall look for something meatier tomorrow.
I spent the rest of the afternoon removing bits from the old engine that I need to put on the new - sump, timing cover, etc.. Removing the crank-nut was a pain and involved me standing on my my longest bar, and another engine resting on the old engine to stop it moving. Such a good feeling when I descended slowly to the ground. I got a bit carried away and stripped it completely just for fun; engine forensics, seeing what sort of life it has had. I still have the smell of old engine oil in my nostrils. Wine seems to be helping me to deal with it.
I also have a vice, I picked her up in a French hypermarket years ago, she too was over streched with work and I broke her she is now welded, but not as streight as the girl she once was, never bothered to name her though.
What can I say she is my vice, apart from building kit cars, my other vice.
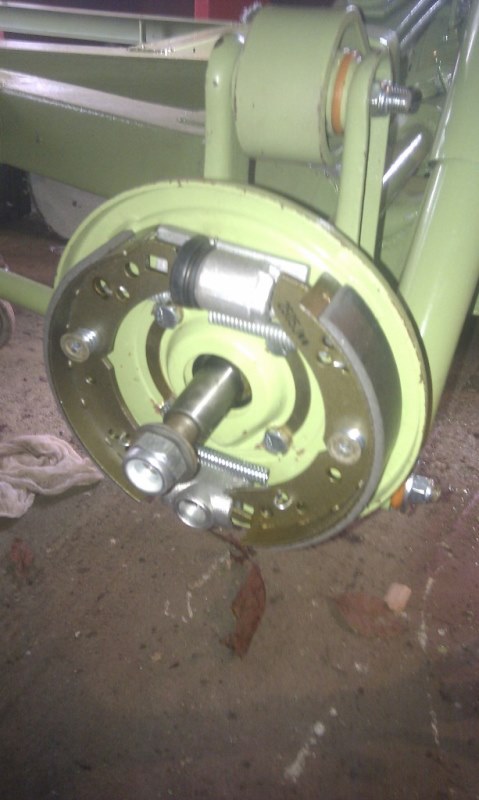
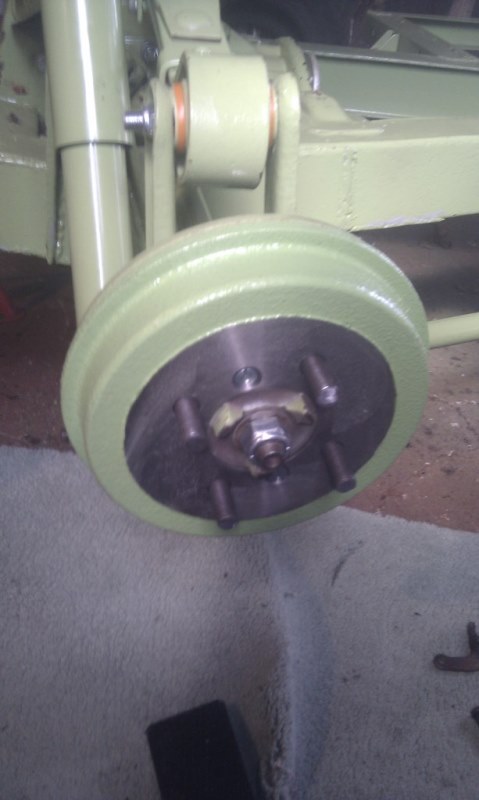
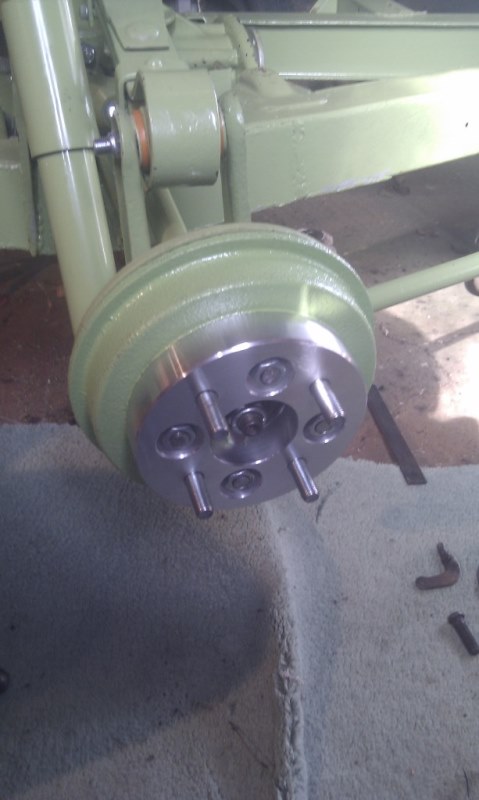
A bit too much interesting work on recently which has got in the way of things. Pictures speak for themselves. I'm really pleased with the wheel adapters from the US. They are a quality item.
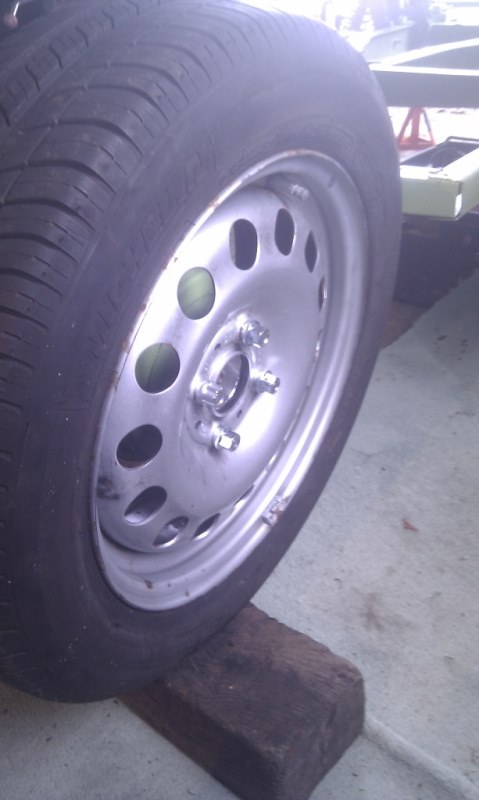
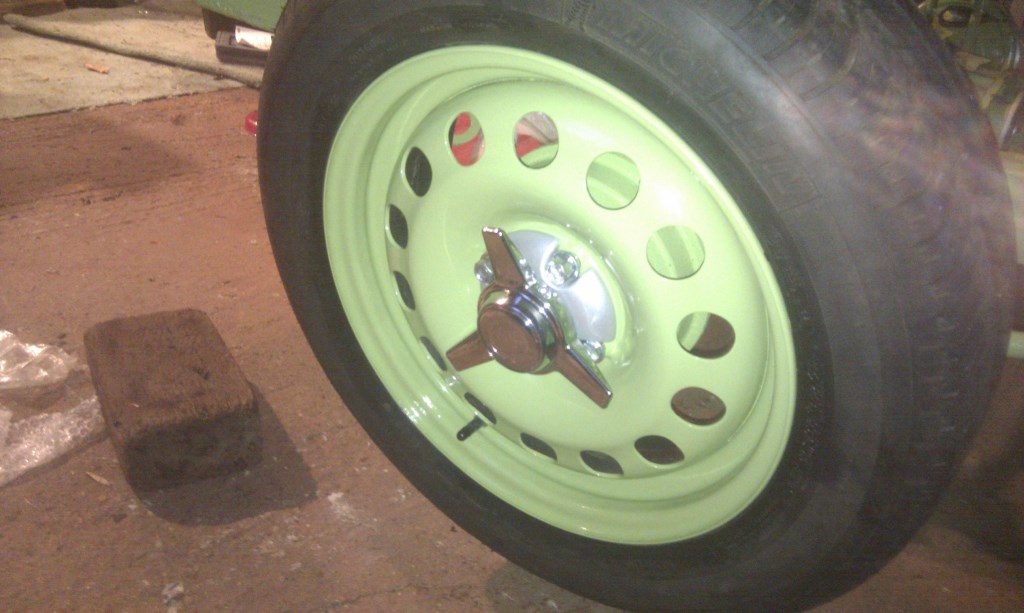
I have the centre packs with spinners for my "Dunlops". The wheels are in their BMW blue/silver because I haven't got round to making them green, but I couldn't resist putting one on to see how it looked.
Brake and fuel lines along the chassis,
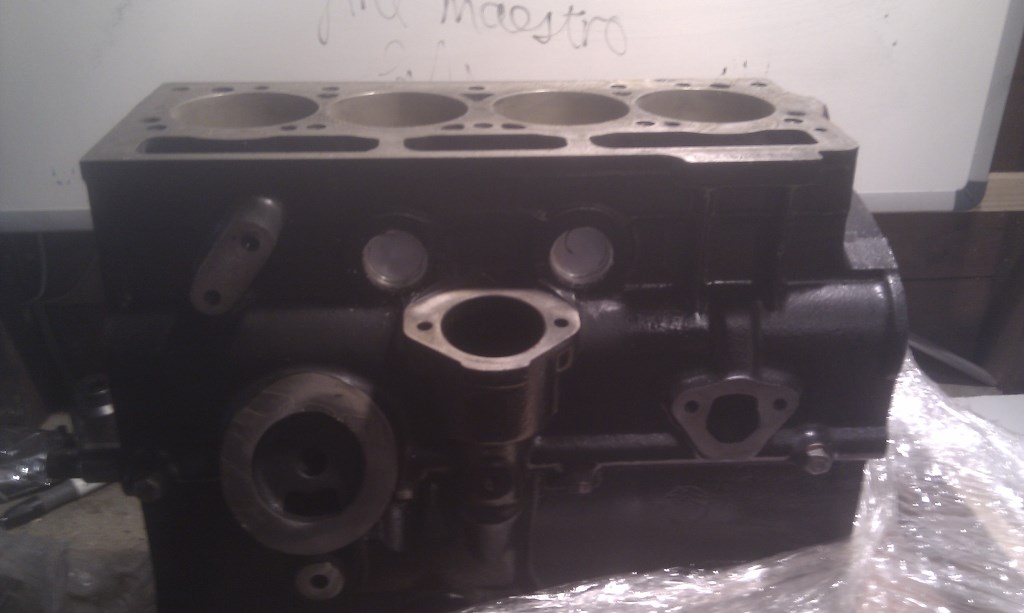
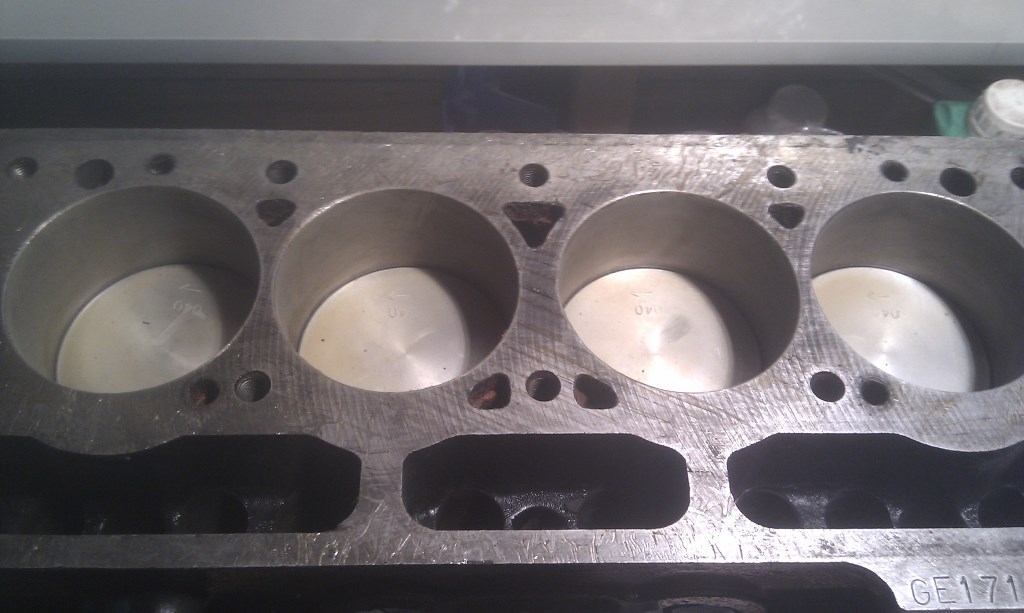
Put the engine together........the bottom end, piston and rods are all in, and the head is ready. I just need to put it on the bench and assemble it.
Gear box is ready.......
I want to get the engine and box in so that I can route the exhaust and hang it.
Once this is done I will get the floor and bulkhead in place. I am using a cut down version of the original floor.
I'd like to get the above done by the end of July. I will then start to fabricate the semi-spaceframe that will stiffen everything and take the body.
As you know, I work on geological timescales so I dare not look beyond this.
I did pop back to the The Glade this evening (longer evenings!) and added the rear near-side.
Thanks for kind comments, chaps. Much appreciated.
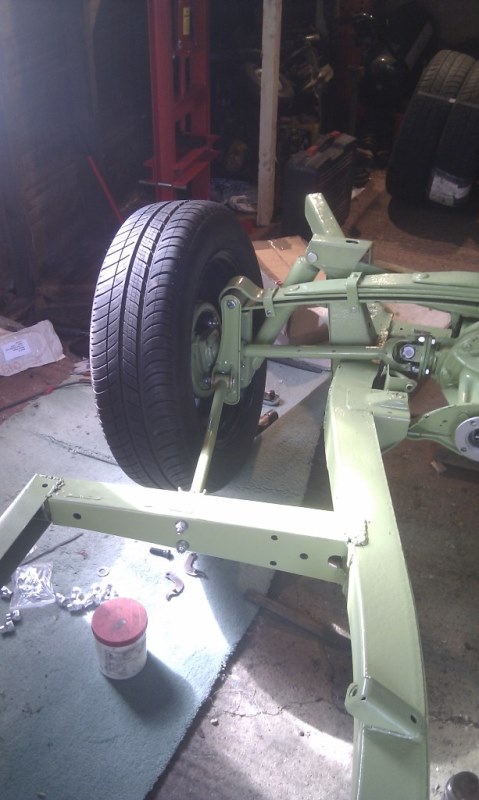
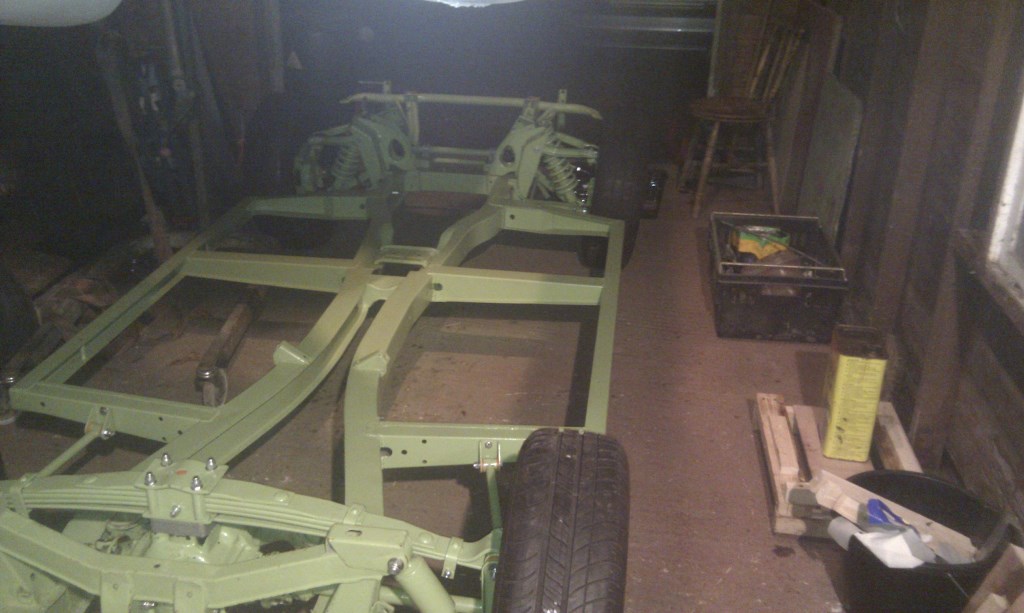
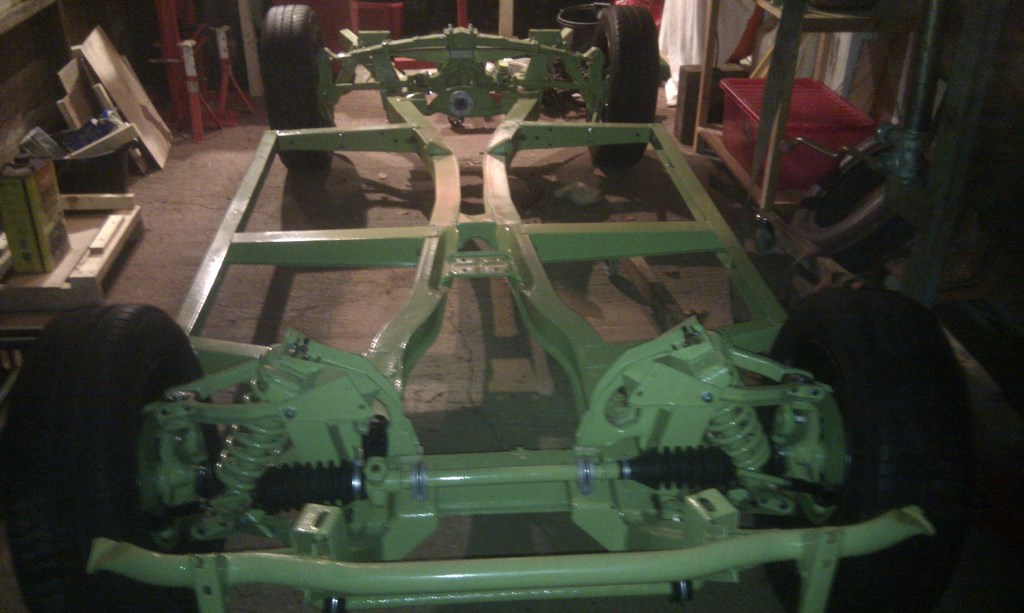
I will have some more pics soon. The front corners are on (complete with rebuilt calipers which were less of a pain than I anticipated) so I have a rolling chassis at last......except that I'm preparing the wheels at the moment.
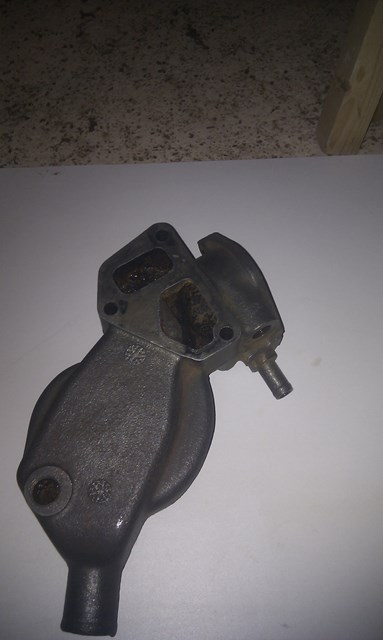
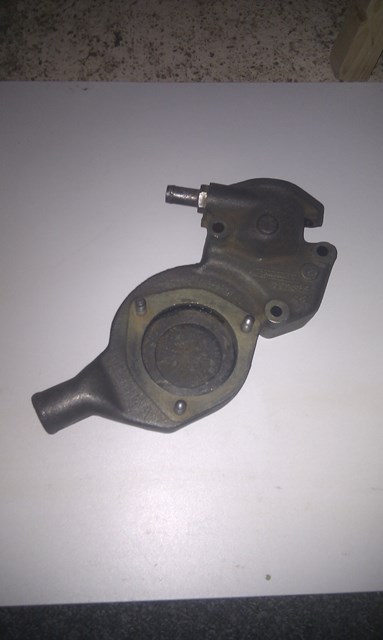
The engine is also on the bench and coming together nicely. So, with all this going on, it's time for a bizarre pic. Four hours ago, this water pump housing was covered in oil, grease and rust. The inside was worse, with all channels completely clogged with 40 years of sediment, rust, and radweld. I did wonder if it was salvageable.
However, some time in the electro-cleaning tank and a rub with a wire brush and, hey presto!
I just wish I had taken a "before" pic.
If you are ever having trouble with engine cooling, and your engine has never been apart, it may be worth taking a look at the housing. I seem to remember that some of Mr T's channels were completely clogged with crap.
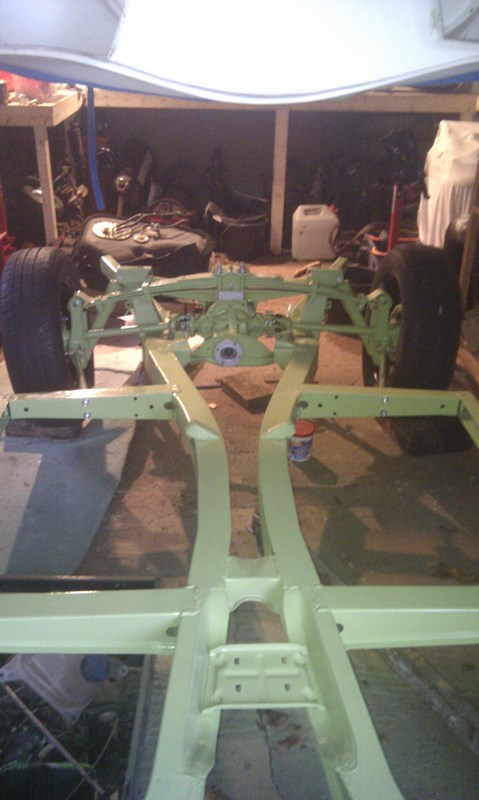
A bit of progress at the weekend, and tonight I reached a mini-milestone of dropping the chassis off the stands so that it sat on its own four wheels for the first time in nearly a year.
I also mocked-up my fake 15" Dunlop wheels. I need to apply the "Dunlop Racing Wheels Patent Pending" decals. They are a bit theatrical and need a couple of tweaks but I quite like them. The track with the adapters looks pretty good and the wheel/tyre combination should fill the arches nicely.
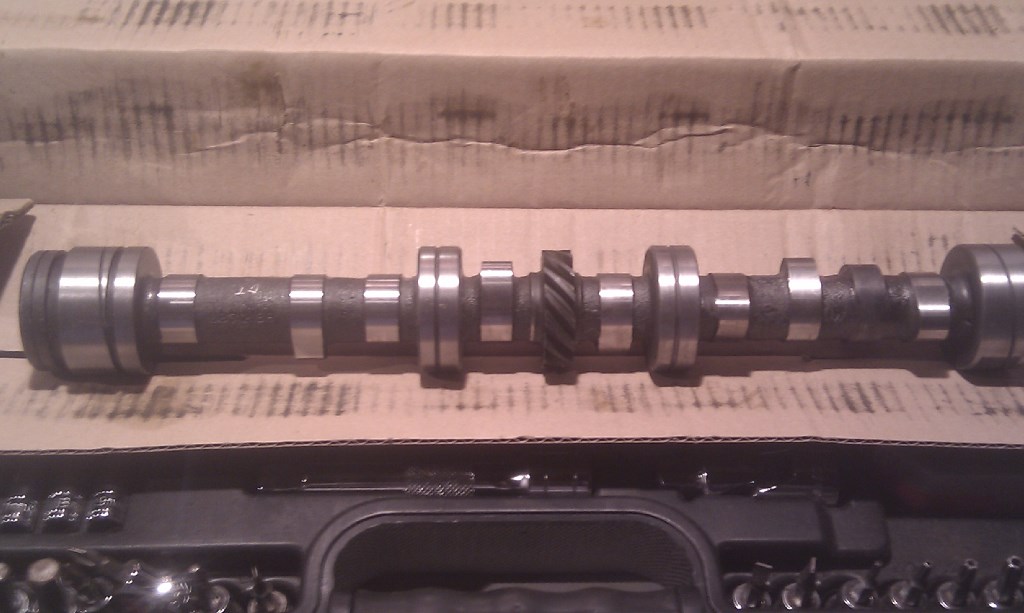
I now have the engine on the bench and the new cam (Spitfire MkIII) is fitted.
I should get the engine finished over the next two weekends and the lighter evenings.
I'm getting close to starting a Sammio/Ribble build rather than an anal restoration of a Herald which it has been so far.
I shall wheel the chassis outside at the first opportunity to get some better pics of the wheels.
All looks really really good. I like your wheels. I recognise the three eared spinners but where did you fin the mounts?
Also, how does electro cleaning work?
questions. Questions!!
All looks really really good. I like your wheels. I recognise the three eared spinners but where did you fin the mounts?
Also, how does electro cleaning work?
questions. Questions!!
Evening Seanick,
The spinners are sitting on the standard BMW Mini plastic wheel centres. I plan to give them a dusting of silver paint as they are obviously molded plastic at the moment.
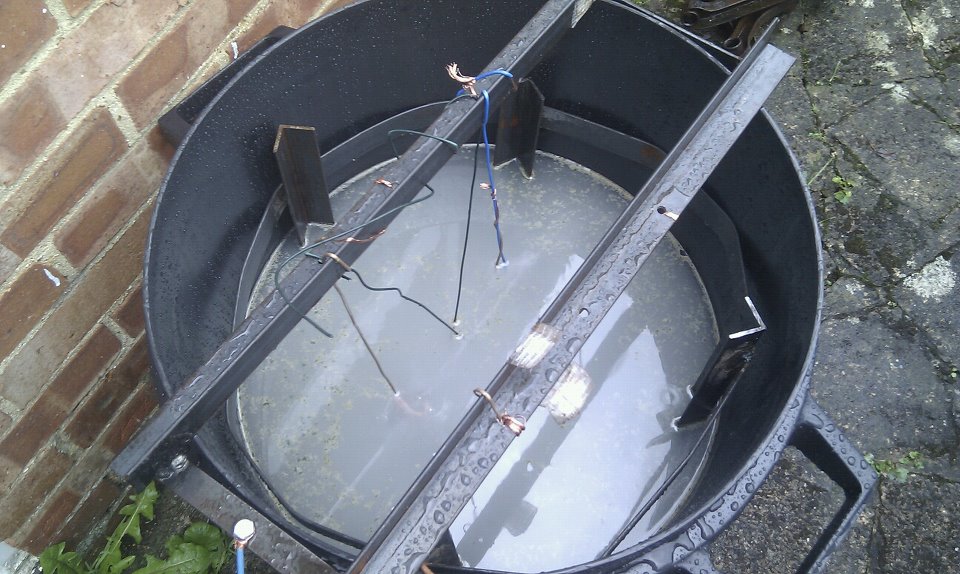
There are lots of Google and YouTube returns for "electro cleaning". I read a lot of them but they are all much the same. I started with - http://myweb.tiscali.co.uk/andyspatch/rust.htm
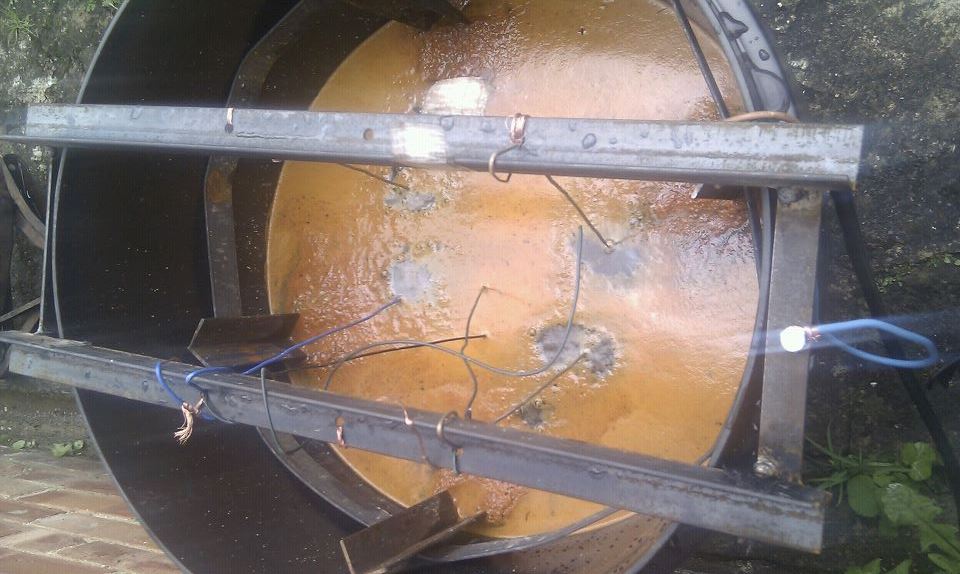
All you need is a big plastic container (a dustbin), a car battery, a charger, some bits of old ferrous metal and some cleaning soda - Sainsburys and Tescos sell it for 99p per kilo.
Just wire it up and in no time you will have a bubbling cauldron -
....which dissolves rust and doesn't touch the healthy metal.