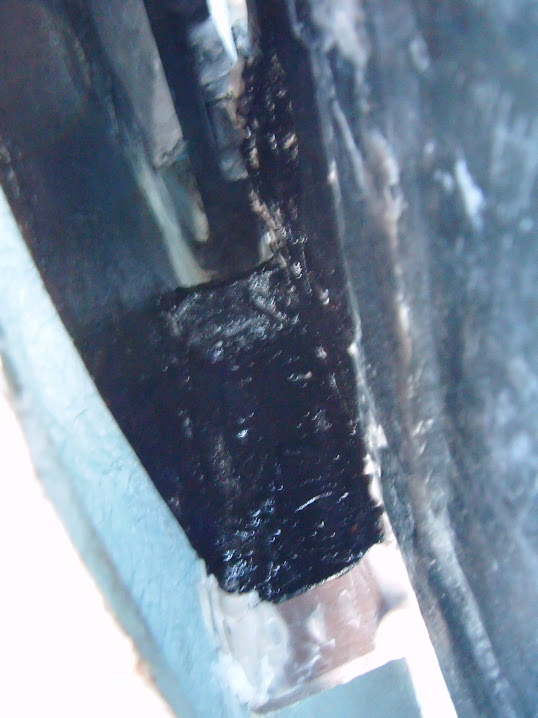
MadaboutKitcars

This is a read-only archive of the old Madabout Kitcars forum. New posts and replies are no longer possible, but every thread is still here to browse and read.

Another Cordite Is Born ...

16 Nov 2015, 8:05am
Don't worry about the Triumph 1500 engine Paul, that's all my car has, but with the right air intake (K n N) and a through, 4 into 2 into one exhaust, you can expect about 80 BHP, and my car only weighs 700 kilos, and it is fairly agile away from the lights and sounds good!

I wouldn't think your car would be much heavier, even with all the extra beef!
16 Nov 2015, 5:36pm
Scottie - I'll be very happy if the car drives at all, regardless of its performance. :icon_wink:

- - - - - - - - - - - - - - - - - - - - - - - - - - - - - - -

Monday Morning:
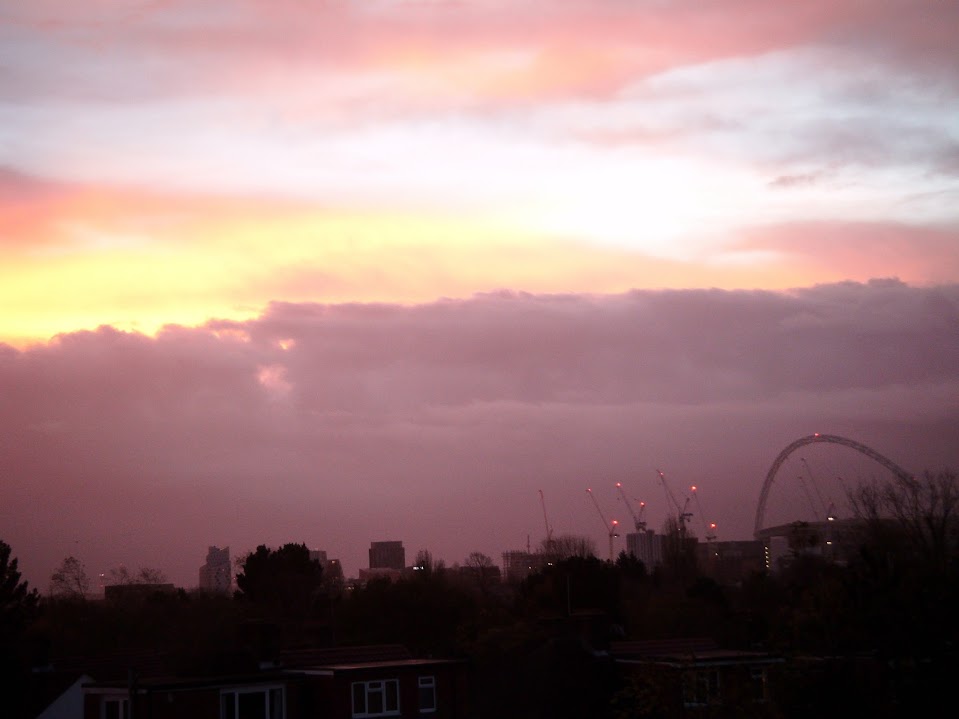
Lovely warm glow in the sky this morning, although the photo doesn't really do it justice.


Despite the nice start to the day, there was rain in the forecast, so I needed a few quick jobs to do...

- - - - - - - - - - - - - - - - - - - - - - - - - - - - - - -

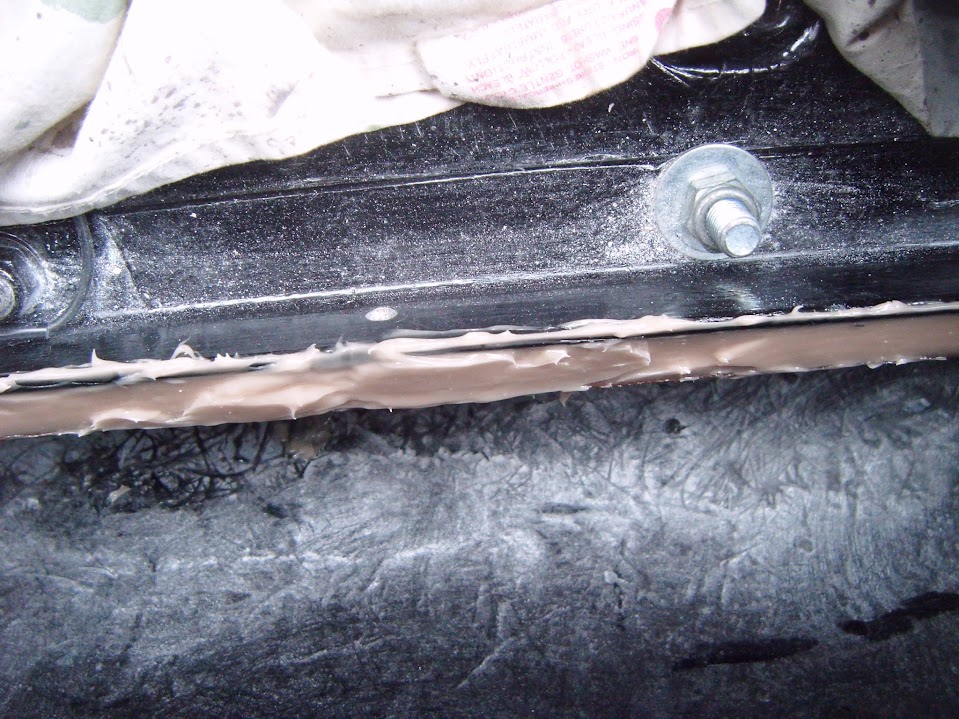
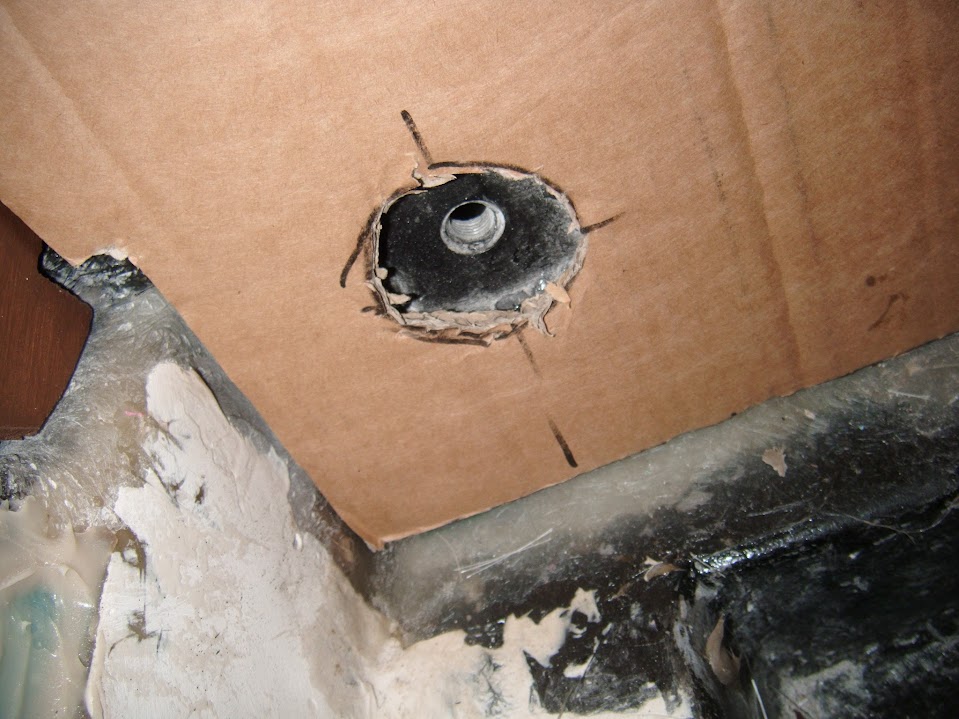
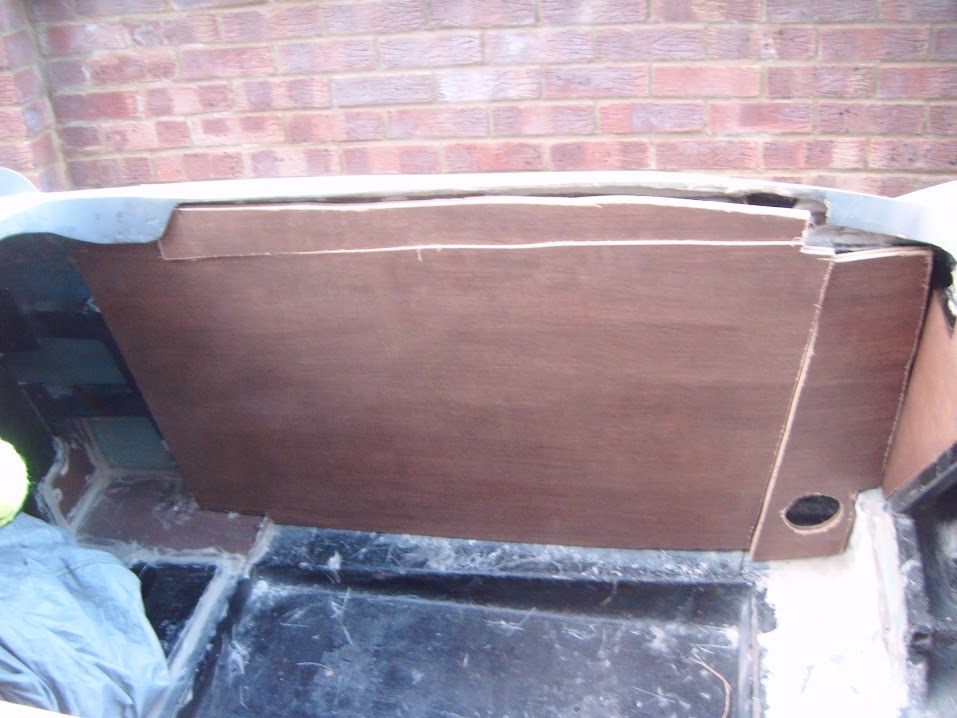
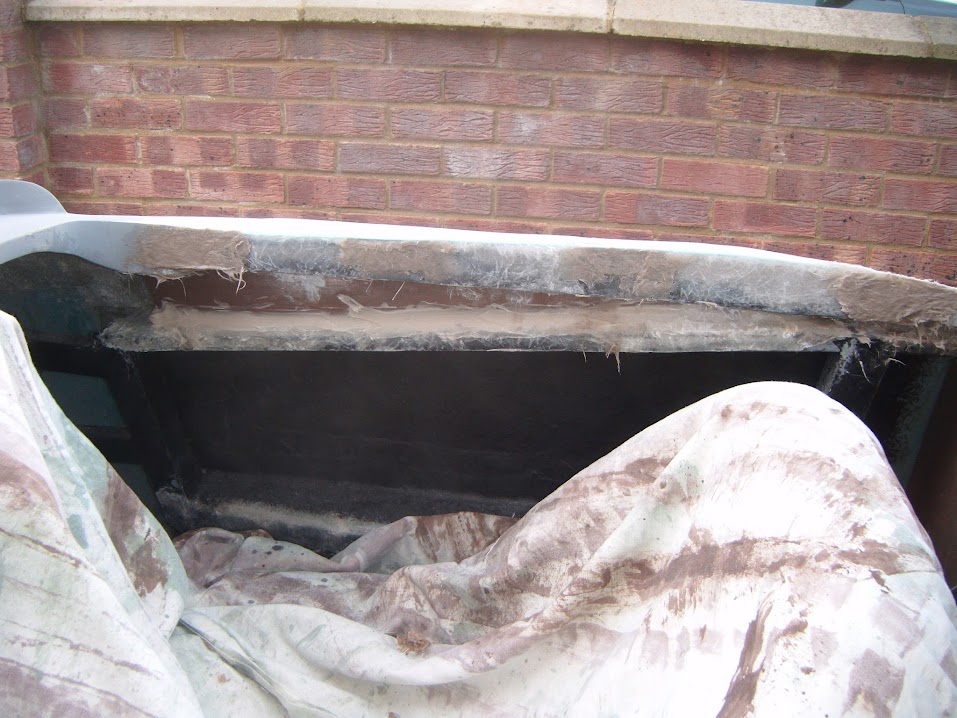
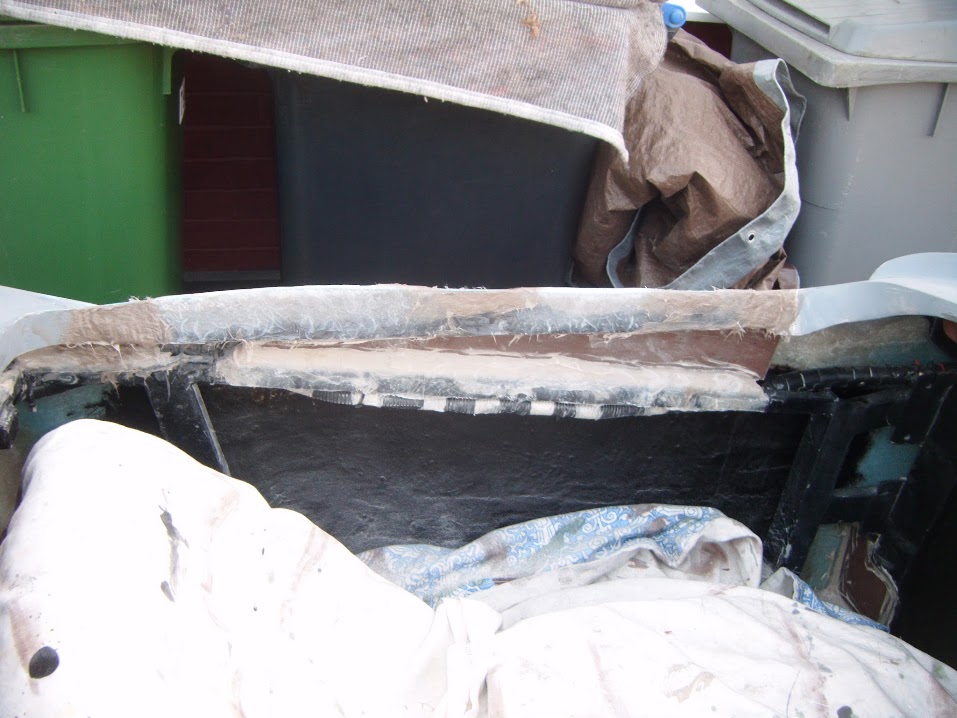
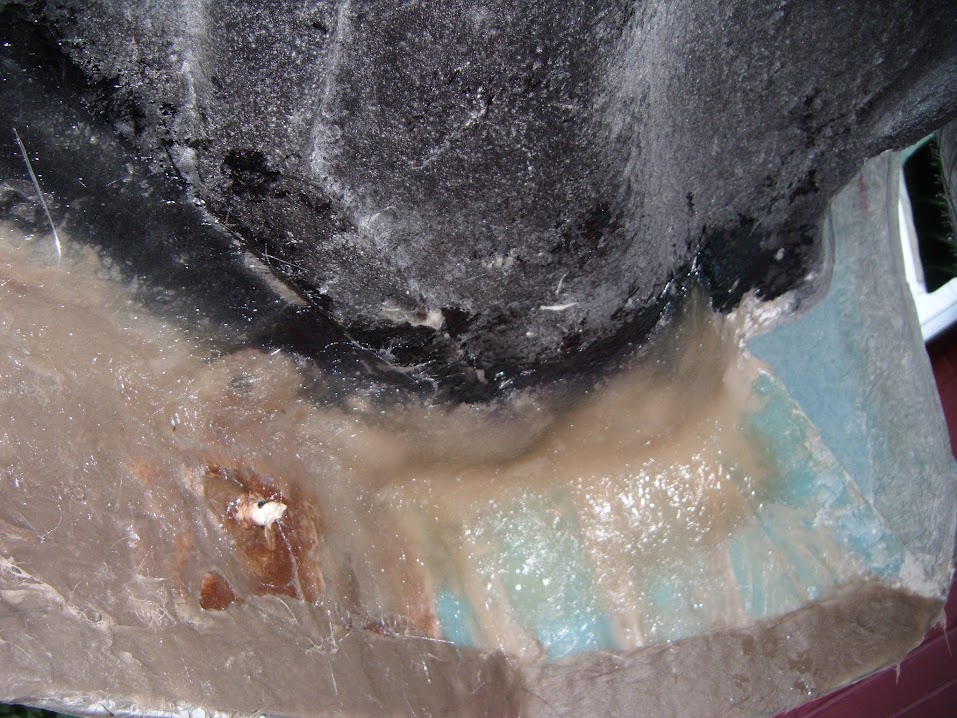
Removed the tape from the drain hole panels fitted yesterday and filled in the gaps with bonding paste.


I know this patchwork quilt approach looks as ugly as sin, but the longer the paste cures, the more solid it gets / feels. :cool:

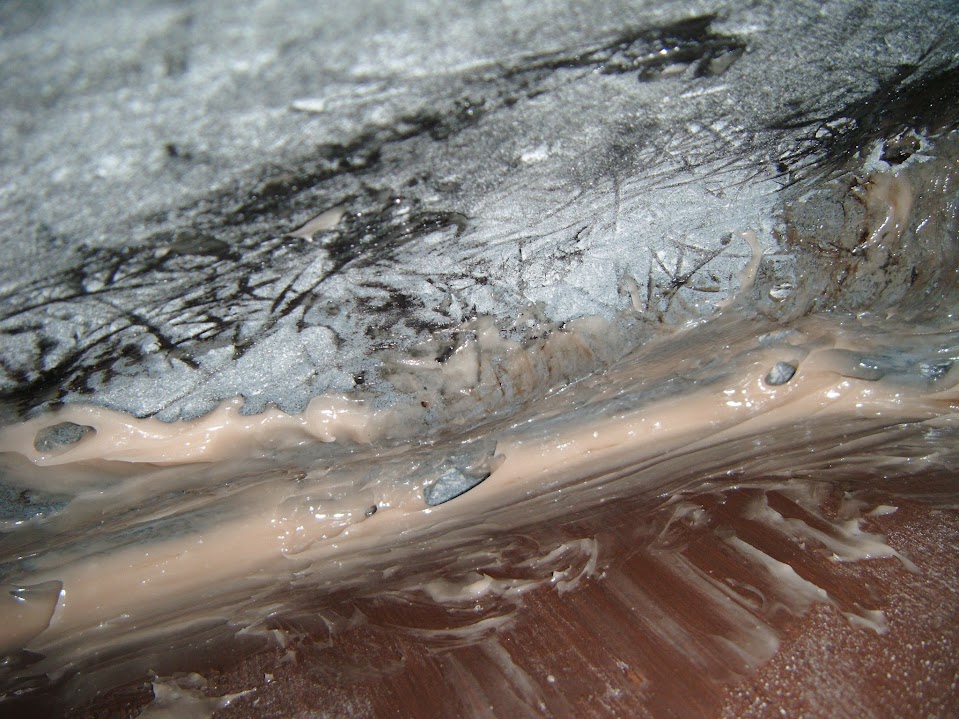
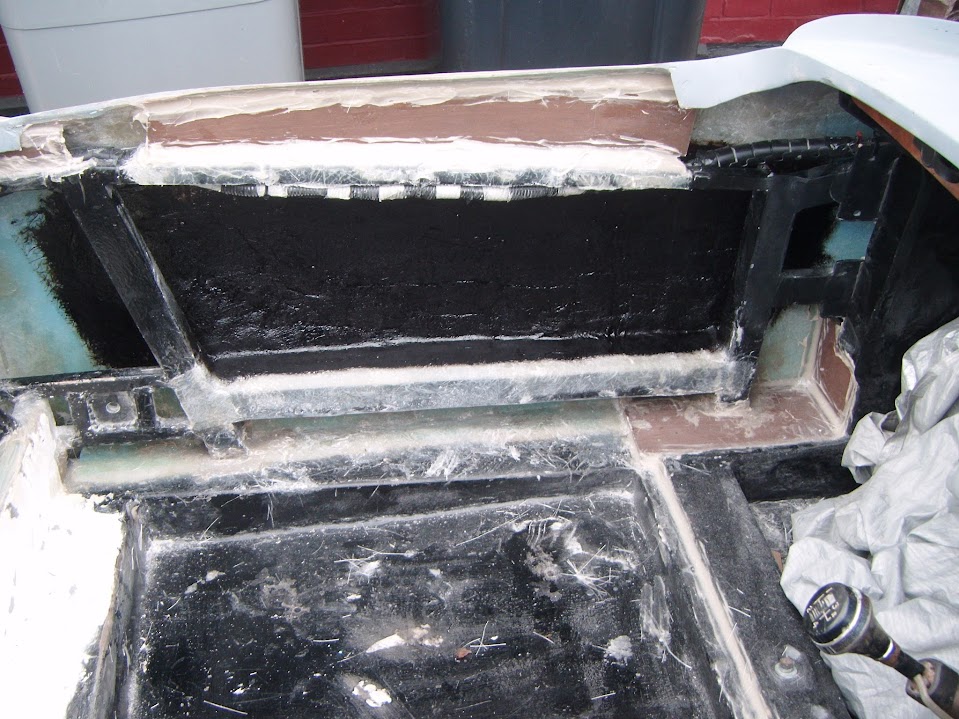
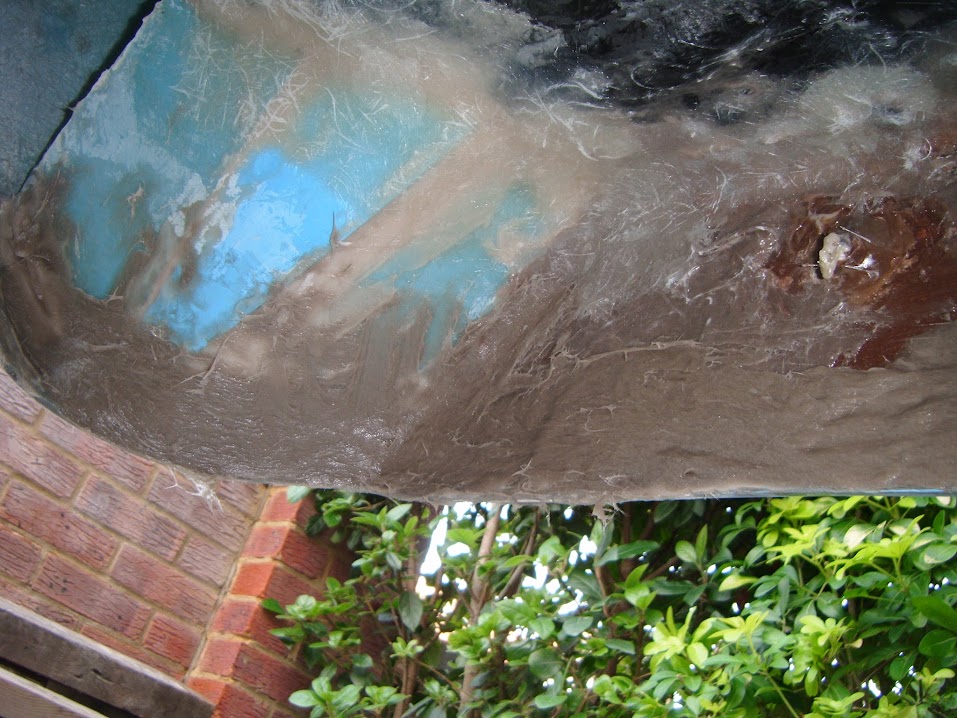
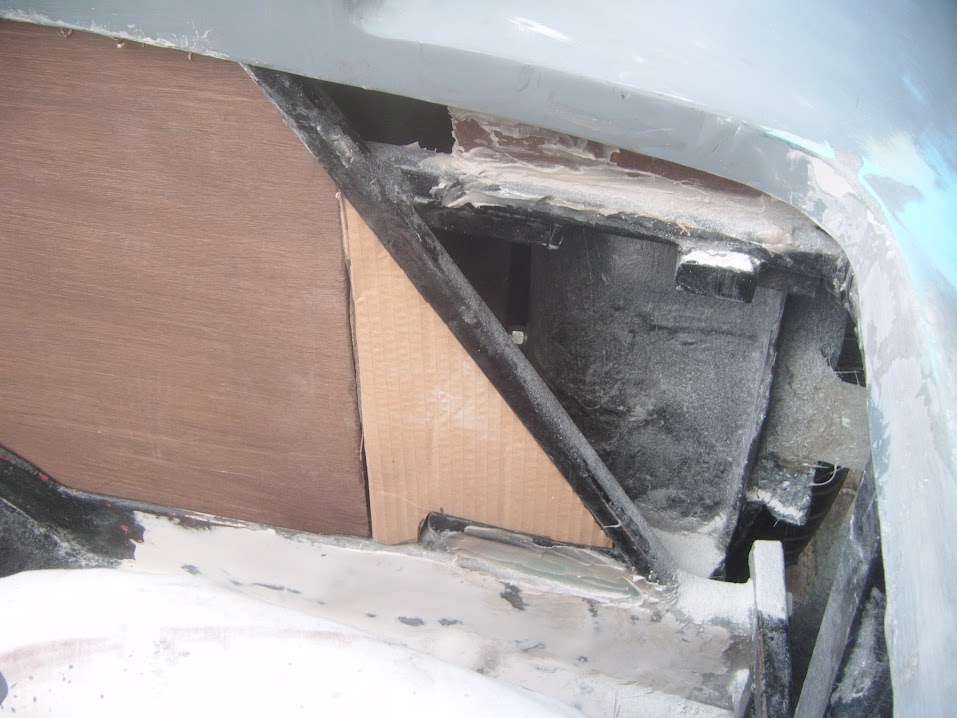
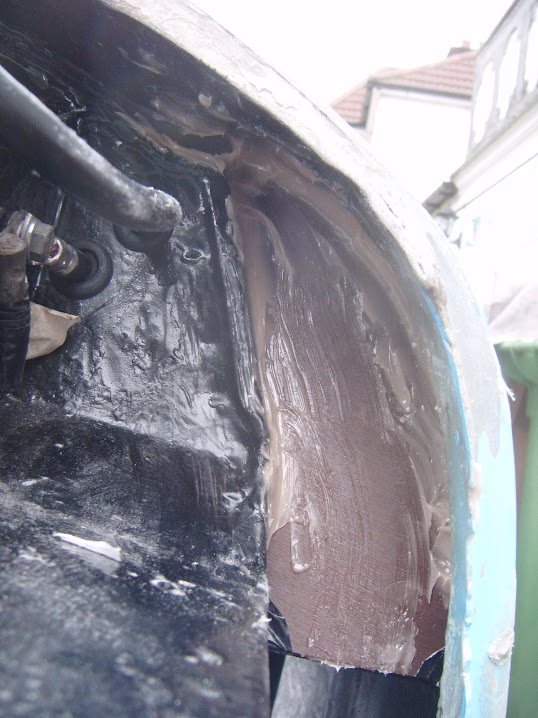
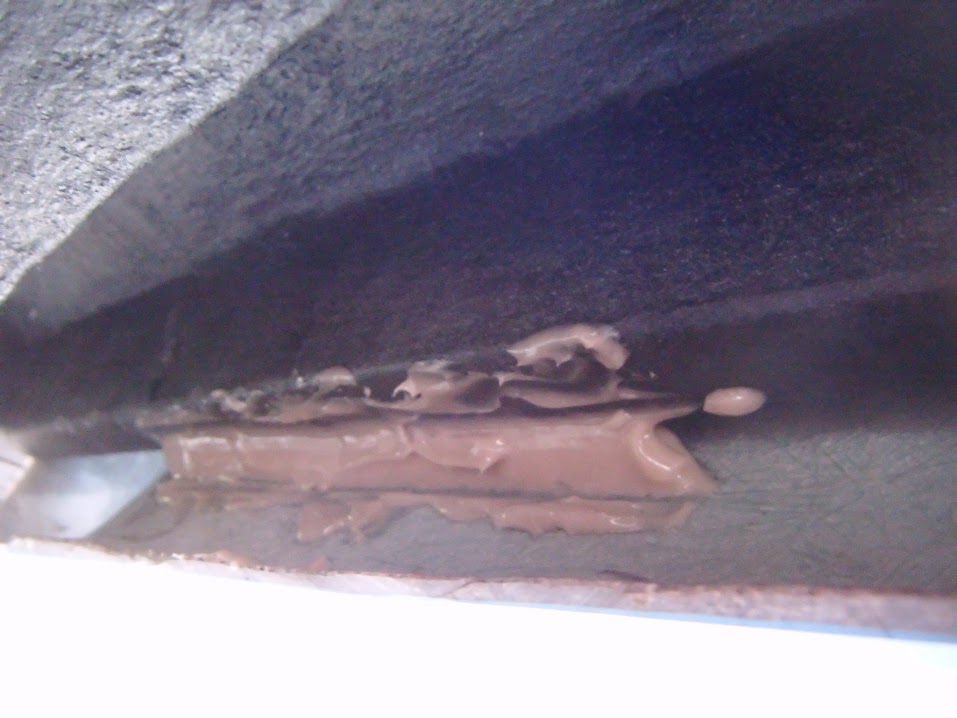
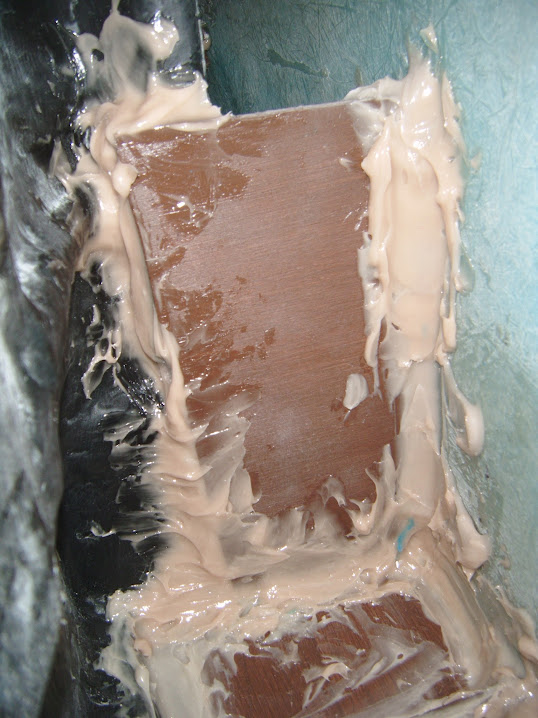
Also applied bonding paste to the remaining inside joins of these panels, via the boot opening.

Not easy to get a decent photo in here either, but hopefully this should give you the general idea.

Top of the panels to the angle iron boot floor support bracket.


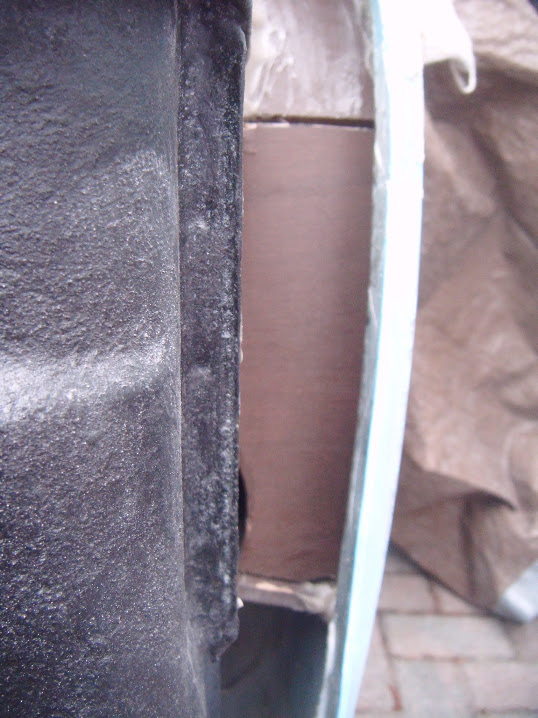
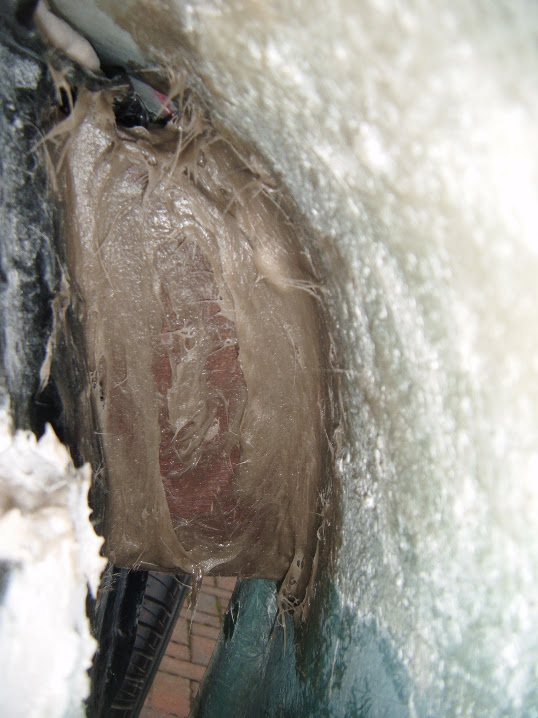
Bottom of the panels to the body shell itself.


Note:
All these hard to reach areas get a second layer of paste to cover any bits I miss first time around.

- - - - - - - - - - - - - - - - - - - - - - - - - - - - - - -

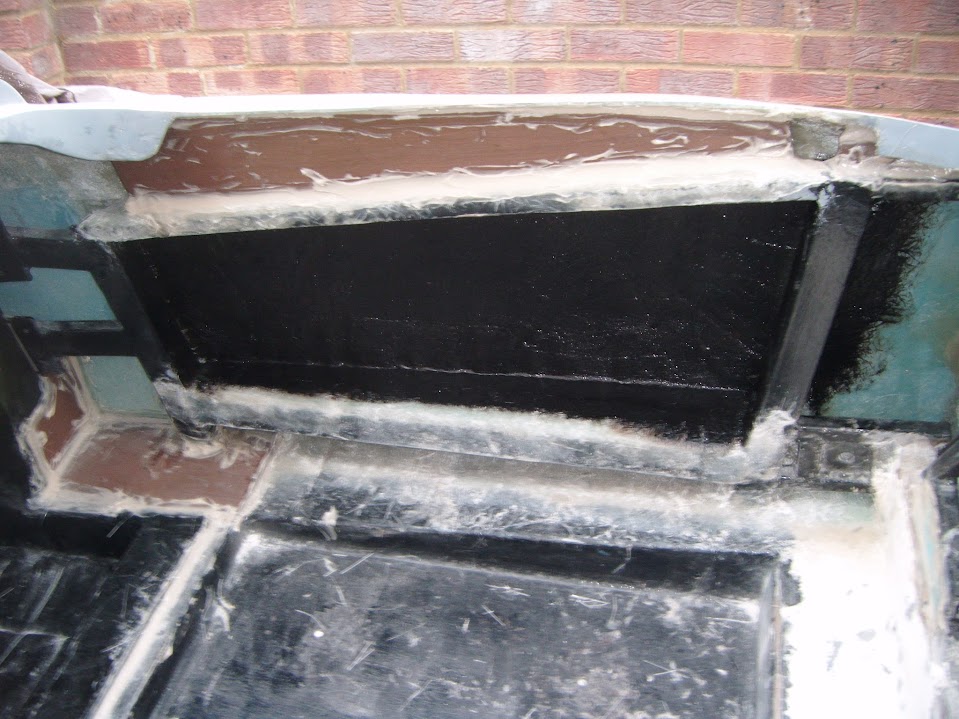
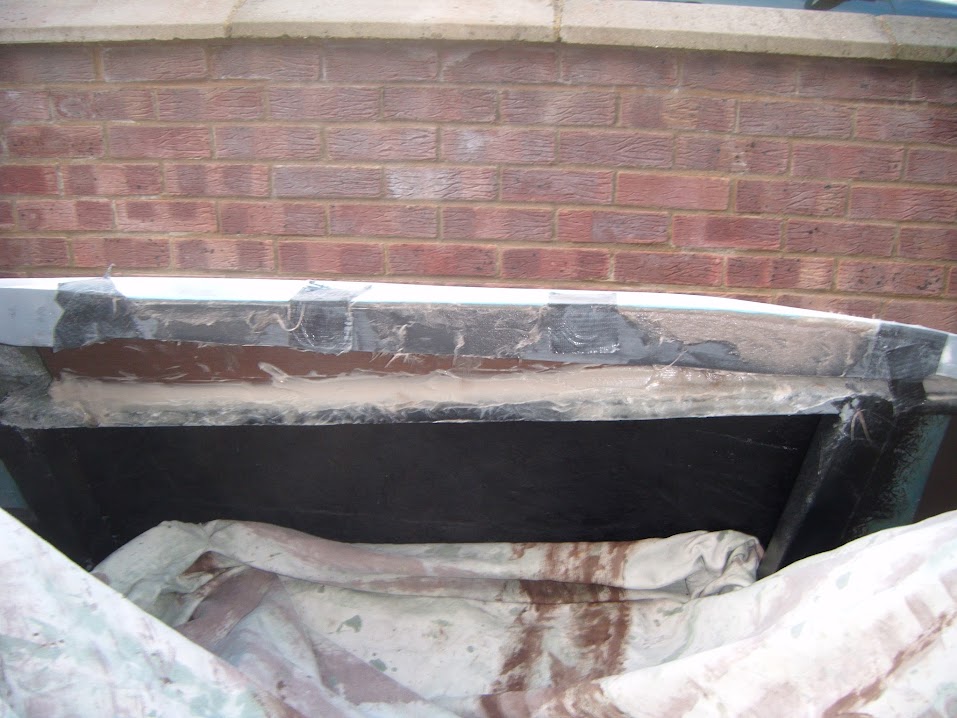
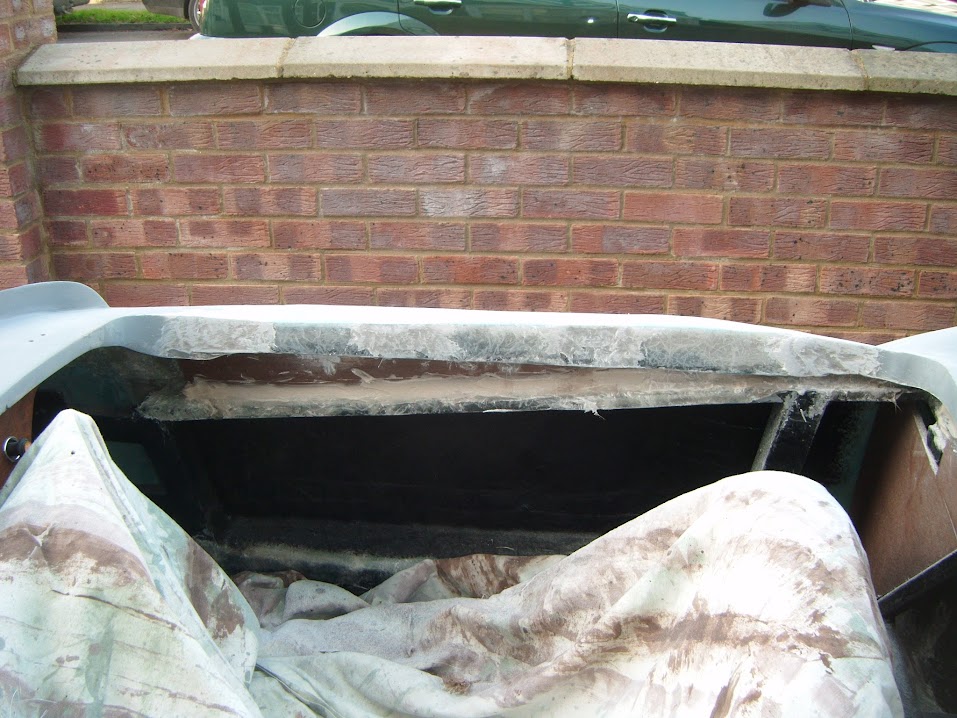
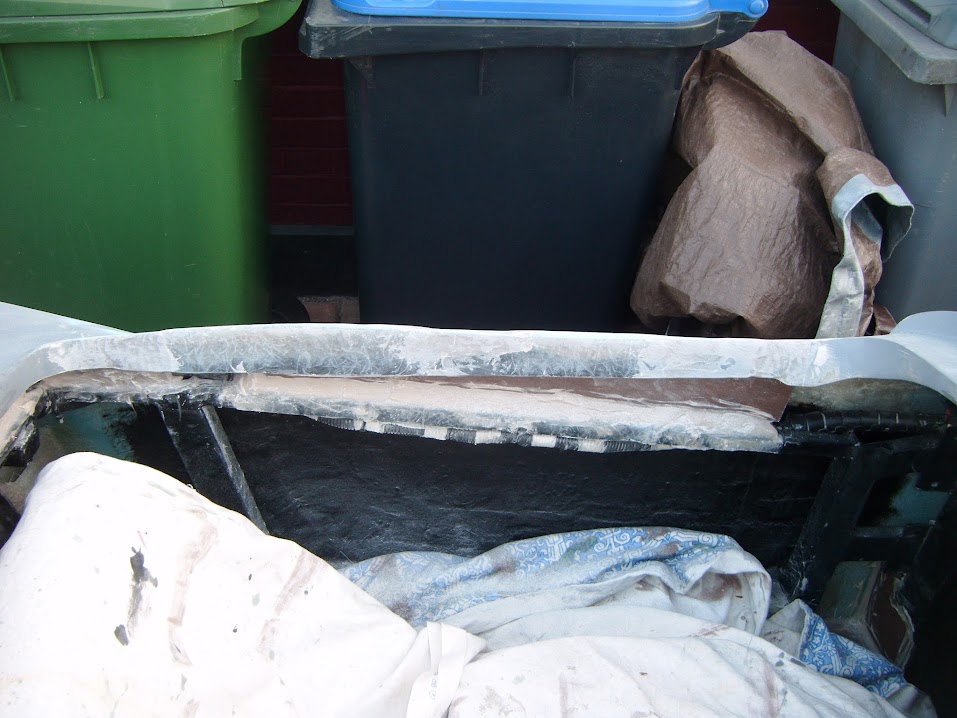
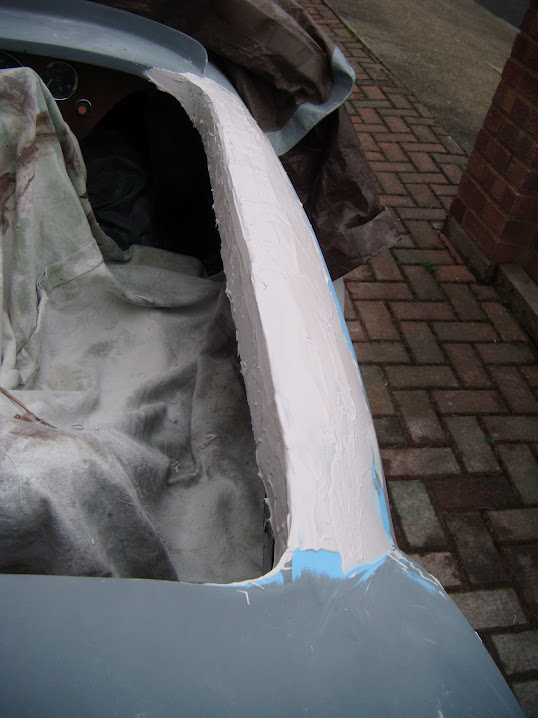
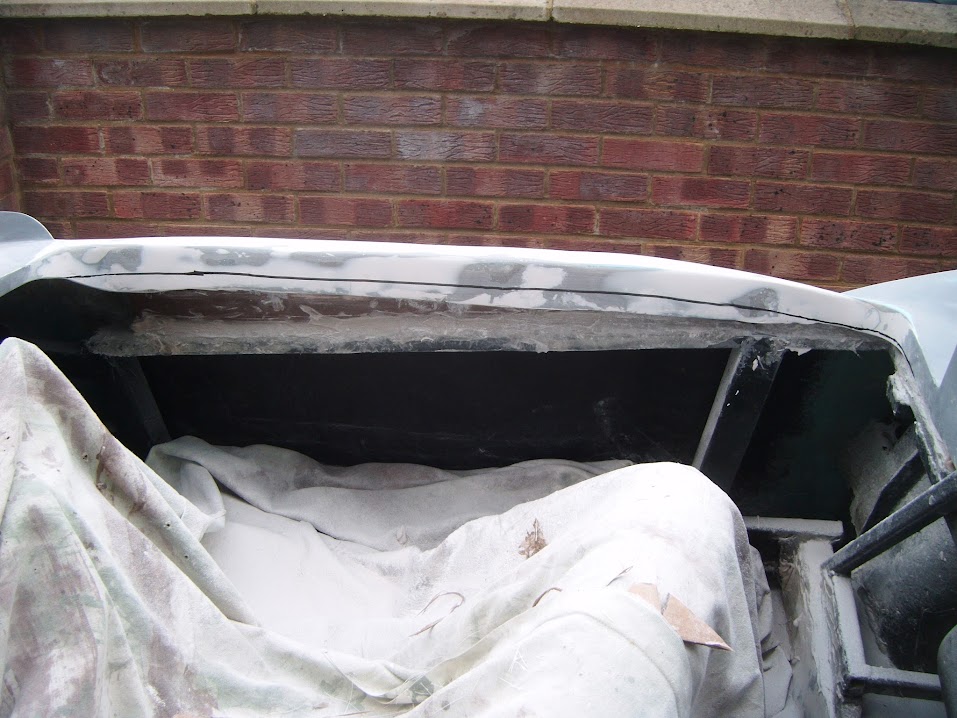
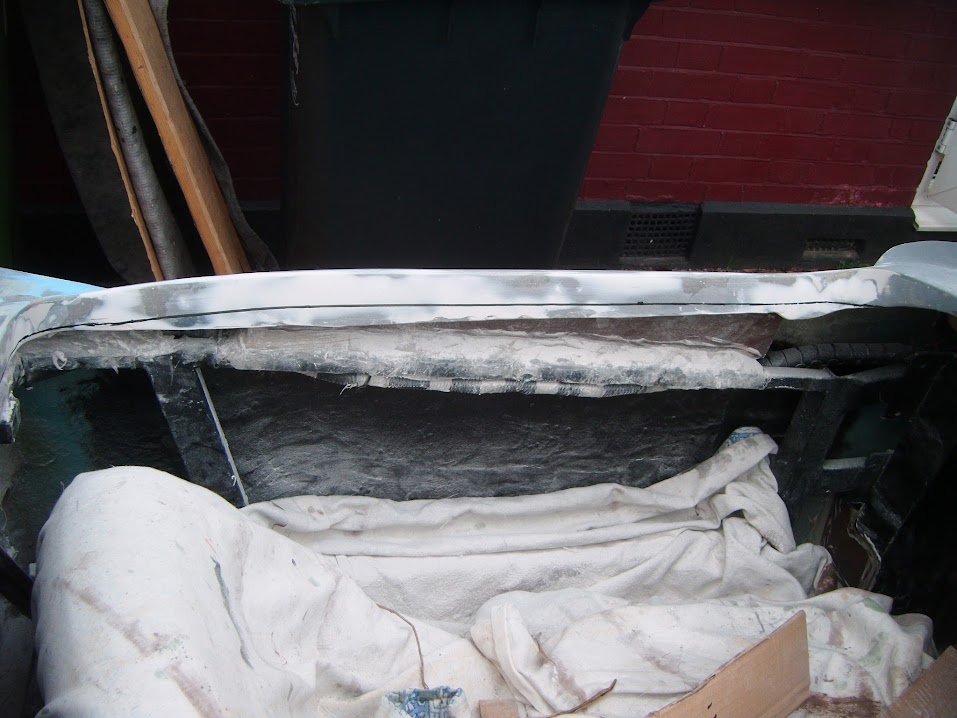
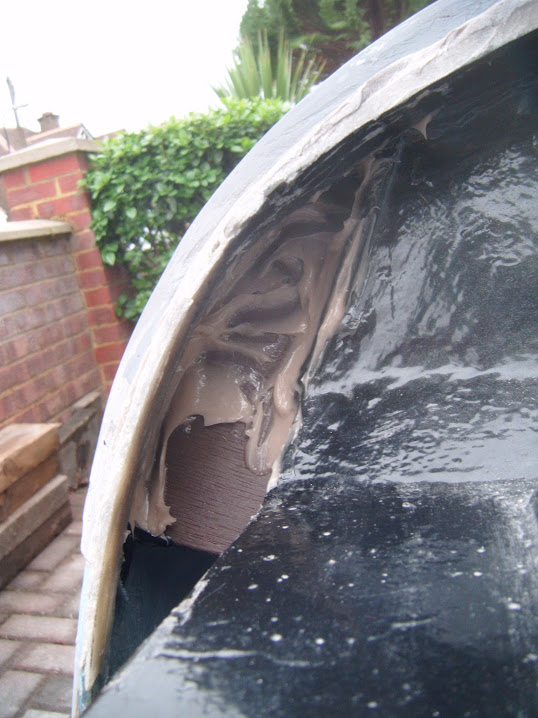
While I remember, this is where the fibreglass filler went between the rear cockpit framework & the body shell.


Still needs a final coat of normal filler to smooth it out a bit.

- - - - - - - - - - - - - - - - - - - - - - - - - - - - - - -

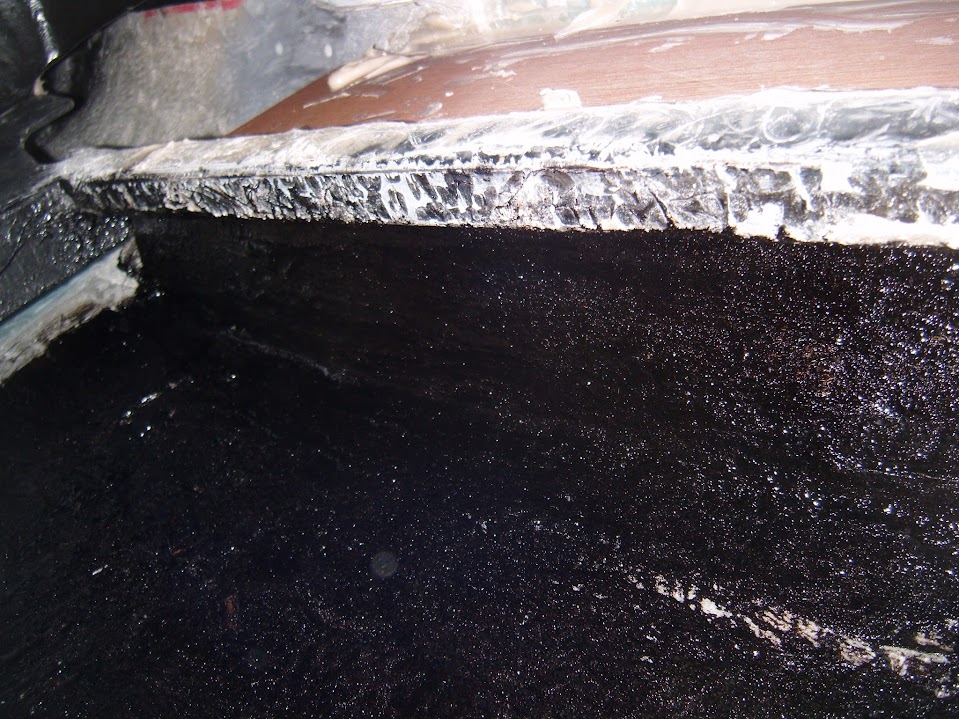
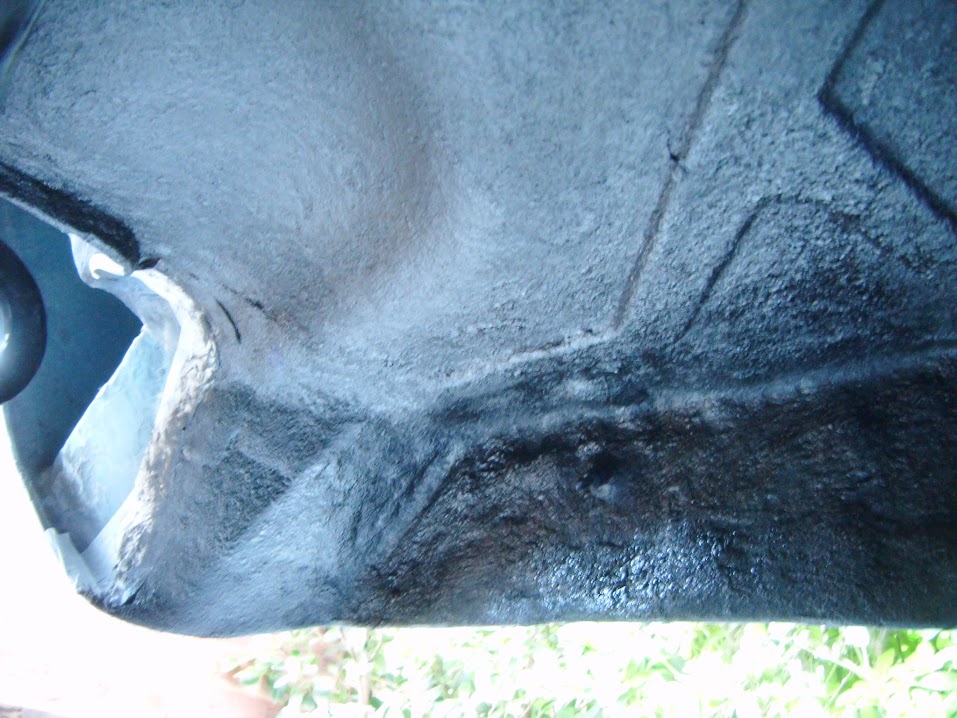
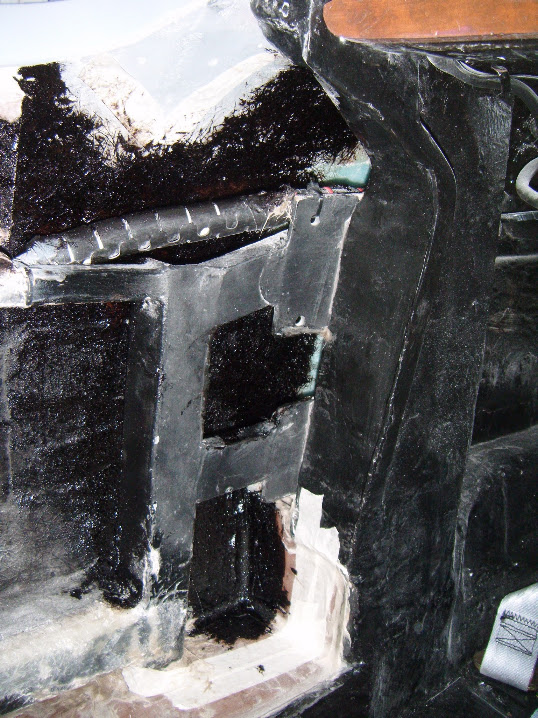
Started to put some Tetroseal on the inside of the cockpit walls.


I also did the underside of the top bridging panels, although it is not easy to see in the photo.


I just need to work out where the rest of the panelling will go before doing any more areas.

- - - - - - - - - - - - - - - - - - - - - - - - - - - - - - -

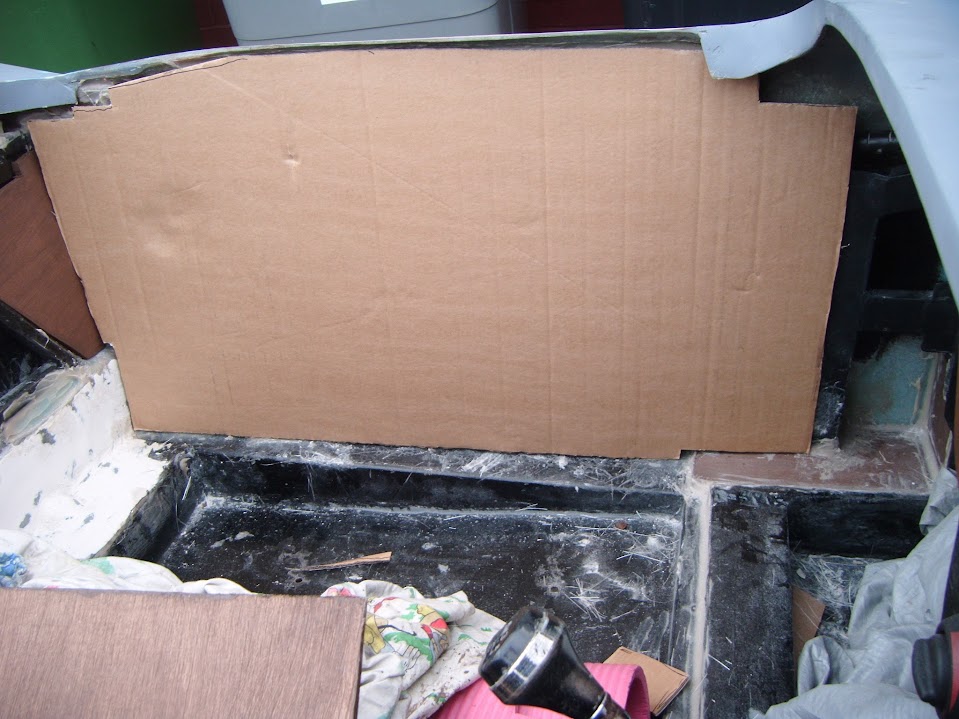
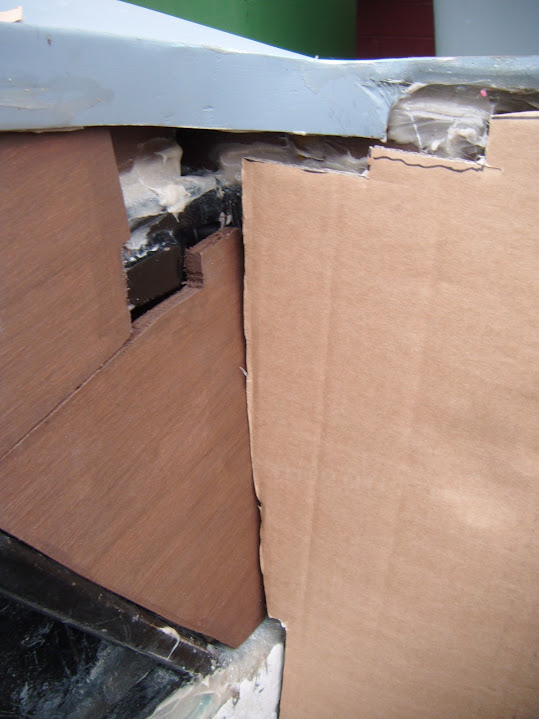
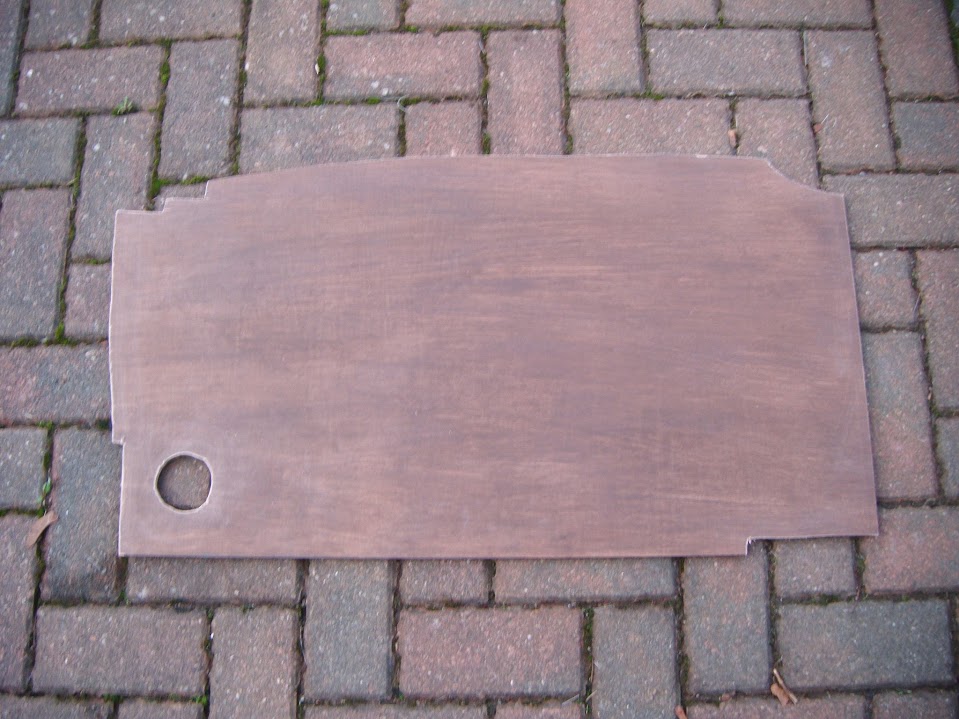
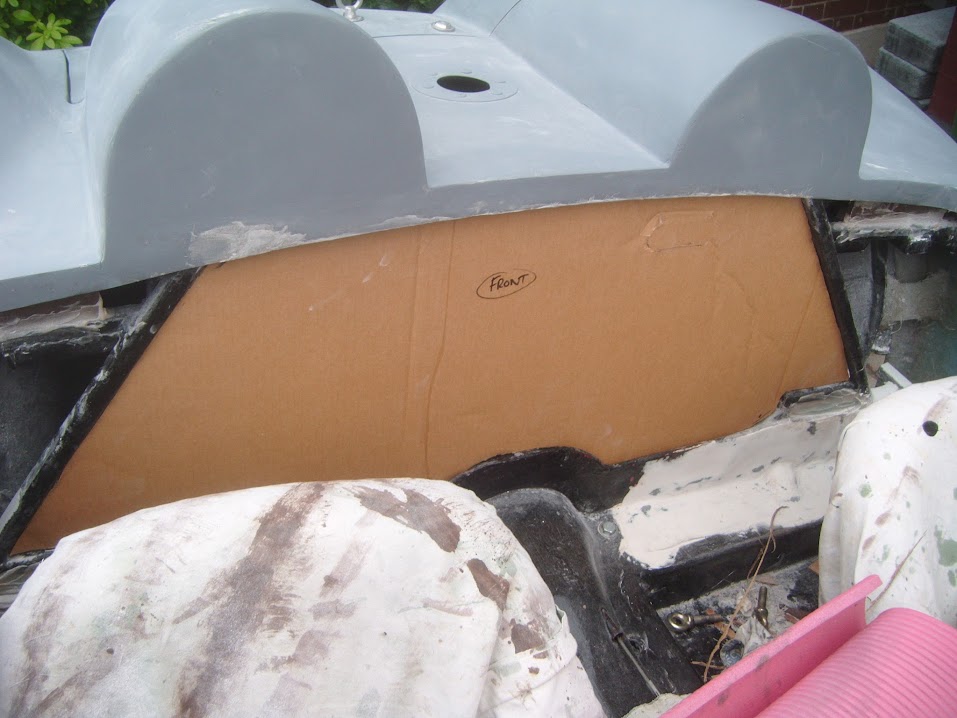
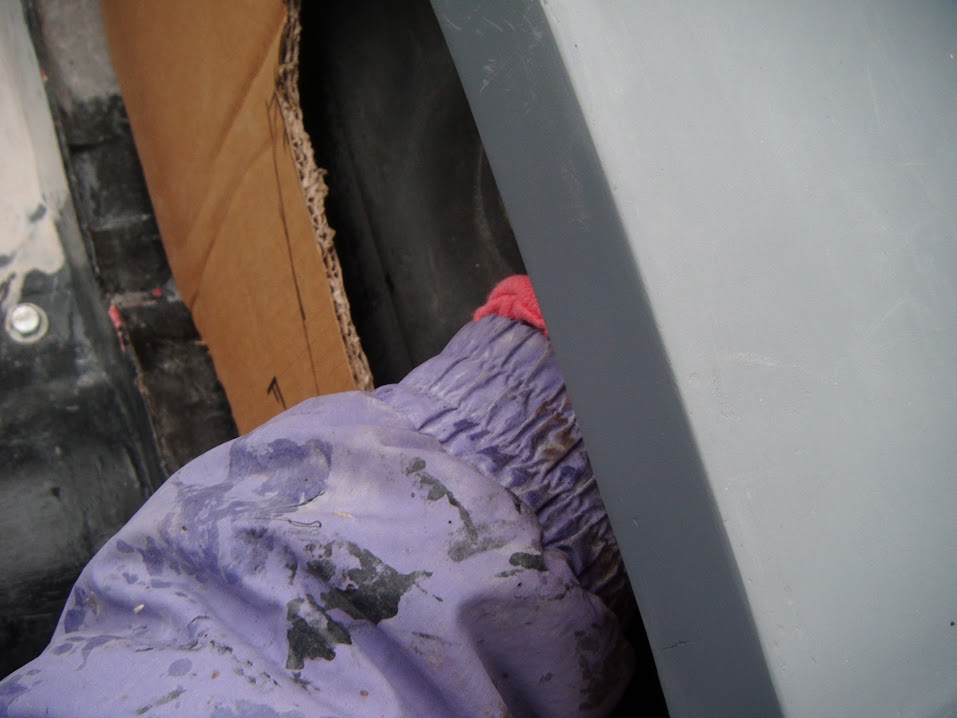
Final job of the morning was to make a template for the passenger side of the cockpit.


As with the rear wall panel, the rear corner will need to be constructed separately.


I also need to leave some space to provide access to the side mirror mounting points.


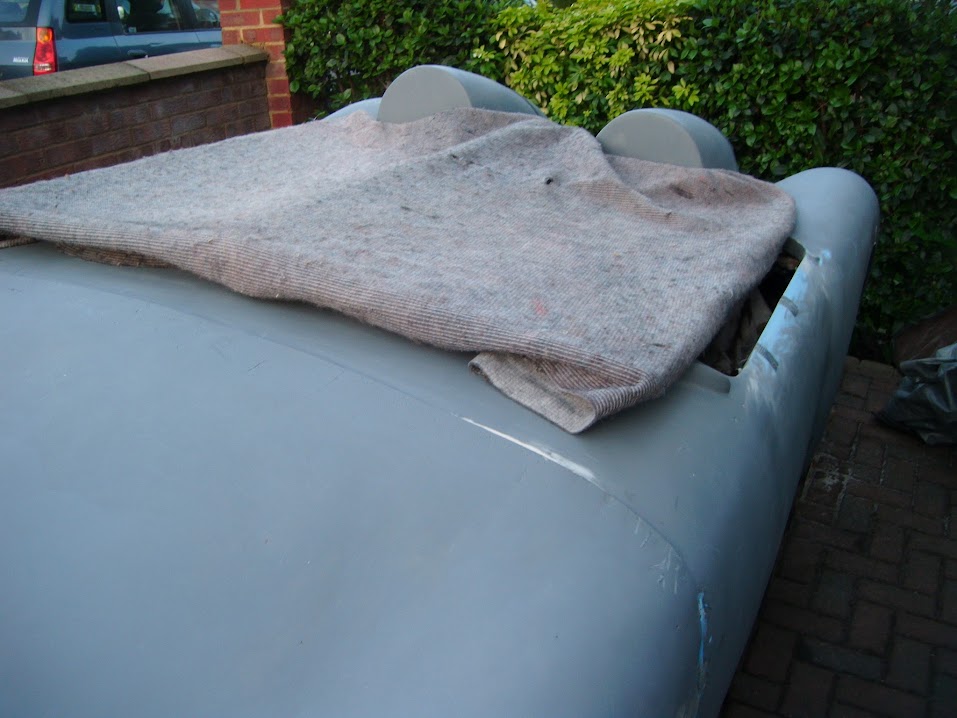
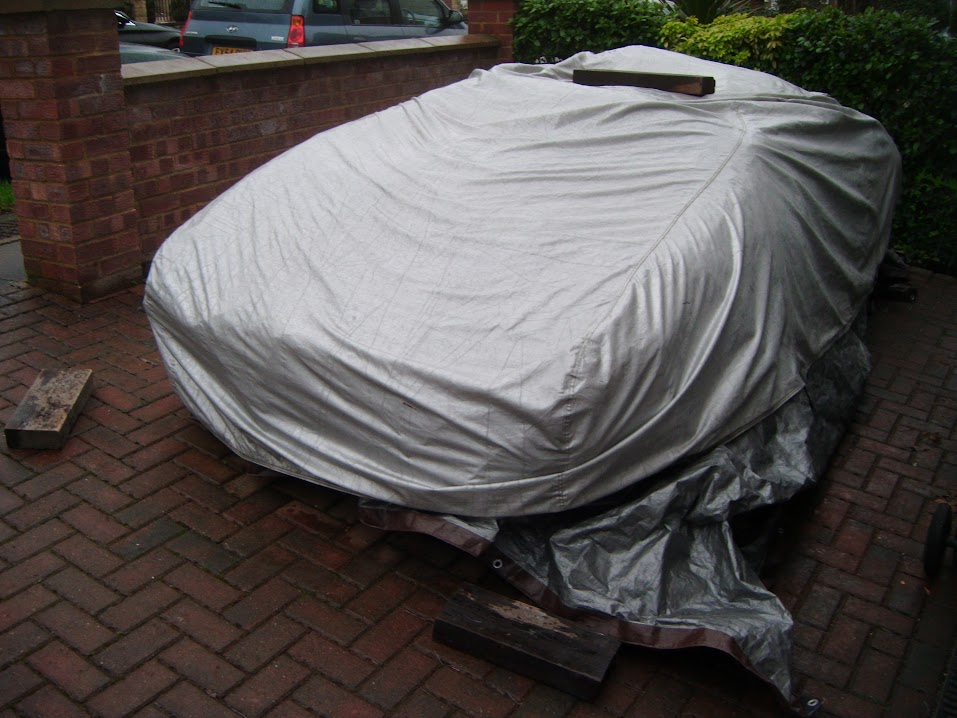
At this point I had to put the covers on to do some other chores and, sure enough, the rain did arrive.

- - - - - - - - - - - - - - - - - - - - - - - - - - - - - - -

End of Part 1...
16 Nov 2015, 5:39pm
Monday Afternoon:
Thankfully I remembered I need another access point in the cockpit side panel before I started cutting it out.

So I amended the template to cater for the seat belt mounting point.


Then cut it out of plywood.


Test Fitting - Take 1


Unfortunately, this is not going to work, as the rear of the panel extends beyond the sides of the cockpit.


Note:
Remember that the cockpit sides are already supported by a smaller panel fixed to the top frame rail.

At least I could make another template to fill in the front area.


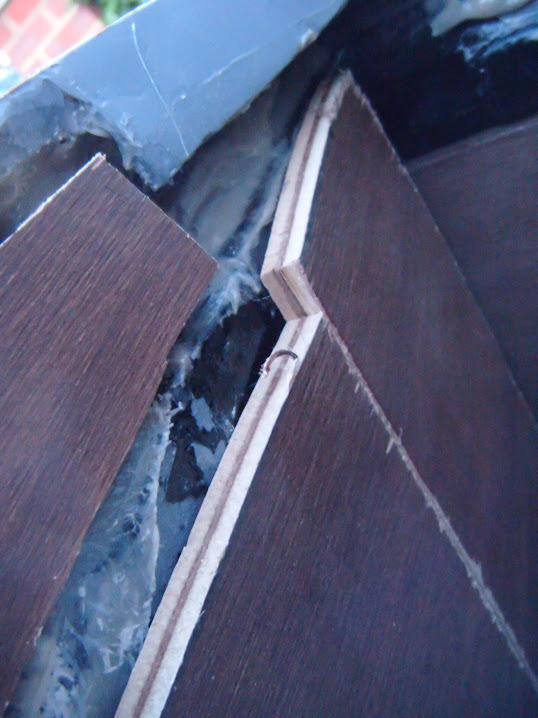
This had to be done separately as the mounting brackets are at an angle.


Then I cut that panel out of plywood and made a drastic alteration to the main panel.


Test Fitting - Take 2


This was better along the top edge of the cockpit sides.


But not so good around the seat belt mount, so it was back to the jig saw.


Test Fitting - Take 3


Just a minor tweak to the upper rear corner this time.


Test Fitting - Take 4


Notes:
- These panels are just resting in place at the moment, so will move a little when finally bonded in.

Even though there is a bit of work left to do before that stage, seeing it in place does lift the spirits. :cool:

- - - - - - - - - - - - - - - - - - - - - - - - - - - - - - -

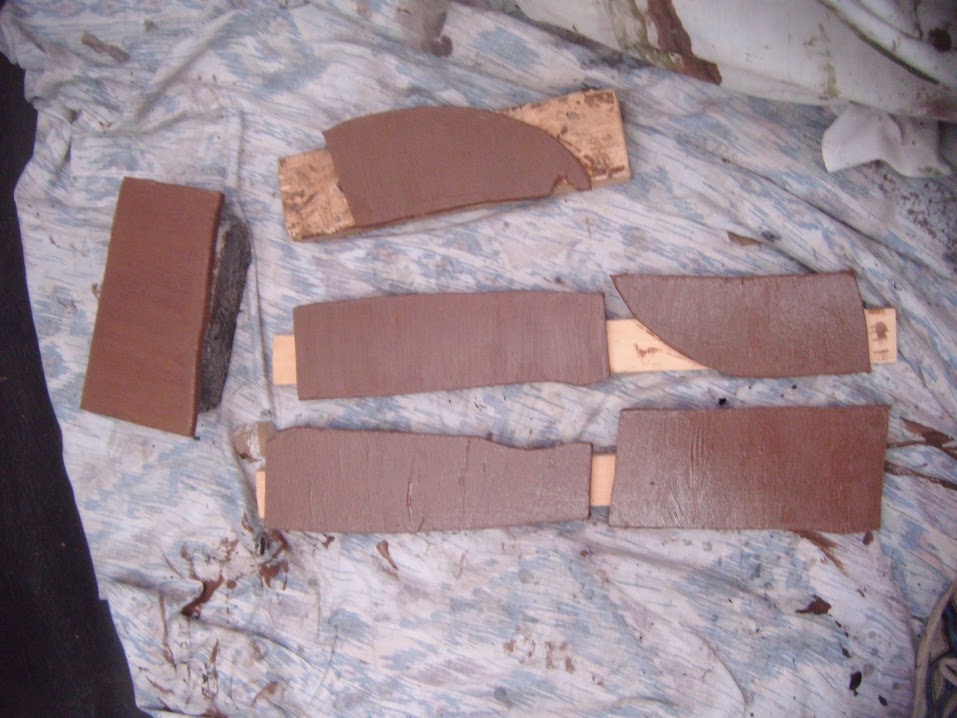
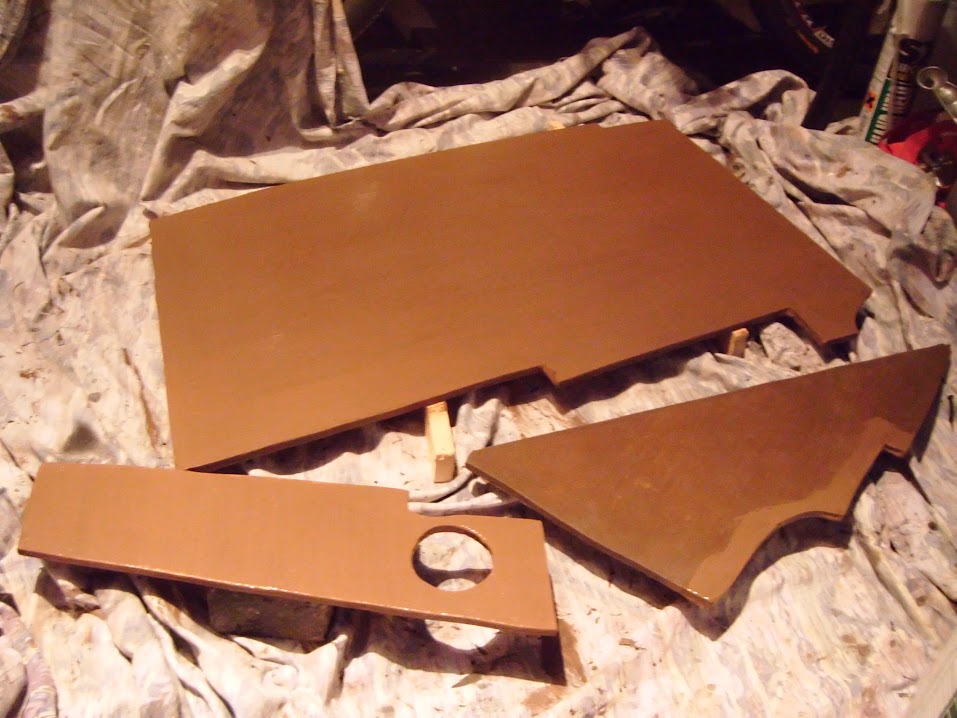
Just had time to paint / treat these panels.


Until next time, take care, Paul. :)
18 Nov 2015, 2:34pm
A Little More:
Painted/treated the other side of the passenger cockpit side panels.


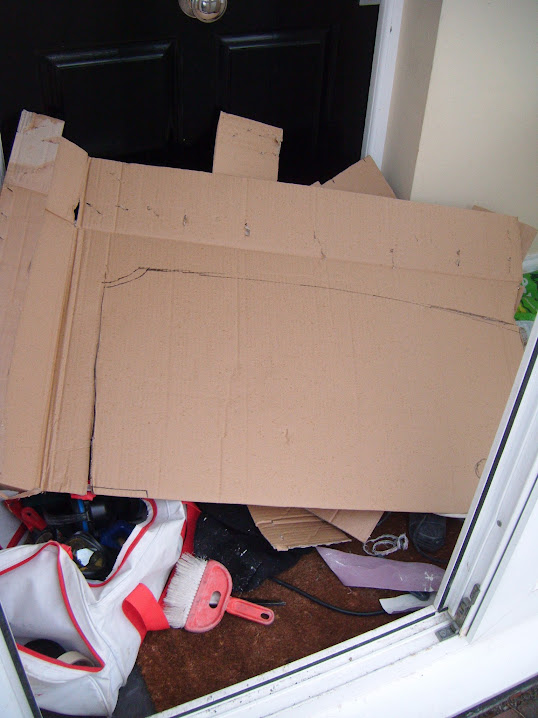
Then cut out some more cardboard templates.


This time to fill in the gap between the bulkhead and body shell.


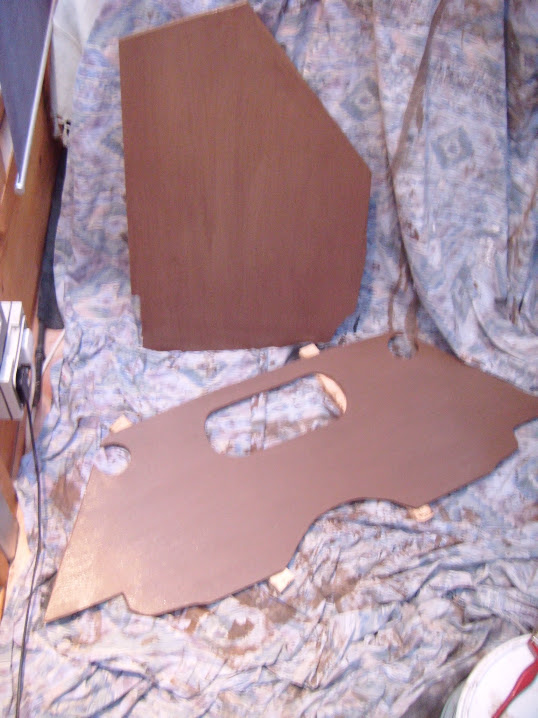
Cut out the panels for both sides from plywood.


There is a lower horizontal section that will meet up with the inner cockpit floor panels.


Then two vertical sections, due to the angles and limited space available.


These were then painted/treated too.


So not much to report, but still better than nothing.

It will be Friday afternoon (at the earliest) before I get another chance to do anything on the car.

So until then, take care, Paul. :)

PS
The sad news of Jonah Lomu's death takes me back to 1995 when we had a young NZ temp working in our department.

He had an absolute field day after NZ stuffed England in the World Cup semi-finals. :rolleyes:
( Although he was a broken man after South Africa beat them in the final. )

Anyway the sight of Lomu running with the ball was a joy to behold. :cool:
( Unless it was your job to tackle him. :eek: )

18 Nov 2015, 5:43pm
Yep, sad news in a week when there's been far too much of that.
20 Nov 2015, 7:17pm
Mr T - Agreed, hard to believe the scale of the attacks in Paris. :icon_sad:

- - - - - - - - - - - - - - - - - - - - - - - - - - - - - - -

Cold Progress:
Sanded down some of the bonding paste on the panels between the boot floor and the body shell.


Unfortunately, I now need to "touch up" the wood preserver in a few areas where the belt sand dug in.

- - - - - - - - - - - - - - - - - - - - - - - - - - - - - - -

Reversed the passenger cockpit side template and tried it for size on the driver's side.


I knew it wasn't going to be a match, but it did make it easier to draw a new template.

But the rain came down as I was in the middle of doing this, so I had to take shelter in the porch.


Eventually I had a decent starting point.


Which was cut out of plywood.


Test Fitting - Take 1


Had similar problems to the other side around the seat belt mount and top edge.


So I made a few cuts.


Take 2 - Panels just resting loosely in place.


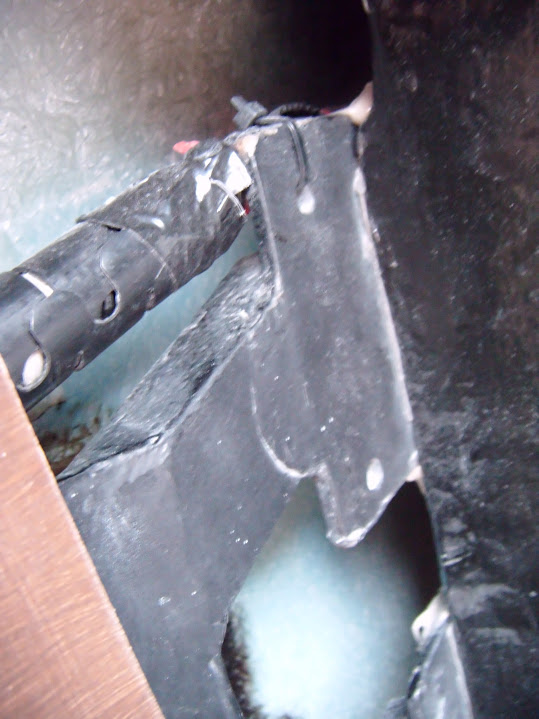
Unfortunately, the framework really is in the way in this rear section.


Take 3 - With new template to "fill in" newly cut out sections.


Take 4 - Something like this.


Hopefully I will eventually be able to blend all this in together. :pray:


However, I really should extend the fibreglass cockpit lips before I do anything else.

But that will have to wait, as my available time was up.

Given now cold it was when I finished up, I dread to think what the weekend will be like. :eek:

Take care, Paul. :)
21 Nov 2015, 5:21pm
Friday Night Extra:
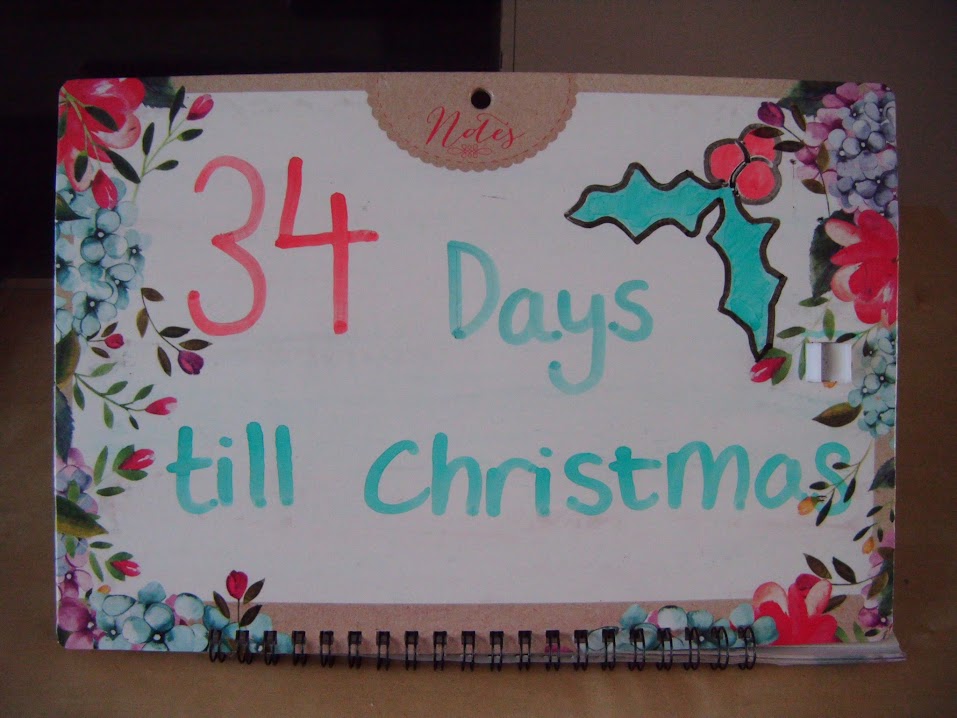
Forgot to mention that this sign appeared in our house yesterday afternoon.


Obviously, it is now 33 days for those of you who, like my daughters, are actually counting. :icon_wink:

I noticed it at about the same time that I spotted this was playing on the TV.
( Excuse the blurred photo. )


So much for my "No Christmas films allowed until December" rule. :rolleyes:

- - - - - - - - - - - - - - - - - - - - - - - - - - - - - - -

An Ill Wind:
One of those days when I was actually happy to have other chores to do, as it was very cold outside.

Still, despite being a Soft Southerner, I added a few more layers and got a bit more done...

Touched up the paint/wood preserve on the plywood panels along the boot floor.
( Along with everything else in that area, just to make sure I didn't miss a bit. )


Although my first attempt to take a photo from further away, ended up becoming a selfie.


- - - - - - - - - - - - - - - - - - - - - - - - - - - - - - -

The next area I looked at were the cockpit sides, which still have the traditional Sammio undulations.


But that is a problem for another day, as I made two templates for the fibreglass lips instead.
( Note: I still need to trim the cockpit lips around the dashboard end. )


I cut them out from the edges of a fibreglass lowered floor pan.


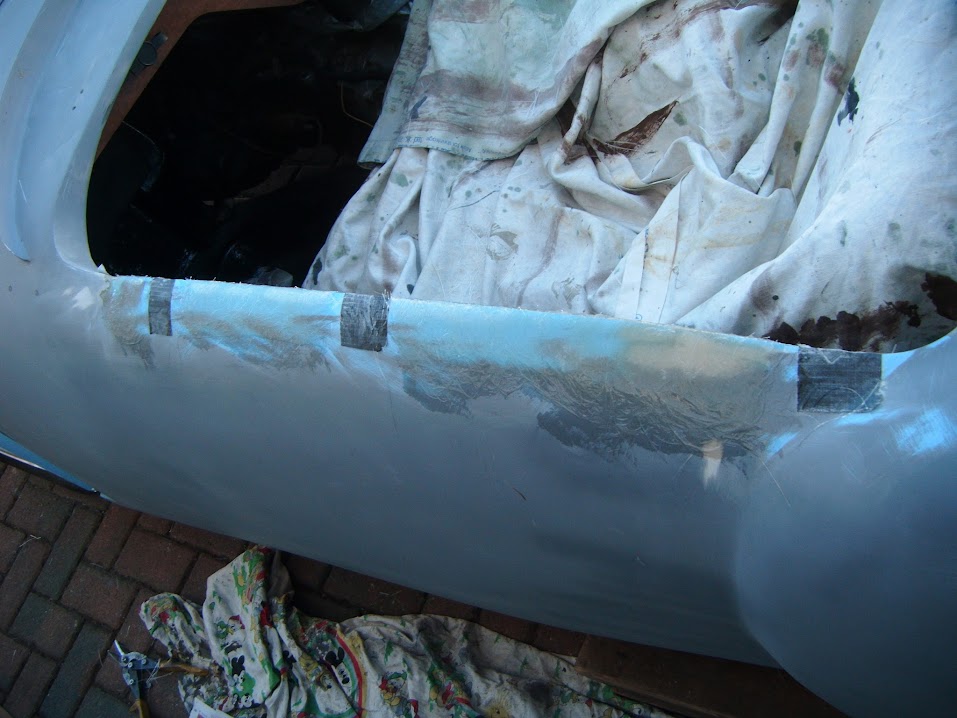
After roughing up the outside edges of the cockpit, I taped them into position.

Then used some fibreglass filler on the inside edges to start fixing them in position.


Note:
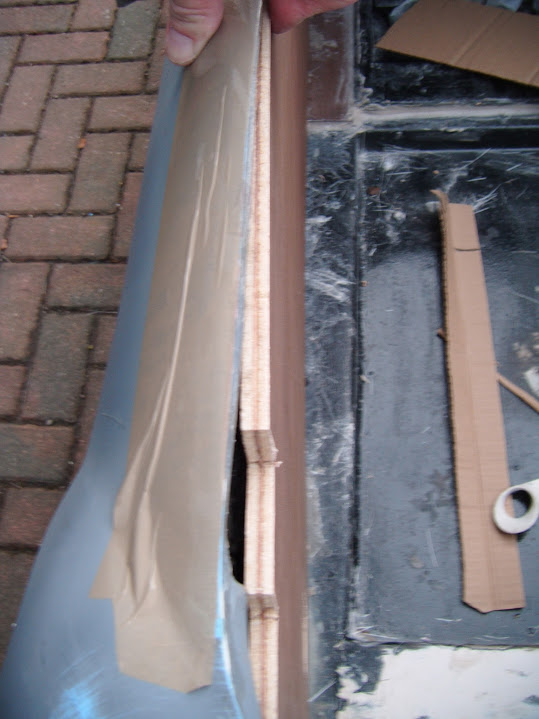
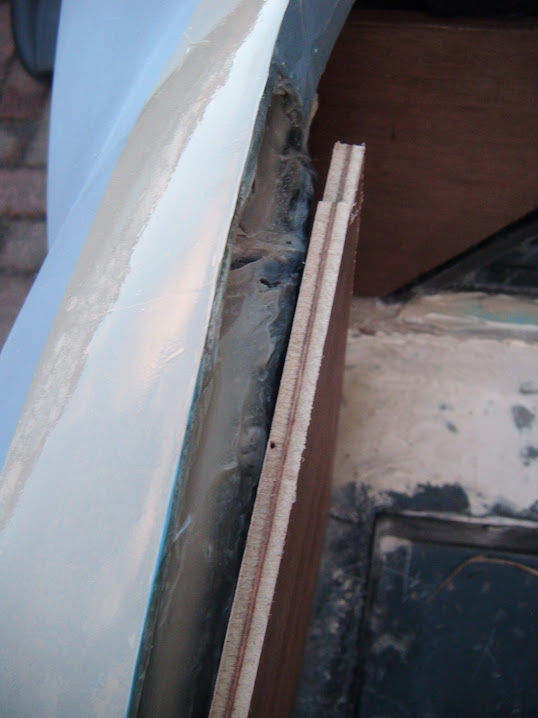
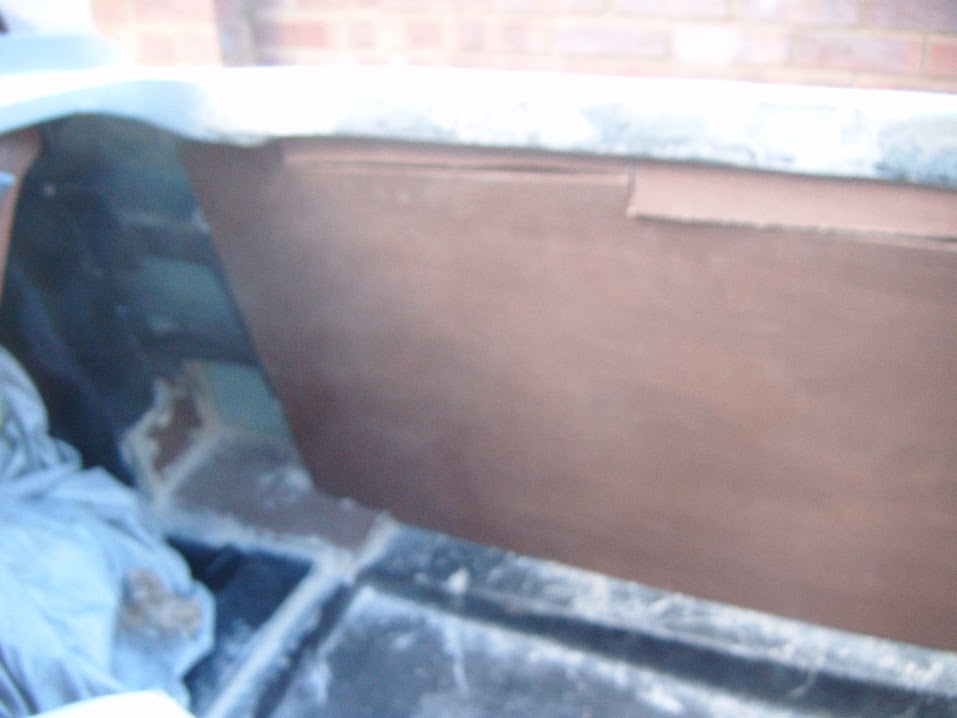
The fibreglass lip is at the bottom of the photo, with the plywood panel supporting the cockpit sides at the top.

This was also pressed into any gaps in the join on the outside too.


The lips have been set at a slight angle, rather than straight down, to help me fit the plywood panels underneath.


I also cut out the fibreglass matting that will go over the top of the join on the outside.


But I will not add the matting until the filler has set fully.

Hopefully, my wooden cockpit cover will keep these new edges "safe" over night.


Although I did sand down the filler just before putting the covers on.


Until next time, take care (& keep warm), Paul. :)
22 Nov 2015, 9:49am
inspration

Great work Paul

I know exactly how it feels as the temperature slips towards freezing but your motivation is still present.
I even admit to working on the roadster Christmas morning between watching presents get opened and cooking the dinner.

So I thought I would share this vid with you.
So we cant afford Ferrari parts but the passion and the reason behind our builds are the same all around the world.

https://youtu.be/ttl-kF8Rbuo

Summer 2016 the Cordite will be heading for a winding country lane.
22 Nov 2015, 2:36pm
Roadster - Despite the cold, my spirits are high, as I really hope this is the last Winter of this build. :pray:

Thanks for the video link, that is one seriously cool "home build". :cool:

- - - - - - - - - - - - - - - - - - - - - - - - - - - - - - -

Token Gesture:
This was another day with limited car time available, but at least I could at least chip away a bit more...

A tentative check on the join of the cockpit side lips confirmed that they were both set solid. :cool:

But I left the tape in place as a guide to where the first batch of fibreglass matting was going.


- - - - - - - - - - - - - - - - - - - - - - - - - - - - - - -

I then applied a second batch of matting to the top join of the boot floor to body shell panelling.


Even though it already feels like a very solid join, another bit of over engineering won't hurt. :rolleyes:

- - - - - - - - - - - - - - - - - - - - - - - - - - - - - - -

Right I'm off to the cinema with my daughters, take care, Paul. :)
23 Nov 2015, 4:25pm
Spot The Difference:
Limited car time (again), but still managed to get a bit more work done, although you'd hardly notice the progress.

Removed the various bits of tape from the cockpit side lips and sanded the areas down before adding some fibreglass filler.
( Both inside & out. )


I also applied some fibreglass filler along the bottom join of the boot floor to body shell panelling.


Cut out some more fibreglass matting.


Which formed part of the final round of fibreglass matting along the top join.


That is definitely it as far as this side of the panelling is concerned.

So at some point this will all be sanded down and painted.

Last job for the day was to sand down the filler along the cockpit side lips.


So that is now ready for a layer of fibreglass matting along the "gaps" on the outside edges where the tape was.

Hopefully, this will look a lot better by the time I've finished tidying it all up. :pray:

Until next time, take care, Paul. :)
23 Nov 2015, 6:26pm
You are definitely building a British race car Paul.
We built them strong and then made them lighter until they would win a race.

Alternatively the Italians made them very light and then strengthened the parts that failed before the end of the race.

The Germans were so interested in saving weight they asked for their country colour to be changed to silver. So they could save the weight of painting their cars .
24 Nov 2015, 5:53pm
Roadster - I'm not sure what racing Nation added extra weight and then left it there. :icon_wink:

At least it should not fall apart when I hit a speed bump / pot hole. < Touch Wood. >

- - - - - - - - - - - - - - - - - - - - - - - - - - - - - - -

A Damp Day:
Tidied up the Summer House while I waited for the rain and drizzle to finally clear up.

Then started sanding down the filler along the bottom edge of the boot floor to body shell panelling.

This task was made harder by the fact there really isn't much room to manoeuvre under there.

Unfortunately, it took me a while to notice that the rain had returned, forcing me to stop for an extended break.


When I returned, I removed the tail pipe mounts.


I then continued with the sanding until the rain came back and I had to take cover again.


So it was third time lucky when I finally finished.


Note:
This whole area is both underneath the car and will be covered in Tetroseal, so I this is a good enough finish for me.

Then I put a coat of etch primer on.


Both the outside edges have been left un-primed for now, as they will eventually form part of the inner wheel arches.

The other thing I had done was to sand down the external side of the body shell to remove any traces of excess filler.

So the bottom edges on the outside were also given a coat of etch primer.


Then I test fitted the cockpit side panels.


Both sets of panels will need a bit of fine tuning before they will slot under the new fibreglass lips.

I was able to make up the passenger side, but the rain returned again before I could tackle the driver's side. :rant:

So with all the covers back on at the front of the house, I relocated to the Summer House.

When the rain stopped again, I could adjust the passenger side panels.


Although I want to re-check the bigger panel as I think it might need some further adjustment.

I also realised that the bottom two panels on the driver's side are fine, so I gave then an extra coat of paint/wood preserve.
( Along with the freshly cut edges of the smaller passenger side panel. )


Overall, a frustrating day as I had a lot of time available, but no decent weather to work in.

Still, it is all forward progress, so I can't really complain.

Until next time, take care, Paul. :)
25 Nov 2015, 7:47pm
A Mixed Bag:
I had just removed the covers & started work on the cockpit side lips when it started raining. :icon_sad:

So the covers went straight back on and I had a major sense of humour failure. :rant:


Eventually it cleared up enough for me to try again...

I test fitted the cockpit side panels and made a few minor adjustments around some of the edges.


Eventually both sides were able to slot into place underneath the new side lips.

Although they are all just roughly balanced in position for now.

Passenger Side:


Driver's Side:


Sorry this next photo is a bit blurred.


Then I made a template for the final section along the driver's side.


Before cutting that out of plywood, along with a replacement piece (new section on top right).


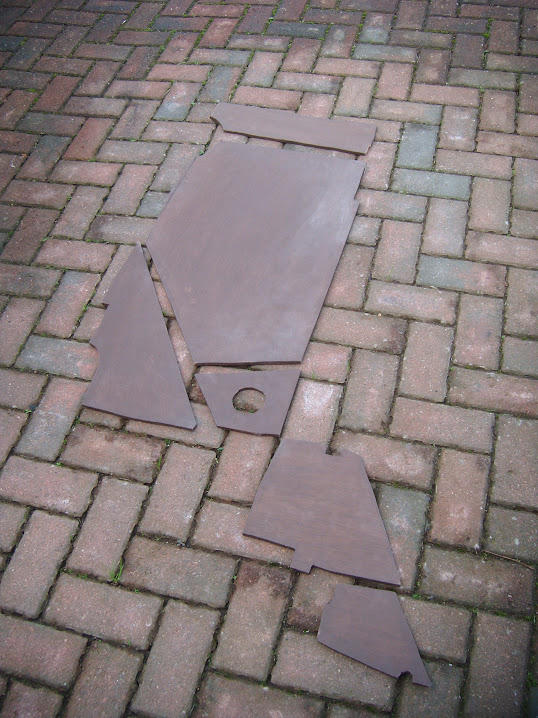
These slotted into place here:


And here:


Which means I now have the complete jigsaw puzzles for both sides, with just the main rear cockpit panel to go.


Added fibreglass matting along the gaps on the outside edges of the cockpit side lips.
( Where the tape had been. )


I left that to set, while I got on with some domestic chores.

- - - - - - - - - - - - - - - - - - - - - - - - - - - - - - -

As it turned out, I only had time to make a start on the painting/treatment of the various panels that need to be topped up.


So until next time, take care, Paul. :)
26 Nov 2015, 5:01pm
A Better Day - Part 1:
Being woken up by the sound of rain lashing down outside is never a good way to start the day. :icon_sad:

At least my first job was indoors, as I added paint/preservative to more of the panels.


Given my poor run with the weather this week, I used a Burlesque Building approach.

Just removing enough of the covers to give a partial view of the car beneath. :icon_wink:


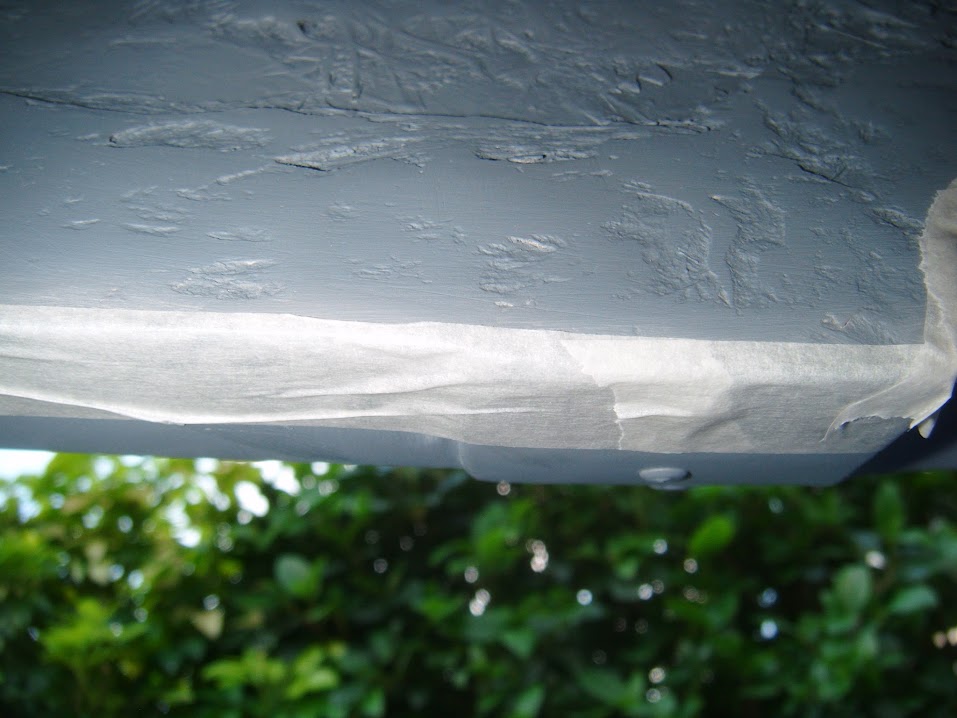
Ran some masking tape along the bottom of the outside edge of the rear body shell.


Although it is not easy to see in this photo, the tape had a small margin on the inside edge too.
( Which will hopefully make it easier to paint the "sunny side" when the time comes. )


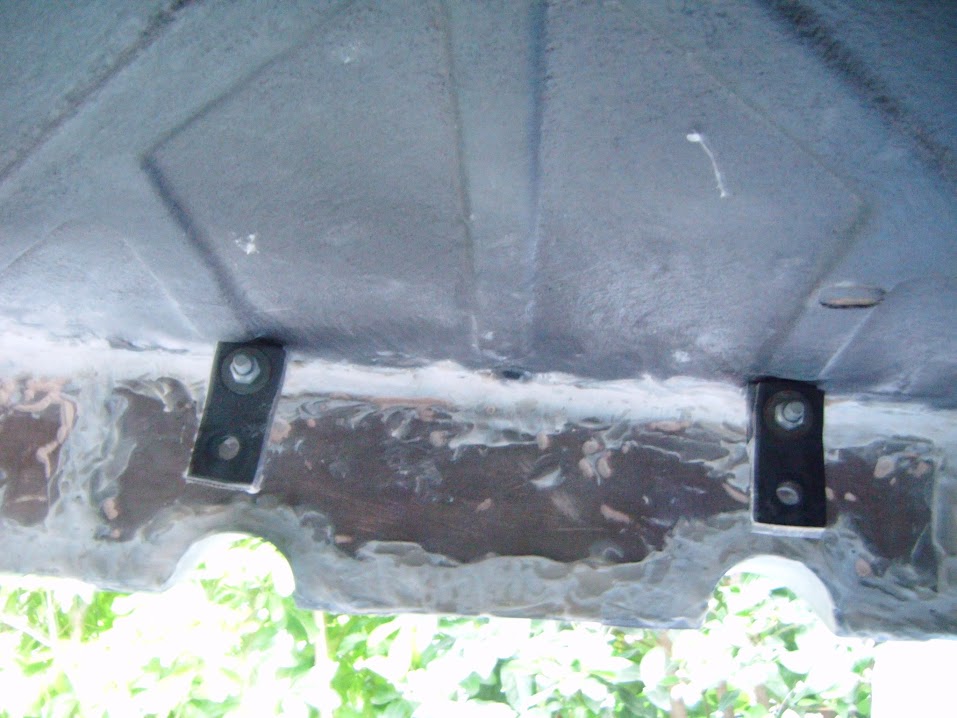
Then I brushed on some Tetroseal over the boot floor to body shell panelling.


Obviously photos of a black surface taken underneath the car are never going to look very clear. :rolleyes:

But at least the 'patch work quilt' of panels are starting to blend in with the rest of the boot floor. :cool:

I'll add a second coat to this at some point.

- - - - - - - - - - - - - - - - - - - - - - - - - - - - - - -

Peeled the covers back a bit more...

Roughly sanded over the fibreglass matting added to the cockpit sides yesterday.
( Note the "little 'n' large" widths of either side. )


- - - - - - - - - - - - - - - - - - - - - - - - - - - - - - -

I'm been thinking recently about the best way to tackle the "undulations" along the top edges of the cockpit sides.

Looking at other builds, Mr T posted this great photo of the passenger side of his Spyder cockpit (before he fixed it).


Mac did something similar to improve the cockpit sides of his Navigator.


Swifty even fitted lower sills to straighten out the bottom edge of his Navigator body shell.


Taking that last point, you can see that I still have the original curvy bottom edge in this side view of my car.


I intend to leave this bottom edge alone, as the key thing for me is that this edge now completely covers the bottom of the framework.
( Which it didn't before I started butchering the body shell. )

End of Part 1...
26 Nov 2015, 5:02pm
A Better Day - Part 2:
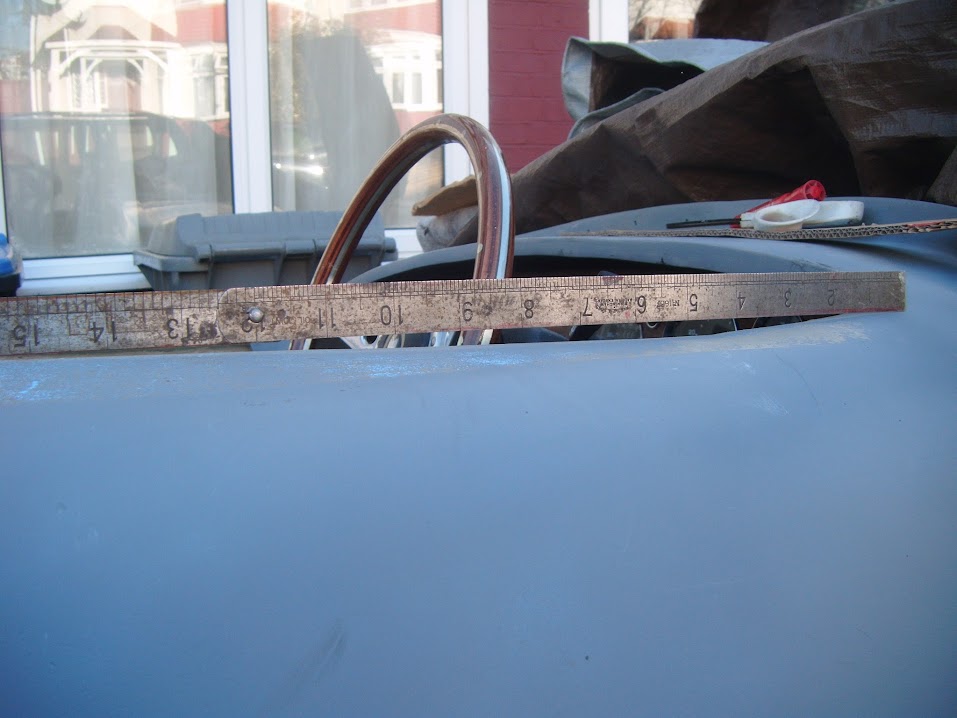
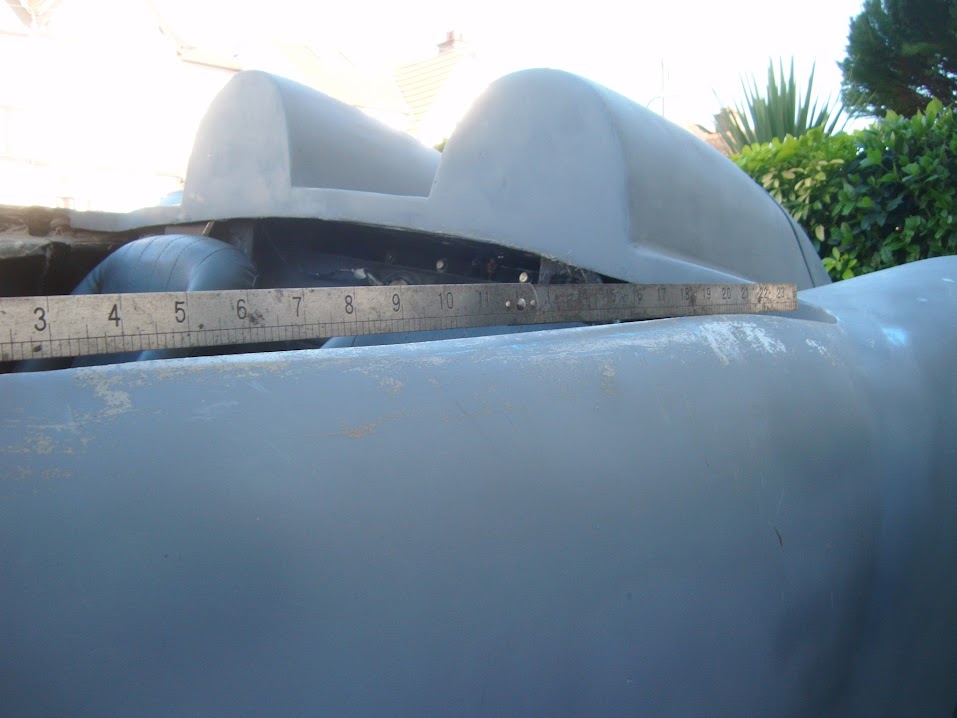
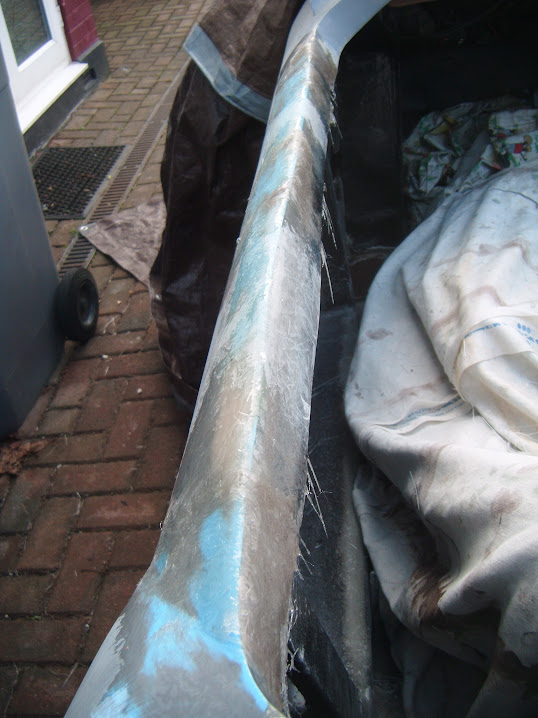
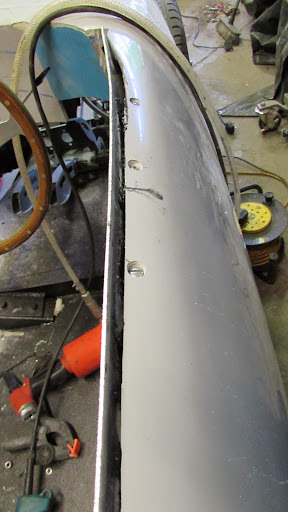
I've used a length of box section to illustrate the "Before" position.


Another issue is the relative heights of the rear cockpit corners and the front bulkhead ones.

So rather than try to achieve a "clean" horizontal line, I will simply try to create some gentle curves, similar to the bottom edge.

I started this process by adding some fibreglass filler over the top.


With a chance of rain in the forecast, I set everything up for a quick cover up if required.


- - - - - - - - - - - - - - - - - - - - - - - - - - - - - - -

Once the filler had gone off sufficiently, I started the sanding down process.

The passenger side has come out very close after this first stage. :cool:


The lips will look a lot better when I finally trim them down to size.


The edge will drop from the bulkhead, then form a straight angle up (see box section), before dropping again at the rear.
( Next time I move the car, I'll be able to take a better "side on" view. )


The key thing is I don't want/need this to be perfect, just better than it was at the start and I can achieve that.

Is it too early for a festive tune?

I'm dreaming of a white driveway...


The driver's side is a bit rougher by comparison.


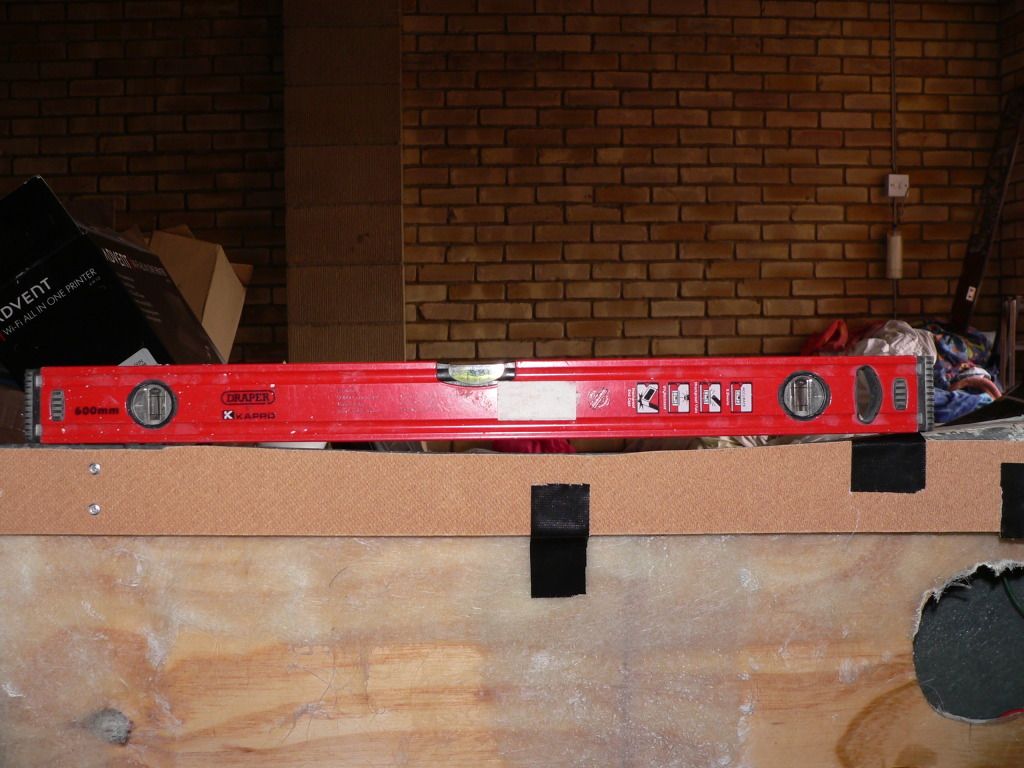
There is a small dip (a few mm) along the "straight" angle.


But I will be able to take care of that when I add a skim of normal body filler at some point.

The other thing I did, which is not easy to see in the photos, is radius/soften the top edges themselves.


- - - - - - - - - - - - - - - - - - - - - - - - - - - - - - -

With the rear of the car covered up again, the front end could be revealed.


The plan was to do some bonding work around the bulkhead.

Starting with the top sections on both sides.


Plus adding some paste to the outside edges of the vertical cockpit floor panels.


Note:
Previously I used up the last bit of paste from doing the inside edges on part of the bottom outside edge.

At this point, the first drops of rain started to fall, so I didn't get to start that work at all.

- - - - - - - - - - - - - - - - - - - - - - - - - - - - - - -

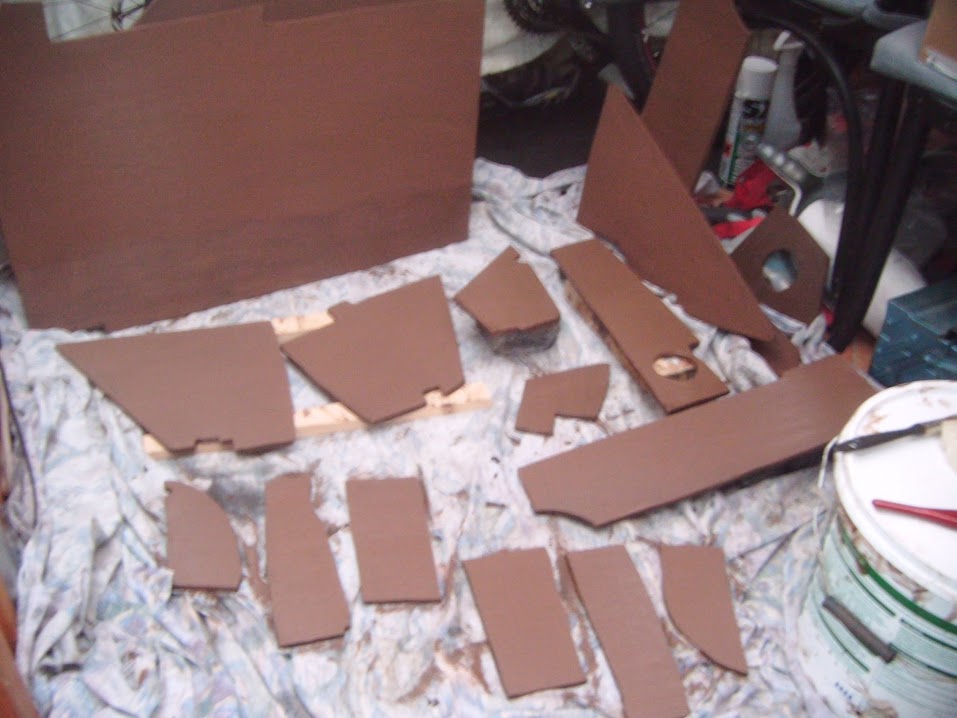
Still, at least I was able to do another round of panel painting before calling it a day.


- - - - - - - - - - - - - - - - - - - - - - - - - - - - - - -

It feels like a few areas are starting to come together now, so it is all positive.

Until next time, take care, Paul. :)
1 Dec 2015, 8:57pm
Friday to Sunday - 3 days of hard labour helping my mate move flats due to the fact he is a "hoarder".

Shame the weather wasn't bettter, as his old flat, on the 10th floor, had a great view of the London skyline.


- - - - - - - - - - - - - - - - - - - - - - - - - - - - - - -

Monday - Catching up on domestic chores. :rolleyes:

- - - - - - - - - - - - - - - - - - - - - - - - - - - - - - -

Tuesday - Hard to believe that today is the 1st of December. :eek:

It was the afternoon before I finally had some time available for the car.

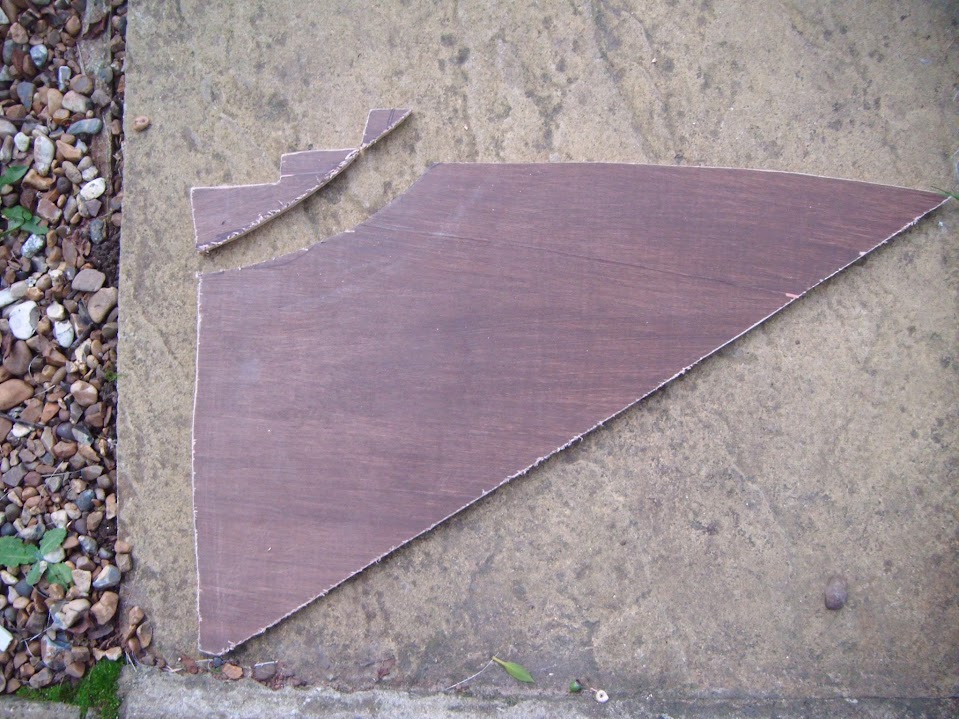
I modified the original rear cockpit wall panel I had cut out for testing a while back so it would fit inside the framework.


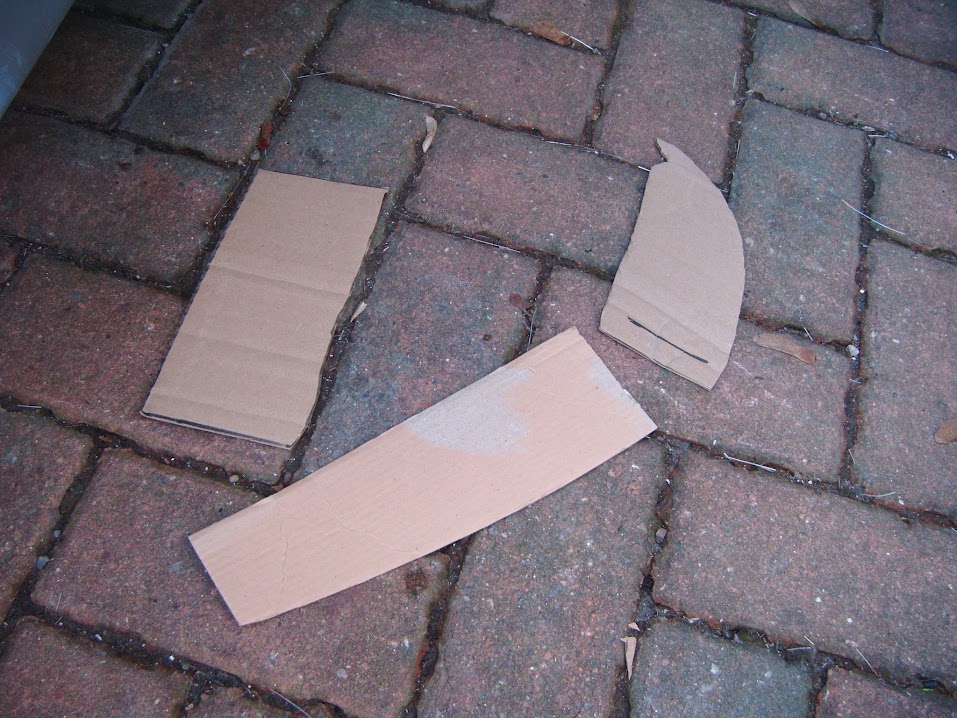
Then cut out cardboard templates to extend the sides like so.


Together these gave me the basis of a single template.


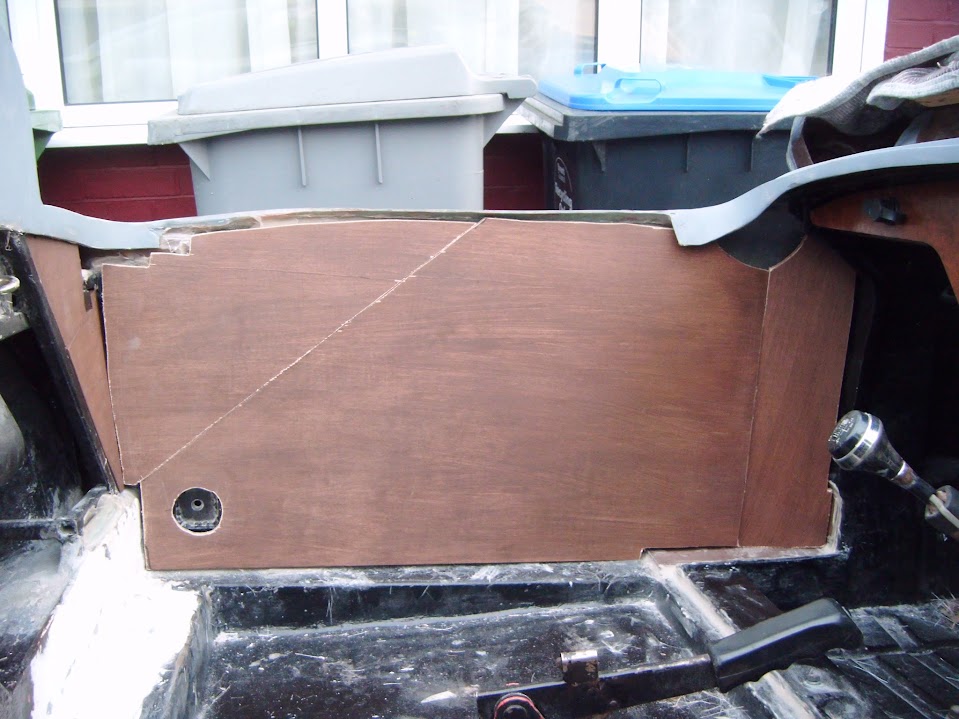
Which just needed a few minor tweaks before it could be slotted into place.


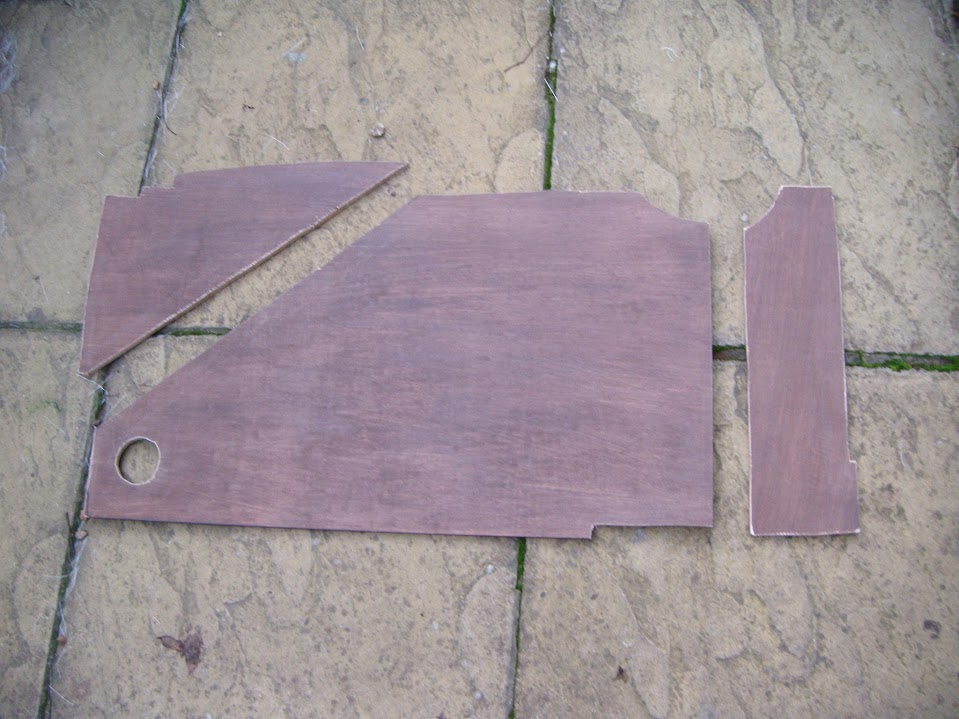
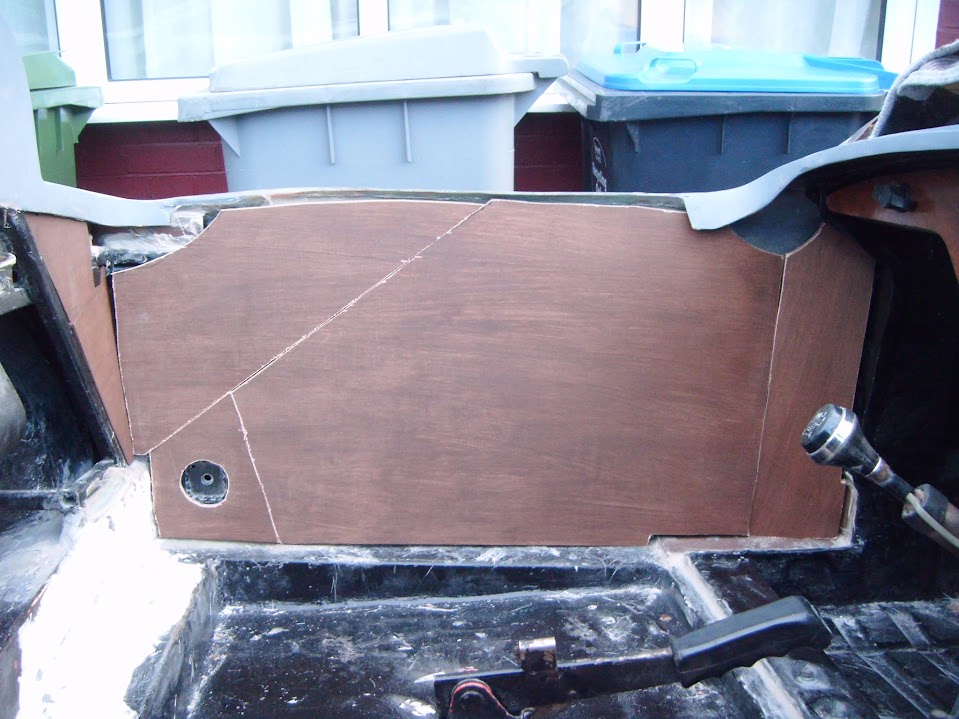
Then I cut this shape out of plywood.


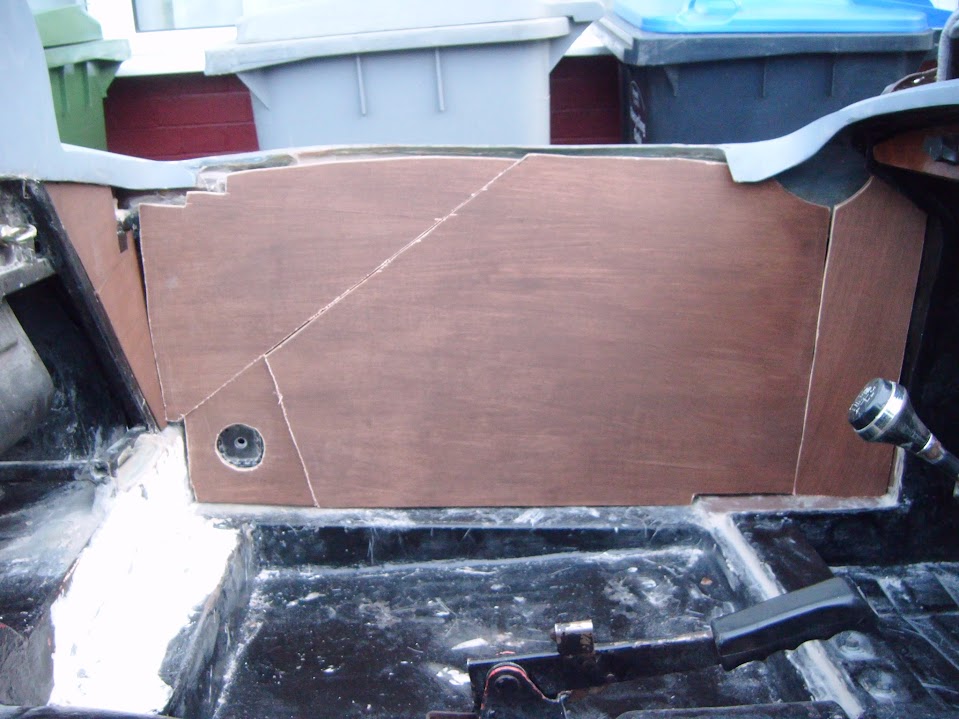
And again, after a few adjustments that fitted too.


I still need to provide access to the seat belt mounting points, fuel gauge sender, fuel filler hose, etc.

But that will have to wait for another day.

- - - - - - - - - - - - - - - - - - - - - - - - - - - - - - -

Instead, I added a skim of normal body filler to the cockpit sides.


Unfortunately, I put too much hardener in, so it set quicker than I wanted. :rolleyes:

- - - - - - - - - - - - - - - - - - - - - - - - - - - - - - -

Once that was set I sanded it down.


The street lights came on while I was doing the driver's side, so the photos are not great.


Overall, this is a big improvement from where I started. :cool:

However, this "smooth" surface still has a few gentle "undulations" in it.

If all of these need to be taken care of before paint, no wonder the prep. work takes so long!

Hopefully tomorrow I will get a chance to spray a coat of etch primer over the top to get a better look at the current finish.

Until next time, take care, Paul. :)
1 Dec 2015, 9:32pm
Paul..........if you put on the normal filler try to apply it as smooth as possible with a long filler knife,it saves you lots of sanding.......
Also try to sand with a longboard,it keeps the sanding flat.
Etch primer is only useful as the sanding is done,otherwise you are sanding the expansive etch primer away.
Just use a cheap rattlecan matt black to dust the sanded area so you can see after fine blocksanding where the low spots are.
Good luck,René.
2 Dec 2015, 5:00pm
Rene: - Thanks for the tips. :cool:

Unfortunately, it looks like my car's body work will require a LOT of preparation before it will be ready for painting.

So my current plan is to get the car ready for its first MOT without its final colour, just a very basic grey primer finish.
( As all the repair/alteration work at least looks more presentable when it it the same colour all over. )

- - - - - - - - - - - - - - - - - - - - - - - - - - - - - - -

A Bit More Progress:
Nicest day we've had around here in weeks, but I had a few other things competing with car time.

Morning

Added the second coat of Tetroseal to the boot floor to body shell panelling.


I've decided to turn the curves along the top edge of the cockpit sides into a "feature".

So I marked a (roughly) matching line along the bottom edges of the cockpit sides.


Then I had a slight technical hitch with my ear defenders. :rolleyes:


So I've ordered a new one and just used foam ear plugs while cutting the lips with my angle grinder.


Then I gave the inside of the cockpit a long over due clean.


Before using some etch primer to at least make the cockpit sides look a bit more presentable.


As per my reply to Rene above, whilst this is certainly not the final finish, it does look miles better. :cool:

Unfortunately, it looks like I still managed make a mess on my seats despite covering them up. :icon_sad:


So cleaning the seat covers will be added to the "To Do" list.

End of Part 1...
2 Dec 2015, 5:01pm
Part 2:

Early Afternoon

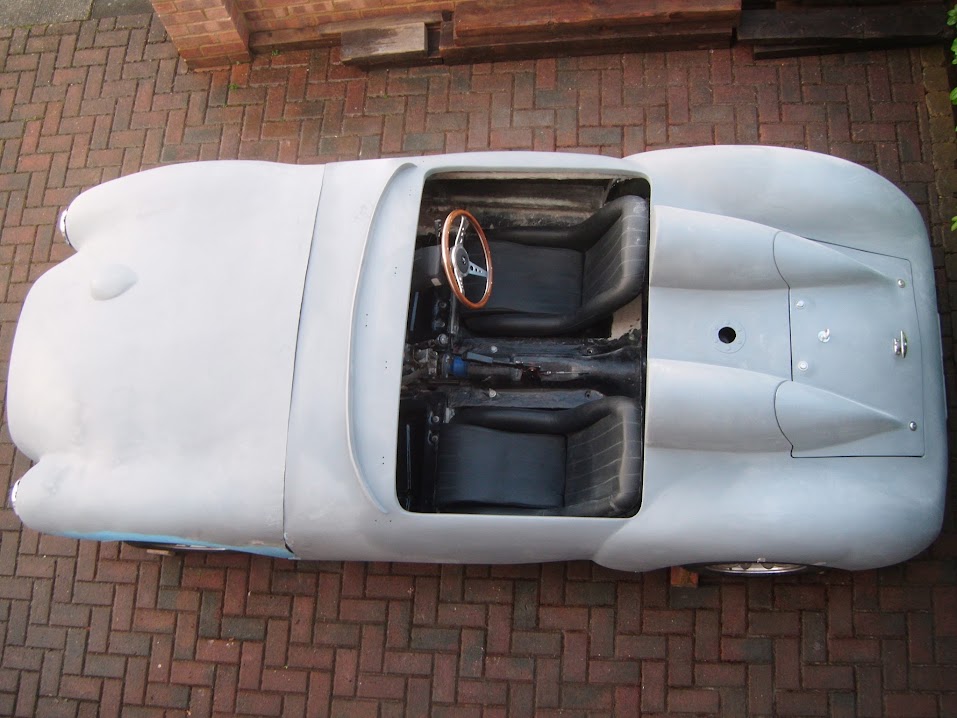
I jacked up the car, removed the wooden blocks, lowered it back to the ground and pushed it across the drive.
( I am still very happy with how solid it all feels as I push against the body work. :cool: )

So now you can get a better idea of the gentle curves along the top edge of the cockpit sides.


And this is the view of the passenger side.


But the main reason for pushing the car out was so I could get access to the mess underneath.


After sweeping up and washing down.


There was enough time to take another "drone" shot, before the covers went back on. :cool:


- - - - - - - - - - - - - - - - - - - - - - - - - - - - - - -

Late Afternoon

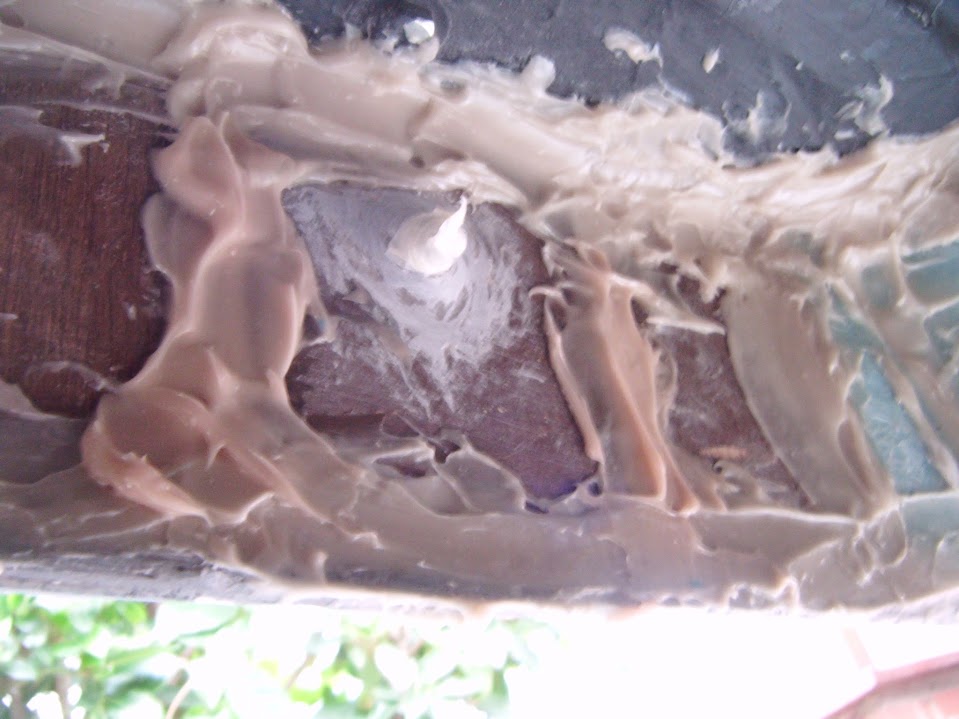
Just a bit more panel painting/treating in the summer house.


Until next time, take care, Paul. :)
2 Dec 2015, 5:50pm
Looking good Paul
You must be happy with the progress now.
Whats your to do list look like now?

Don't worry too much about final finish. Filler primer and large body planes will smooth out the undulations.

I know mine "the Roadster" was a jigsaw of pieces and it showed right up to the paint started going on properly
3 Dec 2015, 4:36pm
Roadster: - Cheers, ever since bonding the body shell, it does feel like every little job is taking me one step closer to the finish line. :cool:

Especially when compared to spending so many hours doing lots of work just to reach a point where I could start building the car. :rolleyes:

The fact it now actually looks like a car, not just a collection of huge jigsaw pieces, really does make a big difference to morale.

As for my "To Do" list, the next large items I need to tackle are:
- Re-profile all 4 wheel arches
- Switch the bottom sections of the bonnet to the sides of the body shell
- Finish "sealing off" all the gaps between the Moon Rover and the body shell
- Add final body shell support panels inside boot area
- Fit the internal cockpit panels

I am sure there are quite a few other things on the list, but the above is more than enough for now.

- - - - - - - - - - - - - - - - - - - - - - - - - - - - - - -

Still Chipping Away:
Started the day painting/treating some plywood panels.


Next I jacked up the front end of the car.


While this did give better access to the area around the bulkhead, it was still a tight squeeze.

Mixed up the first round of bonding paste and started to bond the top corners panels in.


Also did the outside edges of the cockpit floor panels.


Covered the gap between the lowered floor pans & front bulkhead from underneath.


Note:
I've already sealed this gap from above inside the cockpit.

The second batch of bonding paste covered some of the same areas above on the driver's side.

Plus the first horizontal bulkhead panel on the passenger side.


This was held in place by a bit of wood pressed into place by my car jack.


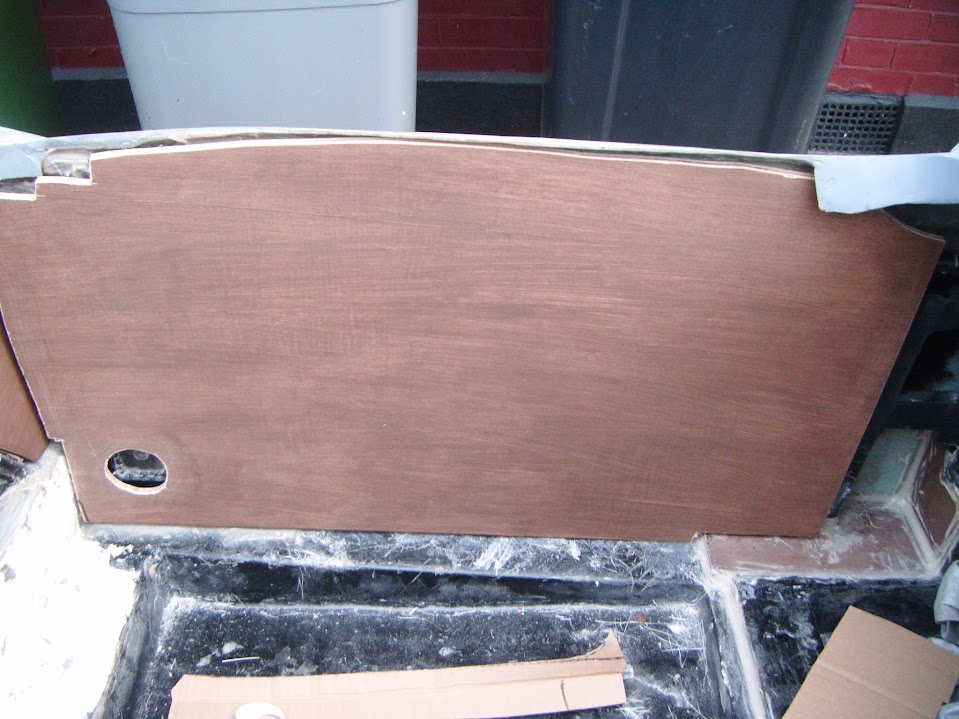
While I left that to set I marked up the cardboard template for the rear cockpit wall.


I then cut the holes out and test fitted it.


The access hole looks big, but I want to ensure there was more than enough room for my arm to go in.


And my fingers to reach the petrol cap with ease.


These holes were then transferred to the plywood panel and cut out.
( There was no point trying to keep the seat belt mount holes within the panel. )


This slotted into place like so.


End of Part 1...
3 Dec 2015, 4:37pm
Part 2:
Unfortunately, a small disaster struck when I moved a wheelie bin and "clipped" the car jack. :rant:

It didn't move much, but it was still enough to dislodge the panel as the bonding paste hadn't fully cured. :icon_sad:

So my third batch of bonding paste of the day involved repairing the damage done.

And this time I also managed to get some paste on part of one of the underneath edges too.


The last bit of the paste went along the gap between the bottom of the framework and body shell.

These were the best I could do in terms of "before" shots.

You can see the bottom edge of the side of the body shell sits well below the frame.


But there is a small gap between the side of the frame and the body shell.


Note:
The other side of this box section forms the base of the floor level "bridge" on the inside of the cockpit.

So this was the "after" as I only had enough paste to make a start on sealing this off.


By now, by car time was rapidly running out, so I rearranged the covers so the car jack was protected.
( I added a couple of blocks of wood to weigh it down after the photo was taken. )


As I will leave the jack in place over night just to make sure that panel is secure.

Finally, I ended the day as I started it, painting/treating panels.


Until next time, take care, Paul. :)
4 Dec 2015, 3:57pm
Marginally Better Than Nothing:
Another day, another coat of paint/wood preservative. :rolleyes:


Thankfully, all the other panels have now had their extra coats, so this is the last one to do. :cool:

Removed the support from underneath the horizontal bulkhead panel on the passenger side.

Thankfully, it is firmly held in place, so I mixed up some more bonding paste to finished off the edges.

This is the view from underneath.


It also started to bond the horizontal bulkhead panel into place on the driver's side.


This involve using a "low tech" application tool for those hard to reach places.


:icon_wink:

And that was it for today, certainly not much, but it all helps.

Cheers, Paul. :)
5 Dec 2015, 3:50pm
Odds & Ends:
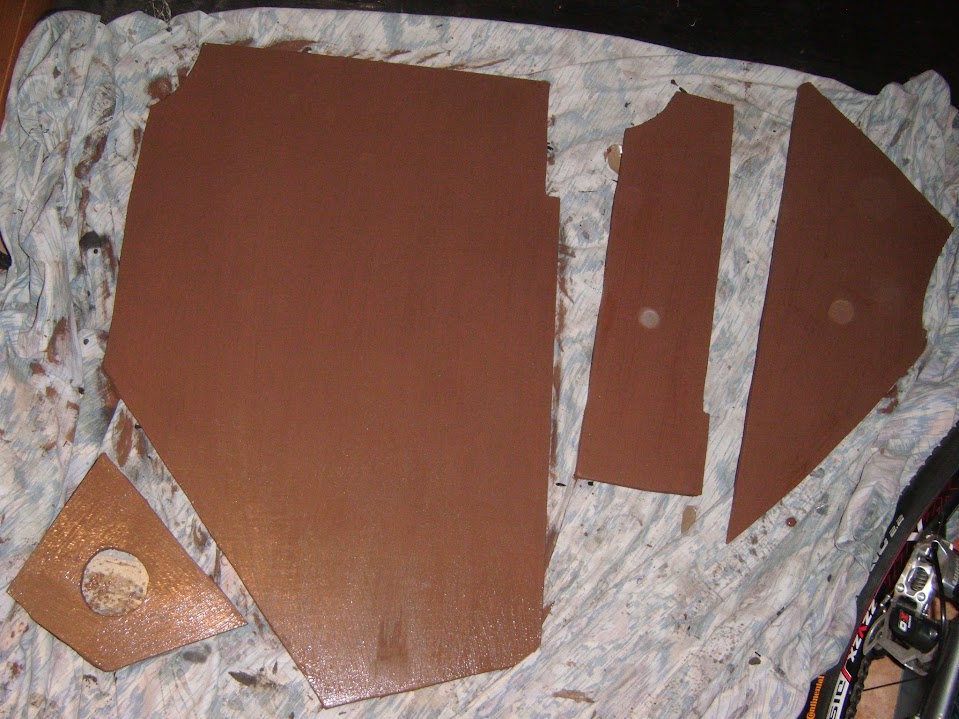
It will come as no surprise to regular readers to hear that the day started with some plywood painting / treating. :rolleyes:


Then I revisited my plans for the second vertical panel to seal off the bulkhead to body shell gap.

Originally, I was planning to have a small overlap where the two panels joined at the top.


However, given the fact that the first two panels are now fixed in place, I decided to make the third a flush fit.

After a bit of cutting and trimming, both panels could be slotted into place.


Note:
The gaps around the panel should help the bonding paste get a good grip (I hope).

Then I mixed up some more bonding paste and covered the remaining edges underneath the horizontal panel on the driver's side.


I also sealed off some more of the gaps between the bottom of the framework and the sides of the body shell on both sides.


To say this bonding work is a messy job would be a serious understatement. :icon_sad:

Then it was time for another painting session for the newly exposed edges.


Next I loosely refitted the cockpit side panels & the fact the cockpit side lip is now tidy makes a big difference. :cool:


I put these panels in so I could roughly mark a couple of key areas with masking tape.


Then I mixed up some fibreglass filler to apply along the inside edges of top corner bulkhead panels.
( Which was particularly hard to reach and I could not see what I was doing. )


I also "topped" up a few areas along the floor level "bridge".


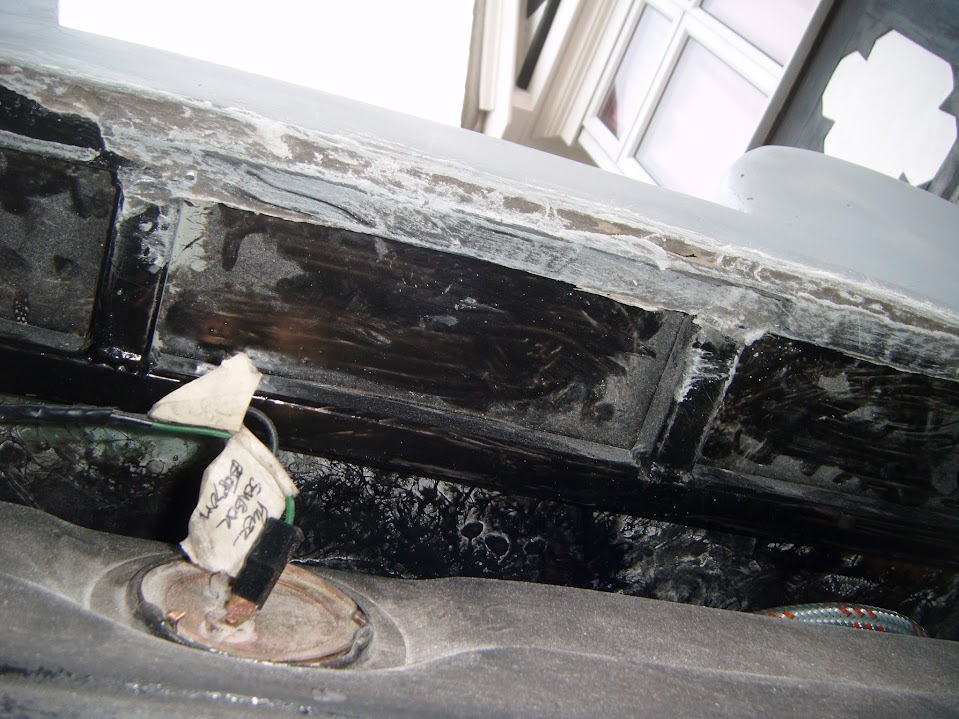
Finally, I started to extend the area covered by Tetroseal, as I now know how it will all fit together.


But I think I will need to use a roller for the next stage of painting, as there is very little room to play with.

Unfortunately, that was all I had time for today, as family stuff will take priority later this afternoon.

Given the way the wind is still going strong an the front of the car is jacked up I needed a bit of weight on the cover.


Our Christmas tree / decorations will be going up tomorrow, so I'm not sure if I'd get any car work done.

So until next time, take care, Paul. :)
8 Dec 2015, 4:16pm
Shuffling Along...

Sunday:
- Had a great time with my daughters putting up the Christmas tree and decorations, while singing along to our festive play list. :cool:

Monday:
- Still in Christmas mode, writing cards, buying pressies, stocking up on supplies for Christmas dinner at our house, etc.

Tuesday:
The morning was a wash out, but managed to grab a bit of car time in the afternoon.

Note:
Apologies in advance for a poor collection of photos, but the areas I worked on were hard to reach.

Put some masking tape where the final bulkhead closing panels will be sealed.


Before adding some Tetroseal on the remaining inside surfaces.


Mixed up some bonding paste and made the usual mess fitting the final bulkhead closing panels.


Also used the remaining paste on the gap between framework and body shell on the passenger side.


This is still "open" at the rear arch end, as I need to re-shape the arches before I can finish sealing this section off.

In addition to all the Christmas preparations, we have visitors arriving on Thursday for a long weekend.

So its all go here, cheers, Paul. :)