MadaboutKitcars

This is a read-only archive of the old Madabout Kitcars forum. New posts and replies are no longer possible, but every thread is still here to browse and read.

Another Cordite Is Born ...

31 Oct 2015, 4:13pm
Mr T - Cheers. :cool:

As always, I know you are right about the "wonky" nature of Sammios being part of their character / charm.

Thankfully, I can now see enough of the finished car to know it will still look like an old racing car with a bit of "history".

Finally, the thought of going for a drive with you (+Phil & Barry) "sometime" in 2016 will keep me going through the Winter.

- - - - - - - - - - - - - - - - - - - - - - - - - - - - - - -

Happy Halloween!
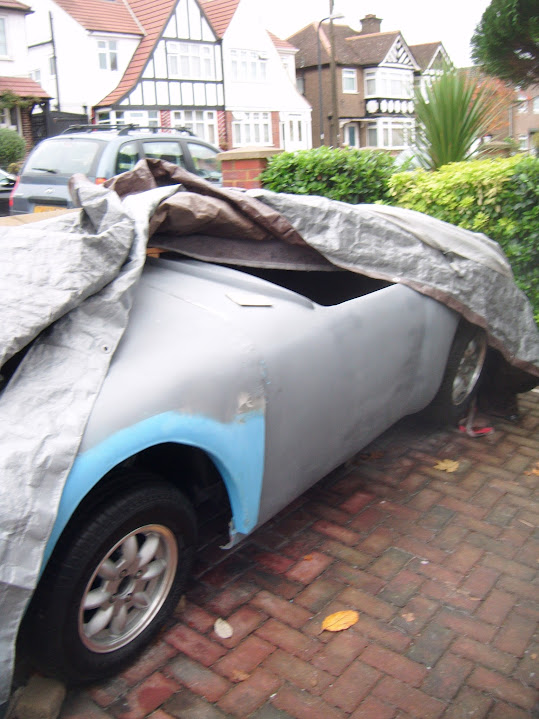
Started the day by taking a deep breath before removing all the tie down straps holding the body shell in place.
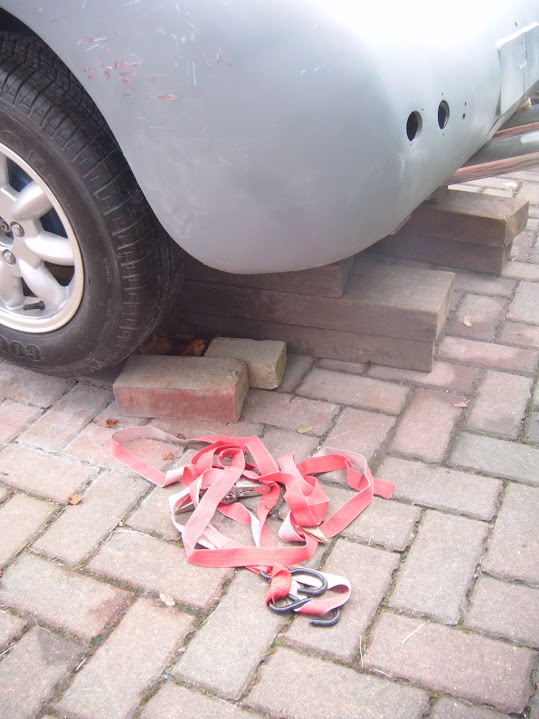
( Note: The rear end is still sitting "high" on blocks.)
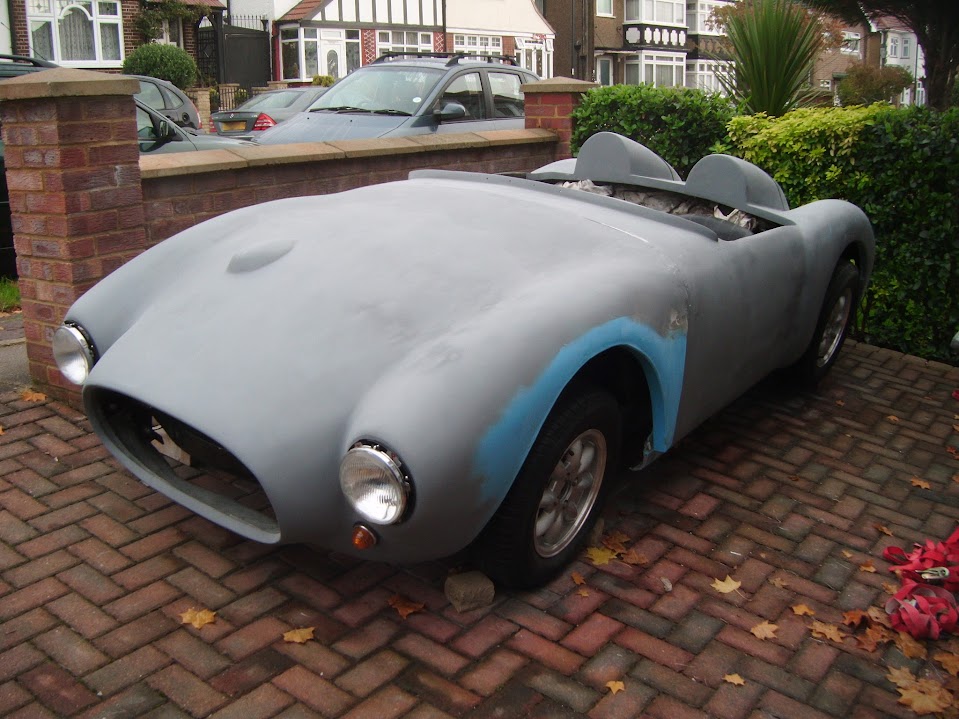


Thankfully, I then resisted the temptation to apply a HUGE level of brute force and ignorance to "test" the bond.

Instead, I merely gave the body shell a few gentle nudges to confirm is it definitely stuck to the Moon Rover. :cool:

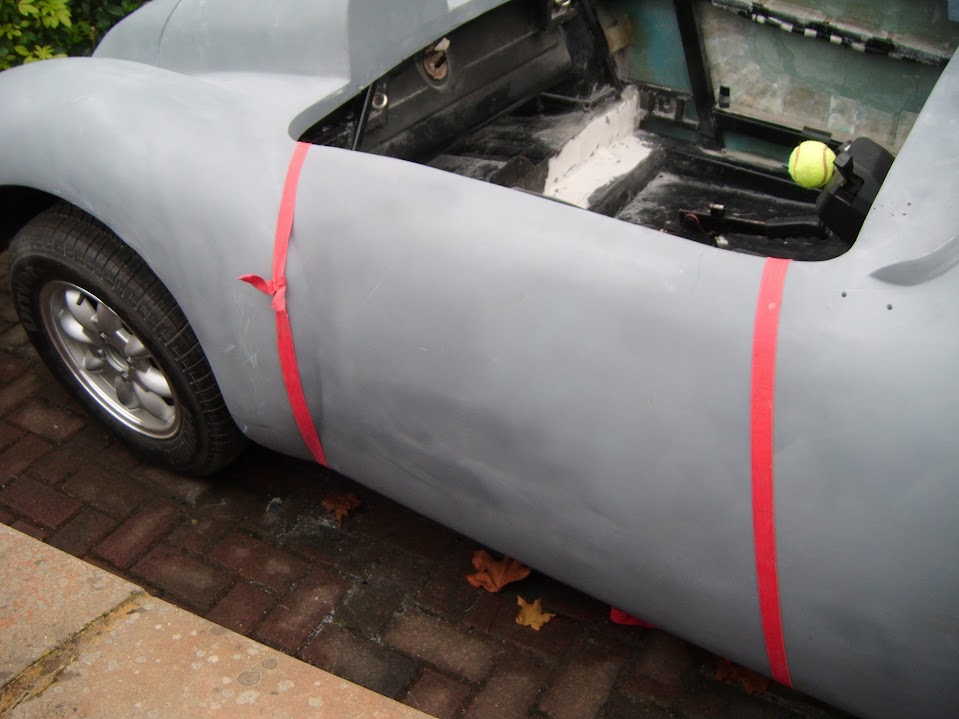
Then I rearranged the tie down straps to hold down the rear passenger corner.


I also replaced the clamps on the driver's side, as yesterday's fibreglass session was enough to hold the passenger side in place.


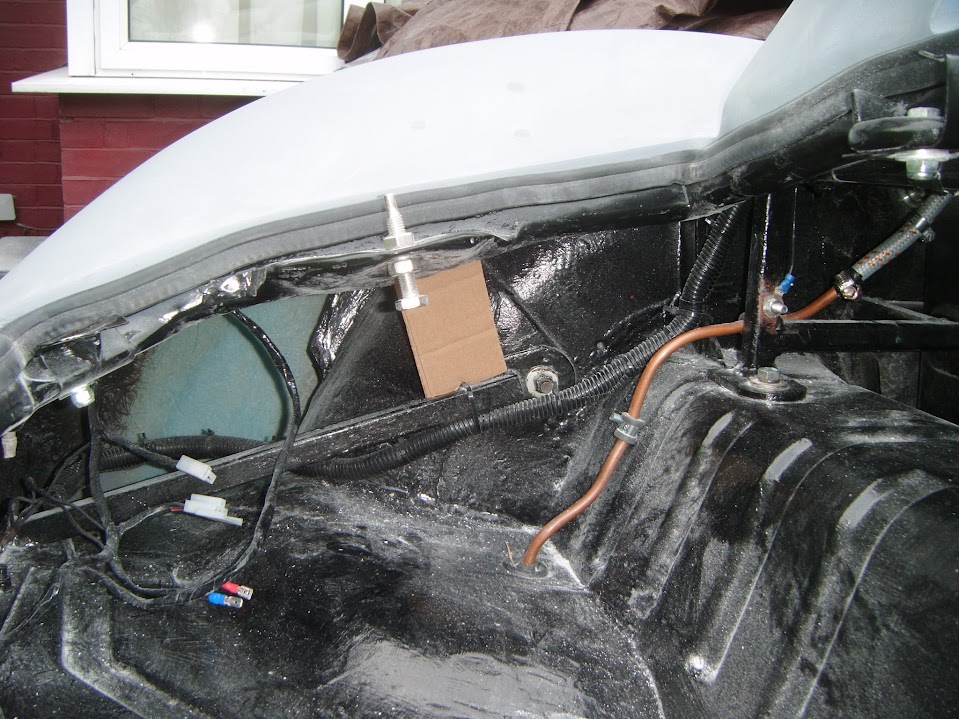
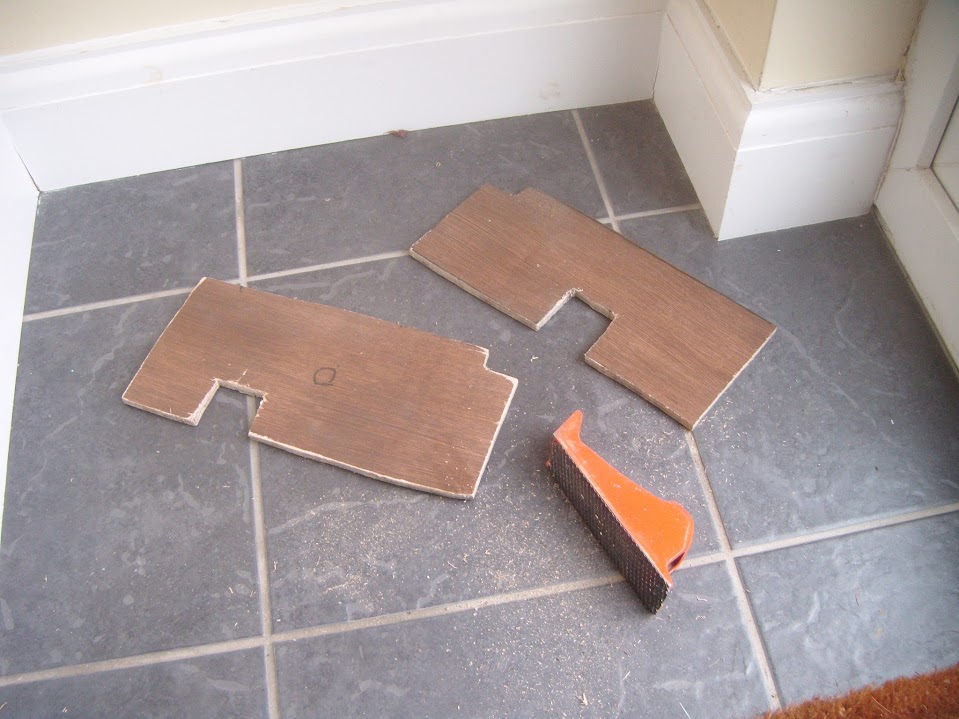
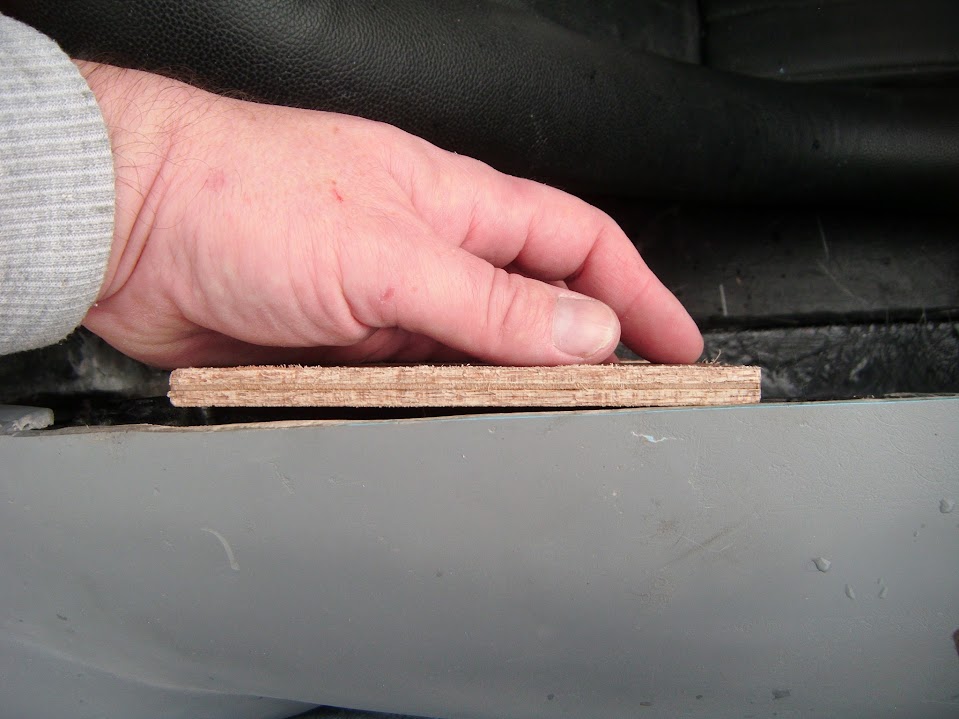
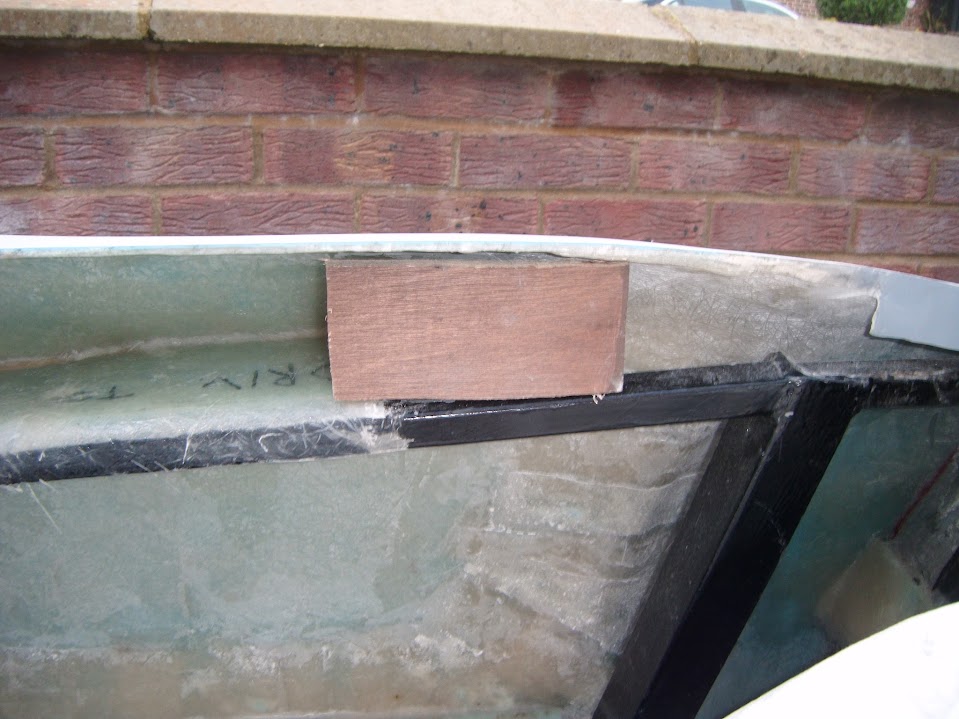
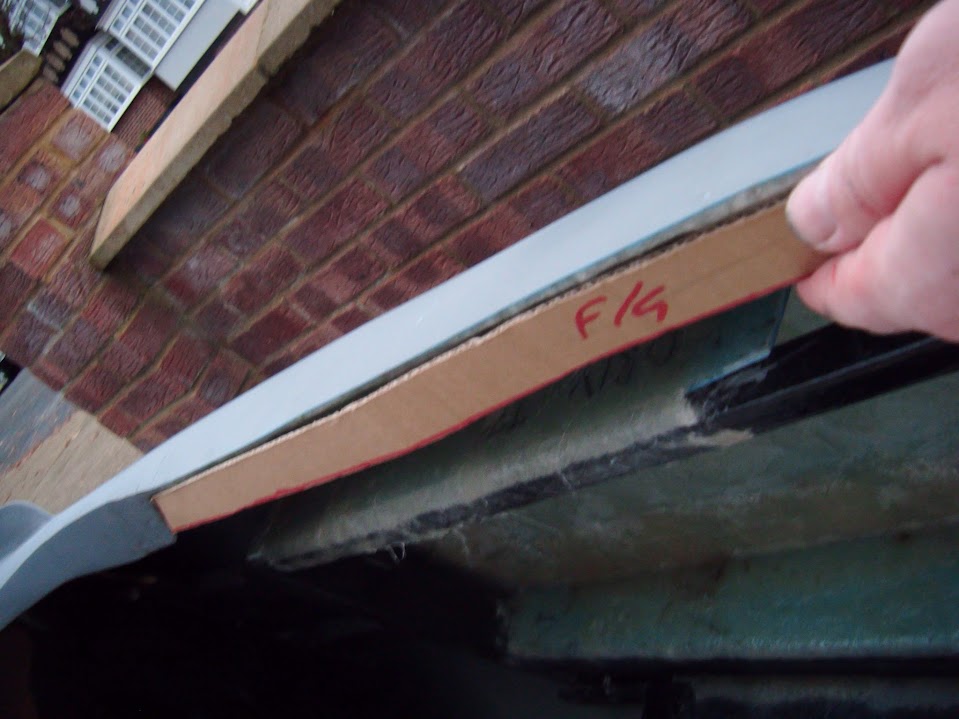
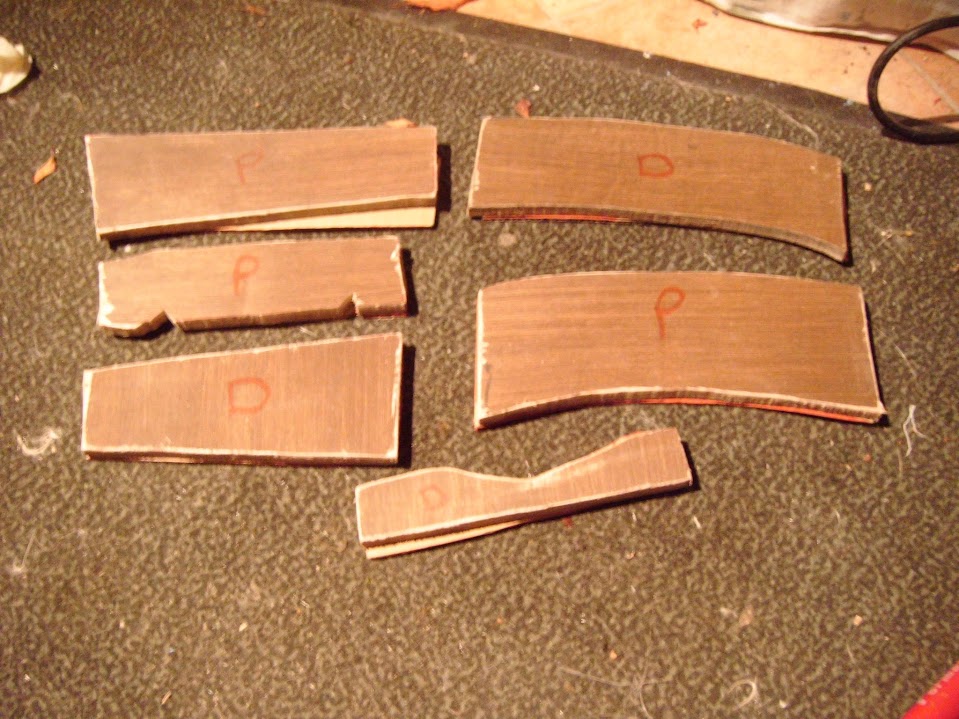
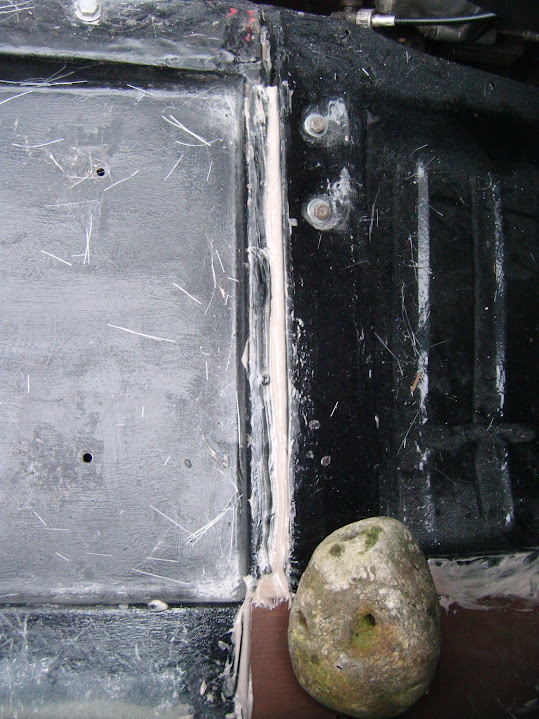
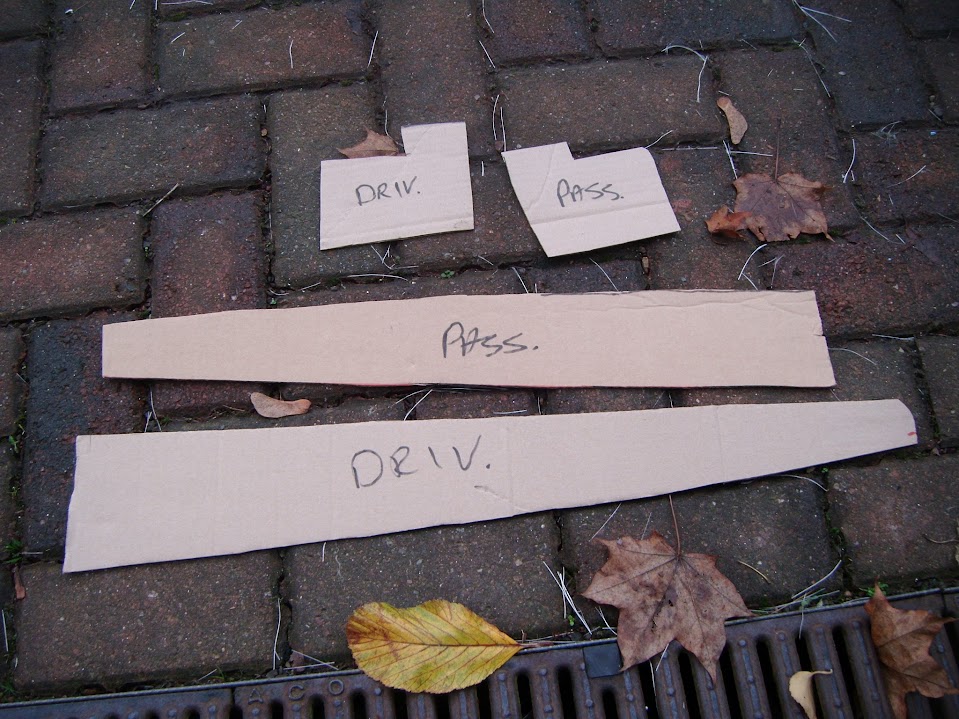
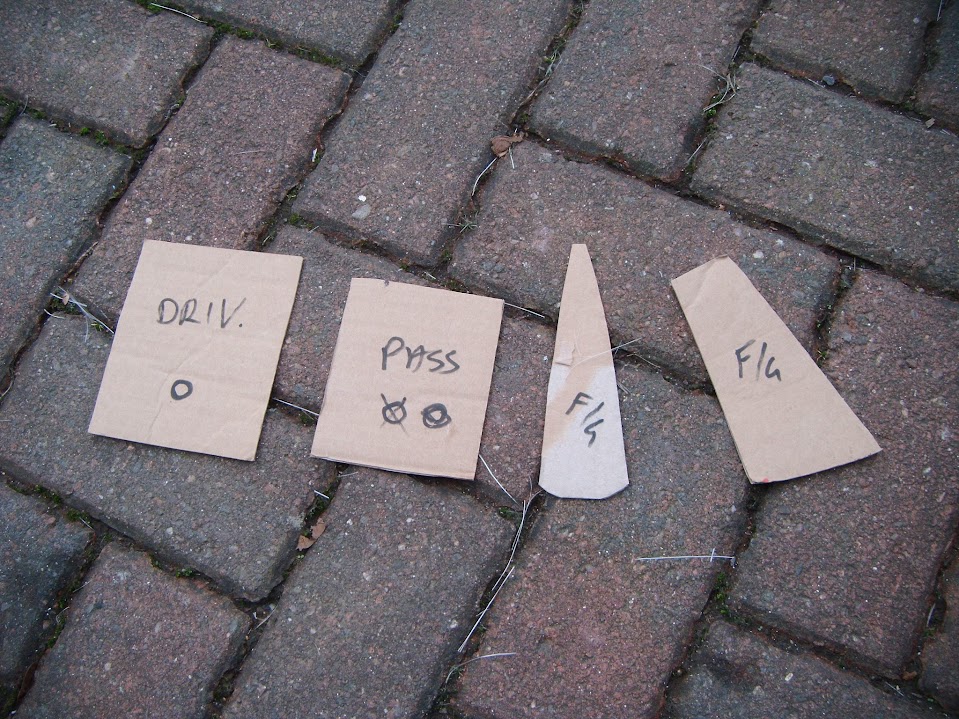
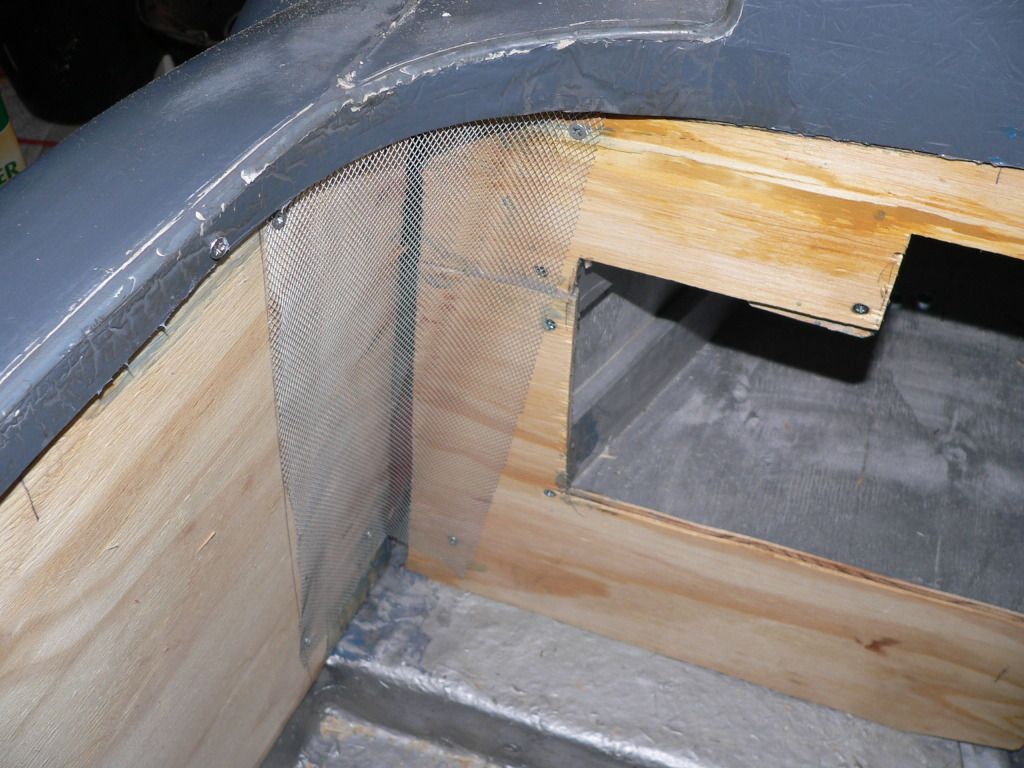
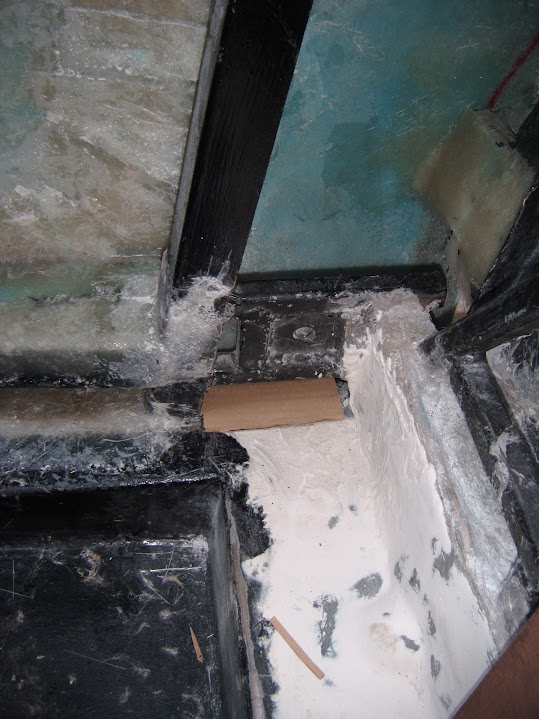
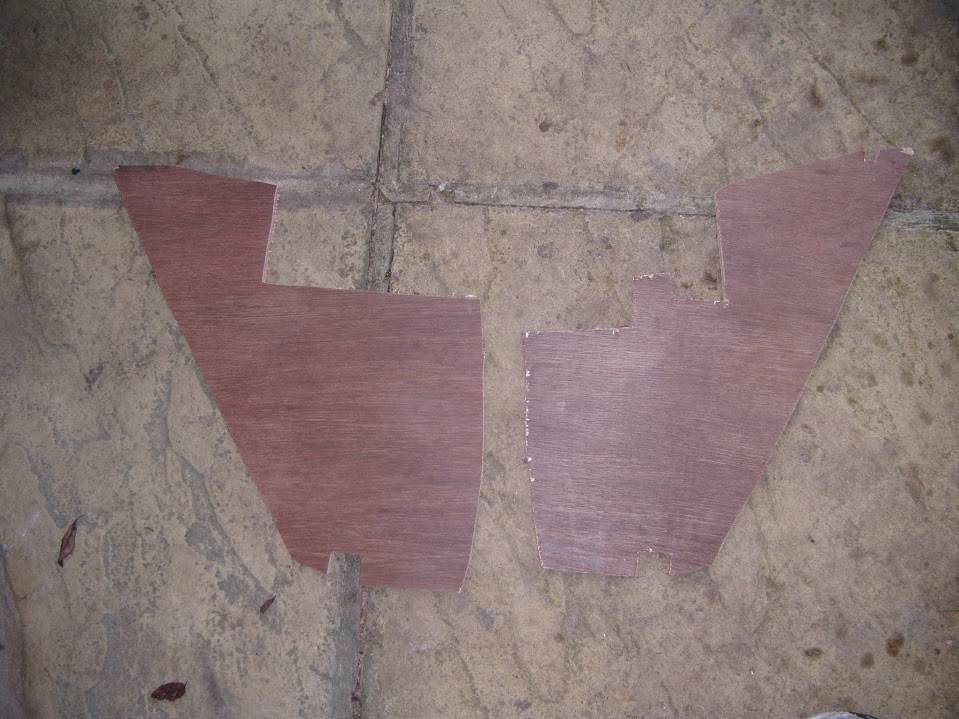
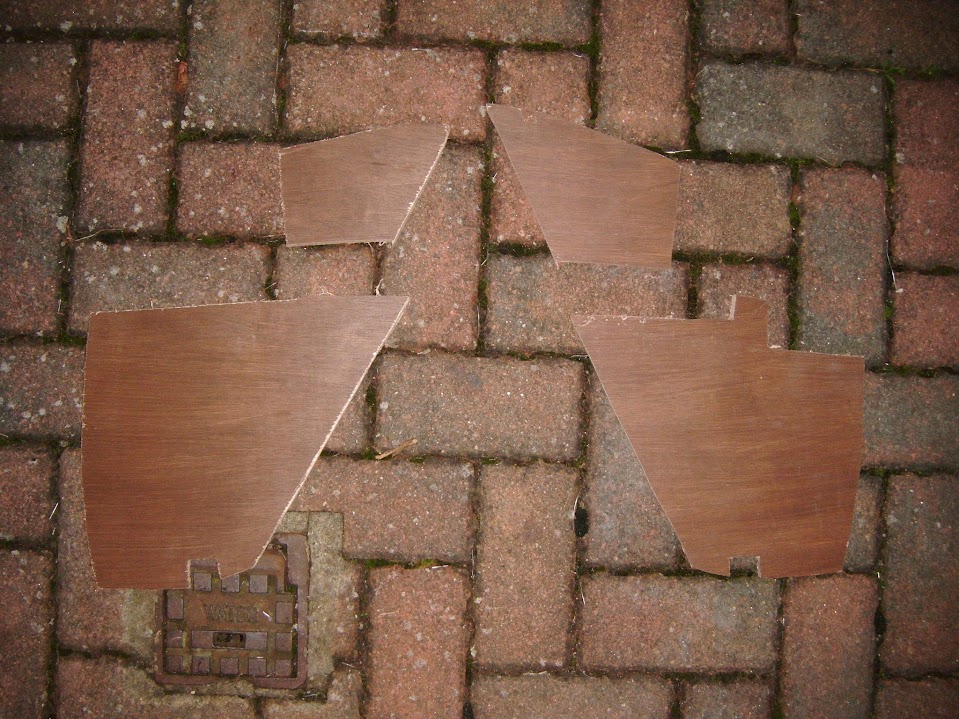
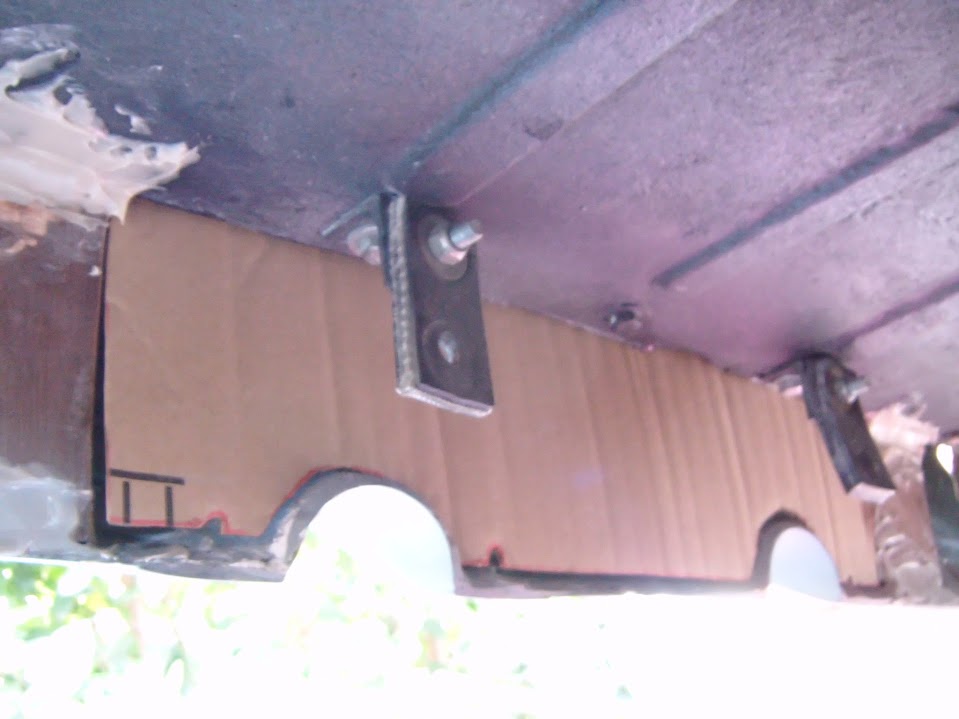
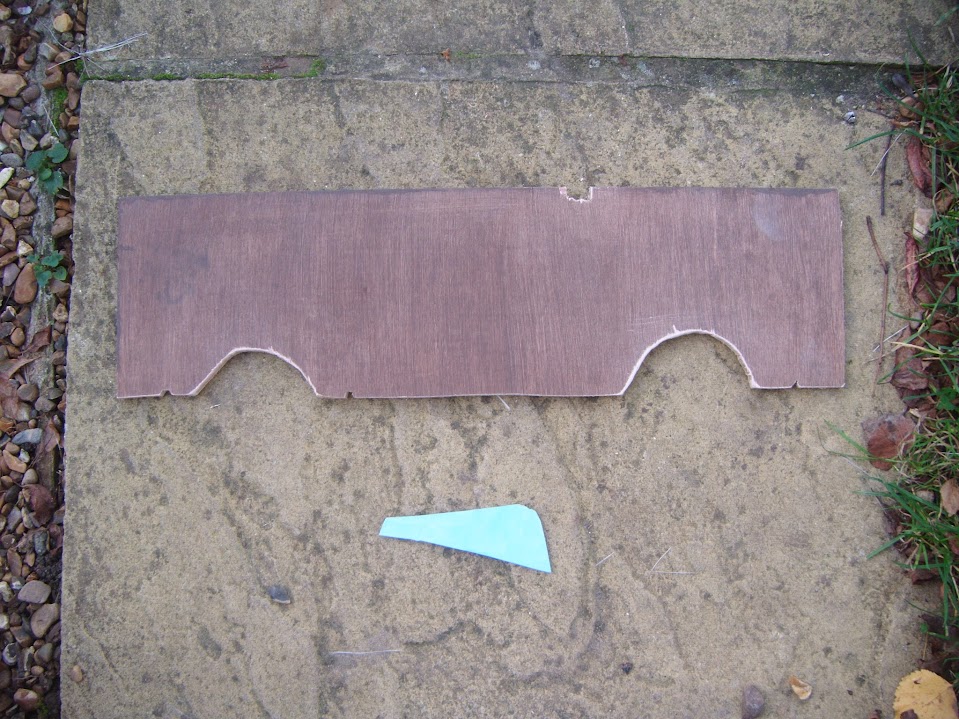
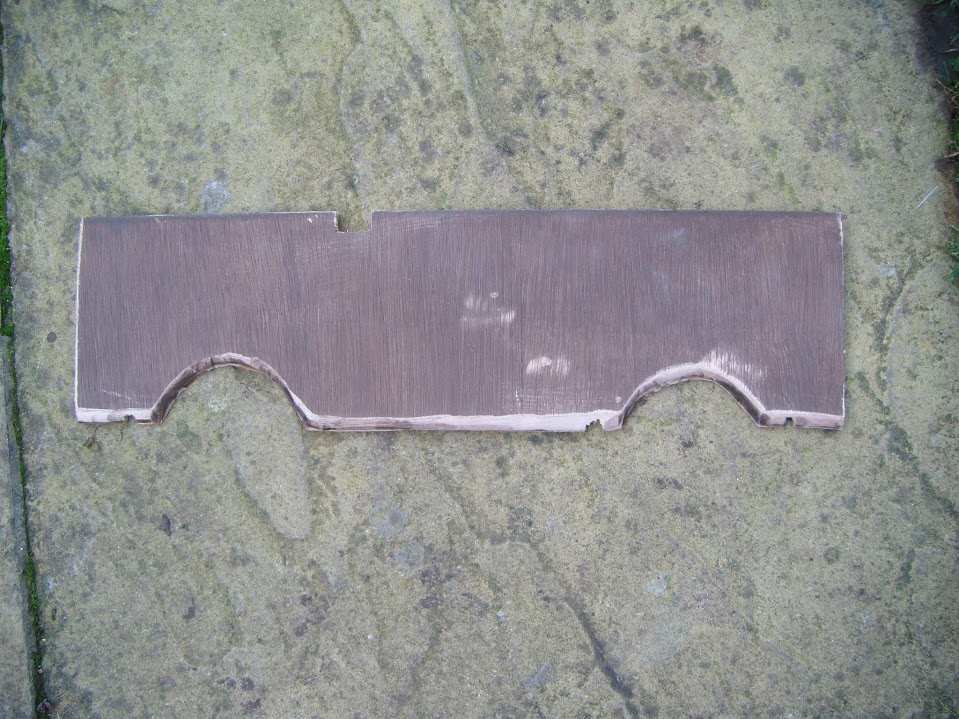
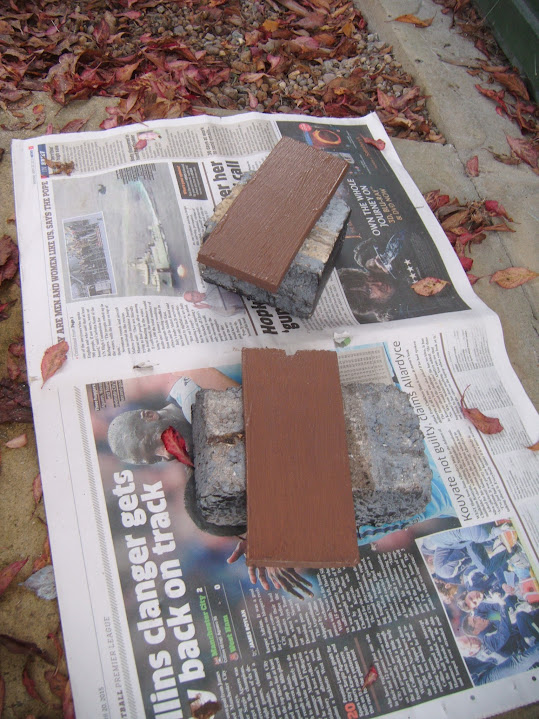
I made templates for the first of the support panels to go inside the boot area.


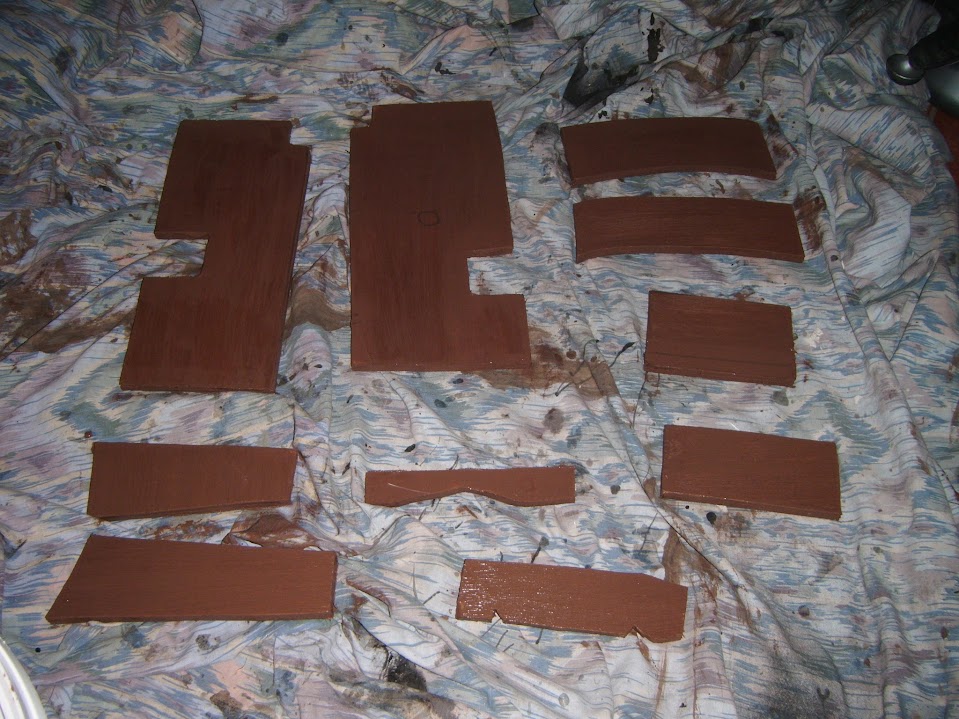
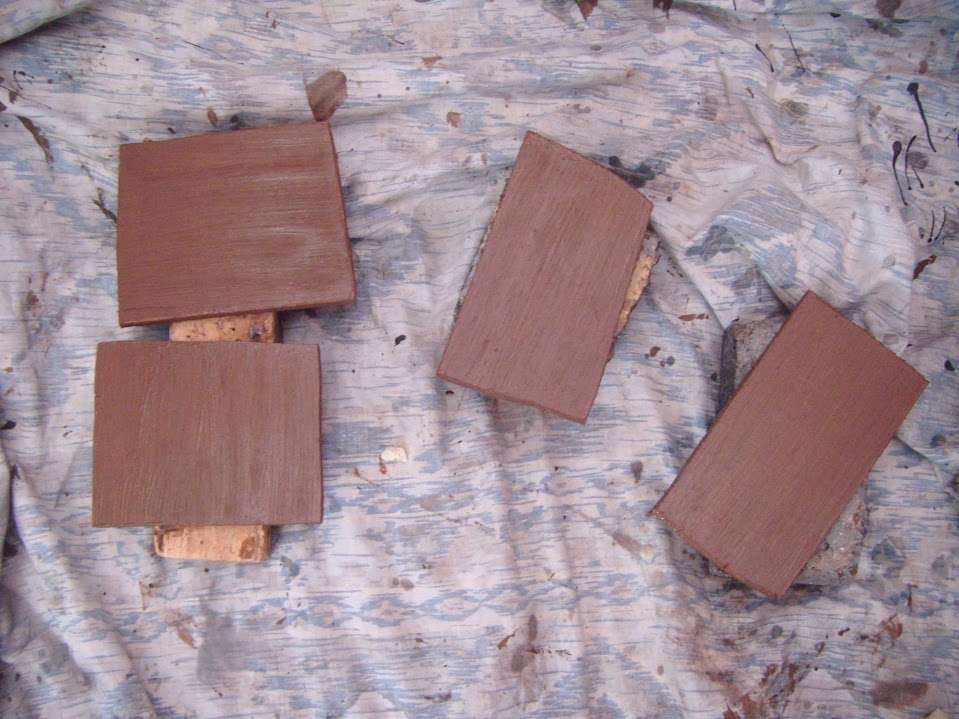
Which were then cut out of plywood and the fresh edges were painted / treated.


I added some support under the gaps on the passenger side's "top" bridge.
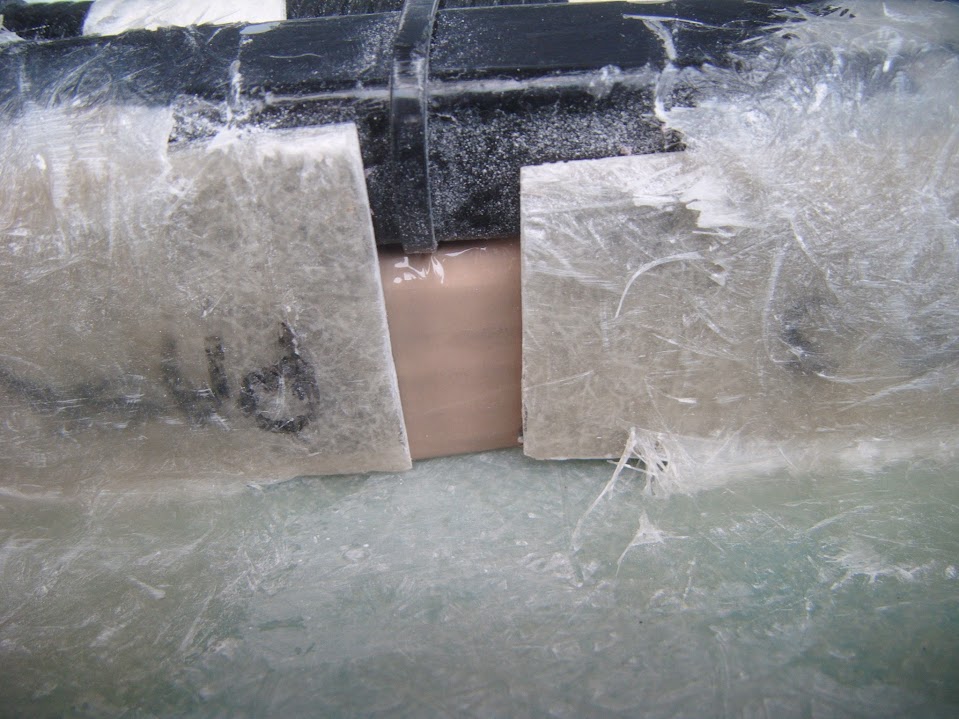


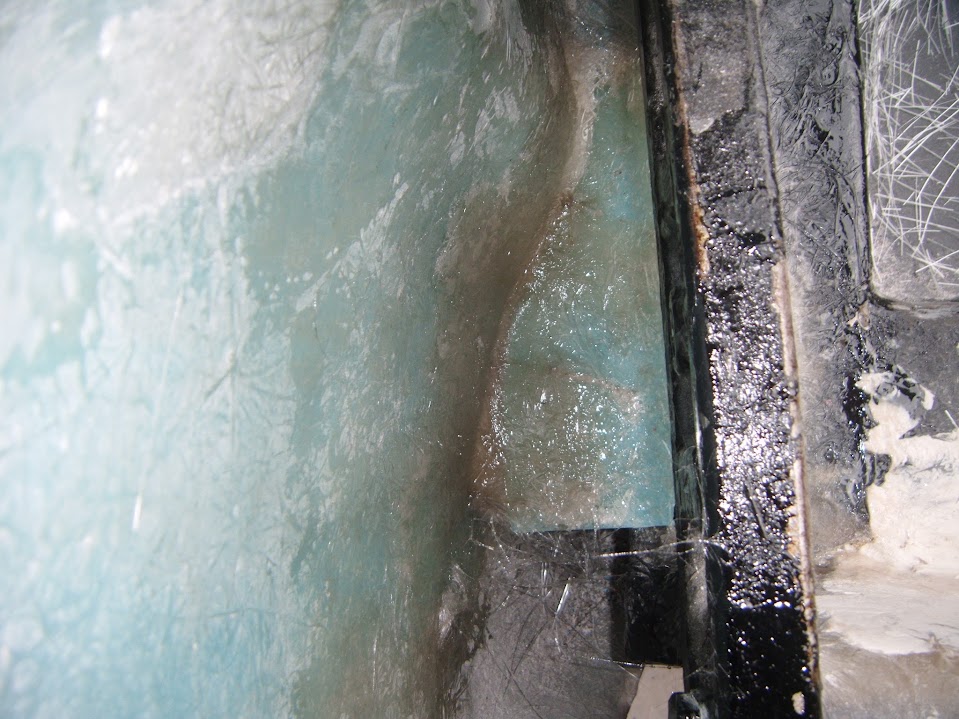
The first fibreglass session added the first round of matting to the driver's side.
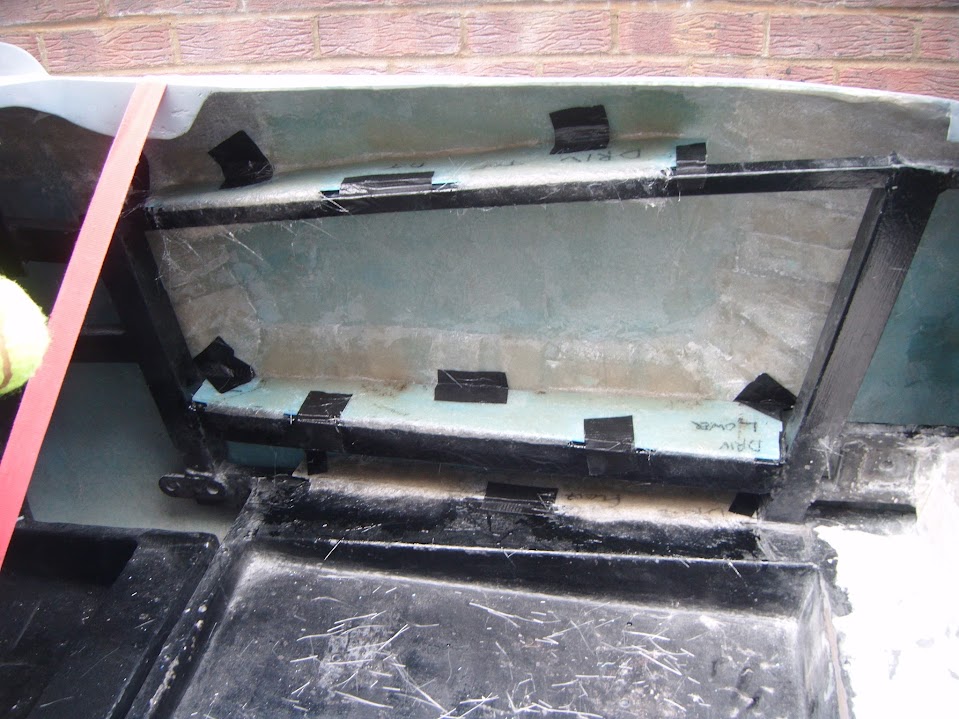


The second session added the second round of matting to the "top" & "floor" bridges on the passenger side.

Plus the first round of matting on the "middle" bridge, which could be fixed in place now the tie down straps were removed.


I then put the cockpit cover on and left that all to set.


- - - - - - - - - - - - - - - - - - - - - - - - - - - - - - -

As it was now time to turn my attentions to the most important job of the day...

Carving pumpkins with my daughters. :cool:

This year I attempted to cross the death mask from the latest Bond film with a Pirate skull.
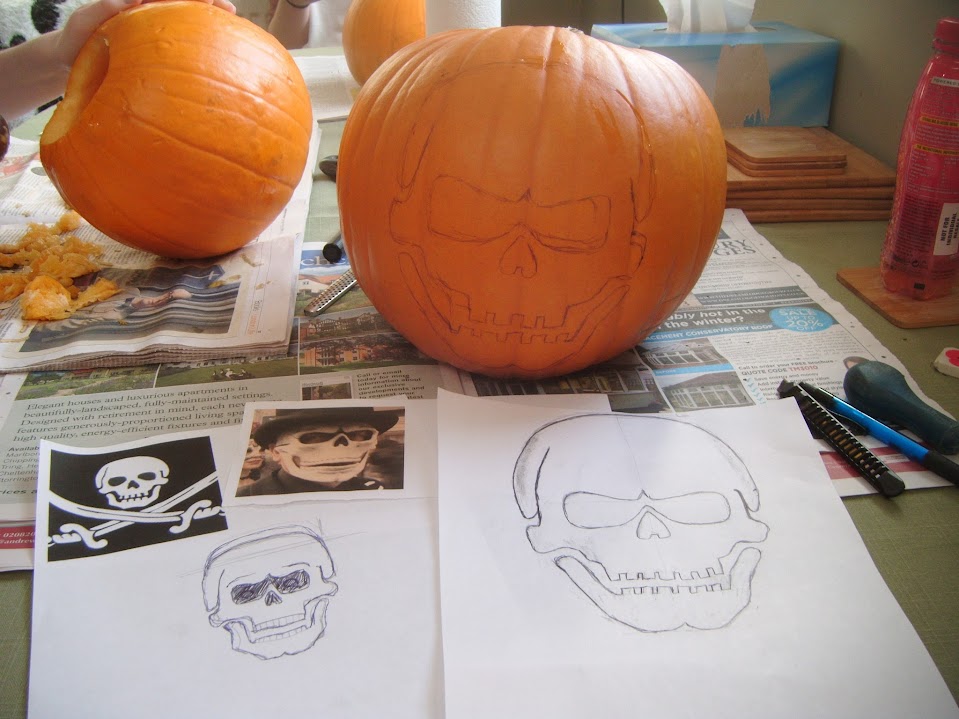


Obviously this was easier said than done, but I got there in the end.



And the complete family line up.


- - - - - - - - - - - - - - - - - - - - - - - - - - - - - - -

I've now packed the car up for the night and even though there is more fibreglass matting to add, it all feels very solid. :cool:

Until next time, take care, Paul. :)
1 Nov 2015, 4:50pm
Sunday Service:
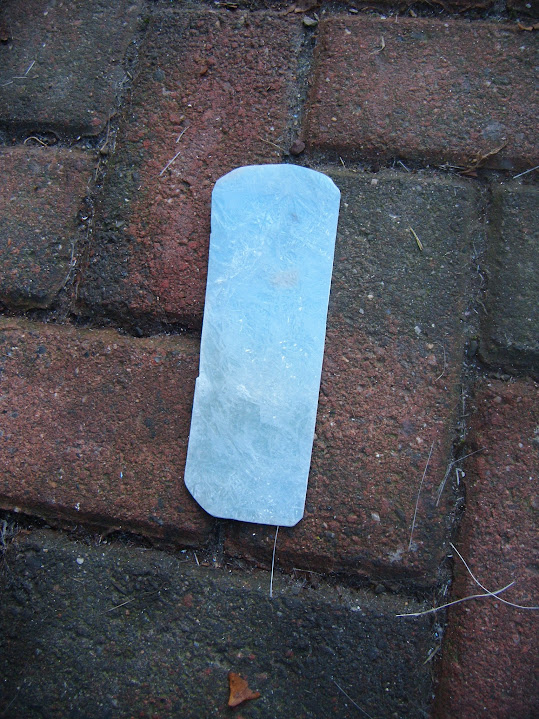
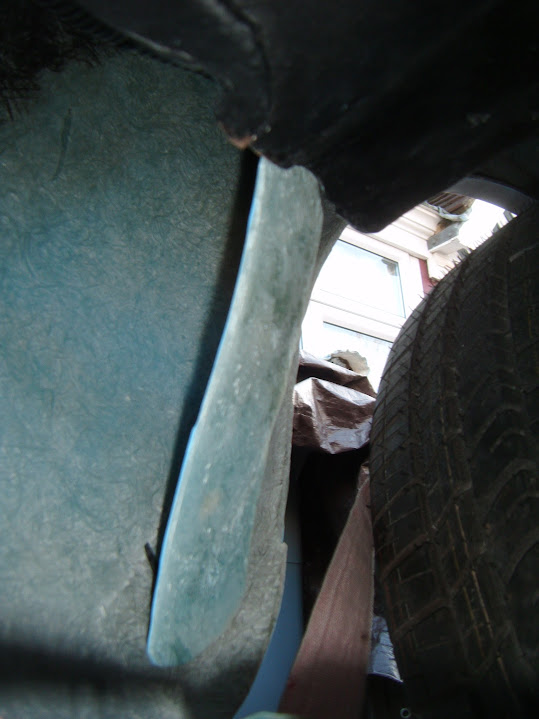
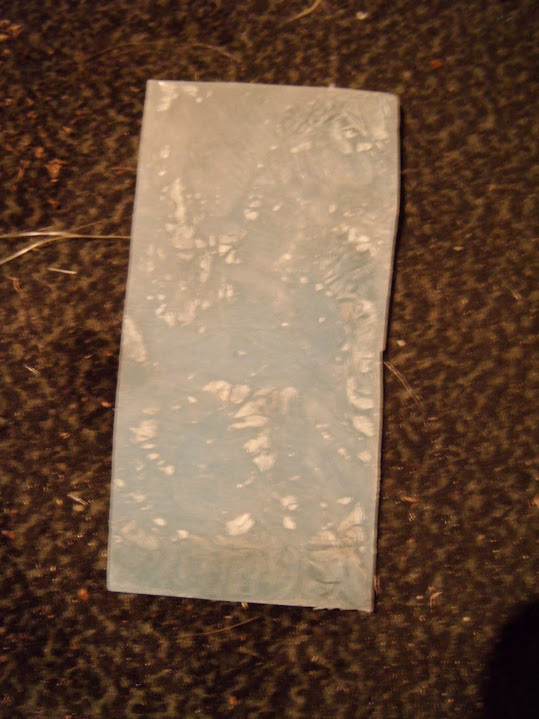
After the morning fog had finally cleared, I cut out another section of left over fibreglass.


Which will form part of the join between the boot floor and the body shell here.
( Passenger side. )


Note:
At this point I just want to ensure the rear passenger corner is supported/held in place.

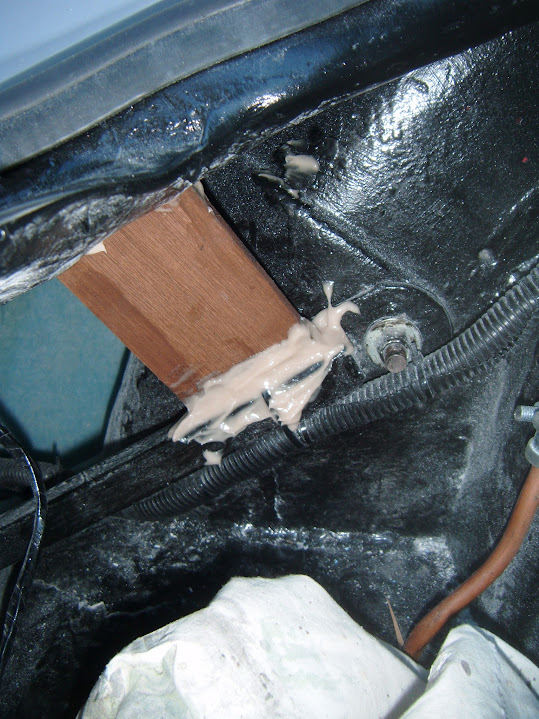
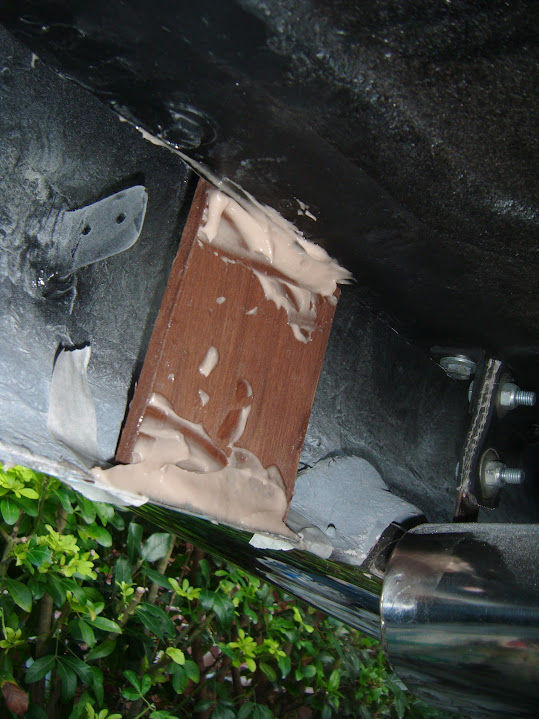
Then mixed up some more bonding paste and tackled a number of small jobs.


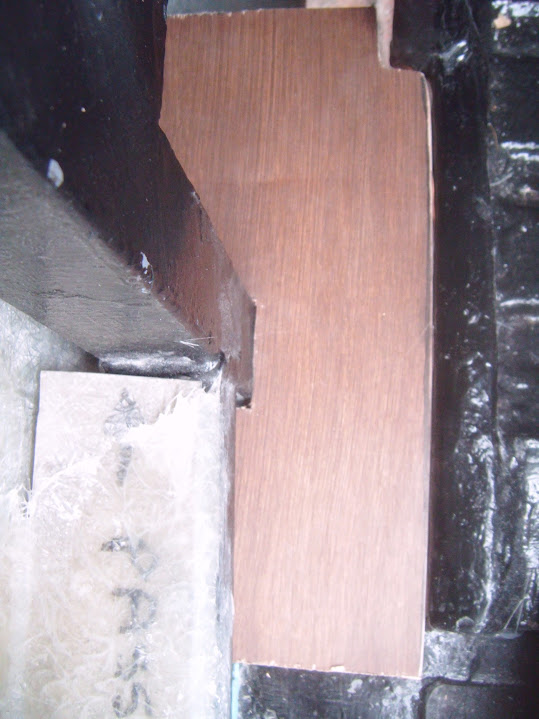
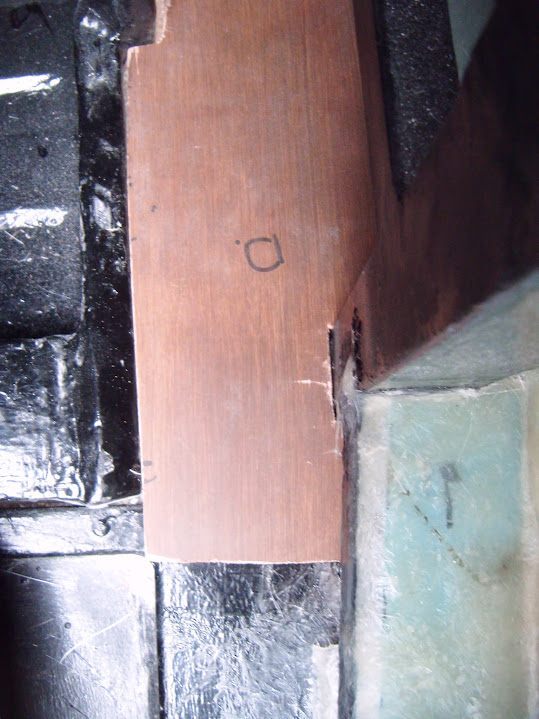
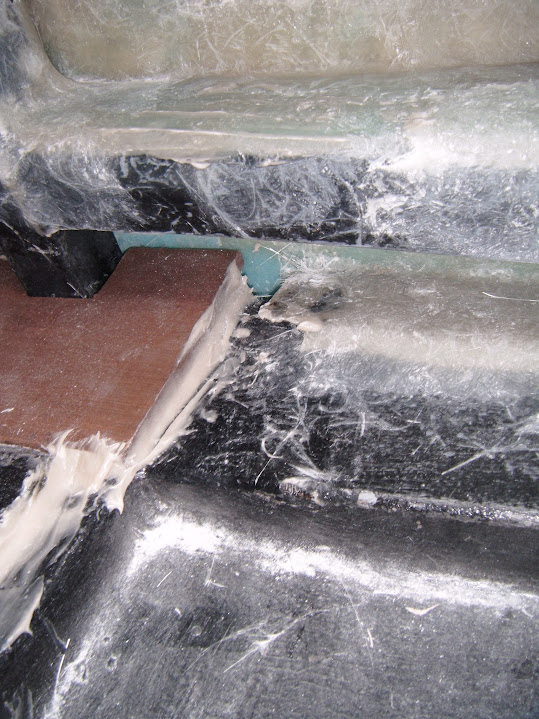
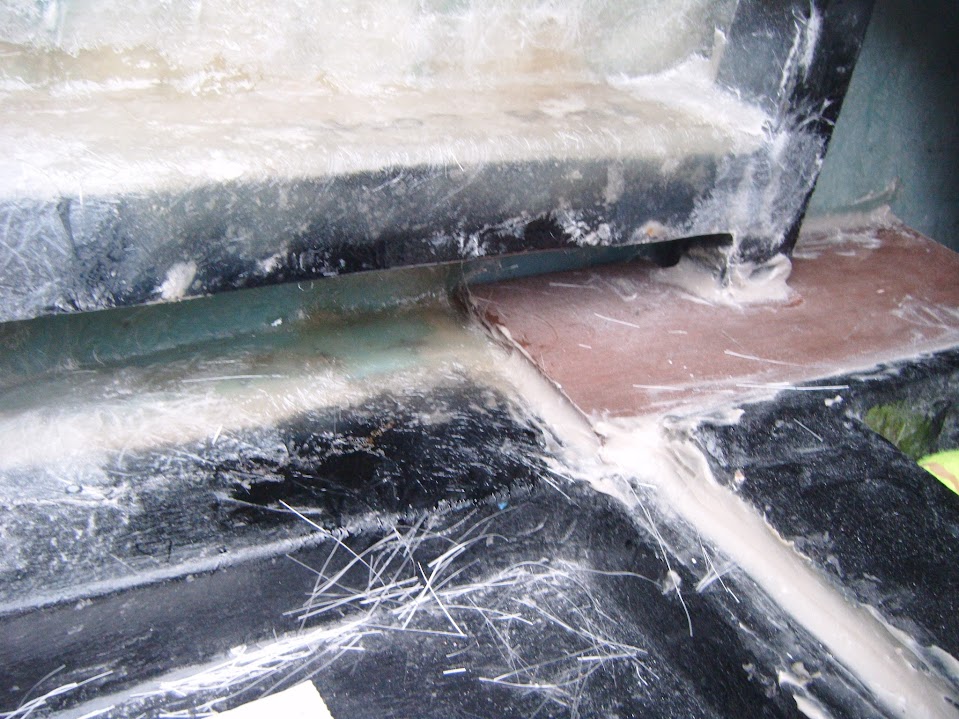
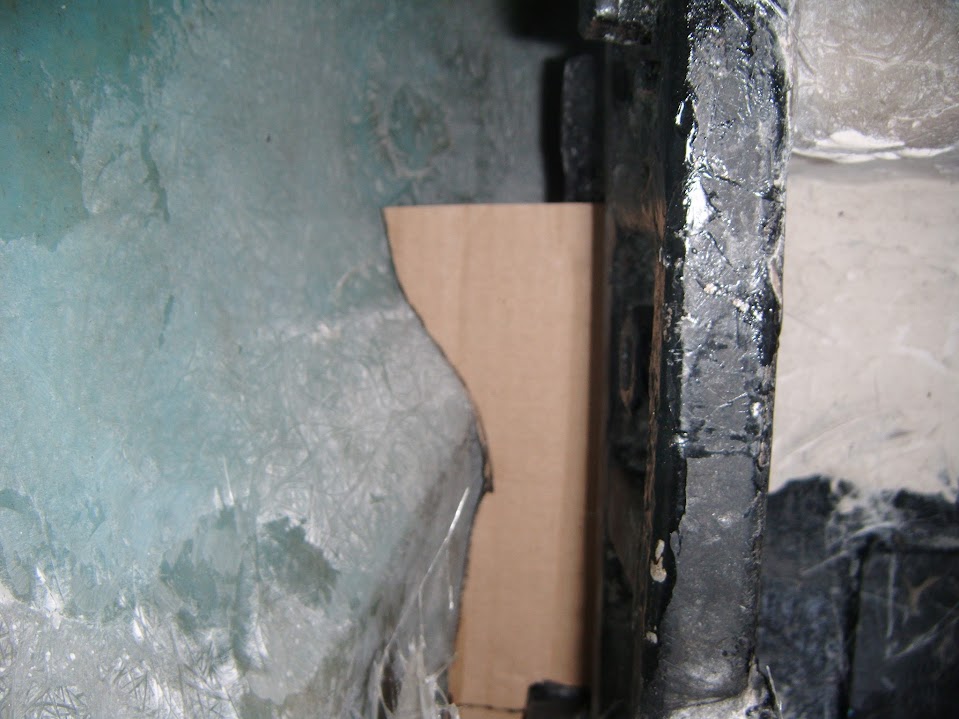
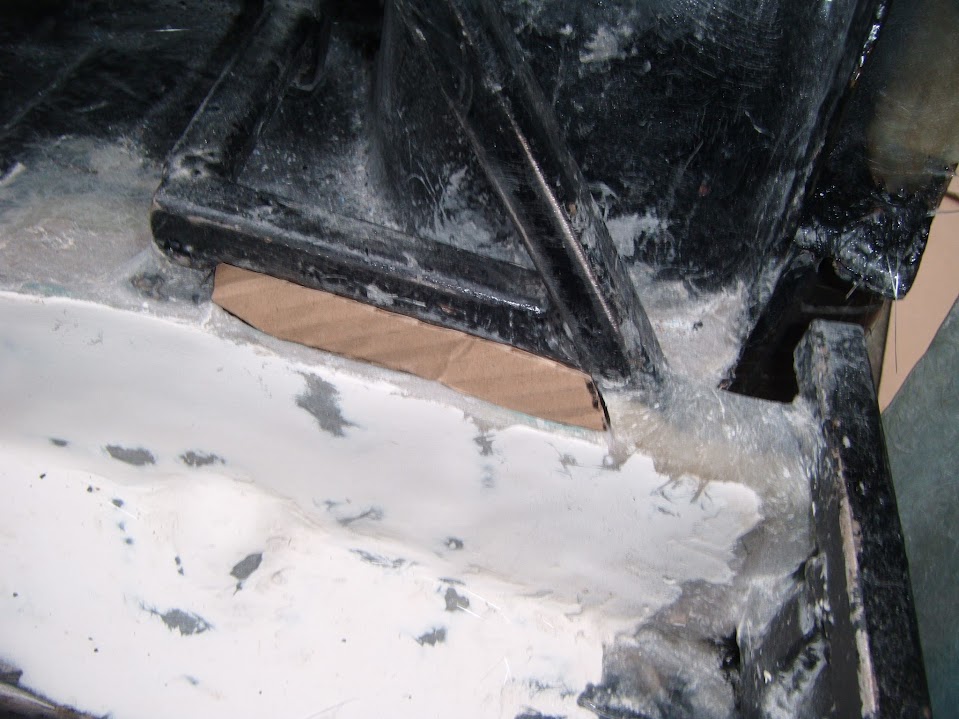
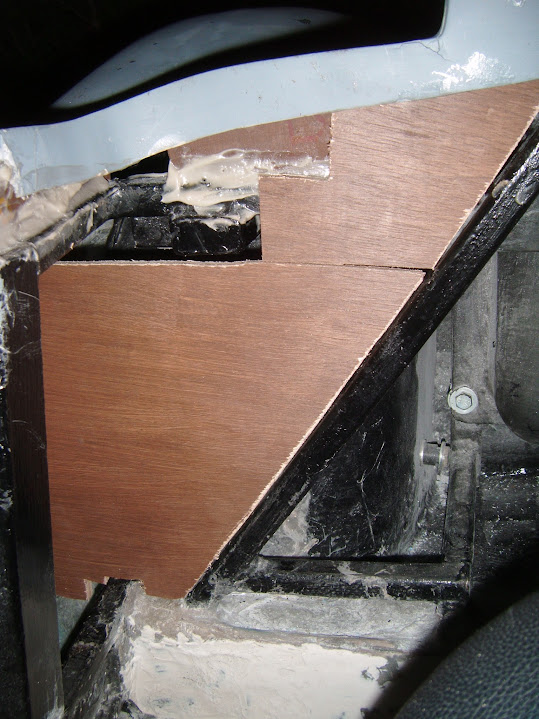
Fitted the plywood panels inside the boot.


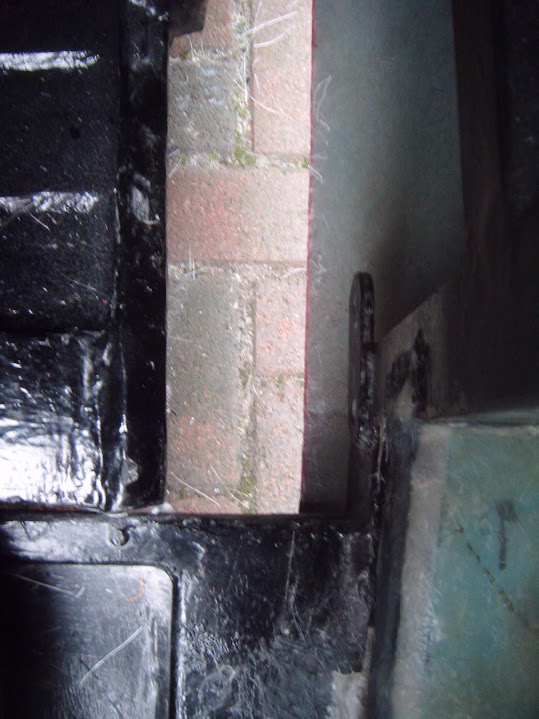
Fitted the panels between the boot floor and the rear body shell at the back.


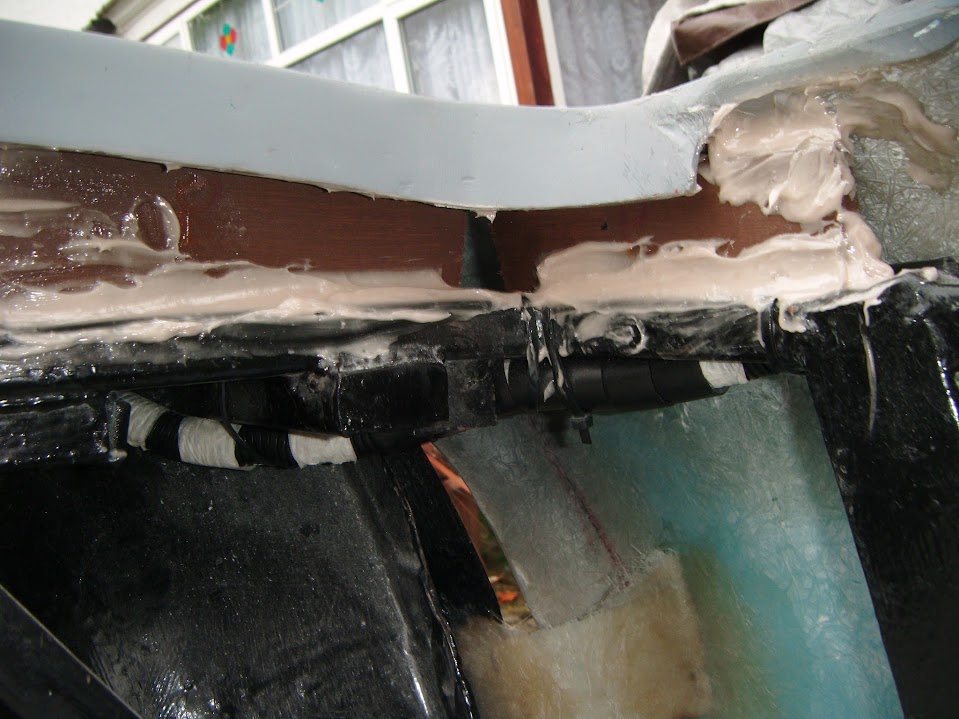
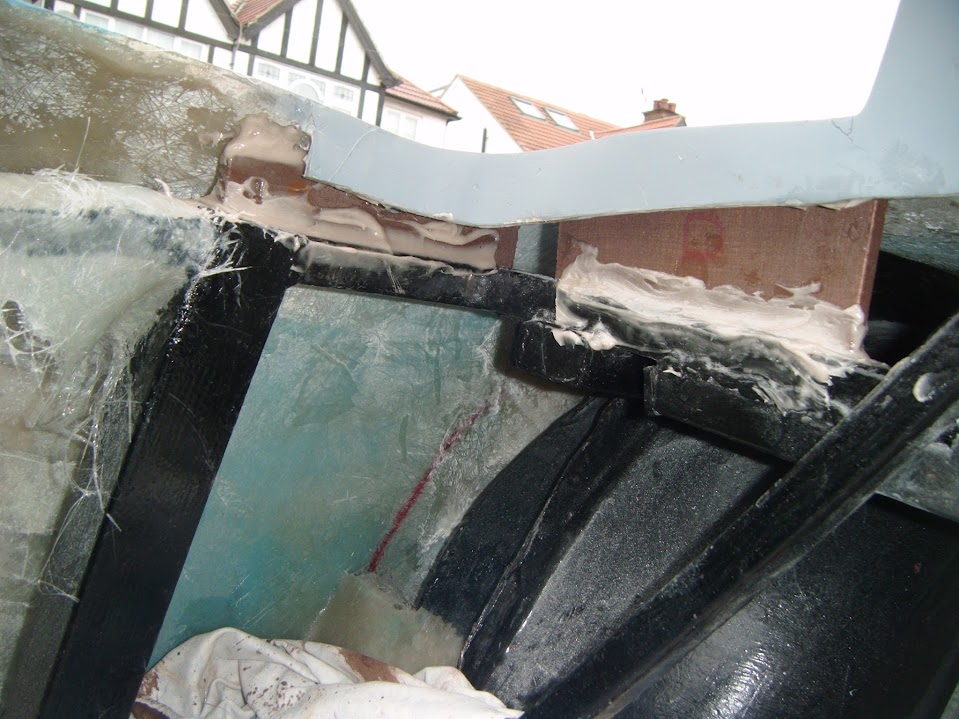
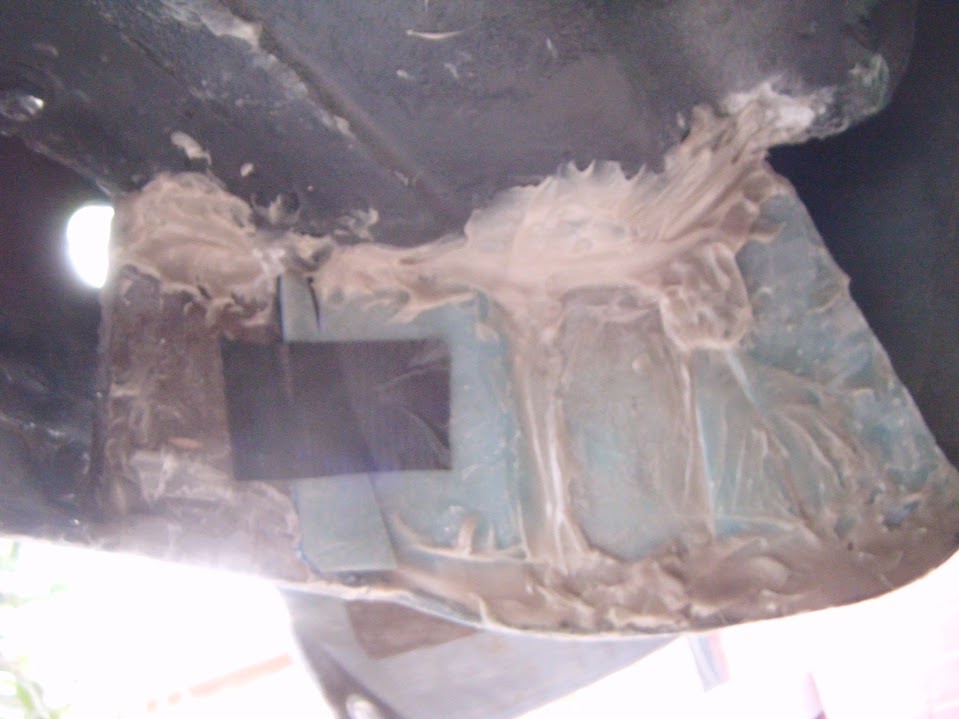
Not great photos, but added paste where the boot lid rain channel meets the framework.


And finally the section I had cut out earlier.


Boy was this messy work and not helped by the need to crawl around on my back to reach some of these areas. :rolleyes:

The only other thing I had time for today was to add more fibreglass matting to all three "bridges" on the driver's side.


I will be adding at least one more layer of matting along all the joins at some point, but it already feels very strong. :cool:

Until next time, take care, Paul. :)
3 Nov 2015, 5:50pm
Busy Bee:
Unfortunately, I've been very busy with non car stuff recently, but I did manage a little bit today before it got dark...

Checked the panels that were bonded in at the weekend and they all feel pretty solid. :cool:

Then made some more templates for the next series of panels I need to fit.
( I had made the passenger floor one before, but it needed a trim to match the "pulled in" body shell sides. )


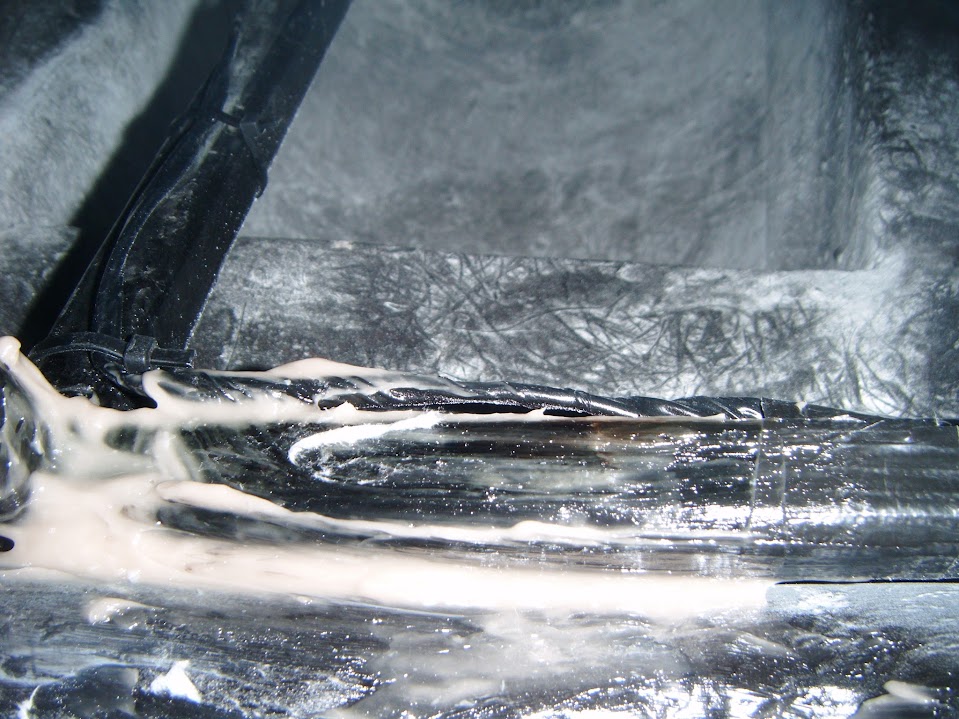
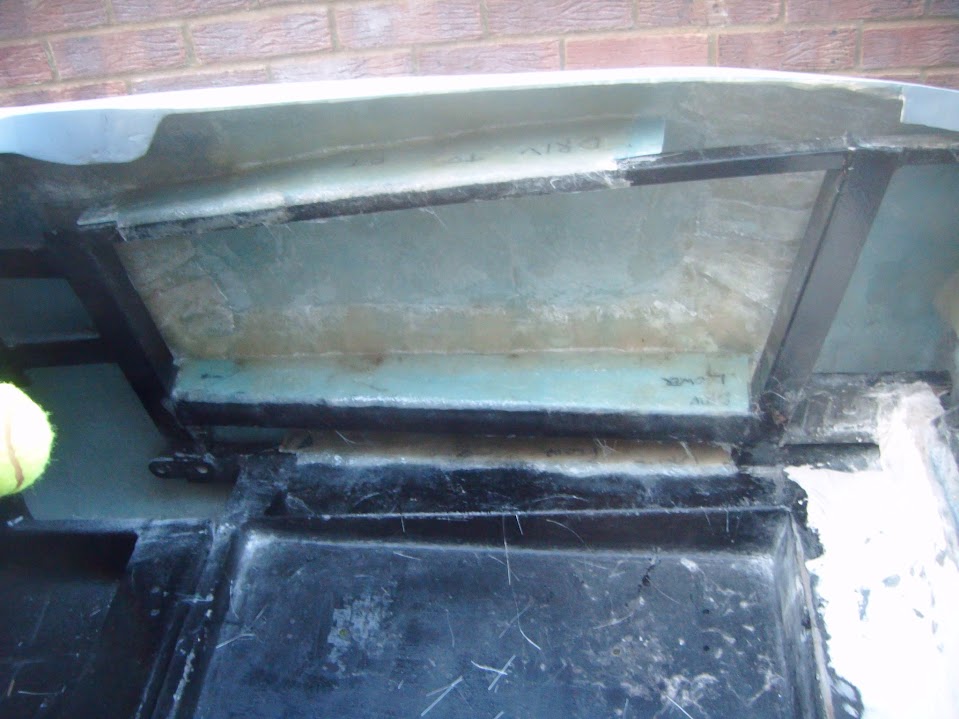
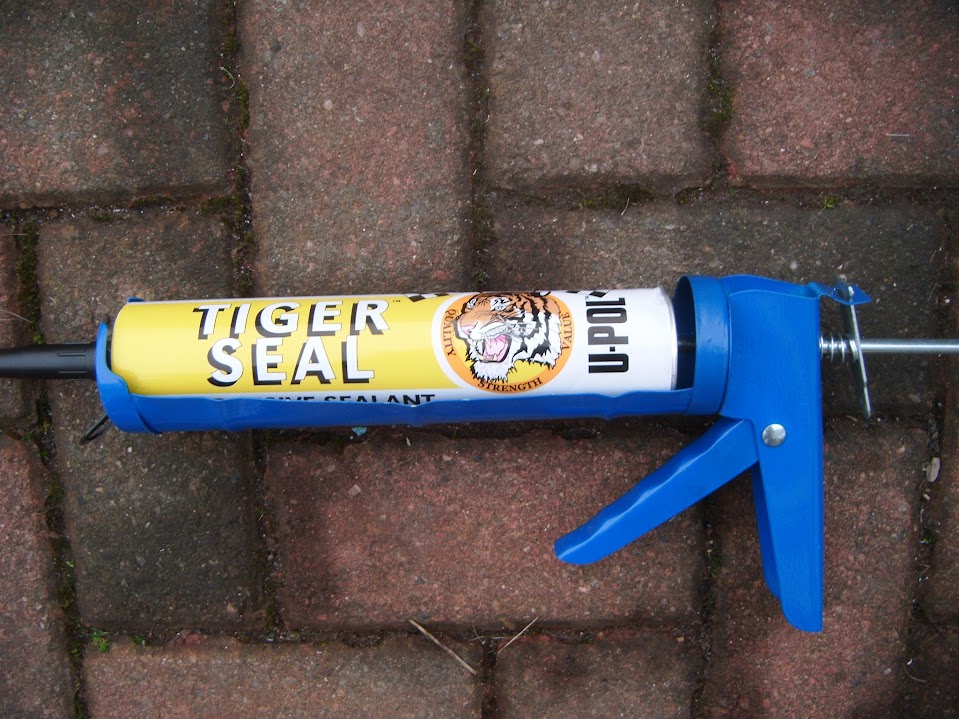
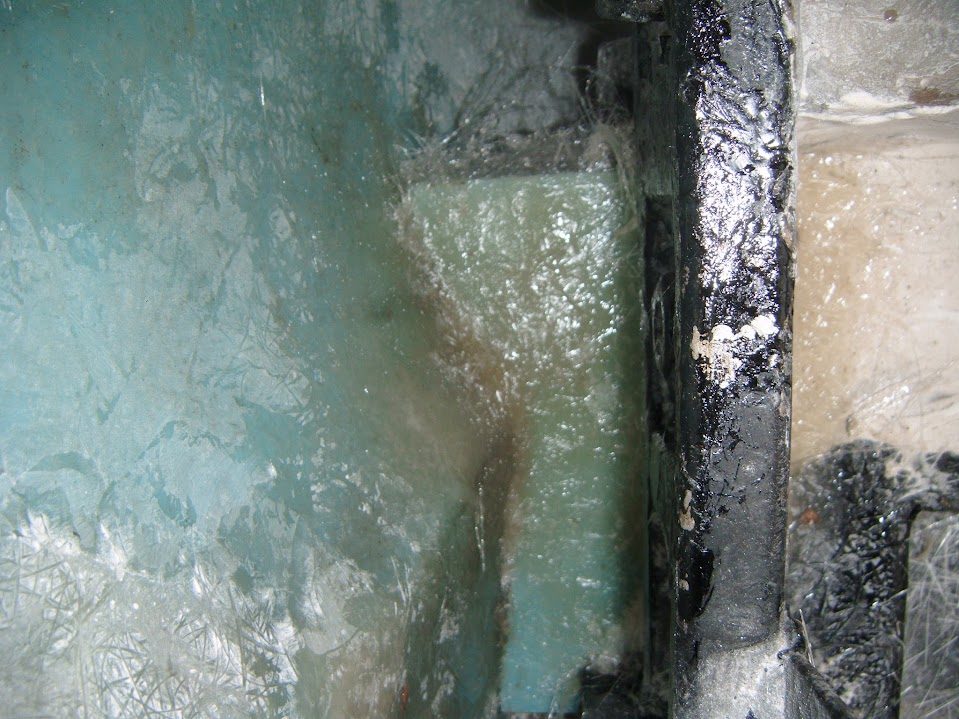
I thought a simple (and quick) job would be to use some Tiger Seal at the front end of the body shell.


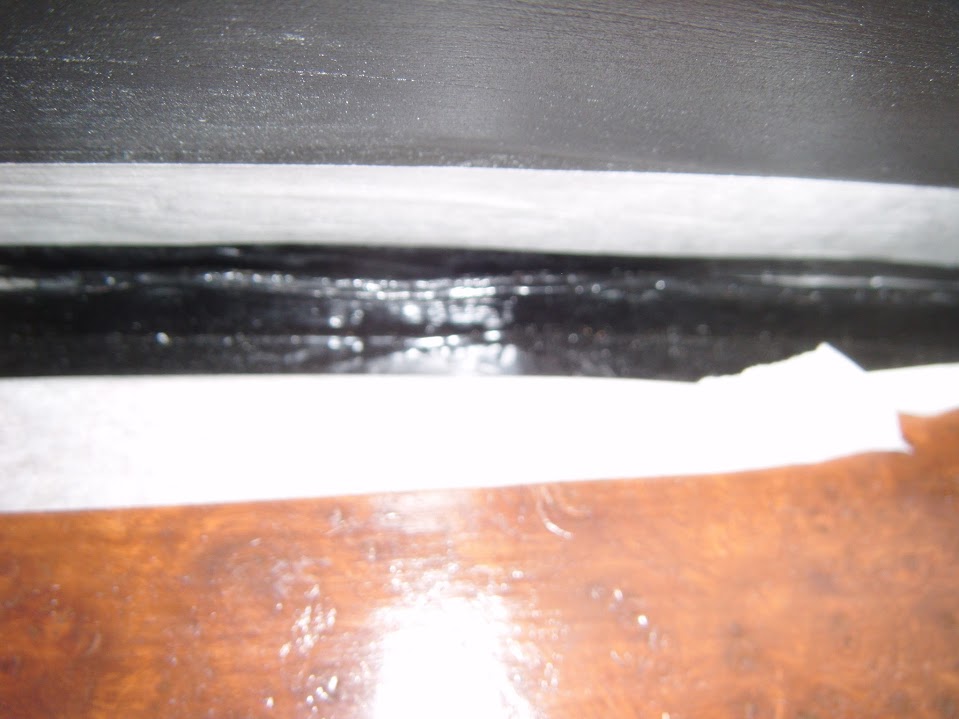
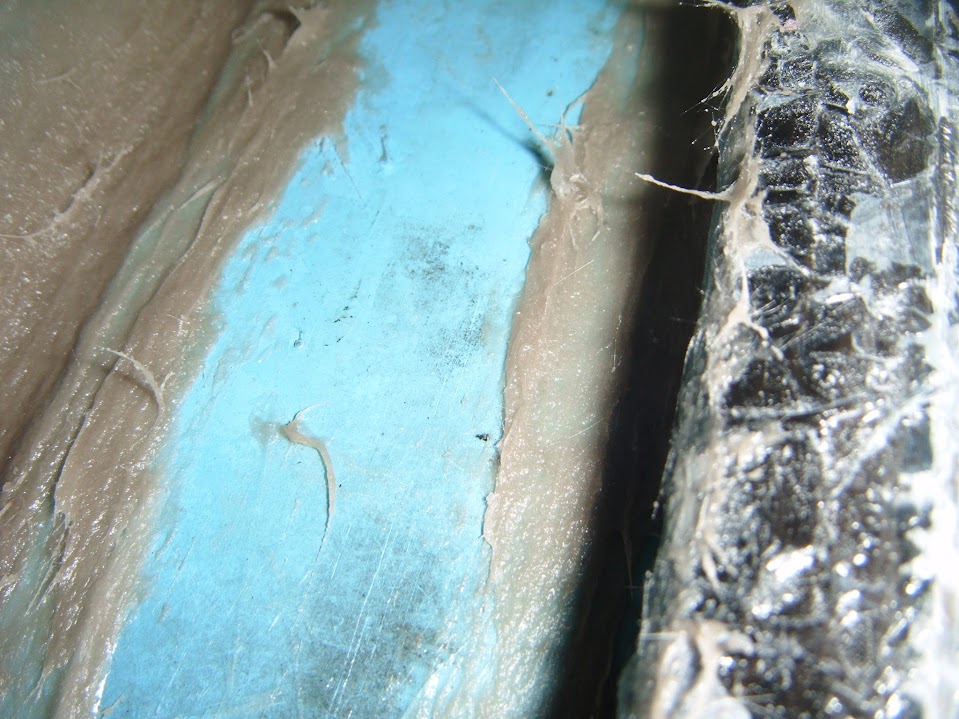
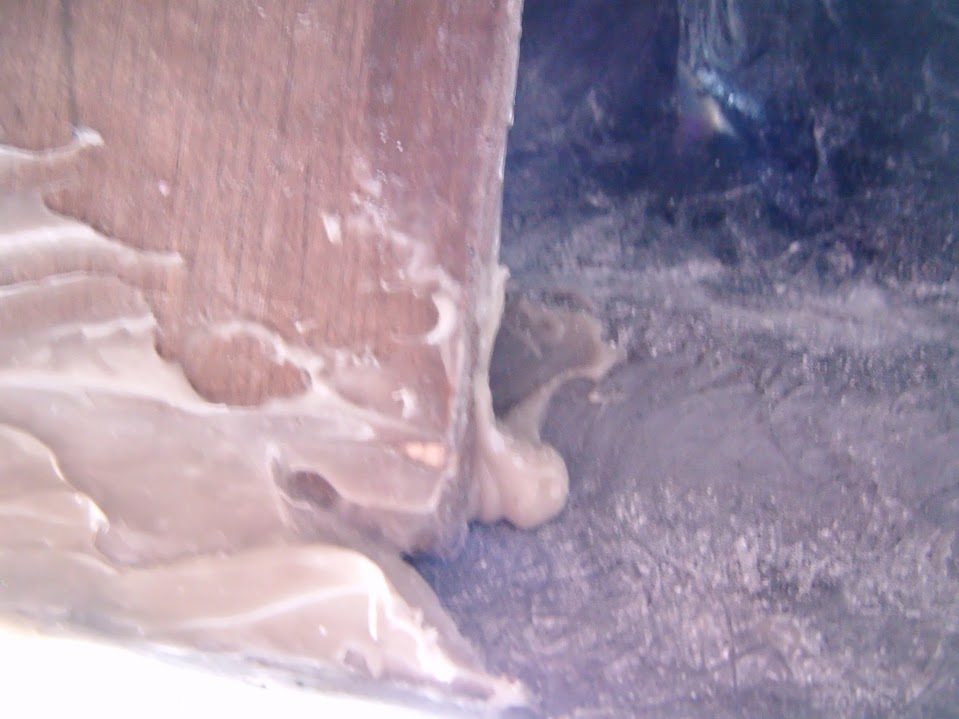
These photos are not great, but there is a thin gap between the bulkhead and the body shell on the engine bay side.


As well as along the dash board side.


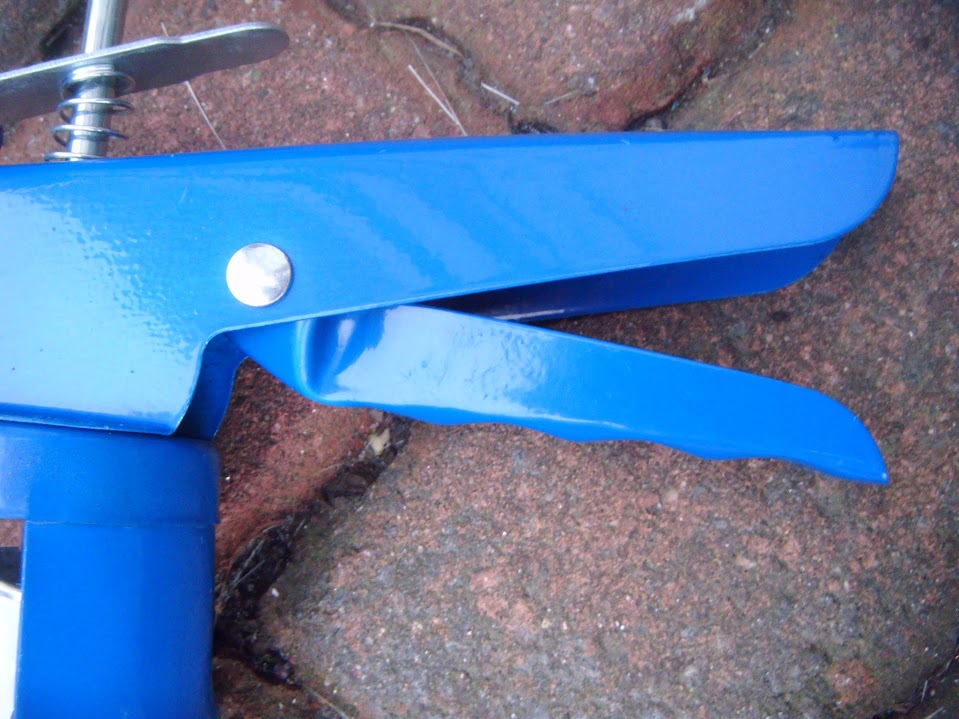
Unfortunately, the cheap and cheerful sealant gun I bought, turned out to be cheap and nasty. :icon_evil:


Once the handle collapsed/imploded, it was just not possible to push the sealant out. :icon_sad:

So I've ordered a "proper" heavy duty one and will have to come back to that job another day.

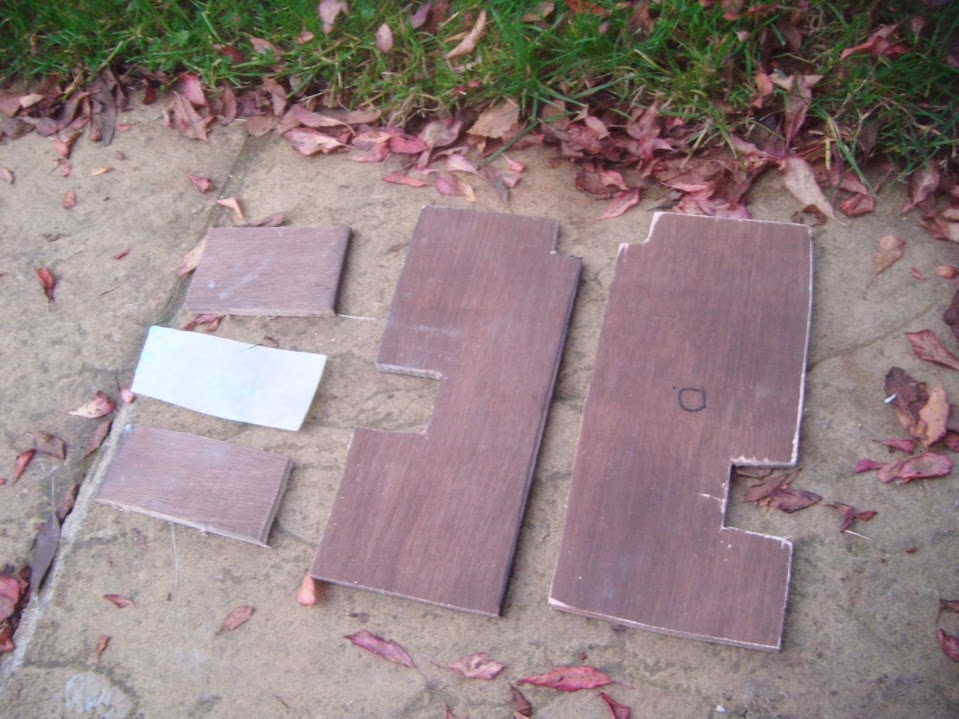
I just had time to cut out the next batch of panels from plywood and fibreglass.


But I want to test fit both of the cockpit floor panels before I paint/treat the edges.
( As they may need a fit of fine tuning to get a good fit. )

So that is another job that will have to wait. :rolleyes:

Until next time, take care, Paul. :)
4 Nov 2015, 6:40pm
Wet Wednesday:
Typical, I had some car time available this morning and it was chucking it down outside.

However, I must remember that now is the time for a "seasonal" adjustment to my expectations.

As the simple reality is that the weather plays a much bigger role during the Winter months.

I did spend a bit of time tidying up the Summer House, as I also needed to look for something for my daughter.

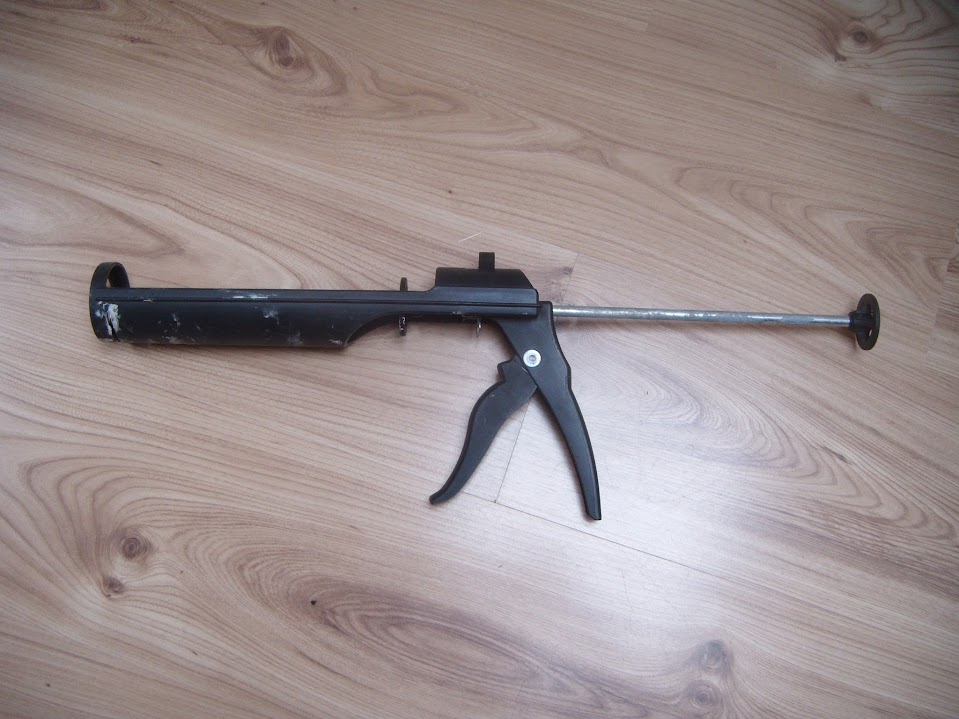
Then in my second "typical" moment of the day, I didn't find what I was looking for, but I did find this in an old box.


Yes, a sealant gun, just like the one I ordered yesterday, that I had clearly forgotten I even had. :rolleyes:

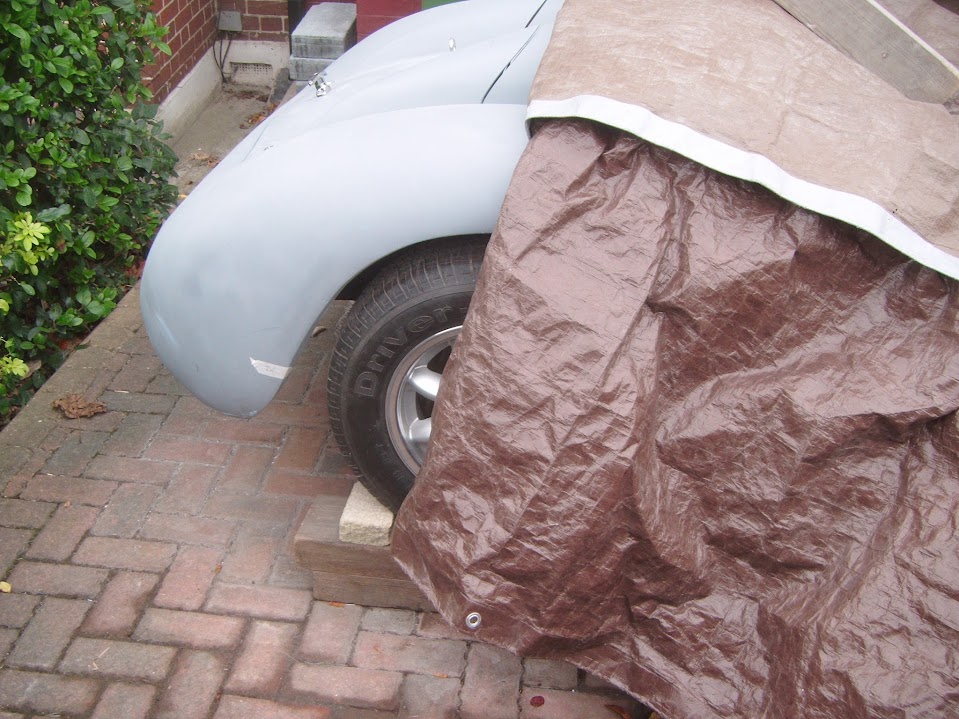
Eventually it stopped raining, so I took the covers off and started to test fit the cockpit floor panels.

But no sooner had I started, when the rain returned. :rant:

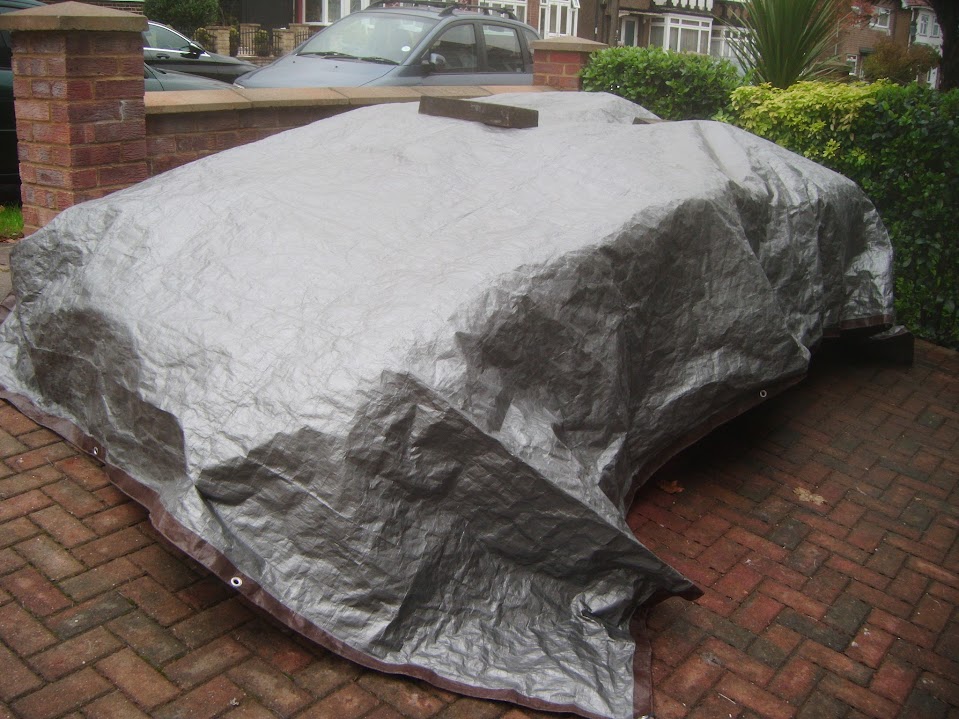
So I quickly threw the tarpaulin over the top.


Then carried on adjusting the panels in the porch.


And getting a bit wet every time I went out to check the fit.

By the time the rain had finished, the panels were ready.

Passenger side (before & after):


Driver's side:


I did use the sealant gun to apply the Tiger Seal into the gaps on either side of the bulkhead join.

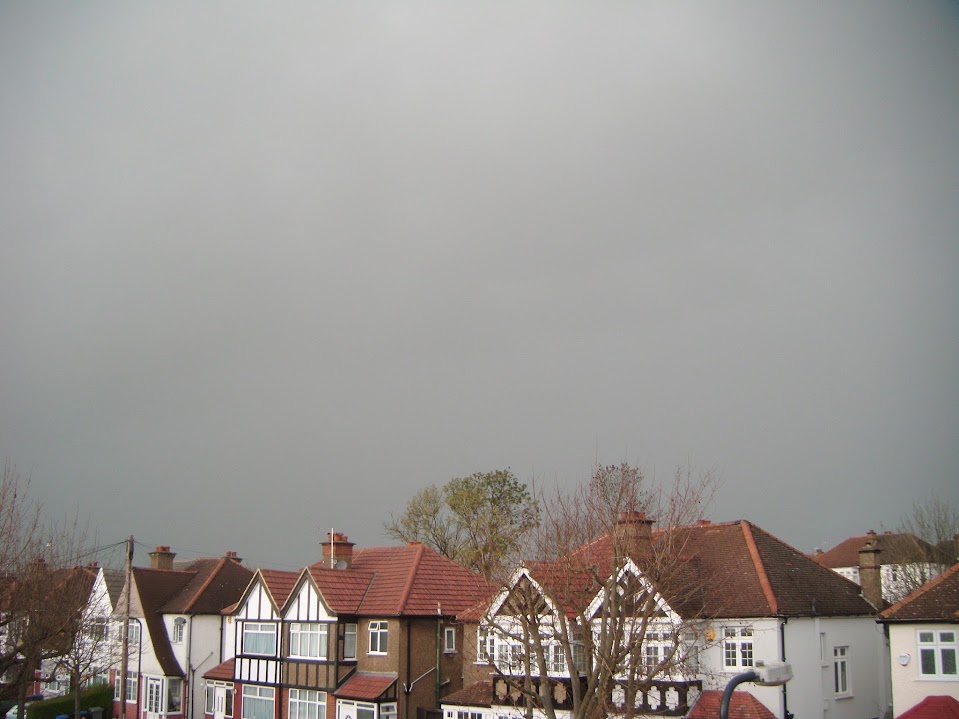
Unfortunately, it was just too grey outside to get any decent photos, so I'll try again another day.

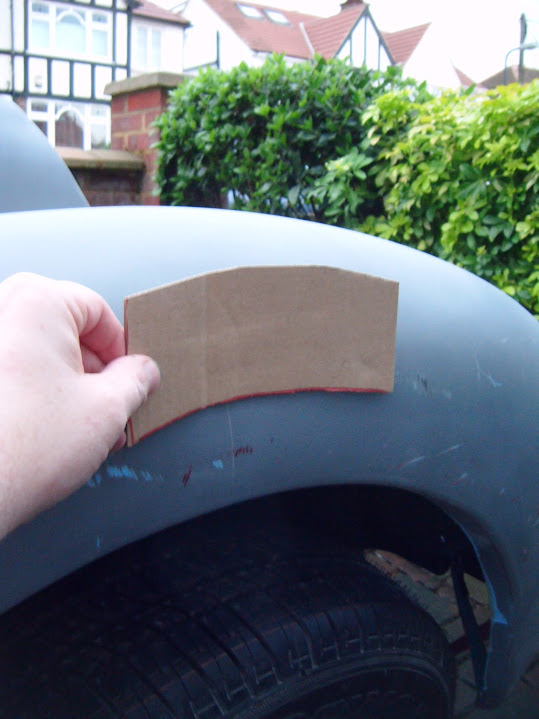
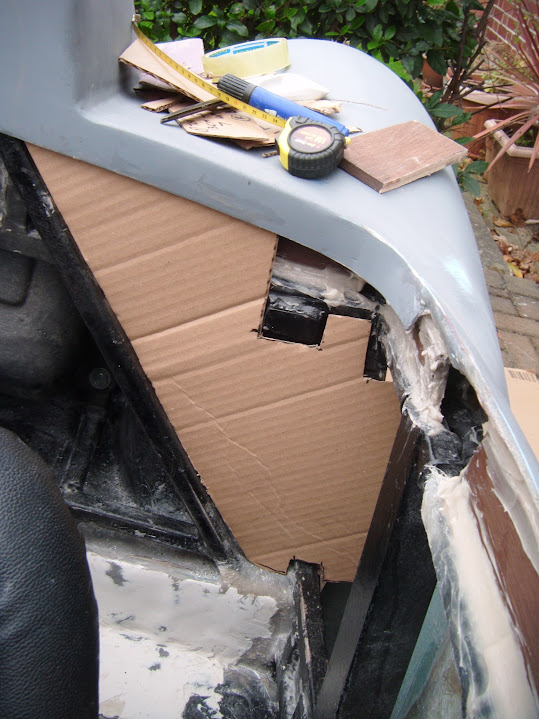
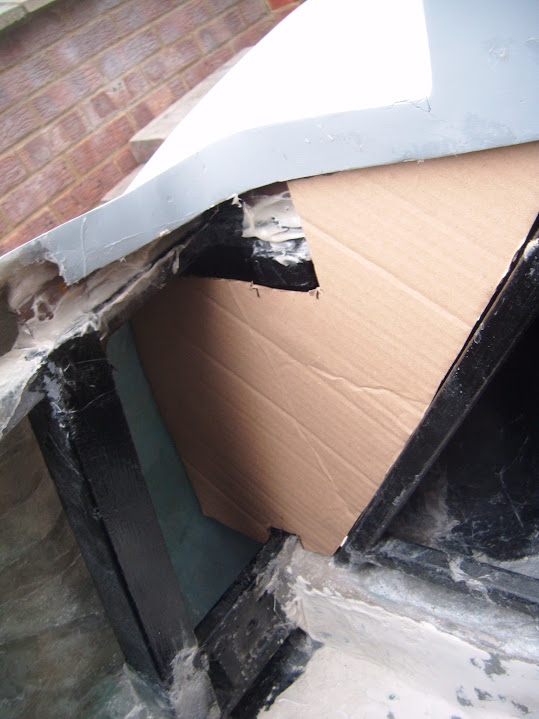
Then it was back to making cardboard templates for more plywood panels to support the body shell.

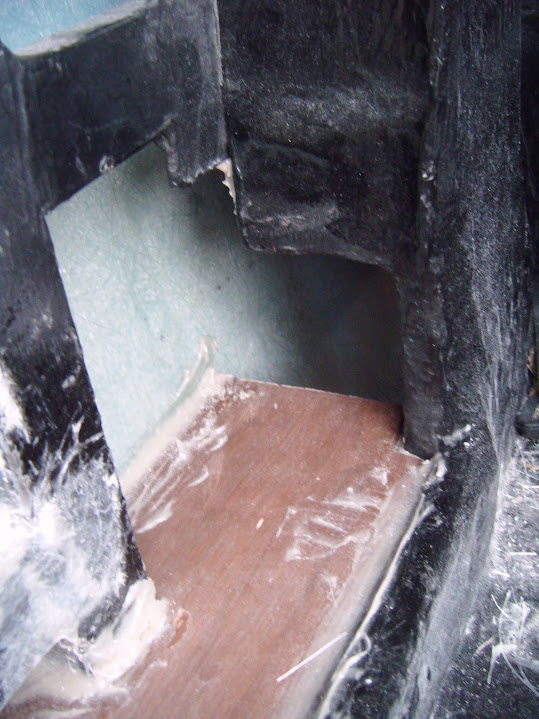
The area between the two humps is very secure, but there is "thin air" under the rear cockpit corners.

So I will be adding two panels between the frame and the body shell here:


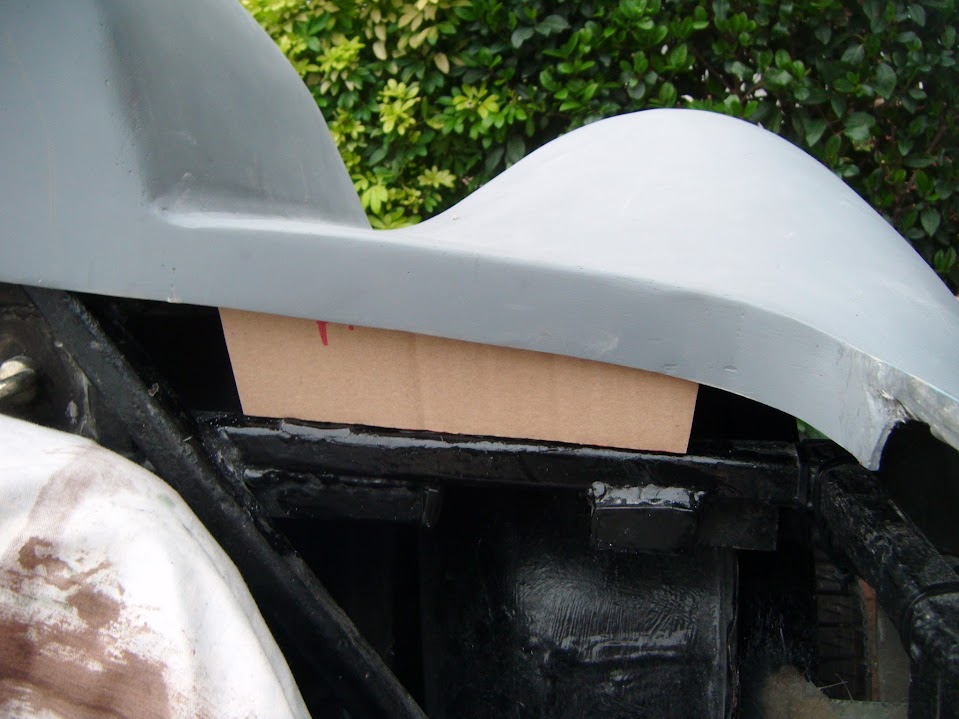
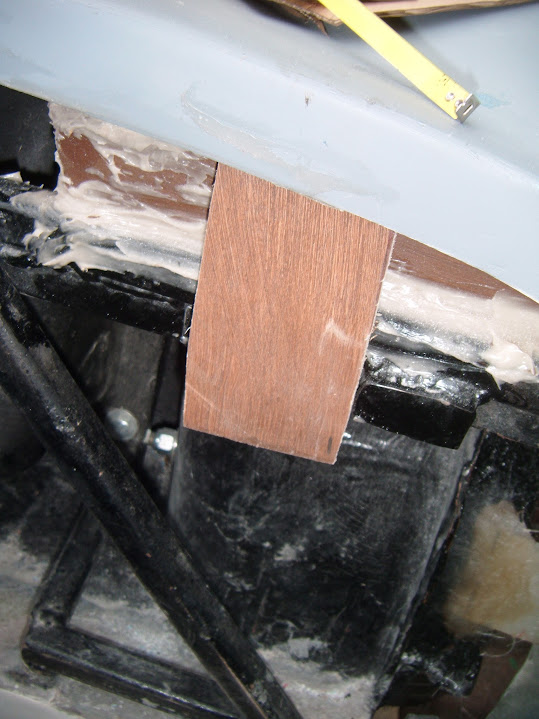
I will also add a small panel between the top of the Spitfire wheel arches and the underside of the body shell arch.

I couldn't get a decent photo of the panel in position, but it will be somewhere around here.


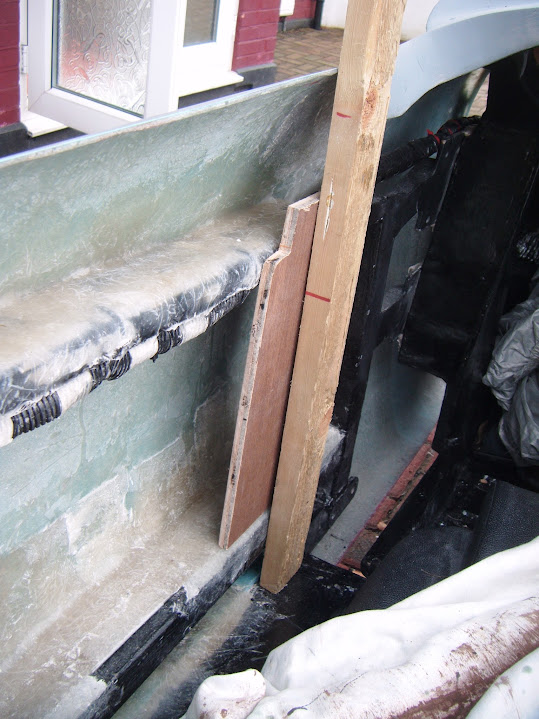
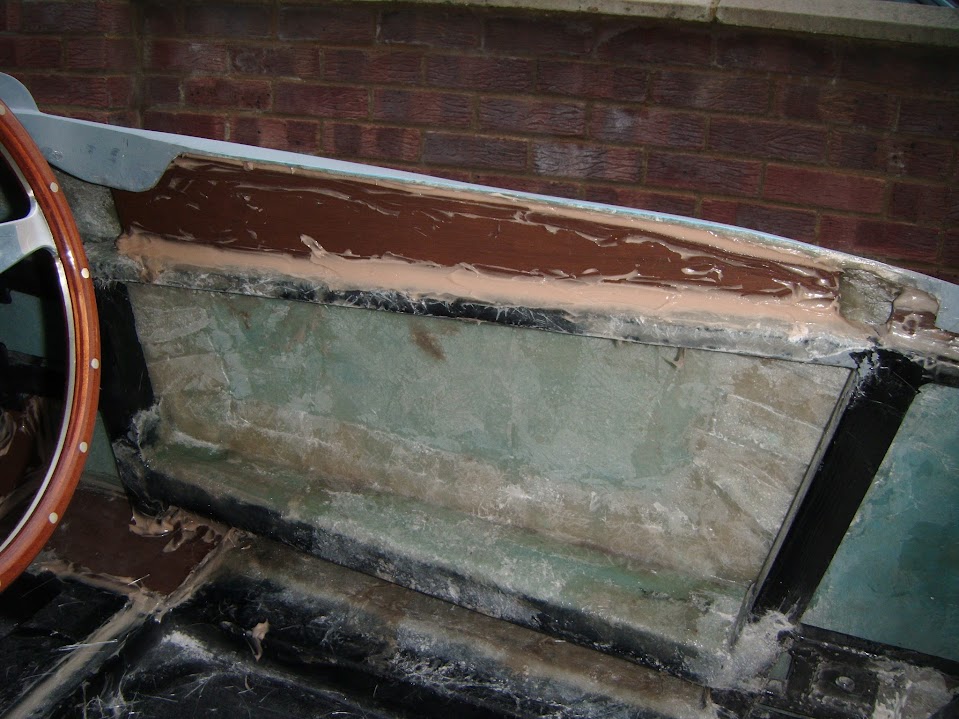
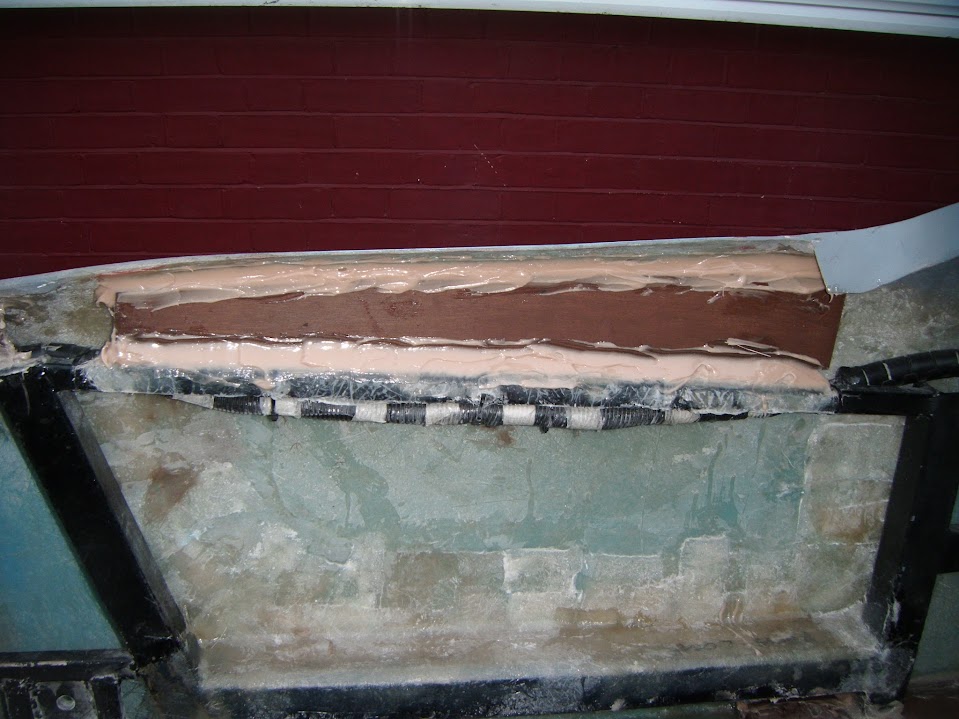
The next thing I looked at was how the cockpit sides will work as there isn't much room to play with.

On the passenger side, a panel starting from the "middle" framework would reach.


But if I started the panel at the floor, the plywood would stick out beyond the edge of the cockpit.

Which is what would happen no matter where I start on the driver's side.


So on this side, I will add a panel along the top frame rail underneath the sides.
( I may actually do something similar to this on the passenger side. )


Note:
My current concern is how to support the sides of the cockpit, not the whole cockpit panelling.
( Which will still need to be done for the "look" of the car, rather than its internal strength. )

At some point I will need to add the cockpit "return" edge along both sides of the cockpit too.


But for now I cut out the pieces needed to support the rear of the cockpit.


I also cut out another section of fibreglass to extend the "top" bridge on the driver's side.


Finally, I painted/treated all the edges of the plywood panels in preparation for bonding them into place.


This panelling work is quite time consuming, but it is worth spending the time to ensure I have a solid car.

So it still feels like I am moving forwards with the build, albeit quite slowly.

Until next time, take care, Paul. :)
5 Nov 2015, 1:57pm
I fought the rain, and the rain won.
The forecast gave me hope that I could get a few hours on the car this morning, but it was not to be...

Although while it was still raining I gave the plywood panels another coat of paint inside the Summer House.

When it stopped, I moved everything I needed to the porch, but the rain kept returning when I stepped outside.

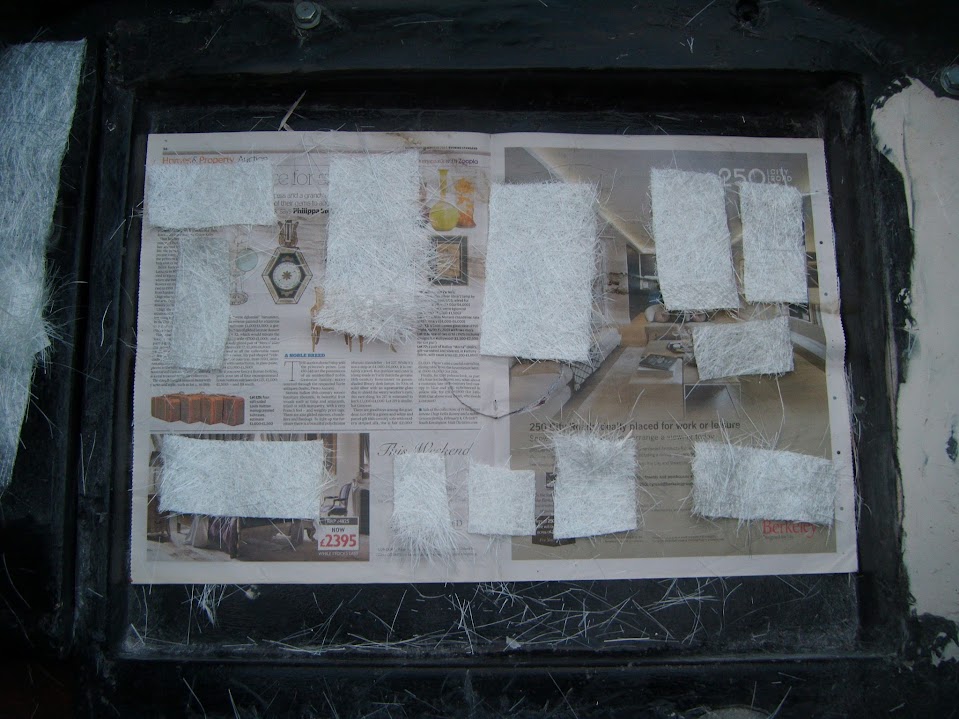
Eventually it was dry enough to make a start and I cut out all the fibreglass matting I needed.

But by the time I'd finished working on the driver's side the rain had returned again. :icon_sad:

Still, at least I managed to get the "top" bridge extension piece in place, plus some extra layers on the other levels too.


Unfortunately, it looks like it will continue raining for a couple of days.

So until next time, whenever that is, take care, Paul. :)
5 Nov 2015, 9:13pm
Hi Paul, Can't you adopt the gazebo up on the front while there are no ladies in the house then hide it in the summer house before they return approach, shhhhhh its s secret. Ed.
6 Nov 2015, 7:57am
Ed - Unfortunately, my "Circus Tent" needs at least 2 people (& ideally 4) to put up. :icon_sad:

Although my main concern with using it during the Winter is the wind. :eek:

The weird thing is that even though the rain is stopping play at the moment, I generally get a lot done over the Winter.

Thankfully, I can do the internal panelling work in small stages and it still feels like progress.

Cheers, Paul. :)
7 Nov 2015, 5:54pm
You know a few of us may have mentioned once or twice that you do tend to over-think solutions..... :)

Even if we do say that, I must admit that I do like how you solve these build problems and your panelling is progressing really nicely :)
7 Nov 2015, 6:24pm
Dave - Guilty as charged m'lud. :icon_wink:

Funnily enough, I was actually think along those lines very recently.

As it dawned on me that I might be the only Sammio with a 3 level horizontal join at the sides. :rolleyes:

Reading other builds, most people join the floors to the side and then go straight to the internal panels.

Although in my defence, I really can't align the internal panels in the traditional way due to a combination of "wonky" factors.

Still, despite the over engineering, I must confess that I really like how solid the body work feels. :cool:

- - - - - - - - - - - - - - - - - - - - - - - - - - - - - - -

Wet & Windy:
There was just brief chance to work outside late this afternoon.

I tried to take some more photos of the Tiger Seal joins on either side of the bulkhead, but they are still not great.


I had to use the lowered floor pans to lay out the fibreglass matting to keep it out of the wind.


Just before I started putting this lot in place the street lights came on. :rolleyes:


So it was pretty dark by the time I'd finished, so the flash was required.


With a bit of luck, I will be able to bond the next round of panels in tomorrow. :pray:

Until then, take care, Paul. :)
8 Nov 2015, 3:59pm
Remembrance Sunday:
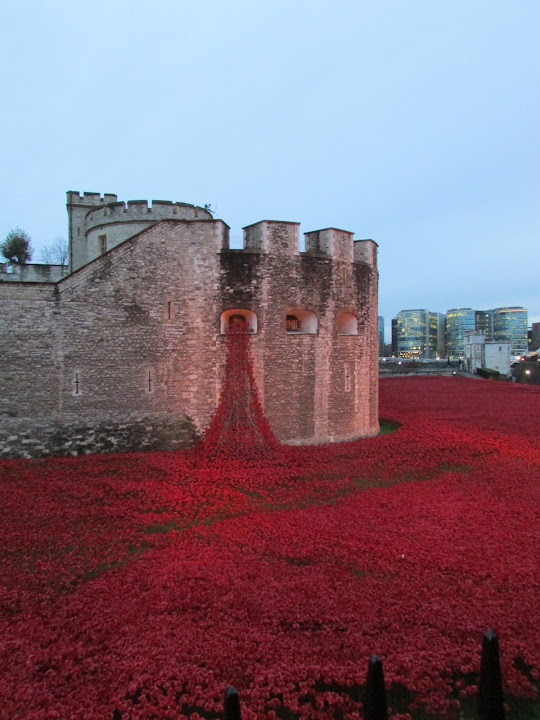
Hard to believe we were actually at the Tower of London poppy field this time last year.


Anyway, I didn't want to be doing any car work during the 2 minute silence this year.

So I mixed up another batch of bonding paste and got to work early.

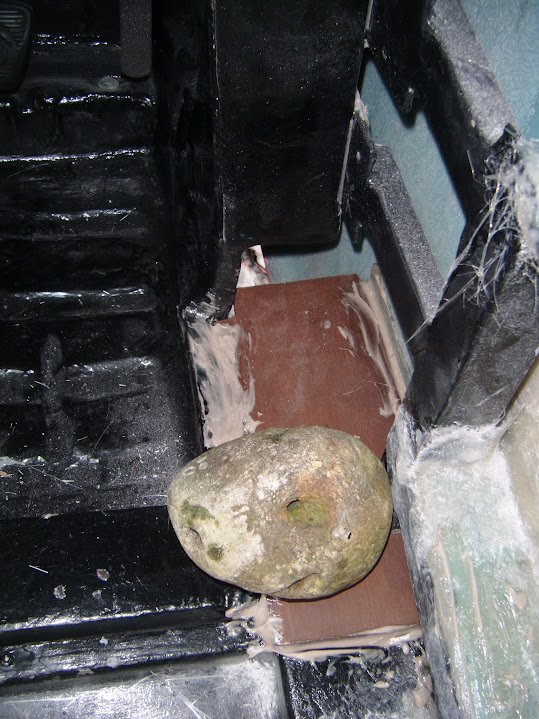
The cockpit floor panels went it.


I had to use a rock to hold the driver's side in place due to the angles involved.


Next I added the two small panels between the frame and the body shell on either side of the rear cockpit corners.


- - - - - - - - - - - - - - - - - - - - - - - - - - - - - - -

After watching a bit of the Cenotaph service on TV, I went back out and did another round of bonding.

I added both the fibreglass panel and the plywood one to the passenger side at the rear of the body shell.


Before adding the plywood one to the driver's side.


Notes:
- At this point I've added more support to the passenger side as it is still held down by a tie down strap.
- The drain hoses for the boot lid rain channel will exit through the next panels to be fitted in between these two.

I also did the panels between the Spitfire rear arches and the body shell arches.

It was not easy to get a camera into this space, let alone get a decent photo, but hopefully this gives you the general idea.
( More paste will be added after this has initially set in position. )


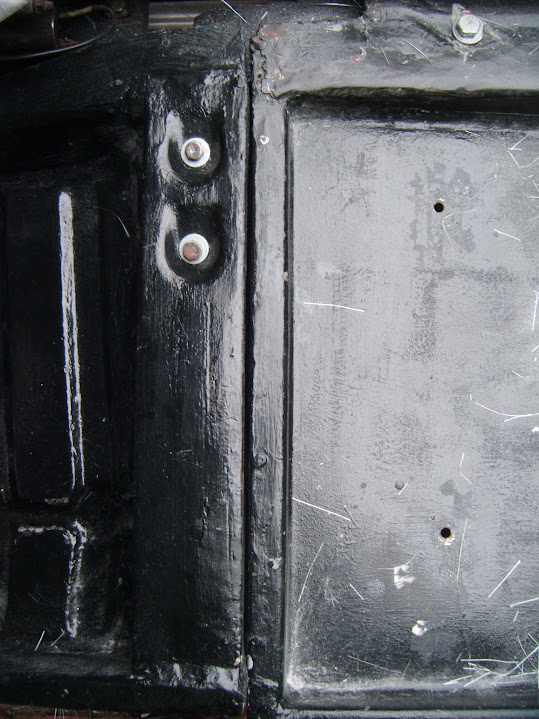
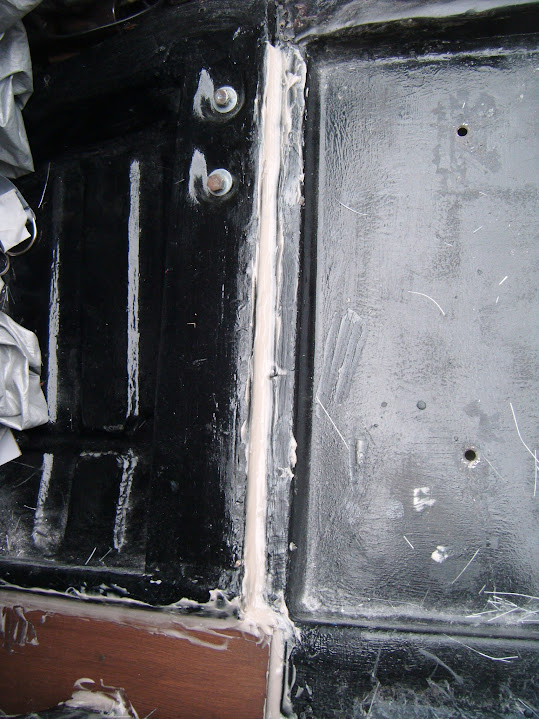
I then used the last of the paste to start filling in the gaps between the bulkhead and rear framework.

Before:


After:


- - - - - - - - - - - - - - - - - - - - - - - - - - - - - - -

Later I returned outside expecting to add some more bonding paste, but there was a fine mist developing. :icon_sad:

So it was back on with the covers and creating just a small area to work in.


But that was enough to cut out the next round of templates.
( 2 x cockpit side supports + 2 cockpit floor vertical panels )


Then with the car now covered up completely, I cut the panels out at the bottom of the garden.


Before giving them an extra coat of paint/wood preserve paint.


It is still misty here, so I am going to call that a day.

Until next time, take care, Paul. :)
9 Nov 2015, 7:42pm
Close Enough:
Took another deep breath this morning and removed the strap holding the rear passenger corner down.


Thankfully even the small amount of panelling work I have done is still strong enough to hold everything in place.

However, the real scary moment was still to come as I decided to take the car off the blocks and see what it looked like.

But first I had to wash down the mess I'd made of the house wall.


One of the biggest benefits of bonding the body shell on is that I no longer need to leave enough space for it along the side of the Moon Rover.

As previously, this was all the space I had to work in along the driver's side.


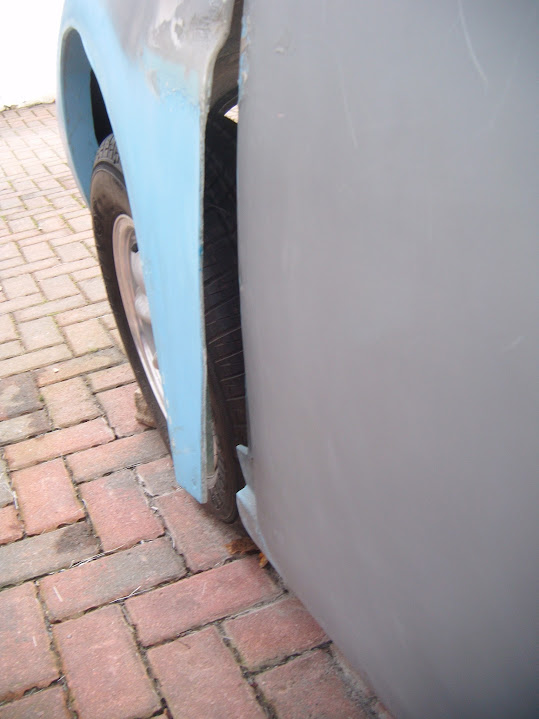
Now that I've "pulled in" the sides of the body shell, you can really see how the bottom edges of the bonnet flare out.


Thankfully, nothing a Tek screw can't fix in the short term.


Obviously, in the long term, this section is being cut out and re-attached to the body shell.

Then I jacked the car up, removed the blocks of wood and then slowly lowered it back to the ground.

As I started to slowly push it forwards, I though the steering was very heavy.

Then it dawned on me that the steering lock was engaged. :rolleyes:

So with the key in the ignition, I could steer it to the far side of my driveway to take some photos.


Normally, the front wall stops me getting any decent view of the driver's side.

So here are a few more.


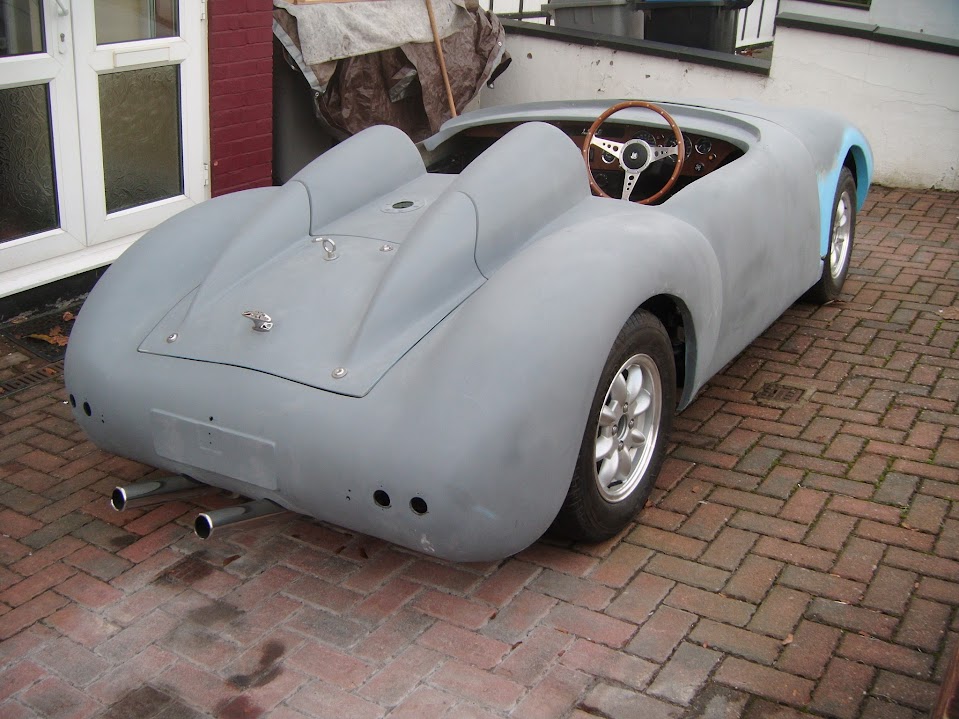
Although it looks a bit more "slammed" at the back than I was expected, this is entirely my own fault.

As it recently dawned on me that I was meant to lift the driver's side at the back to keep things level.
( And NOT pull down the passenger side, which is what I actually did. )

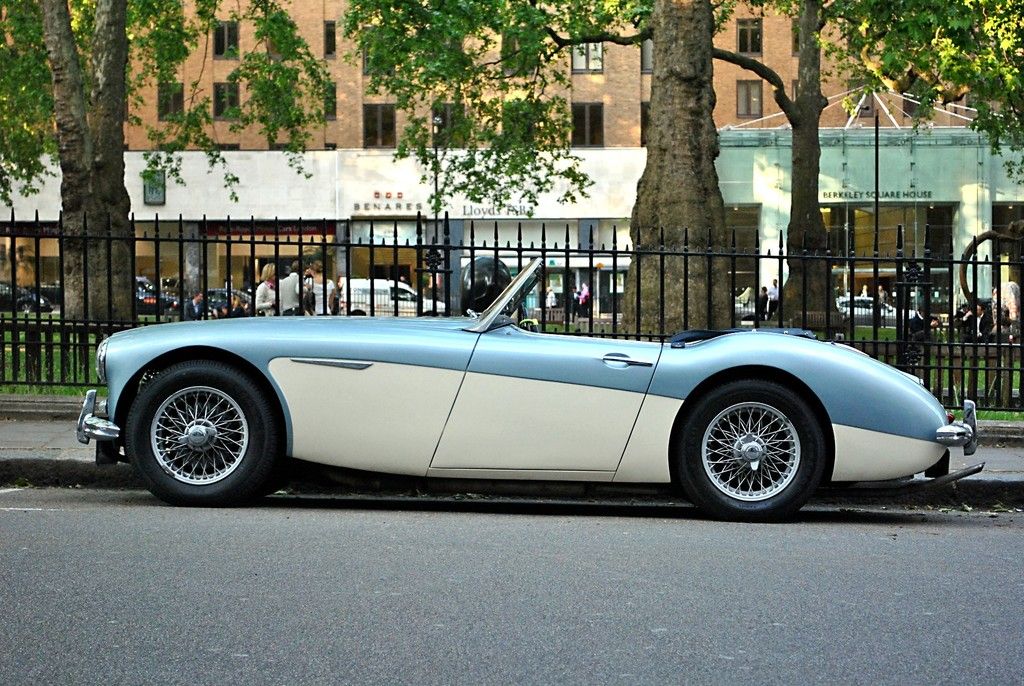
Having said that, there is now the slightest hint of an Austin Healey about it.

This is a photo Mister Towed posted on Mac's thread after seeing his two tone paint.


Which means, dare I say it, I might need to raise the driver's side rear arch profile a tad.


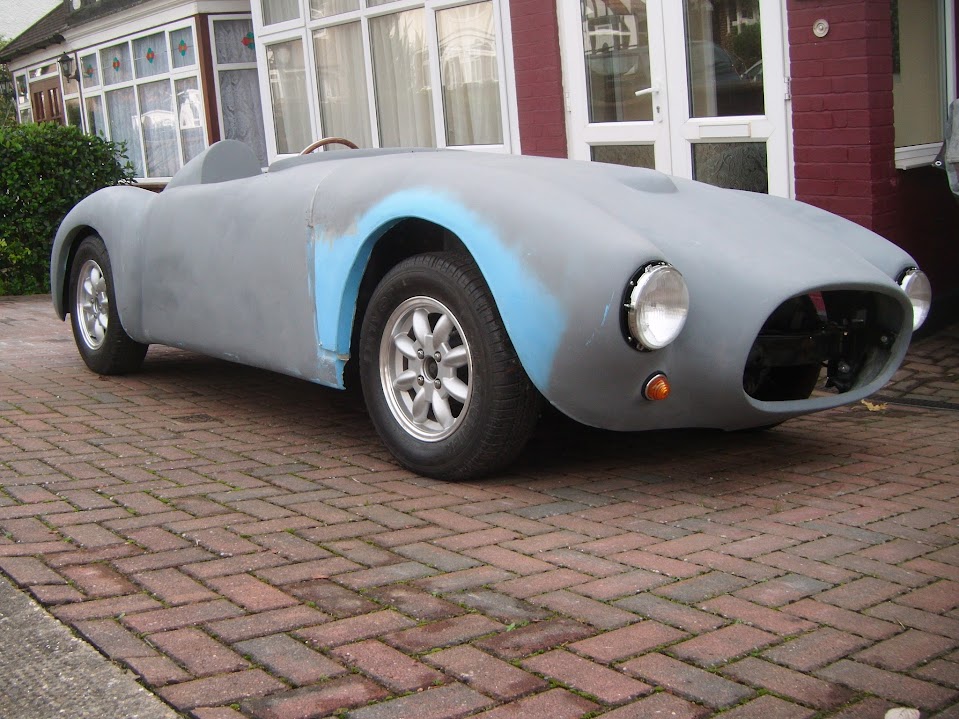
The passenger side needs a bit of work too, mainly around the leading edge.


In the absence of a drone to play with, I had to stick my head out of a first floor window to take this photo.


Make no mistake, I love the way this car is finally shaping up. :cool:

But the main reason I wanted to push the car forward was to check the real alignment "on the road".
( Although the angle of my sloping drive still causes me visual problems. )

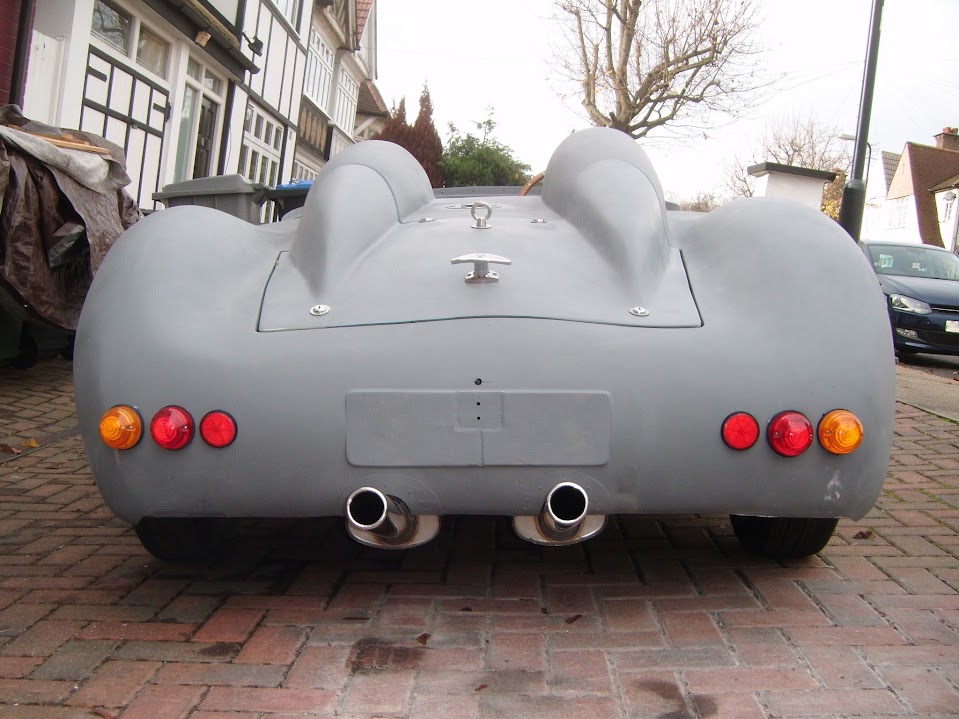
I quickly put the rear lighting in place, to see if it lined up.


And this is the final view, and as the title of this post suggests, it is close enough.


End of Part 1...
9 Nov 2015, 7:43pm
Monday - Part 2:
Well, after a lot of time spent cleaning the driveway & taking photos, it was time to do some work on it....

I cleaned up all the fibreglass along the sides of the body shell.


Because, with the cockpit floor panels in place, I needed to finish off the ends sections next to them.


A few layers of matting later.


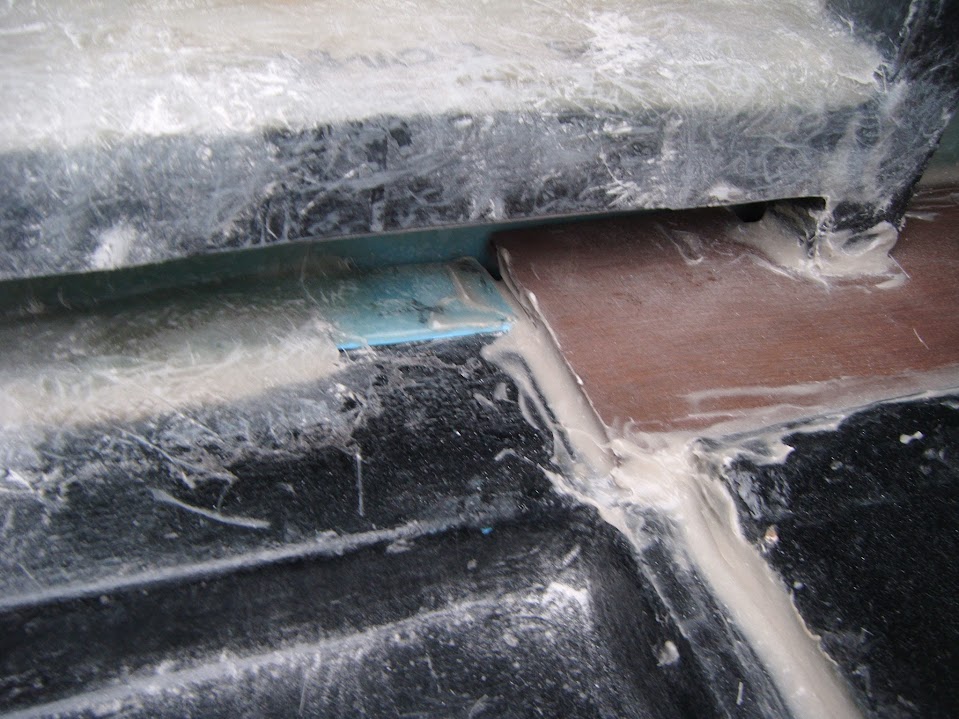
It is also worth mentioning a "hole" I still have to fill in this area, due to the "angle iron" section of framework.


So I have made templates for small in-fill panels on both sides.


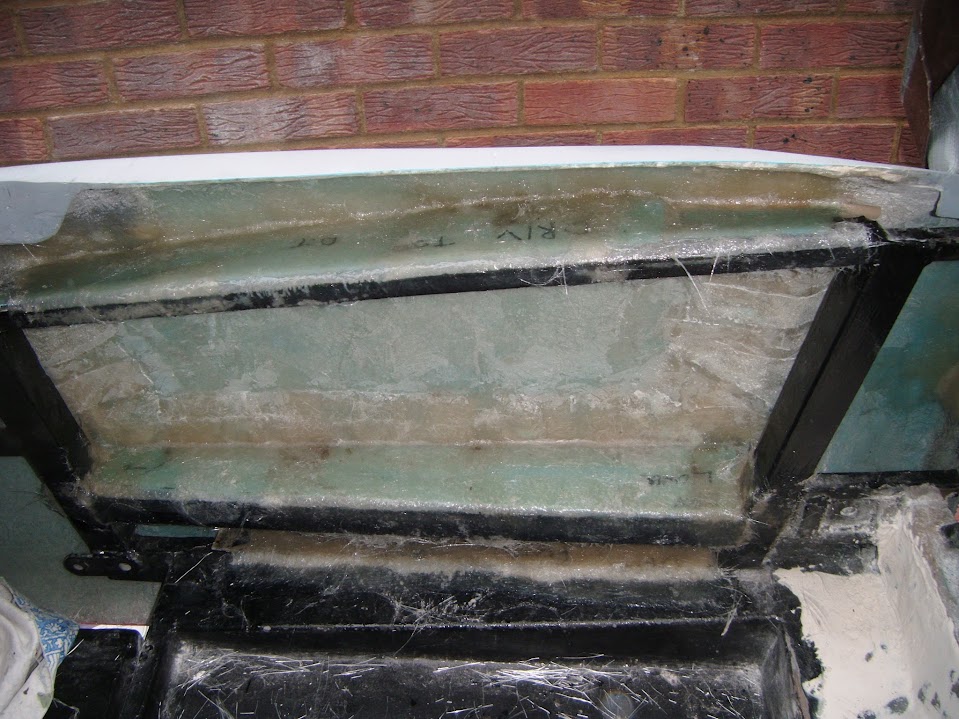
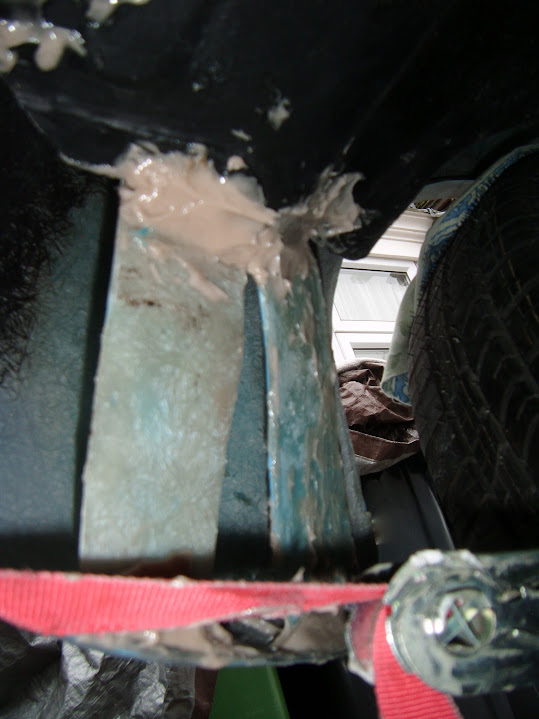
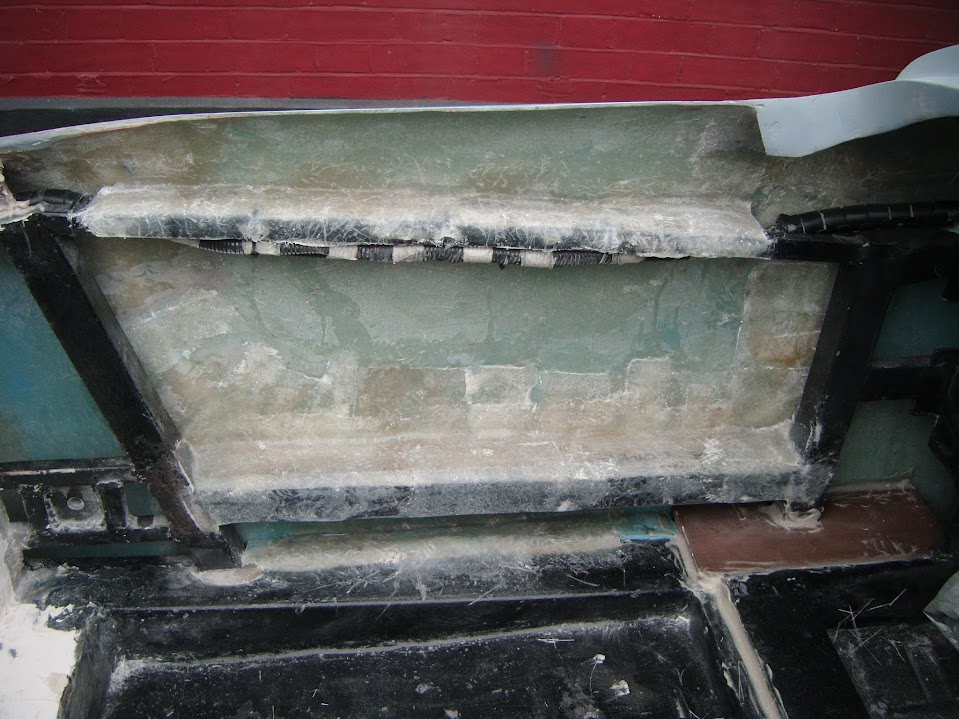
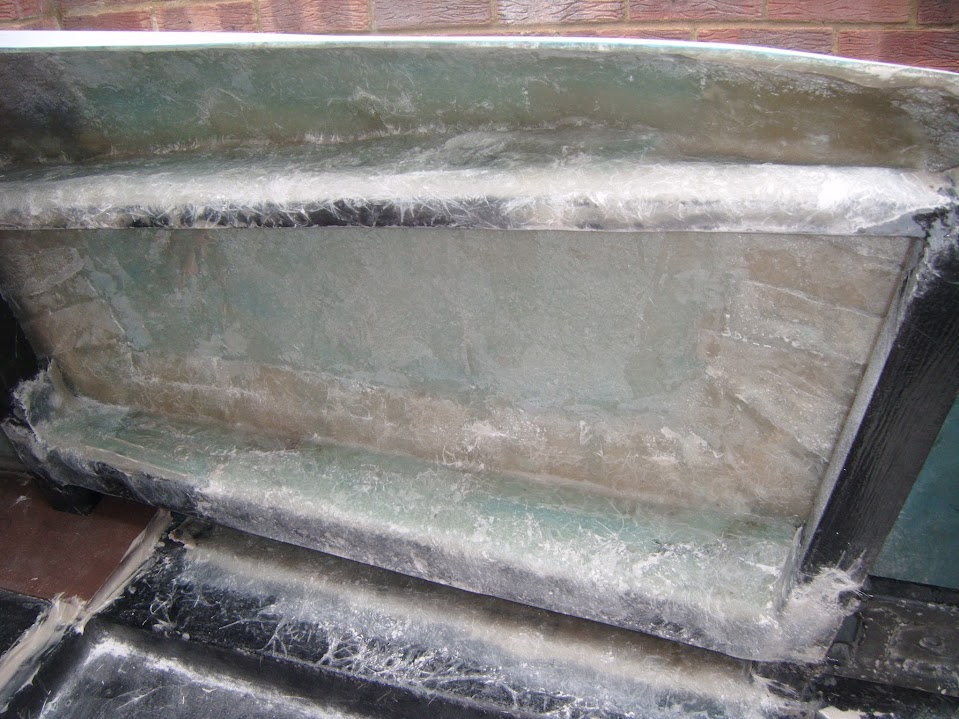
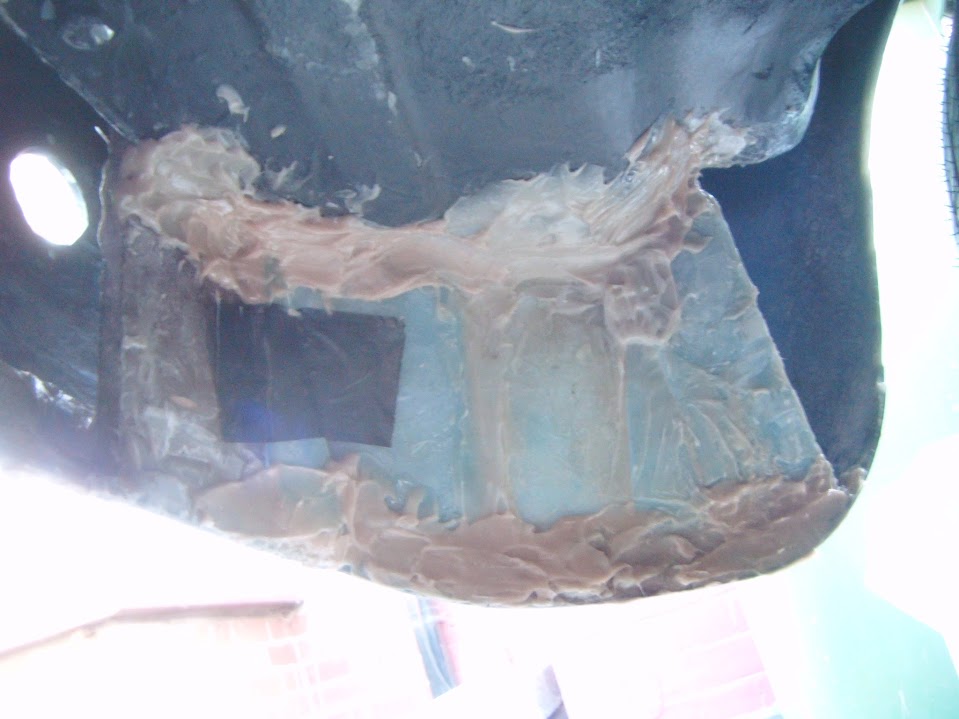
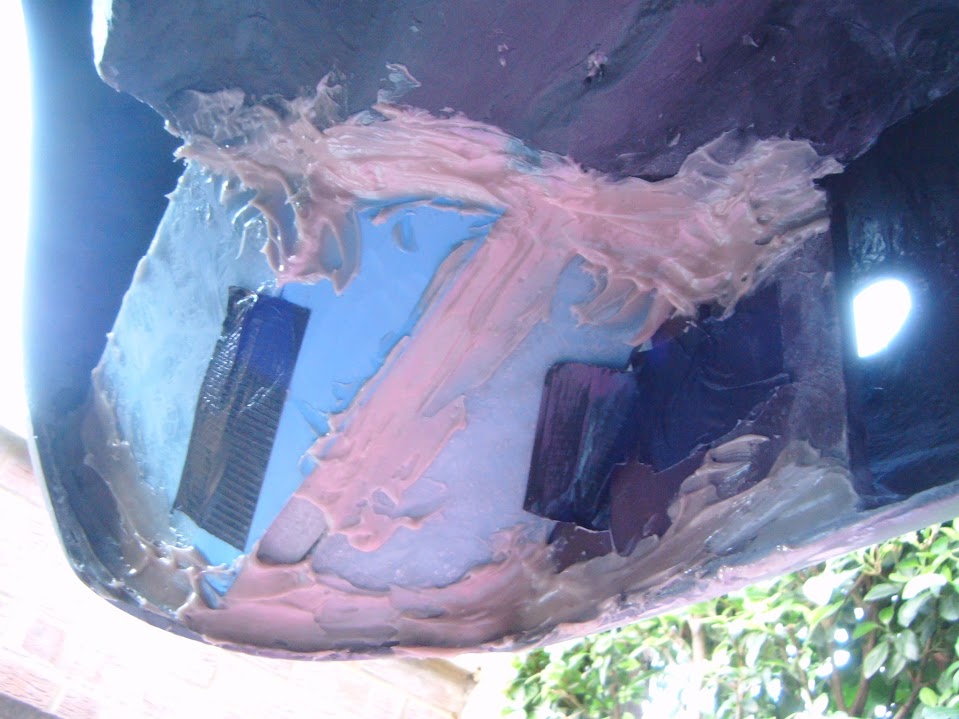
Next I mixed up some fibreglass filler to apply to the under side of the "bridges".

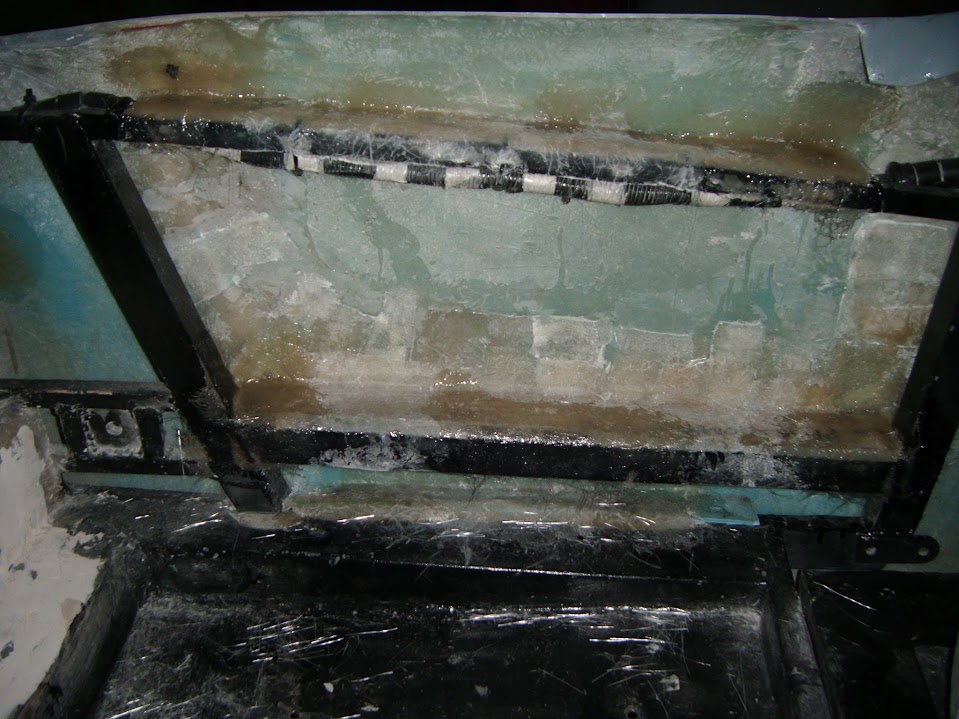
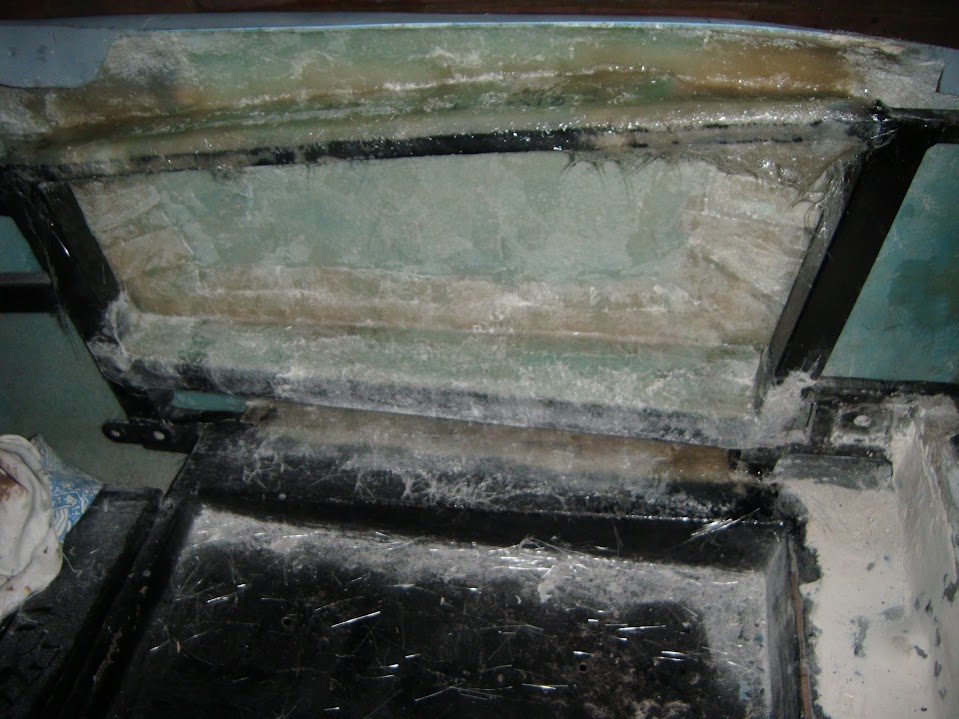
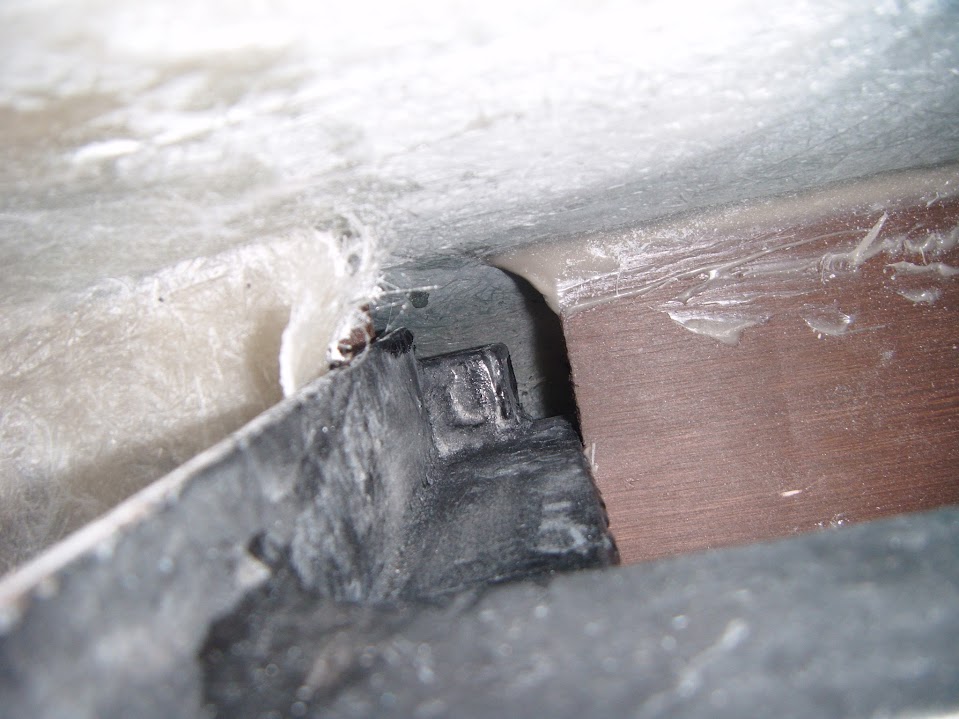
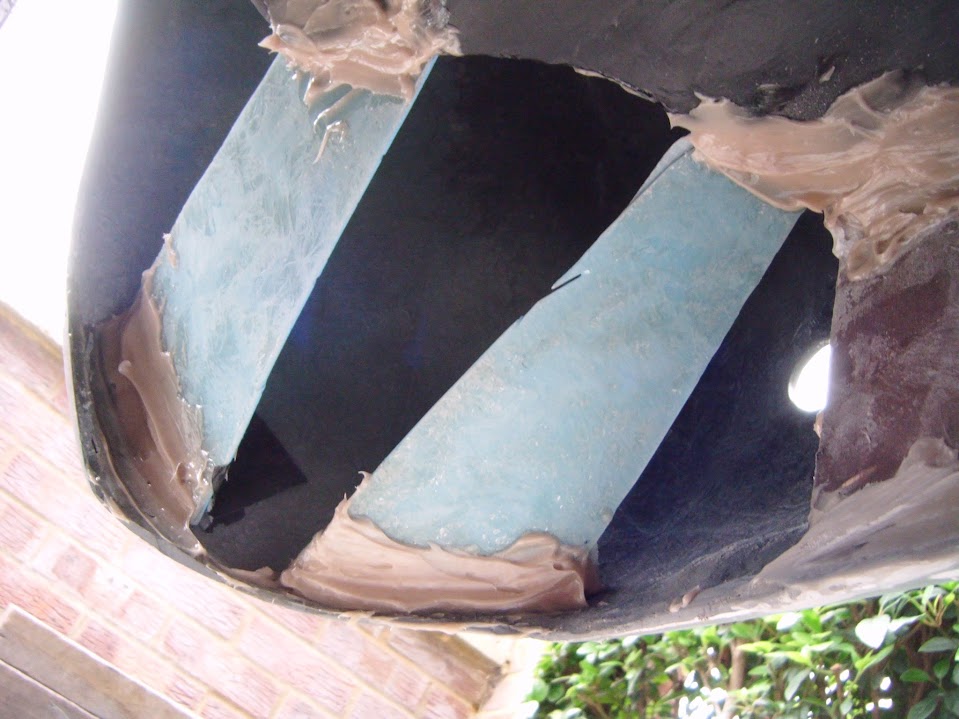
Although it is not easy to get a decent photo of the underside, but this is a section of the top bridge on the driver's side.
( Left of the photo is the side of the body shell & the right is where the bridge sits on the frame rail. )


Then it was time to bond in the plywood panels I cut the other day, starting with the vertical cockpit floor pieces.

Before:


After:


Then the supports for the cockpit sides went in.


I also made more templates for the next round of panelling between the boot floor and the rear body shell.


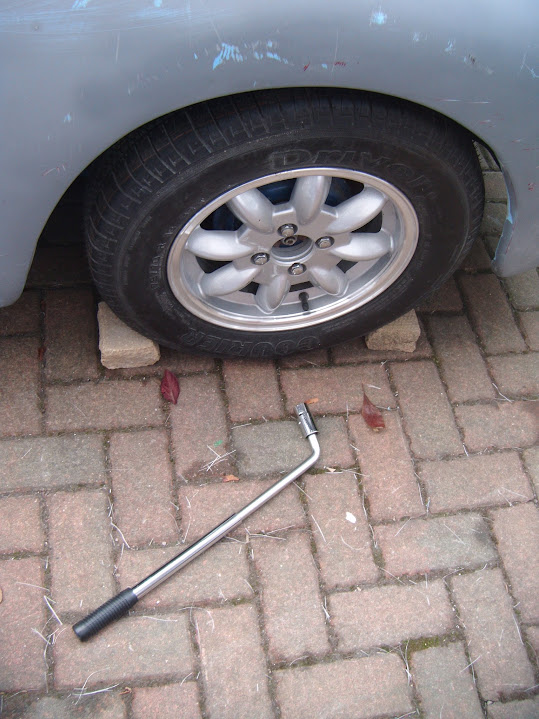
Finally, I loosened the rear wheel nuts to just finger tight.


Because at some point with the car jacked up, I will need to remove the wheels to get better access to the arches.

That was as far as I managed to get, due to other domestic chores, but a good day none the less.

So until next time, take care, Paul. :)
9 Nov 2015, 8:04pm
Small amount of panelling??

Paul your car is super strong with the reinforcement going in.
It might even weigh the same as the donor.

Its looking good and it feels as if it transformed quite quickly after the hours of modding the bodywork.

By the time spring comes she will be ready for a cheeky run down the road.
9 Nov 2015, 8:17pm
Paul L, The car's looking good but, I wonder who will be the first person to bash their shins on the exhaust pipes sticking out the rear :wink:
10 Nov 2015, 8:06am
Roadster - Sorry, my poor choice of words, what I meant to say was ...

"Small amount of panelling in the rear passenger corner."

Given that I had to strap that corner down, I am genuinely surprised at how well the panel bonding works. :cool:

Which reminds me of this great quote about this phase of the build.

Mister Towed wrote:
...transforms the shell from wobbly blancmange to rigid structure...


It really does feel like each step I take now is a positive one, heading in the right direction.

- - - - - - - - - - - - - - - - - - - - - - - - - - - - - - -

Micky1Mo - Hopefully the fact the tail pipes are "shiny" will make them easier to spot. :icon_wink:

- - - - - - - - - - - - - - - - - - - - - - - - - - - - - - -

Family Resemblance:
I spent a bit of last night looking back at yesterday's photos of the car & this one in particular.


Clearly my Frankenstein build approach means that my bulkhead is much higher than anyone else's.

Which in turn means the rear end will look much lower by comparison for that reason, regardless of how I bonded it on.

So I've trawled through the forum for some comparison photos of various Cordites/Navigators.

DonnySoutherner


Nellieb


AndyP57


Mac


Swifty


Plus any excuse to post a photo of Mister Towed's Spyder.
( Note: He has fitted bigger tyres and tweaked the suspension since this was taken. )


Overall, once all my wheel arches have been re-profiled, I think the car will still be "part of the family". :cool:

Cheers, Paul. :)
10 Nov 2015, 6:14pm
Access All Areas:
Had to do a bit of juggling to manage some time on the car today, but made a bit of progress.

I spent some time this morning thinking about the correct sequence required to seal off the cockpit.

As it is clear that some jobs need to be completed before other ones can be started.

E.g. I can't add the main panel for the cockpit sides, until the cockpit wall has been completed.

So I started by looking at the options for fitting the rear cockpit wall underneath the body shell.


Unfortunately, the end of one piece of box section is in the way a bit, but not the end of the world.

You may recall that there would be no room for the seats if I added the panel in front of the framework.

So my plan is to panel within the framework instead, as the body shell is already supported here.

After a lot of trial and error, this was the final template I ended up with.


If you look at the one for the driver's side, you will see it reaches out to the sides of the bodyshell.


Which is why I want these pieces in place before I butt the cockpit side panels up against them.

I think I will end up stealing another idea from Mr T's build for the curved corners.


Which will hopefully allow me to cover up any bits missed by the panel work.

But before the rear side panels can go in, I need to finish the cockpit floor underneath the seat belt mounts.


Looking in from above, you can see this is effectively another section of the bridge already added.


At this stage I'm also going to sort out the small in fill panels required for rear cockpit wall here.


Note:
The main rear cockpit panel will fit into the framework "triangle" above this section.

Which left me with a collection of templates to play with.


Some were cut out of fibreglass, including some pieces I made templates for the other day.


With the rear cockpit panels cut out of plywood.


Note:
You can just see the first rain drops appearing in this photo, so I couldn't test fit them.

Thankfully, I had already put the covers on the car before heading to the bottom of the garden.

- - - - - - - - - - - - - - - - - - - - - - - - - - - - - - -

There wasn't much daylight left by the time the rain had eventually moved on.

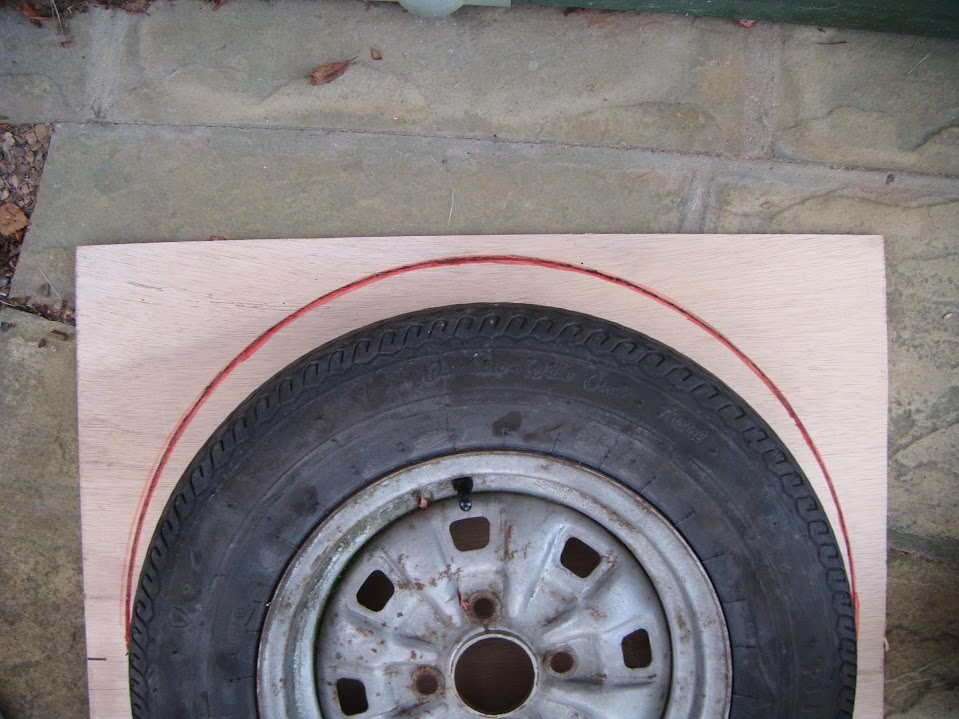
I pulled out the spare wheel I rescued from a skip.


It has a higher profile tyre fitted compared to my wheel, so I plan to use as a guide for my arch profiles.


Note:
The wheel arches will be bigger than the outside of the tyre.

As it also dawned on me that I need to sort out these out before I can finish sealing off the rear cockpit area.

Next I wanted to check that all the panels fitted.

The fibreglass ones were OK (after a minor tweak here and there), but the plywood ones would not fit. :icon_sad:


Unfortunately, there was just no way to angle them into position without one edge, or another, catching.

So I grabbed my jig saw and got to work.


Even after this drastic action, they both needed more minor adjustments before finally fitting.


Even though these will not be fitted for a while yet, I did paint/treat them.


There are still a lot of gaps to fill, I just need to double check to make sure I am not missing any.

Until next time, take care, Paul. :)
10 Nov 2015, 8:40pm
It's all progress Paul, particularly like your Drone shot looks great from above. I had the same issue with the trailing edge of the bonnet kicking out, tried the hockey stick option but wasn't happy with the effort for closing the bonnet each time, just this week I made the decision to chop it and affix to the body with the shut line now level with the bulk head, (not the first, plenty others have chopped at different heights) this has made other alignment and adjustment far easier. Although work in progress I will get some pictures on my thread tomorrow just in case it helps.

Keep at it, Pops
11 Nov 2015, 8:26am
paul its been a while since i was last on the forum and your progress is emense, you will have the stiffest sammio on the road, well done matey and summer 2016 beckons.

I noticed you are using tiger seal, a good alternative and less than half the price is Puraflex 40 from Toolstation in black or white for about £4 a tube, product number 85566.
11 Nov 2015, 11:11am
Its been a while since I saw your thread Paul, and you really have come a long way since then!

Looking really nice, I wouldn't worry about the rear of the bonnet being a bit high, as once its all together and painted, it will not be very noticeable at all.

The overall look of the car will grab viewers attention.

I must admit, I was not sure about the boot-lid configuration when you first did it, but saying that, it looks really good now, as though it were meant to be there!

Keep up the good work!

Scottie
11 Nov 2015, 5:41pm
Pops - I really like that over head shot too. :cool:
( Although if I'd been thinking, I would have put the seats back in place to give a better impression. )

I look forward to seeing how you attached the bottom of the bonnet to the body shell, as that is also on my "To Do" list.

- - - - - - - - - - - - - - - - - - - - - - - - - - - - - - -

Swifty - Cheers, there has certainly been a lot of forward progress in the last few weeks. :)

Thanks for the sealant tip too.

- - - - - - - - - - - - - - - - - - - - - - - - - - - - - - -

Scottie - Thanks, the overall impression has turned out much better than I could have hoped for. :cool:

- - - - - - - - - - - - - - - - - - - - - - - - - - - - - - -


Patch Work Quilt:
Started the day by measure the gaps around the rear wheel arch.
( The current "spread" ranges from 3.25" at the biggest, to 0.5" at the smallest. )


Note:
I still haven't decided what gap to aim for yet, but as long as it is the same all round it will still be a big improvement.

Then jacked the car up again, but this time, I put the big wooden blocks underneath the rear wheels.


Hopefully, this will give me better access to complete the panelling work along the boot floor.

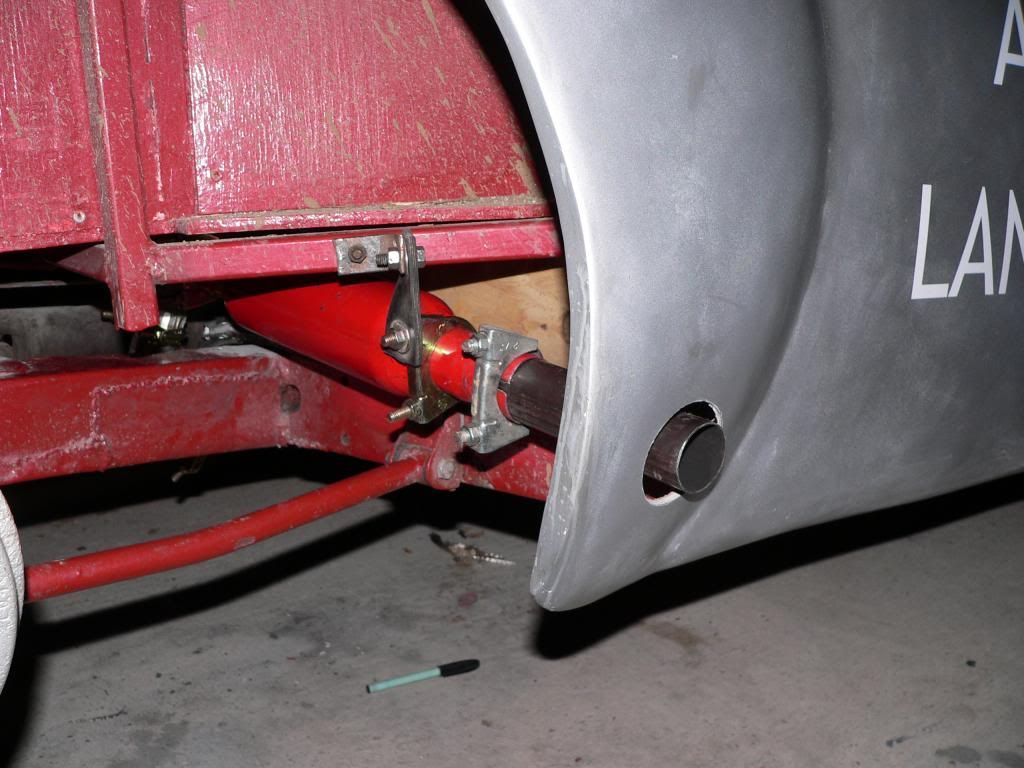
Next, I removed the tail pipes, again for better access and used my handy storage area.


Made a collection of templates for the join between the driver's side of the boot floor and the body shell.
( There really are a lot of angles to deal with. )


Had another look at how / where the boot lid rain channel hose would exit.


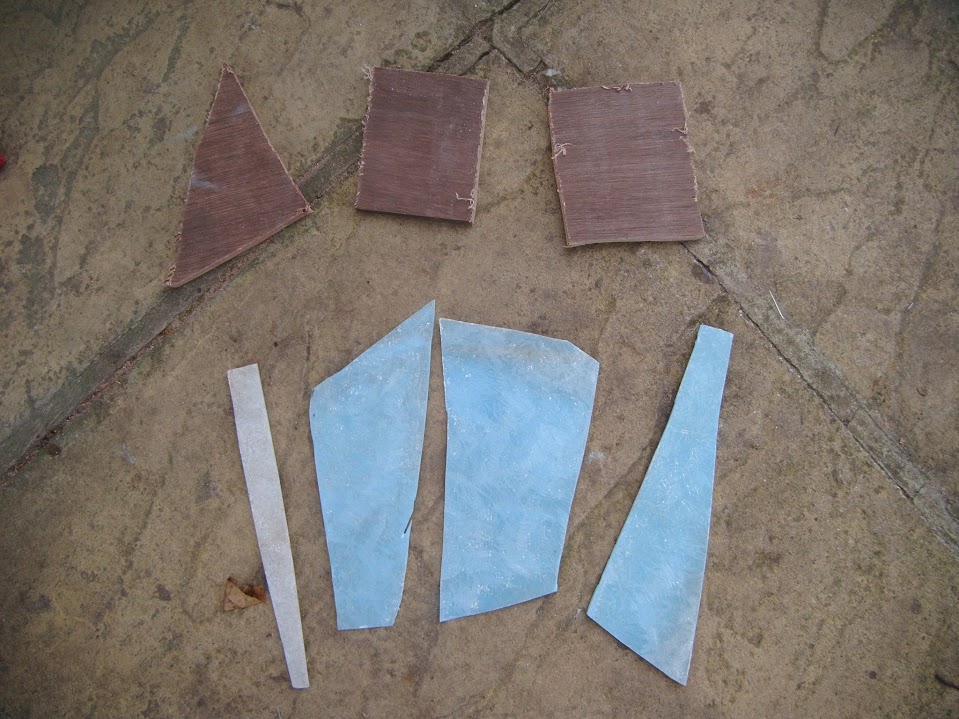
Then cut the shapes required out of plywood/fibreglass.


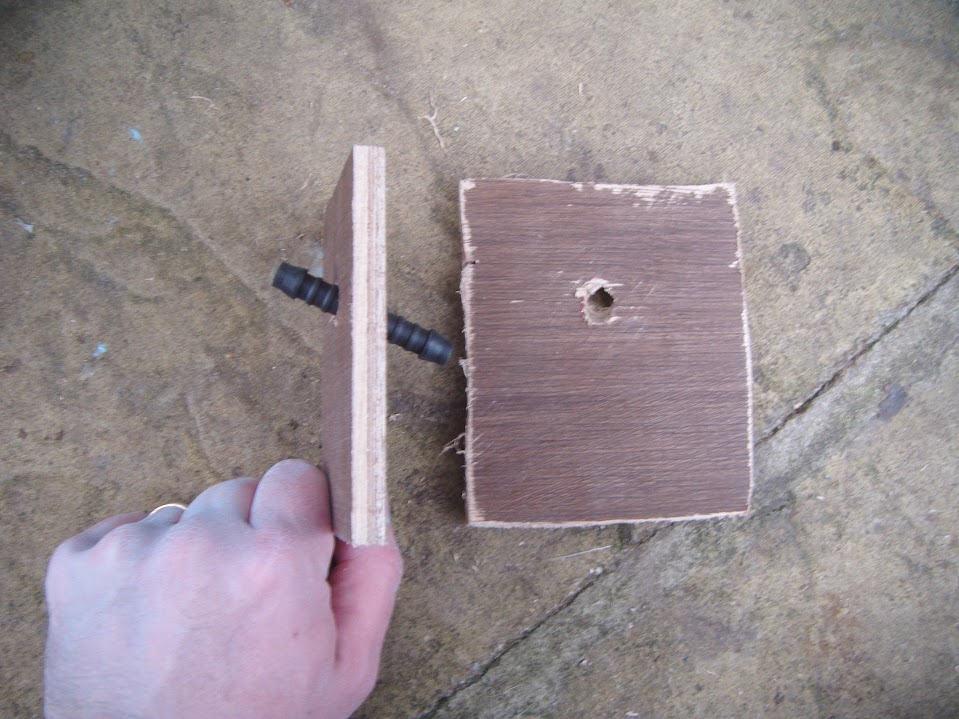
Drilled holes at an angle for the drain hose connector.


Before giving the plywood panels another a coat of paint/preservative.


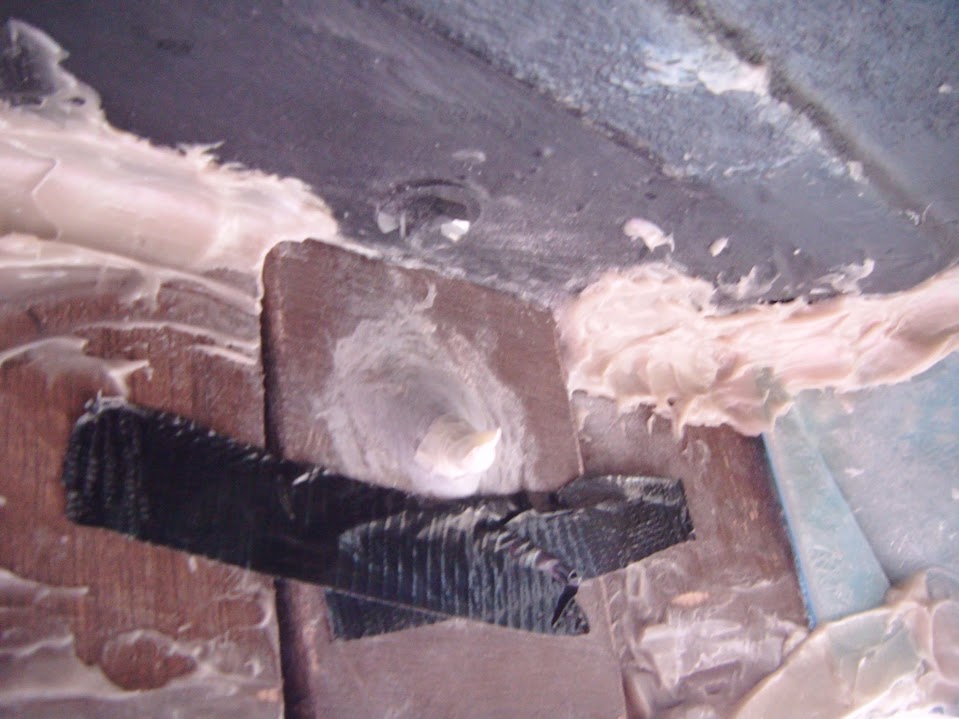
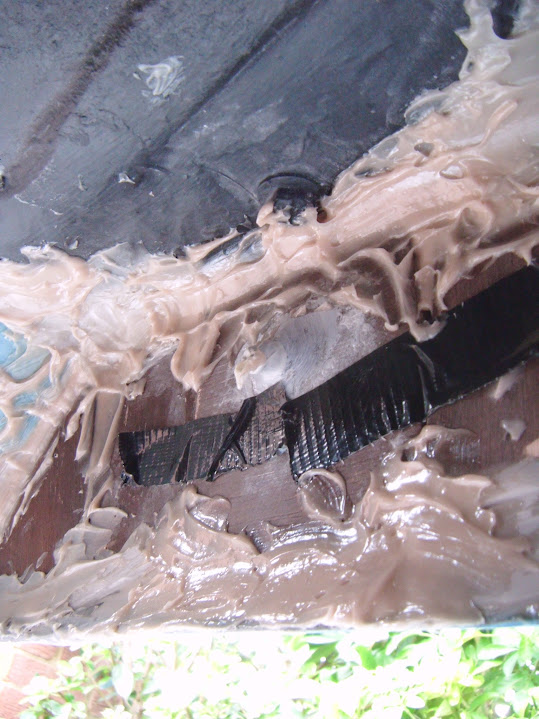
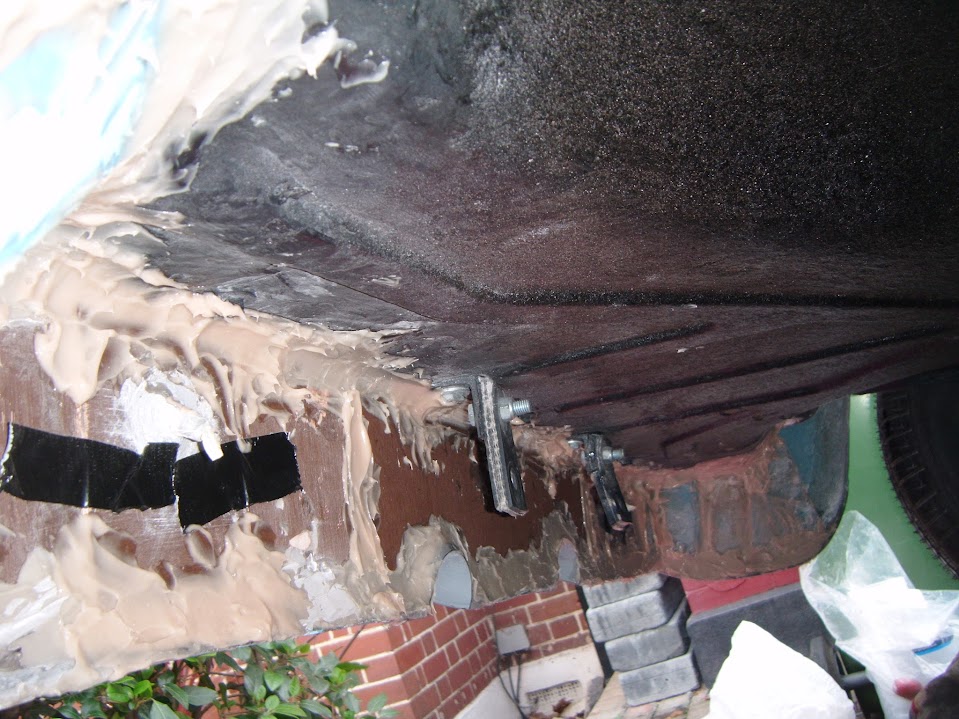
Added some fibreglass matting to the bridge panels under the seat belt brackets.


Once this first round has set, I will remove the tape holding them in place and finish the job.

I also added the two small filler pieces behind the angle iron next to the cockpit floor panels on either side.


Again, there is more work to do here to finish off the job, as it is very hard to access.

Then it was time to mix up some more bonding paste for the boot floor to body shell panels..

I was able to tape the next two panels for the passenger side to the panels already bonded in place.


Then I taped the first two panels for the driver's side into position and bonded them too.


Finally, there was just enough paste left to add the fill panels in the rear cockpit framework.


Note:
I am very conscious that the bonding work looks like it was done by a small child. :rolleyes:

However, this build has taught me that even the biggest messes can be made to look OK in the end.

Until next time, take care, Paul. :)
12 Nov 2015, 8:38am
Looking good Paul, I very much like the profile shot of the hidden drivers side. Your raised bulkhead means There Is a pleasing curve from front to bulk head that matches up with the smaller radius curve of the humps. When it's dark green with the yellow and bright work I'd wager it will look very striking indeed.
If it where mine I would be looking at a paper template or some sketches making the rear arch more of a complete circle like the Healey PIC to see what it would look like. But that's just my taste. Either way the second you have some crisp round arches your car will be transformed.
There is also a plus for building a car behind a wall and against another , this being by the time you move it to the open road it will be 3 years since you have seen it, the plan in your head will be about cordite 76.0 and it will be a morphed blended changed fettled and modded creation that you see a new angle of for many months when it's done. Ed
12 Nov 2015, 3:13pm
[QUOTE
There is also a plus for building a car behind a wall and against another Ed[/QUOTE]

What's so special about building a car between two walls?????don't we all do this?.........
Allright,i must say Paul's garage looks a bit exposed to the weather and the roof is a bit high and open...............it must have something to do that it's originally a front garden perhaps?

Just kidding,looks great Paul,but are you not worried that with all the paneling and bonding paste you have to beef up the chassis and go for a V8?
René
12 Nov 2015, 6:04pm
Ed - Cheers, I was actually thinking that those Healey arches looked great, but it is simply too much extra work.

Just getting a decent curve will be enough of a challenge.

- - - - - - - - - - - - - - - - - - - - - - - - - - - - - - -

Rene - Thanks, I'll be happy if I can just get my humble 1500 engine on the road, let alone a V8. :icon_wink:

- - - - - - - - - - - - - - - - - - - - - - - - - - - - - - -

One Small Step At A Time:
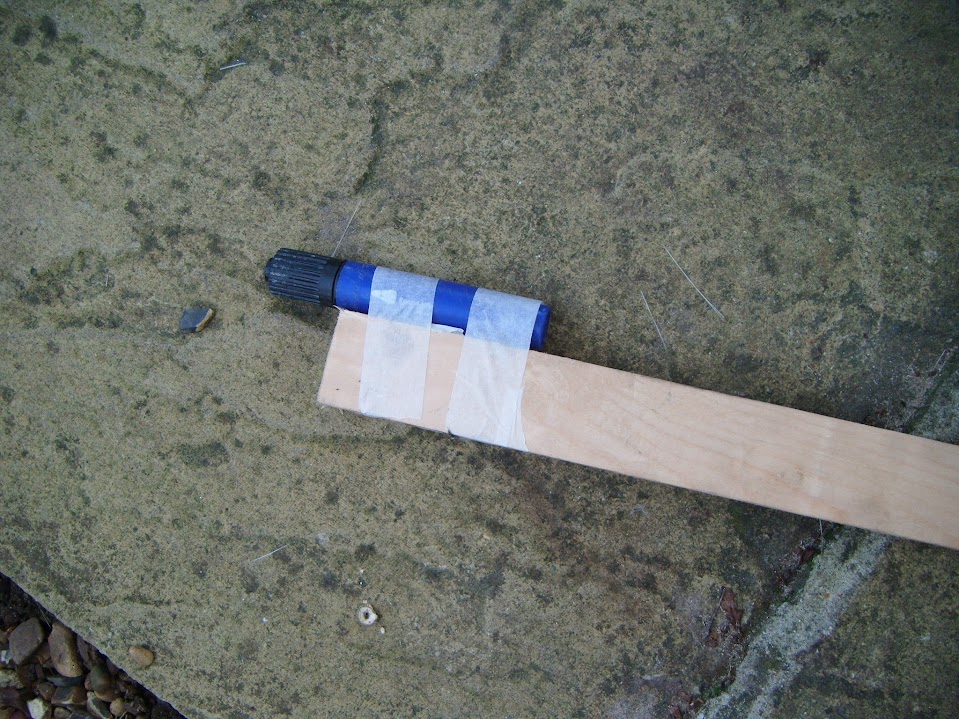
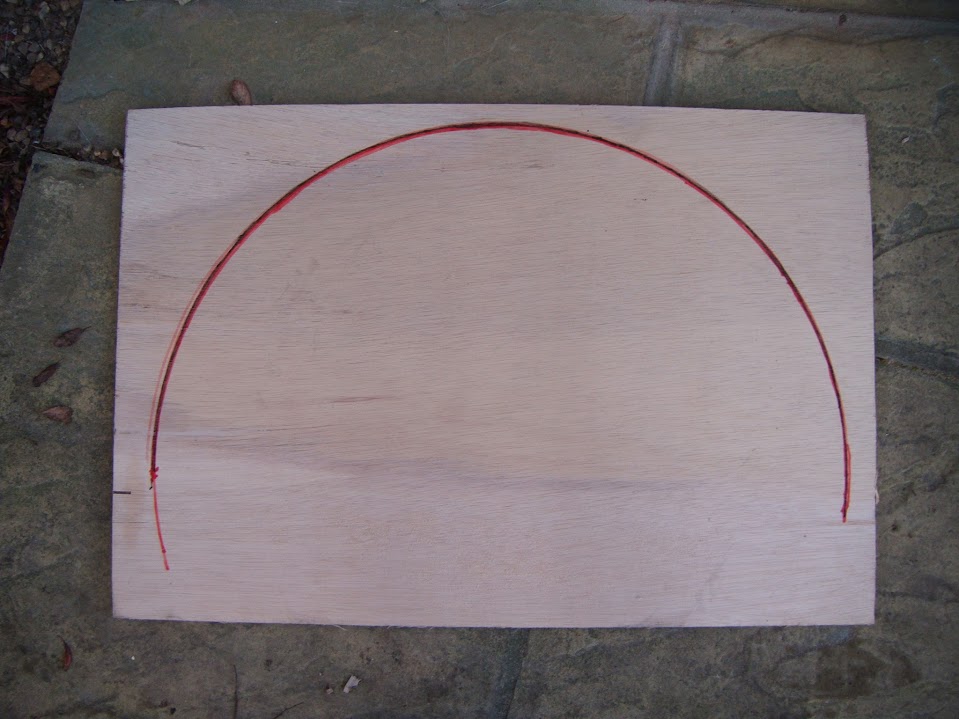
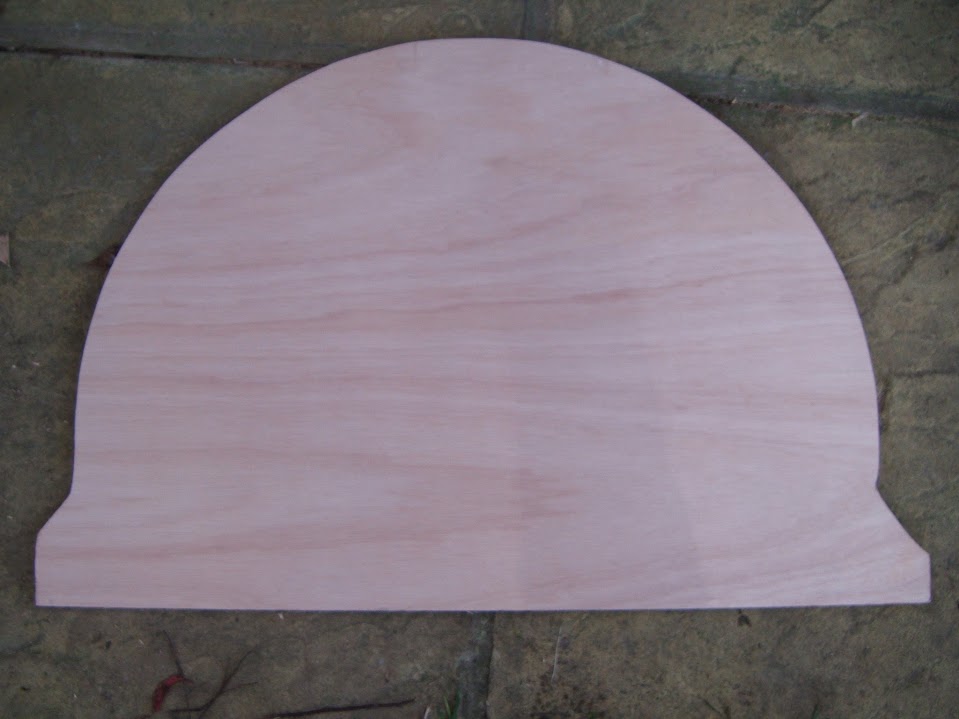
Took a simple approach to making out the new wheel arch shape.


And although it doesn't look it in the photo above, it is a pretty even curve.


It is certainly close enough, especially given my inability to follow a line with the jigsaw anyway. :rolleyes:


Note:
The key thing is I don't need the arches to be perfect, just better than they are at the moment.

- - - - - - - - - - - - - - - - - - - - - - - - - - - - - - -

As soon as I started crawling under the rear of the car I realised why I woke with a sore neck this morning. :rolleyes:

Still, I was able to make the template for the panel over the tail pipes.


Which was then cut out, along with another small filler piece.


It took several trips from the bottom of the garden to the front drive to fine tune this panel.
( I am trying to keep the noise & dust as far away from my neighbours as possible. )

In the end, the bottom edge needed to be chamfered to manage the angles of the body shell.


Then it could be painted/treated.


- - - - - - - - - - - - - - - - - - - - - - - - - - - - - - -

Next it was a very small fibreglass session to finish off the floor bridges.


- - - - - - - - - - - - - - - - - - - - - - - - - - - - - - -

I removed the tape holding various panels in place between the boot floor and body shell.

Then I added bonding paste along all the inside edges.


I will be very happy when I get to the stage of cleaning all this mess up.

I thought it would be a good idea to bond the hose connectors into the panels before fitting them


Unfortunately, I had a bit of a disaster with this approach, and ended up removing all this and using fibreglass filler instead.
( Sorry I forgot to take a photo of "Take 2". )

- - - - - - - - - - - - - - - - - - - - - - - - - - - - - - -

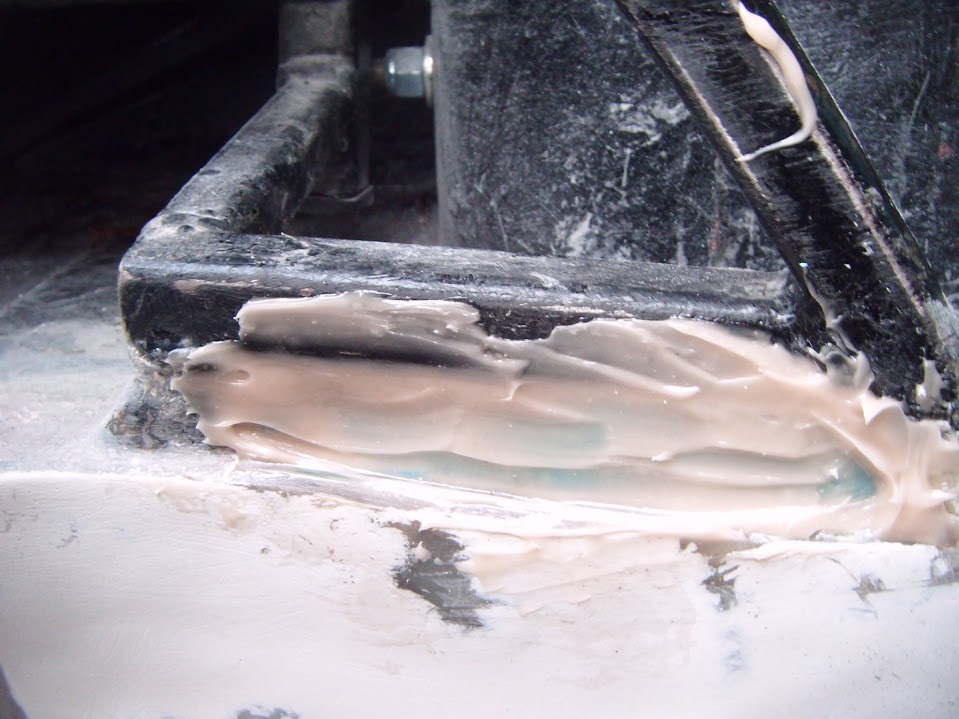
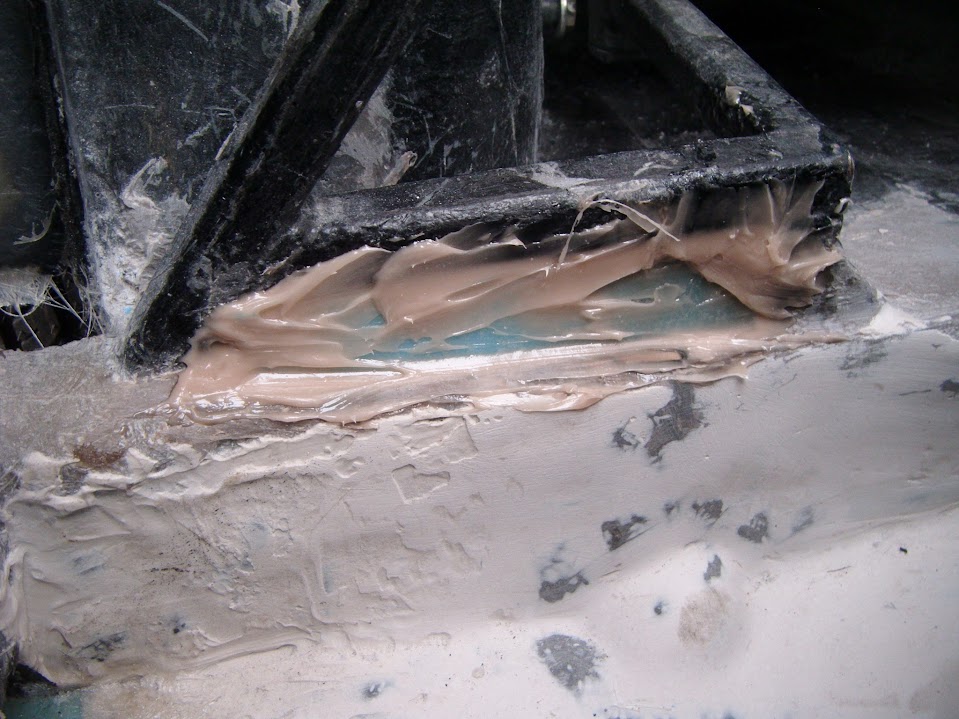
The main use of the fibreglass filler was to cover behind all four "angle iron" sections of the framework at the floor level.


This way, I know they are all sealed off, as it is very hard to get into these small spaces with matting.

I also added some fibreglass filler behind the rear cockpit lip, next to the frame work.

I did take some photos, but they are rubbish, so I will add some next time.

- - - - - - - - - - - - - - - - - - - - - - - - - - - - - - -

So lots of little steps, but all heading in the right direction. :cool:

Cheers, Paul. :)
13 Nov 2015, 3:03pm
Weather Permitting:
Not much car time available today, but still managed to inch along a little bit...

Grabbed a few minutes outside before the rain arrived first thing in the morning.

Peeled off the covers from the rear of the car.


Which was just enough to give me access to the boot floor panelling and I taped the next batch of panels into position.

Passenger Side:


Centre:


Driver's Side:


Note:
I'm leaving the panels with the drain holes off for now, as the gaps help me access the other side of the panels.

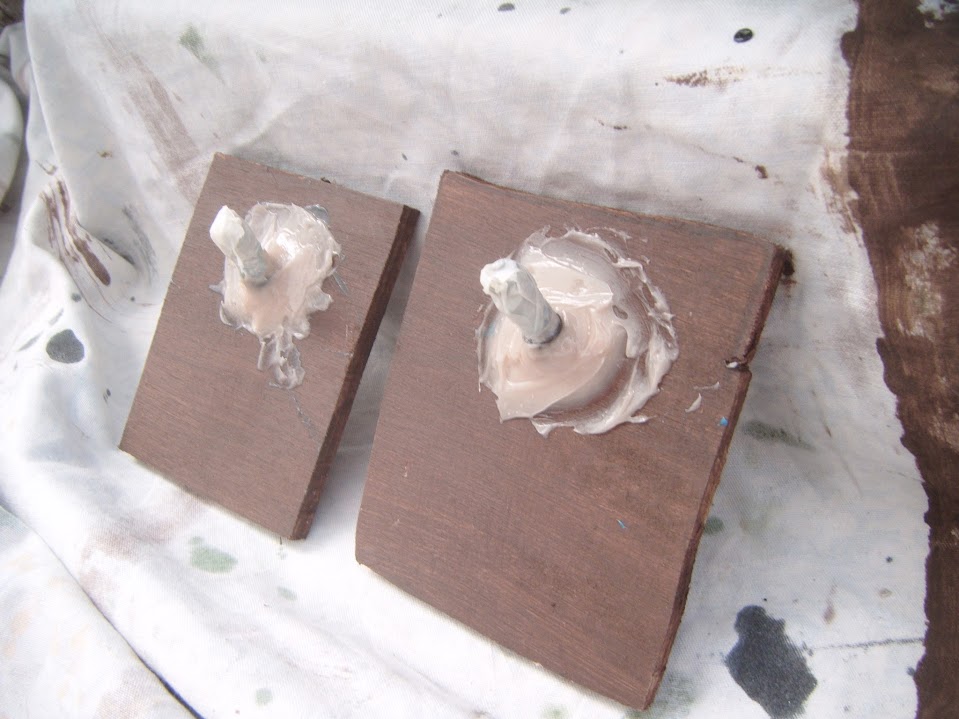
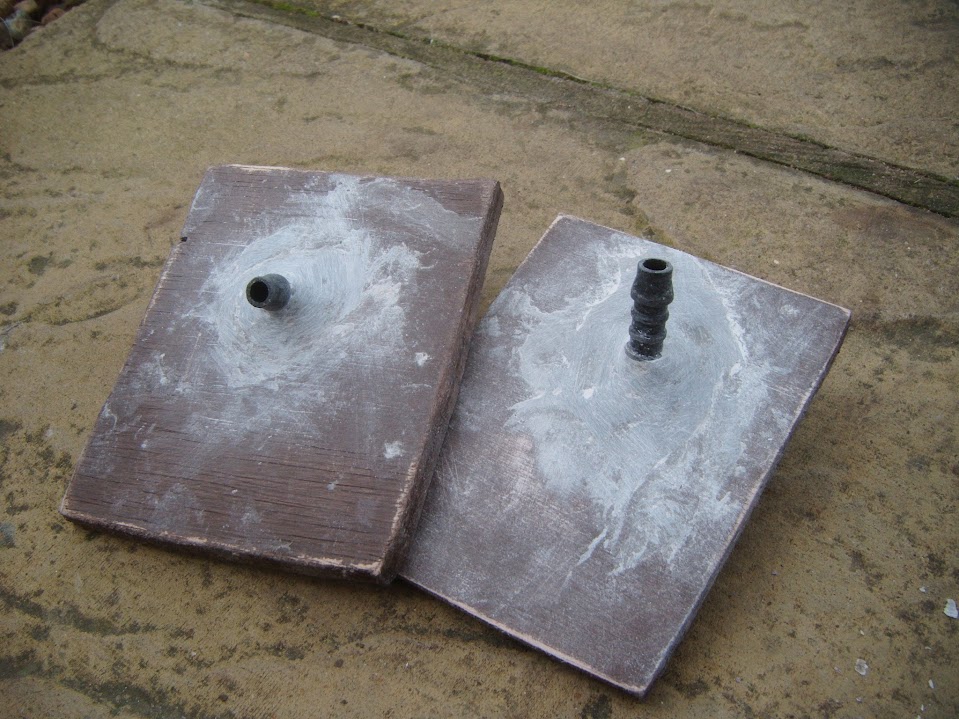
But while I remember, here is what those panels look like now after I used fibreglass filler to hold the connectors in place.
( This is after an initial rough sanding, there is a bit more tidying up to do. )

This is the "exit" side.


And this side will connect to the drain hose inside the boot.


- - - - - - - - - - - - - - - - - - - - - - - - - - - - - - -

It took a particularly wild hail storm to finally clear the rain away. :eek:

This was it approaching the front of the house, when there was a clear blue sky over the back garden.


I was on the phone when it hit, so couldn't get a photo of it absolutely lashing down.

So it was the afternoon before I had the chance to mix up some bonding paste and slap it on.
( You will notice that I added the thin panel to the driver's side before I did this. )


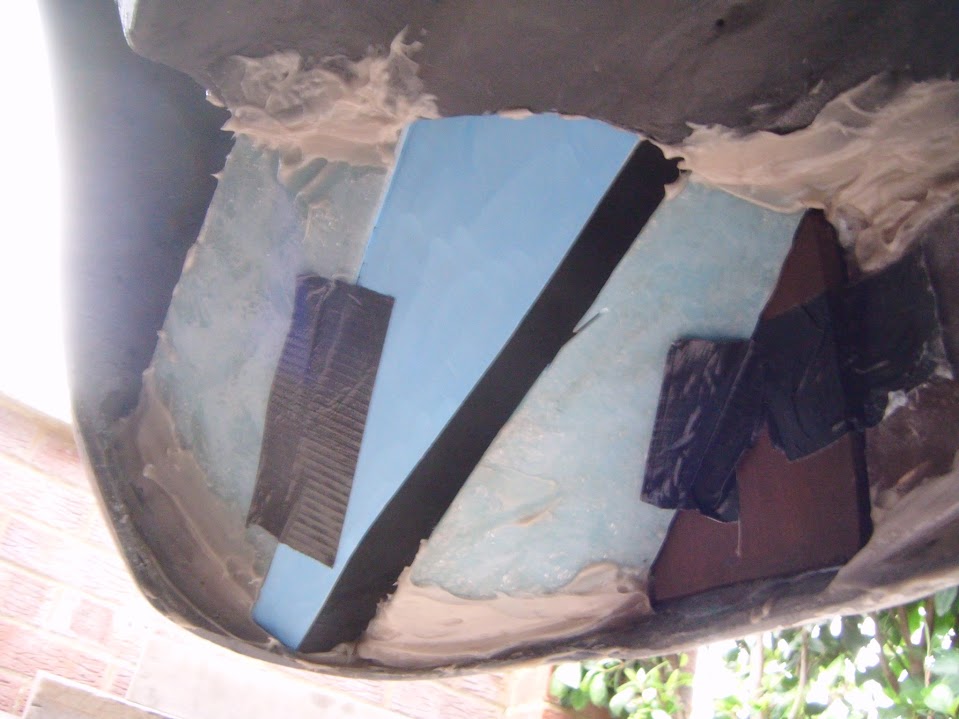
I know it all looks a complete mess, but at least gap between the boot floor and the body shell is slowly closing up. :cool:

Hopefully, by the time I have finished sorting this out and covered it in Tetroseal it will look a bit more presentable. :pray:

That's all for today, as I should really be doing something else. :rolleyes:

Cheers, Paul. :)
15 Nov 2015, 2:44pm
Saturday
Too wet to do any car work, but I still got soaked helping my mate bring a load of his stuff to the dump.

I also spent a bit of time thinking about my 'boot floor to rear end of body shell' panelling work.

As when I look back at other builds, I believe most people have simply left the space in this area "open".

Although I have struggled to find any decent photos taken underneath a Sammio's rear end.

This is Mister Towed's Moon Rover.


And here is a photo from when he fitted his Cherry Bomb exhaust.


You can see his "self contained" luggage box and I think the "natural" looking plywood is the other side of his rear cockpit panel.

Compared to this, my rear end is completely OTT, but, in my defence, it did seem like a good idea at the time. :rolleyes:

However, "I've started, so I'll finish" and with a bit of luck it will create a good impressed for it's MOT inspection.
( As I doubt many other people will ever get a decent view of any work I do underneath the car! )

Finally, I took this photo of the Wembley Arch lit up in French colours in the evening.


- - - - - - - - - - - - - - - - - - - - - - - - - - - - - - -

Sunday
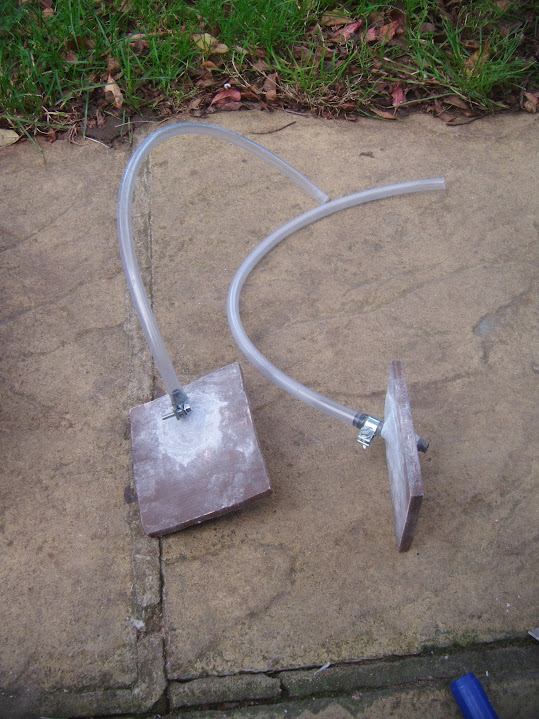
Cleaned up the connectors for the boot lid drain hoses.


Then fitted the hoses themselves.


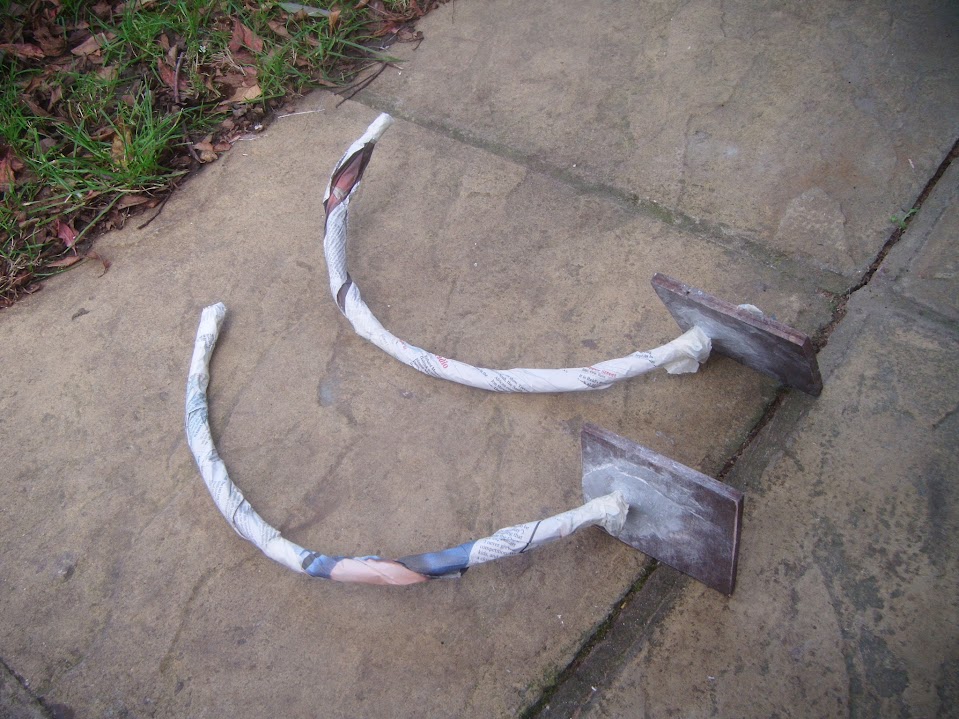
Before wrapping everything up, so it doesn't get covered in bonding paste when the panels are fitted.


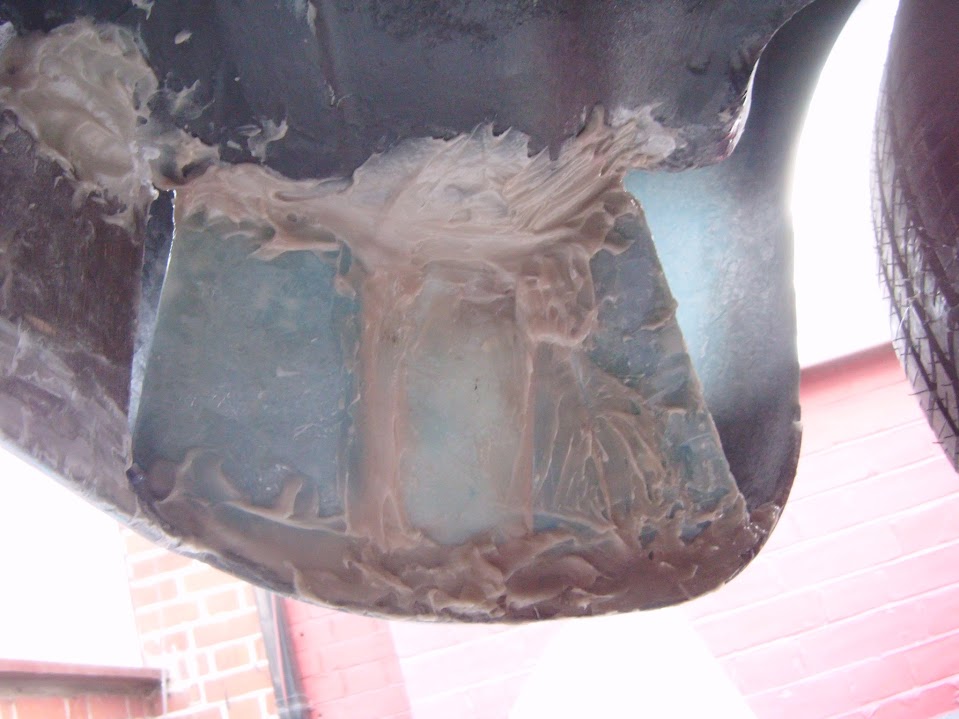
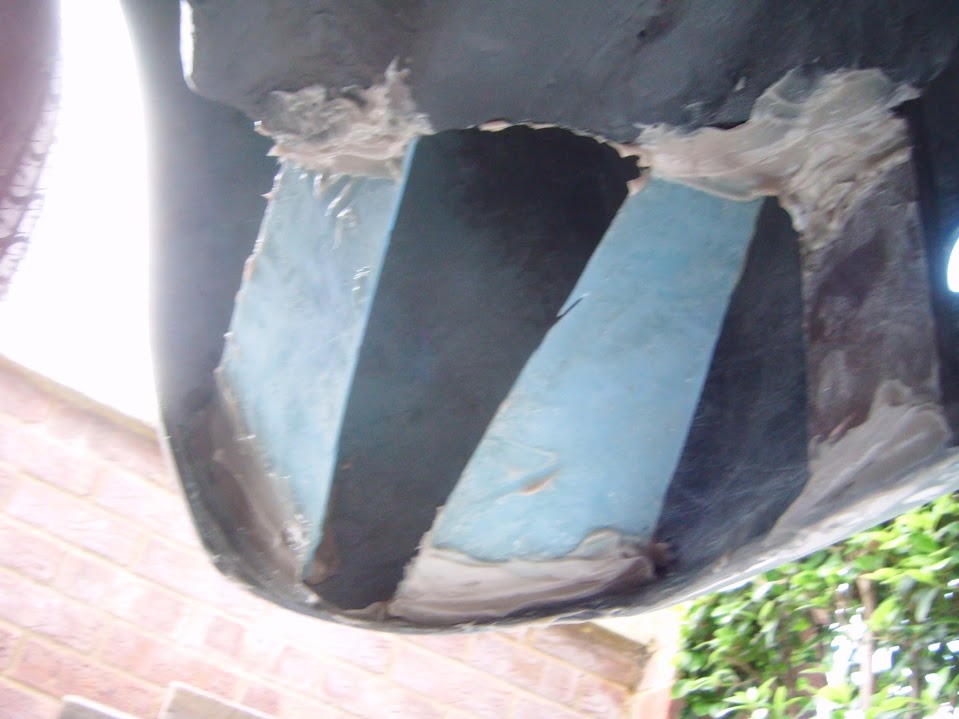
I needed to clean up some excess paste where these panels needed to go.
( Sorry the photos are not great. )


Then I could tape the panels into position (and remove the tape from the last batch of panels).


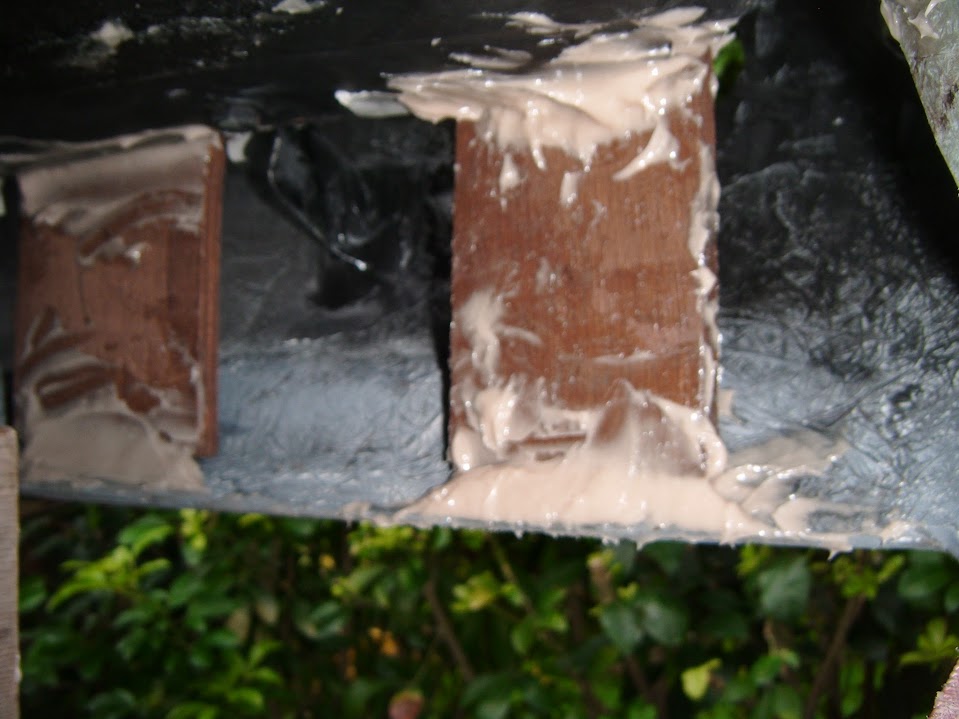
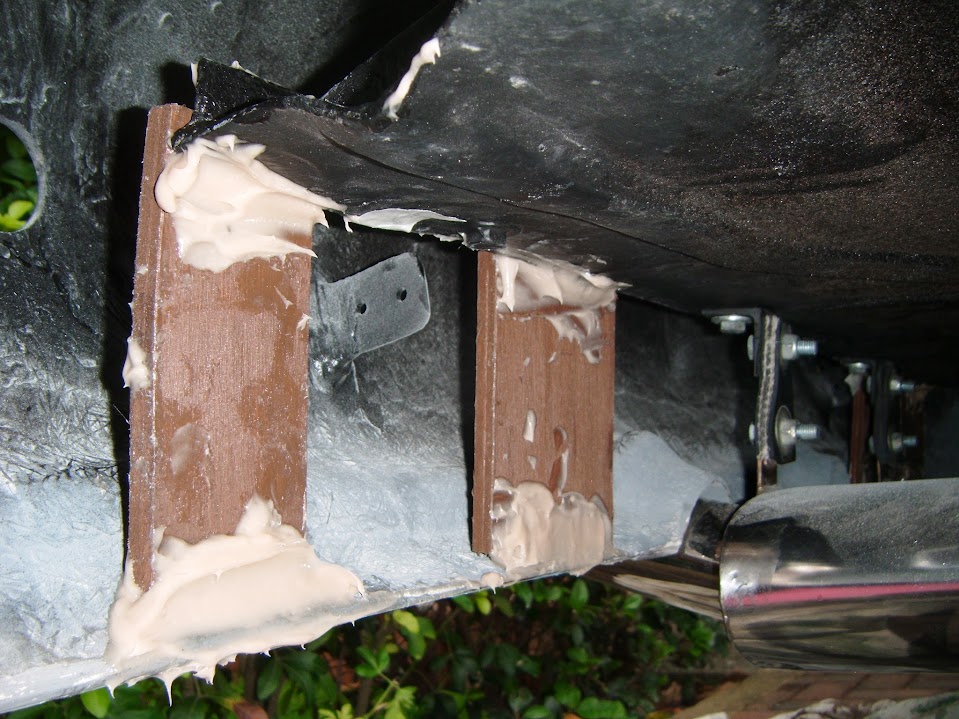
Before mixing up another batch of bonding paste and making the traditional mess.


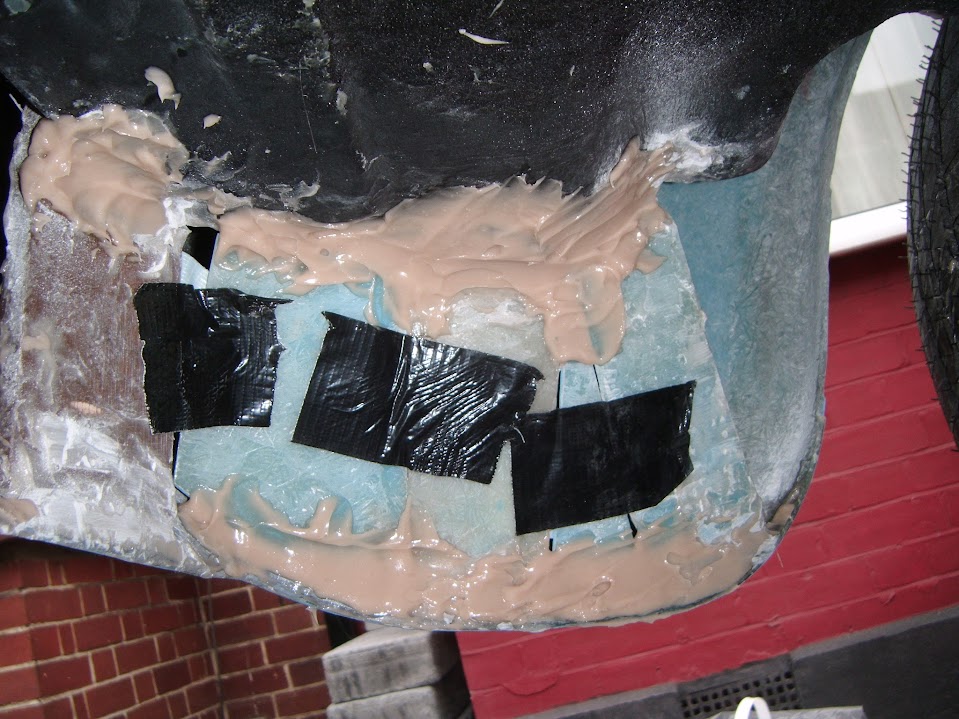
It is not easy to get an overall photo of this area, so I hope these give the general idea.


You just need to imagine the whole thing looking like a singe unit when painted black. :pray:

- - - - - - - - - - - - - - - - - - - - - - - - - - - - - - -

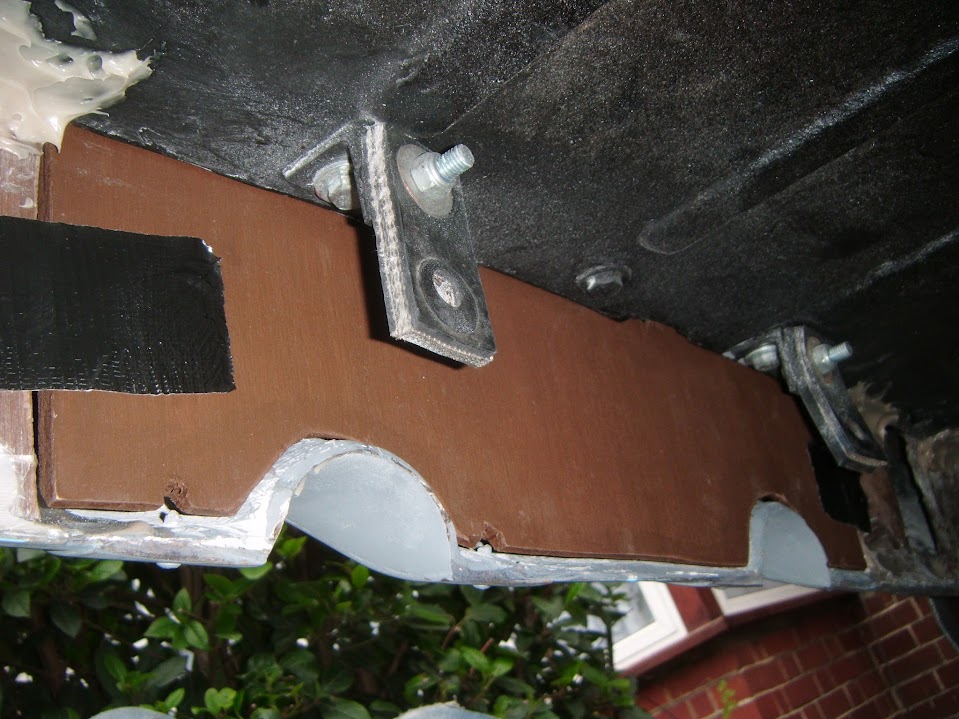
Next I made some more cardboard templates for the panels to support the rear end inside the boot area.

Before cutting them out of plywood, one for each side, plus a couple along the rear edge too.


These were then painted / treated.


Note:
I want these panels to hold the rear end "steady", as the panels underneath the boot floor are not really "load bearing".

- - - - - - - - - - - - - - - - - - - - - - - - - - - - - - -

That was the end of car work, as we then went off for a family pub lunch. :cool:

The ladies of the house are current out at the shops, so I have a chance to post this.

Then we will be settling down to watch the last Hunger Games film on DVD.
( Before watching the next film in the cinema next week. )

So I'd better go, take care, Paul. :)