MadaboutKitcars

This is a read-only archive of the old Madabout Kitcars forum. New posts and replies are no longer possible, but every thread is still here to browse and read.

Another Cordite Is Born ...

7 Sep 2015, 8:44am
To make levelling easier I made up some rigid replacements for the spring/shocks using some 20x40mm box section I had lying about. That way you can set the suspension geometry to whwtever height you choose and it won't move when you drop the body on. To cope with yor sloping drive, mark where the wheels sit on the ground then move the car out of the way and make up some piles of ply packing up to a common level at the marked positions. Then move the packing piles just far enough to allow the car to be rolled back to where it was before, jack up and insert the packing.
7 Sep 2015, 4:15pm
Andrew - Welcome to my build thread & thanks for the "level playing field" suggestions. :cool:

Although, the fact my body shell is a bit "wonky" in places may work in my favour when it comes time to fit it.

The lack of symmetrical, after all my modifications, means there isn't actually a correct "alignment" any more.

In other words, if one rear edge is horizontal, another one wont be. :rolleyes:

So I hope I can get everything straight enough to get away with the "rough & ready" look.

- - - - - - - - - - - - - - - - - - - - - - - - - - - - - - -

More Of The Same:
I'm sorry that most of the following photos all look very similar, but I am slowly making progress, honest.

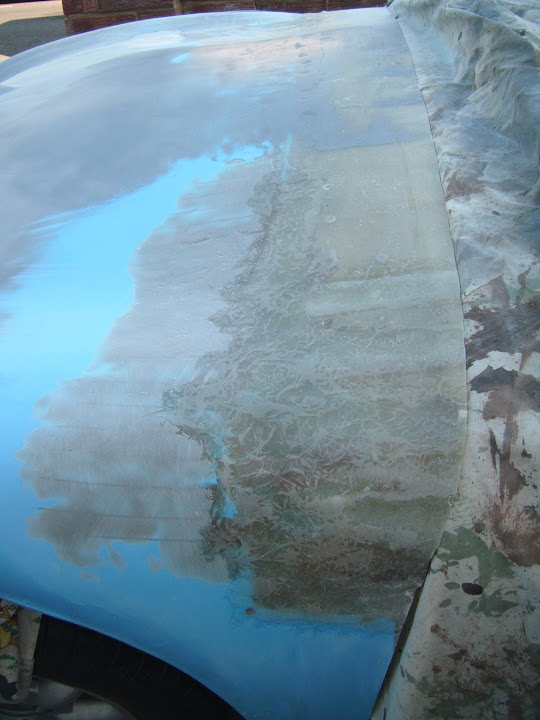
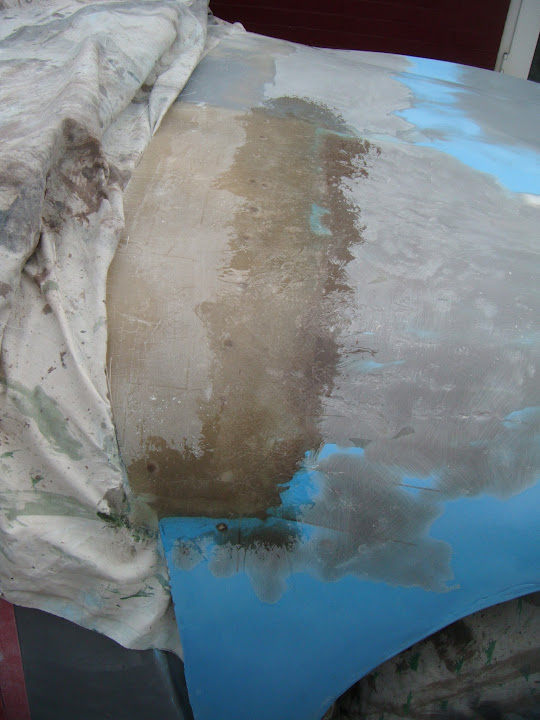
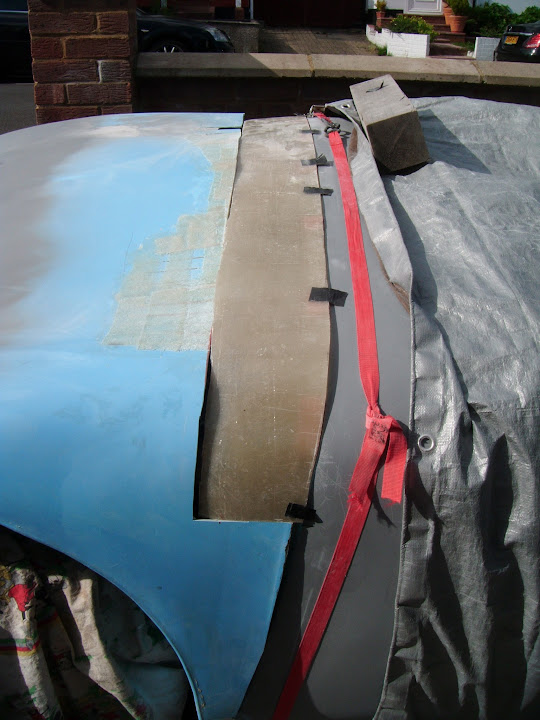
Sanded down the rear passenger corner of the bonnet.


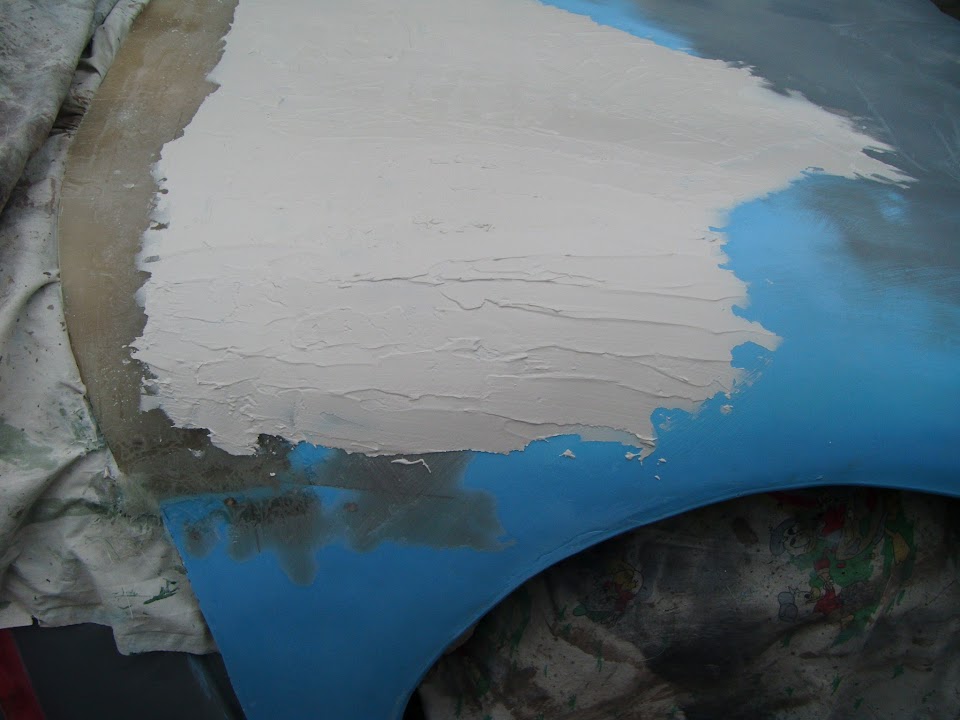
Added a layer of fibreglass filler.


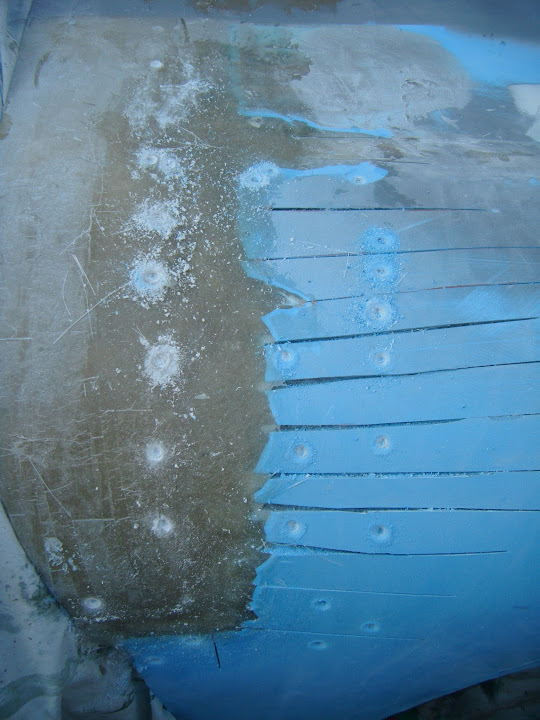
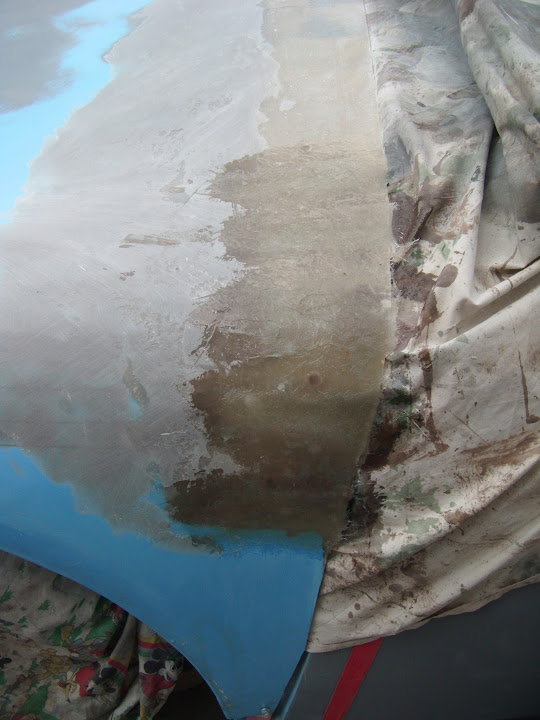
Counter sunk the screw holes on the sunny side of the driver's corner.


Attacked the wheel arch "slits" with my angle grinder.


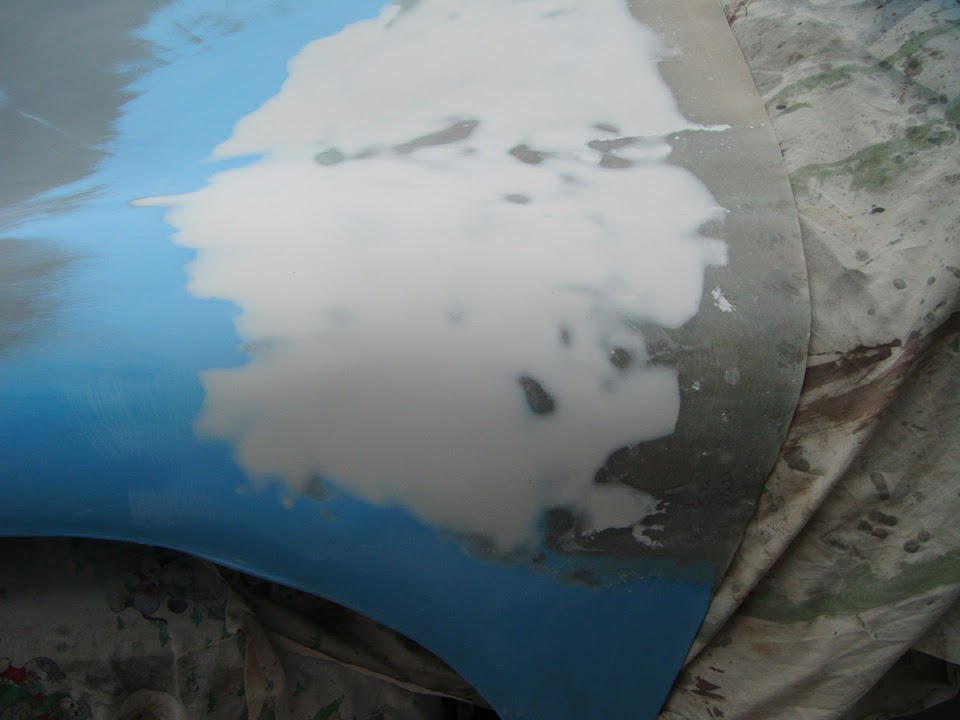
Added a layer of fibreglass filler.


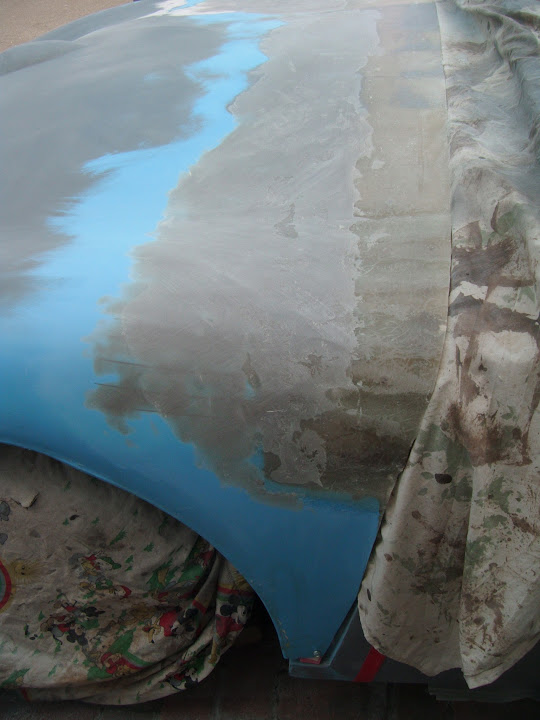
Later on, both sides were roughly sanded down.


Not easy to see is the following photo, but there will still be some gentle contours between the wings and the centre of the bonnet.


Note:
The passenger side will probably end up nicer than the driver's side, due to the knock on effects of the earlier cut & shut of the driver's wing.

Next was adding the final fibreglass matting layers to the sunny sides, covering the main join on the driver's side.


Plus the "bumps" on the passenger side.


Then another wait, before some more sanding.


At this point I just want the rough shape, as hopefully there will be a layer of normal body filler going on tomorrow.

So until next time, take care, Paul. :)
8 Sep 2015, 4:09pm
Bonnet/Body Shell Modifications - Phase 1 Complete (ish):
Used normal body filler on the bonnet, to cover the remaining 'cut & shut' scars and to improve the overall bonnet shape.


I still want to re-enforcing the edge when the other mods have been done, so there was no point in adding filler to that at this stage.
( Similarly, the lower end of the bonnet still needs to be cut off and attached to the body shell. )

However, I really need the body shell to be bonded into position before I start the wheel arch and body shell extension work.

So for now, I just sanded down the filler and trimmed off any excess fibreglass matting from the rear edge.
( I say "just", but boy was this hard labour! )


I know there is still some more shaping required, and I'm still a long way from being ready for paint...

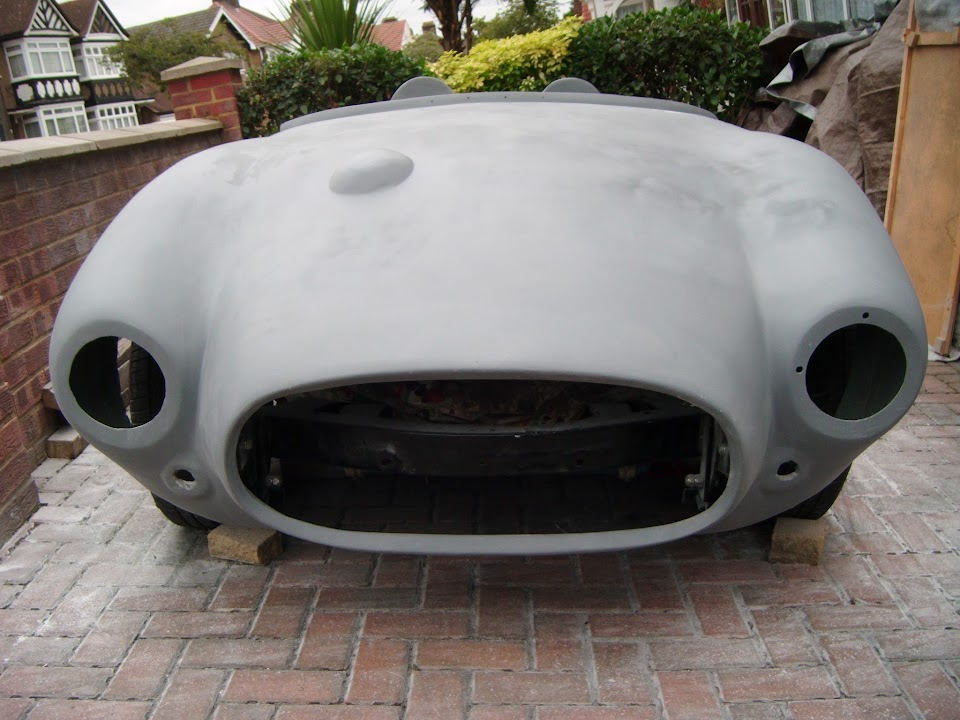
But I couldn't resist adding some etch primer just to get a better idea of my progress, which is definitely heading in the right direction.


Especially, when you consider that the bonnet looked like this just 11 days ago. :eek:


By the time I've finished, this should end up being a good blend of the original Sammio bonnet curves & the new scuttle profile. :cool:


I know it will not be prefect, but the thankfully, the battered ex-race car look is just what I am aiming for. :icon_wink:

- - - - - - - - - - - - - - - - - - - - - - - - - - - - - - -

Storage Crisis:
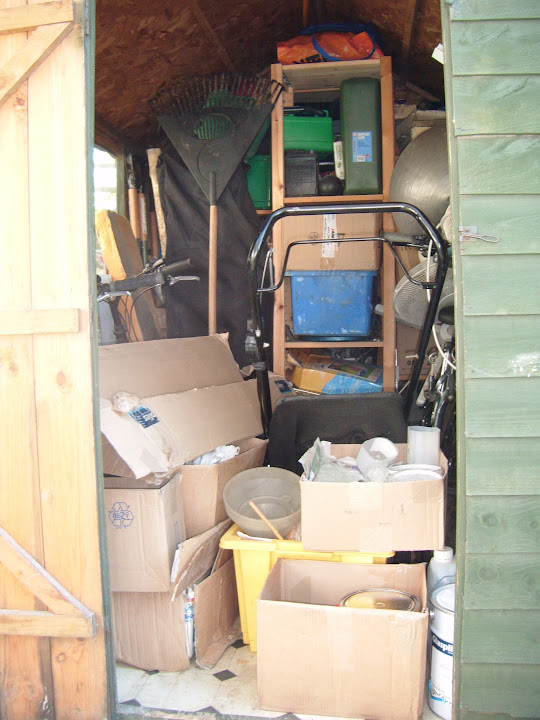
Regular readers will know that I have limited storage space and it often ends up in a complete mess. :rolleyes:

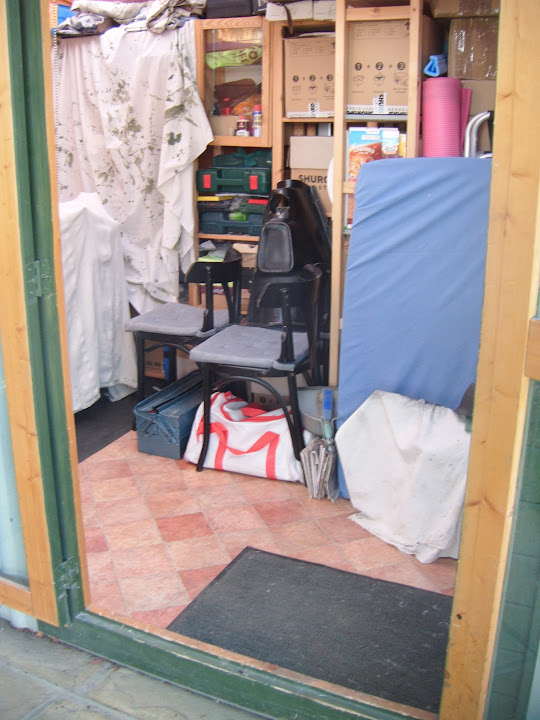
Well the chaos in my Summer House reached a new peak this morning.


Now the bikes would normally live in the shed, but there is currently chaos in there too.
( It's a long story. )


Note:
These photos are after I took a load of bin bags full of stuff to the dump yesterday!

Whilst I made a start on this today, I will need to spend some proper time on it tomorrow.

- - - - - - - - - - - - - - - - - - - - - - - - - - - - - - -

Next Steps:
I need to re-focus on getting a working "moon rover" so that I can confidently bond the body shell back on.

Which means I need to agree the final route that the rear wiring loom will take from the behind the dash to the tail lights, etc.

So until next time, take care, Paul. :)
8 Sep 2015, 4:32pm
Great progress and its amazing how just a powdering of primer can suddenly take it a step forward on its own. I do think you are hard on your self critique Paul though!

You have my sympathies on the storage, I am prepping to have to drag the car into the garage to and work on it through the wet and cold months. It took me most of the day and a huge trip to the tip. Unfortunately I don't think it is much better than when I started - absolutely no chance of getting a car in let alone space to work on it! I will call that round 1 attempt - need a storage facility for my gardening tools and likewise the push bike too.

Keep going - good progress!
8 Sep 2015, 5:24pm
Looking good Paul you should feel proud of what you have achieved so far
8 Sep 2015, 7:14pm
Paul Its been a few days since i last looked your thread and the bonnet has moved on a lot, well done it looks great the primer is a positive moral booster.

Keep up the great progress. :):)
9 Sep 2015, 6:03am
Jones, Roaster & Swifty - Thanks chaps, seeing those last few photos were indeed a great boost to morale. :cool:

As my biggest fear was that my Frankenstein HillBilly approach to resolving the Cordite's problems would make things worse. :icon_sad:

However, it is now clear that by the time I have finally finished the last few mods, the car will really look the part of a 50s racer.

I know I can be hard on myself in terms of the standard of finish, but I have to keep pushing myself to get the best results I can achieve.

The harsh reality is that areas like the driver's side of the bonnet will end up being a bit "lumpy" in places (due to all the repair work).

But the really good thing is that this simply doesn't matter, as it is the overall impression that will count and that should be good enough.

Cheers, Paul. :)
11 Sep 2015, 4:42pm
Very Little Progress To Report:
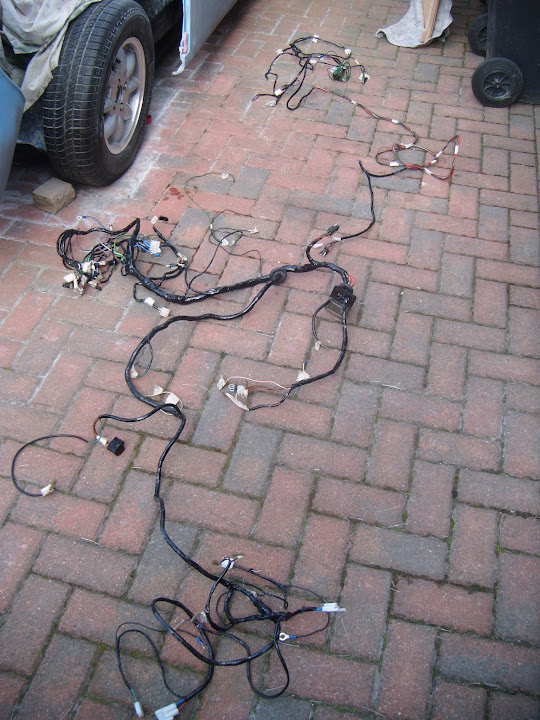
Managed to get as far as bringing the wiring loom out to play.


As I need to work out the best route for the rear wiring loom to take to/from this connection to the main loom.


I spent a bit of time looking at the various options available, trying to find the easiest one to do.

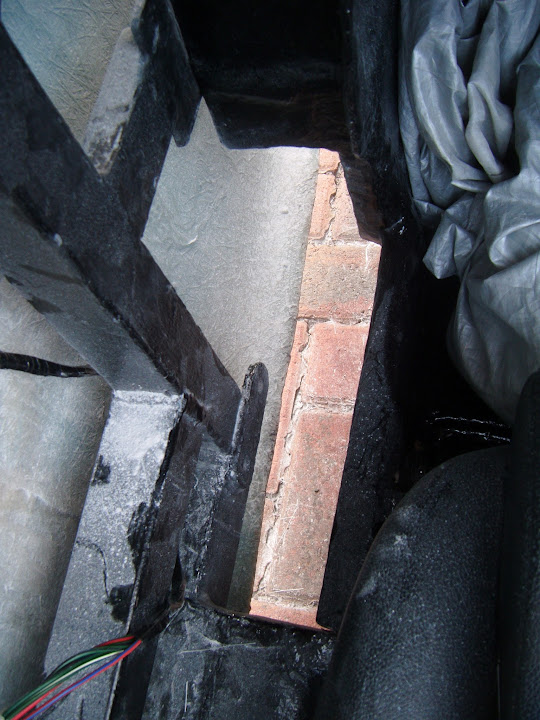
Then I realised that I needed to work out how I was going to make the cockpit water tight first.

There are currently gaps at the floor level (excuse all the filler dust I haven't cleaned up yet :rolleyes: ).


And between the bulkhead and the body shell.


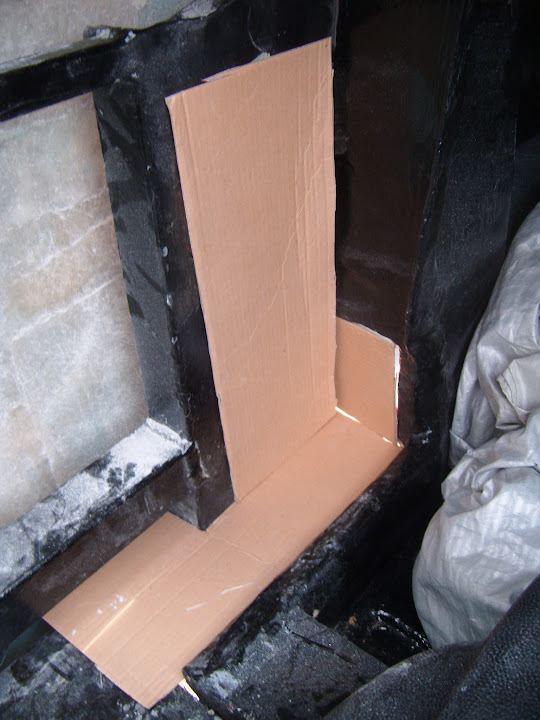
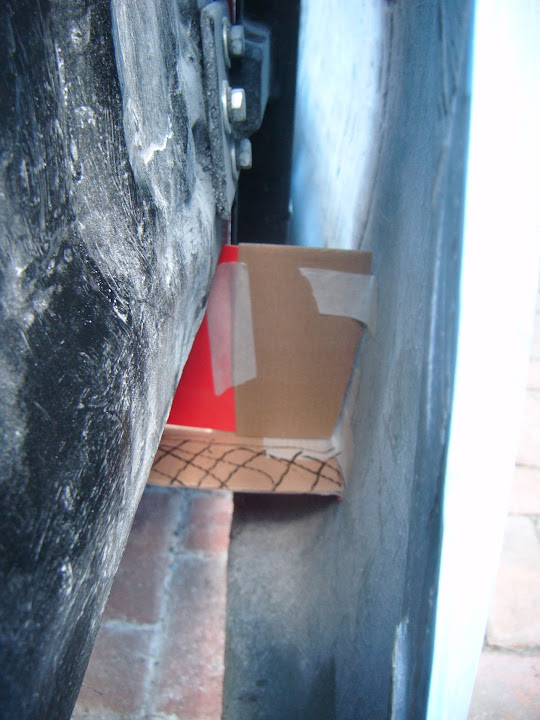
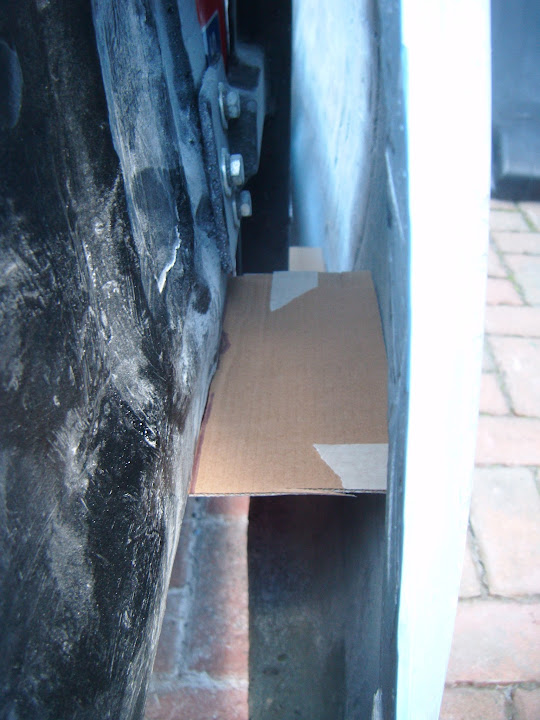
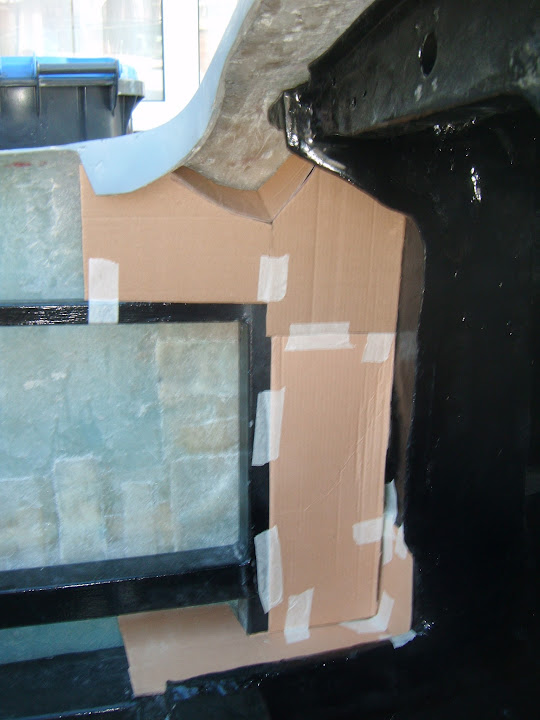
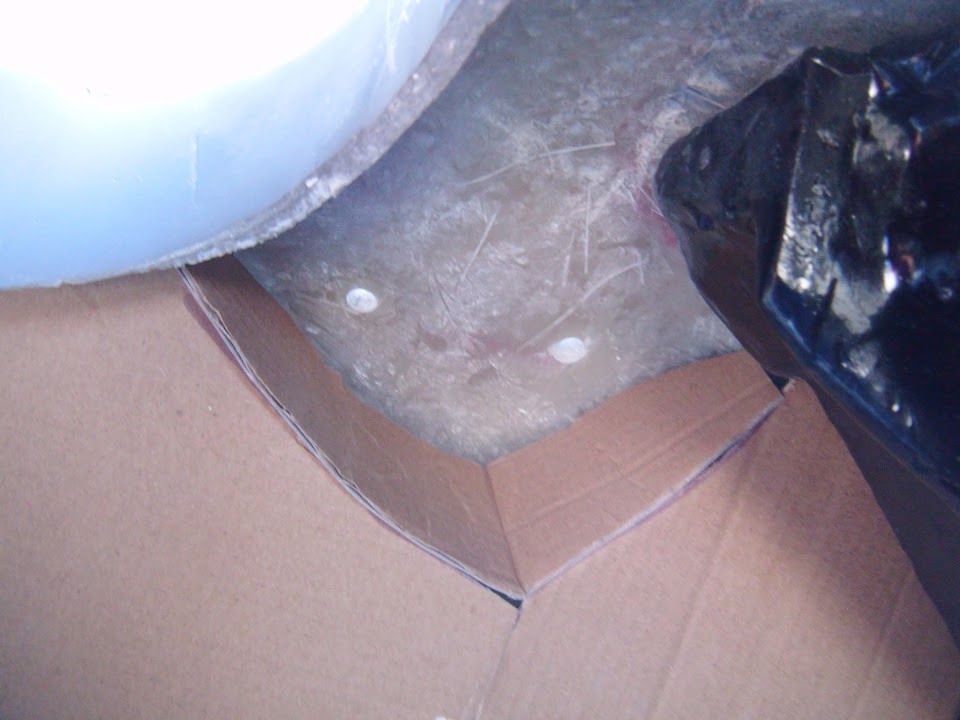
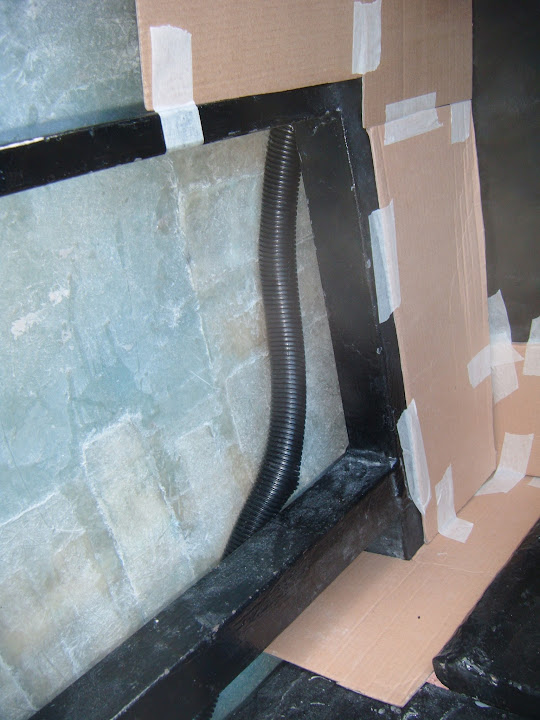
So I started messing around with some cardboard to see what my options might be.

The floor area should be straight forward enough.


But the sides will need to be done in steps, starting with filling the gap at the side.


Because then the body shell extension will need to join to the Spitfire bulkhead here.


Note:
The card completely covers the bulkhead "shelf", but the actual join will not be this deep.

Overall, I think I will be able to provide a "dry" area for the cables to run through. :pray:

Hopefully I will get a chance to spend some more time on this over the weekend.

- - - - - - - - - - - - - - - - - - - - - - - - - - - - - - -

Storage Crisis - Part 2:
I've spent a lot of time sorting out piles of stuff, not helped by rain arriving one day when everything was out on the lawn! :rant:

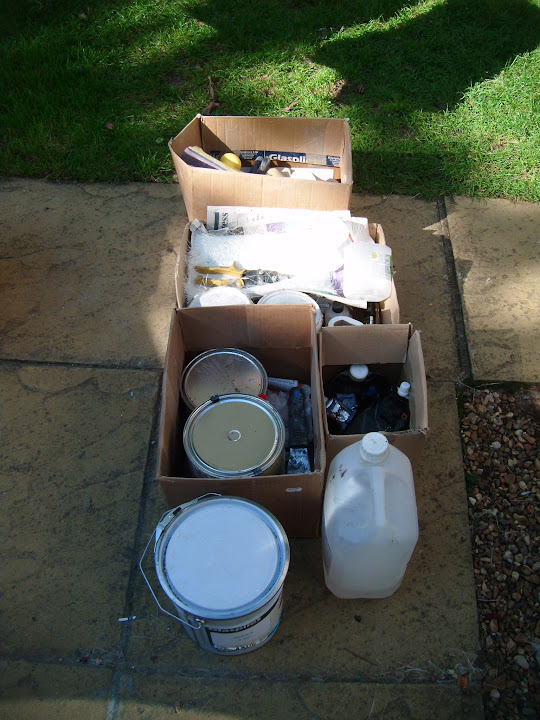
Here are some of the car related boxes that have to live in the shed.


But least there is now room in the shed for them and 4 push bikes.


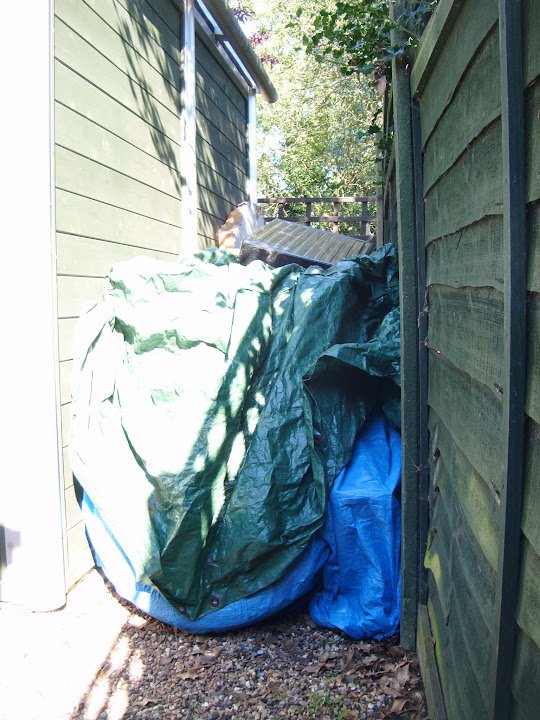
The back of the Summer House is still a graveyard for old metal, fibreglass and insulation foam. :rolleyes:


But at least you can actually get into the Summer House itself now. :cool:


I still need to sort out the contents of some of the boxes, but that can wait for now.

- - - - - - - - - - - - - - - - - - - - - - - - - - - - - - -

Visual Progress:
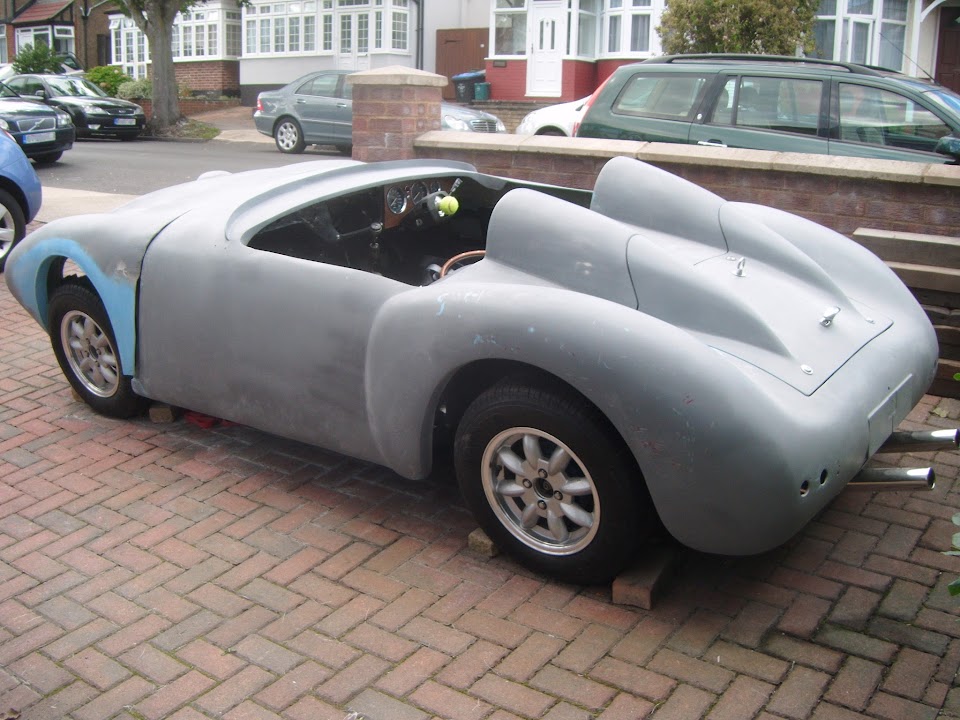
It dawned on me that I'd posted a photo of what the body shell & bonnet originally looked like the other day.

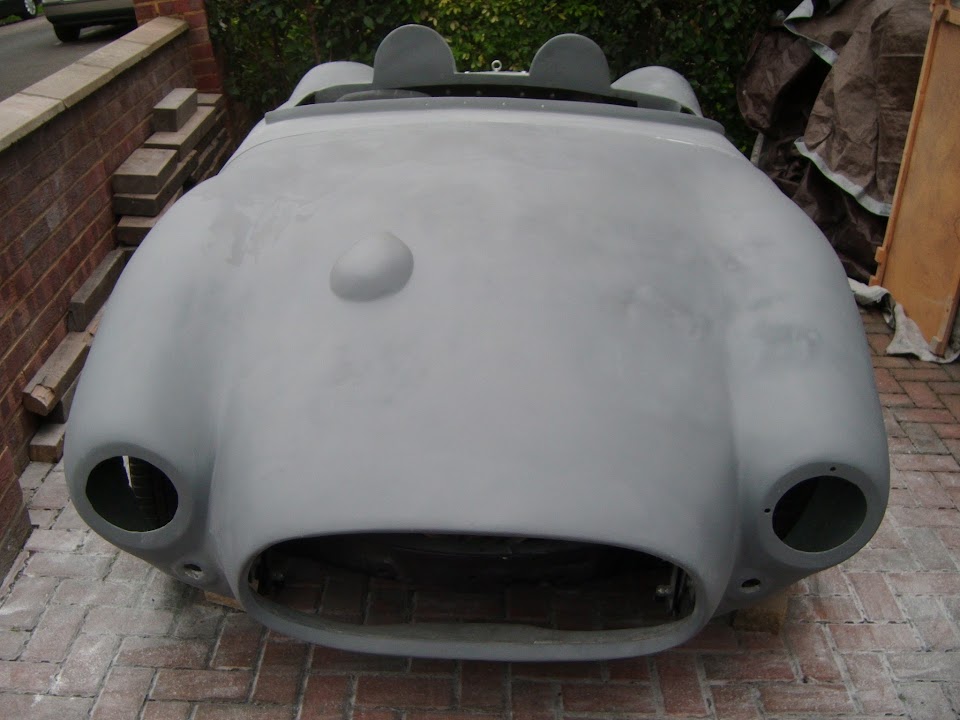
So I thought a side by side comparison would be a good way to see just how far I have come.

Before:


After:


I know it has taken me a very long time to reach this shape, but the good news is that I really like it. :cool:

- - - - - - - - - - - - - - - - - - - - - - - - - - - - - - -

Until next time, take care, Paul. :)
12 Sep 2015, 7:51am
Really great progress Paul!

Glad you showed the pics of your excess junk, I don't feel so guilty about hoarding my rubbish now!

Keep up the good work.
12 Sep 2015, 4:41pm
Scottie - Cheers. :cool:

Although once this car is finally on the road, there will be a major purge of my "might come in handy" pile!

- - - - - - - - - - - - - - - - - - - - - - - - - - - - - - -

A Start - Part 1:
A combination of wet weather and other chores restricted my time on the car today, but I did a bit.

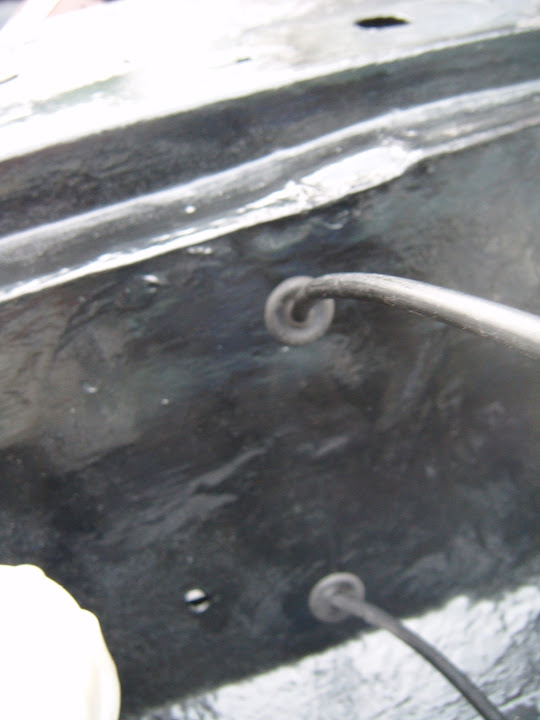
When I starting looking at the wiring loom yesterday, I found two holes in the bulkhead that might be where the front loom exits.

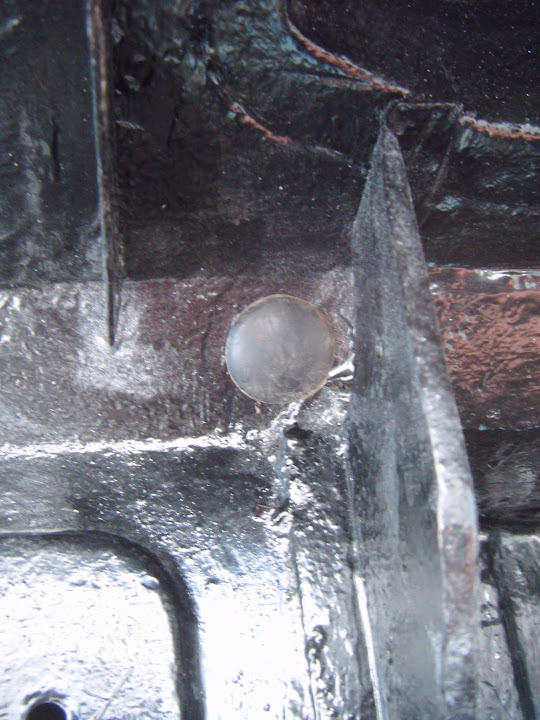
So I had to go back through the photos of my donor with the loom still in place and this confirmed that this hole...


Should be blanked off, so I found an old Spitfire grommet and that was the easiest job of the day.


Then it was back to beard scratching about how the both the cockpit interior and other gaps between the body shell & bulkhead get sealed off.

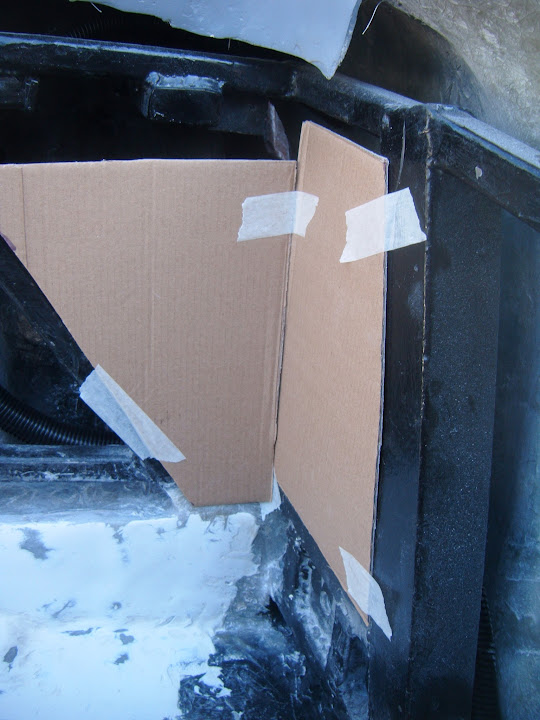
So I taped the templates I made yesterday back into position.


Part of this structure will seal the cockpit, but also bridge the gap to the body shell.


But rather than go "straight up", I need to extend this section horizontally going towards the front of the car.


Then the next vertical section will complete the seal.


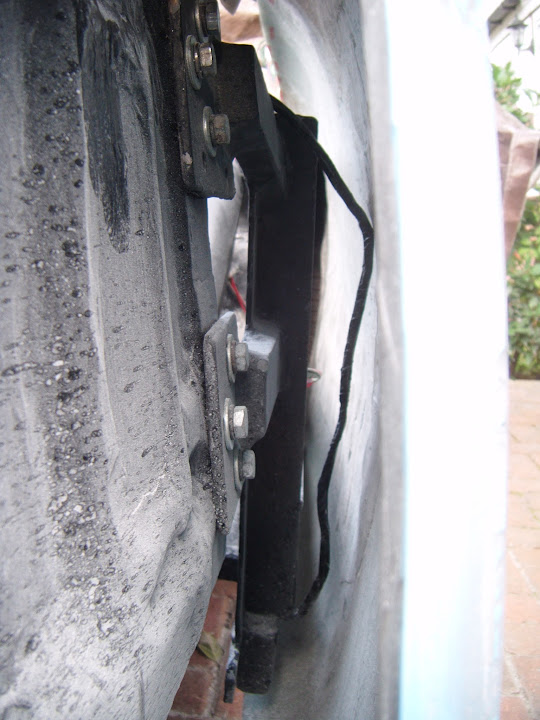
Not easy to see in this photo, but I will end up with a small "cavern" around the area where the framework is bolted to the bulkhead.


And it is into this "cavern" that the rear wiring loom will now exit the bulkhead.

The plywood panels along the cockpit sides will sit in front of the framework.


But there needs to be a "hollow" section so that the wing mirrors can be fitted.
( And I still need to work on the final design. )


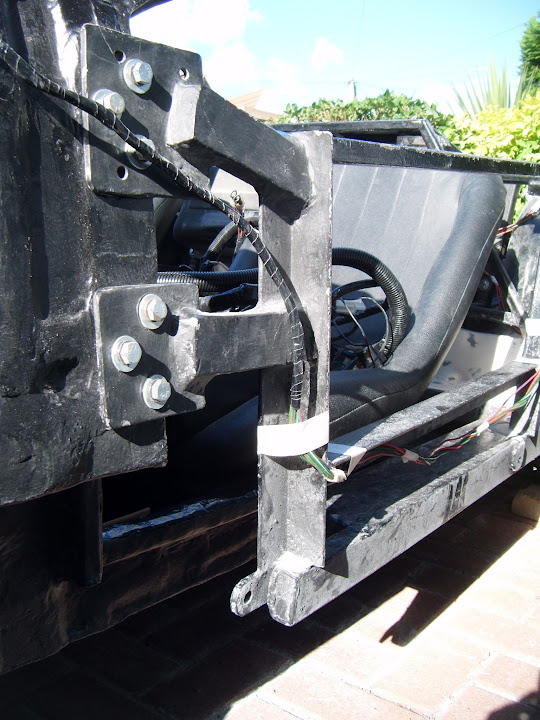
The key thing for me to get my head around is that I will have created a water tight space for the wiring loom.

This will be between the internal cockpit sides and the external fibreglass body shell.

I just put some cable wrap in position to illustrate this.


The same will apply at the rear wheel arches, where they will be sealed externally...


Before the internal cockpit sides seals the wiring loom out of the way.


I know I've spent a lot of time on this, but I had to get it clear in my head before I took the body shell off.

End of Part 1...
12 Sep 2015, 4:42pm
A Start - Part 2:
My wife gave me a hand with the lifting and the car went from vaguely looking complete...


Back to a collection of parts on my driveway. :icon_sad:


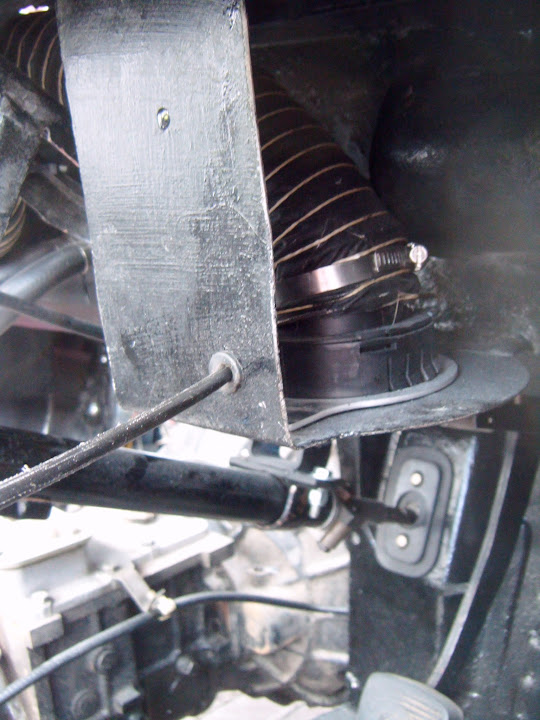
Then I could drill a hole for the rear wiring loom in the side of the bulkhead.


Which will be inside the "cavern", although this photo doesn't show the angles very well.


Then I roughly laid out the route the rear loom needs to take.


I actually need to fit the main loom into position before I can work out how much of the loom needs to be "fed" into the bulkhead.

But that will have to wait for another day, as the covers are back on for tonight.


So until next time, take care, Paul. :)
12 Sep 2015, 8:14pm
Paul Any holes that the wiring loom passes through will need a rubber grommet fitting to prevent water ingress and chaffing of the cable's.

Ignore this if you know but i thought it better to mention now when it's easier to fit the grommets.
13 Sep 2015, 5:06pm
Swifty - Thanks for mentioning it, as I'd rather be safe than sorry. :cool:

I should have said I will use a grommet to protect the wires from chaffing (see below).

As water should not be able to reach this hole in the bulkhead after I've finished boxing it all in. :pray:

- - - - - - - - - - - - - - - - - - - - - - - - - - - - - - -

Trial & Error - Part 1:
Pushed the two sections of the front wiring loom through the bulkhead.


These are the original Spitfire parts, although neither appear very water tight. :rolleyes:

This allowed me to fix the main loom to the bulkhead at this end to see where the rear loom connection would be.


This in turn, allowed me to work out how far the rear loom wires needed to go into the bulkhead to reach.


I just needed to wrap up the middle section of the rear loom.


Note:
That thin strip of driveway was how small the area I had to fit into for today's work and it was not quite big enough.

I then spent a very long time trying to find the best route for rear loom to take.

This really was a case of trial and error as I'd zip tie the loom in place, then have to cut the ties and start again.

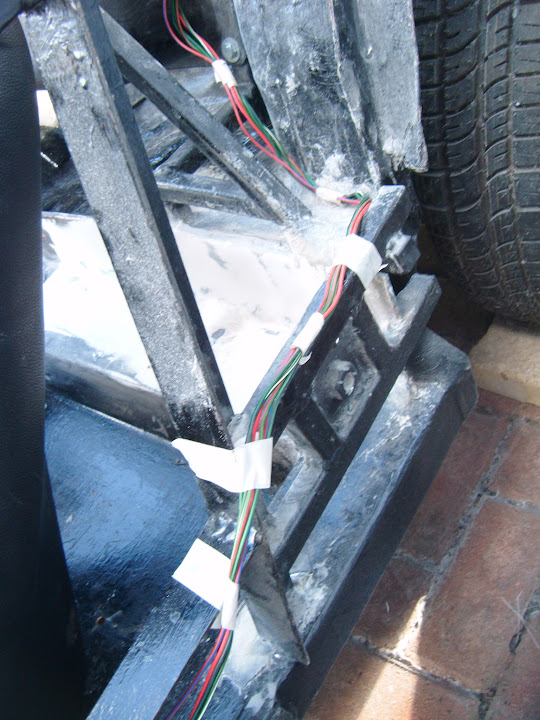
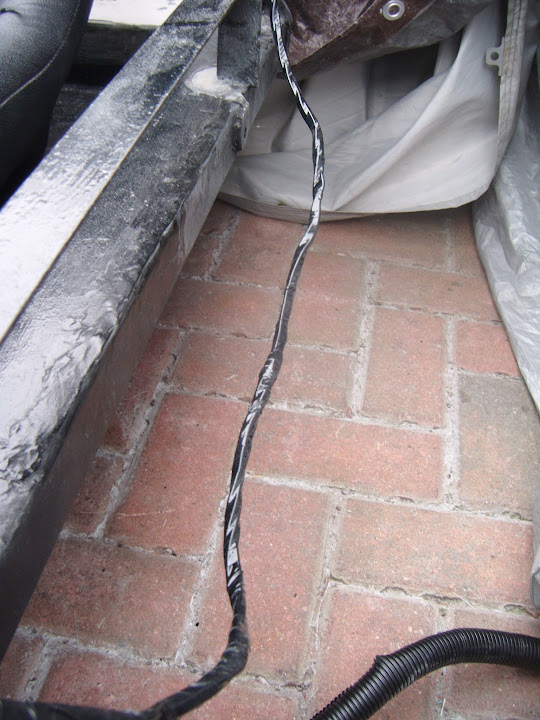
In the end, the best route was along the top of the framework, something I had tested before.


Note:
I will come back to tidy up the start of the cable wrap near the hole in the bulkhead later on.


I also used an extra layer of protection in some areas.


Unfortunately, when I got towards the rear arches I realised I needed to finish another job before I could go any further.

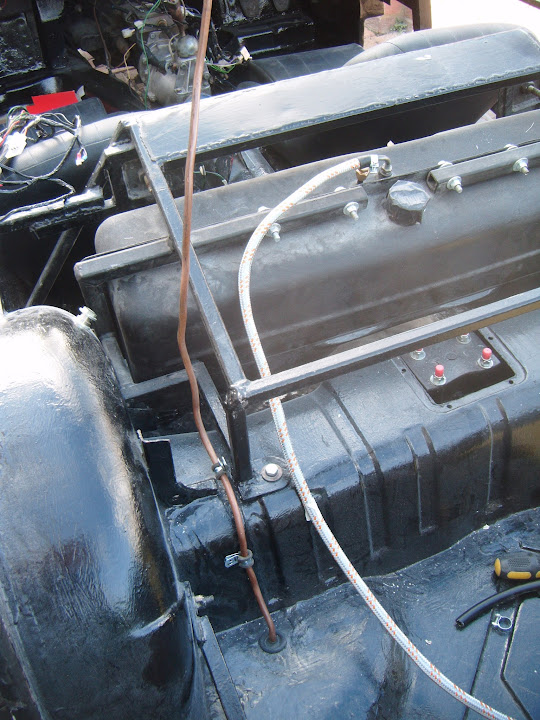
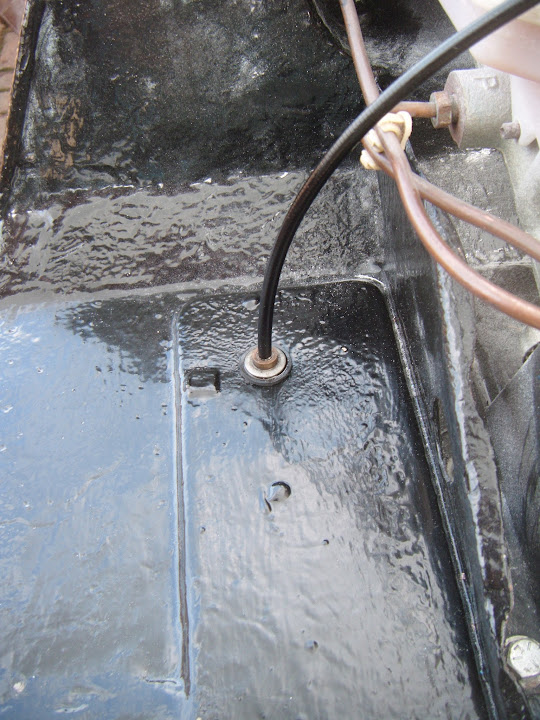
As there was a mis-match between the fuel hard line and the flexible fuel pipe.


I bolted 2 "P" clips to the rear arches to hold the hard line in position.


Even this was a pain, as I had to cut one of the bolts down to size as I couldn't find a short one. :rolleyes:

I was able to create the nice bends with my cheap flexible pipe bending tool.


Then I cut the hard line down to size, before putting the final curve in the pipe.


Then I cut the flexible pipe to size and fixed it to the framework with zip ties to create a gentle curve.


End of Part 1...
13 Sep 2015, 5:06pm
Trial & Error - Part 2:

Allowing the two pipes to be joined together here.


I dread to thing how long it has been since the fuel tank was connected, so this was a satisfying job to complete. :cool:

Here is the overall route.


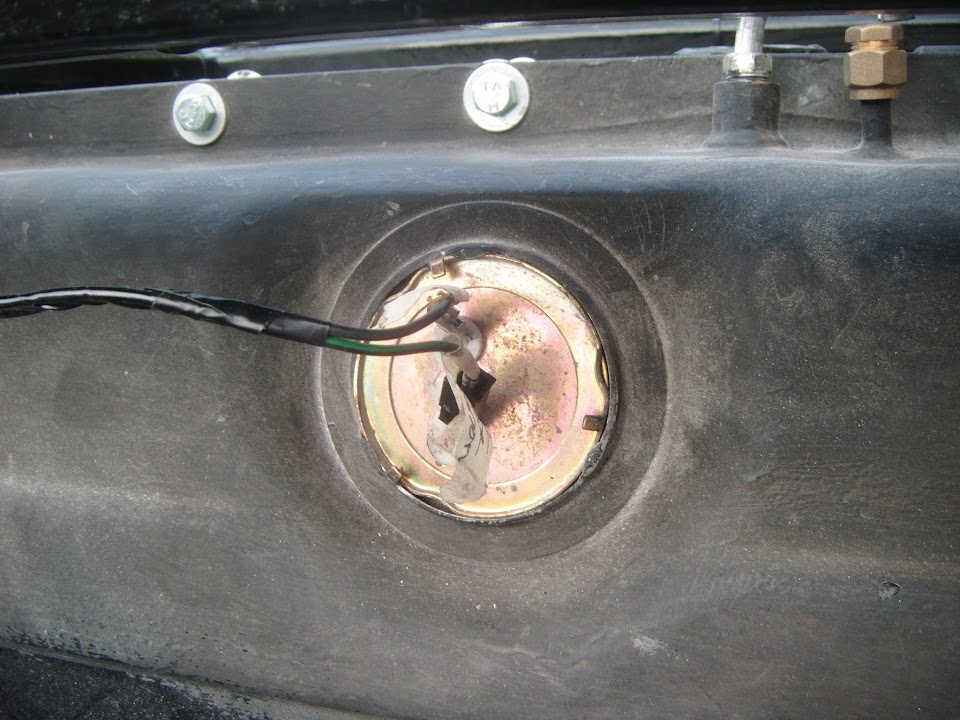
Then I could switch back to the rear wiring loom and finish the "branch" required for the fuel gauge sender wiring.


Although the wires to the tank needed to be shortened as they were too long.


So starting at the tank...


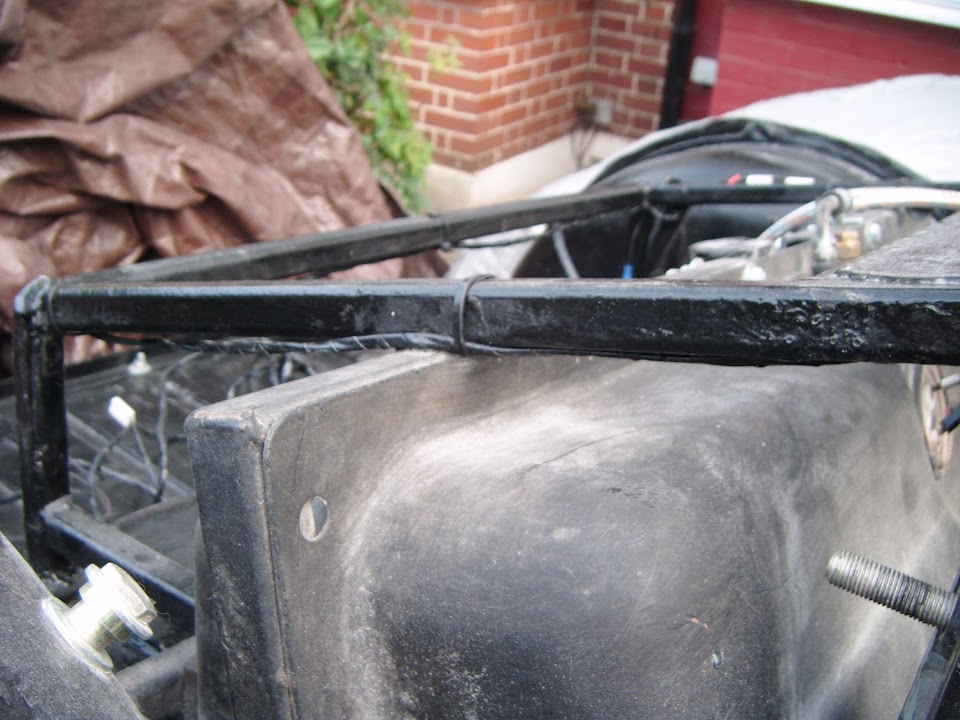
I worked my way around the framework...


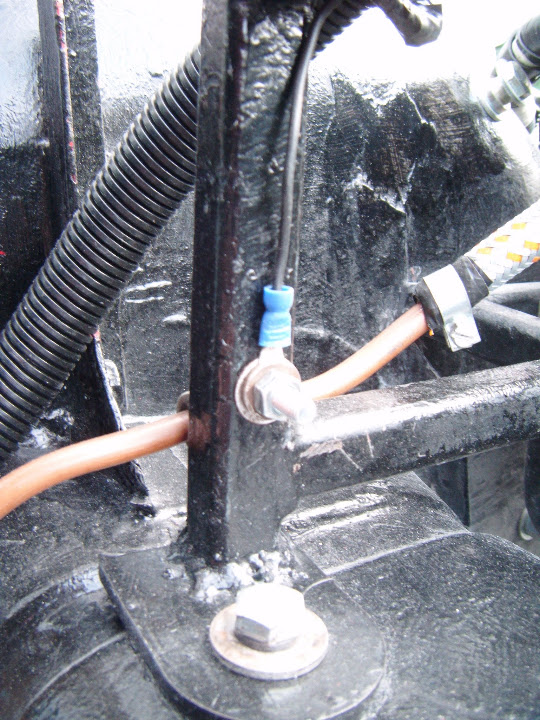
Before shortening the wires & adding a new earth connector and fixing it into position on the P clip bolt I'd fitted earlier.


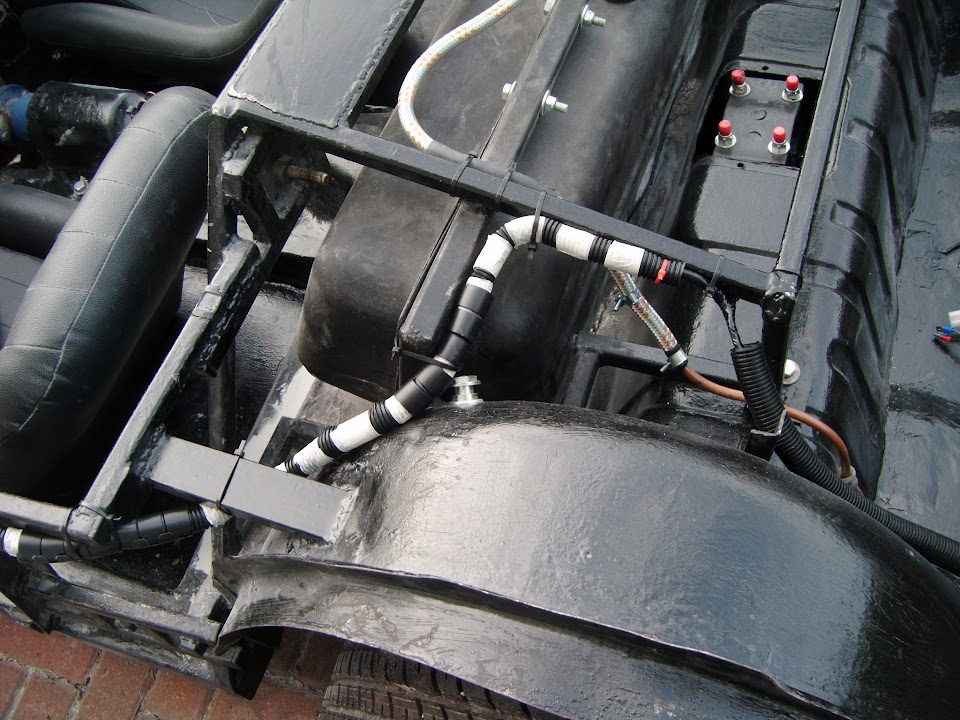
This left the rear loom routed like this up to the branch for the fuel tank.


Leaving the final route down into the boot area still to be done.


Normally, I'd be complaining if I'd spend a long time working, with little to show for it.

But in this case, I'm completely happy to take my time and re-do things until they are right.

The other positive to take from today is that these jobs are all required to achieve a working Moon Rover.

So until next time, take care, Paul. :)
13 Sep 2015, 5:34pm
All looks very neat considering your using the original loom.:icon_smile:
13 Sep 2015, 7:03pm
I take my hat off to you Paul for using the original loom and figuring out what is required, i took the easy option and went for an after market loom.

Good luck.
15 Sep 2015, 12:53pm
Micky1Mo & Swifty - Cheers Chaps. :cool:

There are definitely both pros & cons associated with using/modifying the original Spitfire loom.

But at least I was able to test all of the lighting circuits "indoors", which was a big help.

- - - - - - - - - - - - - - - - - - - - - - - - - - - - - - -

Monday:
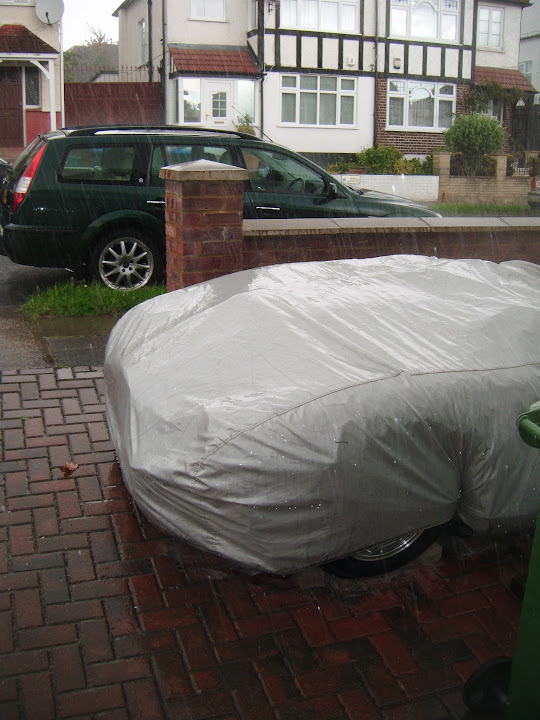
Good timing meant that I didn't work on the car and get caught out with the sudden downpours that rolled in throughout the day.

But bad timing meant I was actually out on my push bike when one of these storms arrived out of nowhere and I got drenched. :rolleyes:
( Riding through traffic with hail coming down so hard it actually hurts, is not my idea of a good time! )

- - - - - - - - - - - - - - - - - - - - - - - - - - - - - - -

Tuesday:
Good timing today meant I picked one small job to do and managed to be done and dusted before the rain arrived again.

While looking at the wiring loom in the boot area I remembered that I still needed to fit the cover over the suspension mounting bolts.
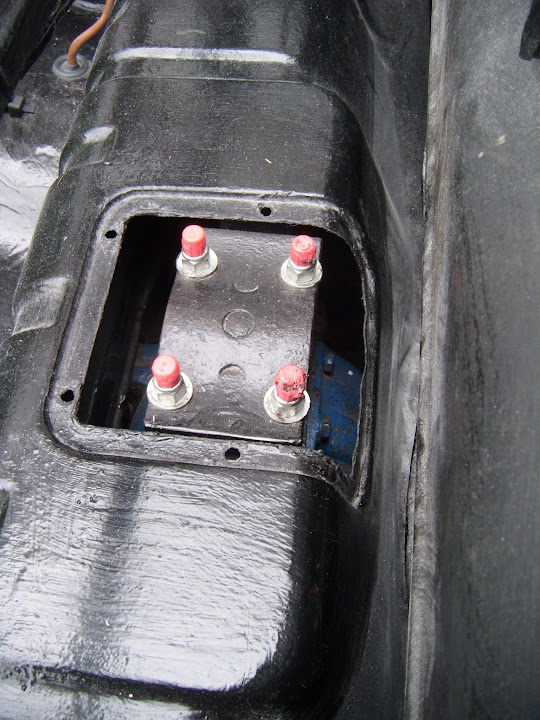


You may remember that fitting the lowering block makes this area sit proud of where the original Spitfire cover would sit.


Way back in May 2014, I did the modification work required to turn the original Spitfire cover...


Into Frankenlid...


So I put the screw fixings into position and added a layer of sealing compound.


Tightened the 4 screws and spread the squeezed out sealing compound along the edge of the join.


It just needs a final lick of paint.


It is funny how the little jobs like this one & connecting the fuel lines really feel like big steps forward for this build. :cool:

Unfortunately, at this point the sky was getting darker...



But thankfully all the covers were back on and I was safely back indoors when the next storm hit.

- - - - - - - - - - - - - - - - - - - - - - - - - - - - - - -

New Registration Number:
I have been toying with the idea of getting an "ageless" number plate ever since I started this project.

My donor Spitfire was a 1980 "V" reg, which makes it one of the youngest Sammio/Ribble/Milgia builds on here.

However, the long running saga of getting my original V5C updated put this idea on the back burner for a while.

I had looked into the cheap NI Plates and had thought a "MIG" plate would work well, given all the bulkhead welding I did.
( This was actually before WCA and some of the other Tribute builders "next door" start getting them. )

As I could never find a traditional UK ageless plate (3 number & 3 letters, in either order) at a reasonable price.

However, Mister Towed posted something a while back on a different thread & I've shamelessly stolen his idea.

So rather than go for an "ageless" plate, I've actually just bought an "aged" plate from 1965, a suffix "C" reg.

Again, this was a great bit of timing, as this particular number only appeared on the website a few days ago.
( It was sold on behalf of a customer, so it was cheaper than normal & comparable with a NI "MIG" plate. :cool: )

After all, in this classic line up photo below, Phil & Barry both have "H" regs and Mr T himself has a "G" reg.

Given that I've always aspired to join this line up one day, at least now I will not be the odd one out with a "V" reg.
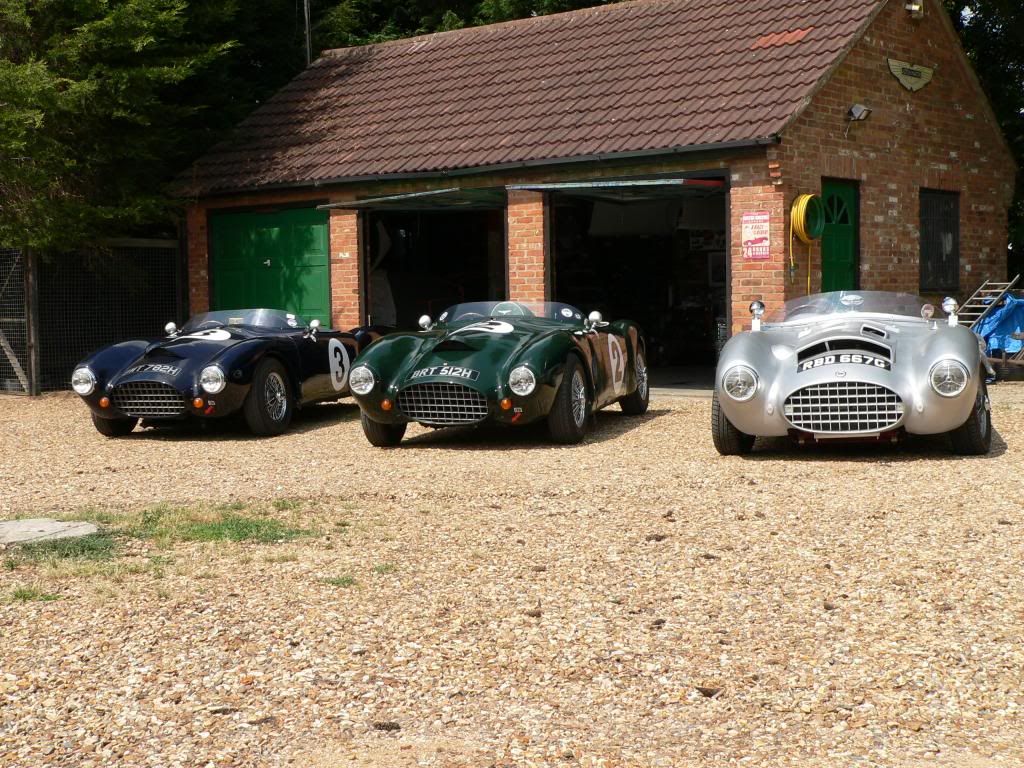


Perhaps I should claim that my car was an early "prototype", which was refined into the curvy Spyder design in later years. :wink:

I know there have been debates about using vintage B/W "show plates" on cars that don't qualify for the old style.

Well, I've decided to stay "rat legal" and use yellow and black at the rear, but with raised letters.

Something like this.


One day I would like to attend the Goodwood Revival and hopefully these little touches will help me blend in.

- - - - - - - - - - - - - - - - - - - - - - - - - - - - - - -

Period Racing:
Talking of Goodwood, I found these two short video clips on their website.

https://grrc.goodwood.com/goodwood-revival/video-sussex-trophy-highlights#ic6FrS7QOt6roEUt.97

https://grrc.goodwood.com/goodwood-revival/video-lavant-cup-race-highlights#IqTsb8bxF0iuSBhf.97

These highlight the range of shapes available at the time.

Given how my build is finally shaping up, I am happy that I will end up with something that would not look out of place.

Until next time, take care, Paul. :)
16 Sep 2015, 10:31am
Hi Paul, one of the young lads in the Jeep club had pressed steel number plates on a 1985 Suzuki sj in yellow/white black they even had supplying Suzuki dealer name on them, looked to me like they where fitted new and he got a ticket and points for both front and rear? I said at the time he should protest it as surely you can't be forced to retro fit items to comply. But as he had just fitted a 1.6 Vitara engine in it and it was still registered as a 1.0 and he hadn't told the insurance about his new winch and big tyres he thought it wise to just pay up. I think a picky traffic cop would have you especially if they looked into purchase/ transfer date. Saying that there is a Porsche Cayenne down the road from me with proper blacked out front side windows and pressed steel black and silver plates on a 57 plate no supplying dealer info he also has bright blue led side lights. There was also a newish e class merc complete with shoddy white vinyl wrap that flapped about showing the black underneath and that had a diffent reg number on the front to the rear for many months. So maybe nobody cares anymore. I once got a ticket for having an odd number of spotlights on the front of my car.yet a few years back you could buy a new mini Italian job with 3.Ed
16 Sep 2015, 2:48pm
Ed - Thanks for the heads up. :cool:

The rear plate will be black plastic characters on a reflective yellow background.
( I will be using a stick on number plate on the front. )

I was told this style is perfectly legal on pre-2001 cars, so I should be OK. :pray:

Cheers, Paul. :)
17 Sep 2015, 4:33pm
Wednesday: - A wash out in terms of the weather, and I wasn't feeling that great either. :icon_sad:

- - - - - - - - - - - - - - - - - - - - - - - - - - - - - - -

Thursday - Part 1:
Whilst I still wasn't feeling 100%, at least the weather had improved.

I picked some simple tasks that didn't require much physical effort, but even these ended up being time consuming. :rolleyes:

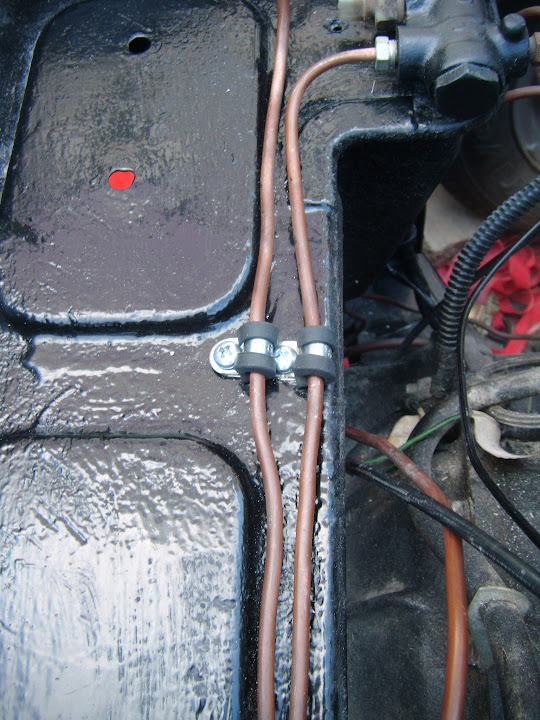
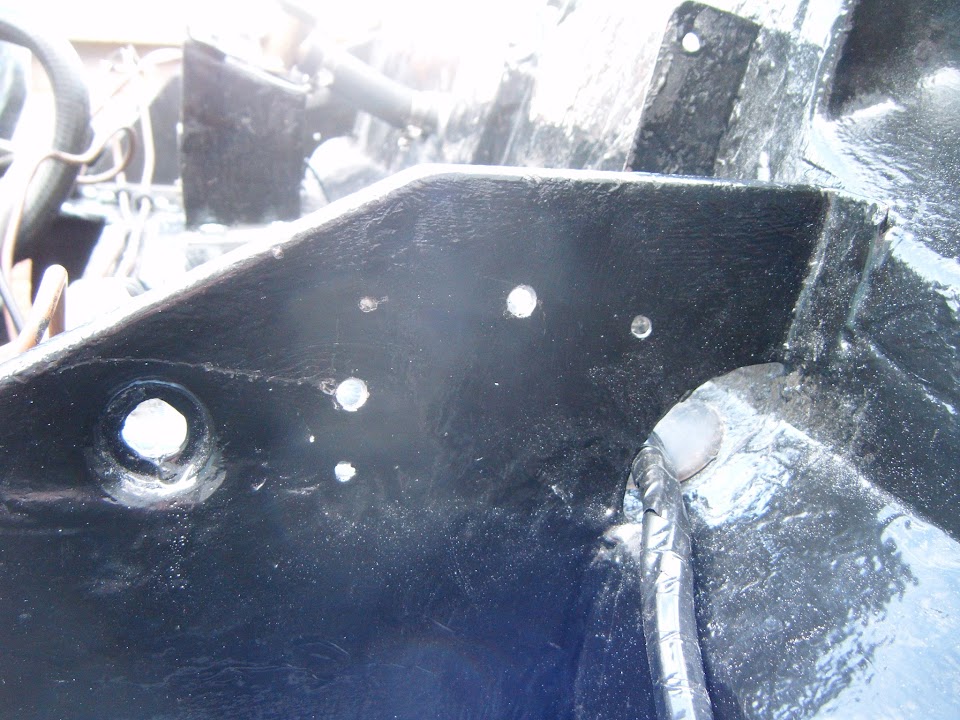
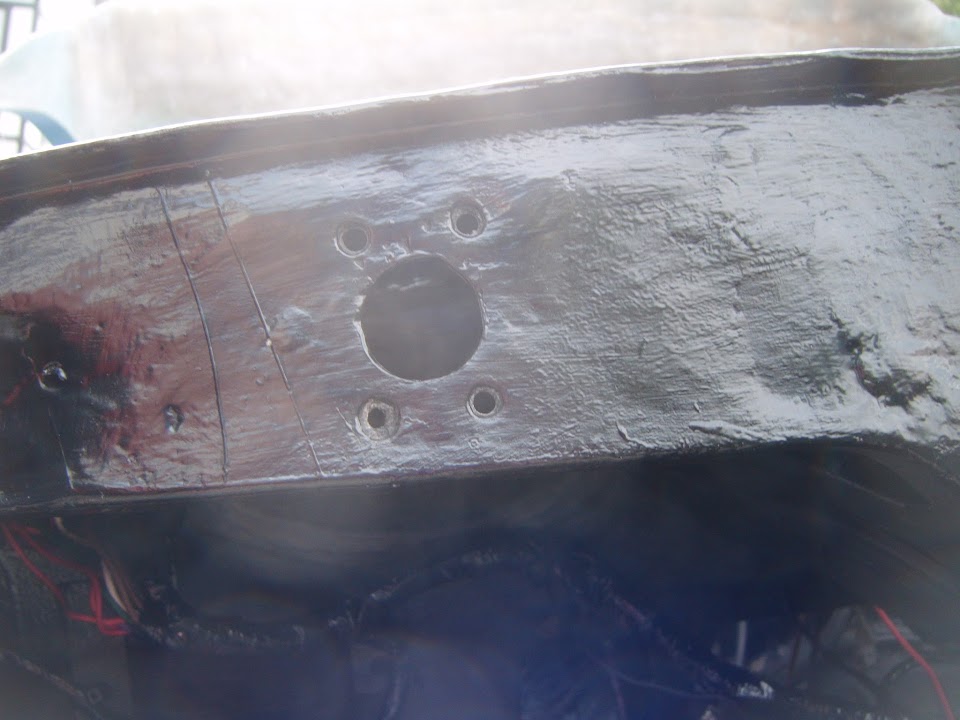
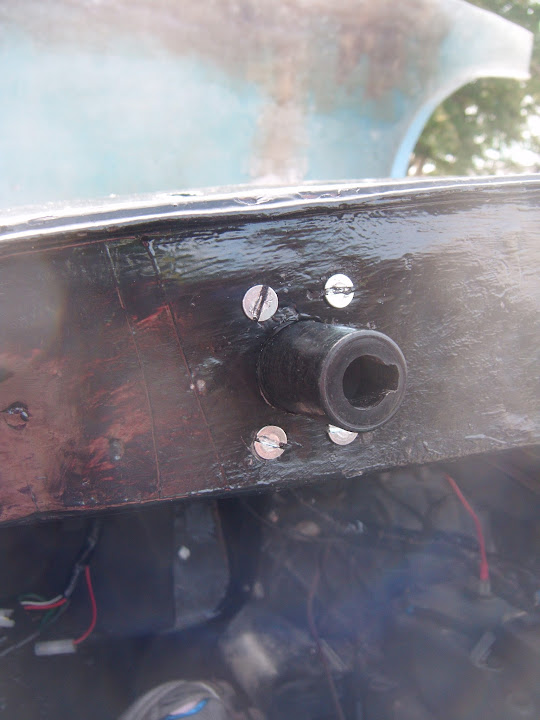
Drilled a new hole in the bulkhead to re-attach the P clips for the brake hard lines that came with my donor.
( There was a fixing hole in my original 1500 bulkhead, but not this MkIV one. )


I also drilled some more holes along the bulkhead "shelf" and fitted some new "P" clips for the clutch and brake lines.


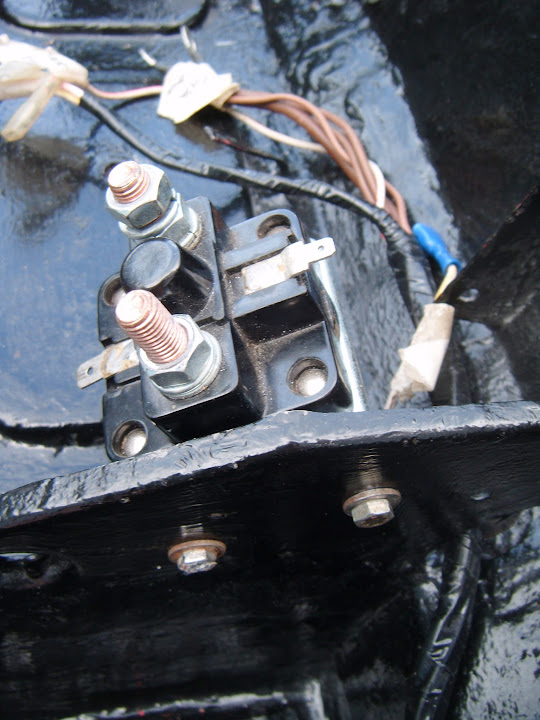
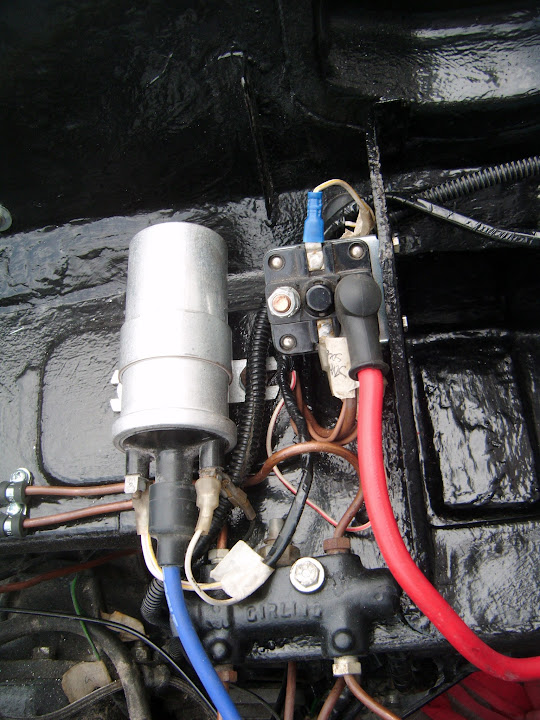
The fixing points for the starter solenoid were also wrong on this bulkhead.


So two new holes were drilled and this could be fitted too.


Next was the ignition coil, after I spent a ridiculous amount of time trying to find the original fixing bolts for it. :rant:


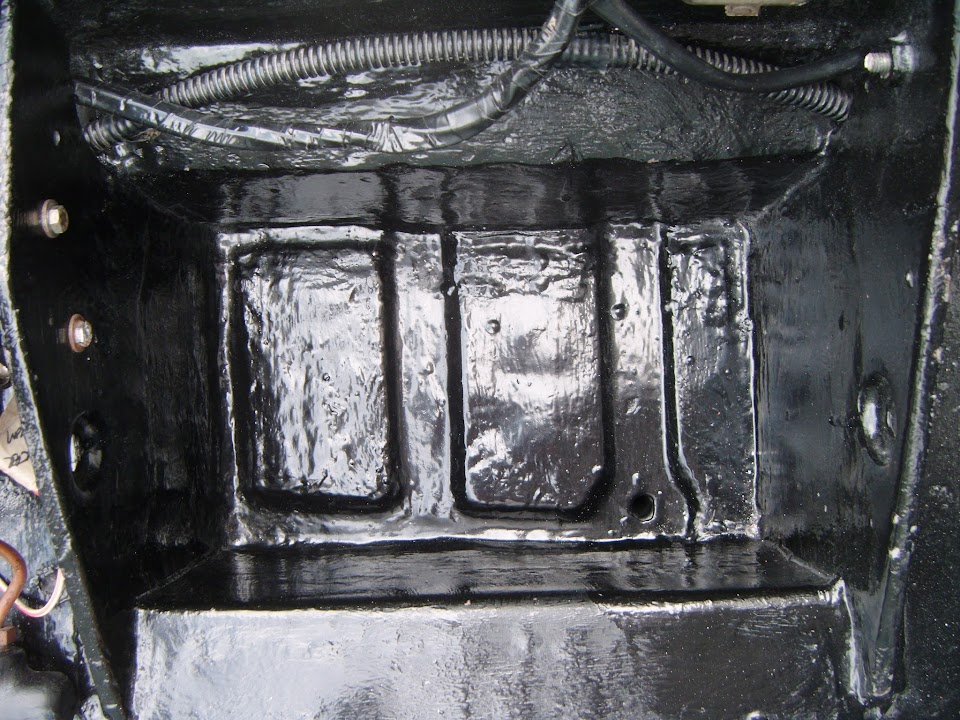
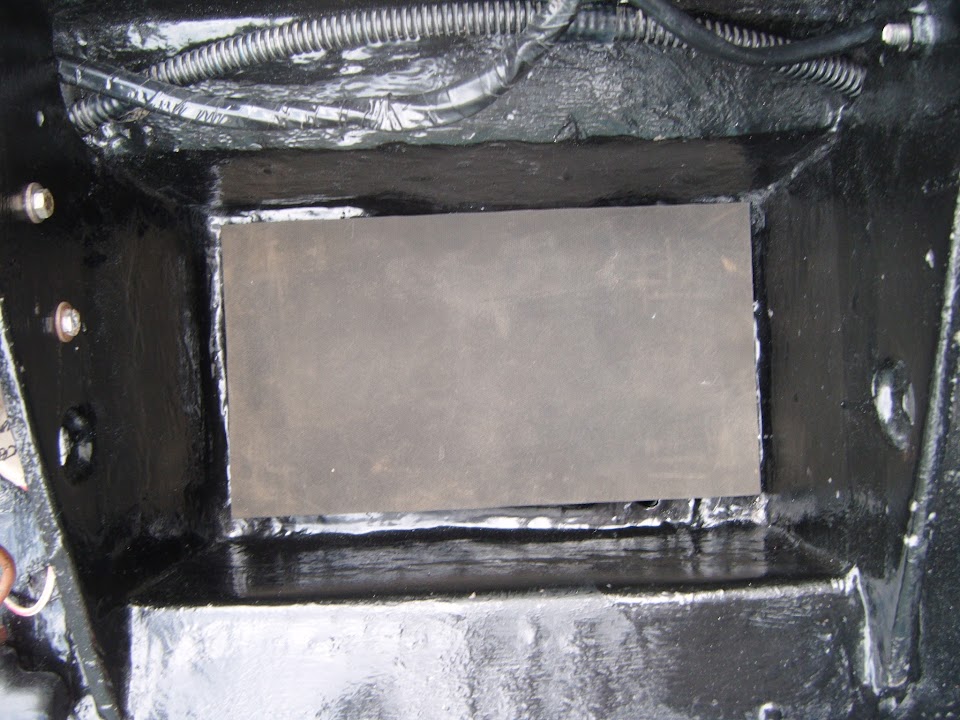
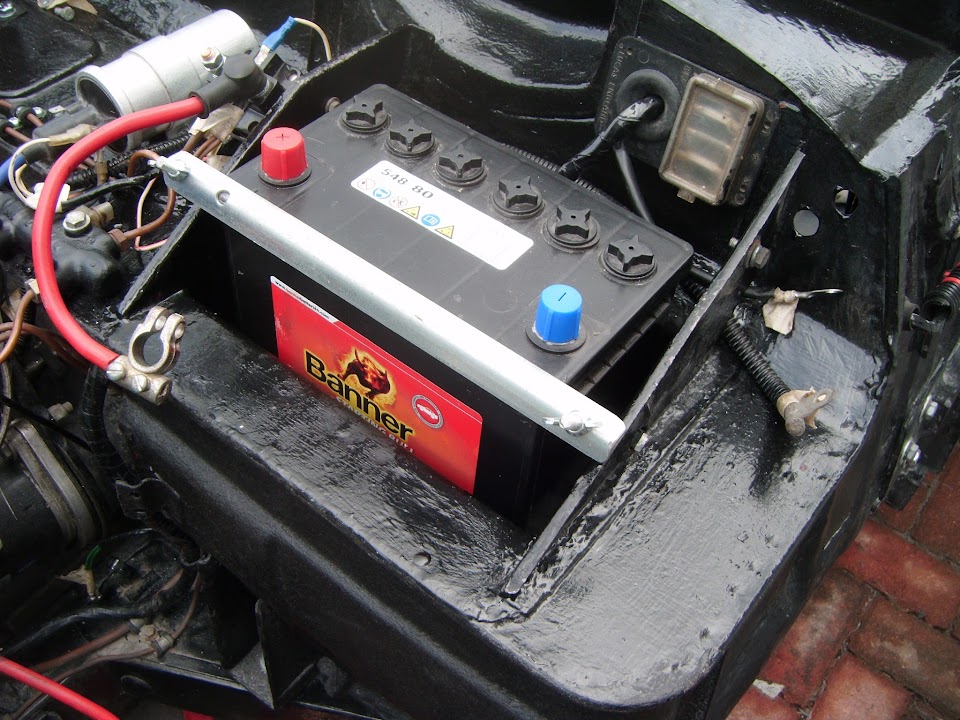
I put a rubber mat in the bottom of the battery tray, before fitting the new battery.


I've decided to refit the original Spitfire battery earth cable, until I have got the engine running again.

As this will remove any uncertainty about the new battery cut off switch causing any problems.

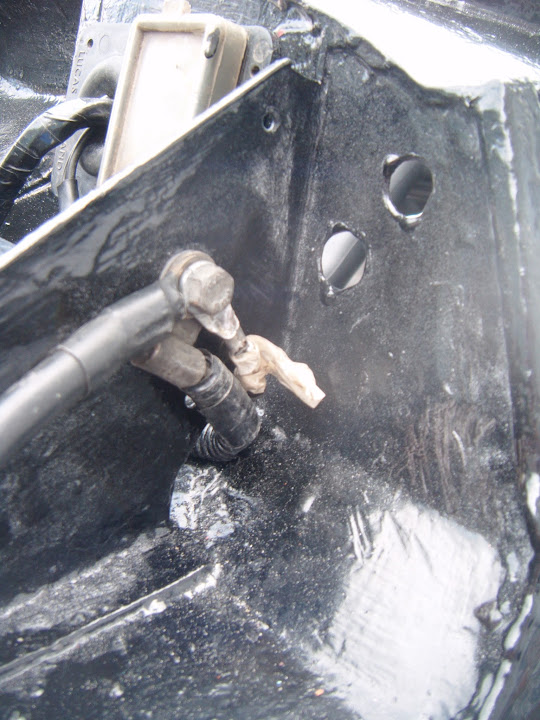
So for now, there are three wires earthed at the side of the battery box.


Note:
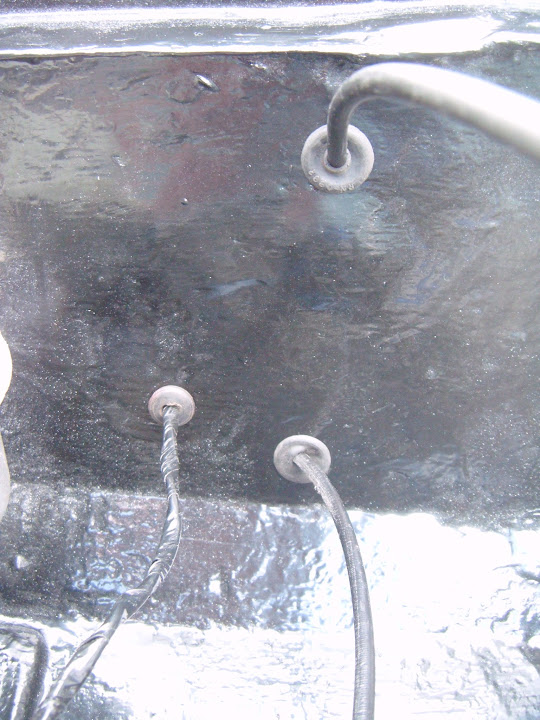
The two holes in the bulkhead are where the cut off switch cables will be go.

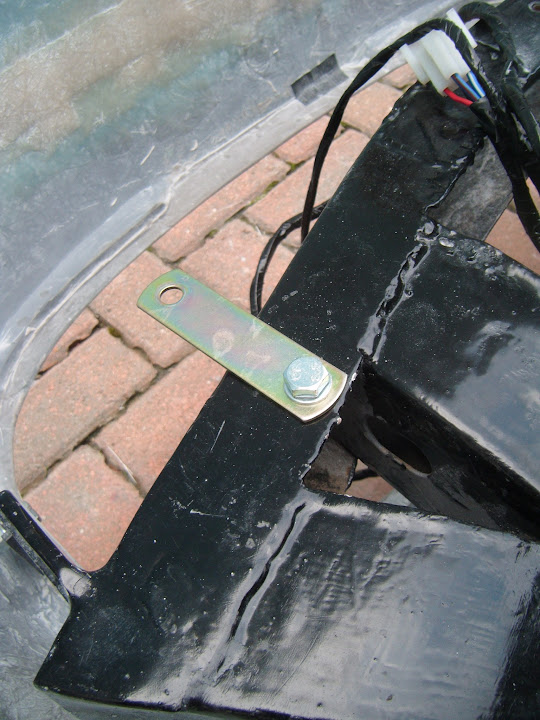
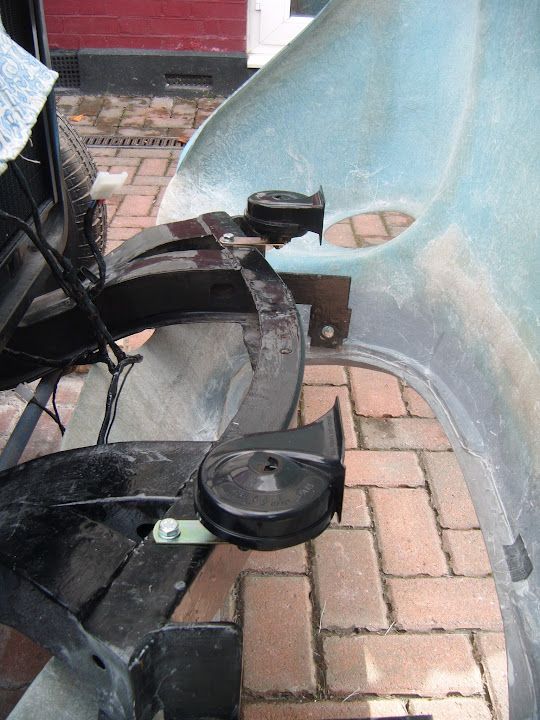
Next the car horns were fitted, starting with the mounting brackets.


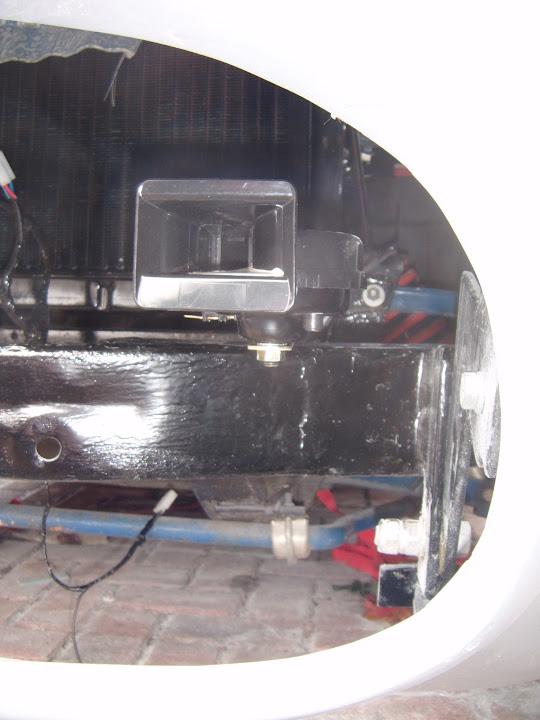
Then the horns could be attached to them.


They will both be pointing straight out of the front grille, so should be 'loud and clear'.


Note:
These are new car horns that came with my donor, but hadn't been fitted.

So if I've done something wrong in either where I've fitted these, or how I've fitted them, feel free to let me know.

End of Part 1...
17 Sep 2015, 4:34pm
Thursday - Part 2:
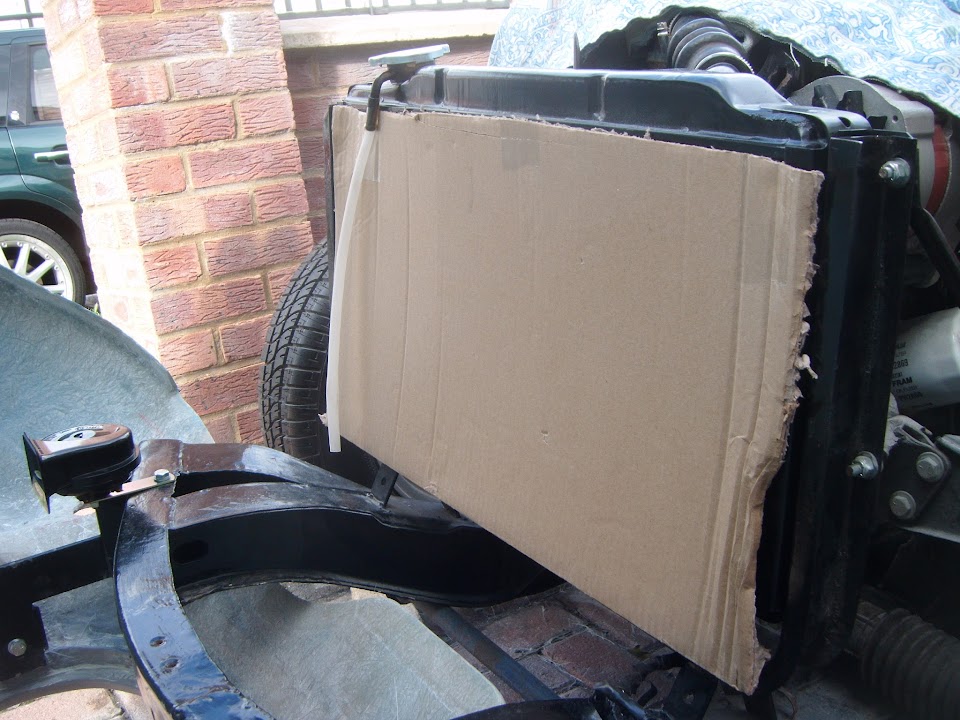
I finally got around to putting some thick cardboard in front of my new radiator.


Hopefully this will help prevent any accidental damage during construction.

Even though I will not be connecting this up just yet, I did fit the cut off switch.


The restricted access at the back made this much harder to do than it should have been.

For now, I've just put the switch cover in place until the wooden dash board section gets fitted.


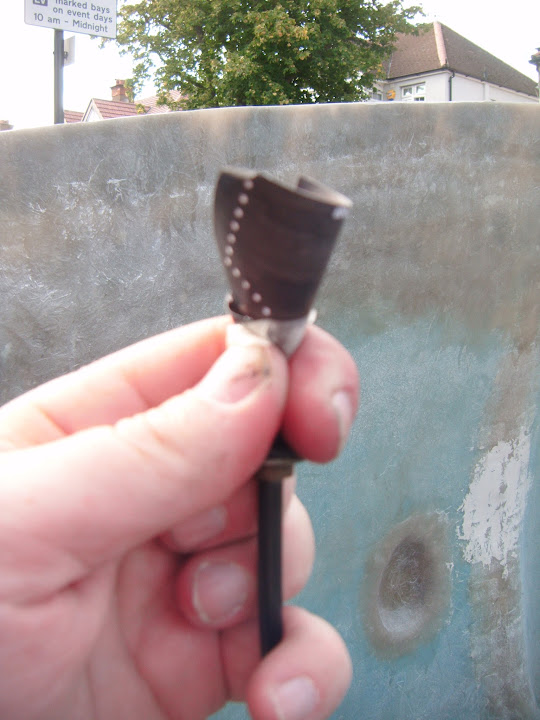
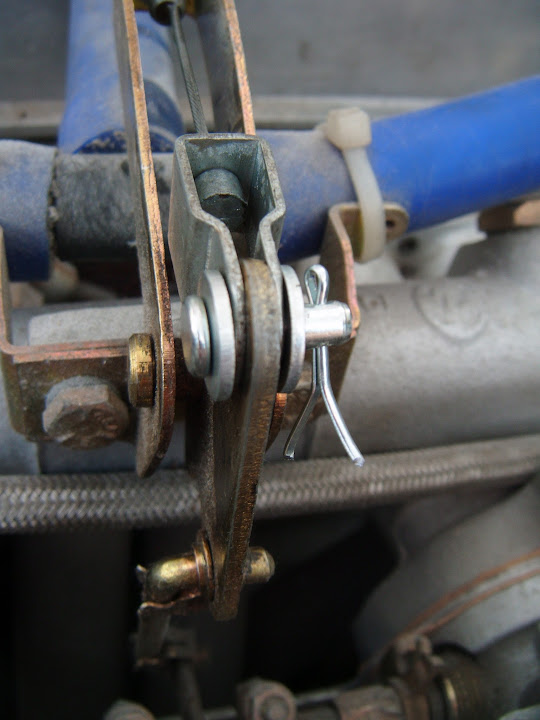
I made a small funnel to get some 3-in-1 oil all the way through the throttle cable.


Then the cable fitted through the bulkhead and connected to the accelerator pedal.


I was then able to fit the new pivot pin parts at the other end.
( Replacing the original parts that were lost/missing. )


Overall, lots of small jobs, but it does feel like I am finally working my way towards the "Moon Buggy" stage. :cool:

So until next time, take care, Paul. :)
17 Sep 2015, 8:43pm
Wow Paul, I'm tired reading how much you have achieved! Might be small jobs individually but combined as a single piece of of work plenty enough for one day.

I hope you feel 100% again tomorrow . Ian
18 Sep 2015, 4:30pm
Its coming together nicely Paul. :-)
18 Sep 2015, 4:51pm
Jones & Scottie - Thanks gents. :cool:

Whilst there is always frustration when small jobs take longer than they should, this is still a good step in the right direction.

As connecting up the wiring loom, fuel lines, gauges, etc. is the path to getting the engine re-started and, in turn, the body shell bonded on. :pray:

- - - - - - - - - - - - - - - - - - - - - - - - - - - - - - -

More Small Steps Forward:
I had to wait for the mist to clear in the morning before I could start work.

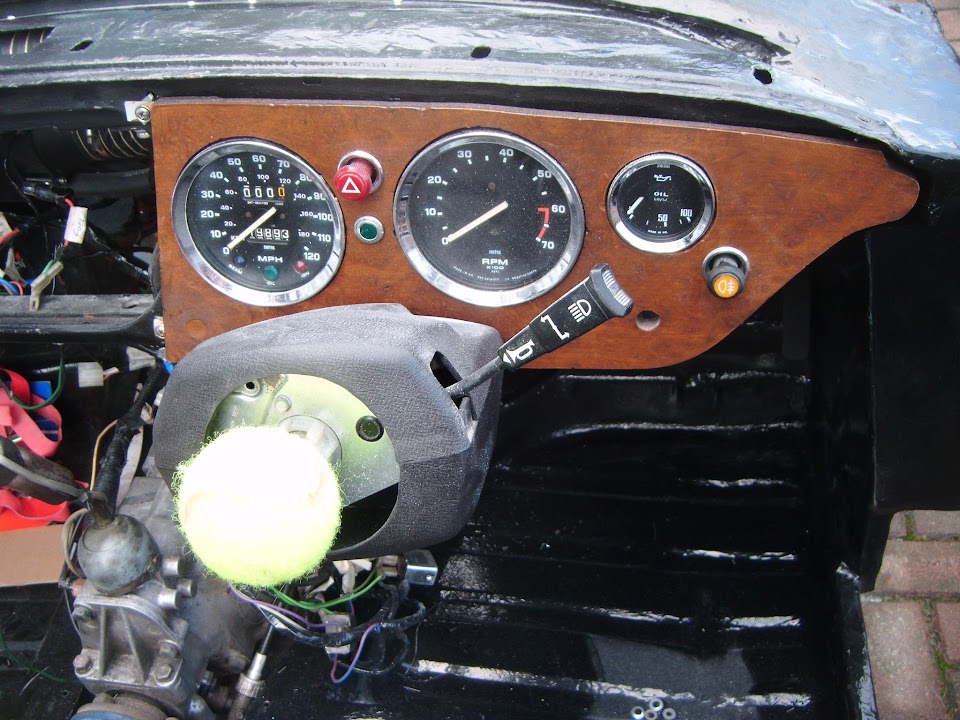
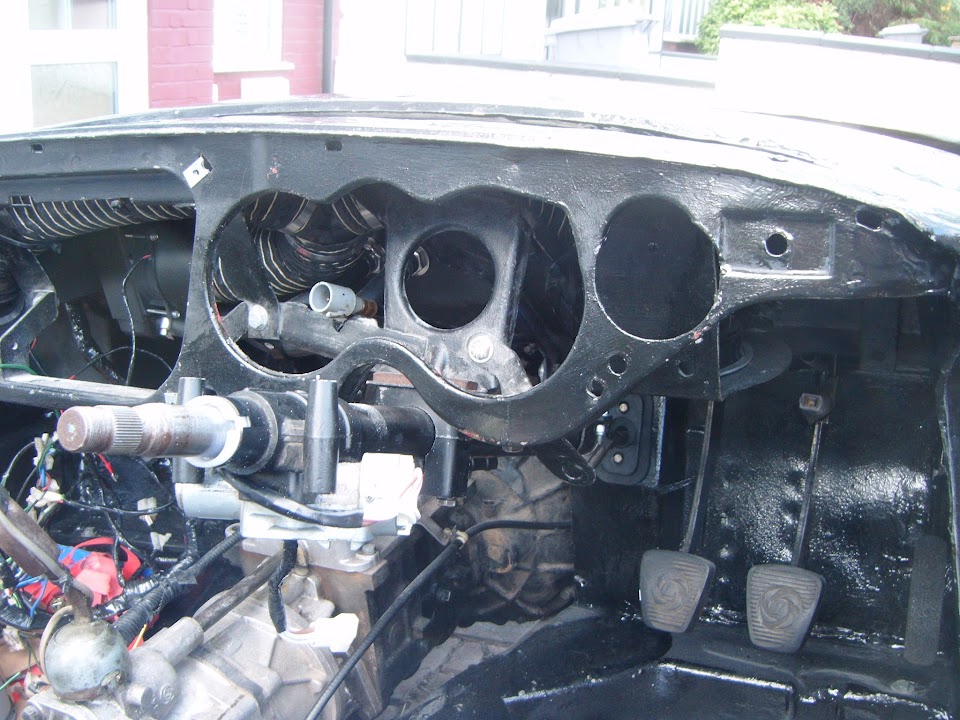
Removed the steering column cover, indicator switch & dash board section to get better access to the bulkhead behind.


I had one slight hiccup doing this, when I dropped one of the retaining "nuts" for mounting the speedo out of the cockpit & under the car. :icon_evil:


Unfortunately, despite looking for ages, I just could not find where it had rolled to.

Thankfully my donor came with boxes of "bits & pieces" and I did find a spare one that I can use instead. :cool:

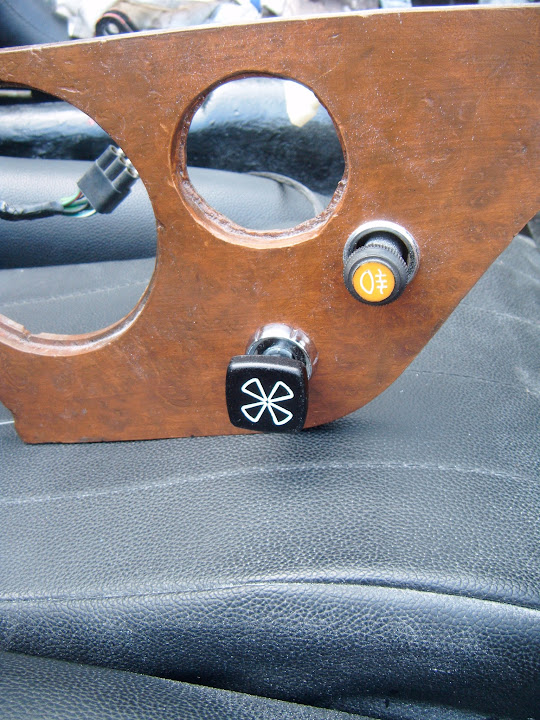
Then I fixed my new choke cable to the dash.


Before threading the cable through the heater vent panel...


And out through the bulkhead.


After initially connecting the cable end to the carbs, I realised I needed this to be detached while I worked on the rest of the dash.
( To allow the panel with the choke level attached to be moved around. )

The next cable to come out of a storage box was for the heater control valve.


This exits through the bulkhead above the choke cable.


Then it was the turn of the wires for the new oil pressure gauge.


Although at this point, there is nowhere to attach the other ends of these wires to.


However, in order to get a working Moon Rover, I just need the wiring behind the dash to be sorted out, so that is fine for now.

Initially I got confused by these two relays...


As I could only find a fixing for one of them behind the dash (excuse the poor photo).


It was only after searching in vain for a second fitting that I spotted this on the bottom of one relay.


Which would allow it to slot into this hole in the dash.


And sit next to the other relay like so.


Note:
Now I know where these will be fitted, I can finish wrapped up the wires, as they were left during my previous indoor testing.

End of Part 1...
18 Sep 2015, 4:53pm
Part 2
I then spend a lot of time working out the best route for the wiring loom to connect everything up behind this section of dash.


I was just starting to carefully push the dash section back into place...


When my Spyder Senses started tingling, as the temperature dropped and the sky went dark...


Thankfully I was just fixing the cover in place when the rain started and within a minute of getting inside it absolutely hammered down! :eek:


Unfortunately, other stuff & the weather got in the way for the rest of the day, until I was able to do a bit in the Summer House.

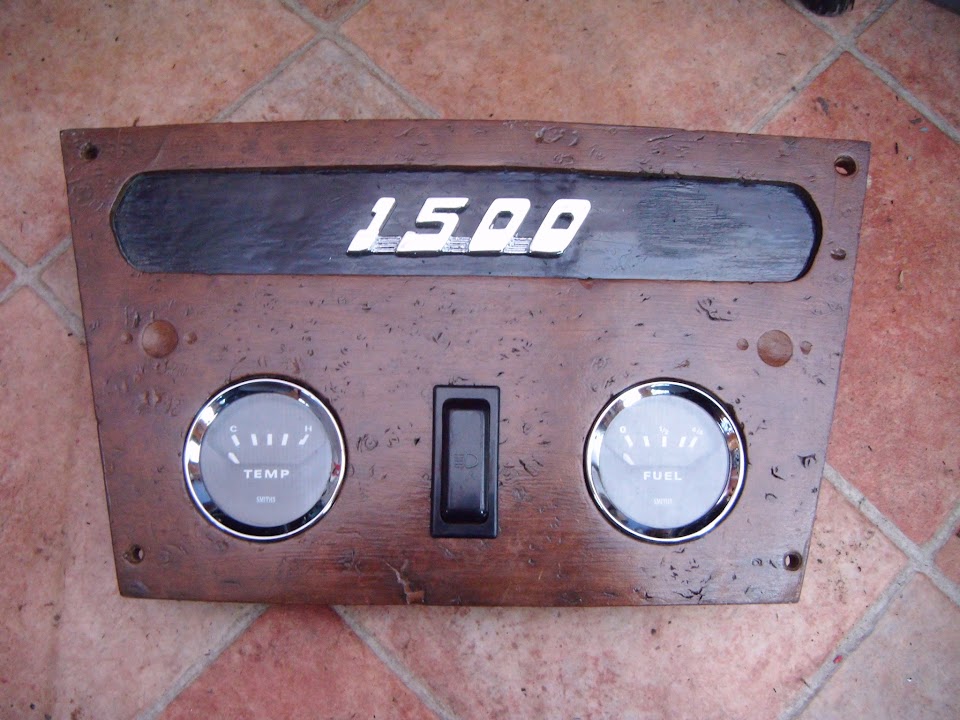
I marked up and drilled out the holes required for the fixing pins of my 1500 badge.


Eventually, the badge will go here.


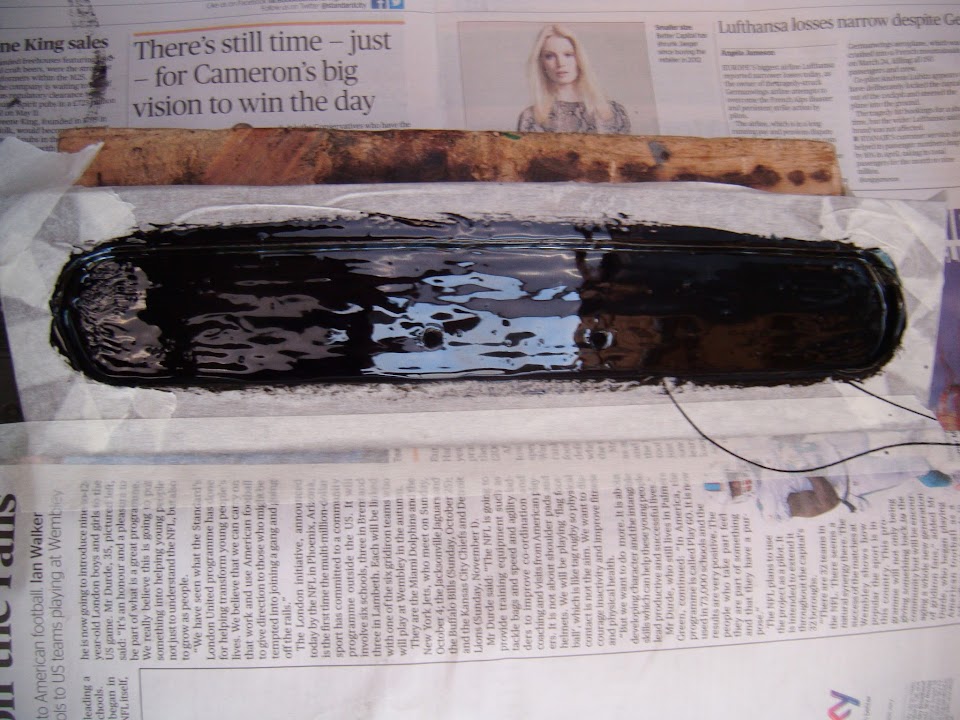
But first I wanted to give a final coat of paint to the panel itself, after masking everything else off.


I also gave the panel for the heater controls a final coat while I was at it.


Hopefully I will get a bit more wiring done over the weekend.

So until then, take care, Paul. :)