This is a read-only archive of the old Madabout Kitcars forum. New posts and replies are no longer possible, but every thread is still here to browse and read.
I really do think Marlin should run a tap through the bushes after the powder coating and before delivery. Check yours now, but don't force the eyebolt in, as you will strip the thread.
If anybody wants to borrow a nearly new 7/16th UNF tap, just drop me a pm
Peter
Hi Peter
I've just had the same experience on my Cabrio with threaded holes full of weld and powder coat...
Can I take you up on your offer and borrow your tap? (I've sent you a pm).
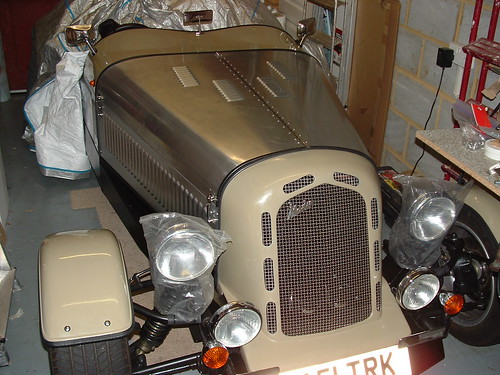
Not much to show for the last couple of weeks work, but progress is being made. I've spent many hours cutting and glueing bits of rubber and plastic U channel on all manner of sharp edges. All the bumpers, bonnet edges and wings are now covered. Not very photogenic but essential for the SVA.
I've also had to change my HT leads as the previous set were not marked. Another SVA small print requirement.
I've started fitting out the interior. After hours of trying to make the Marlin supplied leathercloth handbrake gaiter fit, I came to the obvious conclusion it really is too small. I threw across the garage and ordered some nice real leather ones off eBay.
Also, spent a few hours gluing in some carpet underlay. A very messy job!
Hi Robin,
No, they are not 'E' marked. After months of searching for E marked refectors I re-read the SVA manual and realised that the only requirement is that the rear refectors are Red and not traingular.
Just in case, I have some cheap oblong stick on ones that are e marked which I might have in my pocket during the SVA test
On further reading of the SVA manual, I have to correct my statement above.
The "Obligatory" refectors DO have to be 'e' marked. (It is "Optional" refectors that don't need to be marked, so i was reading the wrong page )
They also have to be less than 400mm from the edge of the car, so I have resorted to the stick on ones
Apologies if I led anyone to buy unmarked reflectors.
What - SVA requires HT leads to be 'E' Marked? I can't recall if my BMW leads have any markings on them!
...
Yes, section 7 says that the HT system has to be fitted with radio Interference suppression leads that are marked to demonstrate compliance. My new set that I bought a couple of years ago were excellent quality but were not marked.
GreatOldOne wrote:
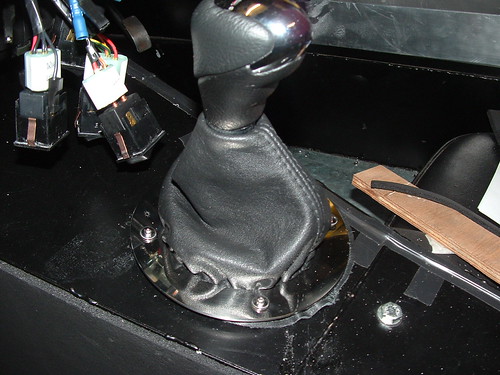
I'm sure it's supposed to be like that Pete, but to me that gear knob looks like it should be turned 180 deg, so the stepped bit was facing forward...
You're probably right!
Everytime I fit it, I seem to change direction. I never can tell which way is correct?
I bought a set but I am still glad that I did as they look better than anything else I have seen anyway. Stick on ones for the SVA it is then!
Robin
Speaking of the SVA you must be pretty close now Peter....
Yes, agreed. Mine might magically re-appear at some stage in the future
I think i'm now just a few weeks from applying for the SVA test. I have the rest of the carpet underlay and the carpet to fit, final fit of the dashboard and door capping, plus a longish list of minor items and a final wheel alignment, camber settings, bolt tightening check plus all the SVA nut covers, etc,etc.
After 4 years, my list is finally getting shorter!
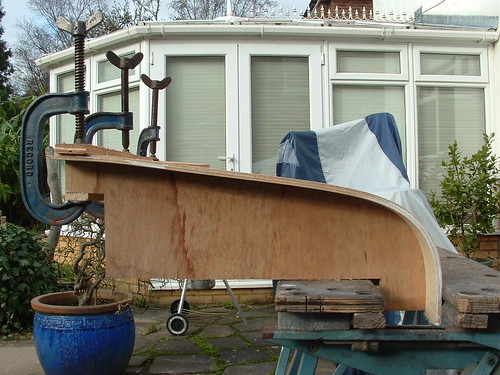
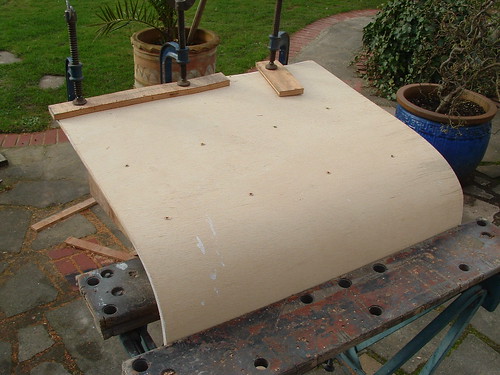
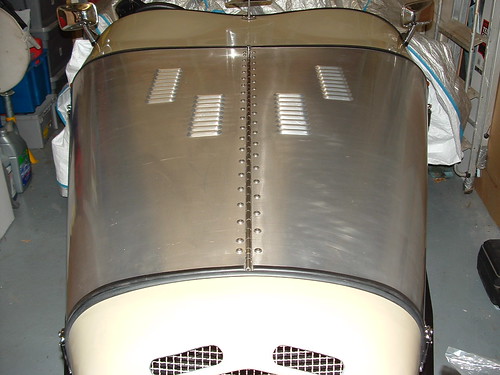
I formed two sheets of 4mm ply, glued together round a former. Take a look at my page 5 on my flicker site..........
cheers
Peter
Hi Peter
I have been using your former but have been unable to bend the plywood (3mm) without cracking the surface layer. Do you have any tips? Was there anything special about the ply you used?
I have been using your former but have been unable to bend the plywood (3mm) without cracking the surface layer. Do you have any tips? Was there anything special about the ply you used?
Cheers
Robin
Soak the plywood in water overnight, will be nice an pliable then. Leave to dry and it should stay put.
That's how I used to bend wood while building models.
I have been using your former but have been unable to bend the plywood (3mm) without cracking the surface layer. Do you have any tips? Was there anything special about the ply you used?
Cheers
Robin
I bought the plywood from a superstore B&Q and the batch was particularly bendy. I had gone to buy some of that MDF with saw cuts to go round corners when I found this stuff. One of my pieces craked slightly but being on the outside of the curve it becomes the inside when on the car so not a problem.
I started by clamping the lower right edges in my workmate (really tight) and then pressed down hard to fit the G-clamps at the top. (It helps if you have a helper to fit the clamps whilst you hold the plywood down) Lots of wood glue between the two sheets.
I also put some very small self tappers through the plywood and into the former to make it 'follow the curve'. I sprayed them with water after to make it 'set'.
Patricks idea of soaking the wood should work if your wood is too stiff but you'll need to dry the surface or the glue won't stick.
There is some more pics and notes on my Flickr site in the "Experimental ideas" folder (folders are called 'sets' on Flickr)
It seems that your plywood was more "bendy" than mine. Good idea with the small screws to keep it in shape. I just used zillions of clamps (left over from when I built a boat)
My ply has been in soak overnight - will try again tonight!


 )
)