This is a read-only archive of the old Madabout Kitcars forum. New posts and replies are no longer possible, but every thread is still here to browse and read.
Very nice O, if we were around in the day more we would certainly have a dog... for christmas i will be getting 4 tyres and 3 shts of ply to make floorpans and bulkhead. I don't think many of us are doing a great deal at the moment!
... for christmas i will be getting 4 tyres and 3 shts of ply to make floorpans and bulkhead. I don't think many of us are doing a great deal at the moment!
They sound like the perfect Christmas presents. Last year I got some bullet wing mirrors, and for my birthday this year I got a pair of P700 headlights.
Let's keep things ticking-over during the holiday period. All progress is good progress (that sounds like a work-house slogan, but given that I am often cold and hungry down at The Glade, it's probably appropriate).
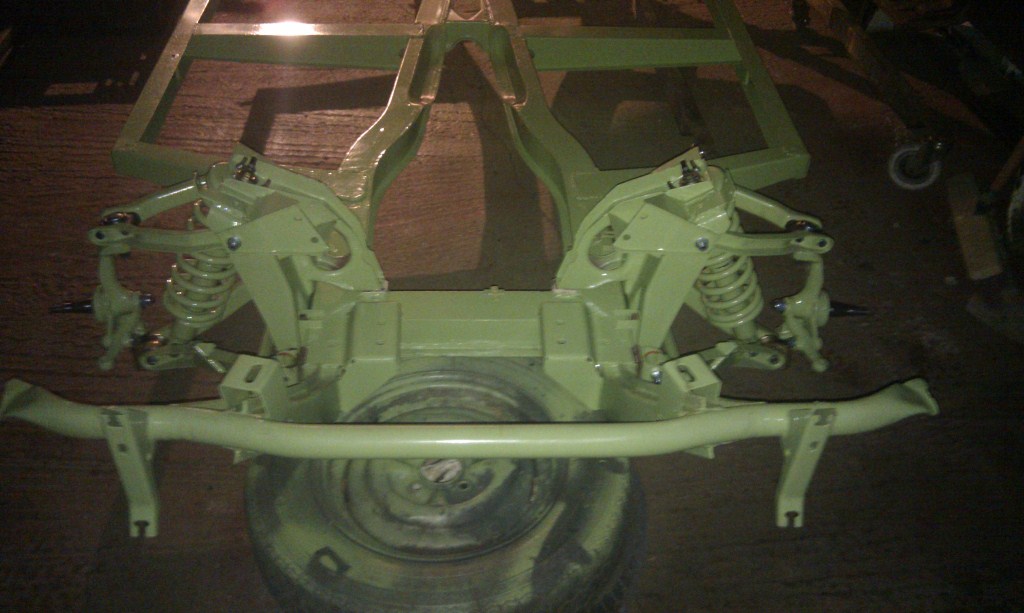
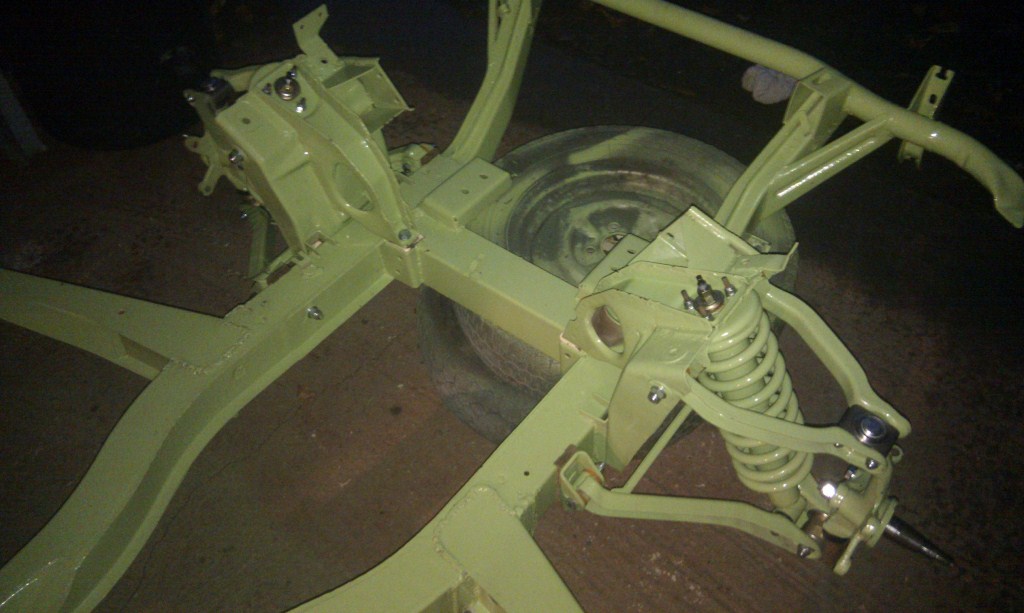
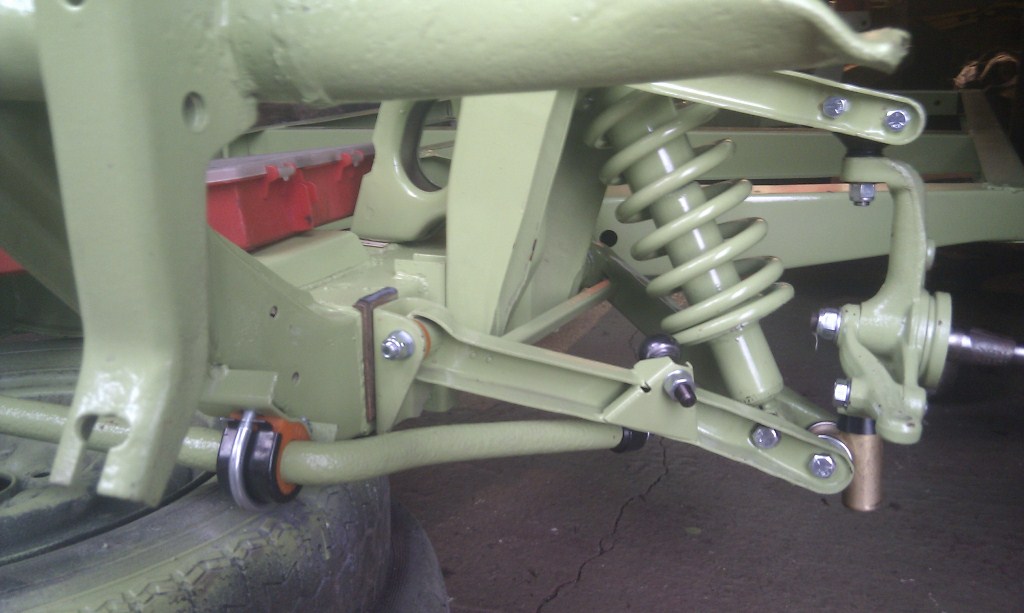
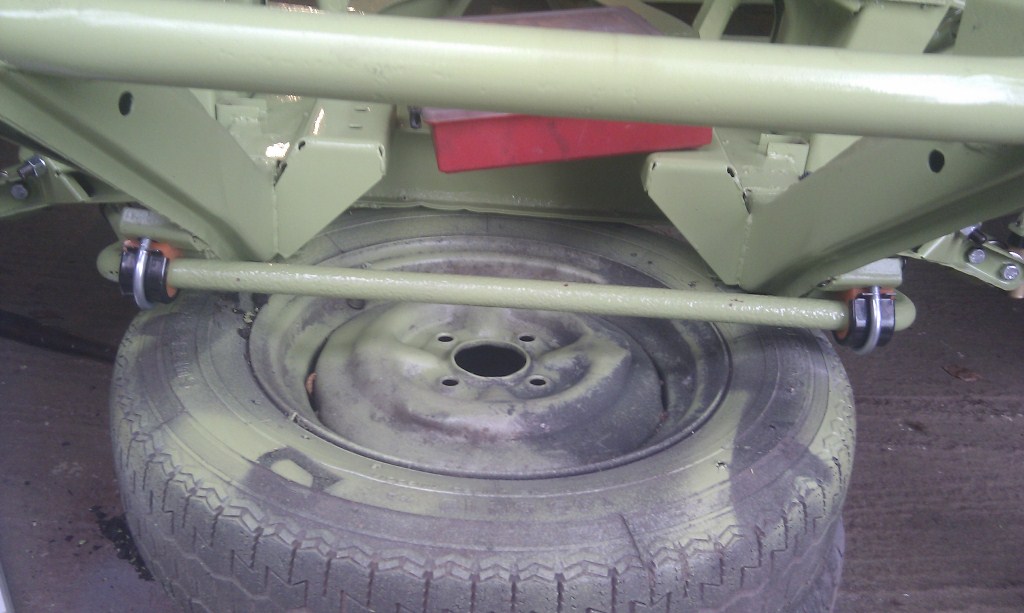
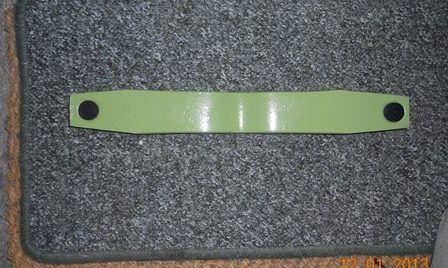
For my own sanity, here is record of further progress (just). Anti-roll bar fitted quickly this morning.
I am very aware that this thread is not yet a Sammio/Ribble build. It is just some bloke restoring a Herald in a shed in the woods. Please be patient. I'll get there eventually.
Those black bits may have to come off and become green at some point.
Rear suspension next. Then engine (nearly ready) and box. Then hubs and wheels......easy.
I would like to think that it will be back on its wheels in March, and then the big fun starts. I need to make a decision on the floor and get the chop saw and welder in action to make the frame.
Good to see you are making really inspiring progress. I am looking forward to seeing it sat on its wheels with the new adaptors attached and await your next adventure with Mr Mig on the framework.
I reassembled the drive shafts this morning and discovered that there was a tiny bit of wear in one of the coupling yokes which is a pain. I have plenty of spare ones under the bench but I will need to clean them up and give them a spray of green.
Started rebuilding the rear spring and discovered that the teflon pads were larger in diameter than the housing in the spring (by 1.5mm). Milled them to the right size and they now fit snugly.
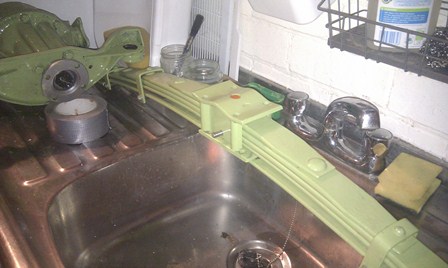
All back together now. As always, everything took longer than expected, but I did get a first coat of colour on the diff.
Thanks, Gary - all good fun and will be worth it in the end. No, I wasn't brave enough. I bought a fully reconditioned gearbox and a 3.89 diff from the legendary (within Triumph circles) Mike Papworth. He's a very pleasant and straightforward chap to deal with.
Thanks, Mike, that's very kind, but I must confess that the camera is very forgiving. It looks better than it actually is.
There was a brief period when I was considering skimming the chassis with filler to take out the imperfections caused by 40 years of moisture and salt. Then I realised that if I did go down that route I should seek help, and psychiatrists are expensive. Hence I spent the would-be therapy money on a diff and gerbox.
This white stuff is starting to get on my nerves. The lane to The Glade is a right mess so I have been reduced to planning and some retiail therapy. This arrived this morning in the shape of a new 1:1.9 remote servo from the MGB Hive. It won't get fitted for a while but it's still nice to have. And, it will probably turn green before too long.
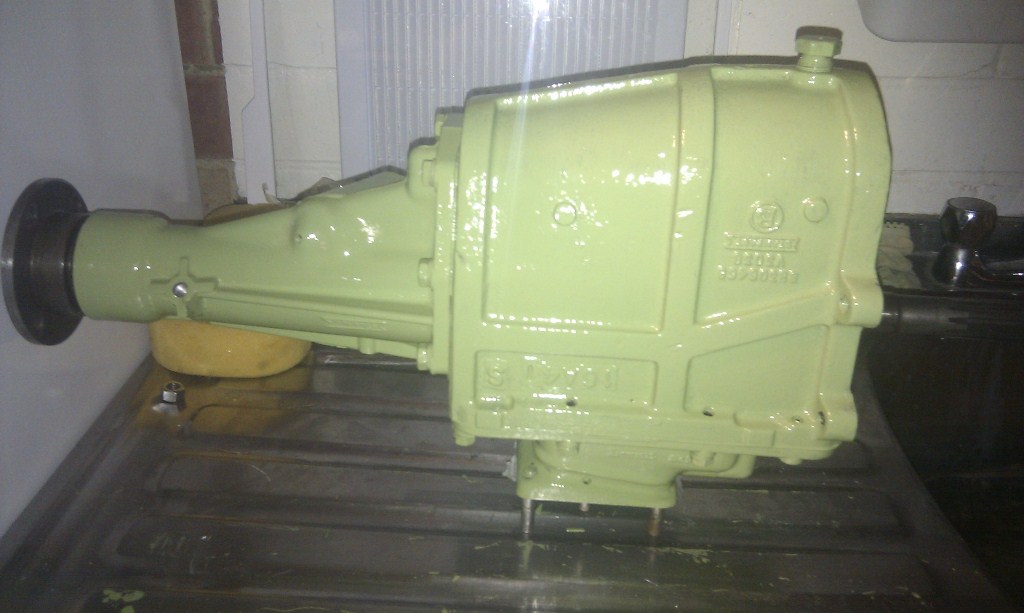
Oh, and of course there has been more painting. May I introduce you to an upside down zero miles gearbox.......in Sea Green.
I'm desperate to get moving on the rear suspension.
My servo came from the MGB Hive - they're only about twenty miles away from me - it was dead easy to fit and gives the brakes some real bite compared to the standard setup. It'll also fit under the Spyder bonnet without any modifications if you put it where the Herald heater was.
Gearbox looks like you could eat your dinner off it, so long as you like greens.
Is that as far as the gear box drainage bolt goes in normally?
I noticed my own sticking out about that distance & didn't want to force it in case it was cross threaded.
It is one of the many things on my to do list.
Cheers, Paul.
Morning Paul,
That is how the gearbox arrived, and the drain plug is in tight. Although it looks vulnerable, the bell housing extends much lower once fitted. All the little clutch actuator parts arrived this week so I may be able to assemble soon.......ah, the famous vague word......"soon".
Going through a temporary phase of stomping around thinking that my ambition outstrips my abilities and that I don't have the right tools. Why? The effing rear bushes on the diff. Time for a deep breath , some lunch, and then to try again.
Bushes are now in the freezer and the diff is on the radiator. Desperate times, desperate measures.
Going through a temporary phase of stomping around thinking that my ambition outstrips my abilities and that I don't have the right tools. Why? The effing rear bushes on the diff. Time for a deep breath , some lunch, and then to try again.
Bushes are now in the freezer and the diff is on the radiator. Desperate times, desperate measures.
I believe I used vaseline and a 'G' clamp to get them in. Not easy though...