This is a read-only archive of the old Madabout Kitcars forum. New posts and replies are no longer possible, but every thread is still here to browse and read.
Saturday was a bit like the curates egg, good in parts.....
Managed to empty the tater storage parts bin onto the floor, 3 hours of going through it and everything i want to keep is now on shelving and thie rest is ready for the scrap man. Also meant i could get the tater box out of the workshop which as its approx 6 foot long buy 4 foot wide and 4 foot tall made a big difference in the space available, also meant i got to play with the forklift which is always good :-)
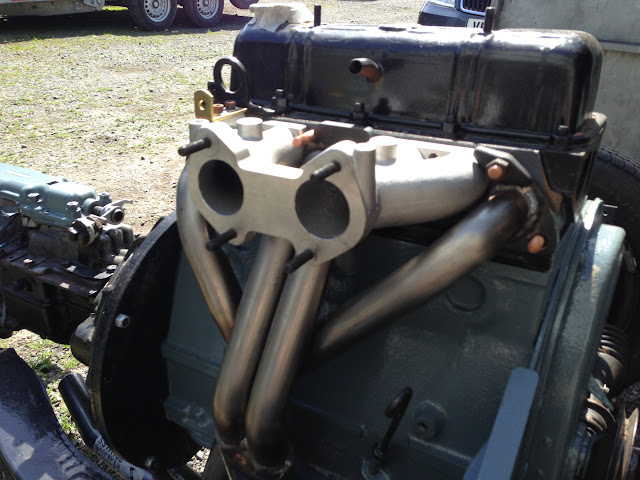
Bad bit was that i was hoping to fit the inlet and exhaust manifolds using my shiny new stainless steel head studs, wasn't to be though. The engine was built by a Triumph tuning specialist near me and part of the job was to use a brand new Triumph 1500 FWD head i got off eBay as it has bigger valves as standard and being brand new already had brand new valves and guides etc. only problem is that the tapped holes for the manifold studs are bigger than the spitfire ones so if anyone wants a set of stainless head studs with allen keyed ends for easy fitting on the cheap drop me a pm. I think i have identified the studs i need now though so should hopefully have them for next weekend.
Did manage to touch up the blue grey engine block paintwork though as moving it outside revealed a few areas that needed work, also got the water pump housing blasted in our new monster blasting cabinet and got it painted and a brand new water pump fitted that i found during the parts sorting exercise forgot to take pictures though unfortunately. Dave made a start on blasting the thermostat cover but it became apparent we were wasting our time as it was like a colander once blasted so will have to see if new ones are available.
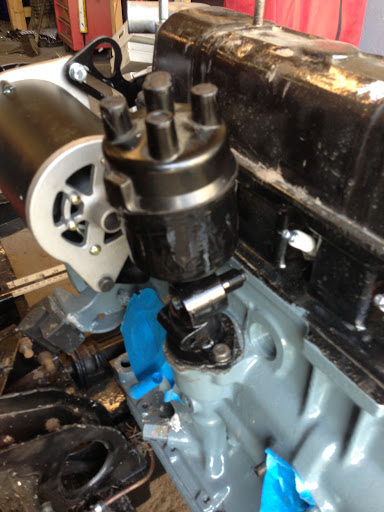
I was going to cut down a distributer to fill the hole in the block as i am running a distributor less ignition system but have decided that it s too much work for no real benefit so made a start on cleaning one of the ones found in the tater box and will just fit it with no HT leads as a dummy.
And the biggest news of the day is that the buck finally left the body shop and is now at the laminators ready for him to make a start on the new moulds.....
Went up the workshop today and got a few bits and bobs done in between working on the GTA
1. fitted the rear shock top mount bolts that arrived last week.
2. fitted my new manifold studs and managed to get the exhaust and inlet manifolds fitted
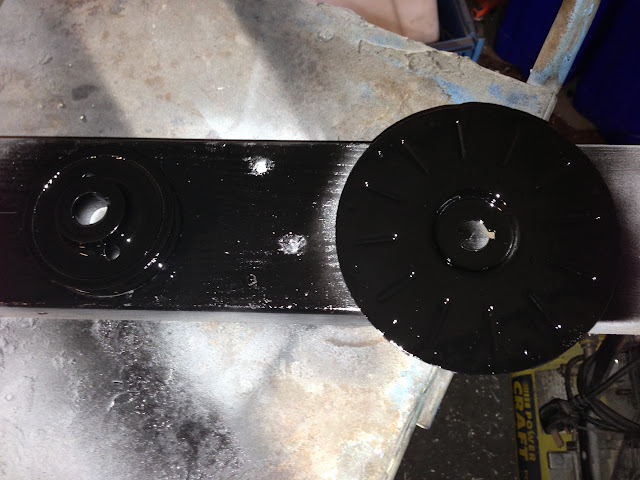
3. finished painting my freshly blasteed water pump housing including painting the pully black.
Got some time off next week so hopefully will make some more progress.
TTFN
fell across these on ebay, they are actually vespa rear lights and would almost definately need a pedestal making to mount them on but am quite taken with the period look and neatness, they combine stop tail and idicator all in one unit. any thoughts or comments?
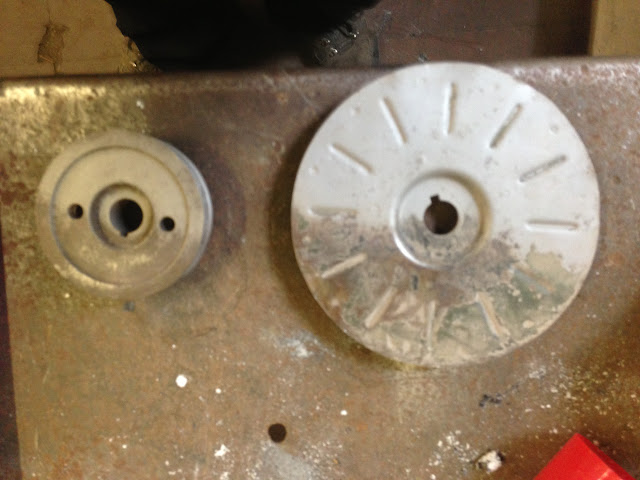
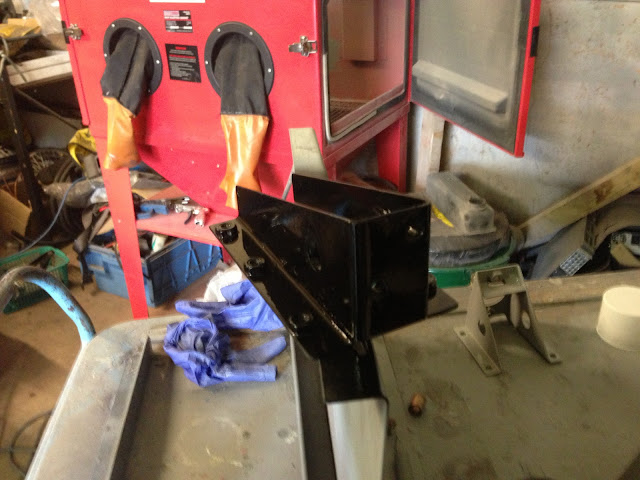
just getting a few bits done this week before im off to the smoke for a month implementing an academy project. Our new (to us) giant blasting cabinet combined with the correct media (crushed garnet) is making the cleaning up of old parts a real pleasure. The dynamo pulley and fan were a generous donation from Rob (Oxford1360), thanks very much mate they have cleaned up a treat.
I looked at these a while back, they may look too big x2? I'm still not sure whether to use my Taxi ones... just didn't want the same as everybody else.
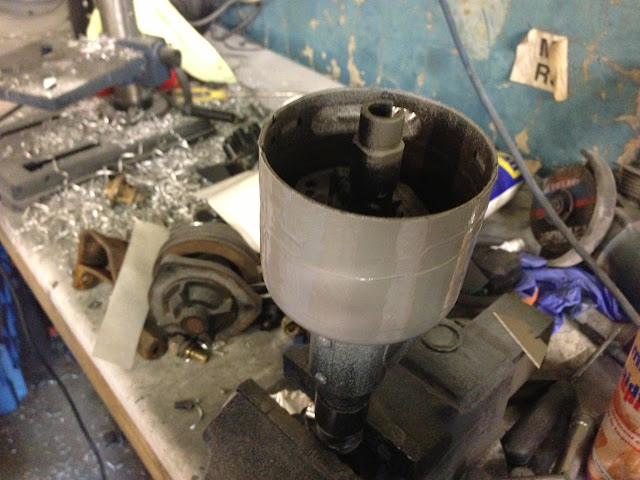
As I am running a NODIZ distributor less ignition system I don't actually need a distributor and my initial plan was to machine the bottom off a distributor and fit a bearing but a bit of research revealed that this would be a bit of a job and I have therefore decided to keep the distributor less all bit not required as a very large and fancy blanking plug! Obviously the major reason of not just plugging the hole is that the oil pump is indirectly driven by the distributor. So I stripped a spare distributor down to its bare bones and gave it a clean:
but then realised that with all the ancillary stuff removed it was full of holes that would allow water ingress. sat and pondered this for a bit and even considered welding some plates in but eventually decided on the easy option, 3 wraps of quite thick Aluminium self adhesive tape later:
Followed by a coat of etch primer
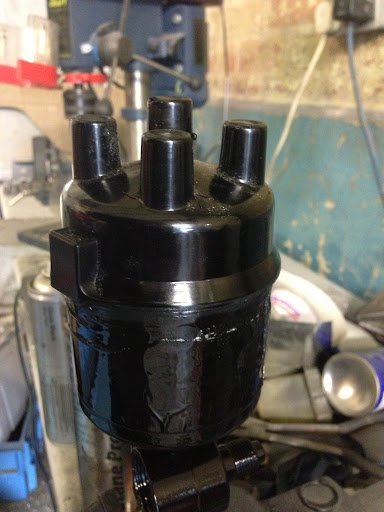
And a coat of black again:
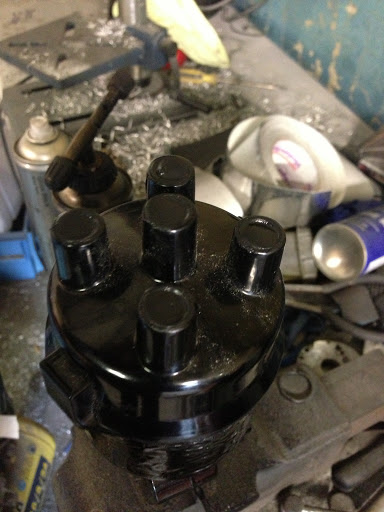
Couldn't find the clips that hold the dizzy cap on anywhere so I used PU adhesive to glue one on, once its full set I will then drill a small hole so I can occasionally dribble a little oil in to keep the bearing running nicely, also fill the plug holes in the top of the cap with PU so that water couldn't collect in them.
Also got my dynamo mounting brackets from the spitfire graveyard yesterday so spent 20 minutes this morning blasting and painting them so I could get the dynamotor fitted
now waiting for a Rimmers and Canleys order to show up today so I can crack on and get the rear brakes 100% done and the dizzy fitted as I discovered that I was missing the drive gear and pin between the dizzy and the oil pump
Another day in the workshop,
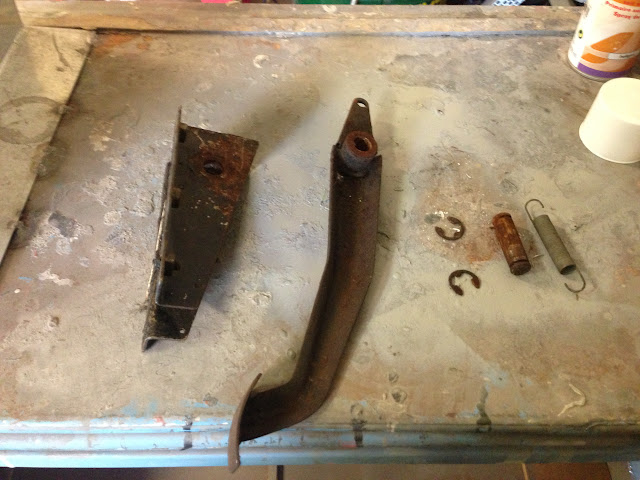
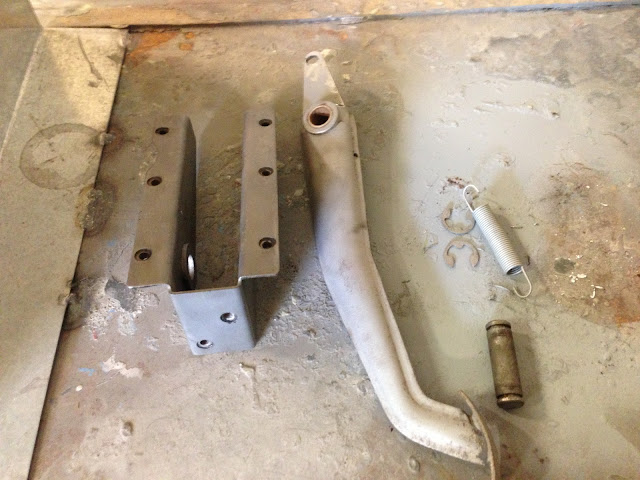
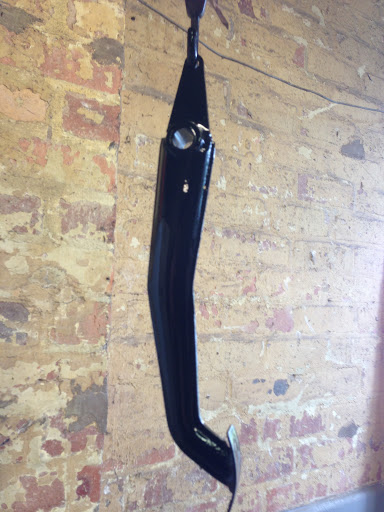
Finished reconditioning the last remaining pedal so all three are now nice and clean, blasted painted and rebushed.
Managed to get my water pump fitted even though the thermostat cover bolt holes were too small as were the bolts than Canley supplied, luckily I had some the right size and length and 5 minutes on the pillar drill had the holes opened up, also fitted a new stat.
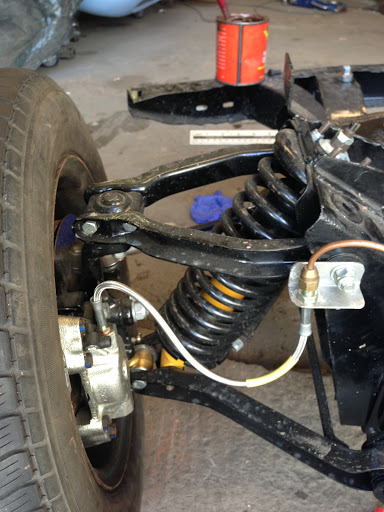
Also fitted the new stainless flexi lines to front brakes and made up 2 more for the rear as the ones in the kit were, in my opinion, about 2 " too short.
Remembered just in time to fit the new rubber boots to the rear slave cylinders before I did the flexi's!
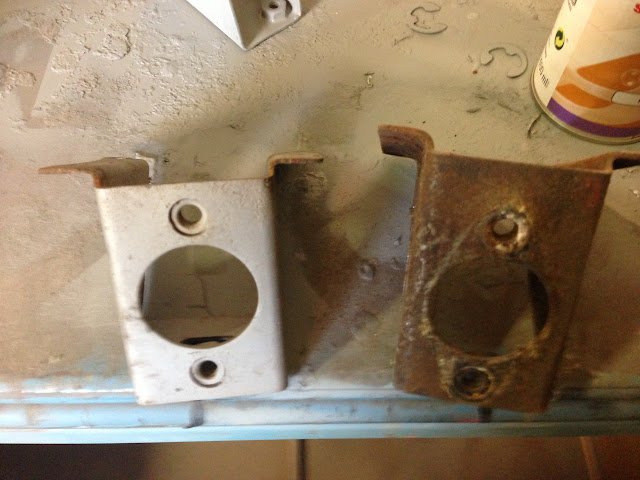
A dig through the parts boxes eventually did turn up the distributor to oil pump drive gear so if anyone needs one I have a used but good one arriving from Rimmers today... So learned my lesson, dig deeper in the boxes, it did allow me to get the distributor fitted though so that's a step forward.
Just tomorrow left then there will be a bit of a lull as I'm away during the week for the next month and next Saturday am going solo on granddaughter babysitting....GULP...nappies.....GULP!
Plan for tomorrow is to get the rear brakes 100% signed of including the handbrake cable that links the 2 sides, get the inlet manifold drilled and tapped for the rose joints that form part of the lnkage mechanism and then get the inlet and exhaust manifolds permanently fitted. Hopefully I will also have a fan belt the right size as well. Last job on the list is to reaffix the front to rear brake line as it has to be lowered to clear the Ribble frame and I would also like to get the fuel pump and fuel line installed as well. If I have any time left I will try to make a blanking plate for the fuel pump hole and adapt it so I can mount the new style modern coil to it, fingers crossed!
Well started out with the best of intentions today, got the front to rear brake line relocated and the fuel line from front to rear in place. Got the manifold drilled for the roase joints but will have to tap it on the car as i got round to finally finish mounting the manifolds permanently.
Picked up a fan belt 2 inches shorter........it now needs to be 1 inch longer...grrrr.
Started finishing off the rear brakes and totally failed as the quality of the brake shoe hold down kit from rimmers was absolutely appaling, the smal cup washers were made of cheese and once fitted to the first side the pins totally pulled straight through the cup washer as soon as the shoe was moved even slightly. Has anyone got a recomendation for a supplier of these that havent been made in china or india for 2p a set? Also thinking of replacing them totally with set screws and washers but reuse the springs? Anyone done this?
Hi Mac. I've had similar problems with those washers and ended up putting the originals back on. Replacing the pin and washer with bolt and nylocs does sound like a good idea and one I'll probably use next time. Sounds like your rebuild is otherwise going very well.
Just ordered a set from a vendor in Telford that sells the genuine girling ones, unfortunately i dont have any old ones but the picture of the girling ones look much more substantial so fingers crossed they will do the job