MadaboutKitcars

This is a read-only archive of the old Madabout Kitcars forum. New posts and replies are no longer possible, but every thread is still here to browse and read.

Another Cordite Is Born ...

12 Jul 2015, 7:45am
For your steering column I'd say extend the cut-out as from what I saw when I dismantled mine, there is more than enough overlap between the two sections (inner and outer), so that when you've got it all bolted back together it should still be plenty strong enough.
13 Jul 2015, 6:14am
Dave - Thanks for the feedback. :cool:

Hopefully I'll get a chance to have another go at this next weekend. :pray:

- - - - - - - - - - - - - - - - - - - - - - - - - - - - - - -

Radiator Comparison:
I took another photo of my new radiator yesterday so I could email it to Rimmer Bros.
( It is the mounting plate on the left hand side of this photo that is both the wrong side & upside down. )


And this is a photo from their website showing what it should look like.


I've now put the radiator back in its box and put the box back in the Summer House.

Along with the steering column and all the other tools and parts I have had out recently.

So at least the house looks tidy, even if the car isn't making much progress. :rolleyes:

Until next time, take care, Paul. :)
19 Jul 2015, 3:11pm
Saturday:
Sent the faulty radiator back to Rimmer Bros. in the morning.


But lot of other "stuff" filled the rest of the day, including taking my daughters to see the Minions movie.


- - - - - - - - - - - - - - - - - - - - - - - - - - - - - - -

Sunday:
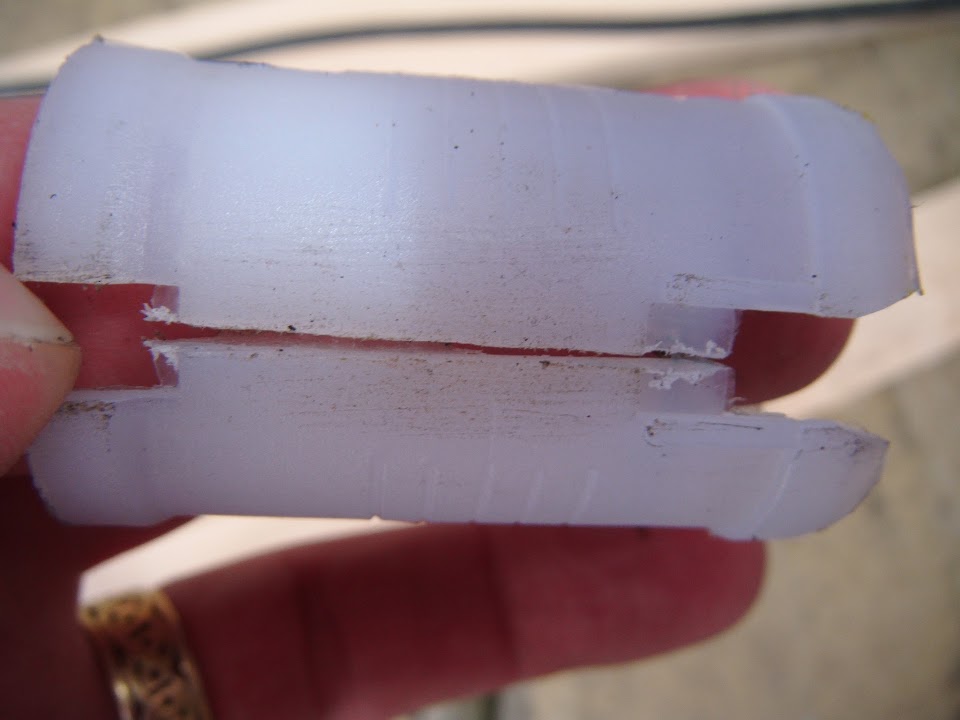
Last week I noticed that the nylon bush at the top of the steering column was split.


So I figured before I did anything else with the column, I should check the bottom as well.

According to the Haynes manual, the rubber "buttons" on either side of the lower bush needed to be depressed.


But they didn't line up with the holes and appeared to be partially cut off.

So I figured I should order a new one anyway and proceeded to cut off the remains of the buttons.

It then took a long time and a significant amount of brute force and ignorance to drift the lower bush out of the outer column.

So if the nylon insert wasn't damaged before, it certainly was by the time I'd finished. :rolleyes:


But at least by the time I had finally finished knocking the rest of the bush out, I had got to the real cause of my problems.

Believe it, or not, but there were actually two bushes sitting at the bottom of the column (but only one nylon insert).


So I went back to the Rimmer Bros website and checked their diagram.


Clearly there is only meant to be one bush at the bottom of the column and it should sit around here.


Instead I had two sitting somewhere around here, although not protruding out as far they are shown in this photo.


So I went back to basics again and started at the top...

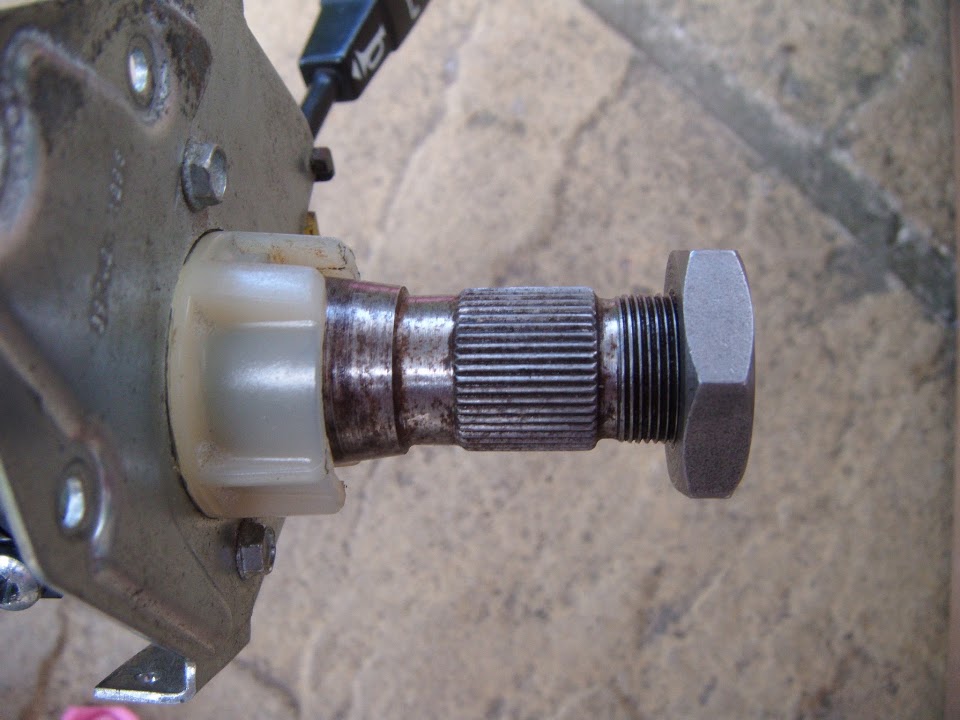
With the steering wheel fully pushed down onto taper on the shaft there is plenty of room for the nut.


I then left a wafer thin gap between the steering wheel and the indicator cancelling bush.


And despite this, there was plenty of room at the bottom end for the clamp to go on.


Unfortunately, it was only when I was looking at the download of this photo that I remembered there was also a cap & nylon washer to fit. :rolleyes:

So it was back outside, to try again and thankfully there was still plenty of room after these were refitted. :cool:
( Note: The lock nut is loose, and will not be in the way when fully tightened up. )


So if I go back to one of the photos I took last week, the alloy cap should be further up the outer column.
( But the protruding bush was preventing this. )


You can also see where this "extra" bush has pushed the rubber button of the other bush out of position & further up the inside of the column.

I guess the good news is that I can fit the new steering wheel without having to make any cuts/modifications.

The bad news is I can't fit the steering column back into the bulkhead until the new parts have arrived.

So this has been quite a frustrating exercise, but at least I know I will have done a proper job when I am finished.

Unfortunately, I have too many "non car" things to do to start on something else today.
( At this rate it really is going to take me a VERY long time to finish. )

Still, at least it was great weather for drying my shirts. :rolleyes:


Until next time, take care, Paul. :)
19 Jul 2015, 8:37pm
Not sure if you have sorted your steering yet Paul, but as far as I can remember, I had a similar problem, with not enough thread showing, and I finally nailed it by cutting a lump out of the front of the boss so it went further down the inner shaft, thus giving just enough thread to secure the washer and fixing nut.
Hope this helps!
21 Jul 2015, 5:03am
Scottie - Thanks for the suggestion, but I think I've solved my steering column problems. < Touch Wood >

As it looks like a previous owner tried to hammer in a new lower bush/bearing without removing the old one first. :rolleyes:

So I've got some new parts on order and with a bit of luck I will finally be able to fit the column this weekend. :pray:

Note:
I used James Paddock this time as they had the correct steering wheel nut for my "late 1500" in stock. :cool:
( It appears Rimmer Bros. no longer list this part, which is why I ended up ordering the wrong nut before. )

Good luck fixing your own problems (with the engine misfire).

Cheers, Paul. :)
25 Jul 2015, 3:42pm
Inch Forward, Foot Back:
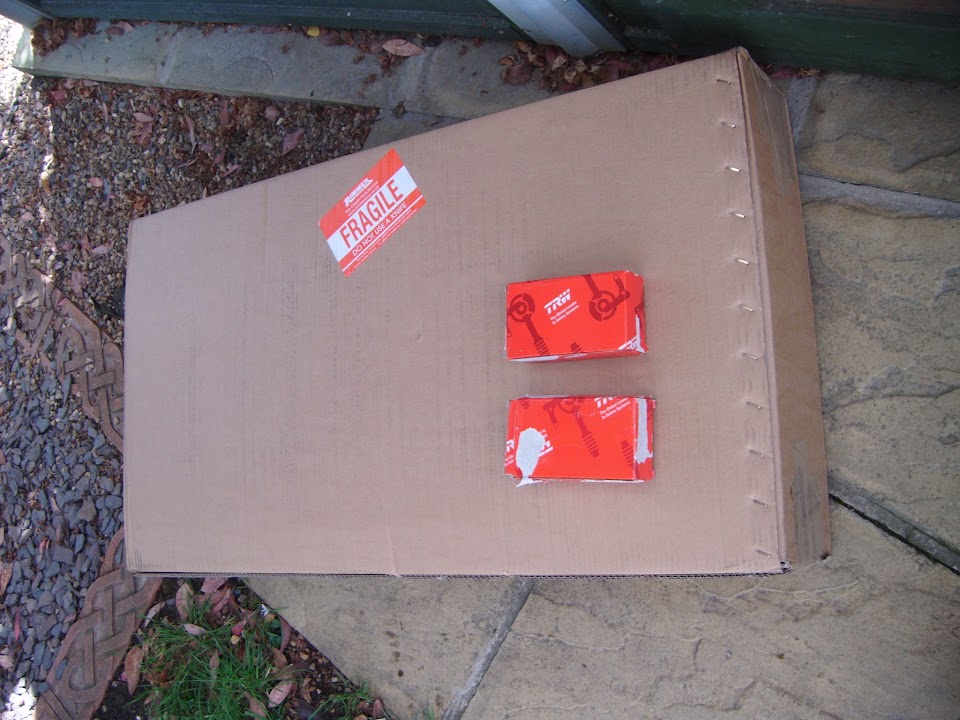
Two packages arrived this week, one significantly bigger than the other.


The replacement radiator from Rimmer Bros had both brackets in the right place. :cool:


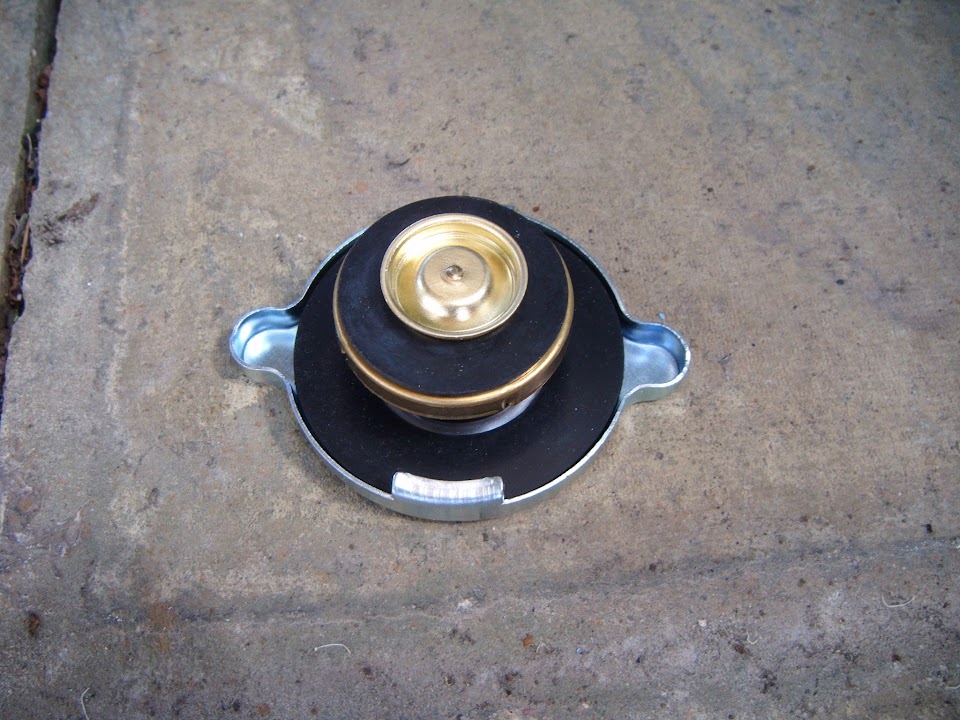
I also ordered a new radiator cap along with the steering column bushes.


I decided to sort the steering column out first, so stripped it down ready to fit the bottom bush.


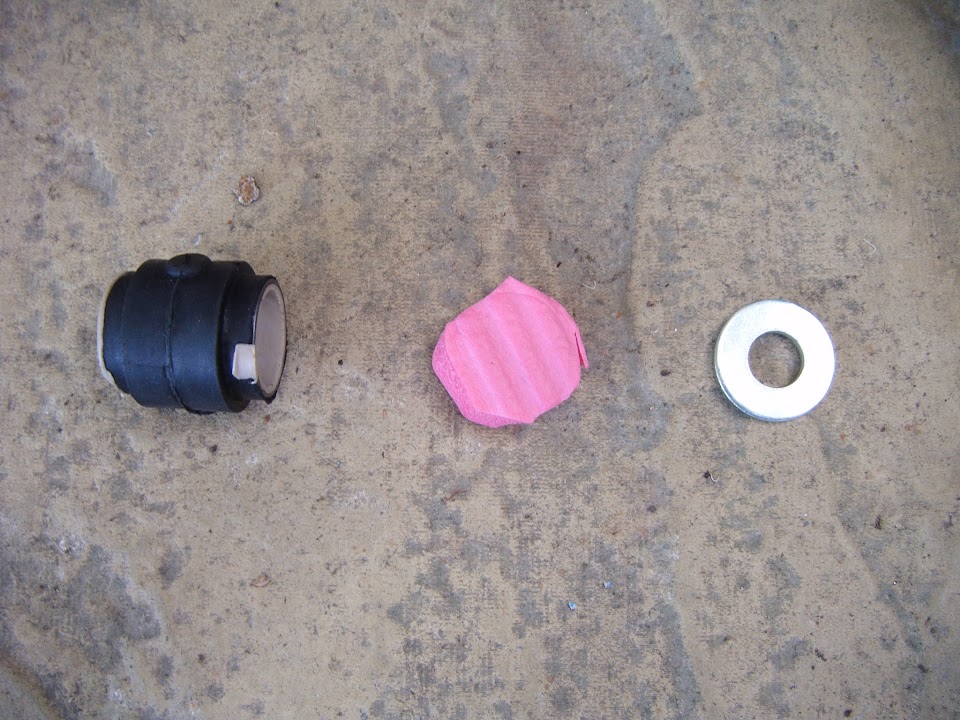
Then I used a bit of yoga mat to protect the bush and a washer to help me "tap" the bush evenly into position.


In the end I had a big stack of washers inside the column & used a bit of wood to cushion the hammer blows.


I even managed to get the rubber button to pop out in the right place.


With just one bush in the correct place, there is now plenty of room at the end of the column. :cool:


It turns out that the "split" in old top bush is meant to be there, as the new one has one too. :rolleyes:


Still, there is no harm in fitting a new one anyway.


With everything back together there is now enough room to fit the steering wheel.


But just when it finally looked like I would be able to fit the column to the bulkhead, disaster struck. :icon_sad:


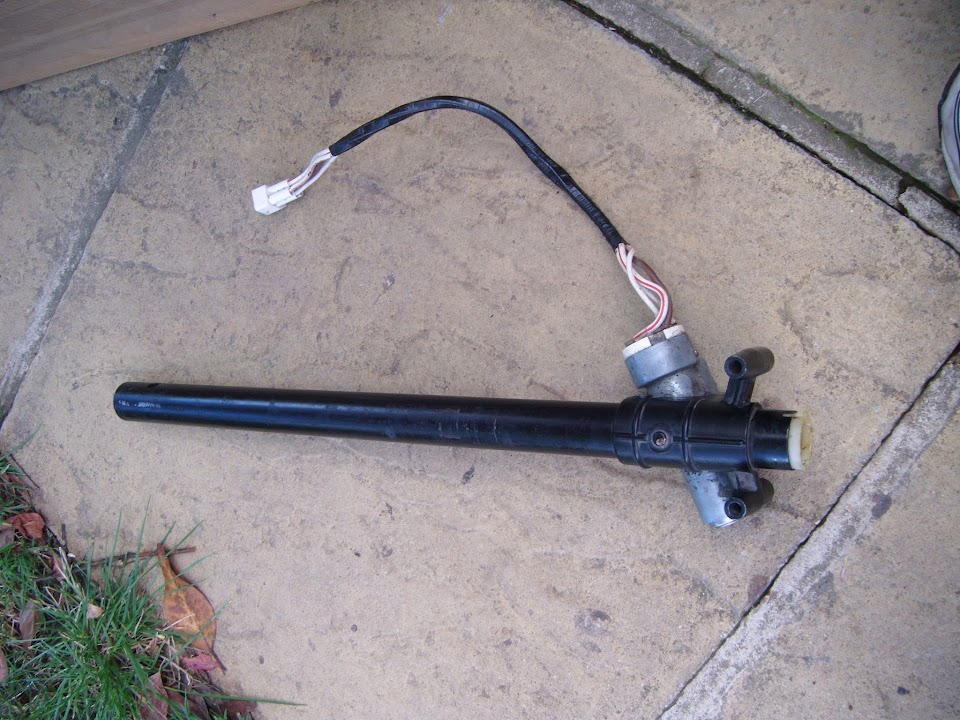
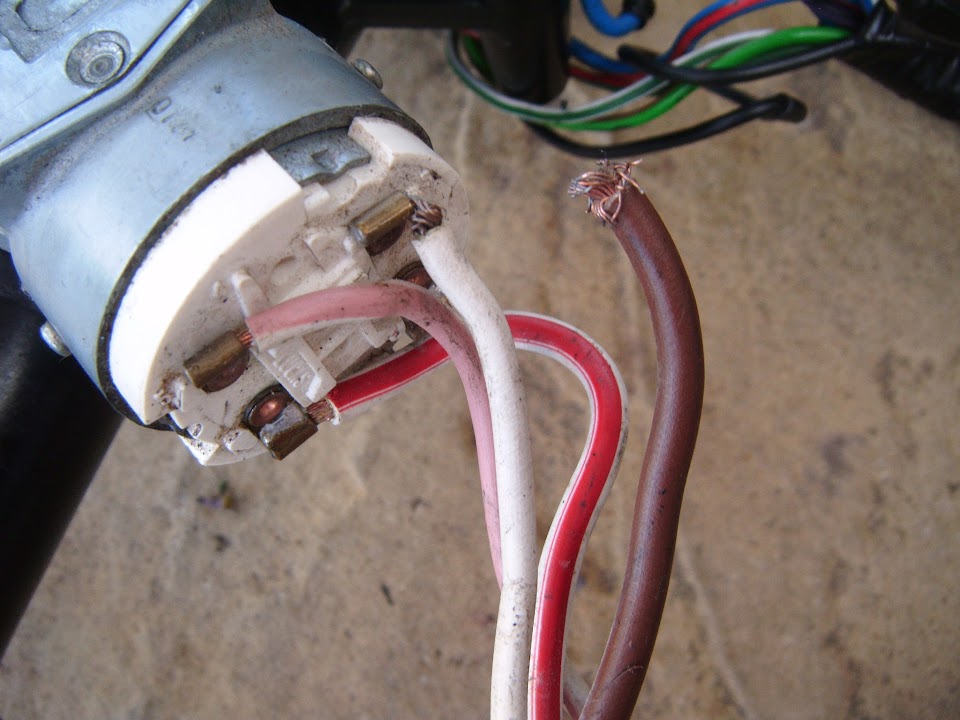
Yes, the main power wire from the ignition switch column has broken off & can't be fixed.

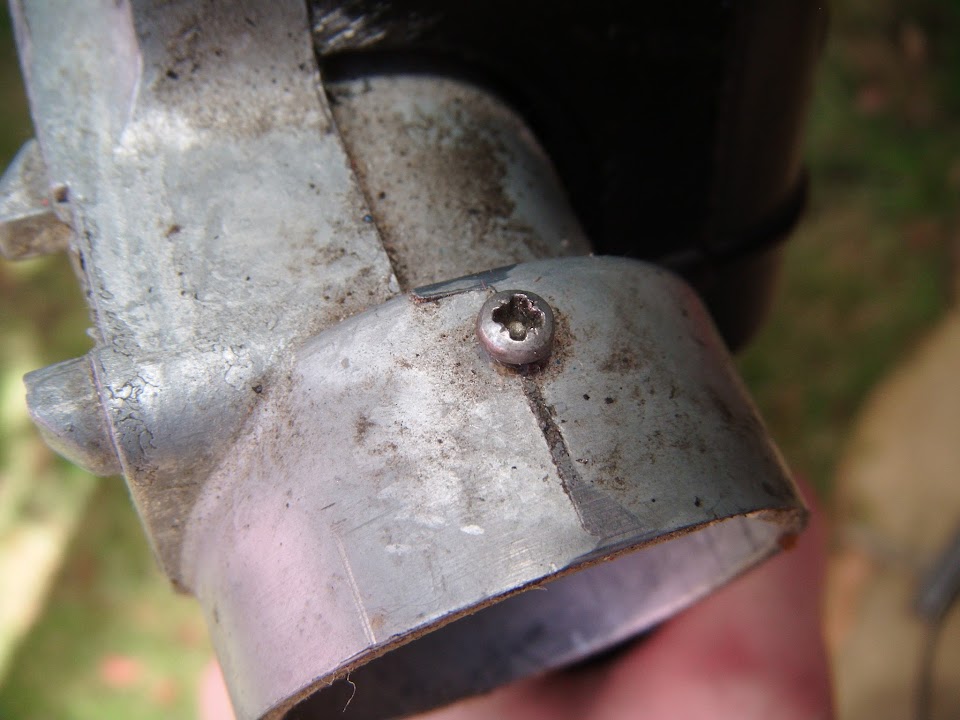
The only good news is that just two small screws hold this piece in place.


So the whole thing has now been removed.


And a new one has been ordered.

Unfortunately, I need to refit this before the column is put back into the bulkhead.

On closer inspection, the white wire in the close up photo above is just hanging on by a thread.

So this was a failure waiting to happen and at least it will be taken care of properly.

If things work out I might be able to spend a whole week on the car in August.

Which would be a big help, as currently I am getting nowhere slowly.

Until next time, take care, Paul. :)
2 Aug 2015, 8:37am
Once in a blue moon:


I took this photo on Friday night, as the weatherman said it was a rare "blue" moon.

Apparently the next one will be in 3 years, so lets see if I can get this car is on the road by then. :rolleyes:

Despite making barely any progress recently, I'm still pinning my hopes on some proper "car time" later this month.
( When I hope to have at least a full week between my current contract ending and a new one starting. )

- - - - - - - - - - - - - - - - - - - - - - - - - - - - - - -

It was a shame to see Simon/DonnySoutherner's Cordite up for sale, but also completely understandable.


This car gave me a lot of ideas for my own build and it is good to see that a "Spartan" interior can pass an MOT.


As my plan was always to aim for a "rough and ready" finish on the inside of mine.

- - - - - - - - - - - - - - - - - - - - - - - - - - - - - - -

Although the circumstances behind both Simon & Mac selling their cars does put my build delays into perspective.

And perspective was something I also thought about when my wife got tickets to the "Anniversary Games" last Sunday.

By chance, we ended up on the same side of the stadium as we were for the 2012 Paralympics.

So again we had a good view of the long jump and it is humbling to see true human effort on display.


There really is some serious technology at these events.

This guy was carrying his "racing" artificial limb, while using his "day to day" one to walk to the event.


Plus the usual array of high tech racing wheel chairs.


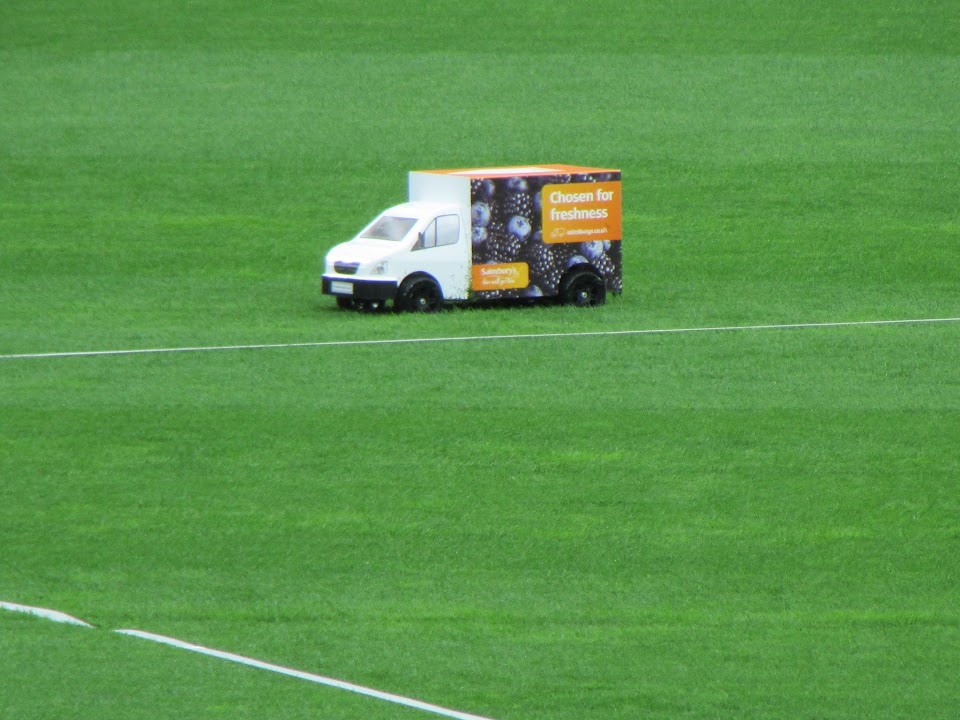
Although my favourite gadget was the radio controlled "vans" used to collect the discus.


To mis-quote Father Ted... "That is small and far away".

:icon_wink:

- - - - - - - - - - - - - - - - - - - - - - - - - - - - - - -

Finally to end this round up of "non car" stuff I saw my mate who had a stroke the other night for a beer.

The good news is that he has made a great recovery, with 99% of his mobility fully restored.

Although he still needs more speech therapy, at least he can now have a proper conversation. :cool:

I'm certainly no expert, but I believe my mate's healthy lifestyle before the stroke limited the damage & helped his recovery.

Which is why I am going to put more effort into getting myself back into a decent shape over the coming months.
( I have really piled the pounds on since I went back to working in an office. :icon_sad: )

So another job last week was changing the tyre on my push bike (currently set up on a turbo trainer).

As the last bit of training I did blew the tread completely off the old tyre. :rolleyes:


So the new tyre that has been sitting in Summer House for months in now finally on the wheel.


Which leads me to another Zen misquote... "At first, the rubber does not wear the steel."


- - - - - - - - - - - - - - - - - - - - - - - - - - - - - - -

I'd pulled together this post fully expecting it to be followed by a long car update.

Unfortunately, there is not a much to report as I hoped there would be...
2 Aug 2015, 8:37am
Saturday - Part 1:
After getting some chores out of the way in the early morning, I'd just put my car working clothes on when my plans changed.

My wife decided to invite her niece & nephews (& their partners) over for a BBQ on Sunday, as the forecast was so good.

Given my last post talked about perspective, that is part of family life, so I had to switch to "tidy up" mode.

So it was 5pm by the time I finally had a chance to go to the Summer House and fit this to the steering column.


Note:
My wife signed for it during the week and the delivery driver said something like "Hasn't he finished this car yet?". :icon_evil:

Thankfully it can only be fitted the correct way around, so I could tighten up the two screws with confidence.


Next I tapped the two pins into the steering wheel boss.


So they now can engage with the indicator cancelling "thingy" like so.


A quick test showed that this was all working as it should. :cool:

I thought it would be a good idea to temporarily tape the wiring out of the way.


Although it would have been a better idea to tape them in a position that didn't foul the column cover. :rolleyes:

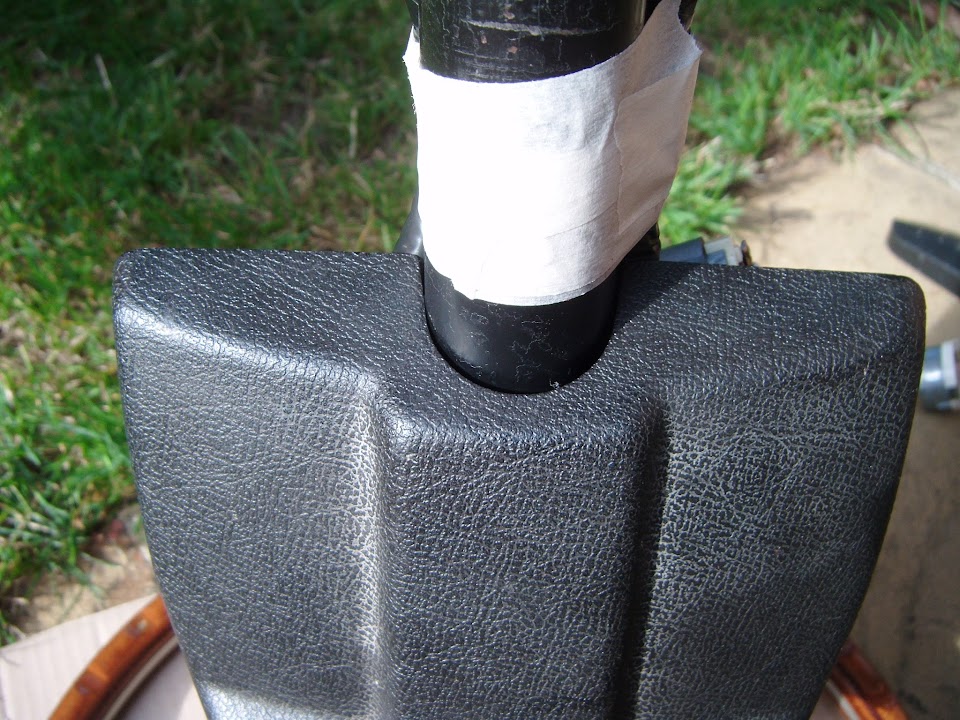
So "Take 2" allowed the top part of the cover to fit tightly like so.


Then I took everything out to the front drive and peeled off the covers.

I removed the driver's seat (just resting in position) so I could crawl into the bulkhead.

Where I promptly dropped a part straight out of the car and on to the drive! :rant:

So I had to crawl back out, pick it up and start again (unfortunately this happened more than once).

Eventually, everything was finally bolted into place.

Upper mounting bracket.


Lower mounting bracket and the clamp to hold the two steering column sections together.


Note:
In the photo above you can see the bulkhead seal needs to be lowered a bit.

Earlier one of my daughters holding a spanner inside the bulkhead, so I could tighten up the nuts on the other side.

But we did this before fitting the upper column section, so I'll need an extra pair of hands again to make the final adjustments.

There is plenty of thread available for the steering wheel nut (just finger tight in the photo).


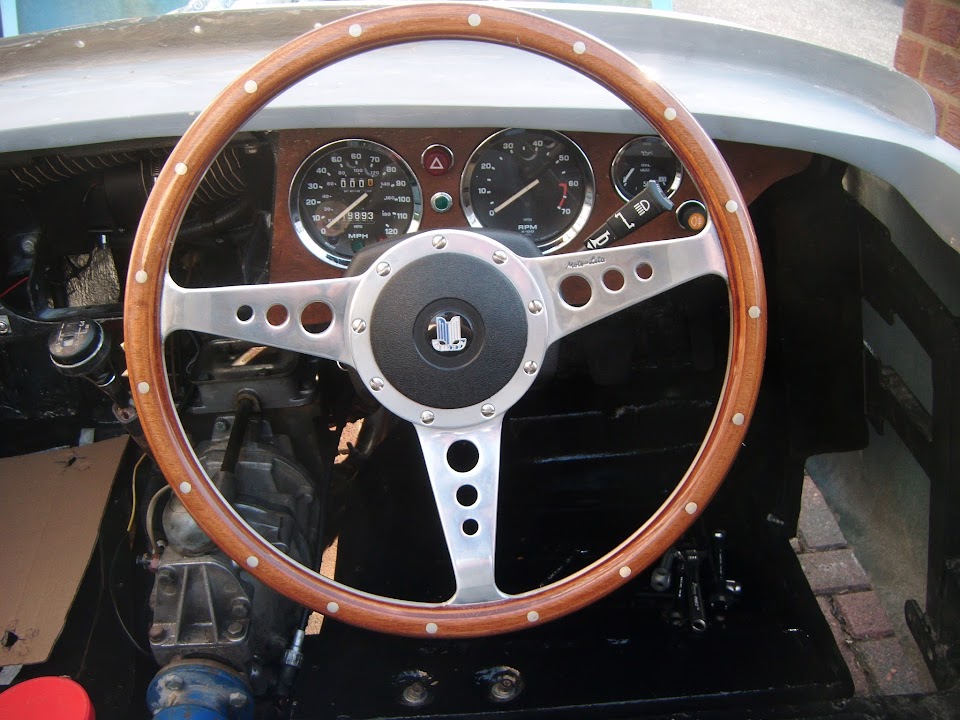
Then I was finally able to turn the steering wheel and watch the wheels turn.


I know it isn't much, but it still made me very happy that the steering column is finally back in position and it works! :cool:

Note: I went back and checked the last time I could turn the wheels and it was 21st July 2012.


Quick question for those of you using this type of steering wheel, what holds the centre section in place?


Mine is just pushed into position for now, put doesn't seem very secure and would pop out at the first bump in the road.

Unfortunately, I can't fix the steering wheel into position until the dash is removed again and then wired up.

So for now, I've just left my modified tennis ball in place to protect the threads (and my head).


With the success of the steering under my belt I decided to squeeze in one last job...
2 Aug 2015, 8:38am
Saturday - Part 2:
I attempted to fit the radiator and what should have been a simple job quickly went slightly pear shaped. :rolleyes:

Initially the radiator wouldn't fit into the lowest (of three) fixing positions, as it fouled the bolt holding the radiator frame in position.
( Sorry, not a great photo and radiator is now propped up out of the way. )


So I had to swap both of these fixing bolts around, which gave me the room I needed.


Note: The scrape in the radiator paint was where the bolt caught it the first time I tried to fit it.

Sorry, another blurred photo, but at least the radiator was now in position. :cool:


I also have a new nose to replace this damaged one, but ran out of time to fit it.


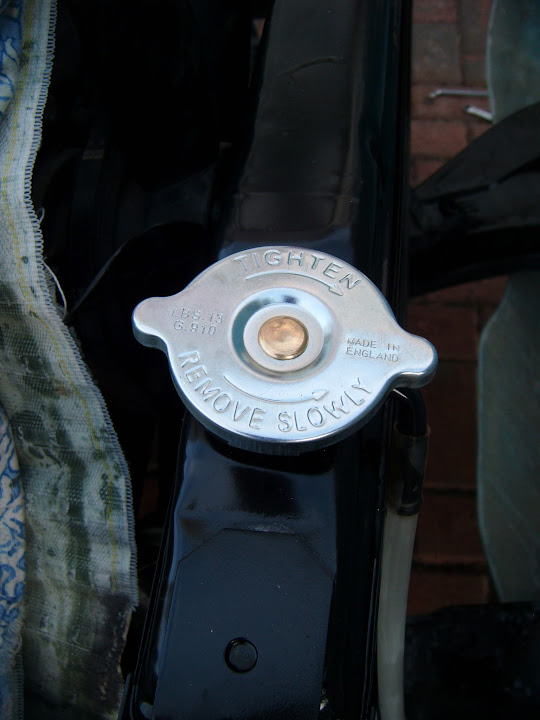
Plus the shiny new radiator cap topped things off nicely too.


Thankfully I decided to lower the bonnet slowly so I could check the clearances as there wasn't any. :icon_sad:


As I feared, the new radiator is both wider (good thing) and taller (bad thing) than the original.

:tape: !

At this point I can think of two possible ways of fixing this problem...

#1 Lower Radiator
- Cut and weld the original radiator frame mounts the way Scottie did.
- Adjust the cross braces at the top of the radiator frame so they reach the new lowered position.
- Add a header tank (I already have a Megane one) and the associated plumbing.

#2 Modify Bonnet
- "Cut & shut" a section of the bonnet so that there is room for the radiator where currently is it.
- Obviously Mister Towed & Swifty are just two of the people who have done this already.

Before I make a final decision I will have a much closer look at this to double check everything.

But as it currently stands, I think I will go with Option #2, as Option #1 is a lot more work (for me).

I also fear that with the radiator out of the way, the fouling problem would just switch to the the original fan.
( See left edge of photo above)

Again, I know I could replace the fan with an electric one, but I have too much work to do as it is.

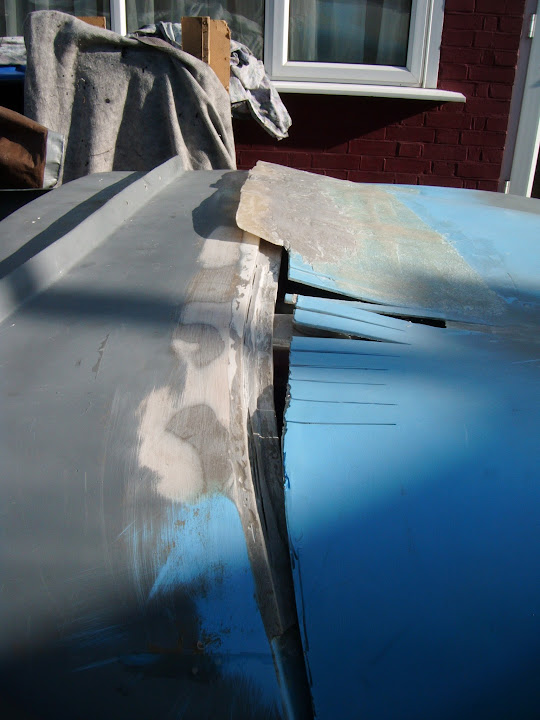
Anyway, for now, I've just protected the radiator and bonnet with some cardboard.


Then after the car had been covered up and the tools put away I had to head to Sainsburys.

Where I was able to stock up with the BBQ stuff before started the food prep by marinating some turkey.

So by the time I was finally able to sit down with a beer it had been a very long day.

Right I've got to go, as there is still some more BBQ prep. work to do.

So until next time, take care, Paul. :)

PS
Here is a first engine start video from one of my favourite Rods 'n' Sods build, "Medusa".

Take 2 x Jaguar straight 6 engines and turn them into one home made straight 12 running on LPG!

The answer to "What could possibly go wrong?" is seen in the safety gear the builder is wearing.

https://youtu.be/euFDZmGUUCQ

Worth a watch for the clues to the final engine noise and the "bum shaking" victory dance.
3 Aug 2015, 7:50am
Hi Paul good to see some progress, and hopefully its mostly putting your designer parts back together from now on, wouldn't it be easier to chop the front stilt type bracket that holds the radiator support onto the chassis? If you cut it at at the top near the box section of the support then bend the whole support and rear bracket forward and down, the cut bracket could be fabricated and tacked back on to the support. I recon the diagonal braces could be modified easily/bent to reuse the original mounts. Ed
3 Aug 2015, 8:21am
Paul, hows the new 'nose'.
4 Aug 2015, 5:37am
Ed – Cheers, it is certainly good to be finally fitting parts back on. :cool:

Just to be clear, I know the radiator could be lowered, as I’ve seen others do it.

It is just a question of which solution is the least time consuming for me to do.

So I will spend some time looking more closely at the options and then make a decision.

- - - - - - - - - - - - - - - - - - - - - - - - - - - - - - -

Gary – Good spot, I’ll leave the typo there for comic effect. :icon_wink:
4 Aug 2015, 8:22am
No worries Paul, it was just an immediate solution I saw when looking at one of your pictures, I thought it would take about 20mins for me to do it that way where as it would be many many hours for me to fabricate a bulge and bodywork it to an unacceptable level. Ed.
5 Aug 2015, 7:03pm
Ed - I guess the lowering of the radiator bracket doesn't worry me that much, as you say it is straight forward enough.

However, it is the knock on impact on the cooling system itself & the original Spitfire fan that would require more work for me to fix.

So I've been having another read of Mister Towed & Swifty's threads to remind myself how they built their scoops (see below).

But I'll make a final decision once I've had a much closer look at the bonnet work required to get the clearance I need.

Cheers,

Paul. :)

Mister Towed


Swifty


5 Aug 2015, 7:58pm
Hi Paul,

I lowered the rad on mine to get it under the bonnet and fitted an electric fan instead of the mechanical one that couldn't stay as it became the highest point!

Wasn't that difficult to do, pictures on the ebay ad if you look at the engine bay
6 Aug 2015, 6:43pm
Simon - I'd already re-read your build thread recently just to see how you had done it.

( Otherwise, I might have forgotten about the fan getting in the way. :rolleyes: )

- - - - - - - - - - - - - - - - - - - - - - - - - - - - - - -

Wembley Scoop - Mock Up:
I did squeeze in a bit of car time this evening which allowed me to have another look at the bonnet.

For me, I think the KISS solution would be to leave the engine set up exactly the same way as Triumph intended.

Which means I should modify the bonnet to fix around the new wider (& unfortunately taller) radiator.

However, I wanted to get a rough idea of the size of scoop required first, so I decided to make a cardboard template.

One thing you can notice in both of the scoops featured in my previous post is that there is an "overhang" at the front edge.

This means that it is not the front edge of the scoop that needs to clear, but the back edge of the opening (if that makes sense).

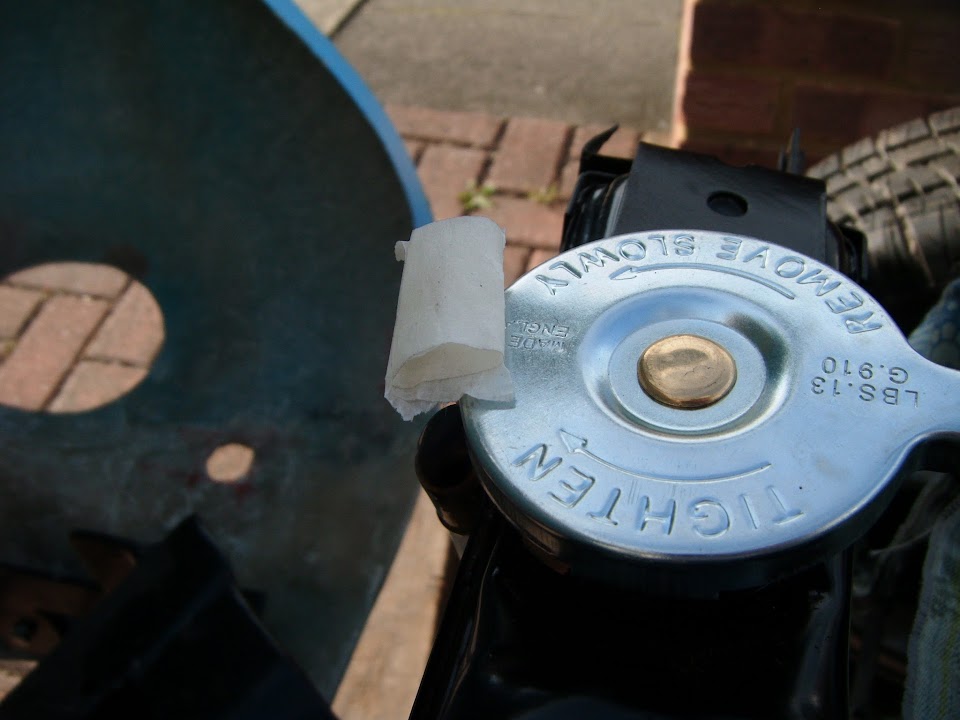
To roughly work out where that was for now, I just put some masking tape on the edge of the radiator cap.


Then closed the bonnet & re-opened it and the masking tape was now stuck to the inside. :cool:


Then I had to work out where the next high points would be when the cap was cleared.

Taking a photo with the bonnet closed (through the wheel arch) actually gives a mis-leading impression/angle.


As there isn't much difference in height between the cap, top of the fan blade (with masking tape on it) & engine hose.
( And the bonnet is curving up at this point too. )


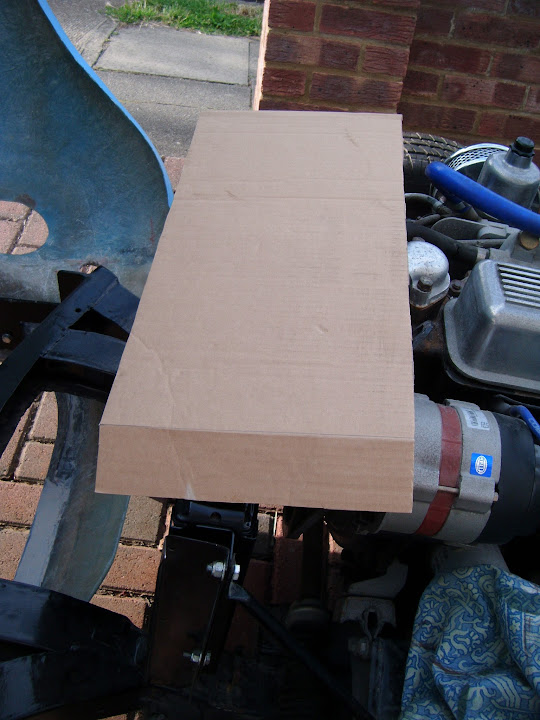
So I cut out a rough shape which would easily cover all of these the high points.


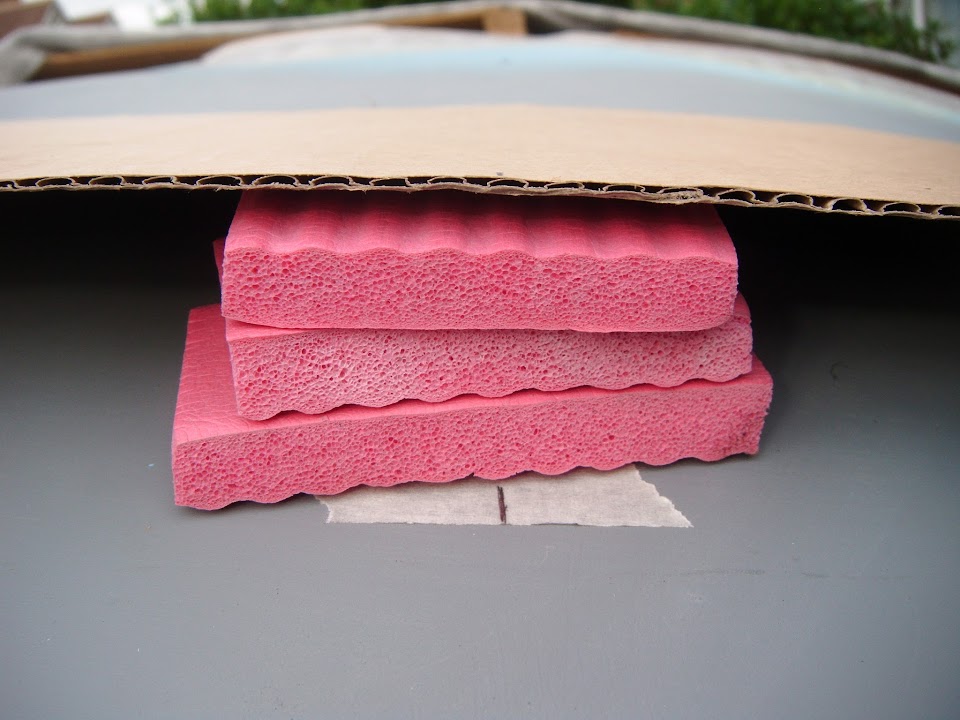
Then some yoga mat off cuts helped me set the height at the front.


Note:
I will only know the required height when the bonnet is cut and then "drops" around the cap, etc.

As time was short, I went with two simple designs...

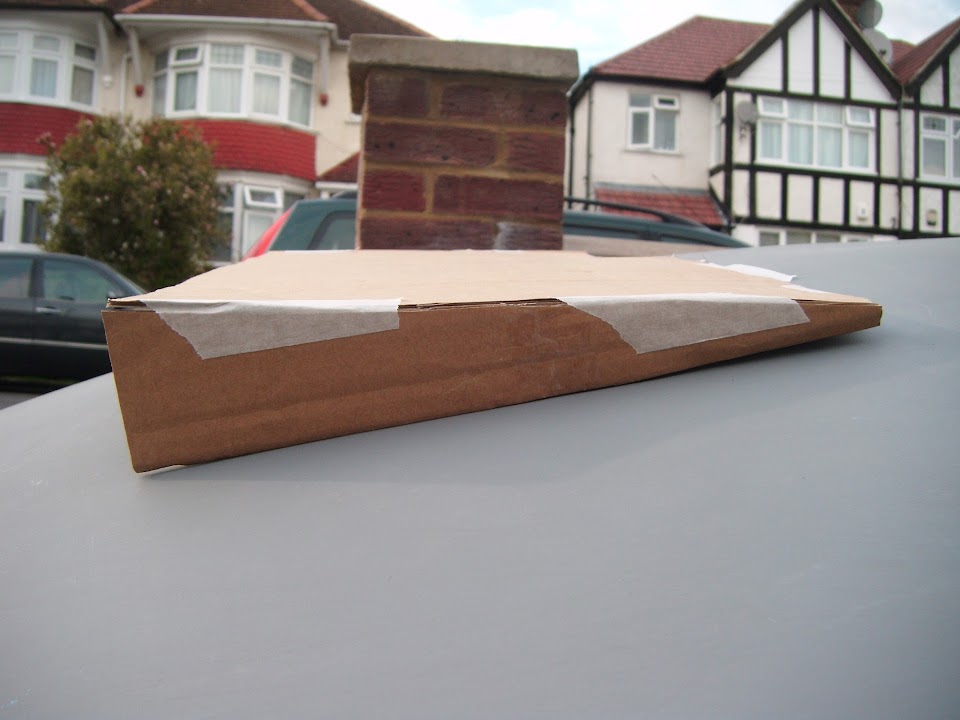
Option #1 - Straight vertical sides


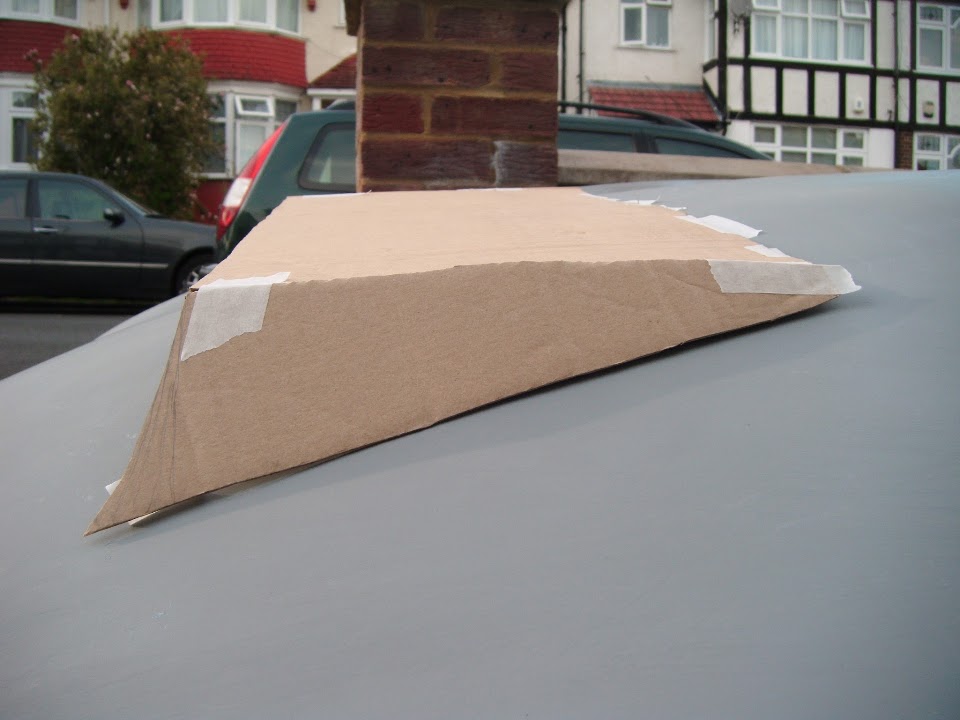
Option #2 - "Spread out" sides


Note:
In both options, the scoop will re-use the "hole" cut in the bonnet as the starting point.

So the top of the scoop will actually have a curve in it, compared to the straight cardboard in the mock up.

I have some time to think about this, as it will be a few days before I can get back to the car.

So I am open to feedback if anyone has a particular preference.

Until then, take care, Paul. :)
6 Aug 2015, 6:55pm
Why not just put a teardrop hump in the bonnet GT6 style :eusa_think:
6 Aug 2015, 7:52pm
micky1mo wrote:
Why not just put a teardrop hump in the bonnet GT6 style :eusa_think:


Just my idea too.........
It will look much better as a scoop.........everybody has one already.
Scoops are ment for air intake originally.
6 Aug 2015, 9:29pm
Paul if you go down the route of a bonnet bulge try ebay for model foam which is what i used for a mould, easy to shape with sand paper and gives good rounded edges etc.
7 Aug 2015, 6:00am
Micky1Mo & ReneAnglia - Funny you should mention a tear drop...

As I did wonder if just clearing the radiator cap itself would be enough to fix the problem (see below).

- - - - - - - - - - - - - - - - - - - - - - - - - - - - - - -

Gary & RedRatBike - Thanks for the links, although I'd want to continue my Blue Peter / home made tradition.

Especially as the "lumpy" nature of the rest of my body work would make professional parts stand out. :rolleyes:

- - - - - - - - - - - - - - - - - - - - - - - - - - - - - - -

Swifty - I now have a stock pile of solid insulation foam which I could use to make a tear drop shape.

In addition to the scoops that you and Mr T made, I also read through how you both added bonnet bulges too.


- - - - - - - - - - - - - - - - - - - - - - - - - - - - - - -

General - Thanks for all the feedback gentlemen. :cool:

If I am going to stick to a KISS approach, then a tear drop is definitely easier to make than a scoop.

So I may start by cutting out a suitable hole to clear the radiator cap hope the general curve of the bonnet will clear everything else. :pray:

Which leads me to my final question, what is the minimum clearance required between the engine and the bonnet?

Thanks, Paul. :)
15 Aug 2015, 6:51pm
Holiday Report:
We just got back from a family holiday in Derbyshire.

I think that 'Snake Pass' would make a good location for an "in car" home movie to the sounds of "On days like these." :cool:


Unlike the "video nasty" that was getting stuck on the M56 due to this propane gas tanker fire turned out to be.


Although this was our view a bit further back in the queue.


I honestly believe that taking over 3 hours to travel less than 3 miles is a new traffic jam record for me. :icon_sad:

Part of the reason for heading "Up North" was so the rest of my family could make a "pilgrimage" here...


:rolleyes:

I hate to be the bearer of bad news for any Corrie fans, but the houses on the right of this photo...


Are not really houses at all! :eek:


Whilst I'd rather stick pins in my eyes than watch a traditional soap, I do find TV shows of interest on Quest.

Anything that Mark Evan's built, plus US shows like American Hot Rod, Sin City Motors, Overhaulin' and finally Salvage Hunters.

So we also squeezed in a trip to Drew Pritchard's place as part of a trip to LLandudno.


Note: This was by appointment, as casual visitors are not encouraged.

So I now have a cast iron pee. :wink:


Anyway back to car news, post holiday chores mean I only got a bit done today, but it all helps...
15 Aug 2015, 6:51pm
Bonnet Work - Part 1:
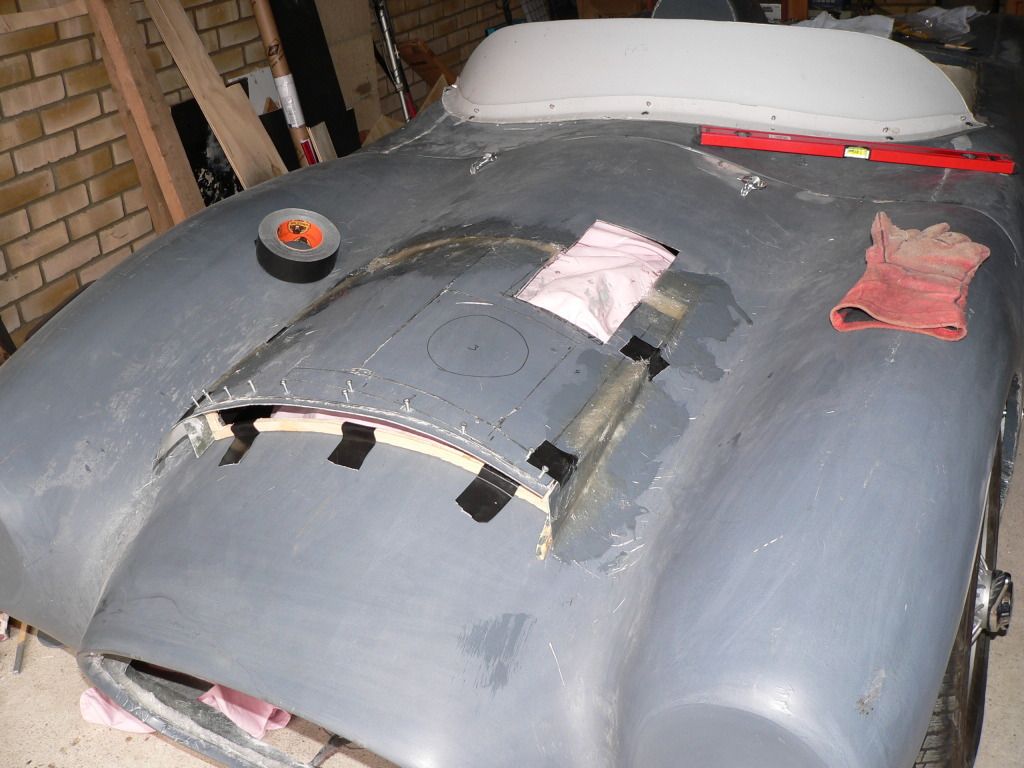
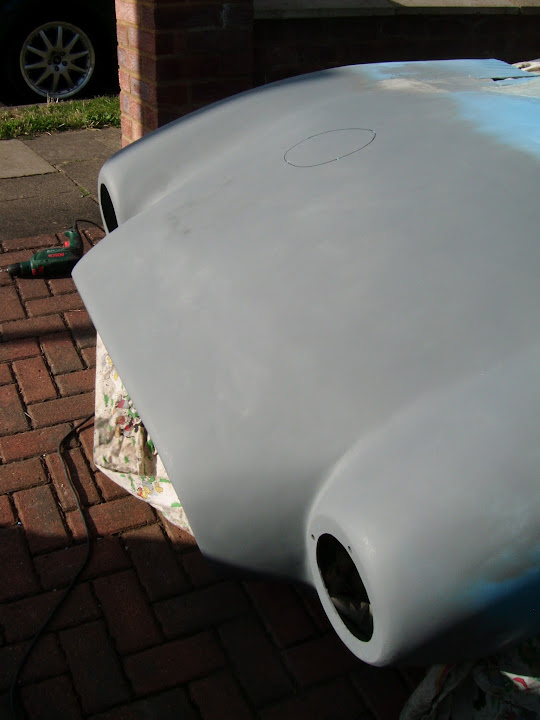
In a vain attempt to reduce the amount of extra work required, I've decided to cut out a tear drop shape in the bonnet and see what happens.

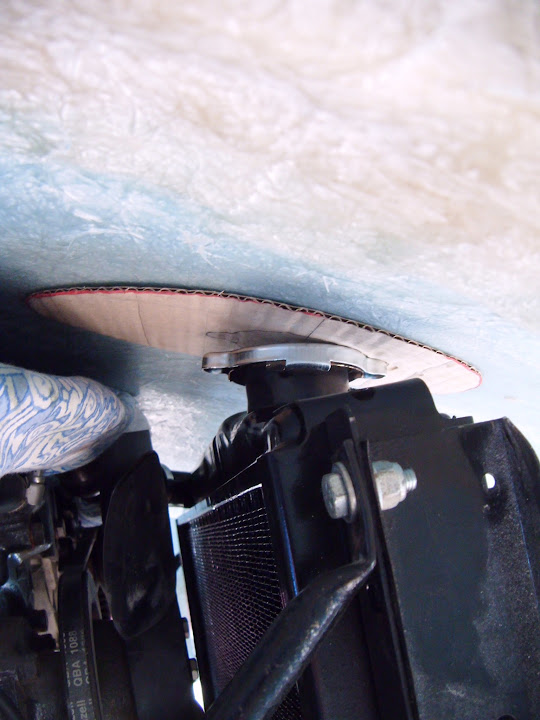
So I used my old radiator cap as a starting point.


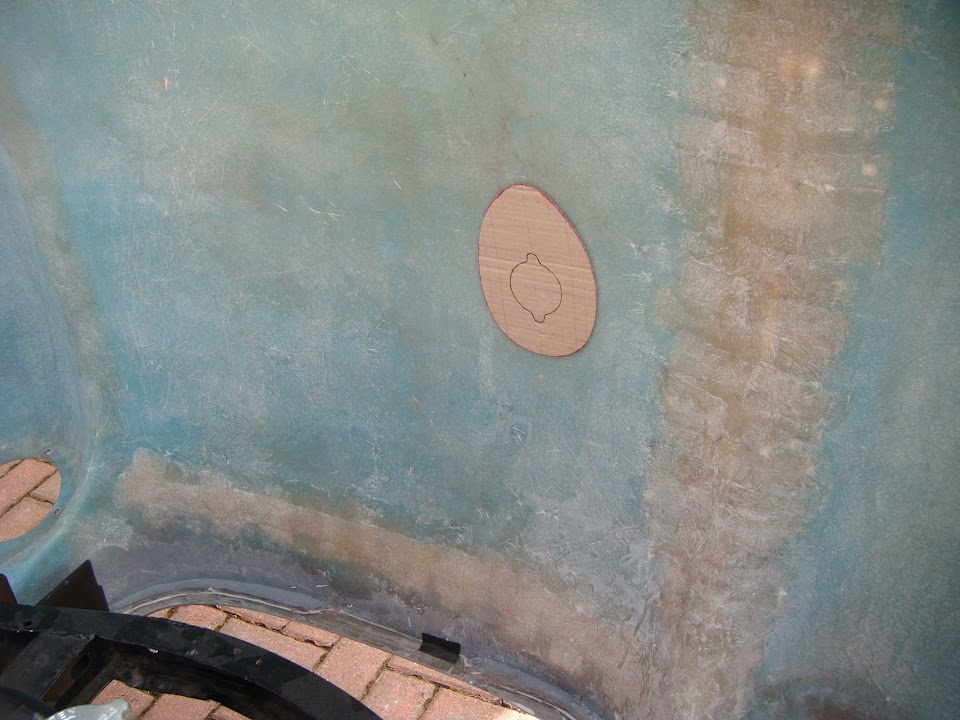
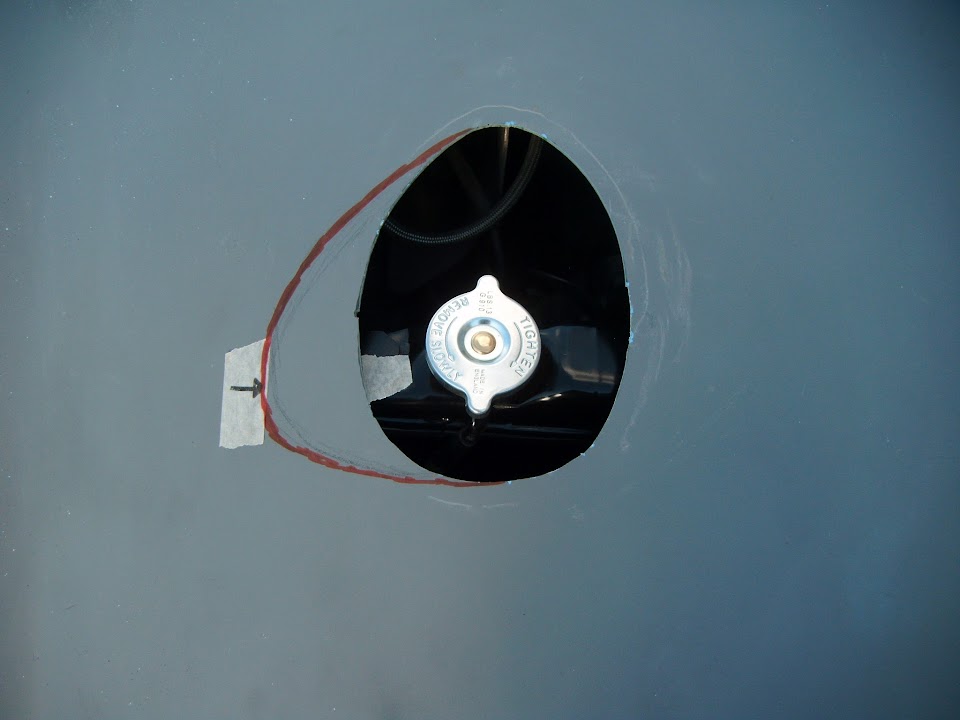
Then I drew a couple of design options and settled on the red one.


Which should still give me a clear gap around the cap itself.

The shape was cut out and positioned on the cap, with some masking tape on top ready to stick to the bonnet.


Although I ended up holding it in position when the bonnet was closing to avoid it being knocked out of position.


With the bonnet re-opened, I had the shape in position and could mark it up.


It occurred to me that it would be a good idea to cut the hole from the sunny side.

So I covered everything up.


Before drilling some pilot holes from the inside.


Which allowed me to position the template and mark it up on the top side.


I needed to drill a larger hole for the jigsaw blade to fit in and cut the hole out.


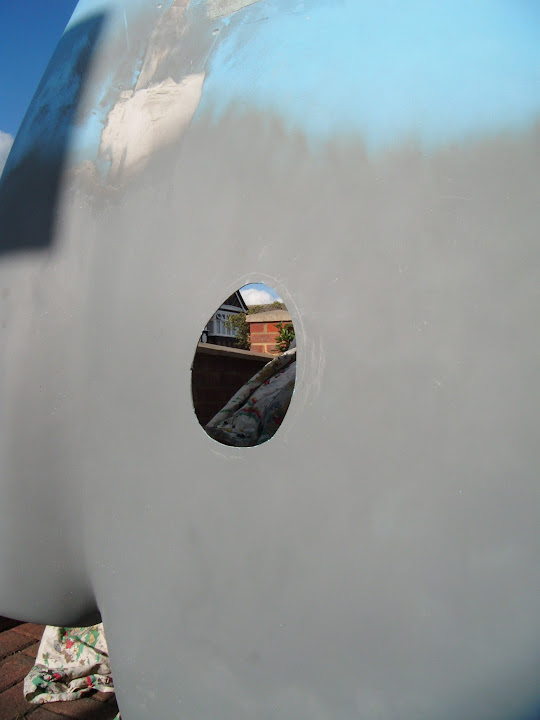
Then came the moment of truth, as I gently lowered the bonnet back down to see if this actually worked. :pray:

Looking at the sunny side, it was clear that I had at least cut the hole in roughly the right place.


End of Part 1...
15 Aug 2015, 6:53pm
Bonnet Work - Part 2:

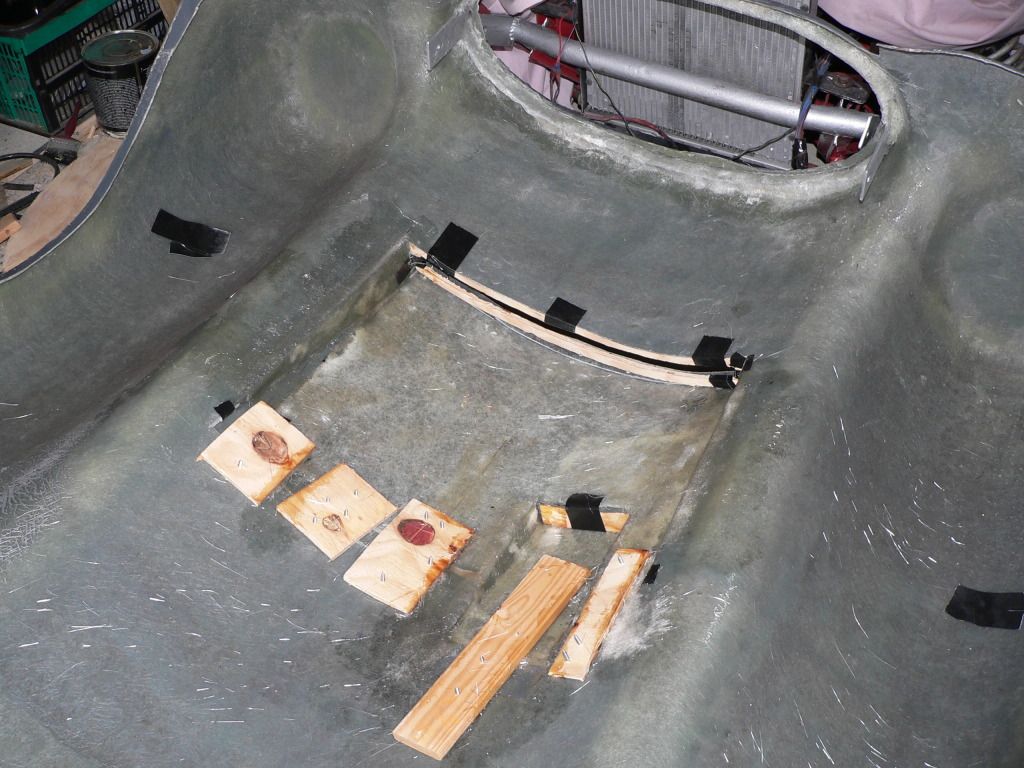
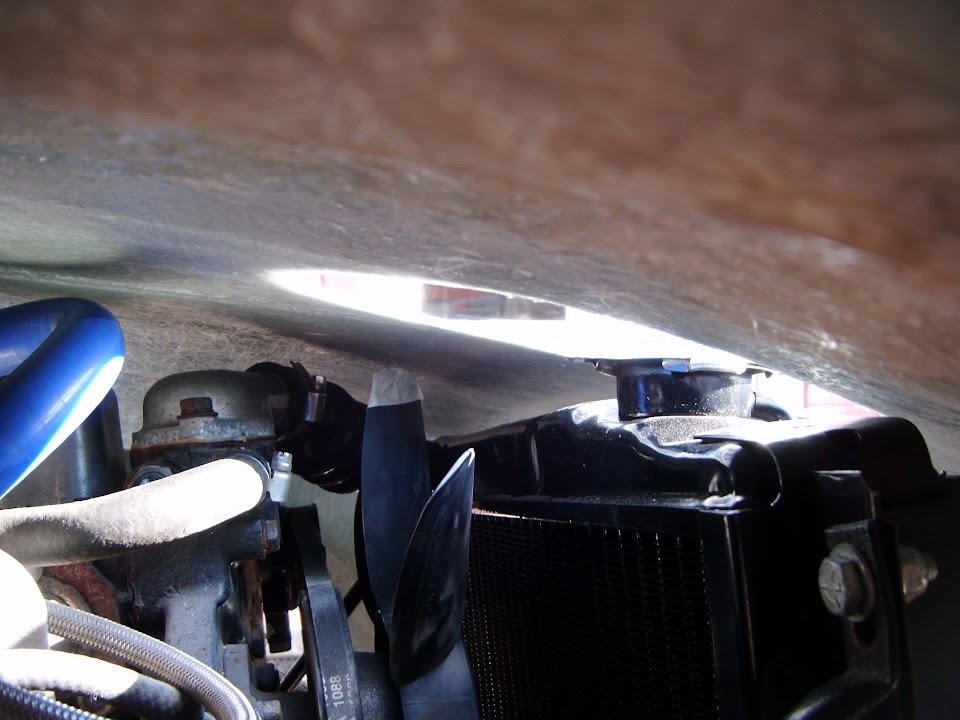
Then it was time to bite the bullet and take a look underneath so see if I had created any other clearance issues.

Thankfully nothing else now touches the bonnet on either side. :cool:


Although this corner is very tight.


Which leaves me with two options to consider.

#1 - Ensure the bonnet is set a little higher than it is at the moment when I fix the rear edge profile.


Note:
This temporary edge was where/how the bonnet was resting before I fitted the wider radiator.
So this gives me a consistent reference point regarding the position of the new radiator cap.

#2 - Widen the bulge to clear the corner, although I think this might look a bit odd / ugly.


In an ideal world, Option #1 will take care the clearance & I'll have a standard tear drop shape.

Although, I still don't know what the minimum clearance between the bonnet and engine should be. :rolleyes:

So for now, I have not started any work on making the tear drop mould.

But at least it looks like I will be able to get away without the need for a scoop, which would be harder to make.

Until next time, take care, Paul. :)