MadaboutKitcars

This is a read-only archive of the old Madabout Kitcars forum. New posts and replies are no longer possible, but every thread is still here to browse and read.

Another Cordite Is Born ...

30 Apr 2015, 2:36pm
8 Valve Ed & Mac - Funnily enough, one of the things I dug out during my summer house tidy up yesterday was this.


Which is a large section of black vinyl that came with my donor car. :cool:

So I will be attempting to make the gear lever cover out of that.

Cheers, Paul. :)

PS
My mum and my sister will be arriving soon for a family BBQ, so I'd better go.
30 Apr 2015, 2:40pm
"My mum and my sister will be arriving soon for a family BBQ, so I'd better go."

Lightweight! put a paintbrush in their hands!
:-)
30 Apr 2015, 2:57pm
I thought you were going to ask them to make one...
30 Apr 2015, 4:12pm
I prefer the conical shape myself... more classical.
30 Apr 2015, 7:57pm
And less stitching...
1 May 2015, 12:45pm
Mac - At one point I was hoping to line up the extra people visiting with lifting the frame/floors/arches combo back onto the chassis.
But unfortunately, the rolling chassis still needs a few jobs on it before I am ready to bolt the big pieces back on.

Gary - Well my mum does have a sewing machine, but I will give it a go with hand stitching first.

Rene, Gary & 8 Valve Ed - I think the conical version (with less stitching to do) will be used for my first attempt.

- - - - - - - - - - - - - - - - - - - - - - - - - - - - - - -

Don't Panic!
So far it has been a lovely day to be tidying up the house & garden. :rolleyes:

But everything is now ready for the small "horde" of teenage girls descending on our house straight from school.


:icon_wink:

If I survive the evening I really hope I will get a chance to do some car work over the weekend. :pray:

Cheers, Paul. :)
1 May 2015, 2:27pm
"Horde of teenage girls...."
Time to set up your sleeping bag in the summer house and retire!
Mac
1 May 2015, 11:25pm
Paul, post me some paper templates, give me a hint want colour leather you want and I'll make it for you and post it, call it quits for the hours of entertainment your thread brings.Ed.
2 May 2015, 6:49pm
Mac - It was a long evening, but when everyone was finally gone I could at last sit down for a beer with my wife. :cool:

Ed - I really appreciate the offer, but I will at least give it a go using the vinyl first.

- - - - - - - - - - - - - - - - - - - - - - - - - - - - - - -

Friday:
As well as preparing for the teenage girl invasion, I also went to visit my mate who had a stroke last week in hospital.
He can't really speak and struggles to write, but by all accounts this is still a big improvement from where he was.
I'm glad I went, but it was hard to see his frustration at the fact his body wouldn't do what he wanted to do. :icon_sad:

Although one bit of light relief was that I couldn't find his ward and the directions I was given were useless.
This resulted in me walking into the wing where Kate just had her baby and asking for more directions there.
I did think it looked very smart & noticed two big security guards keeping an eye on me as I spoke to the nurses. :rolleyes:

- - - - - - - - - - - - - - - - - - - - - - - - - - - - - - -

Saturday:
It was the afternoon before I finally got a chance to do some work on the car...

Rolling Chassis:
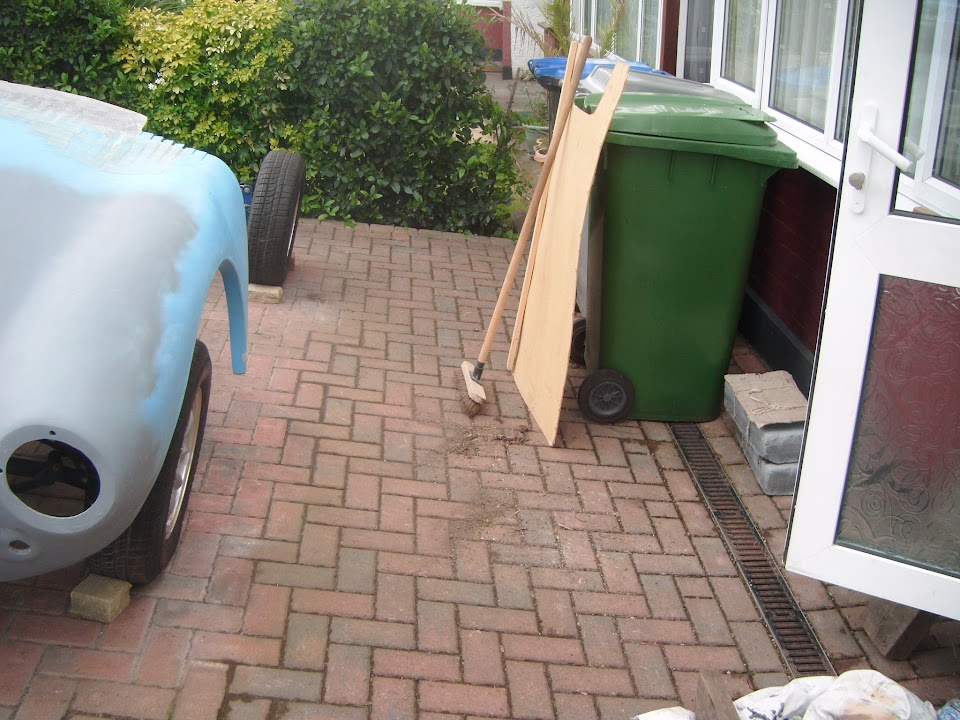
Although the first job was to sweep the driveway so I had a clean area to work in & lie on the floor.


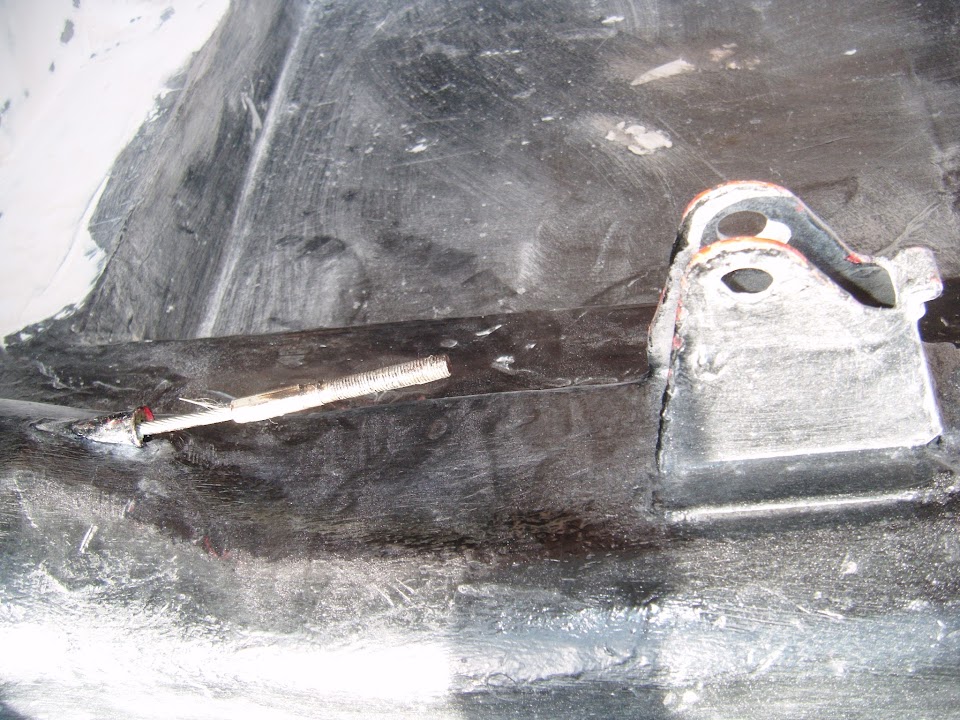
Next I spent some time looking at the bolt holes / crush tubes in the chassis that the framework bolts to.

Because I had previously noticed one bolt was slightly off centre before I removed the framework. :icon_sad:


So I used a full length bolt as a guide and then did my best to fix this properly.

Before:


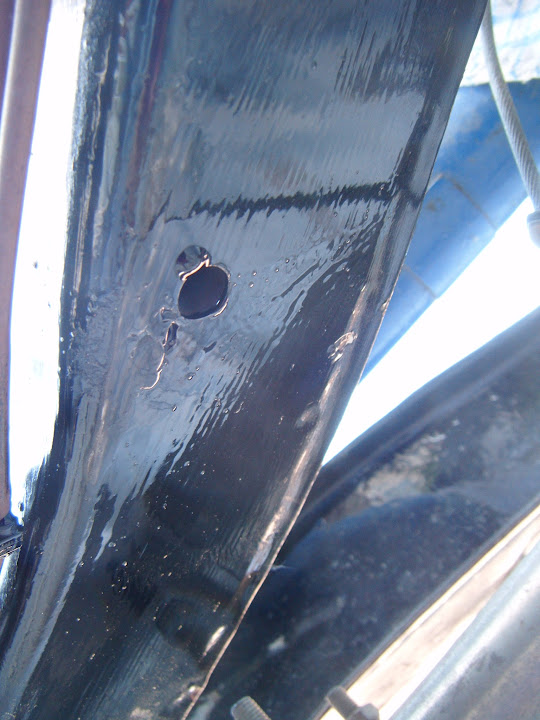
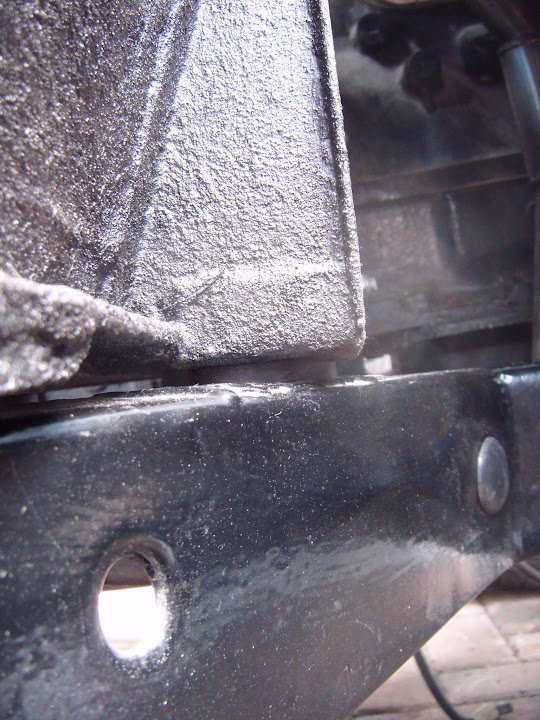
I re-drilled the hole in the bottom of the chassis to give me this "After" position.


Unfortunately, the angles of the photos don't help, but this is definitely an improvement.

But then the old/surplus hole had to be welded shut.


Note:
This was tidied up a bit more after the photo was taken.

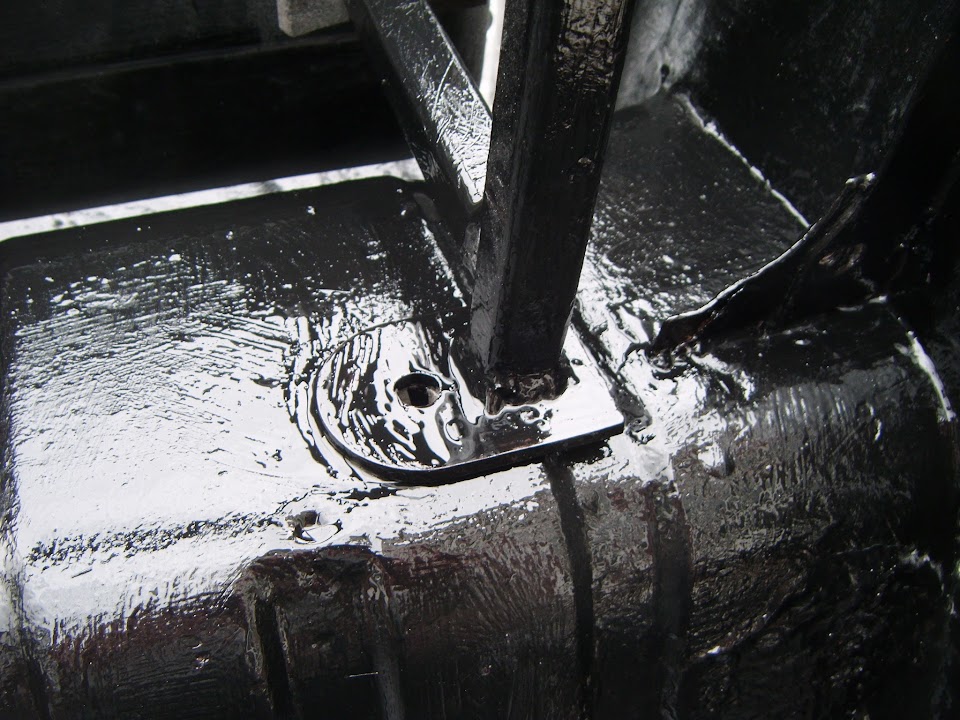
I then re-welded the crush tube to chassis joins along the top edge.


Whilst I had not planned to drill extra holes, I had planned to used "spreader" washers.

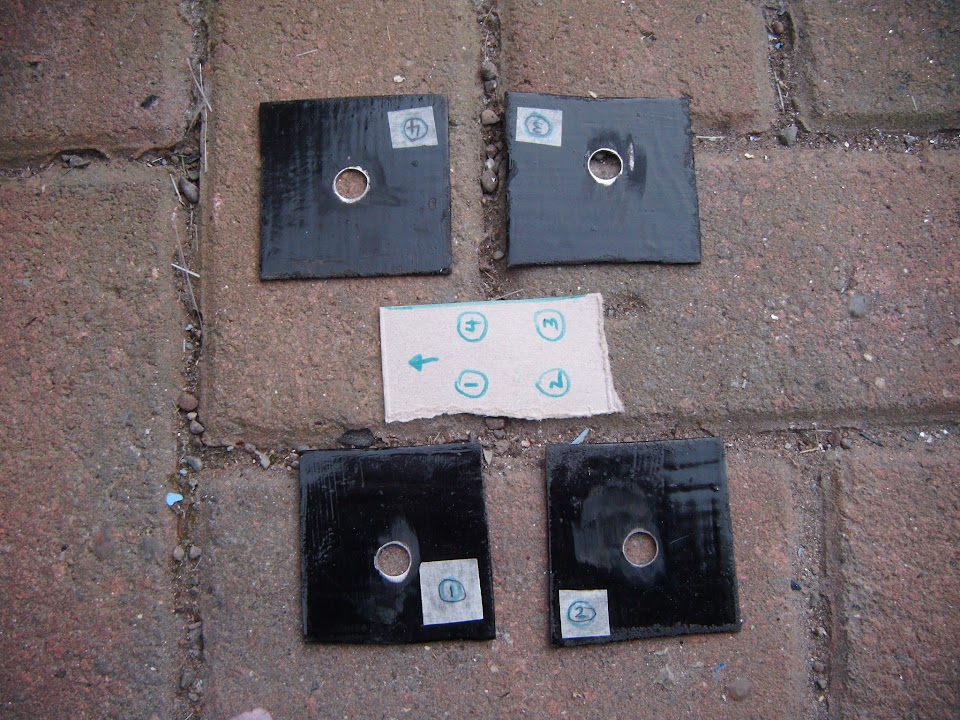
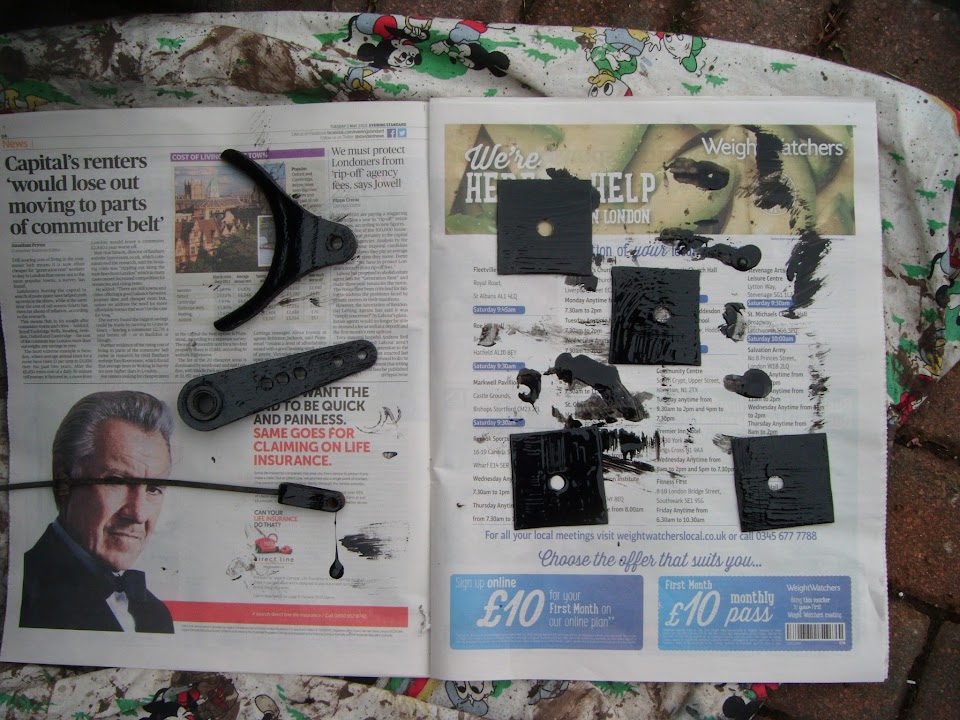
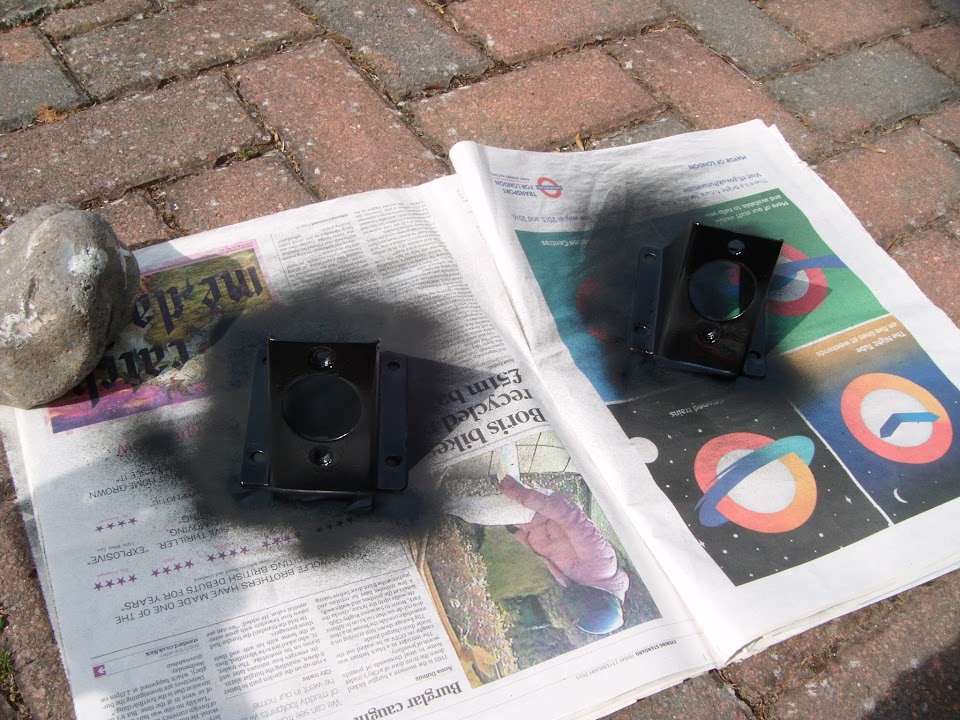
So I made cardboard templates for the four metal squares I'd cut out & painted ages ago.


Then putting a hole in the cardboard let me mark up & drill holes in the "washers".


There is a curve on the inside edge of the chassis, so these washers stop short of that.


But continues just beyond the outside edge of the chassis.


So a good few hours working this afternoon has made little visual difference.

But this should improve the way that the frame bolts to the chassis, so well worth the effort.

Until next time, take care, Paul. :)
3 May 2015, 9:47am
Paul Good to see you survived the the visit by the St. Trinian's, i did not envy you there as we sometimes have a group of my kids stay over and it can be bedlam.

The body fitting date looks to be getting closer by the day, it's chucking it down with rain here today so i hope the weather is a little kinder to you today unless you are busy with the family.
3 May 2015, 6:33pm
Swifty - Unfortunately, it was chunking it down here this morning too. :icon_sad:

- - - - - - - - - - - - - - - - - - - - - - - - - - - - - - -

A Token Gesture:
When the sun finally came out I started pulling together all the thing I would need, paint, etc.

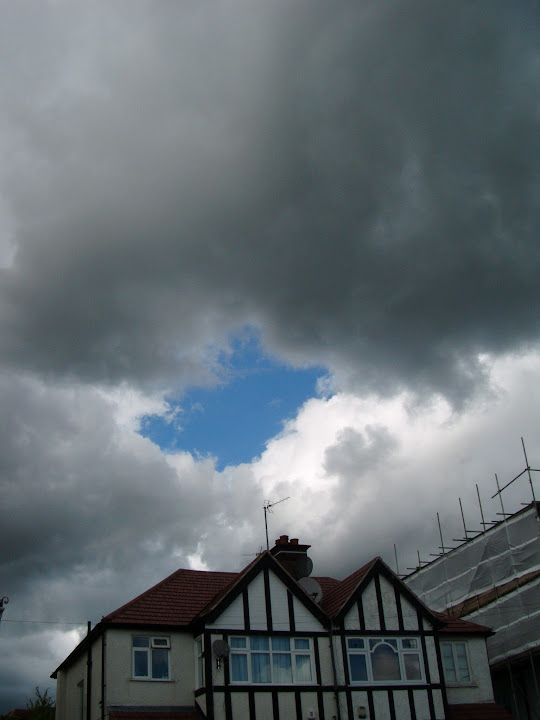
But by the time I stepped out the front door, the sky was looking like this.


Which meant I couldn't risk starting to paint the chassis work I did yesterday.
( In case I had to get the covers back on in a hurry. )

So I wandered down to the Summer House and had a look at the gearbox cover.

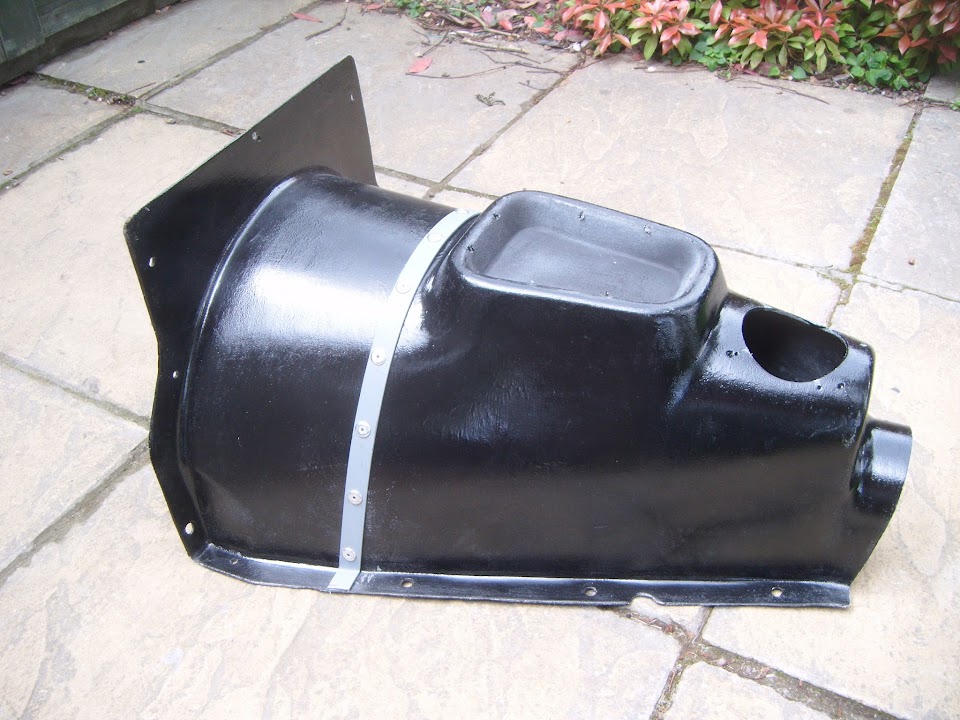
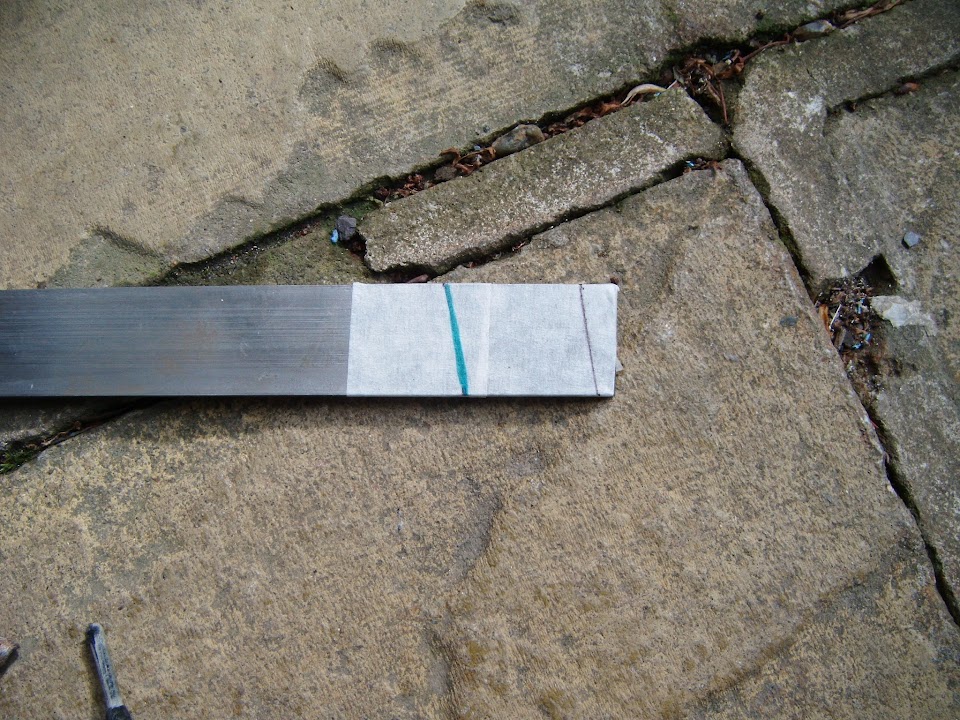
I made a cardboard template for the strip of metal I have to play with.


Which allowed me to mark up where to cut/bend the first edge.


I had just started to bend the metal strip to shape...


When I convinced myself this couldn't be done properly without the cover being in place.

It was only later on that I realised that this wasn't actually correct. :rolleyes:

You see, whilst there is some movement in the cover to line it up with the sides of the bulkhead.

The metal strip would be flexible enough to move with the plastic.

So I will come back and finish this off another day.

Unfortunately when I came back indoors I felt really rubbish and have just had a 3 hour nap! :eek:

That means I will definitely NOT be going to Stoneleigh tomorrow. :icon_sad:

Which is a real shame, as it would have been great to meet some more forum members in person.

Take care, Paul. :)
4 May 2015, 2:38pm
Taking It Easy:
After feeling under the weather yesterday, I took extra care not to over do it today.

So I tried to limit myself to a few simple tasks, but they ended up taking a bit longer than expected. :rolleyes:

Over Spray:
This had nothing to do with me, but the previous owner was obviously keen to follow a Sammio tradition. :icon_wink:

So I had to clean the paint off the brand new dampers & braided brake hoses.


Note:
You can just about see the bubbling of the lacquer on the inside of the rear passenger side wheel.
This was caused by a small "weep" from where the flexible brake hose joined to the hard brake line. :icon_sad:
So this was all tightened up the other day and it is now leak free.

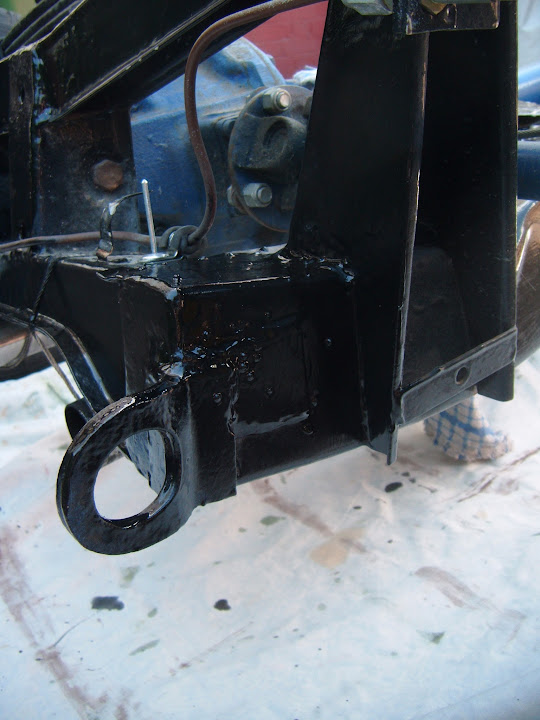
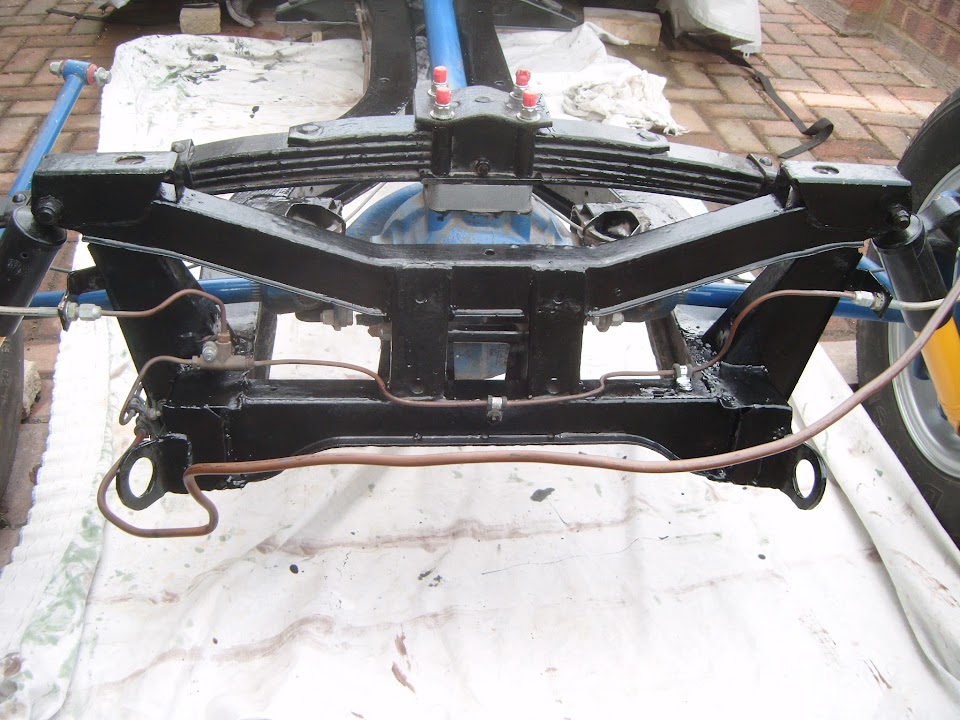
Parts of the rear chassis were also a mess, so they got a lick of paint.


- - - - - - - - - - - - - - - - - - - - - - - - - - - - - - -

Rear Brake Hard Lines:
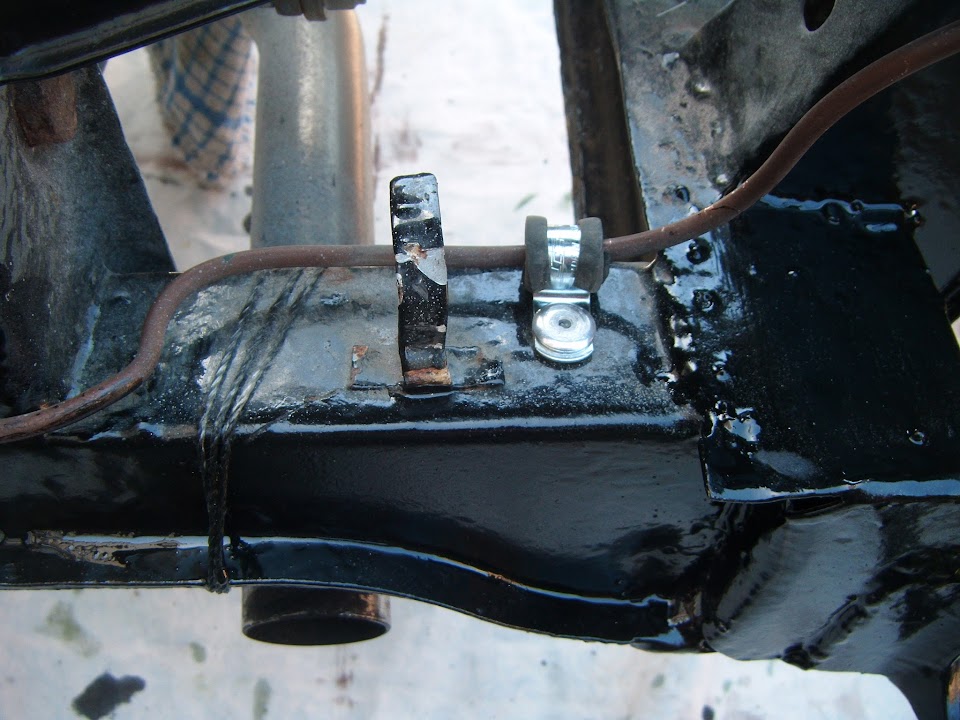
I added an extra P Clip to the rear chassis to ensure the hard line was kept a safe distance away from it.


- - - - - - - - - - - - - - - - - - - - - - - - - - - - - - -

Gearbox:
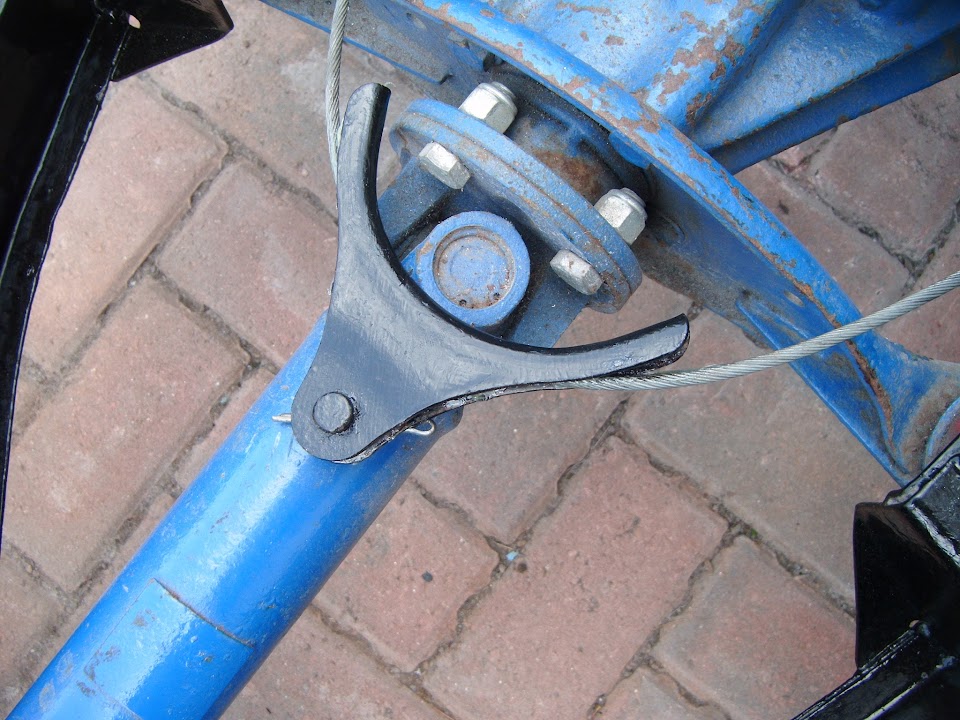
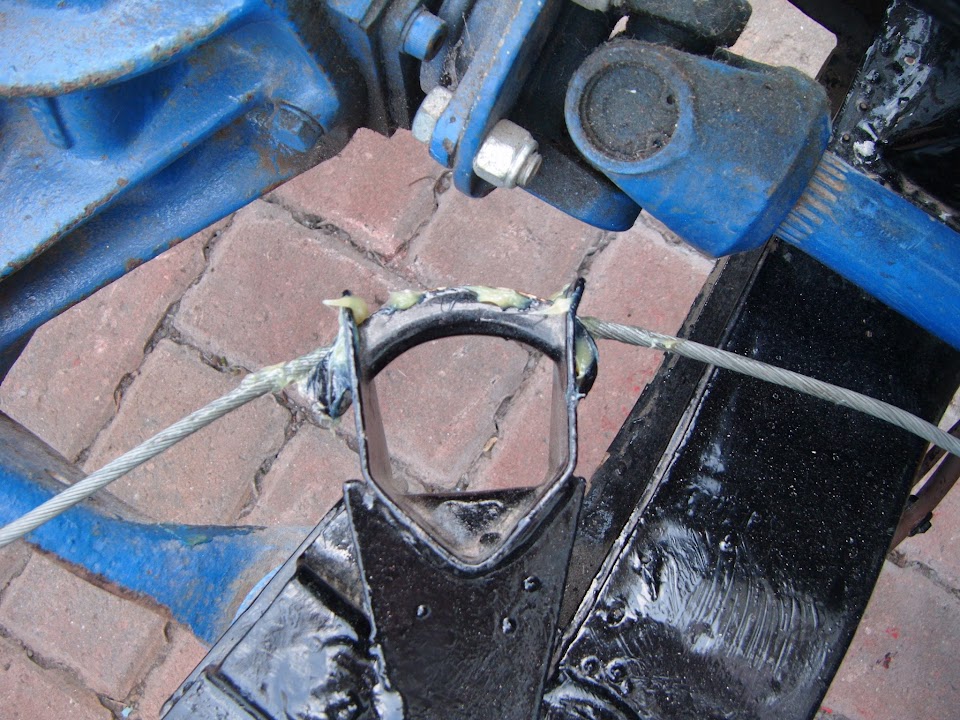
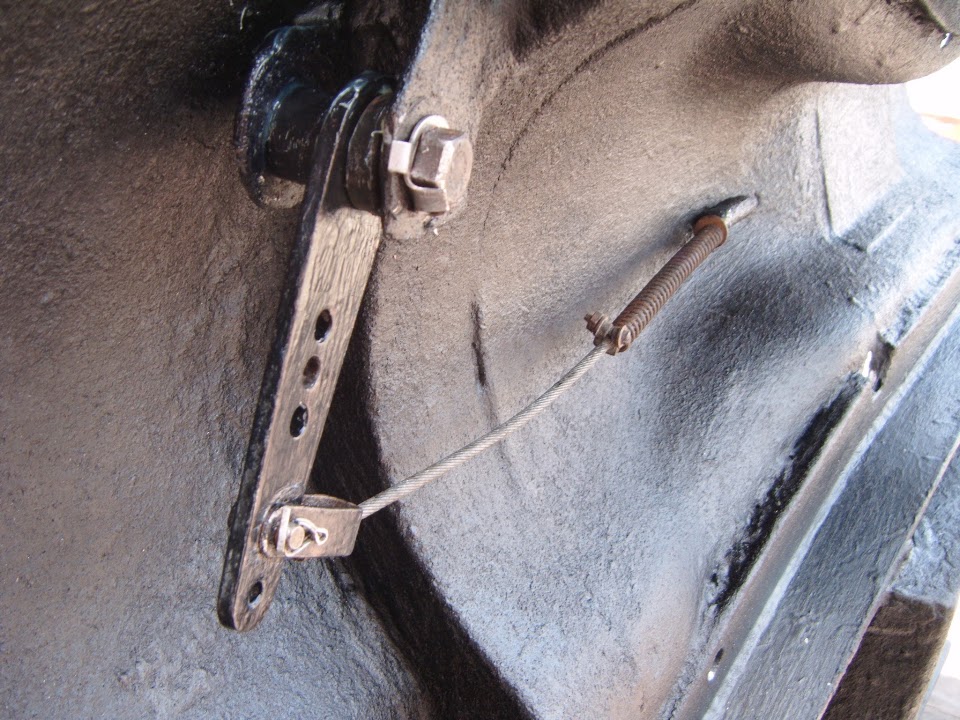
I printed out this set of instructions that 8 Valve Ed kindly provided.


Then just worked my way through the list, cleaning, greasing & checking the wires.

I also wrapped some extra protection around the wires while I was at it.


- - - - - - - - - - - - - - - - - - - - - - - - - - - - - - -

Painting:
I got a first coat of paint on the chassis work I did the other day, on both the sunny side.


And underneath.


Plus one side of the handbrake mechanism.


- - - - - - - - - - - - - - - - - - - - - - - - - - - - - - -

Stoneleigh:
It was a real shame that I had to miss this today, but there was no way I could cope with the driving.
And despite only spending a few hours on the car today, I still don't feel great at the moment.
Thankfully I have a relaxing time with my family lined up for the rest of the day. :cool:

- - - - - - - - - - - - - - - - - - - - - - - - - - - - - - -

Next Steps:
As soon as I can get the final coat of paint on, the rolling chassis will be ready for the big pieces.
There will still be a few jobs to do in this area, but they can all be reached with the frame bolted on.

So until next time, take care, Paul. :)
4 May 2015, 7:26pm
Looking like you have turned a major corner of your build, you would of probably only got frustrated If you had gone to stoneleigh, you will enjoy it more next year in your CAR, we arrived there on Saturday and got home around 6pm today, daughter has GCSE's tomorrow so wanted to get back in good time for maximum sleep and tidy up time, wife is in italy and is having much better weather itnput some rain down saturday and sunday morning although it was pleasant today, had a quick chat with Mr Towed and pointed him in the direction of the conveniences after his 3 hour journey/ Ed
6 May 2015, 7:06am
Ed - Finally getting the big pieces bolted to the chassis will certainly be a major turning point in this build. :cool:

Although given the current wet & windy weather I am not sure when I will be able to get the second coat of paint on the chassis. :rolleyes:

But at least I know I will get there some time soon(ish).

Cheers, Paul. :)
6 May 2015, 3:10pm
Another Small Token Gesture:
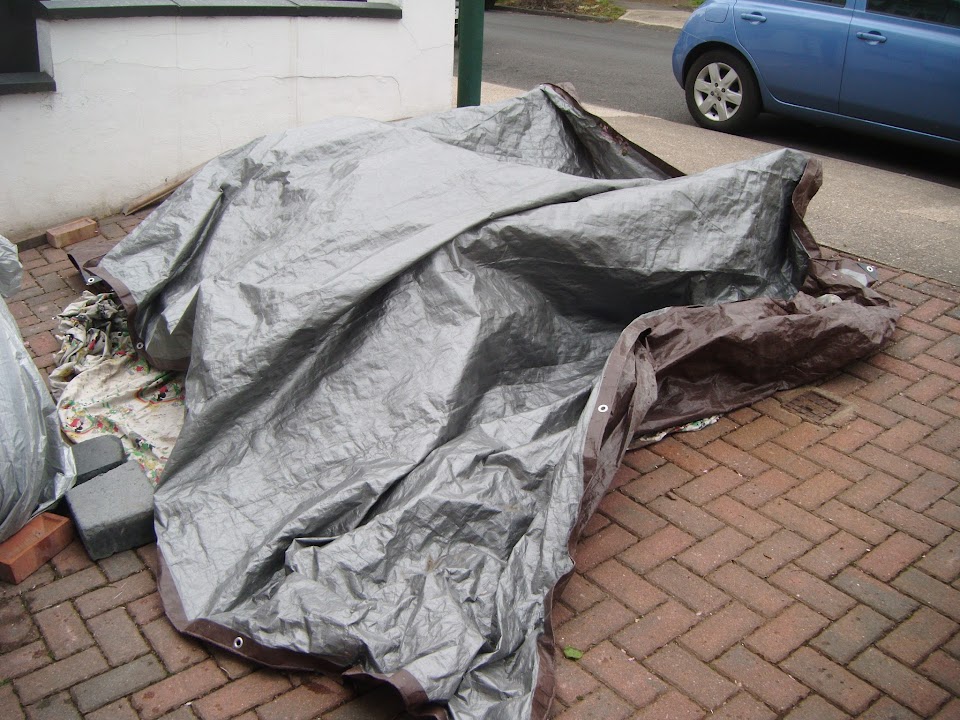
The weather forecast meant it wasn't worth risking taking the covers off on the driveway.

So I did a little bit of tinkering based in, & around, the Summer House.

Put some etch primer on the bare metal strap I am going to fit to the gearbox cover.


Then spent quite a bit of time working out the best spacing for the rivets.


Before somehow making a complete mess of actually drilling the holes where I had carefully marked them. :rant:


A combination of clamping and hammering allowed me to start at one end & work my way across.


Then I could trim off both ends of the metal strip to match the shape of the cover.


I must confess that Michiel's original cover modifications look a lot better than my attempts to copy them. :rolleyes:

Anyway, I gave the metal strip & rivets a quick coat of stone guard.


Then the whole thing will get another coat of hammerite before it eventually gets fitted,

I then left the cover inside the garden shed to dry.

This was a good idea, as shortly afterwards the rain came lashing down again. :icon_sad:

At which point I had a go at designing the new Sammio logo (see other thread) before heading to Sainsbury's.

Thankfully I managed to get all the shopping unloaded before the heavens opened again.
( It sounds like hail outside as I post this. )

So that's all for now, take care, Paul. :)
7 May 2015, 5:26pm
One of those days...

More Painting:
Removed the middle section of the exhaust.


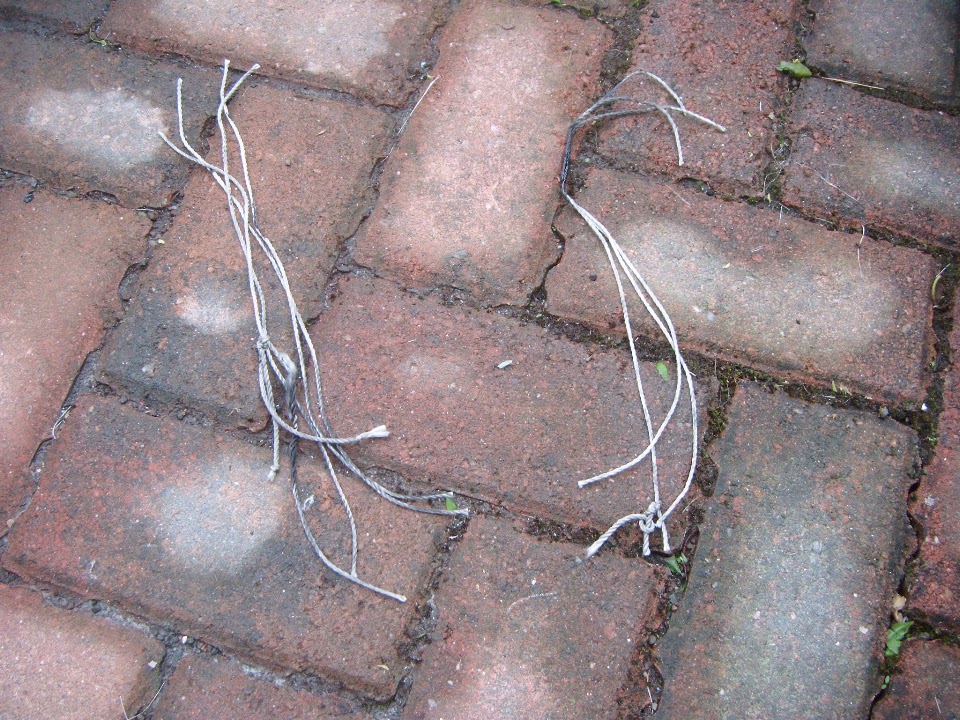
Which allowed me to cut off the string temporarily holding it to the chassis at the tail pipe end.


Which in turn allowed me to touch up the paint on the back end of the chassis.


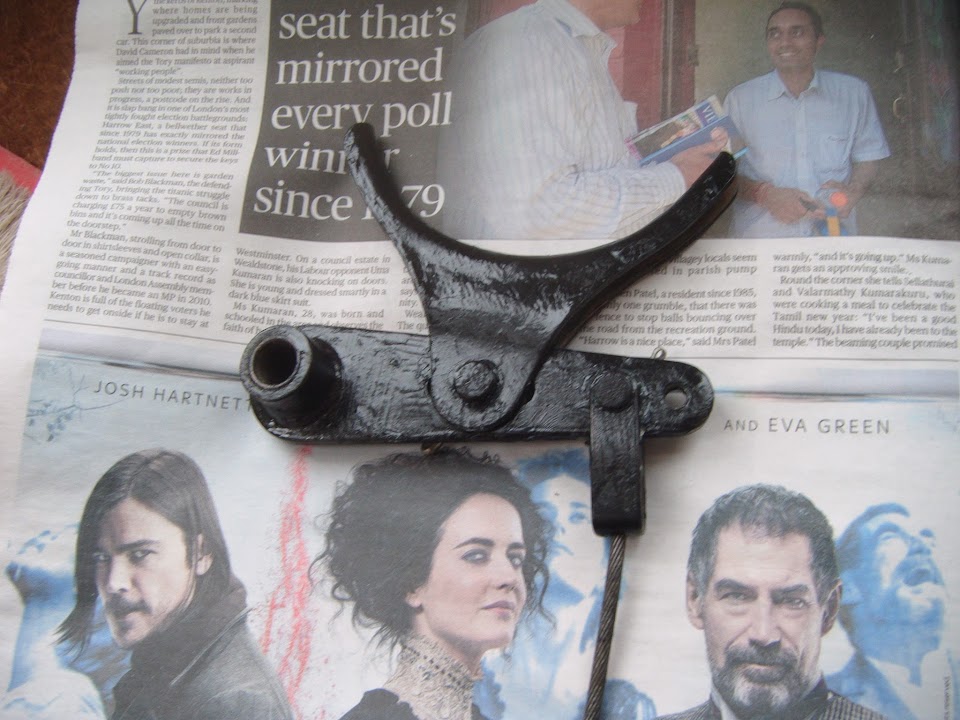
I also dismantled the hand brake pivot lever.


So that could be painted too.


Note:
I will clean up and grease all the pins/pivot holes before putting this back together.

Then I put a second coat on both sides of the chassis.


I left this to dry while I got on with other chores.

- - - - - - - - - - - - - - - - - - - - - - - - - - - - - - -

Rolling Chassis:
Later on I spent several very frustrating hours trying to create a "level playing field".

This seemed pretty straight forward in theory...

A length of wood between two axles stands that would hold the back end of the chassis level(ish).


However, in order to get the back to sit at the correct level, I also had to adjust the front.

But I just couldn't find a combination of axle stand settings/positions/bits of wood, etc. to work. :icon_sad:

To make matters worse, I was also trying to move the whole thing up the sloping drive a bit.

Unfortunately, gravity wants to send the rolling chassis down the drive as soon as the wheels leave the ground.

So I was literally going round in circles trying to inch my way into the right position, but to no avail.

The last straw came when I put a huge physical effort into shifting the front end up...

Only to watch the back end move down & fall off the axle stands in slow motion. :rant:

This was scene shortly afterwards...


So I've decided I am just going to have to work around the sloping drive.

Which meant that all I had to show for a huge amount of time & effort was a rolling chassis parked slightly higher on the drive. :rolleyes:


And by this point the skies looked like this.


Given my luck so far today, I decided to cut my losses and cover everything back up.

So until next time, take care, Paul. :)
7 May 2015, 5:51pm
Hi Paul can't you just jack up each wheel in turn and then sit it back down on chocks blocks bricks or sticks till its level ish, then spirit level the chassis? use axle stands for safety once level ish? Ed.
8 May 2015, 11:51am
That sounds like a good idea Paul?
8 May 2015, 5:59pm
Ed & Scottie - I did spend hours trying every variation of lifting, moving & propping up that I could think of. :rolleyes:
An extra trolley jack & maybe two extra people might have overcome the sloping drive, but these were not available.
It is certainly not the end of the world & I will just have to take extra care to ensure that the body shell sits straight/square.

- - - - - - - - - - - - - - - - - - - - - - - - - - - - - - -

Rain Stops Play - Part 1:
I was really hoping for a pretty solid day on the car, but then the weather turned against me.

At least I still managed to get quite a few little jobs ticked off...

Trimmed off what remains of the small lip along the edge of my boot floor.


Before giving it a lick of paint.


Note:
I'd left this lip in place while working on this section, but the floor is now supported from the other side by the extra bracket I made.

I had to stop half way through turning this whole thing over to rearrange the wooden supports.

Which gave me a good view of the underside. :cool:


Sprayed some stone guard through the holes in either side of this bulkhead support arm on the chassis.


Finally finished painting the rear feet of the framework.


Plus the bits from the hand brake pivot mech and the spreader washers for the the "framework to chassis" bolts.


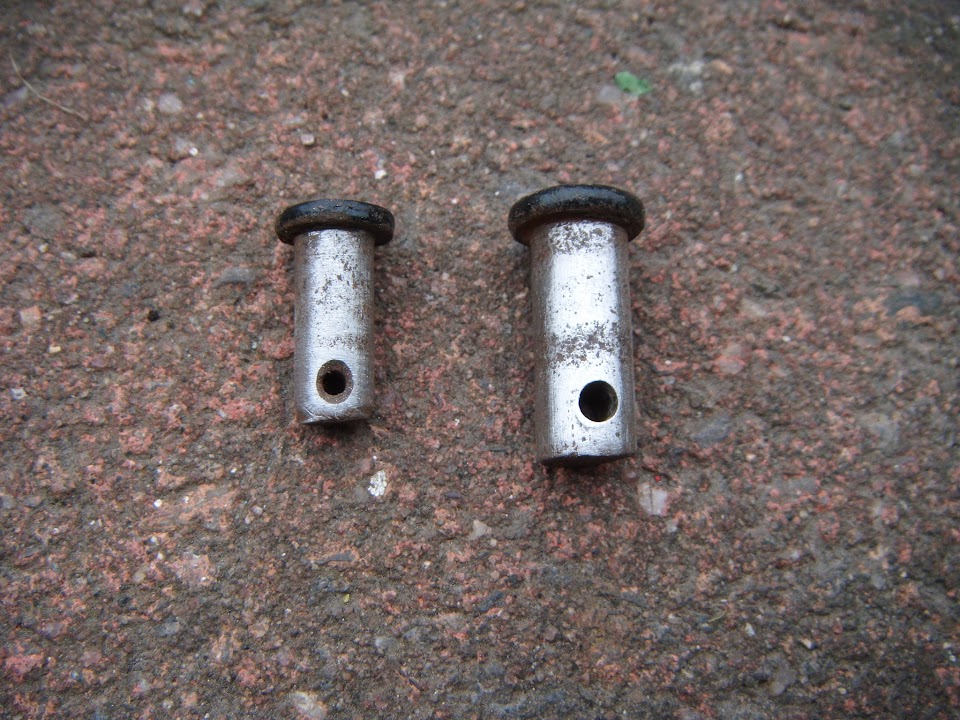
I cleaned up the two pins from the hand brake pivot.


When the paint was dry enough, I cleaned out the two corresponding pin holes added some grease & put it all back together.


Thankfully I remembered not to fix the pins in place at this stage, as I need to attach it to the other cable first.
( Note the mess is grease not the paint finish. )


Next I dug out the box with all my heater stuff in.

Although no sooner had I fixed these two hoses in place when I realised it would be easier to fit the heater without them fitted. :rolleyes:


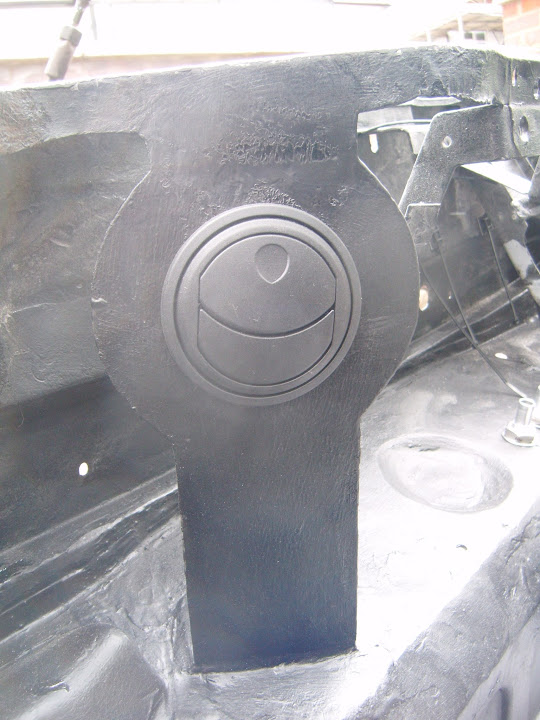
Next the two vent were fixed into position.
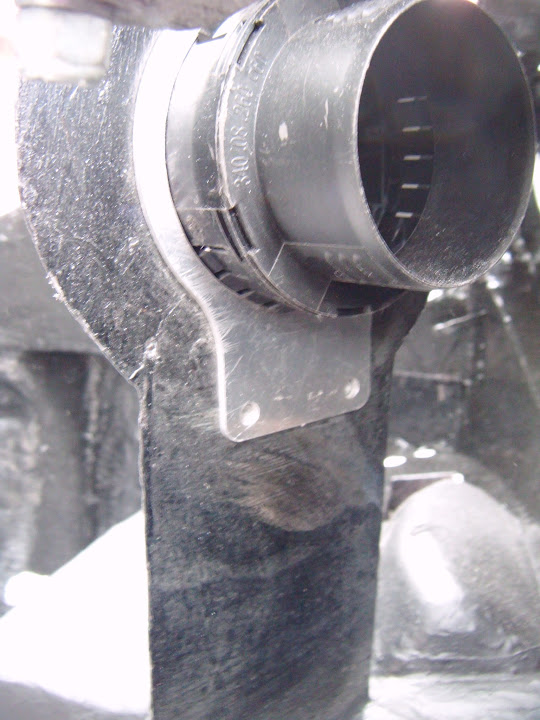
( Sorry, I seem to have taken quite a few poor quality photos today. )


Where the original mounting plate acts as a big washer at the back.


The bulkhead connectors were next.


After fitting the heater I was not happy that it was going to sit there "rattle free" as there was a bit of play.

So I removed it again and tightened up the 4 small bolts holding the unit together.


Well, I did when I eventually managed to find the right allen key. :rolleyes:

End of Part 1...
8 May 2015, 6:00pm
Rain Stops Play - Part 2:
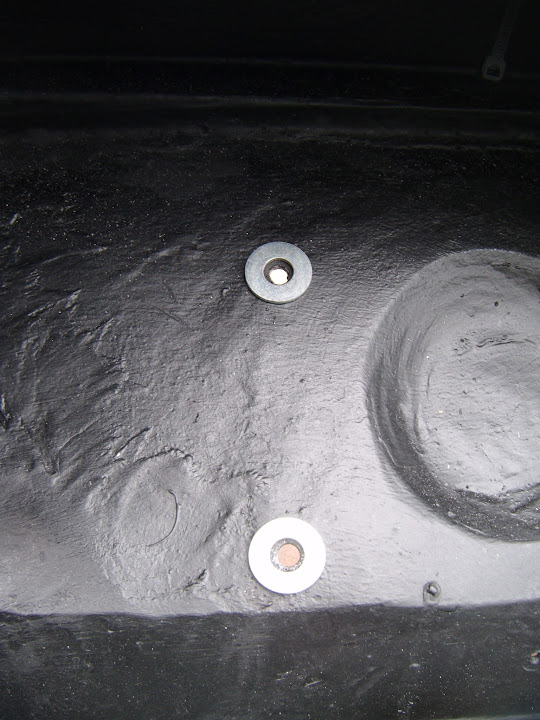
For the second fitting of the heater, I added a couple of washers to keep it off the bulkhead, which clearly isn't 100% smooth.


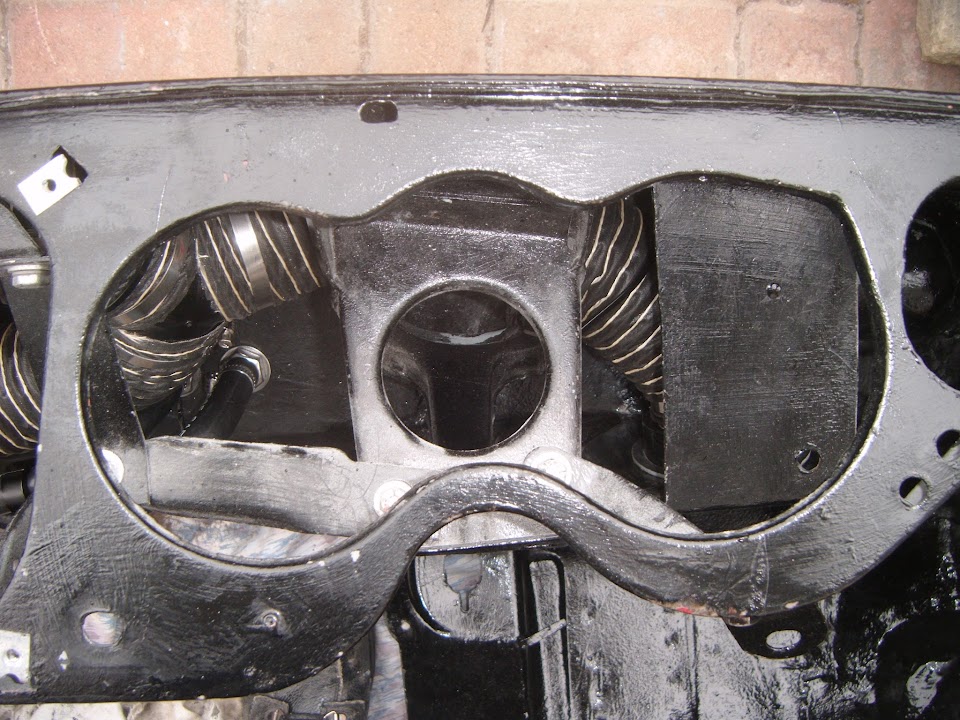
And this is what the front of the bulkhead looked like.


At this point it started to rain, so everything had to be covered up in a bit of a rush.


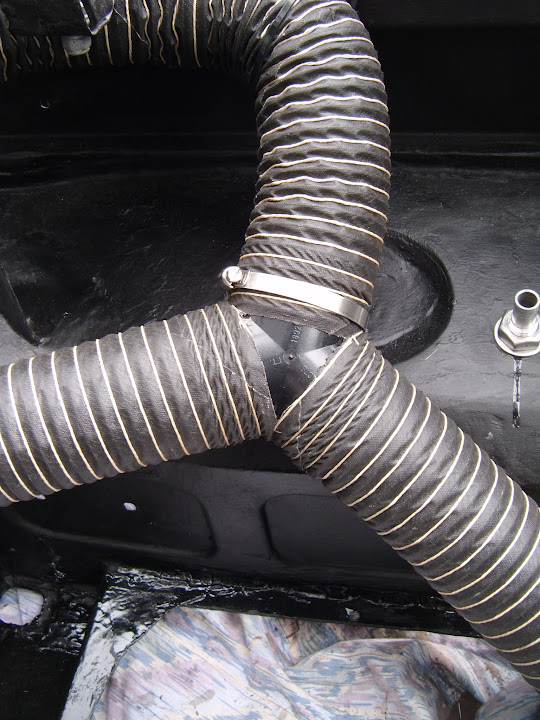
The ducting hoses also turned into a bit of a pain as I started at the vent ends and worked back to the "Y".

Then it turned out that the only way to get the hoses on the "Y" was by undoing one end, so I would twisting the other around the Y. :rolleyes:


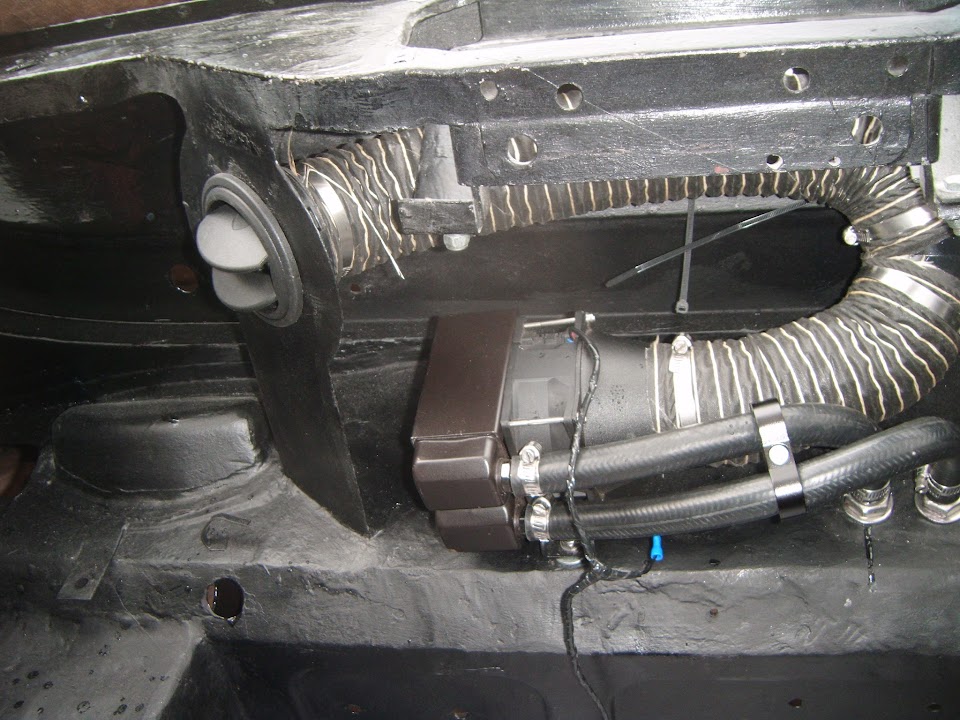
With the hoses connecting the heater to the bulkhead and the hose spacer fitted it looked like this.


Note: I had to file down this allen key to fit the odd size that the hose spacer bolt had.


By which point the rain had returned.


The next problem I had was two of the zip tie holders I had riveted into place simply came away when I tightened them. :icon_evil:


So I just got some extra zip ties and used them to hold the ducting in place.


This keeps all the heating stuff tucked out of the way, so the dashboard can be fitted without any fouling issues.


The box of heater stuff also contained my completely OTT battery box drain hose.


Then there was another break for rain, before I could got back outside and do some more.

End of Part 2...
8 May 2015, 6:02pm
Rain Stops Play - Part 3:
Then I was half way through fitting the bracket for the heater control value when the rain returned again. :rant:

But I was determined to finish, so this was my working area.


With the bulkhead covered up and me getting wet. :rolleyes:

Still, at least the bracket was fitted.


During the next dry spell I got the control valve fitted.


But by this time it was clear that the rain was now here to stay. :icon_sad:

It was a bit of a struggle, but I managed to get the bulkhead resting in position by myself.


It is not bolted down, just out of the way so I could get the covers back on.


I just left the other piece where it was, not ideal, but what could I do?


Obviously not quite the day I was hoping for, but still some positive steps forward.

So until next time, take care, Paul. :)
10 May 2015, 5:58pm
Saturday - Nothing to declare.

- - - - - - - - - - - - - - - - - - - - - - - - - - - - - - -

Sunday - Part 1:
Don't ask me why, but I woke around 3am with an idea about the hand brake pivot mech. :rolleyes:

Thankfully, when I finally got up this morning I still remembered the idea so I formed a cunning plan.

Although the first thing I had to do was find the bolt and washer for the pivot, which wasn't in the same box as the hand brake itself.

Eventually I found it in another box with the spare pivot mech I removed from my 2nd hand body shell. :mmph:


Put the frame/floors/arches combo back on it side, but as it was quite windy, I propped it up this time.


Separated the cable holder part and that is now greased up and on the chassis cable.


Also adds some grease to the two cable guides fitted to the chassis.


Cleaned up the surfaces where the mech actually "pivots" & greased them.

Before bolting the mech into place and hammering the edges of the locking washer.


Then shoved a load of grease into the hand brake cable guide in the arches & threaded the cable through.


Obviously this work is much easier to do now, rather than wait until this piece is fitted to the chassis.

So now I only need to crawl under the car to re-fit the pivot pin for the cable guide piece. :cool:

My wife helped me lift the bulkhead off the chassis.


As there were a couple of jobs I needed to do, before finally bolting it down.

The first was to re-tape some of the rubber rings back to the chassis.
( As they tend to move / fall off whenever the bulkhead isn't fitted very carefully. )


The second was to squirt a load of Waxoyl into the "boxed in" area in the front chassis arms that I painted through the holes the other day.


I then dug out these four old grommets from my pile of left over Spitfire parts.


After a bit of cleaning, they seal up the two holes on either side of each arm.


No idea if this is what you are supposed to do, but it just looks like a big water trap to me.

End of Part 1...
10 May 2015, 6:00pm
Sunday - Part 2:
The last time I fitted the bulkhead, I used one of these Spitfire metal spacers on each side, between these bulkhead mounting points & the chassis.


This time around I wanted to see if I could fit the bulkhead using just the rubber rings to lower it ever so slightly.

So I switched to a rubber washer on the inner mount and a normal washer on the outer one.


So it was time to ask my wife to help me lift the bulkhead back into position.


With the bulkhead bolted into position, the front mounts are now just right. :cool:


I removed the mounting brackets from the brake and clutch master cylinders & rubbed the old blue paint down.


Before giving them a coat of stone guard.


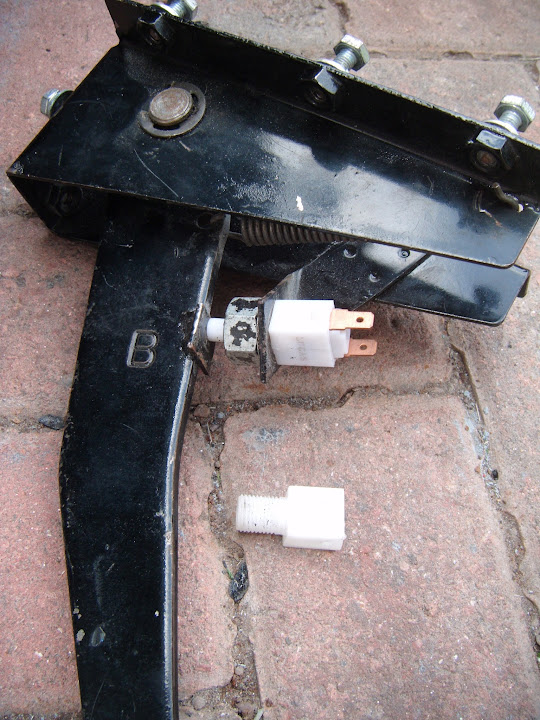
Fitted my new brake light switch to the rear brake lever.


So I wasn't best pleased when within minutes the "insides" were on the outside. :rant:


Despite wasting a lot of time trying to put this switch back together, in the end it just wouldn't work. :icon_sad:

So I'm not sure what is going on here, but I'll now have to sort this out another day.

To say bolting the brake and clutch pedals to their respective master cylinders was a pain would be an understatement.

In the end, I had to get my wife to help support the pedal under the bulkhead while I tried to line up all the holes.

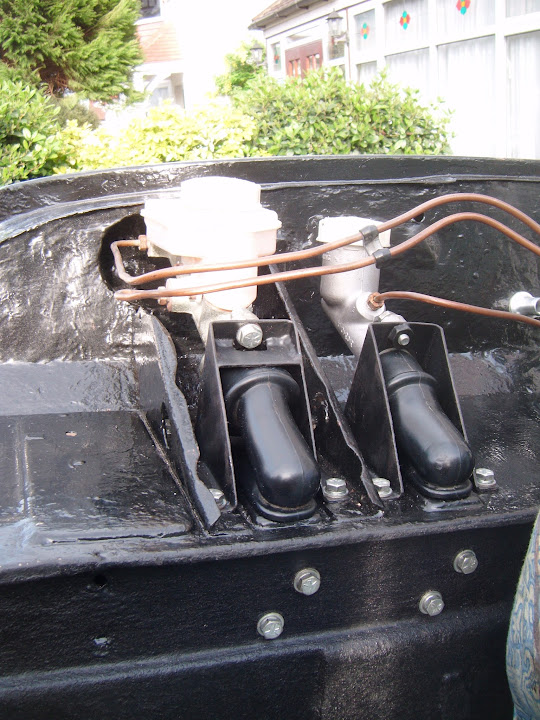
But after a lot of messing about, the master cylinders are now fixed to the bulkhead. :cool:


Note:
I need to double check the original hard line routing on my donor car before fixing these pipes back into position.

The recessed panel I made for the bulkhead many moons ago is doing its job nicely.


So two pedals done and one to go.


The good news is there is pressure when the brake pedal is pressed.

The bad news is the clutch pedal doesn't want to move at all, despite the application of brute force & ignorance. :icon_evil:

But to be honest, by this point of a very long day, I was just too tired to even think about this and I called it quits.

So until next time, take care, Paul. :)
11 May 2015, 9:06pm
What!..........no daily report?
Don't tell us you spend the whole day on the couch........