This is a read-only archive of the old Madabout Kitcars forum. New posts and replies are no longer possible, but every thread is still here to browse and read.
I thought I'd post pictures of the above as my descriptive powers are somewhat wanting.
The only bit of the handbrake mod not shown is the half inch bar which joined the tag in the first picture to the lever. The hole in the tunnel had to be that size to manoeuvre the completed mechanism through for connecting to the primary cable. The cover plate is held in place by M6 dome headed bolts which also go through the lever support and tunnel with a couple of pop rivets tidying up the top. The lozenge shaped hole is for the seat belt.
The headlamp pods stage one picture shows the aligning bar held cunningly in place with a bungee whilst the fibre paste goes off - high tech or what! I'll post one of the P700s in situ when I've taken one!
Nice work scottie i really like the look of that dashboard. As I think everyone would agree albeit fiddly and small it is exactly these jobs that will separate yours from anyone else's builds.
I go away for a few days and you leapfrog me on the door front (in total agreement with the primer-motivator trick!) and WCA finally hits on an idea to make his millions! Typical...
Scottie - As others have said, your dash really does look the part.
Seconded! Whilst browsing my quite extensive collection of D Type literature I had a good look at the XKSS dash pictures and have to say that Scottie's is a masterpiece!
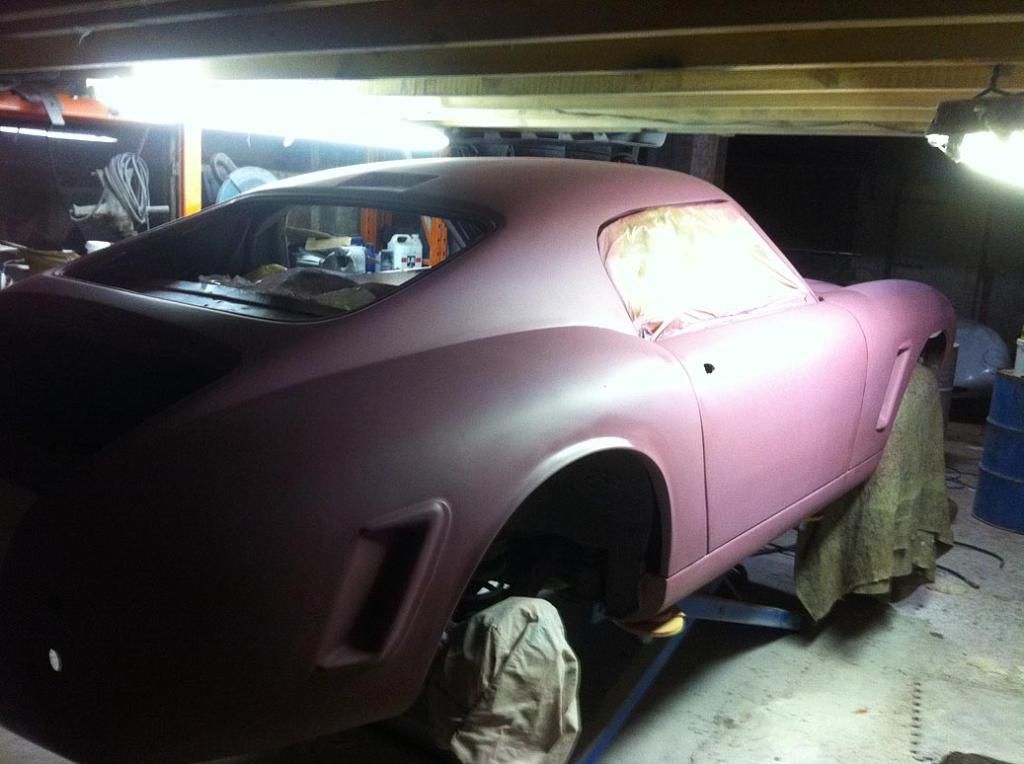
Today, Matthew, I was Harry Houdini working on the wiring in my boot space which, now that the body's glued on, is only accessible through the 'letterbox'. I made ally tags and strategically Five Minute Araldited them along the route the loom was to take. Lots of cutting, crimping, extending and continuity testing later my neck is cricked, but the wiring's now completed.
Hope you don't mind my hijacking your thread Scottie, but it seems daft to start a new one when I'm already ??% of the way through.
Mmmmmmn, I don't agree WCA, besides a camp look is not really what I had in mind.
Although it is a camper van, there is a subtle difference between looking like a cool camper, and looking camp. ( Looking camp could perhaps attract the sort of attention some would wish to avoid)
By the way, how is the fruit-ripener coming along?
And how many rocking chairs have you managed to sell so far?
Enough of that, moving on...........
Today I did some smally-jobs, the main one was making and fitting an anchor point for the bonnet stay.
So now the end of the bonnet stay will sit against a steel plate, and not wear its way through the fibre glass one day.
Not a lot I know, but as Tes*es says, "every little helps" and doing a small job like that is still better than receiving a good kick in the crutch with a divers boot.
I love that kind of detail and your bonnet looks proper, as does the engine.
The biggest disappointment when I pop the bonnet on mine is the engine bay is stock BMW including plastic engine cover. I tried removing the cover but that still looked crap and prossibly worse so I put it back on.
I may mock you but I envy both your skills and your project and am so please that people like you exist with these skills
I love that kind of detail and your bonnet looks proper, as does the engine.
The biggest disappointment when I pop the bonnet on mine is the engine bay is stock BMW including plastic engine cover. I tried removing the cover but that still looked crap and prossibly worse so I put it back on.
I may mock you but I envy both your skills and your project and am so please that people like you exist with these skills
May be you need to look into removing the bmw identity in the engine and the large expanse of black plastic....so from this
You need to go to May be powder coated covers ..red/black with silver highlights a Maserati badge over the big BMW tag.the inlet manifold have powdercated in a chrome or satin nickel ..even a bronze colour? Take a look at the Alfa ..ok so it has alloy covers but for not a lot of outlay I'm sure you could get get your engine bay looking more the part.
May be purchase some ebay spare covers and have them done and then the car doesn't have to be off the road.
That's good stuff redratbike, that's the sort of thing WCA needs to be looking at doing I'm sure.
Perhaps one day I will try something similar under my bonnet!
I think it could be made a whole lot better for not a lot of money.
As for yours so you will never pull off the straight six but maybe a nice period rocker cover ,some blinged up,carbs chrome dashpot covers ...nice retro air filter ....would look good.
One of these filters looks good
 [/IMG]
 [/IMG]
 [/IMG]
 [/IMG]
 [/IMG]
 [/IMG
[/IMG

 [/IMG]
 [/IMG]
 [/IMG]
 [/IMG]
  [/IMG]
 [/IMG]


