MadaboutKitcars

This is a read-only archive of the old Madabout Kitcars forum. New posts and replies are no longer possible, but every thread is still here to browse and read.

Another Cordite Is Born ...

30 Mar 2015, 4:41pm
Little & Often - Part 2:

Rear Wheel Arches:
There were three "standard" seat belt mounting holes in the rear arches.

I've already utilised one of these holes to mount the bracket I make to support the exhaust pipes.


But I'd left the others in place in case I needed them to join the rear arches to the internal frame work.
( As it was, I simply welded some box section directly to the arches. )

So now I needed to seal the holes and tidy up where the welding had melted the paint.

Thankfully, a selection of new seat belt bolts & bits came with my donor.


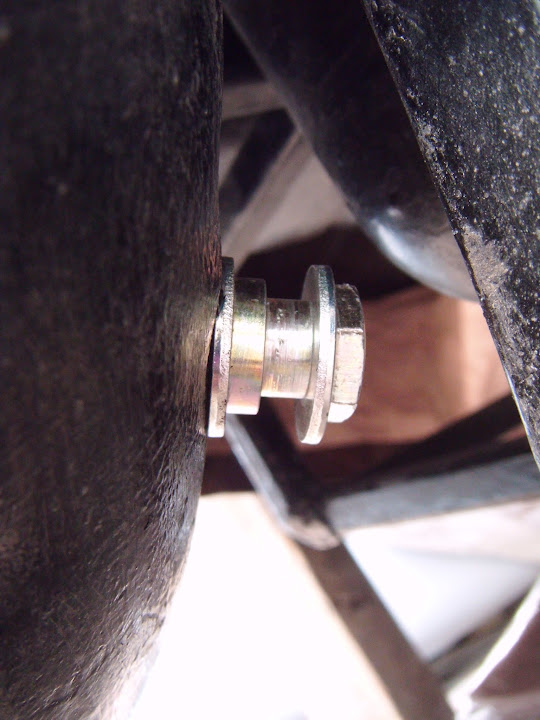
This was the passenger side:


By using the original seat belt "spacers", the bolt does poke out of the nut too far.


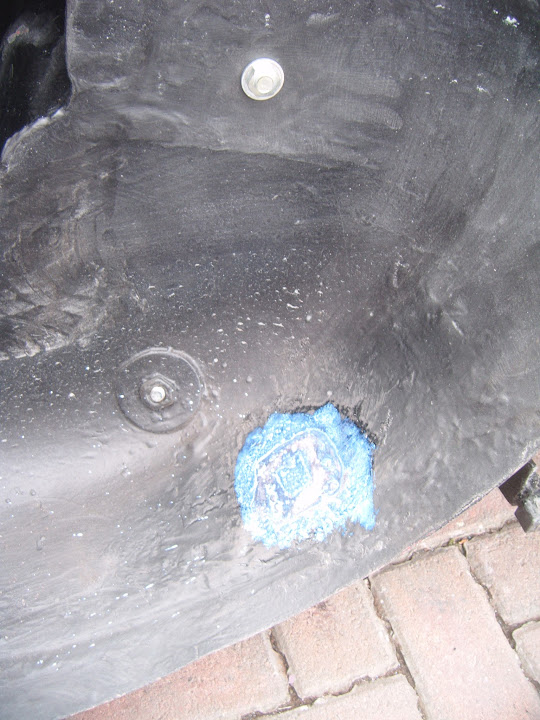
The other hole simply had a bolt fixed through it.


Although there was nothing simple about getting to the nut in here (middle of photo).


Especially as I had to squeeze my head & arms into this gap in the frame.


With the other side of the welding area cleaned up, I put some Kurust on it.


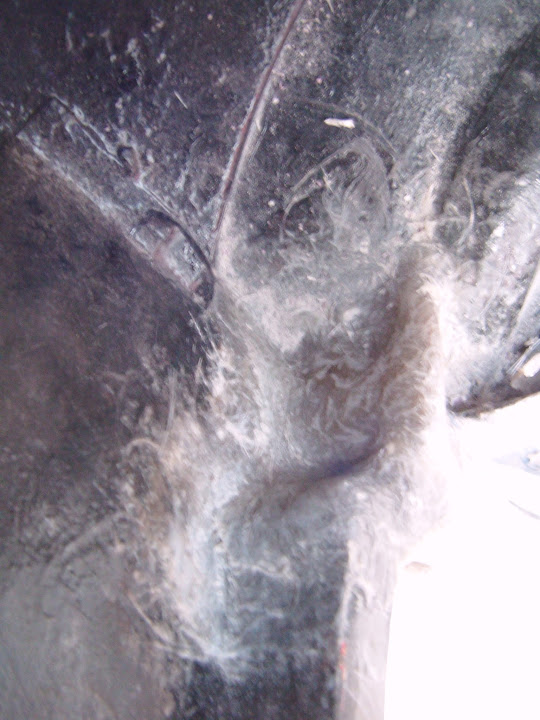
The driver's side just needed two bolts with spacers.


These were also a bit easier to reach when I crawled underneath from the front, rather than the side.


- - - - - - - - - - - - - - - - - - - - - - - - - - - - - - -

Weather Watch:
I knew it wouldn't stay dry long enough for me to start any painting today.

I didn't push my luck, so I stopped work at this point and got the covers back on everything.

So I was actually feeling quite smug when I felt the first drops of rain just as I was heading indoors.

Unfortunately the smug feeling didn't last long when I remembered I still had washing on the line! :rant:

Given the forecast I don't think I will get a chance to do any painting tomorrow either.

So until next time, take care, Paul. :)
31 Mar 2015, 6:36am
Rough Night: - Was woken up around 2.30am when it sounded like the wind was going to lift the roof off. :eek:

There was so much noise outside, I had to go downstairs and check all the car covers were still there/secure.

This seemed to be repeated every hour, so I haven't had much sleep, but at least everything is still on the driveway.

Have I mentioned I wish I had a garage? :rolleyes:
31 Mar 2015, 1:34pm
Paul L wrote:
Rough Night: - Was woken up around 2.30am when it sounded like the wind was going to lift the roof off. :eek:

There was so much noise outside, I had to go downstairs and check all the car covers were still there/secure.

This seemed to be repeated every hour, so I haven't had much sleep, but at least everything is still on the driveway.

Have I mentioned I wish I had a garage? :rolleyes:


Garage,Garage?..........who needs a F*Garage!
Garage's are for wimps,Real Man build their car outside on the drive.....
31 Mar 2015, 1:41pm
haha

Paul L

Rough Night: - Was woken up around 2.30am when it sounded like the wind was going to lift the roof off.

There was so much noise outside, I had to go downstairs and check all the car covers were still there/secure.

This seemed to be repeated every hour, so I haven't had much sleep, but at least everything is still on the driveway.

Have I mentioned I wish I had a garage?


I have to admit I did awaken from my slumber in the middle of the night to what was quite a storm, I thought about the car under cover and came to the realisation if it were uncovered I had no means to recover the car so best stay in the warm and went back to sleep.

(I have a garage - it just isn't big enough for even an MX-5 what is the point of these modern garages that don't fit even the smallest of cars?!?!?)
31 Mar 2015, 2:13pm
Having a garage is a pro..........if your car fits in.
I have rented space in an old greenhouse for my "collection"of classic cars,however the one i drive currently sleeps outdoors on the parking next to my house......in storm and rain.
It does'nt have to stay indoors,there is a roof,windows and doors wich keep the wheather out and it is originally made to be outdoors so it will be.
I have a workshop rented 9km away where i am working on my projects,not far away but it is'nt always easy to get there,after work we have dinner,coffee and a chat,tv goes on and after 10 minutes i fall asleep on the couch.............
No work is done on the project as you don't go for just an hour.
In case of Paul he walks thru the front door,pulls the tarp off and have a go...........i'll think he can put more hours in as me.
I now have asked for a permit to build a garage behind my house,it's not gonna be big(6x4 meter)but big enough to build a car.........i know,i know.......i am a whimp.........
1 Apr 2015, 6:24am
8 Valve Ed, Rene & Jones - I do seem to spend a lot of time checking the weather forecast. :rolleyes:

For me, the biggest disadvantage of working outside is the all the packing/unpacking of tools, parts, etc.
I'd love to be able to simply stop working, leave everything where it is, then come back later and pick up where I left off.
I didn't want to rent a garage as I spend too long away from my family working on this car as it is.
At least if I am just outside it is not a problem to quickly get hold of me for anything.

- - - - - - - - - - - - - - - - - - - - - - - - - - - - - - -

Yesterday:
OK, a bit later than usual, but I did manage to get a bit of work done yesterday despite the wind.

Grille:
No photo, but although all the car covers remained in place, my lovely new grille was "blown out" of the bonnet. :icon_sad:

It was only held in place with some tape and I think the cover itself was pushed into the bonnet opening by the force of the wind.

There is a slight bend in it, but this should straighten out when it is finally fitted.

- - - - - - - - - - - - - - - - - - - - - - - - - - - - - - -

Gear Box Tunnel Seal:
The good news is that the rubber seal I ordered turned up.


The bad news is that this is no longer supplied "shaped".
( As it needs to make a 90 degree turn from "up" the sides, to "across" the top of the bulkhead. )

A quick question for the Spitfire owners, I assume you have to cut the seal like so.


Rather than fold it at the corner.


Once I know the answer to that I can finish off drilling the mounting holes in the bulkhead.

- - - - - - - - - - - - - - - - - - - - - - - - - - - - - - -

Hand Brake Panel:
I carefully removed the masking tape from the seam sealer, but it was still a messy job. :rolleyes:


So I simply left this to dry for a bit longer before I put some paint on it.

- - - - - - - - - - - - - - - - - - - - - - - - - - - - - - -

Wart & All:
I've always tried to cover my mistakes, as well as my successes, on this build thread, so it is confession time.

I mentioned my wife struggled to lift the rear frame, floors & rear arches "combo" the other day.
( Note: No offence to my wife, I was breaking into a sweat lifting my side. )

As we tried to lift it clear of the bulkhead, it was dropped onto the bulkhead.

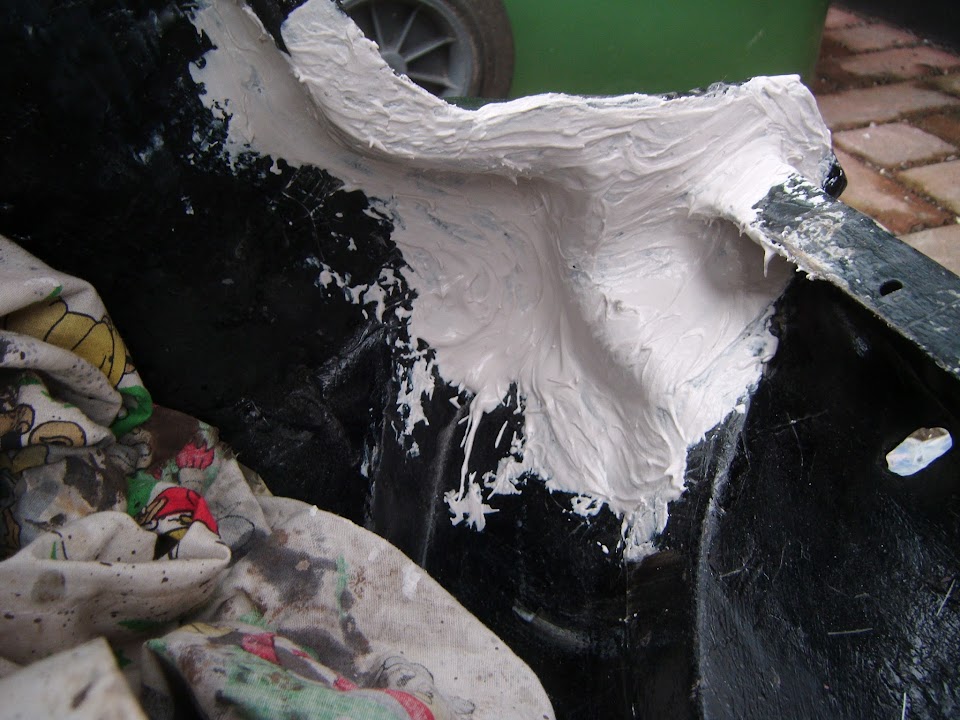
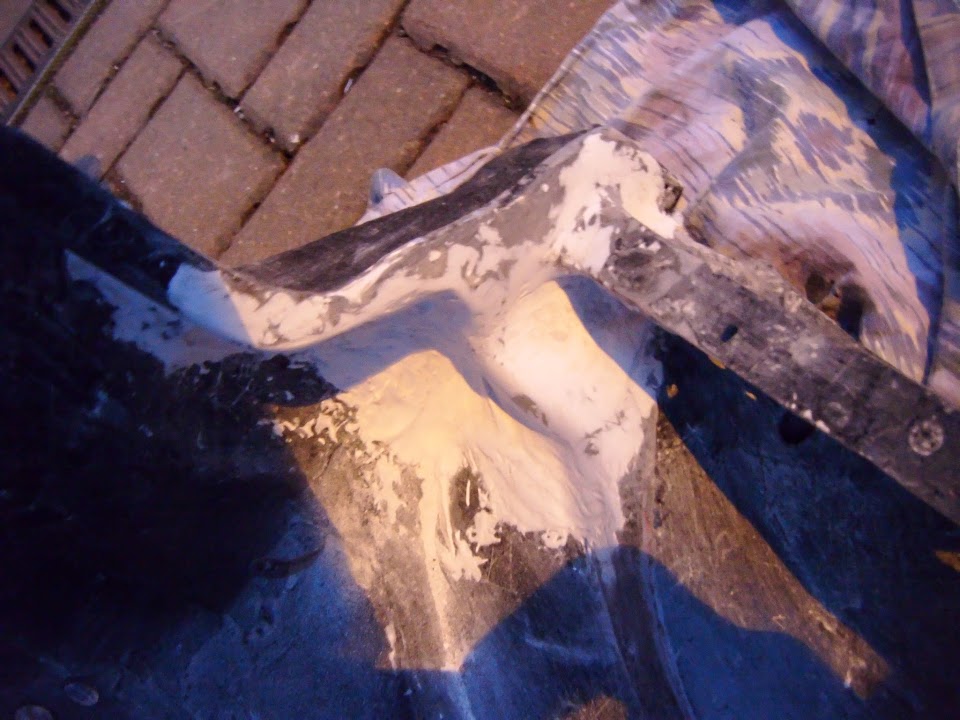
The net result was this section of filler was knock out. :icon_sad:


This was covering the expanding foam I put into the void beneath where the windscreen was cut off.

After I simply covered the foam with filler, I noticed Swifty always covered his foam with fibreglass matting before adding filler.

The good news is that the ideal time to fix this mess is while the bulkhead is off the car.

So I removed all traces of the filler from both sides, leaving just a fresh layer of foam.
( Sorry the photos are not great. )
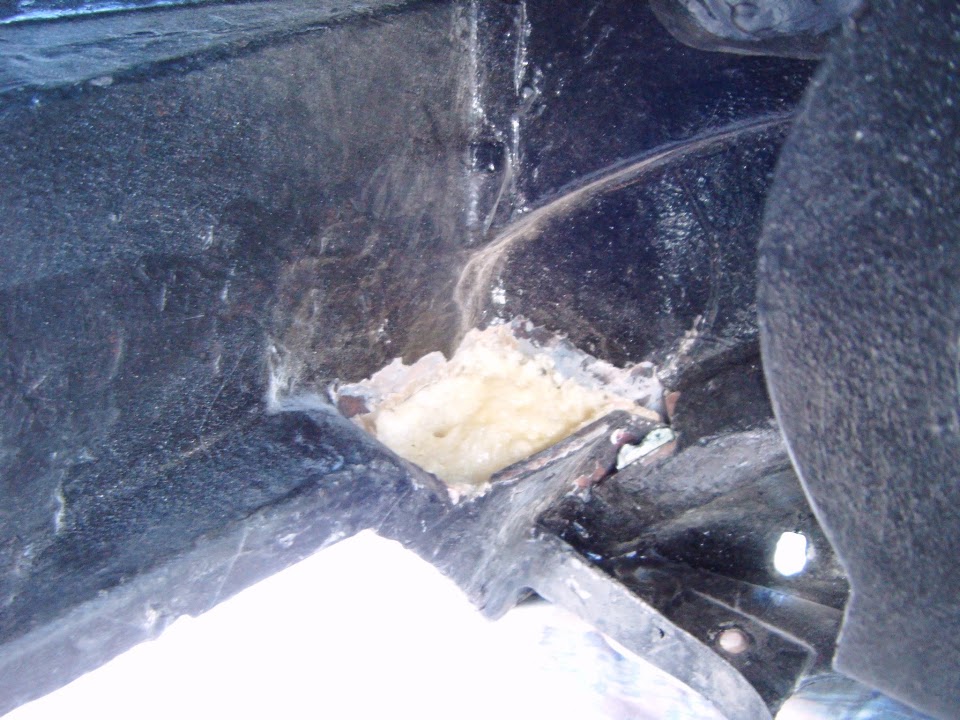


Getting the first layers of matting on was a very tricky job as the gusts of wind kept blowing everything away. :icon_evil:

Still, at least I have made a start.


So I'll finish that off another day.

- - - - - - - - - - - - - - - - - - - - - - - - - - - - - - -

Bulkhead:
I painted around the holes I drilled for the gearbox cover, plus the rest of this side of the bulkhead.


The next step will be to get a layer of stone guard paint over this area.

- - - - - - - - - - - - - - - - - - - - - - - - - - - - - - -

Rear Wheel Arches:
I also painted over the three small areas I was working on the other day, on both sides.


Again, these small areas will also be covered in stone guard.

- - - - - - - - - - - - - - - - - - - - - - - - - - - - - - -

This is going to be a family day, so these is no car work planned.

So until next time, take care, Paul. :)
1 Apr 2015, 8:10am
Do you stipple the stone guard on with a brush?
1 Apr 2015, 8:38am
Gary - I bought some stone chip paint in "rattle cans" and it dries to a nice matt finish.


After I posted this photo, the advice on here was that many light coats would give a "stippled" finish, whereas I just sprayed it on like normal paint.

Hope that helps, Paul. :)

PS
I must stop looking at the forum, as I am supposed to be tidying the house. :rolleyes:
1 Apr 2015, 9:09am
I'm supposed to be working...
1 Apr 2015, 12:30pm
Hey Paul what ever happened to Viatron / Mac?

Hope he's okay, just seems to have disappeared?
2 Apr 2015, 6:53pm
Gary - :D

Scottie - I don't know, but I've send him a PM.

- - - - - - - - - - - - - - - - - - - - - - - - - - - - - - -

Spinning Plates - Part 1:
An odd sort of a day where lots of little jobs got started, but nothing really got finished...

Bulkhead - Fibreglass Work:
I sanded down the first layers of fibreglass matting that I added under the windscreen cut off void.


I did this on both sides, but it was too dark in the other corner to get a decent photo.
( Actually none of the photos taken inside the bulkhead are great. :rolleyes: )

Then I added a final round of matting over the top of both corners.


This was much easier to do now that the wind wasn't blowing everything away.

Later on, when that was set, I roughly sanded both corners down again.


Now I just need to give these areas a light skim of filler and then they can be painted.

- - - - - - - - - - - - - - - - - - - - - - - - - - - - - - -

Rear Wheel Arches:
I sprayed some stone chip on the three small areas I was working on previously.


When these areas were dry, they had blended in nicely with the rest of the stone chip. :cool:


- - - - - - - - - - - - - - - - - - - - - - - - - - - - - - -

Bulkhead - Painting:
Once the fibreglass work had started to set, I could turn the bulkhead over to get some stone chip on the bottom section.


This will also dry a matt black colour, so I can easily tell which bits I have done, and which I need to do.

- - - - - - - - - - - - - - - - - - - - - - - - - - - - - - -

Hand Brake Panel:
I put the first layer of paint over the seam sealer.


- - - - - - - - - - - - - - - - - - - - - - - - - - - - - - -

Frame Capping:
It was only while I was doing the painting above I remembered I was supposed to "cap" some frame ends first. :rolleyes:

I knew these ends needed to be done.


But I'd forgotten there are two very small openings at the other end of this length of box section.


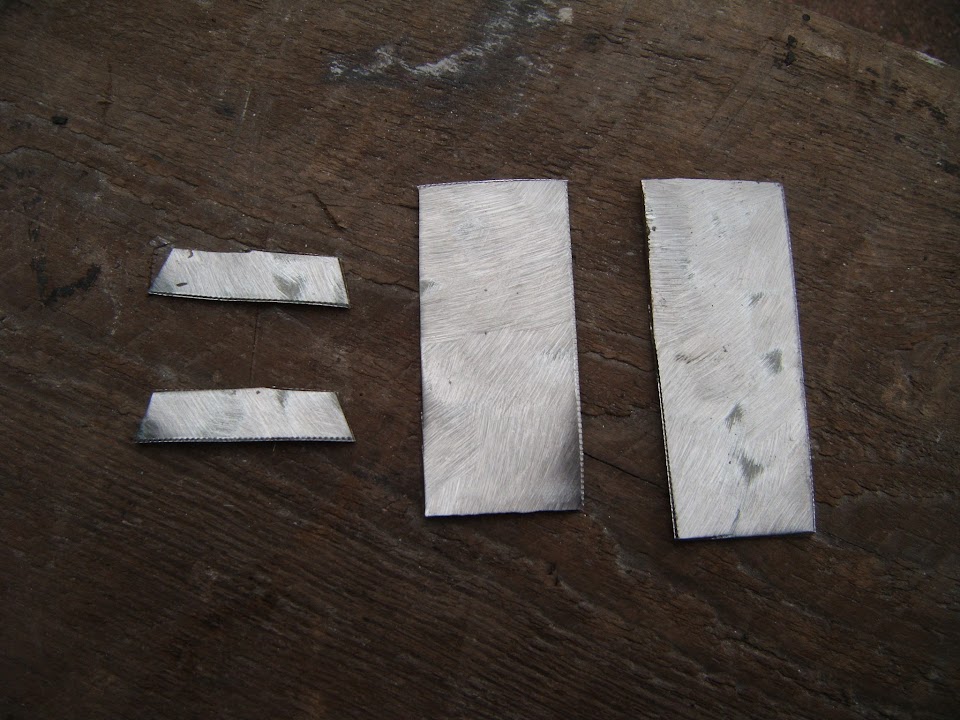
I need to come back to this job, but I've already tidied up some off cuts that I will cut to shape.


Note:
It is easier to clean bigger sections of metal then cut them down, rather that try to clean small "caps" after they have been cut.

- - - - - - - - - - - - - - - - - - - - - - - - - - - - - - -

Gear Box Tunnel Cover - Underside:
I roughly sanded the inside of this cover.


Because at some point I need to stick on this heat reflective material.


- - - - - - - - - - - - - - - - - - - - - - - - - - - - - - -

End of Part 1...
2 Apr 2015, 6:55pm
Spinning Plates - Part 2:

Gear Box Tunnel Cover - Sunny Side:
I also sanded down the rest of the cover, as I want to paint it and its looks like a tricky surface to paint.


I also wanted to shamelessly steal some ideas that Michiel used on Spyder #47.

He added a panel over the coin tray and a thin "strap" of metal around the cover.


I'd previously roughly cut out this old section of Spitfire, although Michiel actually used fibreglass for his.


So I trimmed it to the correct size and cleaned it up a bit.


I quite like the fact that this recycled section is a bit battered in places.


Then I used the cardboard template to work out where to fit some screws.


The template allowed me to mark up and drill the holes in the metal.

I also tidied up the edges of the holes and added some Kurust over the top.


Then I put a light coat of etch primer over the top surface.


- - - - - - - - - - - - - - - - - - - - - - - - - - - - - - -

Tetroseal:
I've also got some of this stuff, which I will add to the hard to reach places before everything gets re-fitted.


I know Mister Towed used this on his car, including the inside of the bonnet.


So I assume that it will leave a "dry to the touch" finish. :pray:

- - - - - - - - - - - - - - - - - - - - - - - - - - - - - - -

I knew all these little jobs would take time, but they are a key step toward the "start" of final assembly. :cool:

So until next time, take care, Paul. :)

PS
I do like reading threads where clever/skillful people do their stuff.

I've mentioned this guy in South Africa before, but his Maserati A6 GCS "Body Buck" is now done.


Details Here:
http://www.rodsnsods.co.uk/forum/garage/maserati-a6-gcs-body-buck-313330

Keep an eye out for a brief thread hi-jack by a 250 SWB buck. :icon_wink:
3 Apr 2015, 7:39am
I Hate Drizzle!
Given the run of rubbish weather I've had to put up with recently, today is a non-starter as far as car work is concerned. :icon_sad:

Although I may spend some time drawing up a proper "To Do" list for all the work required on the "big pieces" on my driveway.

Especially, as my wife couldn't find anywhere to park near the house yesterday and wants her parking space back.

Cheers, Paul. :)
4 Apr 2015, 7:26pm
Friday:
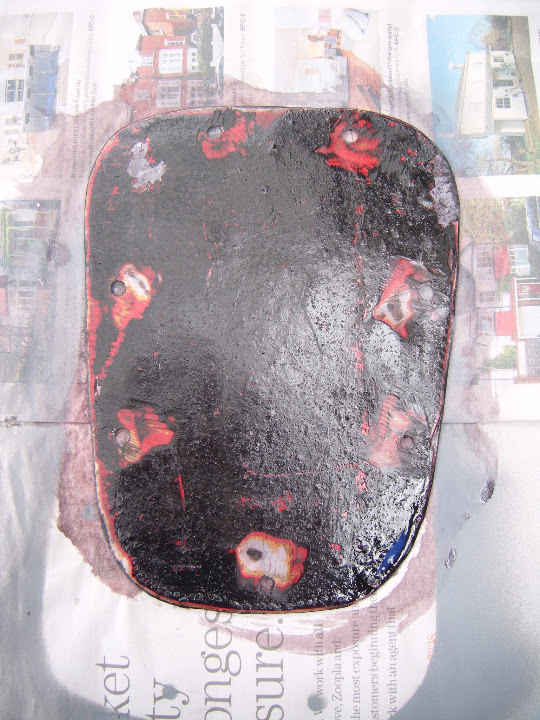
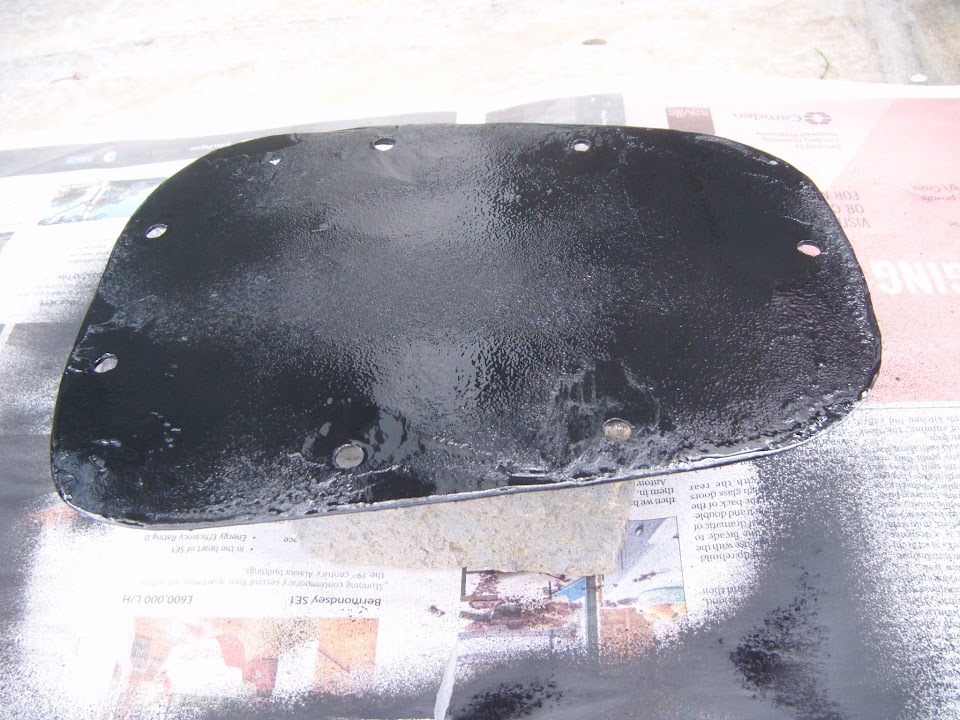
The only car related stuff was etch primer on the sunny side of the false access panel for the gearbox cover.

When that was dry, I covered the underside of this panel with some Kurust.

I didn't taken any photos yesterday, so I thought I would take them this morning.

This is the underside:


Top Tip:
If you are going to brush a liquid onto a surface with holes on it, lift it clear of the newspaper below.

Or this is what happens to your nice freshly etch primed surface.


I also started work on my big pieces "To Do" list, which quickly filled up a few sheets of A4.

- - - - - - - - - - - - - - - - - - - - - - - - - - - - - - -

Saturday:
I put a coat of stone chip on the underside of the cover panel (now raised off the ground).


Then put some normal body filler over the fibreglass matting work inside the bulkhead.

Although, due to the awkward angles & poor access this was a very messy "finger painting" job.


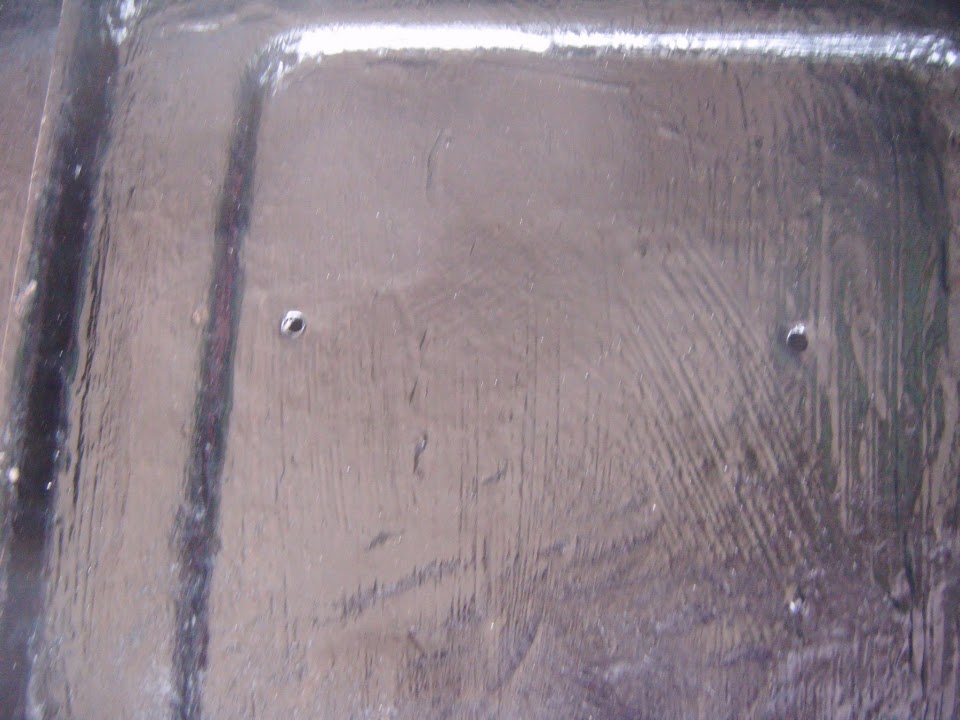
I also filled in the two holes I'd left for the VIN plate at the side of the bulkhead.
( Unfortunately, both photos are poor. )


Because this area will now be covered when the bottom edge of the bonnet is fixed to the body shell.

Unfortunately, by now the storm clouds were overhead and it felt like rain was coming.


As I couldn't risk starting work on the rear frame work, I covered up the bulkhead and retreated to the Summer House.


Where I had a look at the gearbox cover and it had a fine crust of plastic "swarf" following its sanding down.


So I went over the whole thing with some finer sandpaper and that certainly improved things a bit.


By now the weather had improved slightly, so I took a chance and returned to the front drive.

Where I cleaned up the edges of the box section in the rear frame work that I wanted to "cap".


Then I cut out the caps from the scraps of metal I'd cleaned up the other day.


Before welding them into place.

At which point I had to down tools so I could take my daughters to the cinema to see Insurgent.
Having watched the first film in the series, Divergent with them on DVD (again) last night.
Whilst I don't like missing out on building time due to the weather, I'd rather spend time with my girls than build a car. :cool:

However, when we got back there was just enough time to start sanding down the filler work.


But I've have to come back and finish that off another day.

So until next time, take care, Paul. :)
5 Apr 2015, 6:46am
Happy Easter:
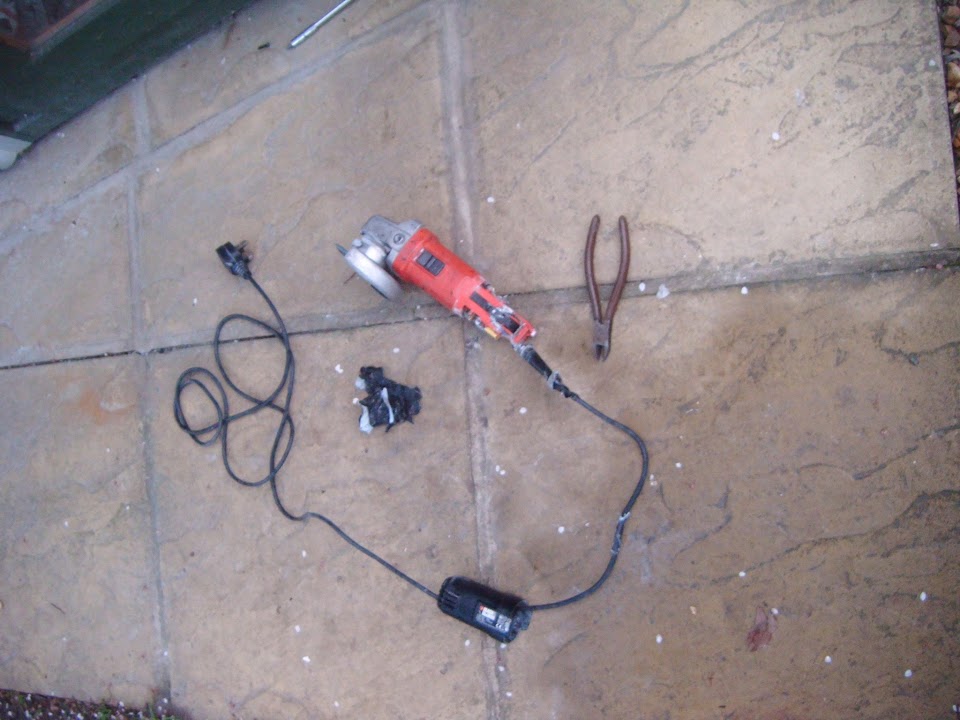
I woke up this morning to the horrible thought that I hadn't put my grinder away overnight. :eek:

It had packed up yesterday when I started to tidy up the "caps" I'd welded to the framework.
( And given the recent debate about amateur welding, I wasn't prepared to post "untidy" welding photos. :icon_wink: )

A quick trip to the end of the garden and there it was, abandoned in mid repair. :icon_sad:
( At the time, I decided to start the filler sanding work instead & come back to this later. )


Quite by chance, the Summer House appears to have protected it from the rain based on the wind direction.

So, not a great start to the day. :rolleyes:

With quite a bit of family stuff lined up, I'm not expected to get much, if anything, done on the car today, but we shall see.

Cheers, Paul. :)
6 Apr 2015, 6:20pm
Car & Garden - Part 1:
Sorted out the mess I'd made on the "sunny side" of the false panel for the gearbox cover and touched up the etch primer.


Spend a long time with my head inside the bulkhead trying to finish off sanding down the filler on the inside corners.

Eventually I spotted the other "rough & ready" finishes inside the bulkhead and decided this was a waste of time. :rolleyes:

So I stopped at this point, where the potentially visible bits are pretty smooth and the rest is less so.


And of course the etch primer makes it look a lot worse. :icon_sad:


However, I do know that a coat of black paint will make a lot of this mess harder to spot.

Similarly, I roughly sanded down the filler over the old VIN plate holes & primed them too.


It looks like my angle grinder is on its last legs and it is now only working intermittently.

Still, at least it stayed working long enough for me to tidy up the welding on the end caps a little.


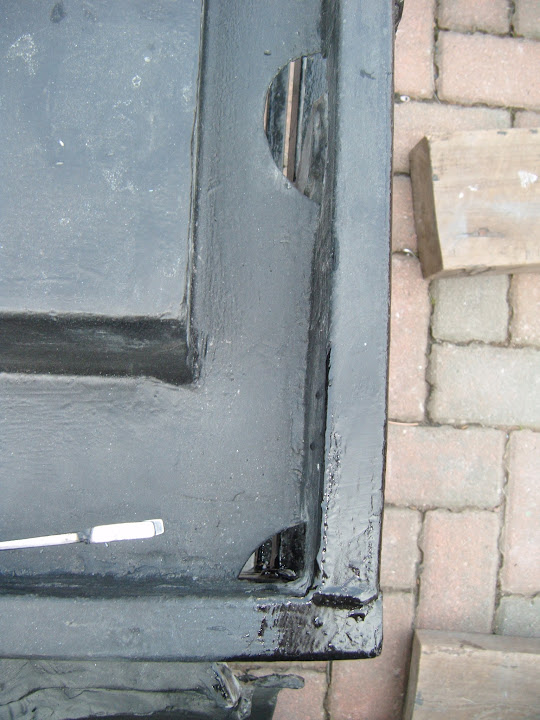
So far, I've only capped the two open ends of the larger box section on the passenger side.

This is because the driver's side is currently tucked up against the wall & also it can easily be reached when the frame is back on the chassis.

Whereas, the two small caps closest to the hand brake panel are part of the reason why I've removed this big section in the first place.

All four caps were then given a coat of etch primer.

Which means I can start the final build up of paint, stone chip & Tetroseal in this central section from tomorrow.


Next I turned the bulkhead back the right way up (as the primer was already dry).

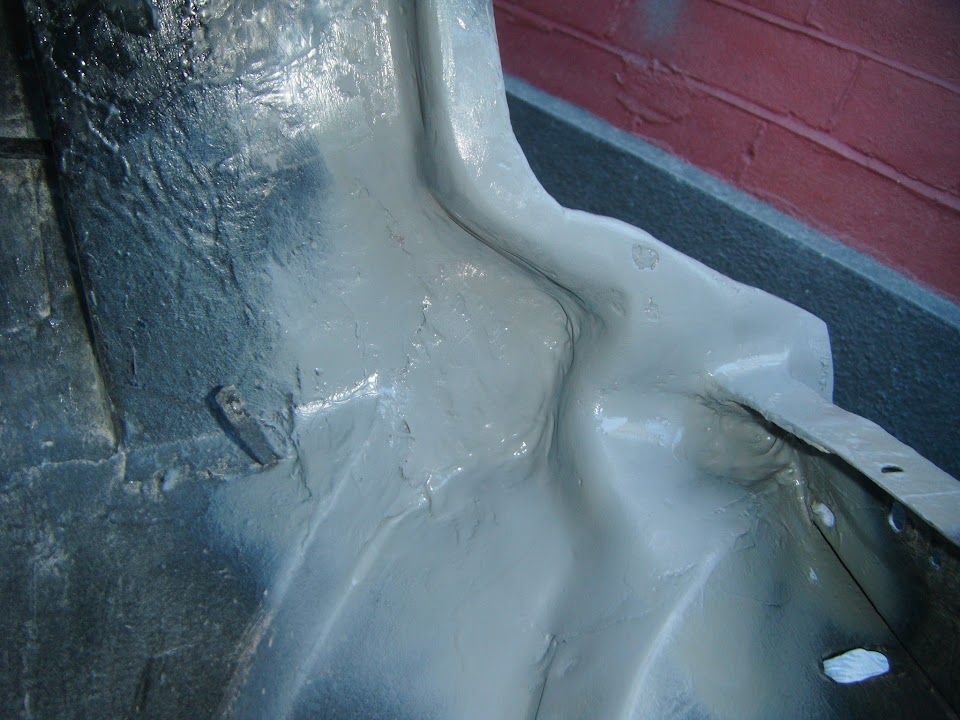
Then I cleaned off any drops of fibreglass resin that had landed on the floors when I was building the new scuttle. :rolleyes:


Before giving the whole area a coat of Kurust.


I also had to tidy up the area on the top of the bulkhead where the plastercine had been.


Then I added some Kurust to the various scrapes in this area.


End of Part 1...
6 Apr 2015, 6:21pm
Car & Garden - Part 2:
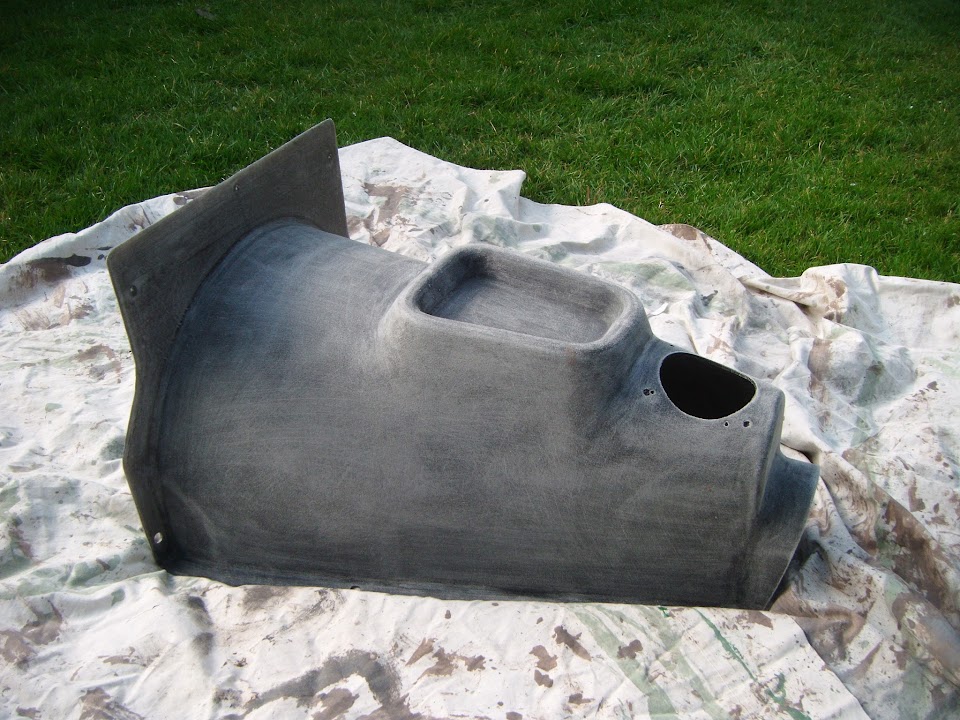
The next job was to given the gearbox tunnel cover a first coat of stone chip.

I'd already given it another dusting of etch primer after I had been sanding it down the other day.


So I have managed to start with a black plastic cover, then I painted it grey & now I've painted it black again. :rolleyes:

However, I am hoping this will eventually given me a finish that will blend in better with the rest of the cockpit. :pray:

The fact that the sun was out meant I also had to sort out the garden furniture.

So I removed the covers and left everything to air in the morning.

Then in the afternoon I could add furniture oil to them.


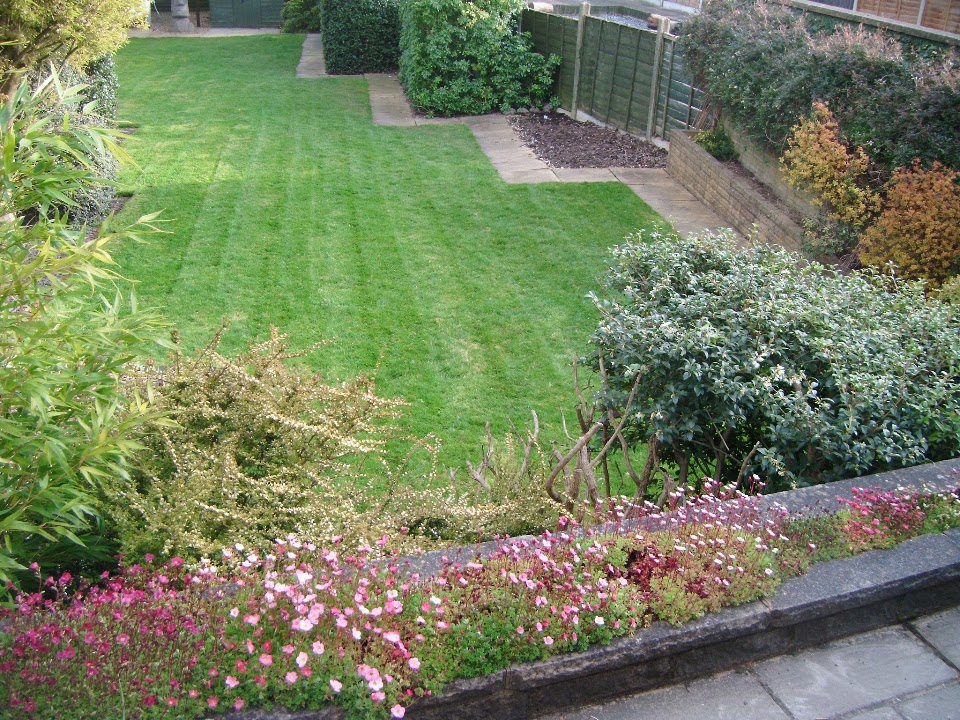
The photo above was taken after I had pruned the climbers from the wall in the background.

I also spent a lot of time pruning along the garden path and cutting the lawn too.


By now I was very tired and really running out of steam, but I did manage to get some paint on the bulkhead floors.


Although there wasn't enough time to paint the top of the bulkhead as it would have been wet when the covers went back on.

Instead, I simply packed everything away and called it a night.

So until next time, take care, Paul. :)

PS
I really hope today is the start of a decent run of dry/sunny weather. :pray:
7 Apr 2015, 6:47pm
Restricted Duties:
I thought it was odd just how tired I felt yesterday evening and this morning I woke up feeling pretty rough.

Went for a short run in a vain attempt to kick start my day, but that didn't help much either.

So I was left sitting in my work clothes for ages trying to muster the energy to go outside. :icon_sad:

Despite knowing that complete rest was the answer, with the sun shining I just had to do something.

However, I did restricted myself to just a few small tasks that at least inch me in the right direction.

I sprayed some stone chip along the bottom few inches of the front face of the bulkhead.


Then I paint the welded end caps and the seam sealer along the hand brake panel.


Plus the top of the bulkhead.


And the sunny side of the false access panel.


At which point I had to go and lie down for a bit. :rolleyes:

So this certainly doesn't rank as one of my most productive days.

Take care, Paul. :)
8 Apr 2015, 4:39pm
Still On Restricted Duties:
Whilst I am not quite as bad as yesterday, I am still struggling a bit.

So there is not a lot of progress to report today and in no particular order...

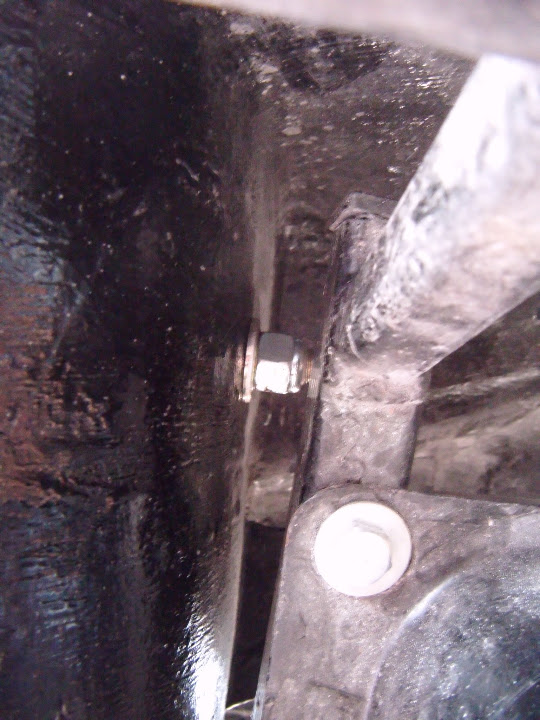
I checked was this nut could actually be undone from below.


The good news was there was just about enough room for a spanner to work.

The bad news was that by the time I have filled in the gap in the floor there probably wouldn't be.


There are a few other gaps in the floor that I also need to fill in.


Note:
These were required to get the floor pans to slot in around the framework in the first place.

So I knew I would just have to bite the bullet and make some "space" around the nut.

I had one of these plastic eggs in my "might come in useful" pile.


Which I then cut into two.


Before marking up the floor and then drilling / cutting the shape out.


I will then fibreglass this shape in from above and seal the gaps in the floor from below.


There is actually quite a bit of work required to "join up" / seal the gaps between the frame work, floors and rear arches.


I filled one small hole in the fibreglass / filler work I did in the corner of the bulklhead.


Which was later sanded back.


And given a coat of primer.


I also sprayed a bit of stone chip on the upper part of the bulkhead's front face.


Plus the underside of the hand brake panel.


In an attempt to tidy up a bit, I removed the welder from next to the TV in the sitting room!


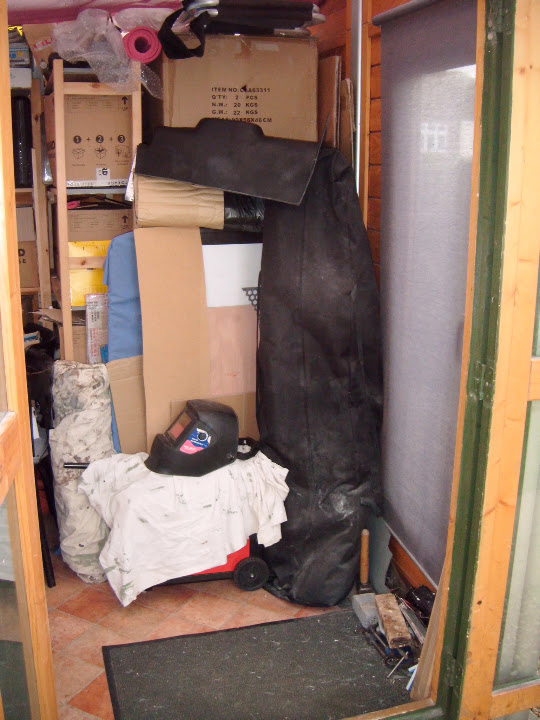
But I couldn't put it back into the Summer House until I tidied that up first.
( In particular the two car seats and twin tail pipes that were removed when I dismantled the "moon rover". )


Eventually I had the place in order...


But lifting up the big box with the two seats in it had me huffing & puffing and sweating buckets. :icon_sad:

So it really was time to take it easy and not make myself any worse.

Until next time, take care, Paul. :)
8 Apr 2015, 8:05pm
You're always tidying that summerhouse... As my mum would say - a place for everything, and everything in its place... I never took any notice, either.
8 Apr 2015, 9:17pm
Can't you clear out that summer house and put the car in?.........
9 Apr 2015, 7:05am
Gary - I think one of my biggest problems is that I don't have a place for anything. :rolleyes:
So what I really need (apart from a garage) is for some of these big parts to be permanently fixed to the car.

Rene - Unfortunately, there is no way of getting the car into (or back out of) my back garden. :icon_sad:
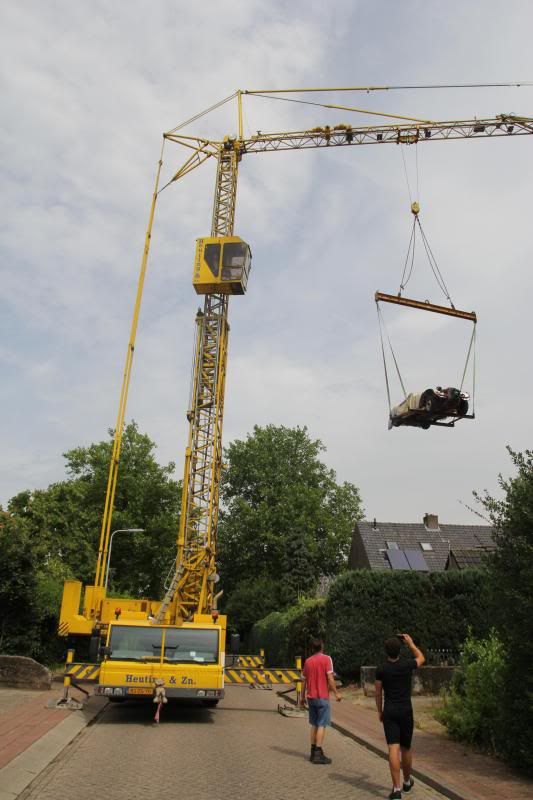
Well, unless I wanted to follow Jerome and use a very big crane! :eek:

9 Apr 2015, 7:43am
The crane solution isn't uncommon with boats built in the back garden.

With my Roadster build I assembled the engine in the kitchen and painted all the panels in the living room.

I only have a back yard/garden about 8 ft by 11ft which includes a small greenhouse which I am currently using as a parts store, I built the Roadster entirely outside but my neighbours took pity on me and have allowed me to use their shed and parking area. I set myself a curfew from 8 to 8 for noisy activity and as quiet as possible on Sundays.

It's amazing what can be done in restricted circumstances but it does have an impact on productivity.
9 Apr 2015, 10:21am
Well Paul there is a solution,kick your family out and use your house as a garage.
My previous girlfriend said"the bikes have to go or i go............."
She now lives elswere.............