MadaboutKitcars

This is a read-only archive of the old Madabout Kitcars forum. New posts and replies are no longer possible, but every thread is still here to browse and read.

Another Cordite Is Born ...

20 Mar 2015, 7:26pm
Slowly Inching Forward:
Whilst my daughter is much better, she spent another day off school today, so just a bit of car work for me.

Although I thought I'd start with the Wembley view of the partial Solar Eclipse.


:rolleyes:

I managed to carry on sanding down the rain channel edge so the boot lid rubber seal can sit lower.

I think this is as good as I am going to get the top edge.


As there is a little bit of distortion around both sides of the driver's hump.
( No doubt due to cutting the lid out in the first place. )
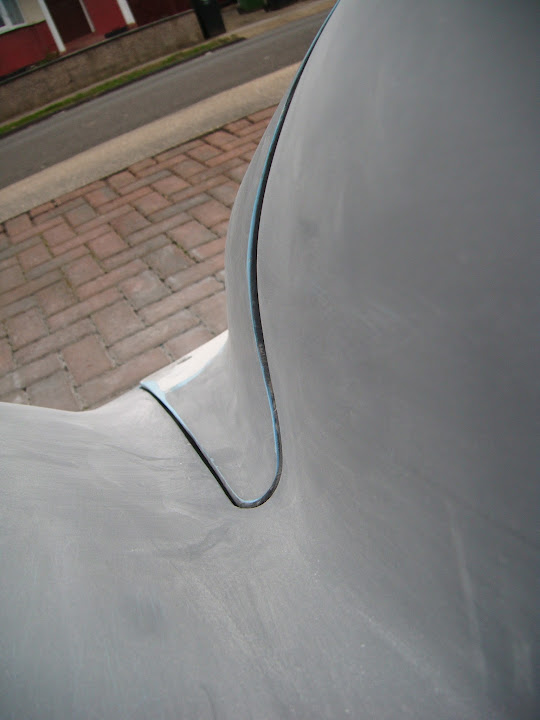


So this is something I will come back and sort out with some filler when the lid is fixed into position.

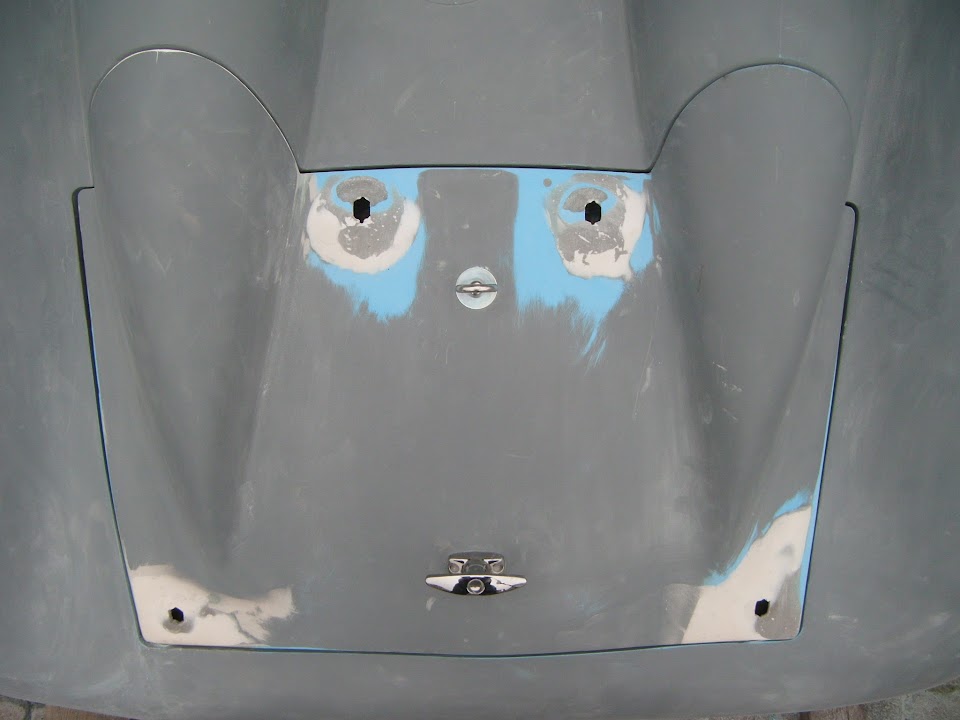
In order to get a best fit of the lid, I needed to make one adjustment along this panel gap.


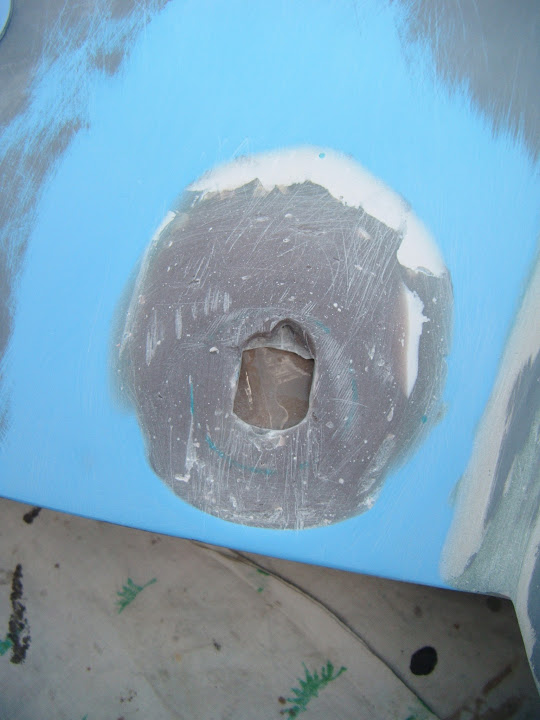
You can also see that I've rubbed down some of the filler previously used to build up the around the top holes.

Actually I spent a bit of time making very small adjustments to other gaps around the lid.

Whilst any photo seems to distort the angles / gaps, this is the best view I can get of how the lid sits now.


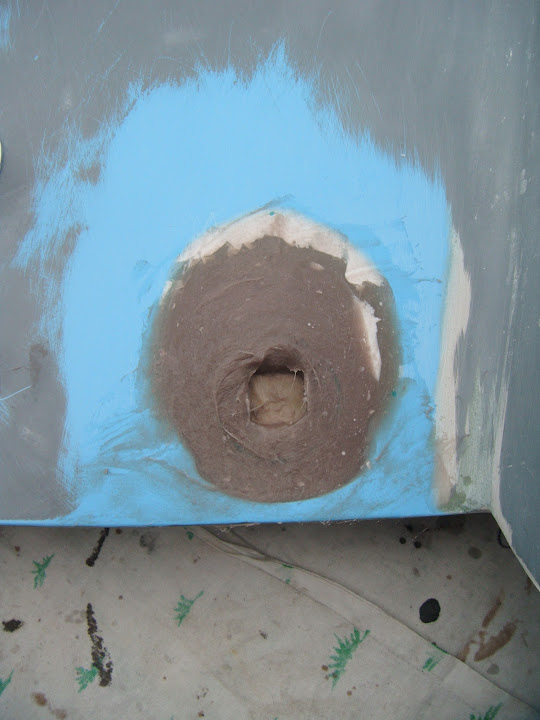
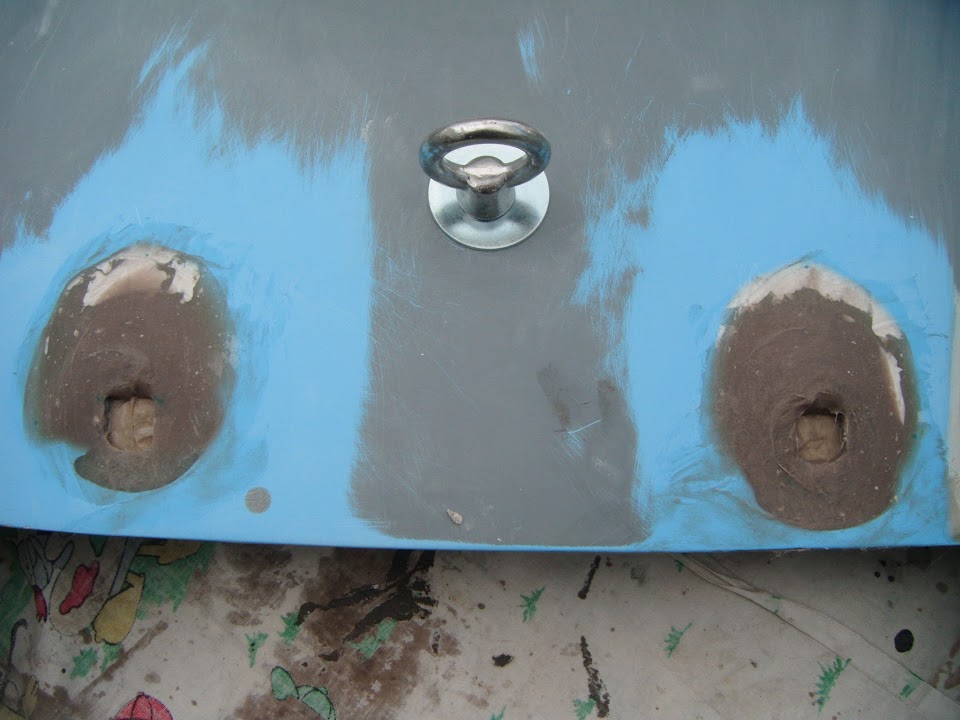
I also managed to add some fibreglass filler around the top two holes.


Although my master plan of using my bolt separator to help me get a nice level failed miserably. :rolleyes:

Thankfully I also got the chance to sand that down.
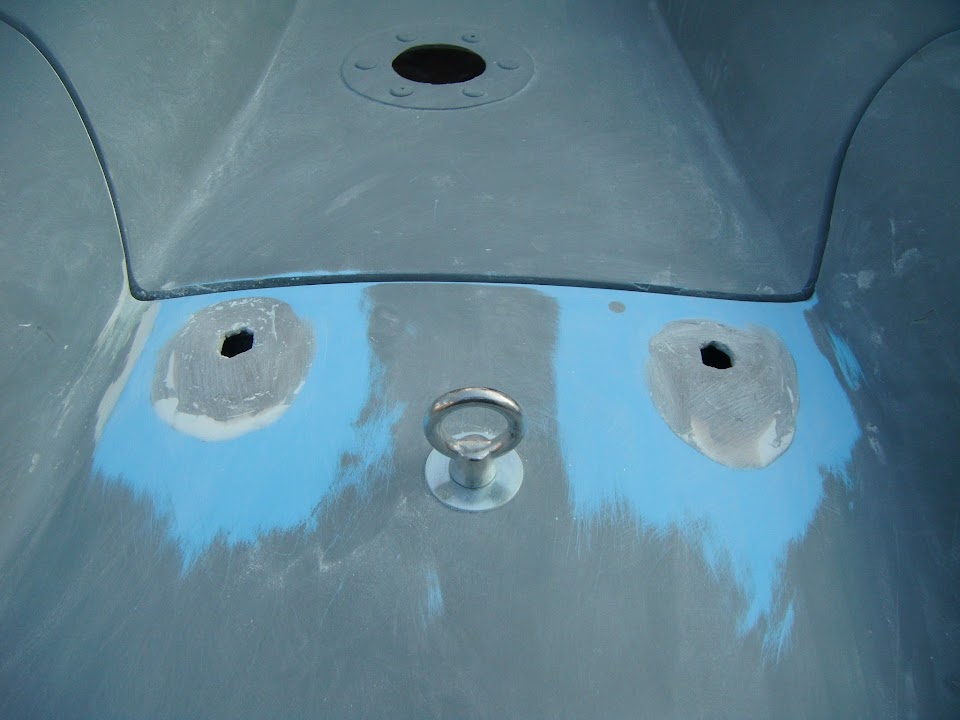


Then I decided to pop the locks in and have a bit of a play, despite the fact I still need to tidy this area up a bit more.


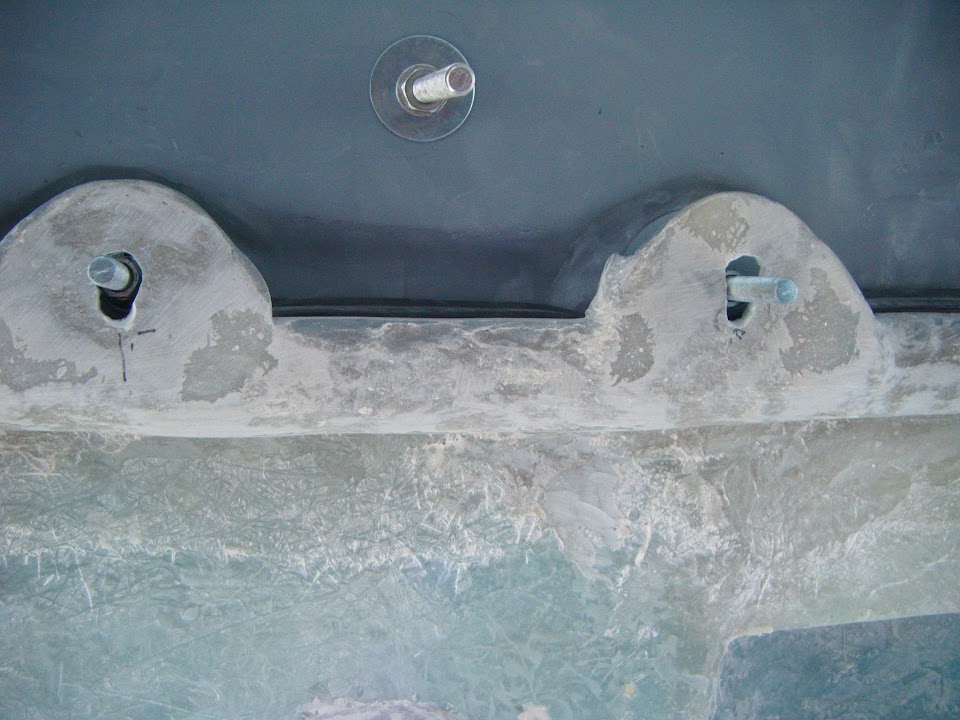
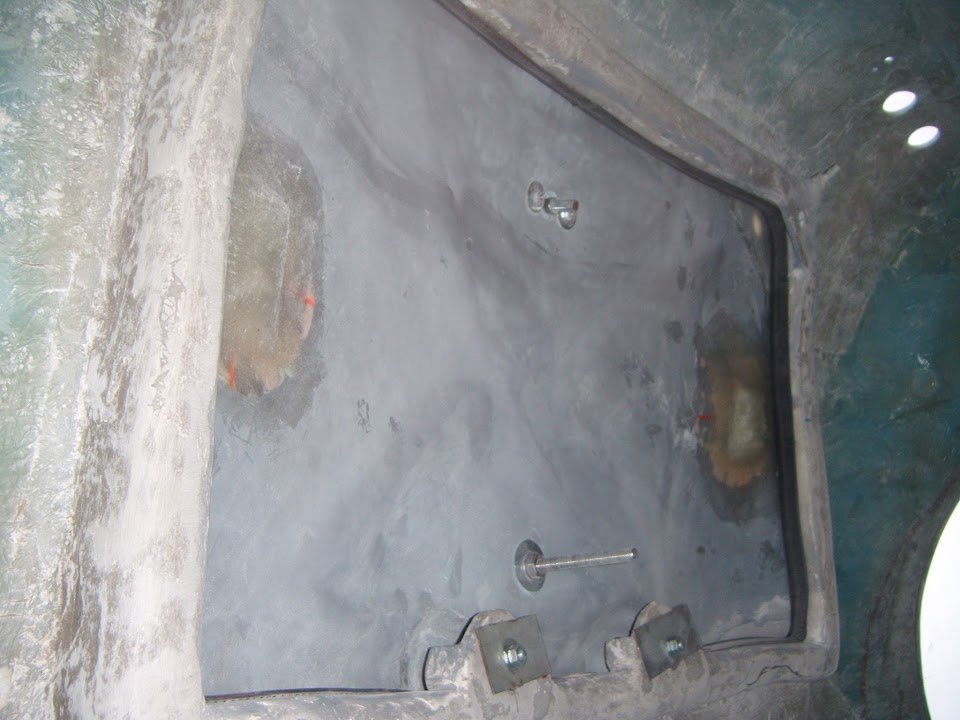
I could get the fixing bolts to hang freely below the locking pins.
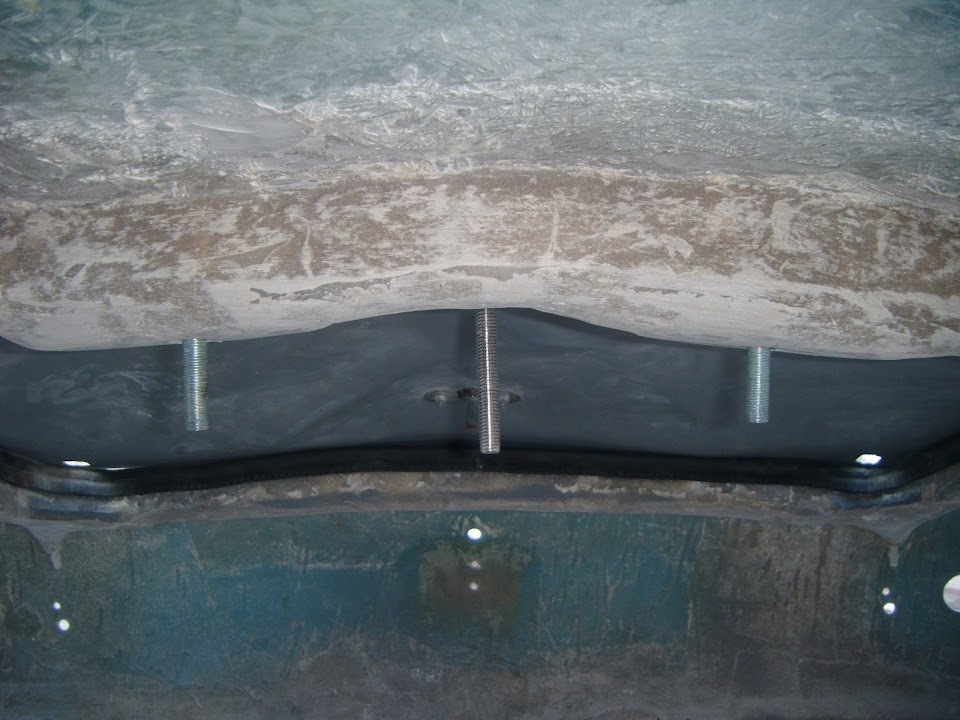


So I used a couple of washers to mark the position underneath.


Which could then be viewed from above like so.


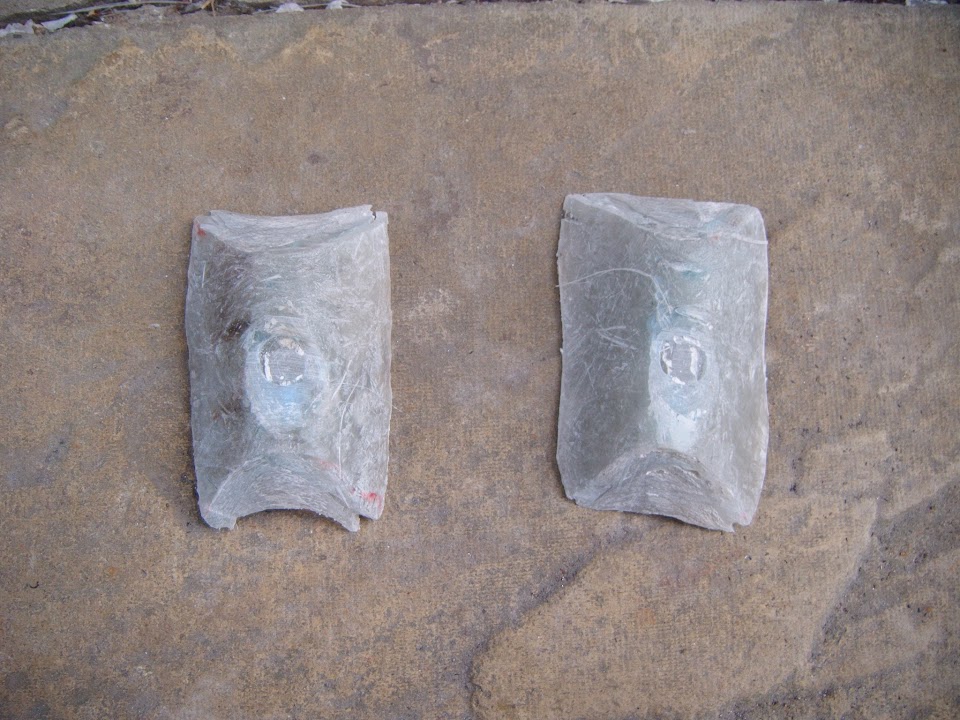
The spreader washers I made the other day just needed a minor trim to match these new holes.


Unfortunately my attempts to level these on a bed of fibreglass filler also failed. :icon_sad:


So I will have to put a thin layer of filler over the top if I want these two surfaces to be level.


But I want to fix the locking pins to the boot lid before I go any further.

However, I need the new washers to arrive so I can double check the level of the top surface of the lid.

Then I can make sure the underside of the lid is parallel to that too.

I know this is a lot of work for something that should not be this difficult.

But I think I am slowly getting to the point where the top two locks will eventually work. < Touch Wood >

So until next time, take care, Paul. :)
20 Mar 2015, 11:16pm
Paul, the way your boot lid is at present, its begging for two hinges at the rear and the T shaped handle in place of the ring.

That would be an easy fix, and an end to your problems?
21 Mar 2015, 9:29am
Scottie22 wrote:
Paul, the way your boot lid is at present, its begging for two hinges at the rear and the T shaped handle in place of the ring.

That would be an easy fix, and an end to your problems?


Or an even simpler solution: don't bother with the hinges, add a couple of dowels at the forward edge to mate with matching holes, put the T handle lock at the back and just unlock, lift and pull the panel out to access the boot.

Dare I say it but with all the fasteners, handles and loops, at the moment it's perhaps in danger of looking a bit fussy. :eusa_think:
21 Mar 2015, 2:32pm
Scottie & Mister Towed - Thanks for the replies chaps, as this boot lid is seriously getting me down. :icon_sad:

Although with a bit of luck, I may just have stumbled upon a KISS solution...

- - - - - - - - - - - - - - - - - - - - - - - - - - - - - - -

Last Chance Saloon:
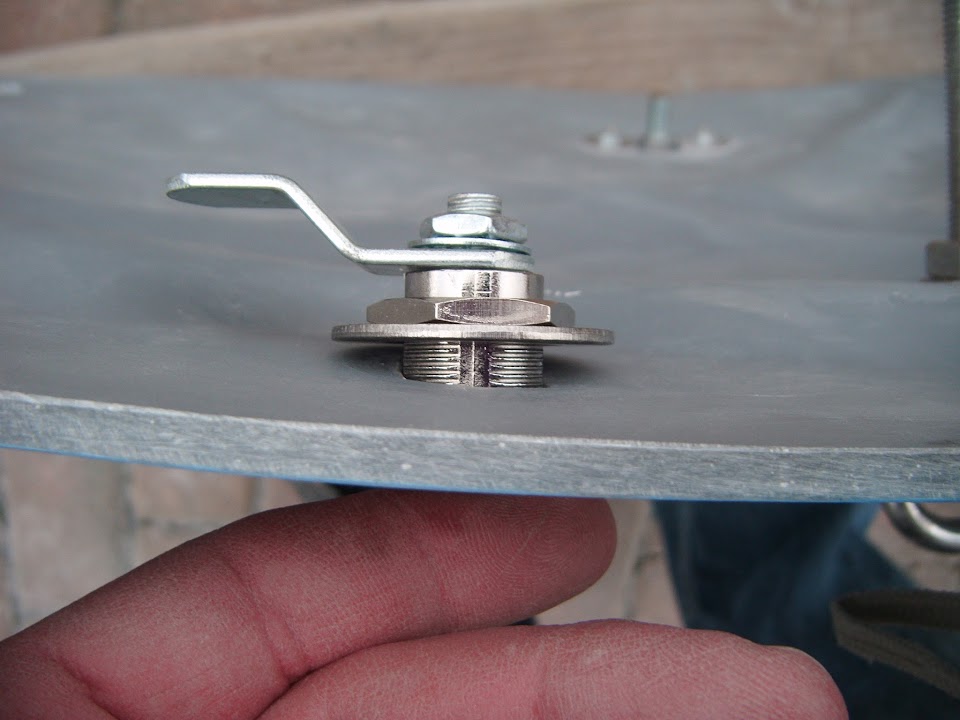
In one last desperate roll of the dice I have gone back to the other type of lock I have, which thankfully slots into the same size hole.


After the filler work I did around the holes the other day, this is the 180 degree sweep of the "open" & "locked" positions.


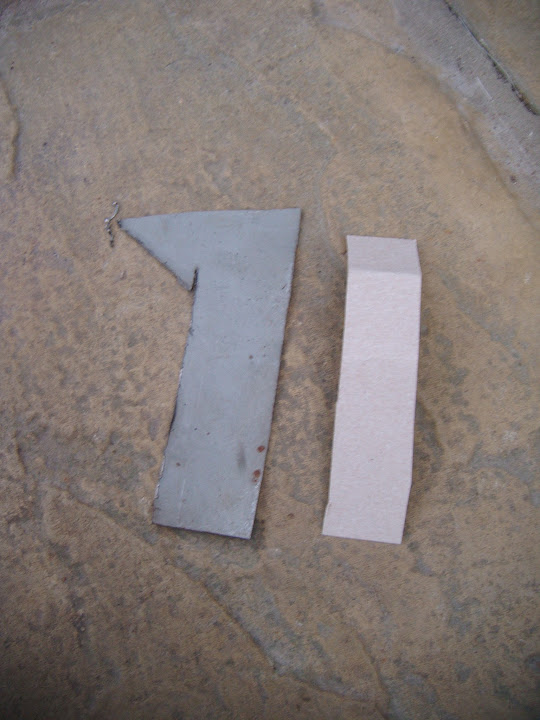
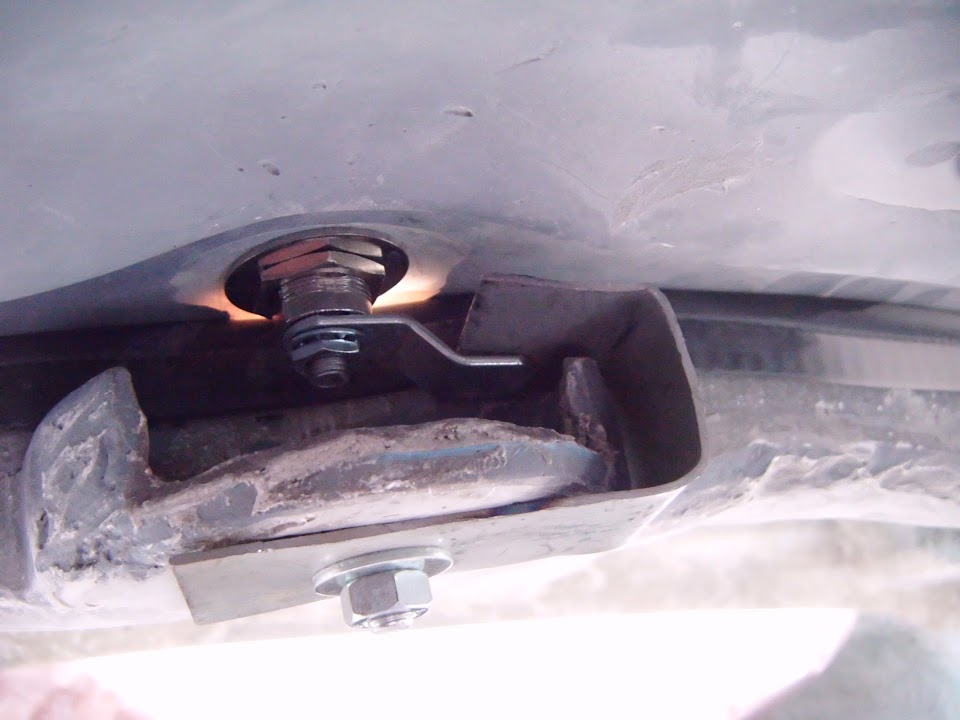
So if I made a simple metal bracket like this.


I could bolt it to the mounting plate like so.
( Excuse the blurry photo. )


I could also add a small side brace to help fix the two horizontal sides.

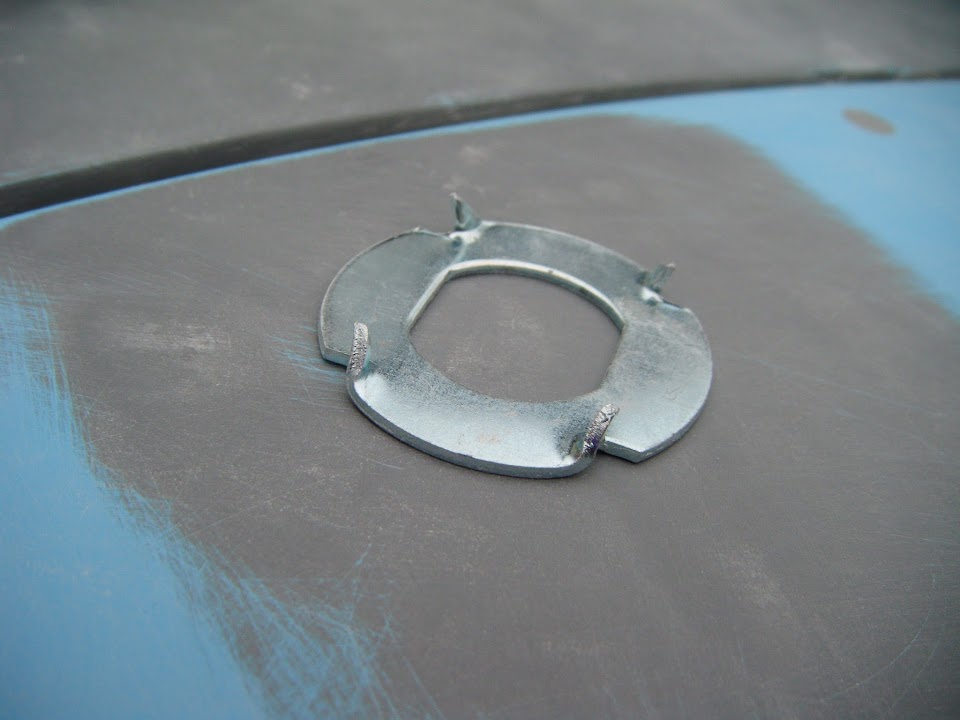
The locks come with a washer with four spikes, which I assume are for fitting on the inside of the body work.


Although I'd be tempted to drill four small holes to the depth of the spikes and fit them on the "sunny side".


I could still add a washer on the inside surface so it is supported on both sides.

Before I waste any more time on this, is this solution likely to work?

Thankfully I have other family stuff to do now, as it is bloody cold outside.

Take care, Paul. :)
21 Mar 2015, 5:38pm
Thank **** For That!

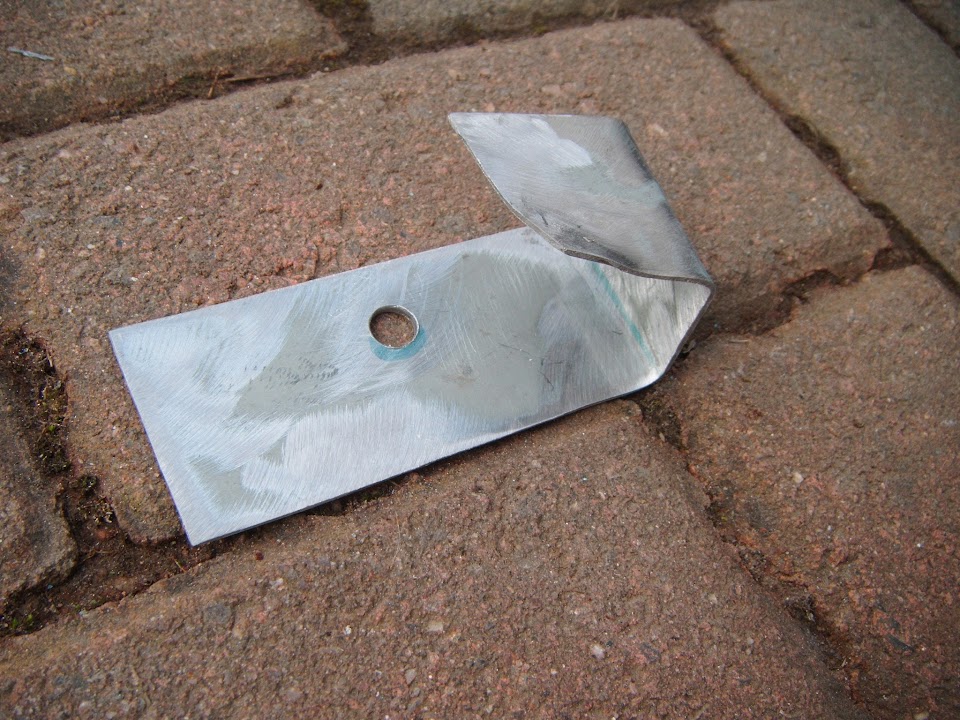
I did get another chance to play outside, so when I found an off cut almost the right size it was a race against time.


A quick trim and a bit of hammering later and I had this.


Note:
I put a slight bend on the leading edge to guide the latch home.

But before I could test this, I needed to sort out the lid first.

Thankfully my M18 washers arrived after my last post and saved me from myself...

"I'd be tempted to drill four small holes to the depth of the spikes"

Really?

When using the washers I bought for this purpose would clearly be a better idea. :rolleyes:


So that was the sunny side taken care of, now I needed to sort out the underside.


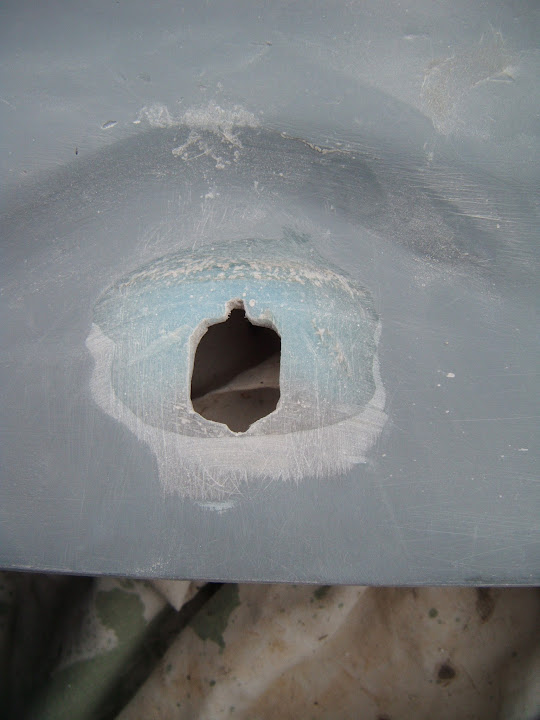
A quick sand down later...


And I had a much better fit.


Note:
I will add some fibreglass matting around the sanded down hole, to increase the depth, but still keep it level.

Then I drilled a hole in the bracket and bolted it into position.


Then I put the lid on and tried the lock, it just needed a bit of downward pressure to squash the rubber seal, but it bloody worked!


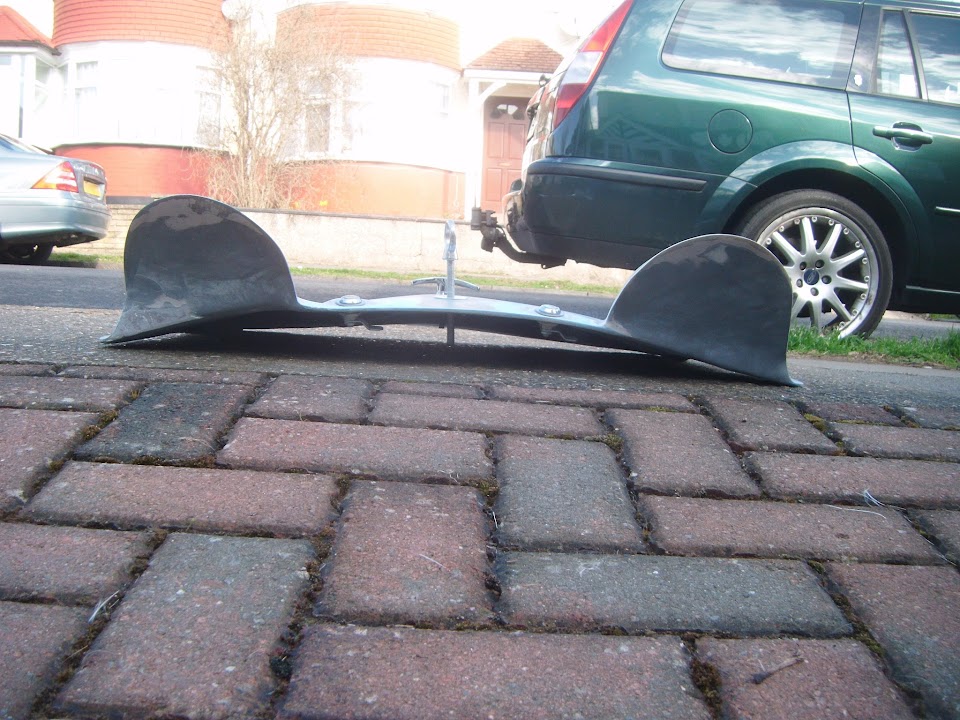
So here is the boot lid with one working lock. :cool:


You have no idea how happy this makes me, as this has been a complete nightmare from start to finish.

I will add an extra bolt to the bracket to prevent twisting, but I will use the same approach for the other top lock.

Although the bracket will be a bit smaller to take account of the curve in the lid.

I know I still have to form a master plan for the two bottom locks, but one step at a time.

Cheers, Paul. :)
21 Mar 2015, 6:17pm
Looks o.k. to me.
I would weld a piece of flat at the far end(on the picture)of the bracket to secure it from bending up when in use,otherwise you can get a lot of play in the lock as the bracket is only a piece of bend flat.Just connect the up and downside together will prevent disforming
René
22 Mar 2015, 11:23am
Rene - Cheers, I will definitely weld in an extra piece of metal to brace the "catch".

- - - - - - - - - - - - - - - - - - - - - - - - - - - - - - -

Sunday Morning...
... is not the best time to be working on the car, as making noise is not very neighbourly.

Unfortunately, the first "catch" bracket I made yesterday required an angle grinder, a lump hammer & an electric drill. :rolleyes:

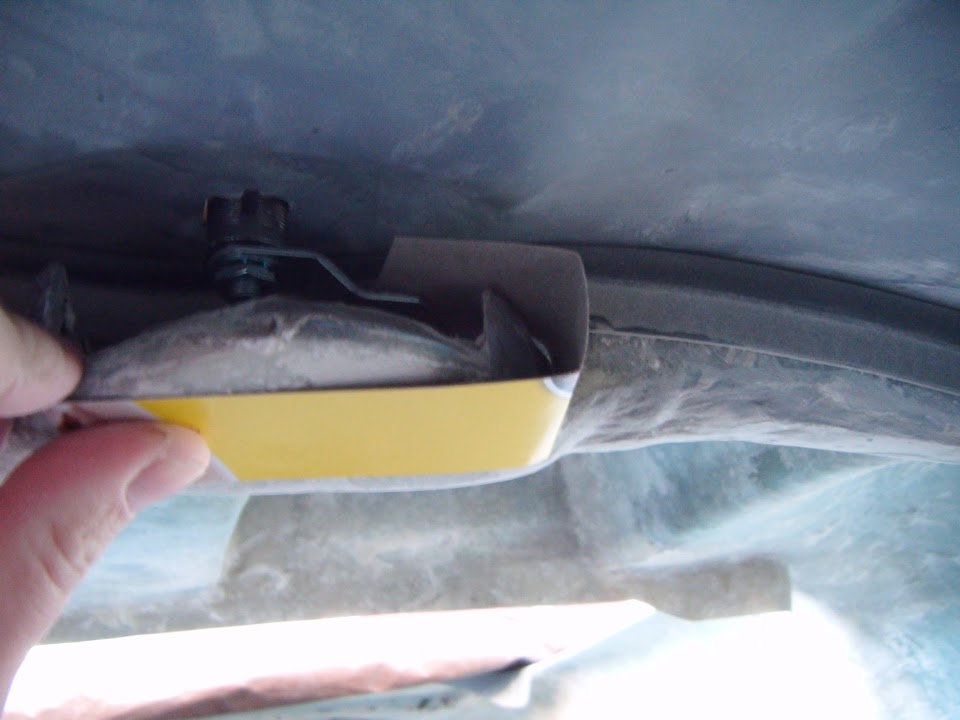
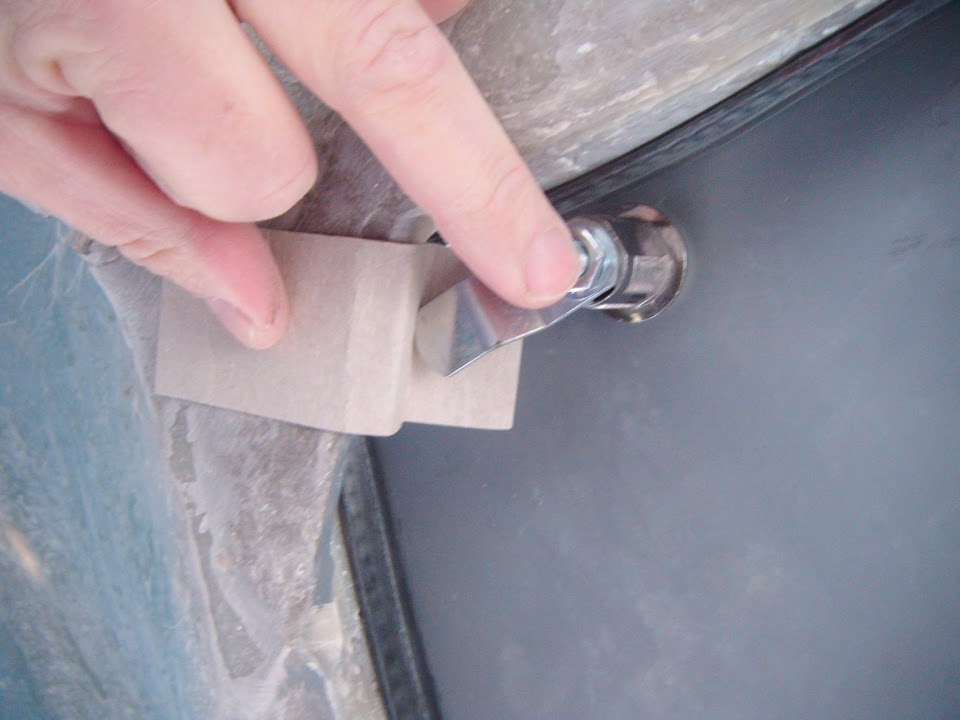
So I started with some cardboard and scissors to make the template for catch #2.
( Which is not the same size as #1 due to the curves in the lid. )


I also marked up where the rubber seal ended near the first catch, as I want to build that up with fibreglass.
( Sorry it is not easy to get decent photos from inside the body shell. )


I ordered another pair of this type of lock last night, as this approach looks simple enough for me to make work.


Although I will need to relocate the fixing holes along the bottom edge of the boot lid.

As in their current position, there is no enough room to turn the "cam lock" through 180 degrees.

By chance, it looks like I will be able to get away with fitting them in line with the "pointy end" of the aero humps.


Unfortunately, the "catch" design will not be quite as simple as those along the top edge.


But at least I still think I can make it work, which is a big step forward from where I was a few days ago.

I then took the lid to the back garden where I did some fibreglass work.

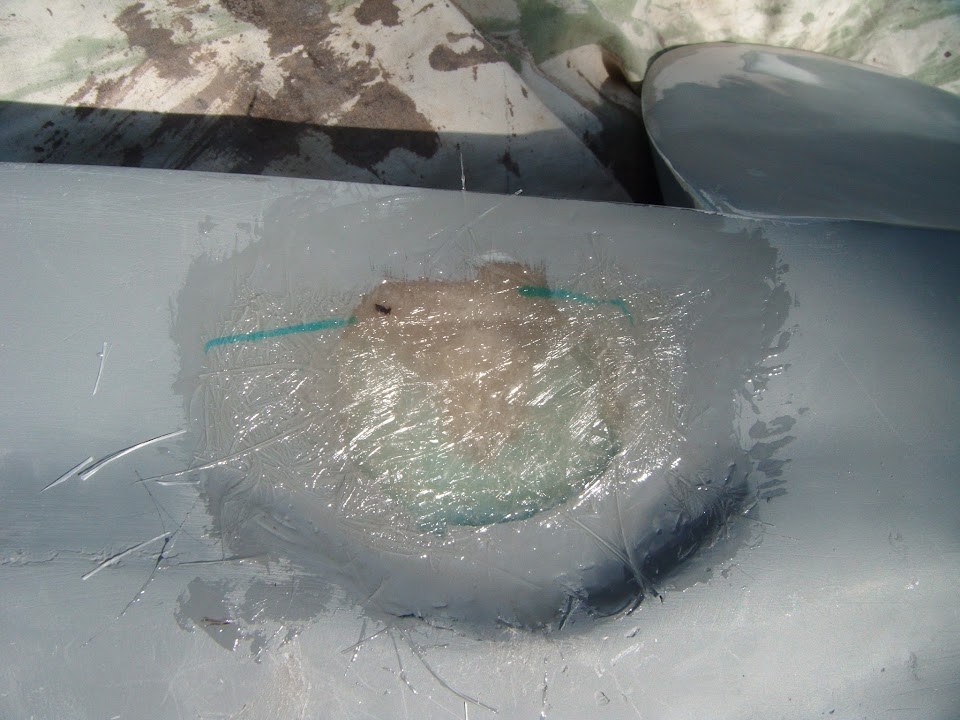
I taped up one side of the two holes on the bottom edge of the lid & roughed up the corner that is currently "lifting" a little.


I mixed up a small amount of "home brew" fibreglass filler for the lock holes.


Then added some matting to the corner, over the top of the "filled in" hole.


I also added some matting to the area below the first lock hole that I fitted yesterday.
( I will re-open the hole for the lock when this has set. )


Don't let the rays of sunshine in these last photos fool you, I was wearing a jacket and woolly hat doing this work.

Although at some point I am going to have to cut the grass, but that means sorting out the shed to reach the mower! :eek:


As you can see, there are a few car building related products in the way. :rolleyes:

At this point I have got to down tools and get one with some domestic chores.

With a bit of luck I will get a chance to make the second catch later on this afternoon.

So until then, take care, Paul. :)
22 Mar 2015, 5:33pm
Sunday Afternoon - Part 1:
I was only expecting to get a brief car session this afternoon, as I was due to take my daughters to the cinema.

However, they now want to go another day, so I was able to "crack on" with the build.

First job was to tidy up the fibreglass work I did in the morning.


Note:
I will also add some filler from the "sunny side" to leave just enough space for the lock.
( Whereas the locking pins needed extra "slots" cut into the top & bottom of the hole. )

Then I made the second "catch".


Which bolted into place like so.


And looks like this "in action" when viewed from below.


Which means, subject to a bit of fine tuning & bracing, the two top edge locks are now done. :cool:


After so much messing about with the locking pin option, this is a huge relief. :D

I can't start work on the bottom edge locks yet, as they are not an exact match for the top ones.

So rather than guess where everything will go, I'll simply wait until they arrive.

Instead I turned my attention to issue of fitting some locating pins.
( The "cam locks" will only stop the lid from coming out, they will not fix it into position. )

I spent a bit of time beard scratching trying to work out ways of doing this.

Initially I was planning to re-use the plates at the bottom corners.


But they will be used to fix the catches for the bottom locks.

So rather than add anything to the existing brackets, I decided to add something new to the sides, around here.


The next step was to work out what I was going to use on both the body shell and the boot lid.

So after a rummage through the piles of stuff in the shed, I dragged out these two off cuts.


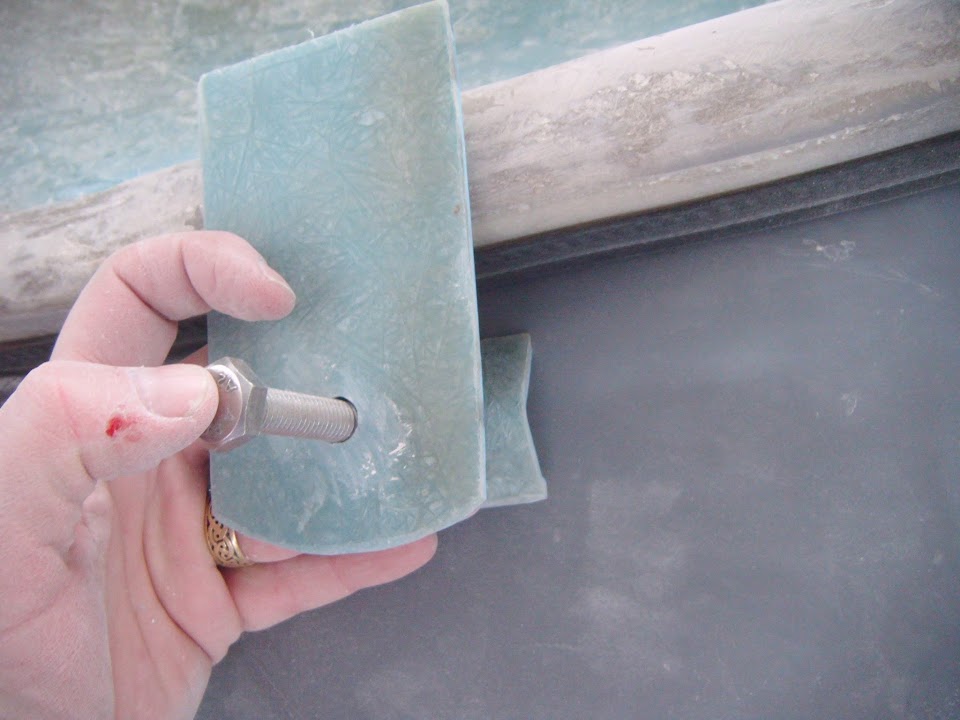
One piece was used to make two mounting plates for the locating pins.


Note:
These are currently too long, but I will only trim them to side when the boot lid is side is sorted out.

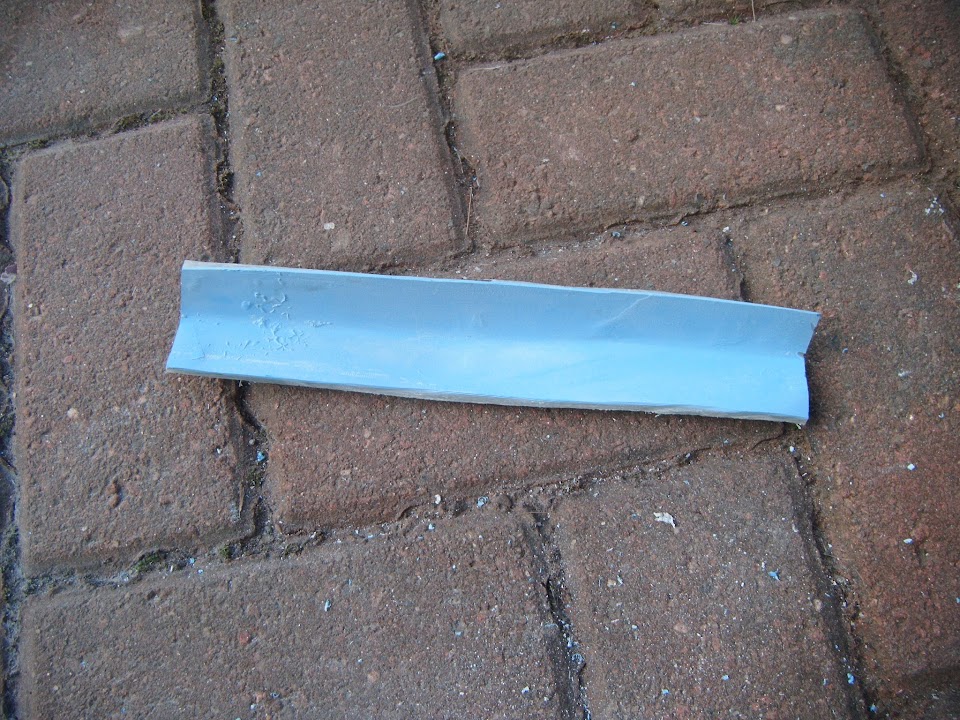
But it was the 90 degree bend in the other piece that had really caught my eye.


As this gave me the idea for what to fit to the boot lid.


The plan is that the locating pin will slot into this & be adjusted so it will not reach the lid itself.


I am sure there are easier ways to do this, but at this stage, if it works, then that will do for me.

End of Part 1...
22 Mar 2015, 5:35pm
Sunday Afternoon - Part 2:
The "V" section will be attached to the boot lid around here.


And when the mounting plate is 'glassed to the rain channel, the locating pin will look something like this.
( As I said before, I will trim the plate once everything else is lined up. )


There was just time to start fibre glassing these brackets to the lid, so I headed back to the garden.

Well I did when I remembered that I now needed to unlock the boot lid first. :rolleyes:


Eventually I will also build up the area around the hole to give a "cone" shape to guide the pin into place.

But for now the lid looks like this.


Note:
I had a slight "mishap" with the bracket on the left of the photo, but it should set nicely even if it doesn't look pretty.

With a bit of luck, these brackets will also help to protect the locks when the lid is left on the ground.

Given how fed up I was with this lid on Friday evening, this has been a great weekend's work. :cool:

I'll certainly be glad when I no longer have to crawl underneath the body shell to check things.

So until next time, take care, Paul. :)
22 Mar 2015, 6:18pm
Paul, it's great when a plan comes together ::eusa_dance:

Well done, it's looking good :eusa_clap:
23 Mar 2015, 5:49pm
Micky1Mo - Thanks. :cool:

I just wish I could come up with a simple plan when I start a job, rather than go round in circles first. :rolleyes:

- - - - - - - - - - - - - - - - - - - - - - - - - - - - - - -

Boot Lid Locating Pins - Take 2:
I've reached another "Ying & Yang" point, where good progress on the car has left me behind on other stuff.

So despite feeling very positive about the boot lid after the weekend, I only spent a bit of time on it today.

Also, whilst the following work may look like a step backwards, I actually see it as a positive move forwards.

You see I spent some time yesterday looking back at the photos of the "V" brackets I'd 'glassed to the lid.

I was trying to think of the easiest way to "guide" the locating pin home when the lid is in use.

My initial thoughts involved "building up" the area on top of the hole with some sort of internal "cone" shape.

But this was getting complicated/messy and rapidly moving away from KISS principles.

So I've decided the best thing to do would be to "fill in" the "V", so that it was effectively a solid, not a void.

The only problem was that this was going to be a pain to do with the brackets already in place. :icon_sad:

So the "simple" solution was to cut them off and start again! :eek:

But first I trimmed the "open" sides to an angle like this.


Which should make it easier to attach this bracket to the lid on all four sides.

Then I carefully cut the brackets off & tidied up the lid surface.


Note:
I also marked the centre point of the hole "externally", so I could line things up when 'glassing the brackets into position.
( This is where I went wrong yesterday when I lost sight of my guide "mark". :rolleyes: )

The extra matting I put "over the top" yesterday, allowed me to remove the gel coat from the inside today.


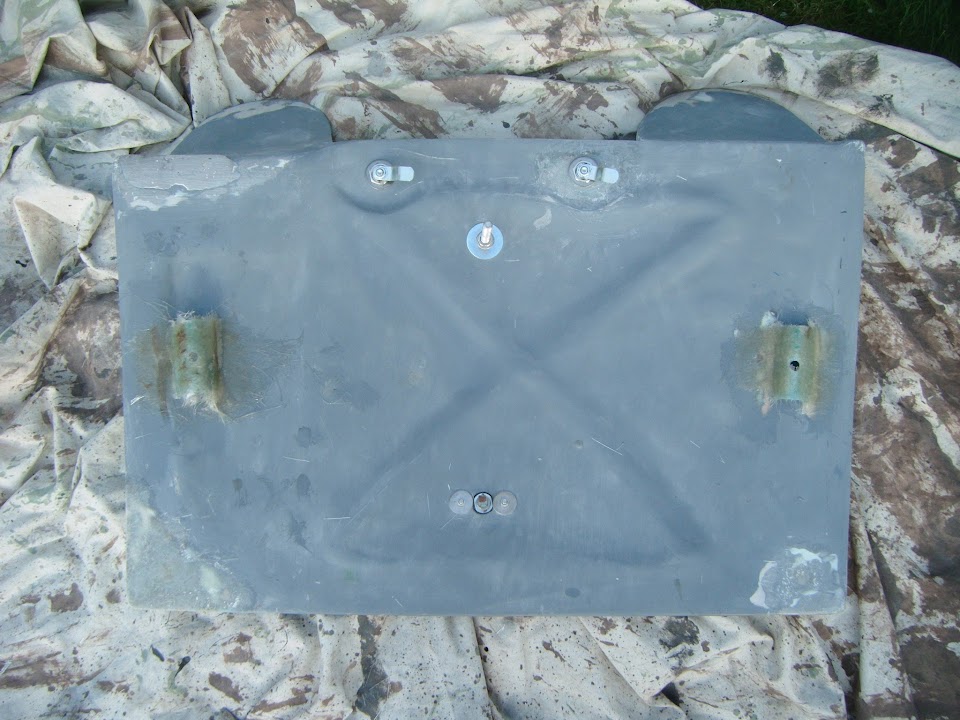
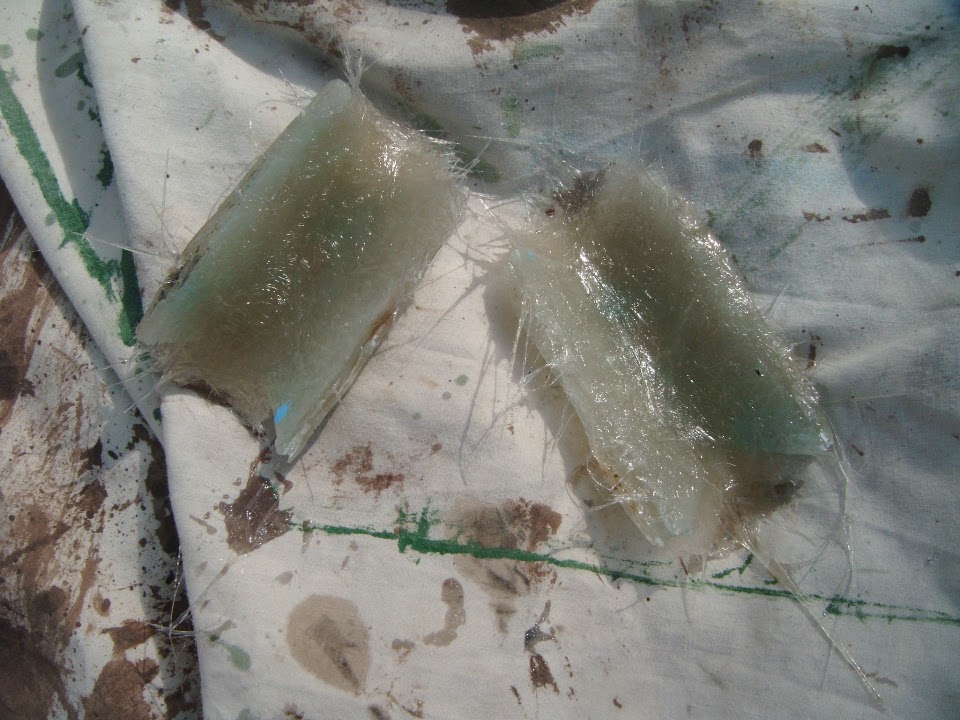
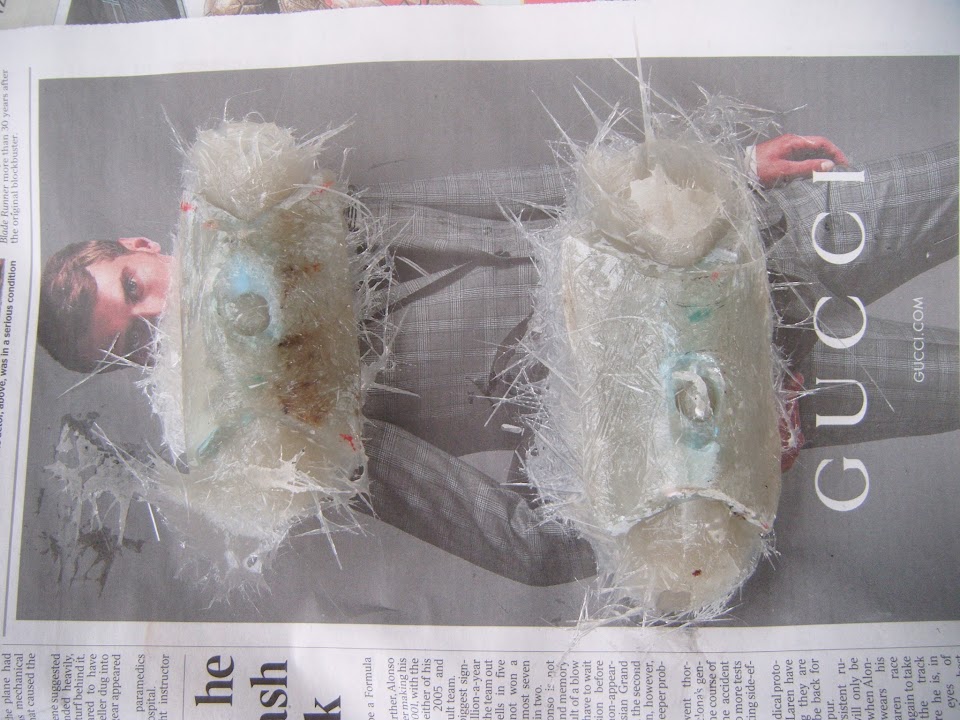
And this is what the insides of the brackets look like after seven layers of matting have been added.


That was as thick as I was prepared to go in one session & I was very careful to ensure each layer was soaked in properly.

Anyway, I left that to dry & got on with other things...

- - - - - - - - - - - - - - - - - - - - - - - - - - - - - - -

The good news was that the first layers of matting had set "tightly".


The bad news was this meant there was still room for another seven layers.


Note:
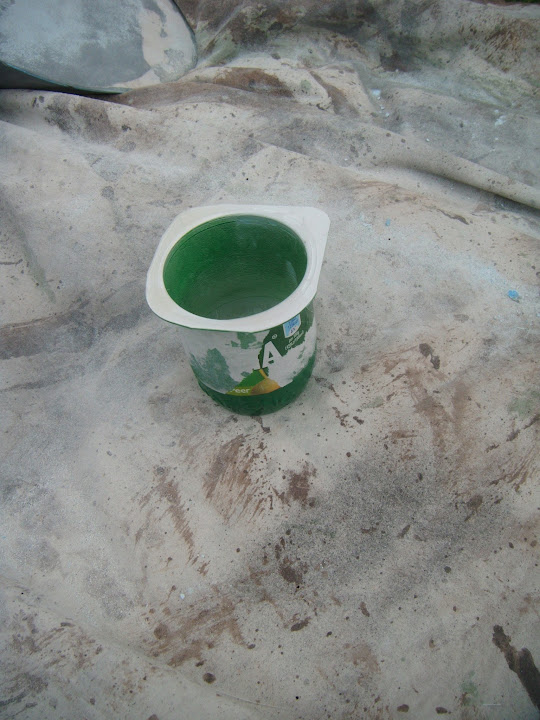
To do this work takes no more than 50ml of resin, which is less than half of this pot.


Yet all the time consuming setting up before, and cleaning up afterwards, remains the same. :rolleyes:

- - - - - - - - - - - - - - - - - - - - - - - - - - - - - - -

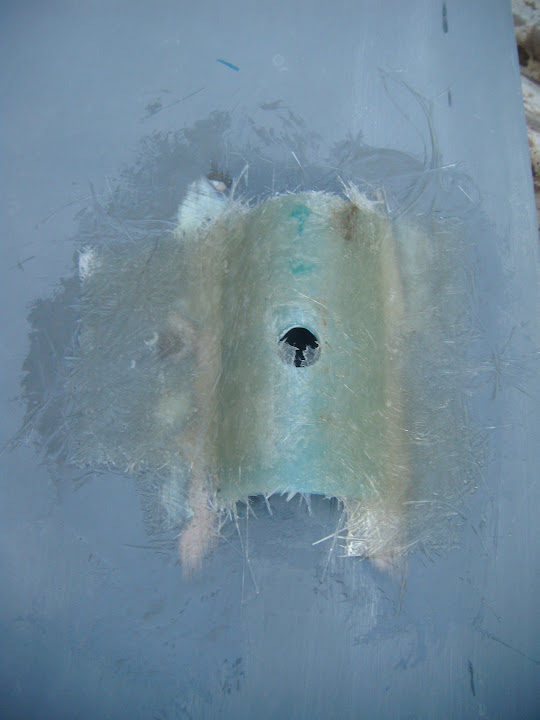
My last quick session of the day saw all the rough edges tidied up.


Then I fibre glassed the brackets back onto the boot lid, although this time I could use all four sides.


Note:
I have completely "filled in" the original locating hole.

The plan being that I will now drill the locating hole and the "guidance cone" in situ.

That way it should be easier to ensure that everything lines up correctly.

- - - - - - - - - - - - - - - - - - - - - - - - - - - - - - -

So whilst I appear to have ended the day in pretty much the same position as I ended yesterday...

I am still happy that this will give me a better result in the long run. :pray:

Until next time, take care, Paul. :)
24 Mar 2015, 3:11pm
thank you rattler
24 Mar 2015, 4:40pm
Rattler - No worries, I've just added a few more photos to both threads.

- - - - - - - - - - - - - - - - - - - - - - - - - - - - - - -

Fine Tuning - Part 1:
I was hoping that the fibreglass "mounds" I fixed to the boot lid yesterday could also act as "feet" for the lid to rest on when removed.

Unfortunately, a quick test this morning showed that the curve of the lid is just too great. :icon_sad:


I had loosened the eye bolt, in case I needed to cut it to a particular height to act as another "foot".

But now it was clear I will just need to pack a dust sheet in the boot to protect the lid, so I quickly trimmed the eye bolt down to size.


Before I did any more work on the lid, I thought I'd better double check that it still fitted into the opening.


So there is plenty of room to mount the locating pins somewhere around here.


In terms of timing, I am still waiting for the bottom edge locks to arrive.

But I want to have all four locks in place and working, then set the panel gaps, then fix the locating pins.

Well at least that is today's plan. :rolleyes:

Next I did some filing to fine tuned the position on the lock in the left of this photo.

From this:


To this:


It only needed to move a few mm, but now the two locks are the same distance from the edge.
( Even if it doesn't look like that in the photo. )

Next I fixed how that lock sat in the lid.

From this.


Via a bit of sanding / levelling out.


To this.


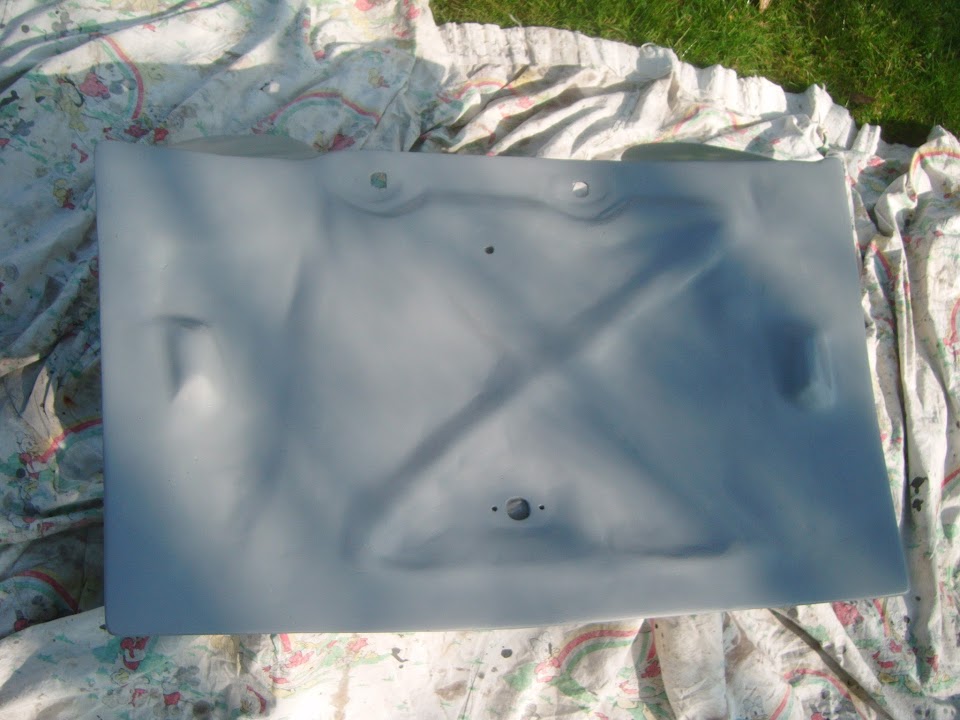
Then I roughly sanded down the underside of the lid.


Note:
I know this side is not on view, but I want to practise my painting on this side before I start on the car itself.

That way I will have a better idea of how much preparation is required to set a smooth finish.

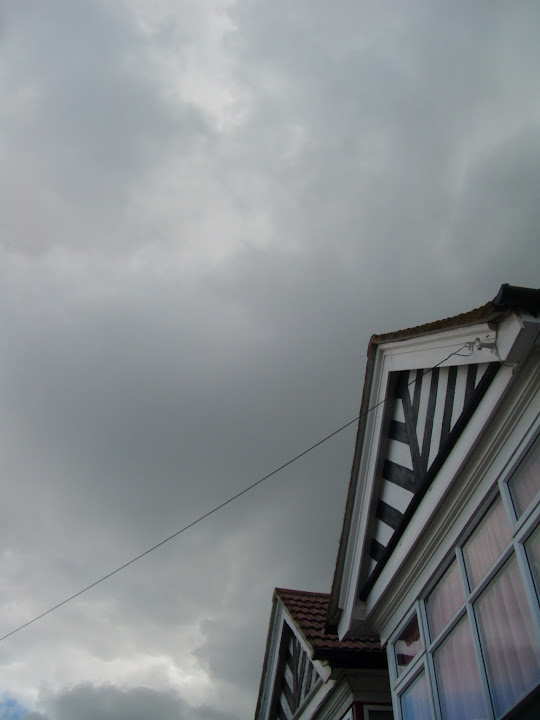
Then I felt a slight drop of rain & looked up to see this. :icon_evil:


But by the time I'd quickly brought all my stuff into the porch, the rain had stopped.

So I decided to take a chance and do some filler work.

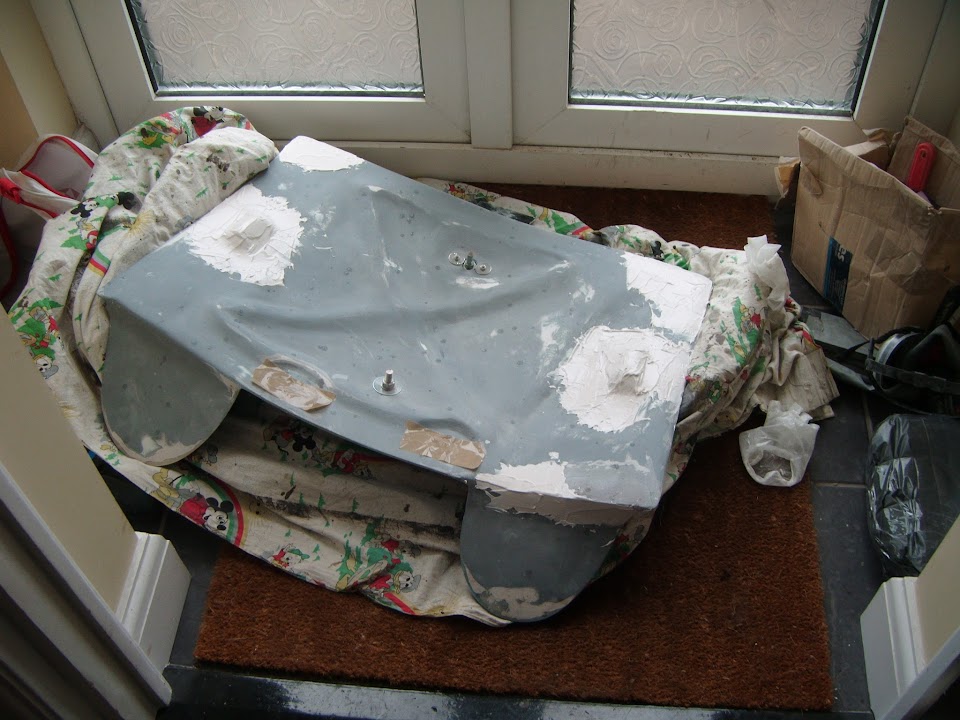
First up was some fibreglass filler that I used to "tighten up" the top edge lock holes, after putting some tape underneath.


I then gave a quick skim to a few sections of the rain channel edge.


As there were a few rough spots following the sanding down work I did the other day to re-fit the rubber seal.

End of Part 1....
24 Mar 2015, 4:41pm
Fine Tuning - Part 2:
There was just enough filler left to add a bit around the rear light holes on the passenger side.


Then I mixed up some normal body filler to do the underside of the boot lid.


Unfortunately, before I could finish putting the filler on, the rain returned. :rant:

So I quickly covered the body shell (for the rain channel) & then carried the lid into the porch.


Now this caused two problems:
- The first is that in my haste to get out of the rain I forgot to finish off the smoothing of the filler.
- The filler absolutely stank the house out.

Now given that my wife's niece is coming around for dinner later, this meant I had to "air" the house once I could move the lid outside. :rolleyes:

Still I had the house fully sorted out and the dinner table laid before I headed out to start sanding.

It was bloody hard work, but I have now finished the underside of the lid.


But no sooner had I taken the last photo when the rain returned.

I packed everything away and was just debating whether I'd get a chance to get some etch primer on later, when the hail & sleet arrived! :eek:


So I took that as a sign to call it a day.

Until next time, take care, Paul. :)
25 Mar 2015, 5:01am
While there is no knocking the cracking results you are achieving, I do think that your version of keep-it-' simple' may need reviewing at some point :)

Keep up the good work matey :)
25 Mar 2015, 7:10am
Dave - Unfortunately, I am fully aware that I wouldn't know a simple solution if it came and bit me on the :tape: !

The only good news is that I am slowly running out of big jobs to make a complicated mess of. :icon_wink:

Jokes aside, I'll be very glad when my "simple" boot access panel is finally working properly. :pray:

Cheers, Paul. :)
PS
Hopefully I can at least get some etch primer on the lid later on.
25 Mar 2015, 5:45pm
Struggling A Bit - Part 1:
Unfortunately this was another one of those days where I was trying to fit car work in around other stuff.

So a lot of stop/start efforts, which meant everything took longer than it should have.

Still, at least I crawled a bit closer to the finish line...

Boot Lid:
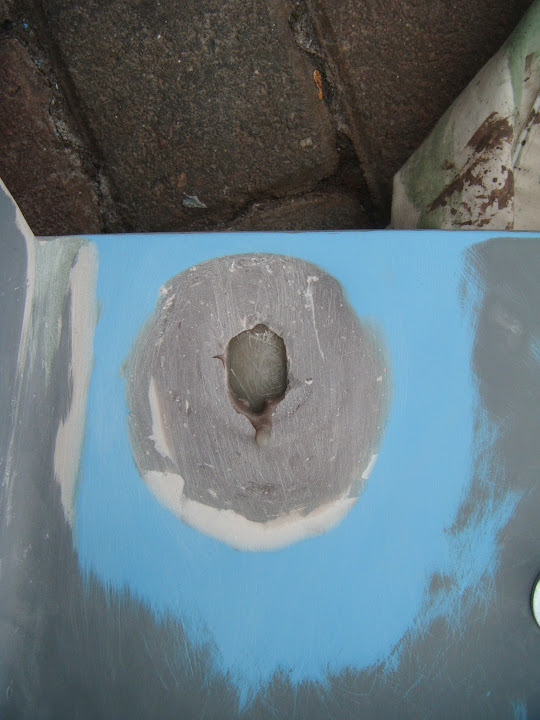
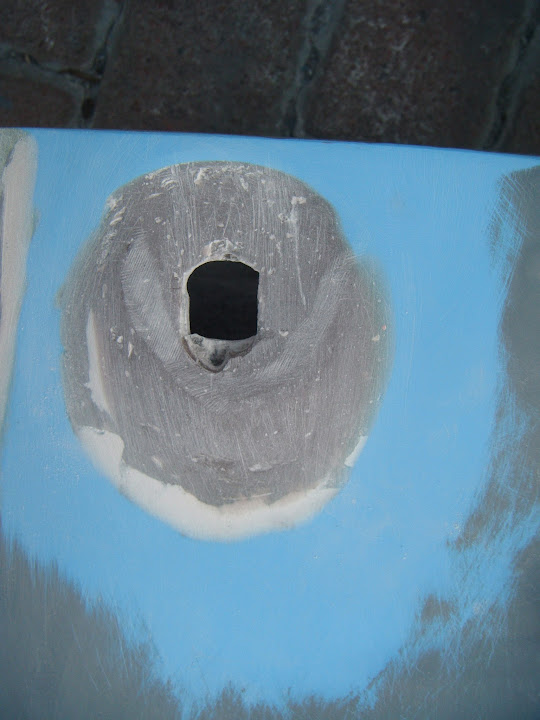
Sanded down the mounds around the top edge lock holes and used a hand file to re-open them to just the right size.


Then decided to give the area a quick coat of etch primer to see how it looked.


These new smaller washers certainly reduce the visual impact of the locks & eye bolt. :cool:

So I am hoping that when the lid is painted BRG it will not look as quite as "fussy" as the big washers were making it.

When that area was dry enough, I removed all the lid "furniture" and gave the underside a coat of etch primer.


It is scary just how many small imperfections the primer highlights. :eek:

But the whole point is to use this my area to practice prepping the bodywork for paint.

- - - - - - - - - - - - - - - - - - - - - - - - - - - - - - -

Boot Rain Channel:
Sanded down the filler I'd applied the other day.


So at least the rubber seal should sit nicely again.

- - - - - - - - - - - - - - - - - - - - - - - - - - - - - - -

Rear Lights:
I wanted to drill the fixing holes for the rear lights and almost had an OCD meltdown. :twitch:

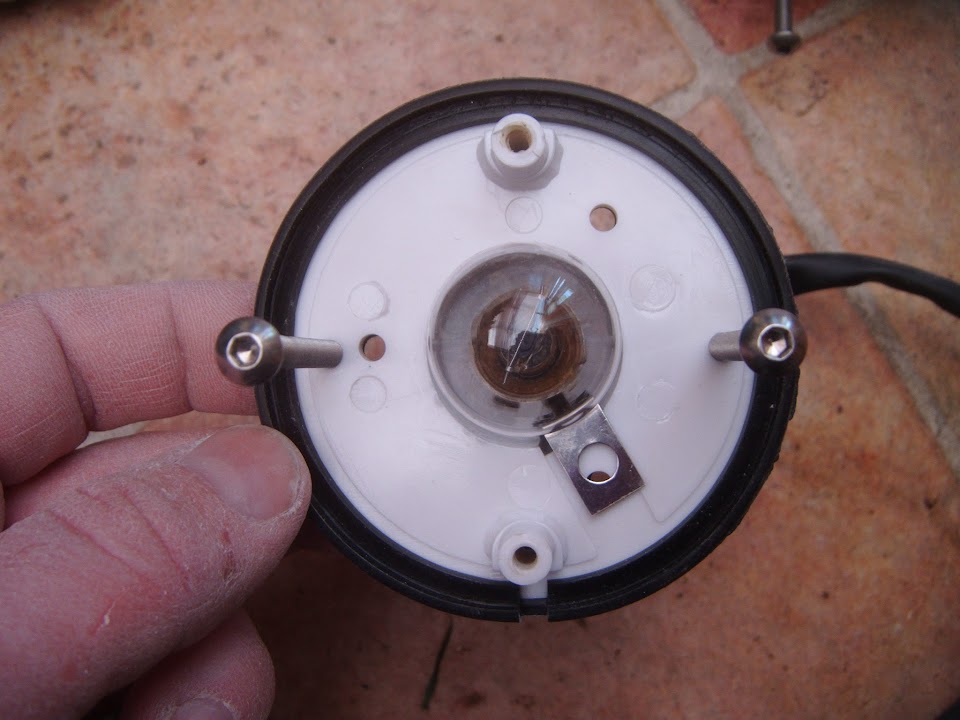
First I lined up the holes in the light fitting with the holes in the surrounding rubber seal for my new bolts.

There is a "drain" opening in the rubber seal, so I assume this should be facing down, like so.


However, this would leave the lens screws lining up vertically like this.


Whereas, I had originally assumed they should be fitted with the lens screws horizontal like this.
( Because that would leave all the lens names & markings the right way up. )


So at this point I went back to check a few other builds with the same indicators.

Micky1Mo has lined his indicator lens screws up vertically.


But GazDavies lined them up horizontally, which seems to be the way they are fitted on Land Rovers.


So in an attempt to stick with simple solutions, I simply rotated the rubber seal 90 degrees.


Now I just need to drill two holes in the seal and I can line everything up horizontally as planned.

End of Part 1...
25 Mar 2015, 5:47pm
Struggling A Bit - Part 2:
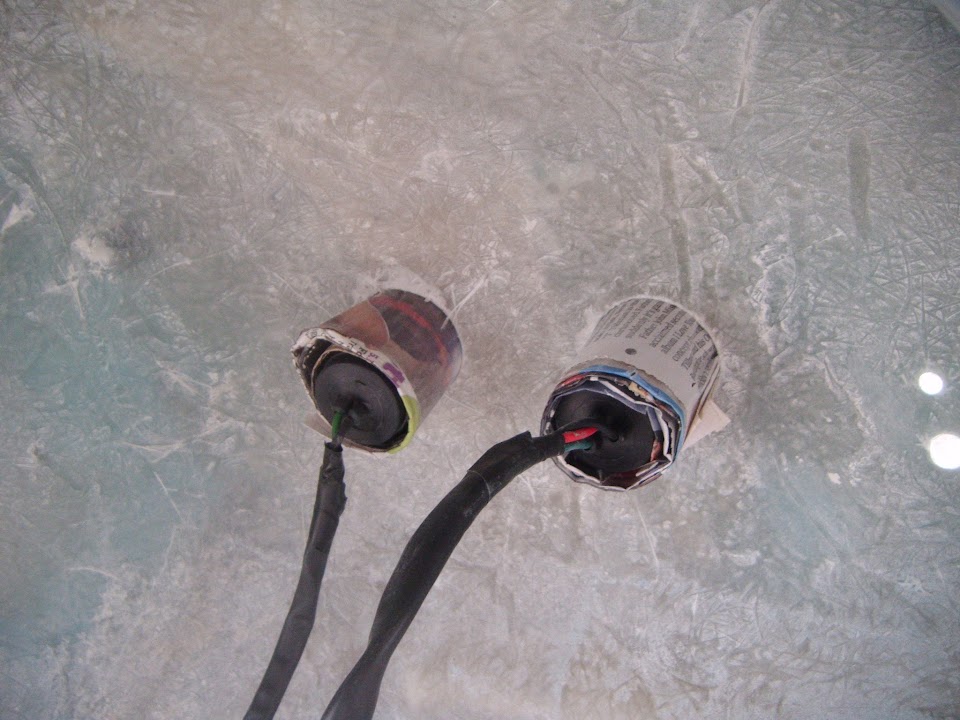
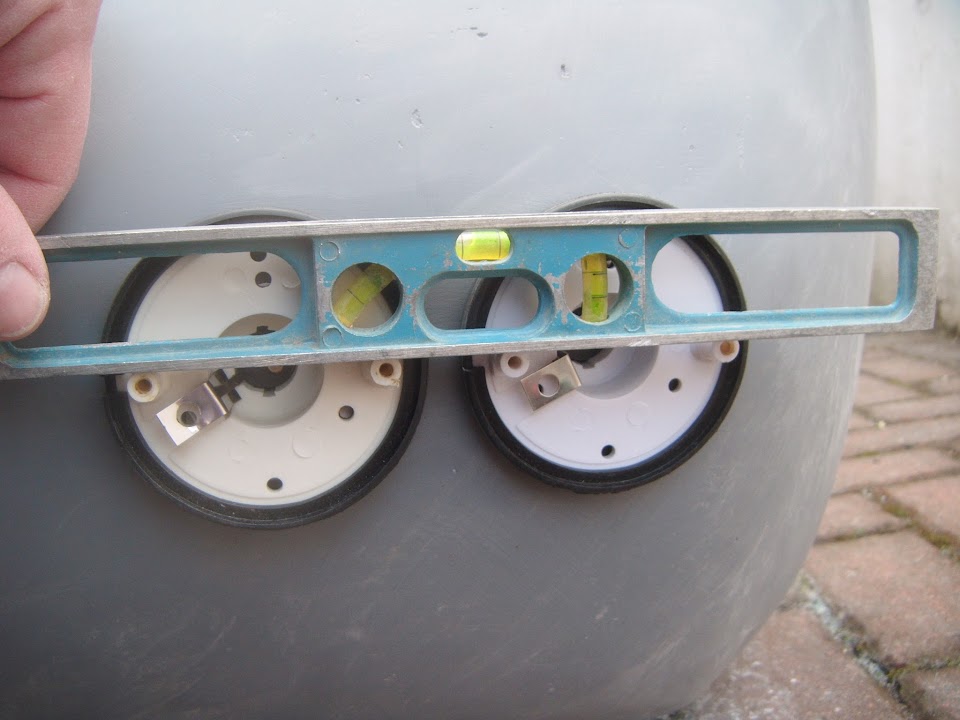
Next I wrapped some newspaper around the rear of the lights to "fill" the slightly oversized hole.


Rather than use my spirit level to find the horizon, I just used it to line up both light fittings with each other.


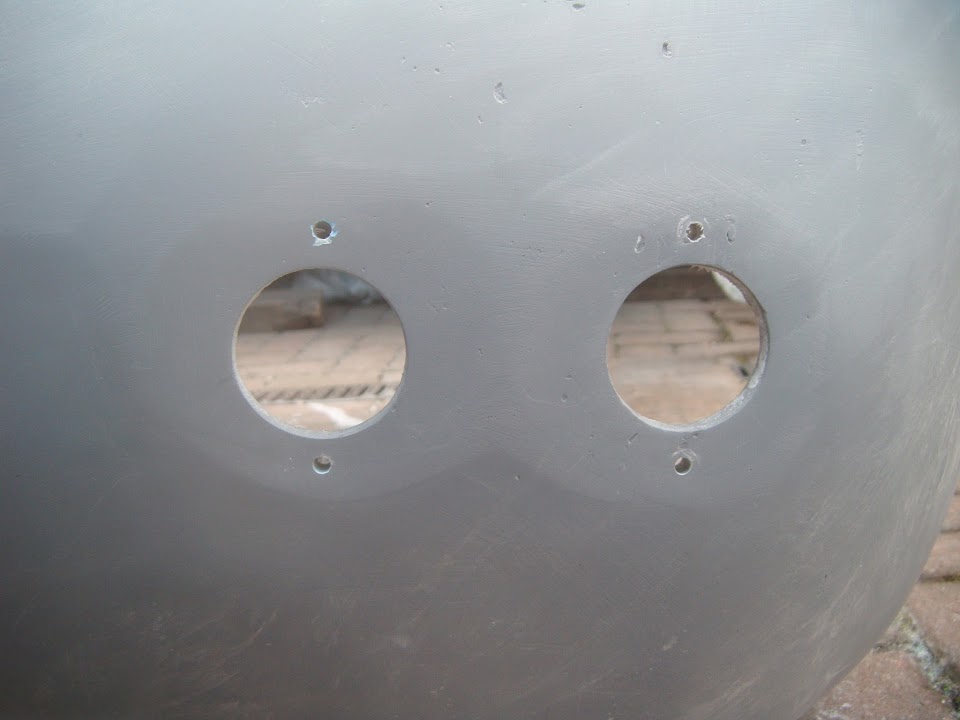
Then with the holes drilled into the body shell...


I could just push the bolts into place.


Although I've had to order a 2.5mm allen key to tighten these bolts, as this is one size I don't appear to have. :rolleyes:


With the driver's side done, I switched to the passenger side, where it turns out my replacement indicator had a different hole arrangement.


So I simply drilled two new holes in the fitting and that will work just as well.


Although I can't believe how much time I actually spent just to drill 8 small holes. :icon_sad:

- - - - - - - - - - - - - - - - - - - - - - - - - - - - - - -

Hopefully the locks for the bottom edge of the boot lid will arrive tomorrow. :pray:

As I really would like to put this job behind me and move on to other things.

Cheers, Paul. :)
PS
To end on a more up beat note...

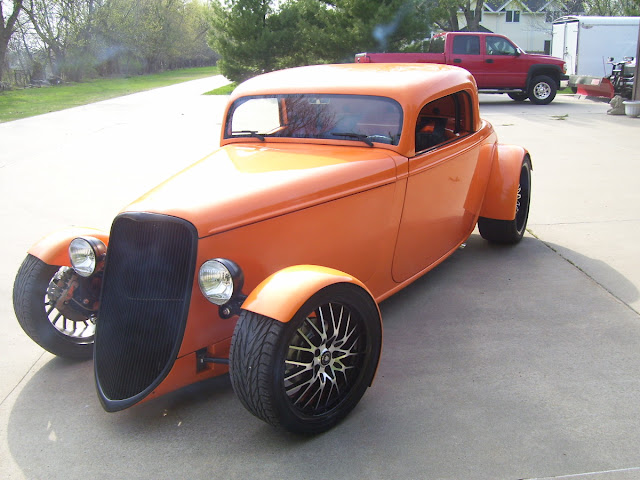
Factory Five Racing - '33 Hot Rod:
The kit car I saw "under construction" during our epic family holiday to Florida in 2013 in now on the road. :cool:


Which ties in with a recent debate over on the Tribute section about old looks & modern performance.

As there is a very high tech rolling chassis under that traditional "hard as nails" exterior.


Although if you wanted any hope of passing the IVA over here, your version of this kit would need to look more like this.

25 Mar 2015, 10:47pm
Glad to see your boot lid looking better Paul!

Are the two locks waterproof, or will the rain get in the boot?
Or have you put them over the rain channel?
25 Mar 2015, 11:11pm
Paul, is there a drain at the bottom of the boot lid aperture rain channel?

According to your picture above it looks as though the rain channel could fill with water, or have you incorporated a drain tube?
26 Mar 2015, 8:46am
back to the drawing board...
26 Mar 2015, 9:53am
Scottie - Cheers, it does look like I will finally be able to make this lid work. :pray:

The locks are outside the rain channel, but there will be a thin rubber seal under the washers & a blob of grease in the lock.

So all I can say is that if that doesn't work, then I am officially stuffed. :rolleyes:

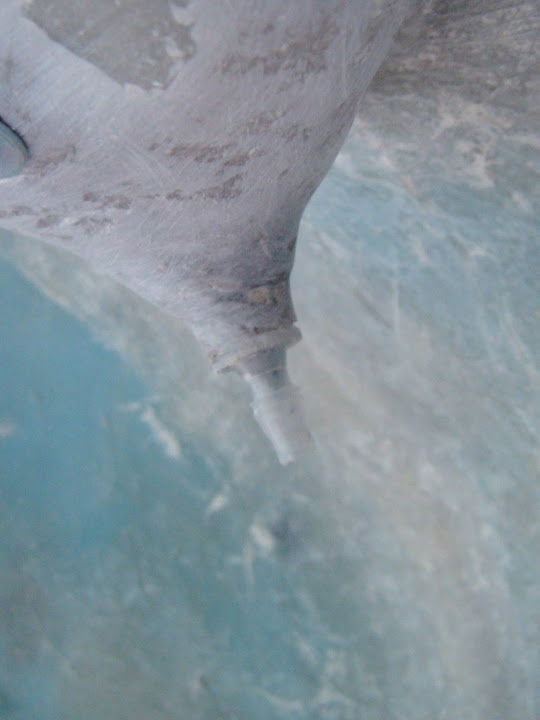
8 Valve Ed - There are two drain holes on either side of the rain channel like this.


Which lead to a plastic connector like so.


Which will eventually be connected to a plastic pipe & outside.

Gary - Nooooooooooooooooooo! :icon_sad:

Although it would have been easier to create a "wet room" boot area and just waterproof my luggage! :icon_wink:

- - - - - - - - - - - - - - - - - - - - - - - - - - - - - - -

I think the rain has finally stopped, so I'd better go...
26 Mar 2015, 12:11pm
Paul L wrote:
8 Value Ed - There are two drain holes on either side of the rain channel.


Glad to hear it!

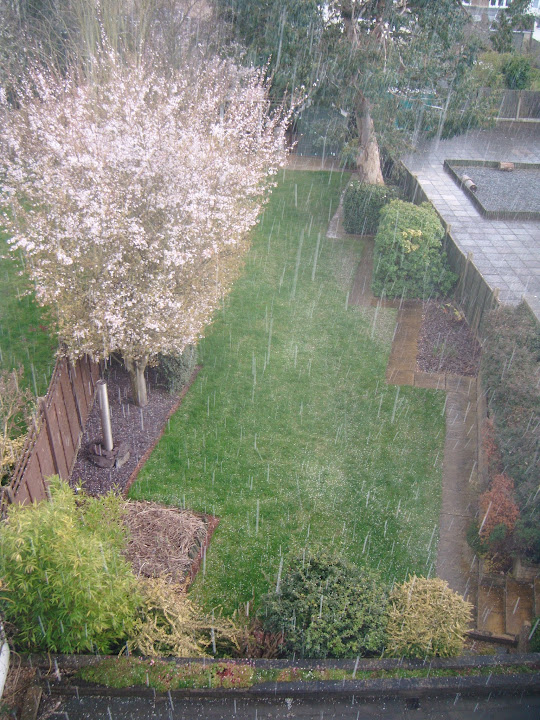
You have rain... Take a look at this, the view from my shed:


While that white stuff's up there it will never be warm in my shed!
26 Mar 2015, 4:13pm
8 Valve Ed - Well you have certainly got a better view out of your window. :cool:

No snow here, but I did have to turn the heater on in the Summer House to take the chill out of the air.

- - - - - - - - - - - - - - - - - - - - - - - - - - - - - - -

Misty Morning:
It turned out that whilst the rain had stopped, it had been replaced by a cold, damp, mist. :rolleyes:

So following my reply about rubber seals earlier, I thought I'd stay in the Summer House and make some.

Using some more of my old bicycle inner tube, I cut out four for the boot lid locks.


Plus one for the eye bolt.


Note:
The handle came supplied with its own gasket.

Then I could re-fit everything to the lid and the rubber seals on the "sunny" side look OK to me.


Given the weather and the other stuff I've got to do, that is all the car work I've managed to do today. :icon_sad:

Hardly what you would call progress now is it? :rolleyes:

Cheers, Paul. :)