This is a read-only archive of the old Madabout Kitcars forum. New posts and replies are no longer possible, but every thread is still here to browse and read.
Thank you for your reply, hopefully someone else will chip in. Yeah, I could not work on the car for a while, so it's great to be back in the garage for the last couple of weekends. I will post the photos after this weekend.
Hi deni you will have to yous the stander reservoir the one that came with the car if you have a brake booster on it if not you can have a smaller one but you cannot yous a brake booster. my triumph vitesse has small reservoir, with no booster hope that helps
Dale
Hi deni you will have to yous the stander reservoir the one that came with the car if you have a brake booster on it if not you can have a smaller one but you cannot yous a brake booster. my triumph vitesse has small reservoir, with no booster hope that helps
Dale
Hi Dale j,
Thank you for your help, much appreciated.
Just to clarify, when you say booster do you mean a servo unit that can be installed as an upgrade?
Erm, don't mean to contradict what's already been said, but I used one of those small reservoir/0.725 bore master cylinders on Vitesse single-circuit brakes with an aftermarket servo on my Spyder with no problems whatsoever.
The larger reservoir was used to ensure there was enough fluid to compensate for the brake pads wearing down over time, but as car enthusiasts we check our levels regularly so won't have that problem.
The servo made a big difference to the confidence I had in the brakes as you don't need to stamp on them to get the car to stop in an emergency - on my first Goodwood trip in it I came round a bend going downhill in the rain on a dual carriageway and found both lanes ahead blocked by static traffic, which was scary enough with the boosted brakes.
I'd recommend fitting a servo, 'greenstuff' pads and grippy tyres - I found Uniroyal Rainexperts to be excellent - to make sure you can stop with real confidence.
Thank you for the clarification and an excellent advice. I thought I saw the 2 of the same cylinders on your car (and a few others), so now I know for sure that was the case.
Thank you for taking the time to reply and I hope your Outlaw build is going well.
No problem, Deni. One more thing though - with single circuit brakes make damn sure that all the ends of the brake pipes throughout the system are properly flared and fully secure.
I had the rear main feed pipe pop out of the T piece and squirt brake fluid across my drive when I was bleeding them after installing the new m/cyl. and servo.
On stripping the system down I found that a previous owner had installed new brake pipes but hadn't properly flared half of the ends. The pedal went to the floor and I'd have had no brakes at all if it had happened on the road.
For the same reason, I'd recommend anyone buying a 'restored' classic to go through the brake lines and check the security of all the connections.
Here is an update of my build progress over the last couple of weekends. It was the time to finally tackle the welding.
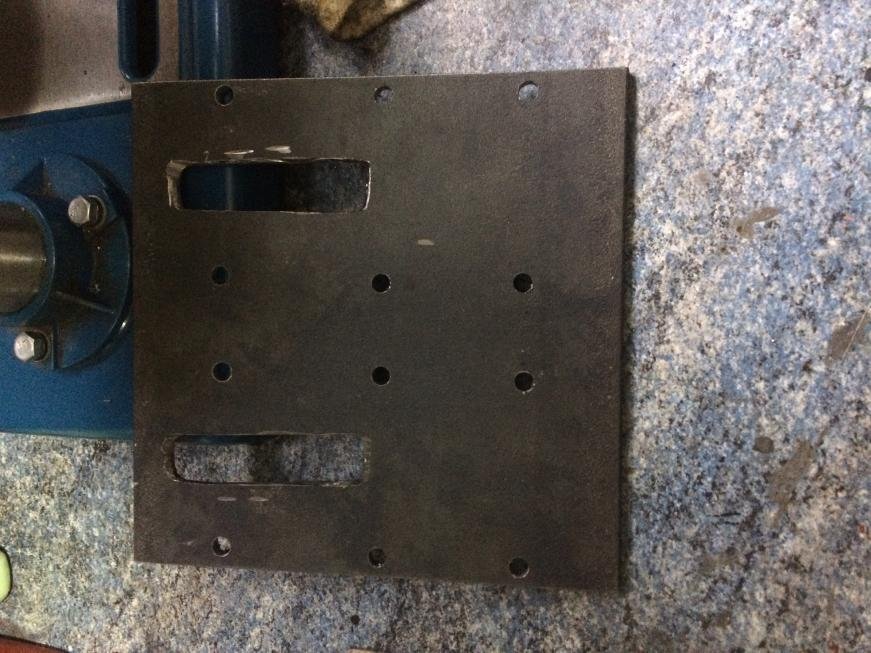
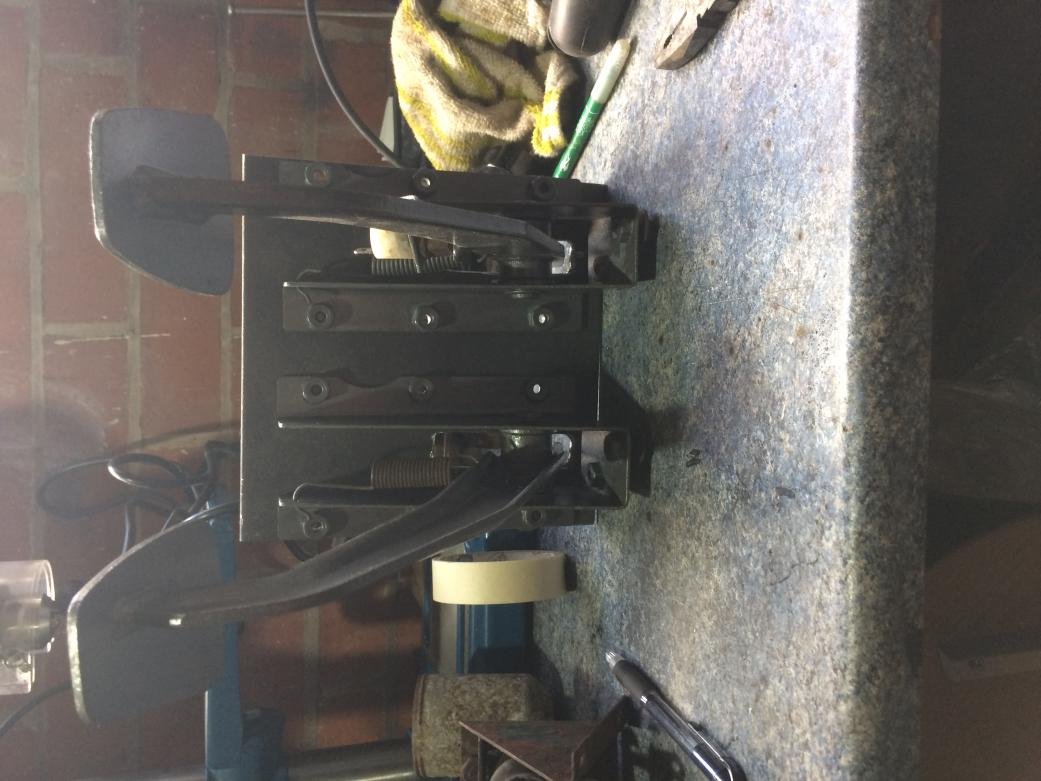
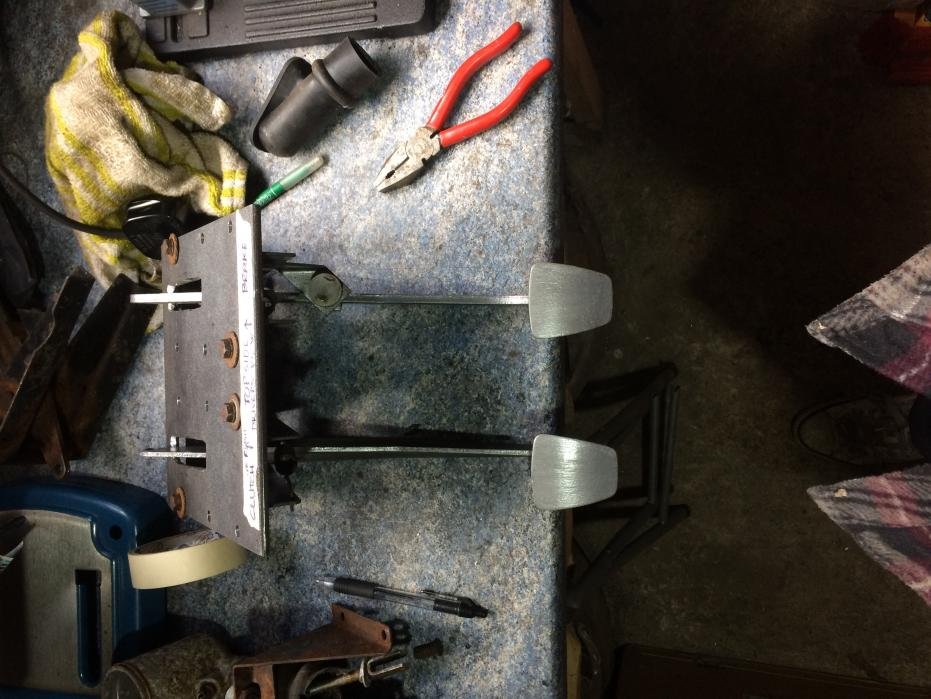
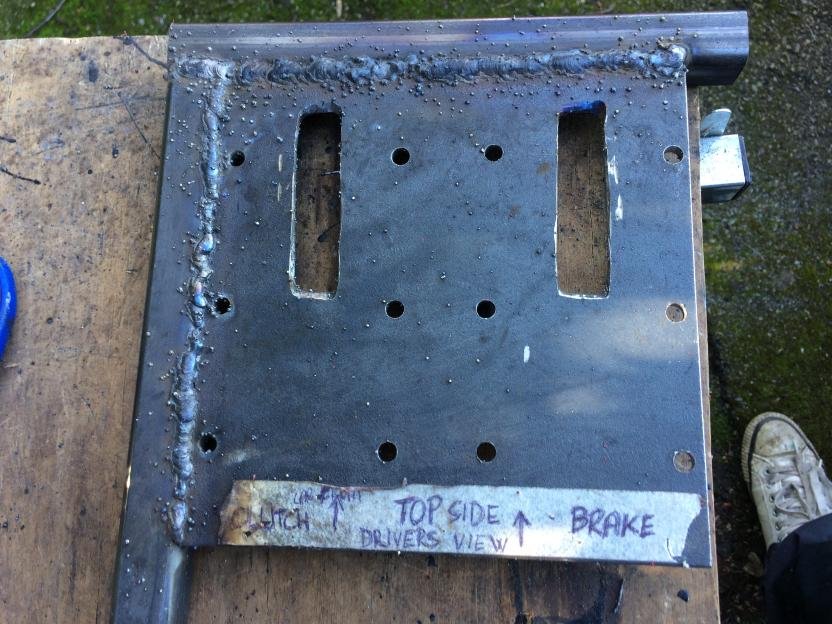
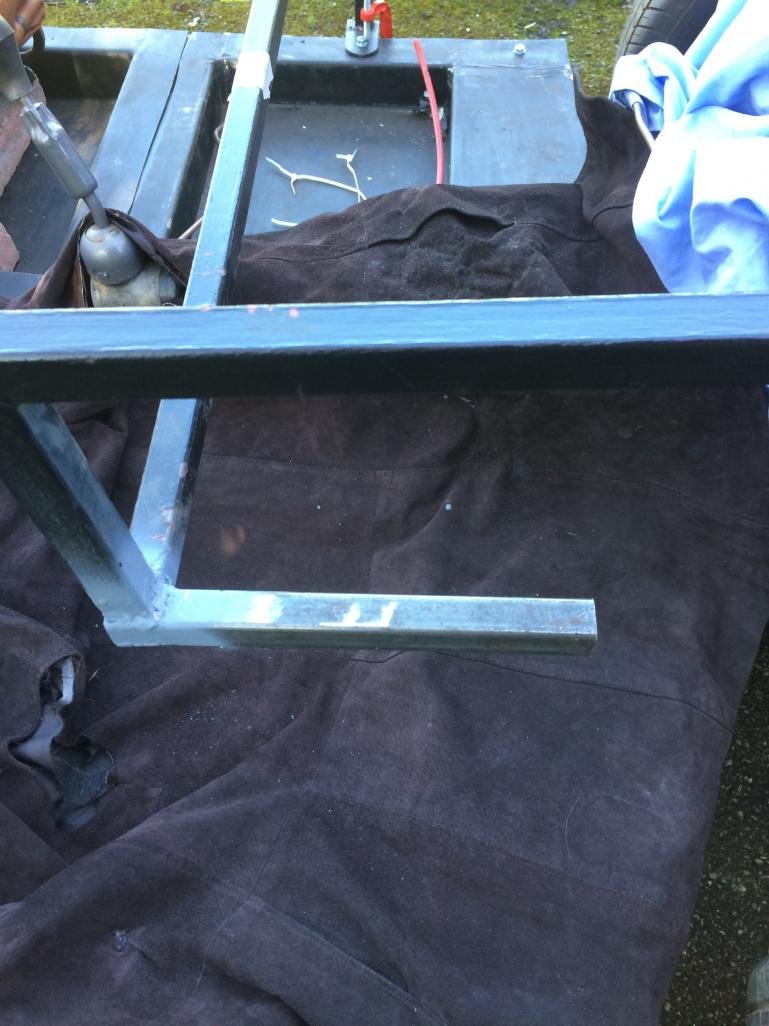
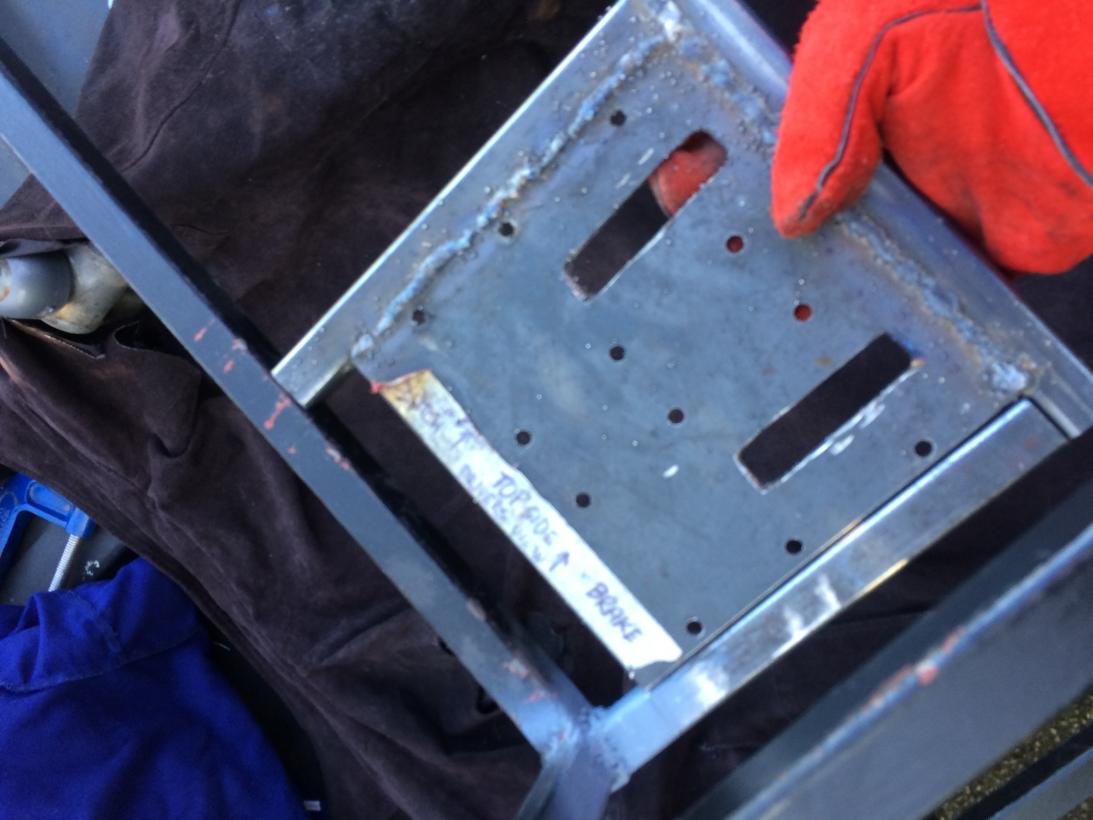
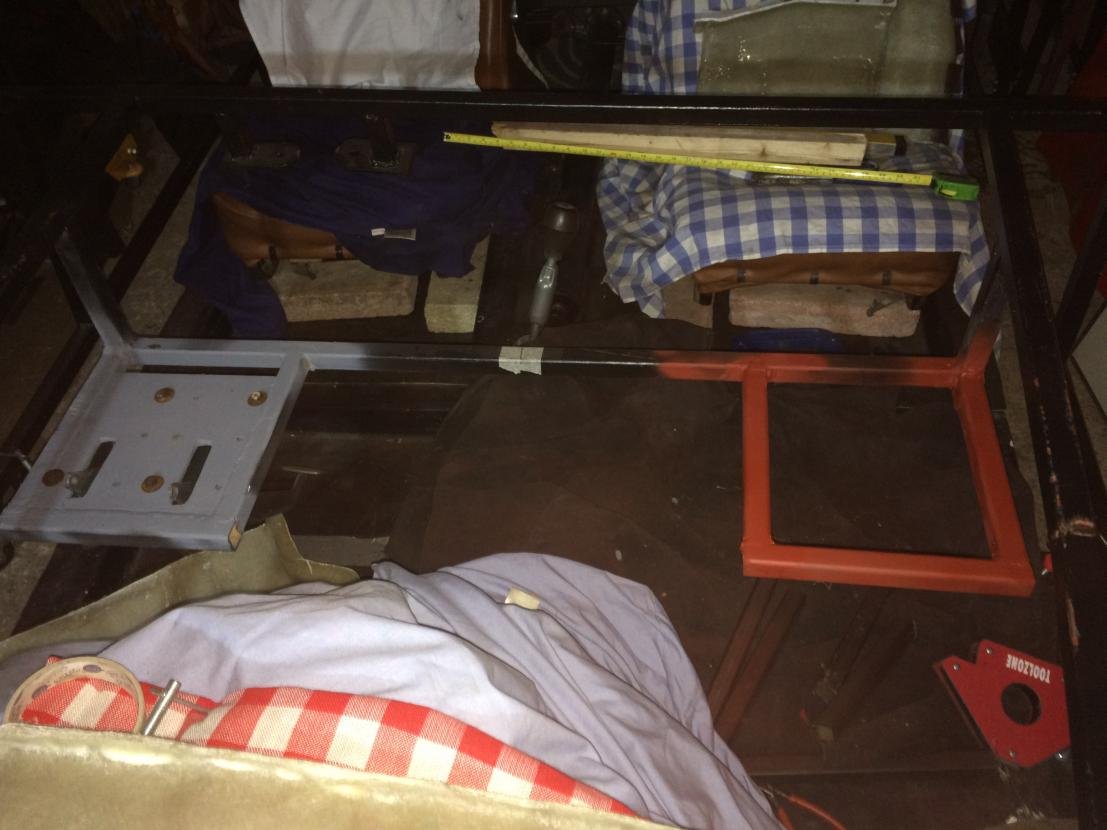
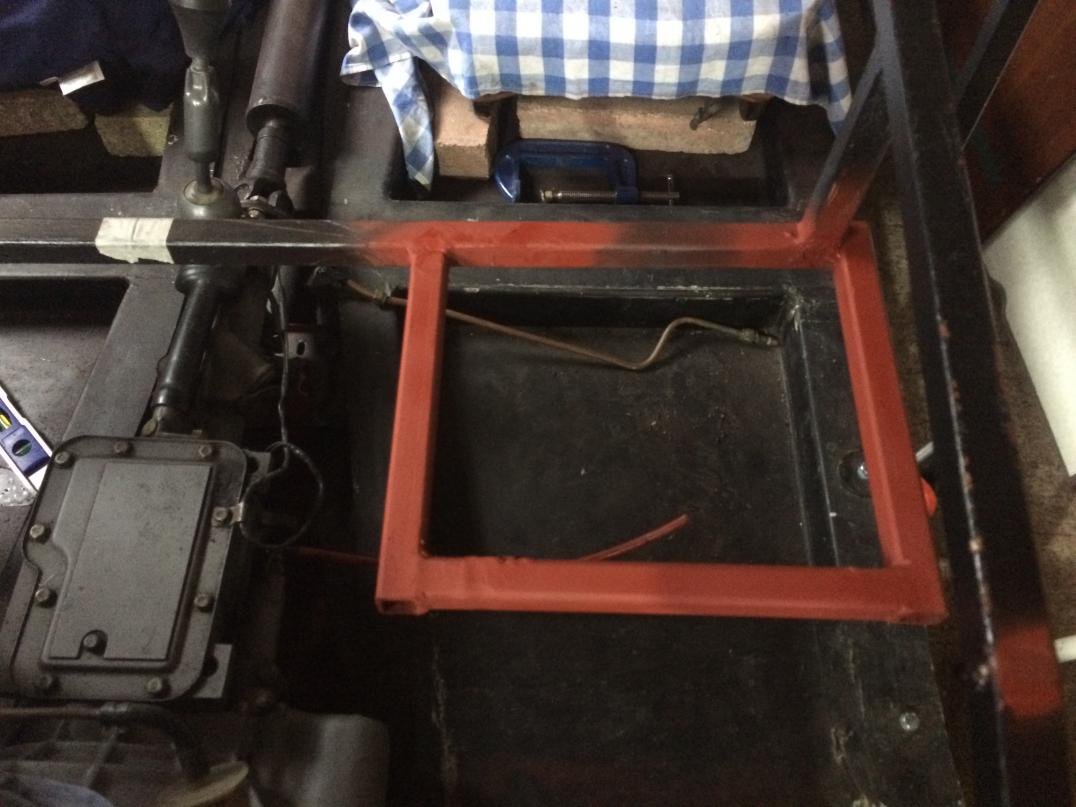
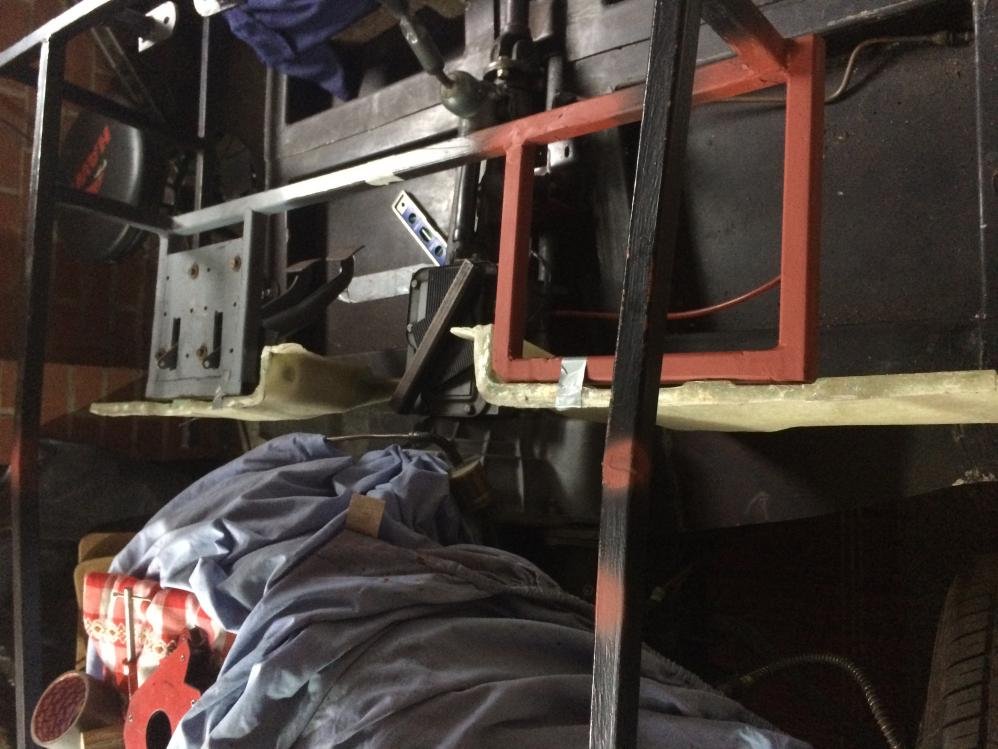
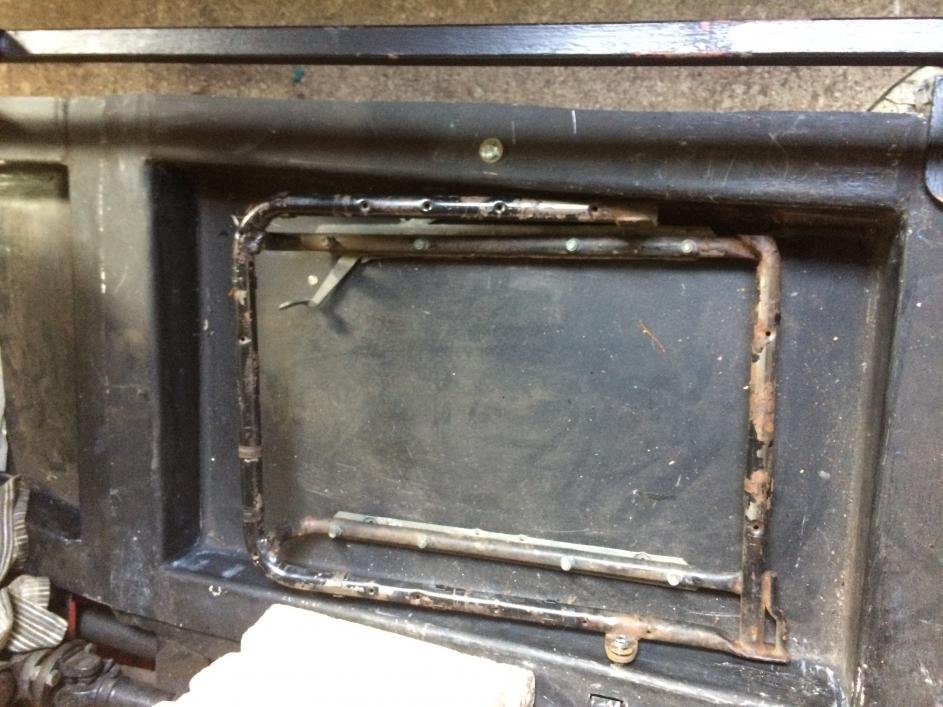
I fabricated the pedal plate and welded it to the frame. I am very happy with the result and my welding is getting better all the time (sorry for the photos orientation).
I did not have any other tool to cut 6mm steel plate so I have used a grinder to make the openings for the pedals - they are not the best looking but will do the job.
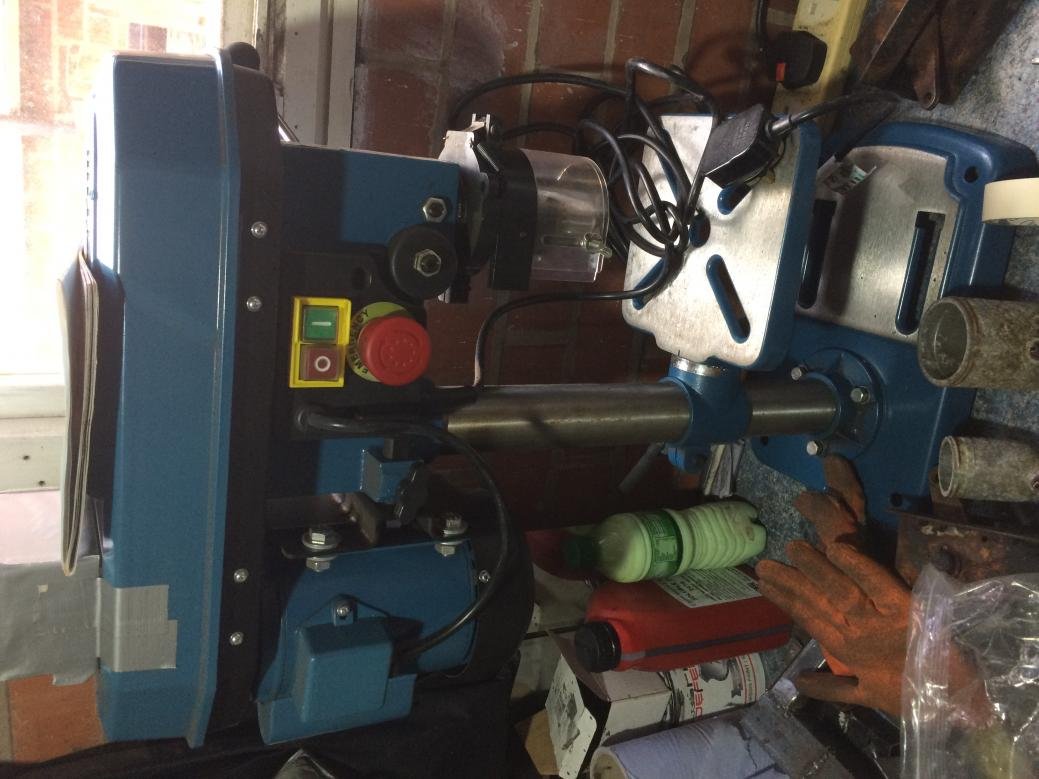
I have bought this cheap pillar drill quite some time ago and it finally got used to drill the holes for the pedals and the master cylinders.
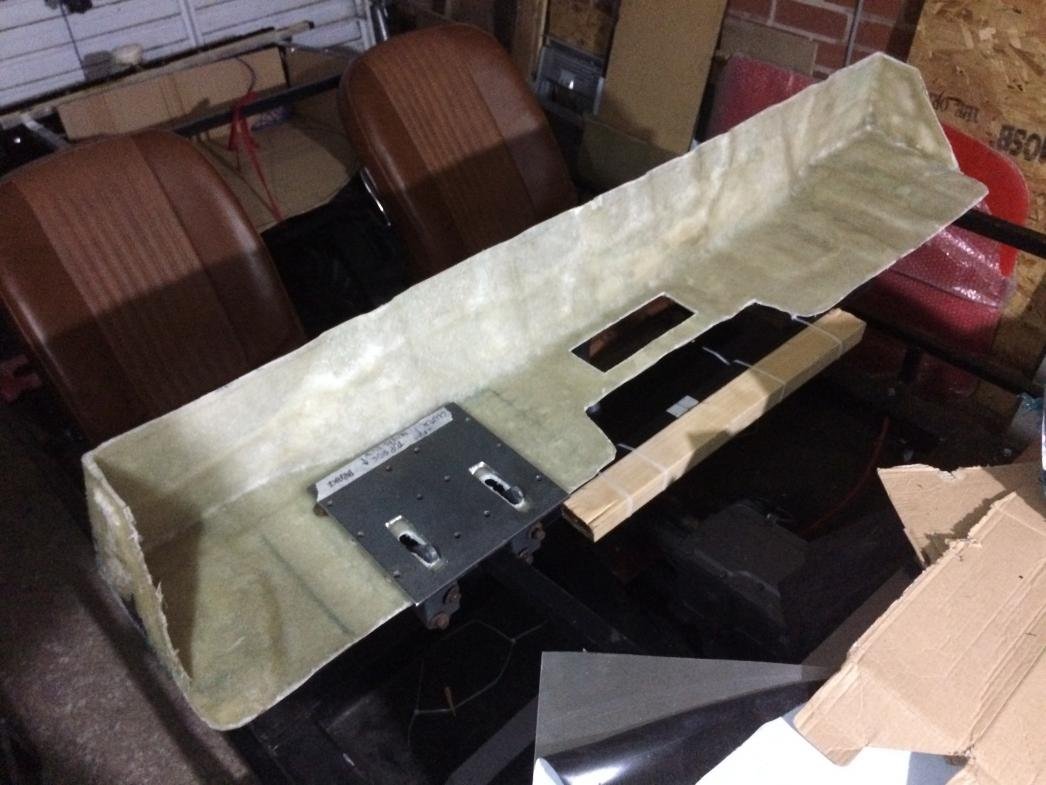
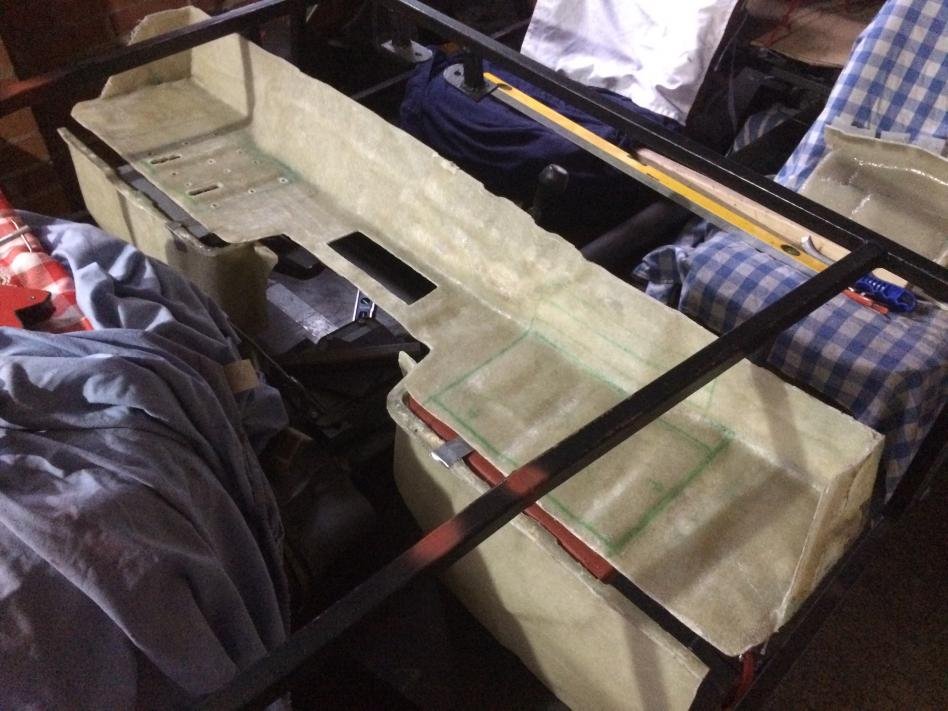
I have decided to use my fibreglass bulkhead, so I will cut out the part where the pedal plate is.
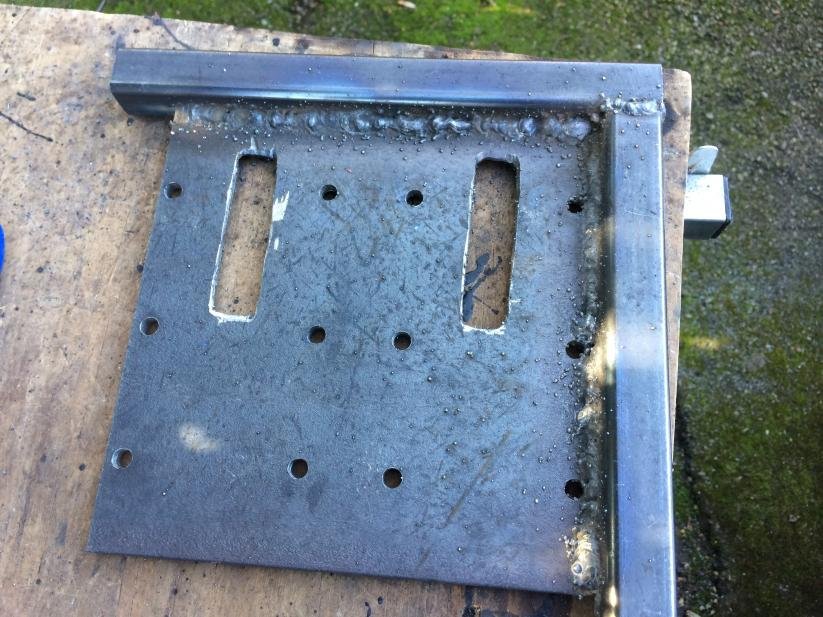
I welded the plate at the top and bottom side just to be sure that it's strong enough. There is quite some splatter despite using an anti-splatter spray.
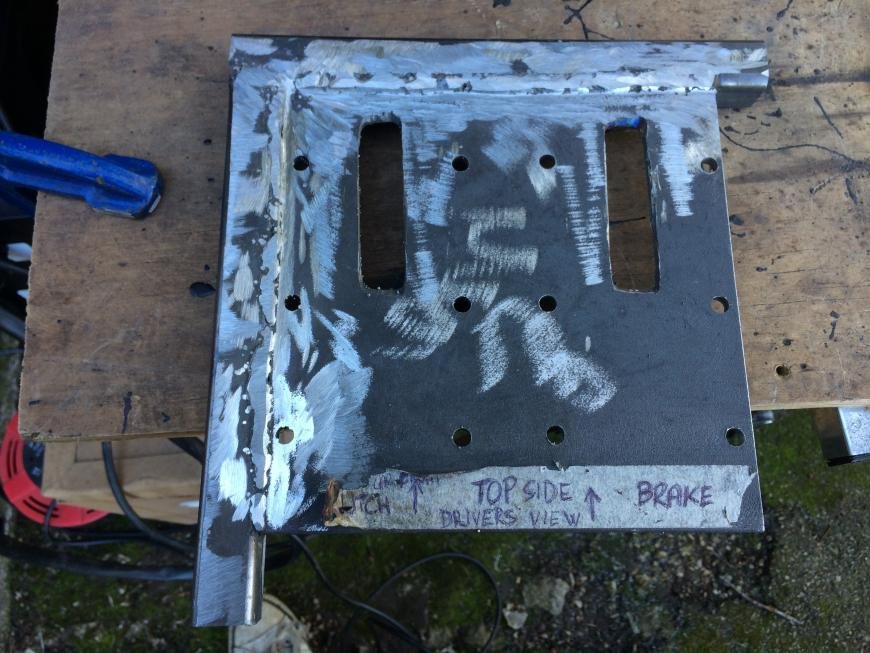
Again, not very pretty but it is strong and after passing over it with a grinder it looked much better.
I've welded the plate to the square tubing before welding it to the frame to avoid welding upside down.
Attachment “IMG_1683.jpg” from the original forum could not be reliably recovered.
Then it was time to weld it to the frame. I've started first with welding on remaining square tubing that surrounds the plate.
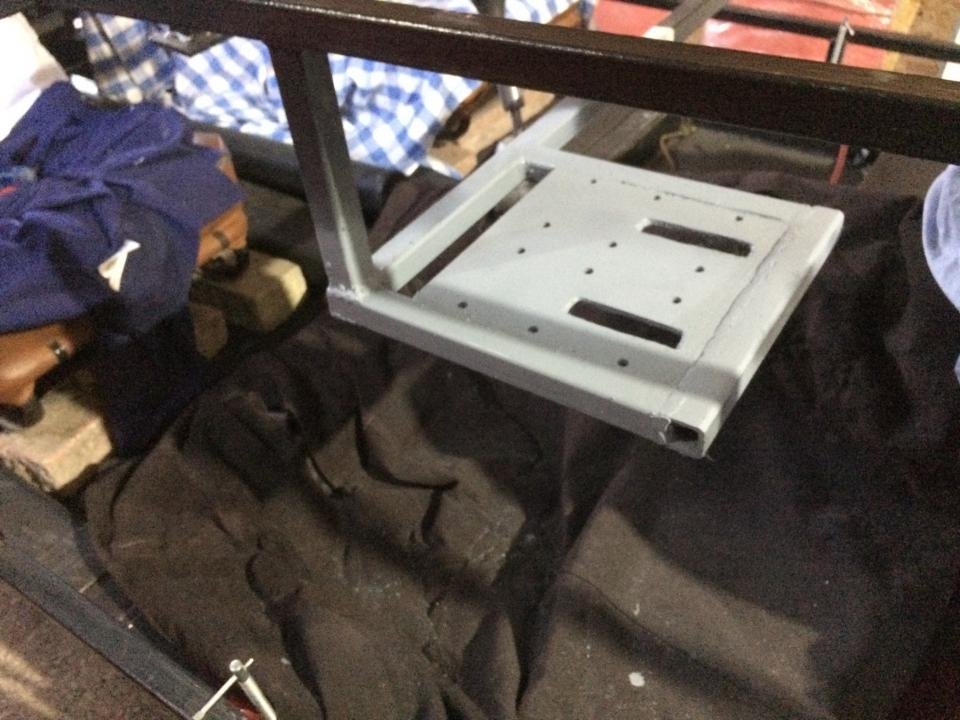
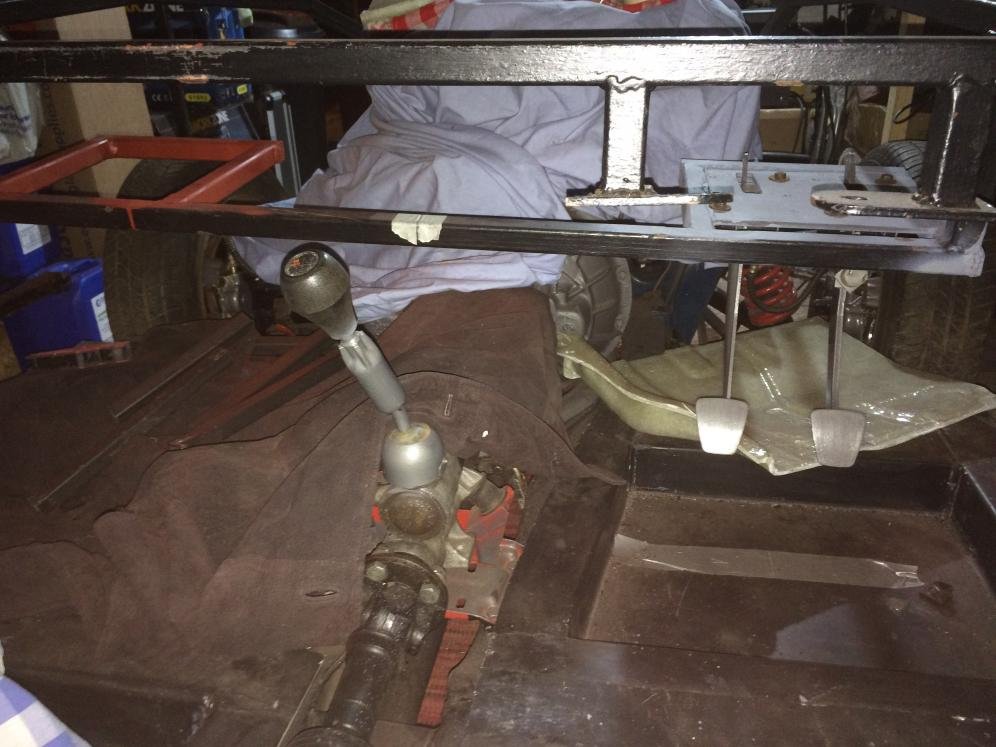
Finished product welded and primed. I will weld on a couple of bars below the plate to rest on the floor and to provide the area to bond the lower part of the fibreglass bulkhead to it.
I will also weld square bar above the pedal box onto the frame to brace it if necessary, to prevent it moving upwards when the pedals are pressed. I will first bond the fibreglass bulkhead to the frame and the floor to check if this is needed.
I have welded some tubing on the opposite side too, to add a lowered battery compartment....
.....it looked a bit small, so I modified it and made it wider and longer, so there is enough space for the battery.
....again, sorry but some photos are not oriented properly...
So, the idea is to cut out the pedal plate and battery compartment areas on the top part of the bulkhead, revealing the steel plate and the battery compartment beneath and then glass/bond everything together.
I will then clad the bulkhead with aluminium sheet as well.
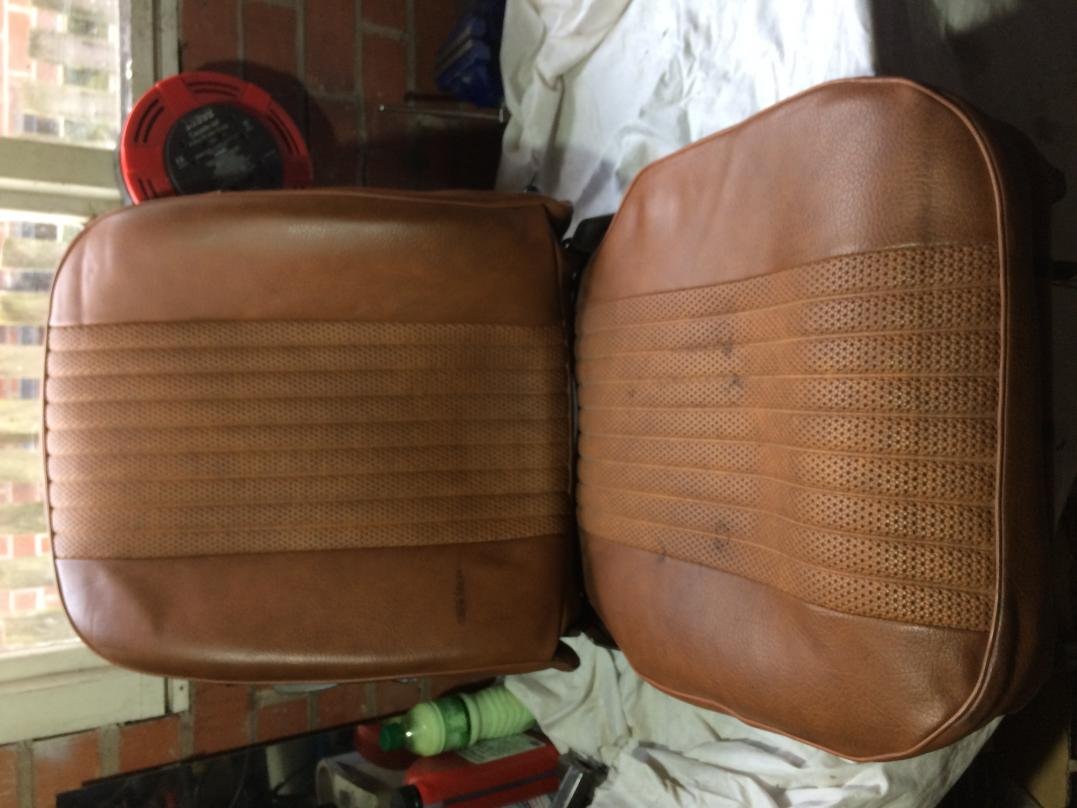
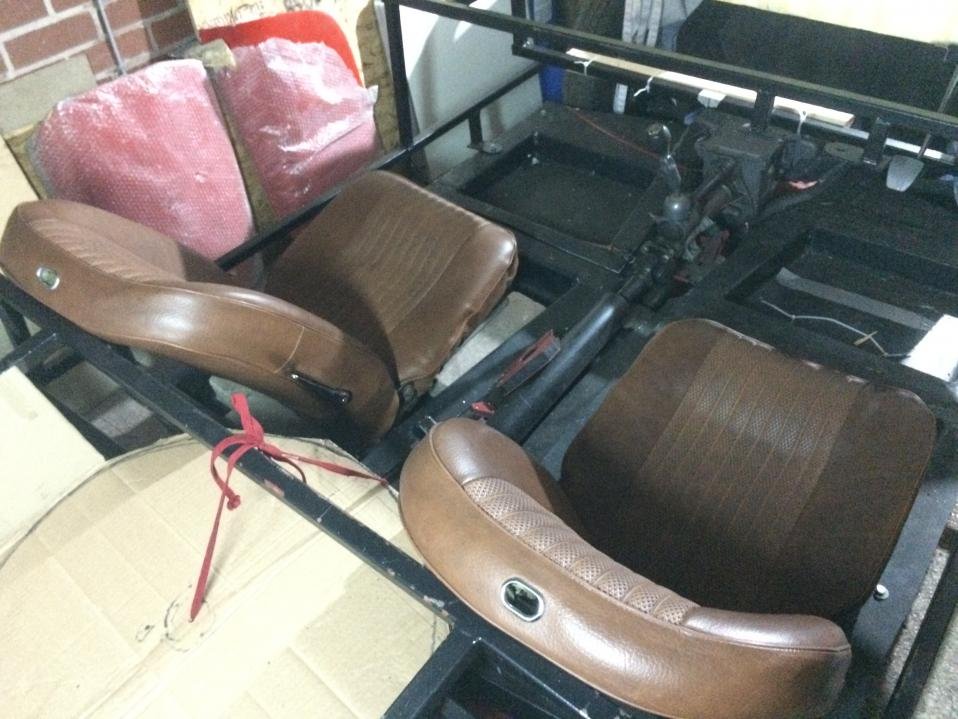
I've also checked if I can use the MGB seats I bought quite some time ago now.
I know that Mr. Towed could not use his seats as the Spider frame was in the way. The Miglia frame is different, so I thought I'll give it a go and investigate if there is a chance to use these seats.
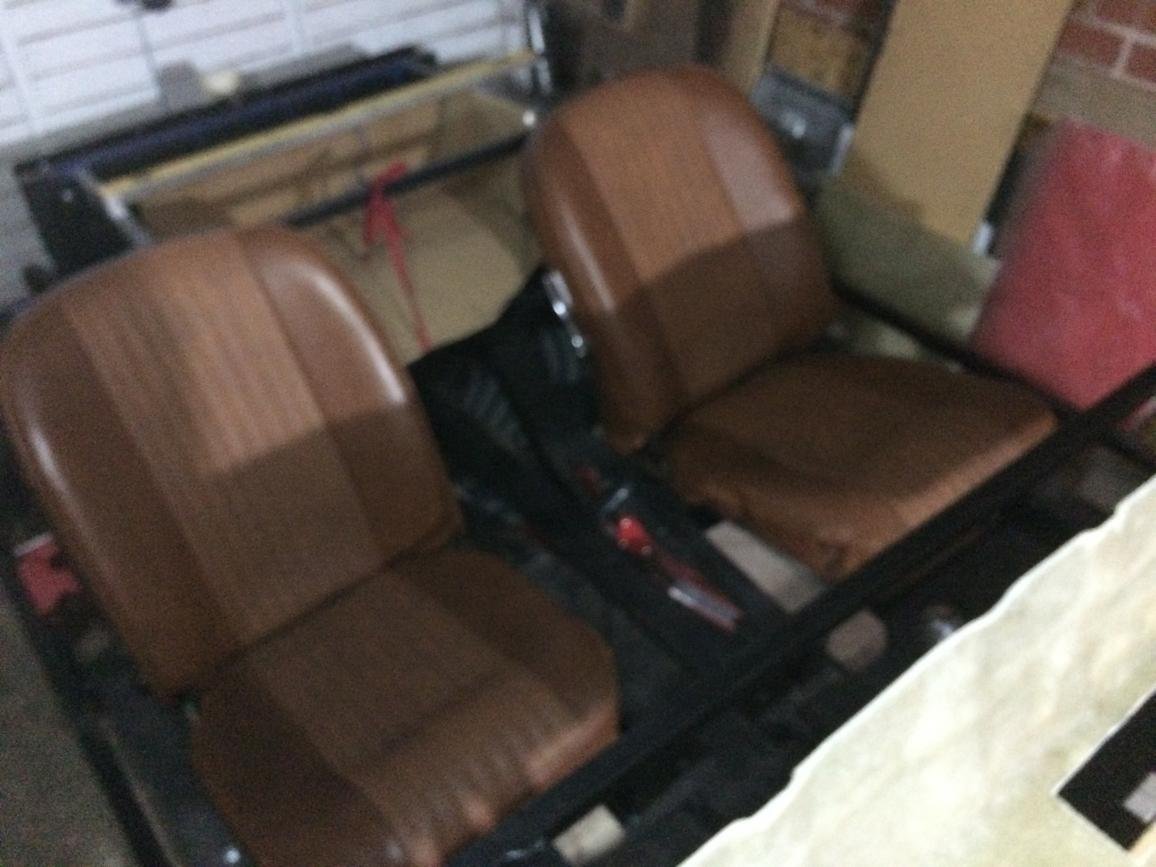
I really like the weathered look and the colour of these seats, so I have made a small cut in the corner of the bottom part of the seat frame, to allow the seats to go further back....it seems that this could work. The seats are far enough to sit comfortably and even taller person than me would be far enough from the pedals...I can raise the seats for more than 2 inches and the back of the seat will be below the hump and I will be able to look over the screen too.
I will make a final decision when I put the body back on and if I can use the seats, I will weld and paint the seat frames too ...
Attachment “IMG_1667.jpg” from the original forum could not be reliably recovered.
Attachment “IMG_1668.jpg” from the original forum could not be reliably recovered.
I have also painted the bottom of the fibreglass floor panels with Hammerite stone chip shield paint to dampen the sound. Not sure if this was really necessary but we'll see...
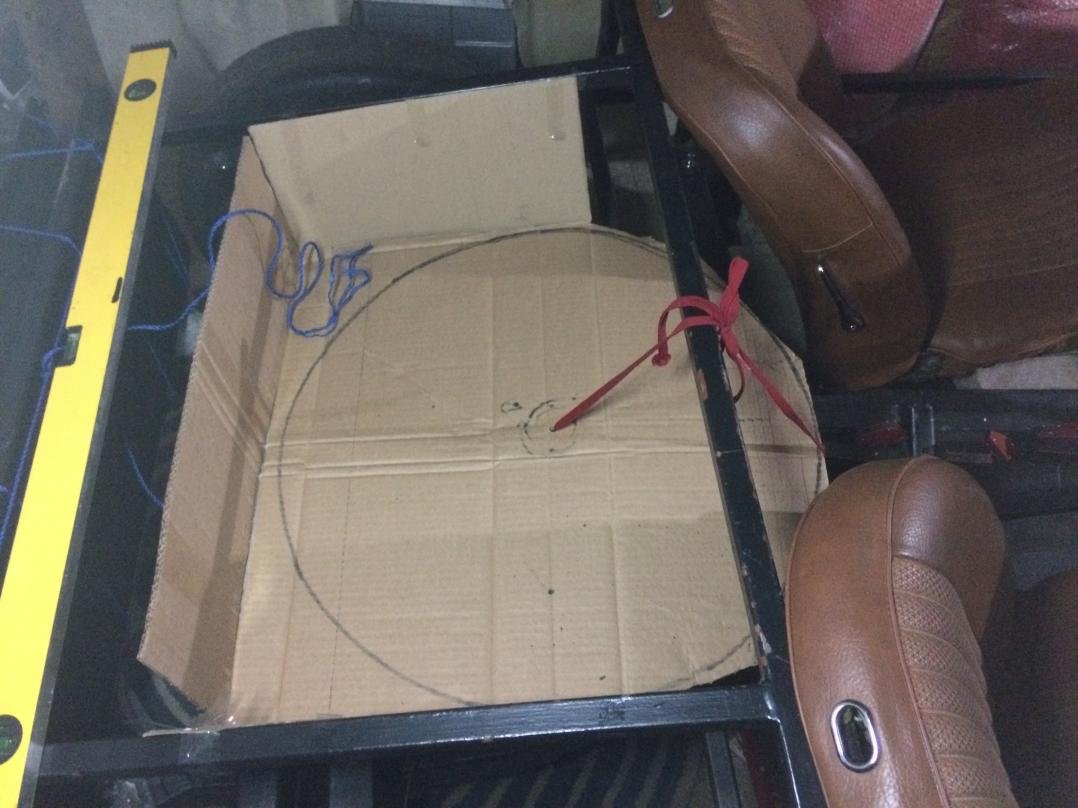
I am also experimenting with the space behind the seats, to see if it is possible to make an compartment big enough to fit a spare tire. This might work too....
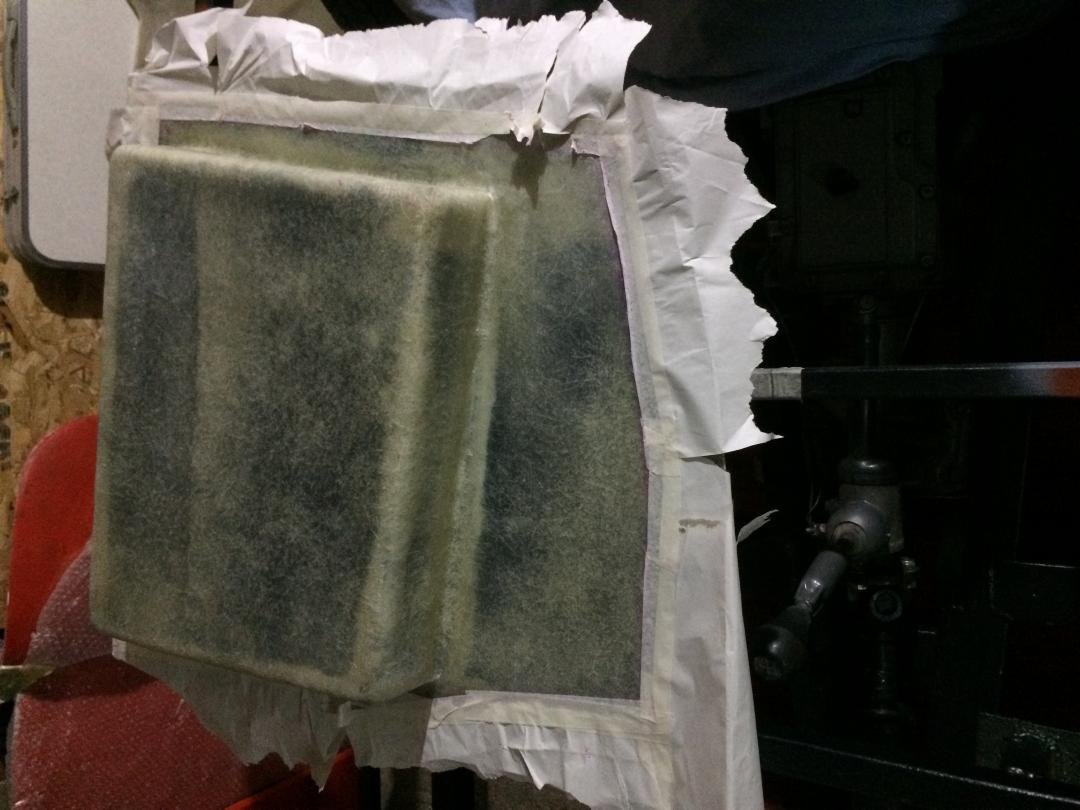
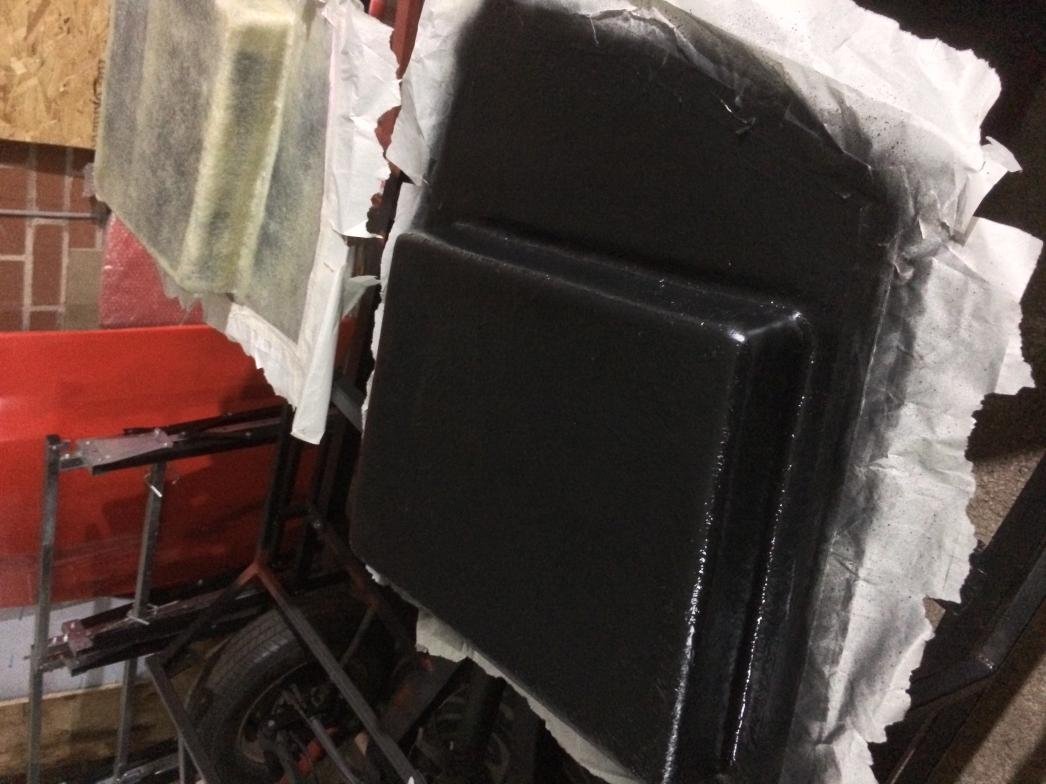
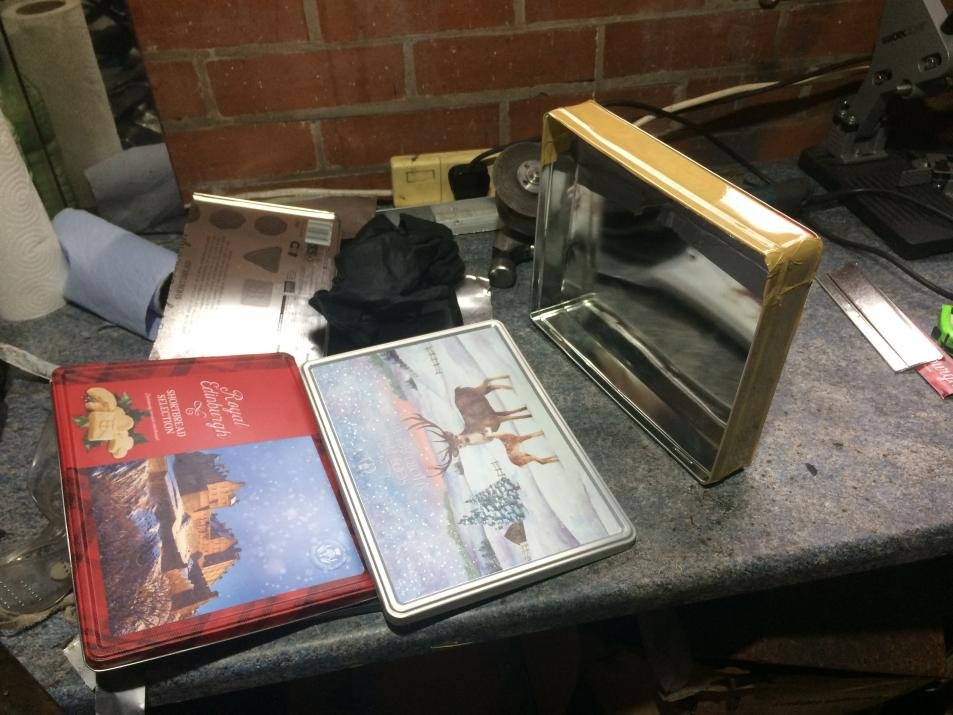
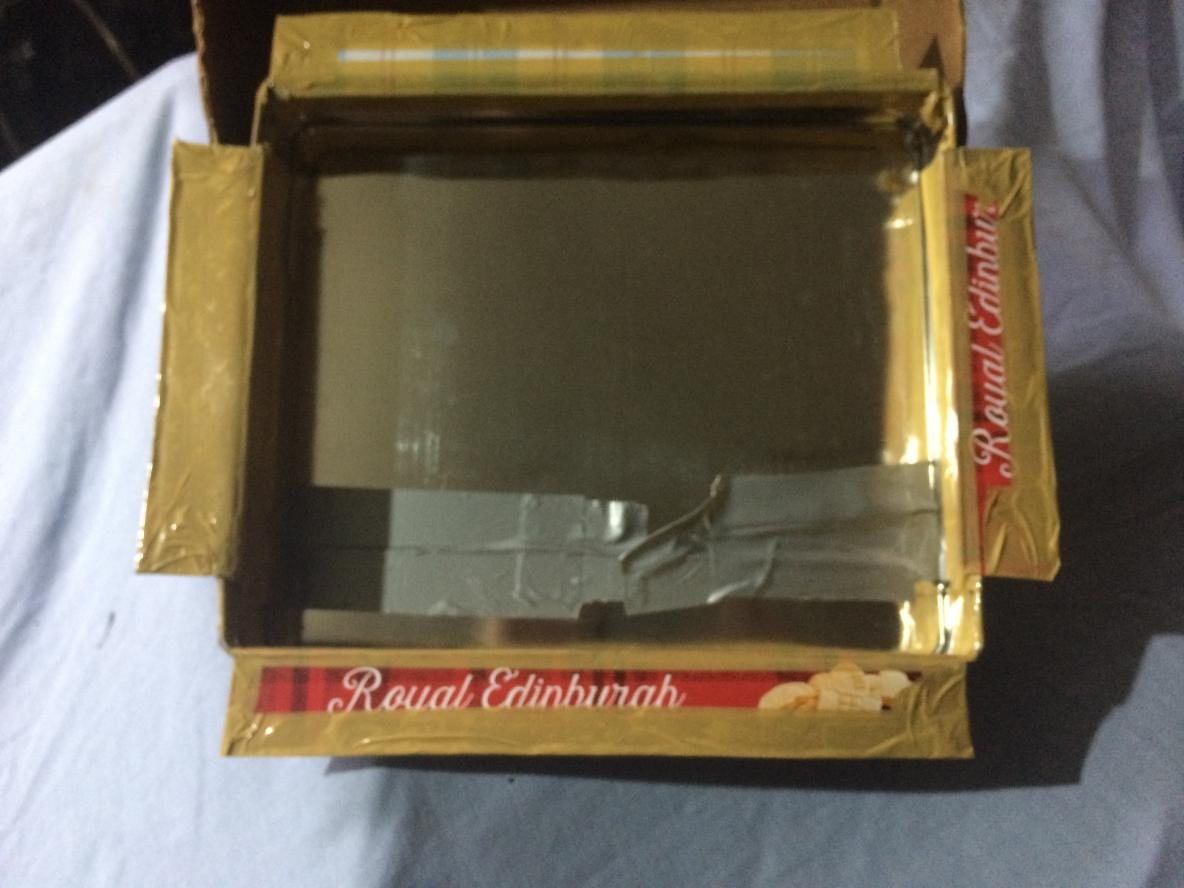
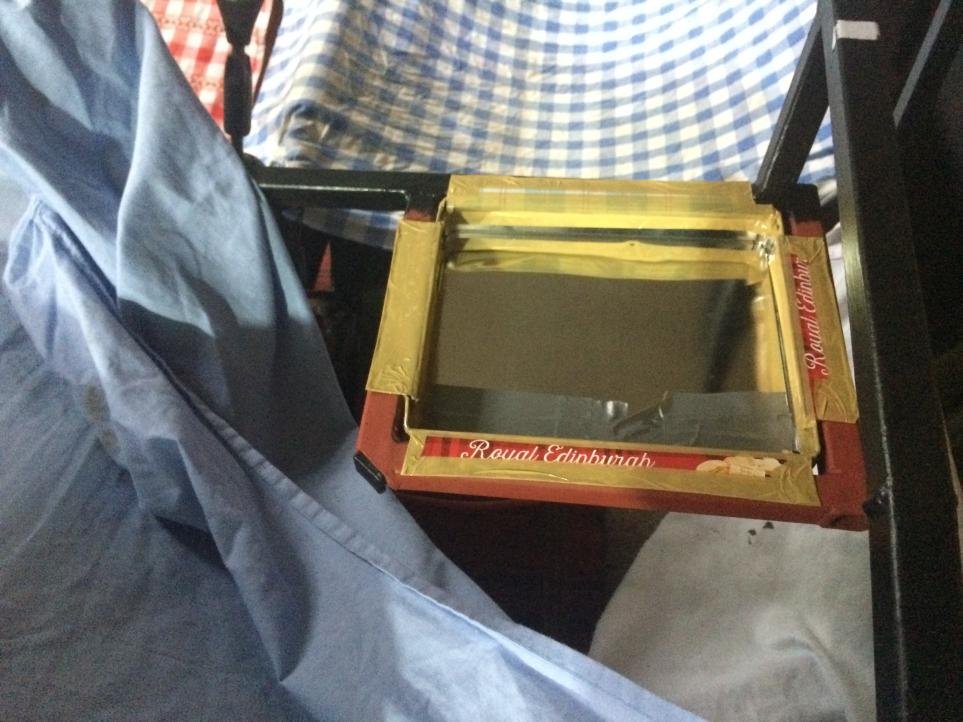
I have also started to make a battery tray. A couple of shortbread tins were cut and used to create the plug, which will be then used to create a fibreglass tray.
This will then be glassed onto the bulkhead. I have left the fibreglass to cure for a few days till I'm back in the garage next weekend, so I will post the photos of the finished tray next time.
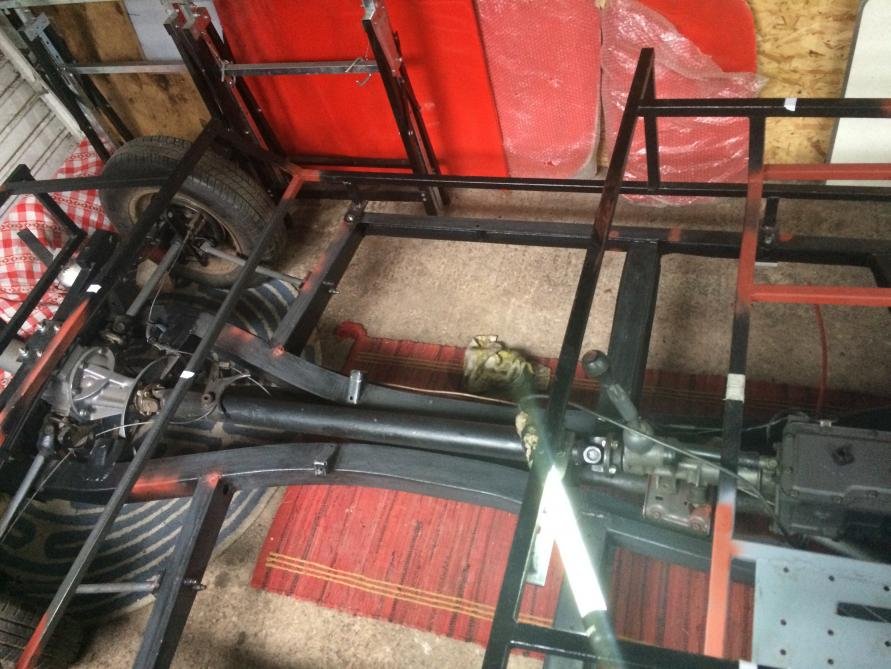
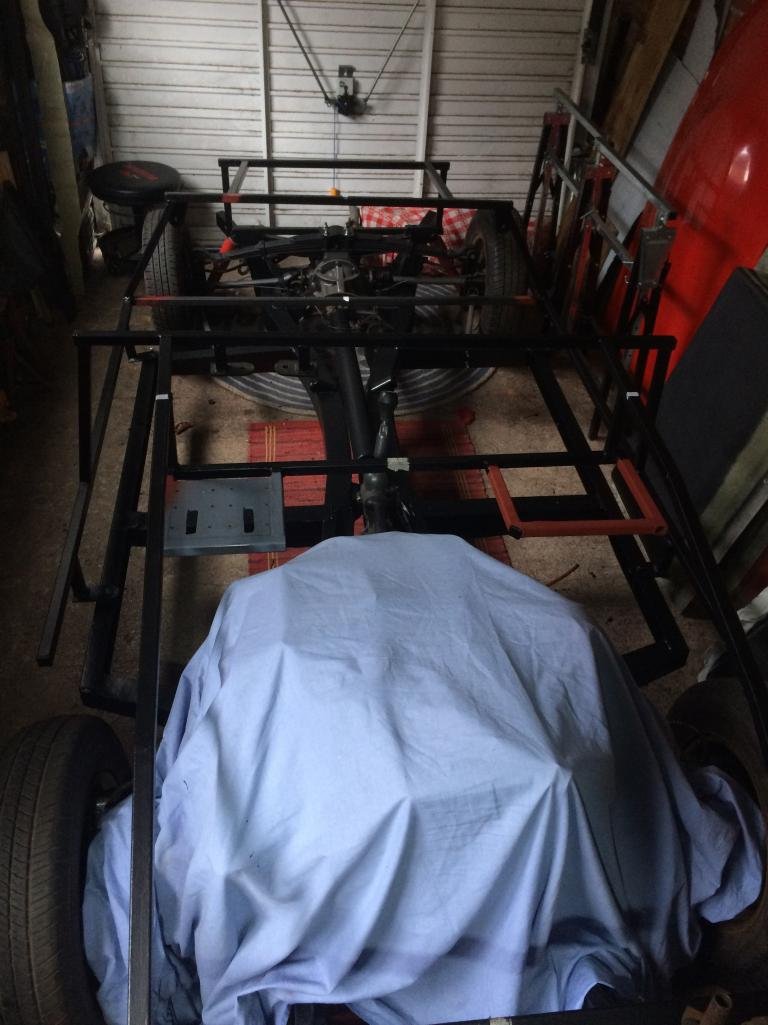
The last thing I had time to do is to paint the frame and the chassis with another layer of paint (except for the places where I still need to do more welding).
The frame and the chassis were scratched on a multiple places due to trial fit of the body and the floor panels, so I thought it's good to do it before I glue the floor panels to the chassis and put the body on.
I will also waxoyl everything before I put the floor panels back on, as it is very easy to access the inside of the chassis now.
I have also inspected the fuel line and the brake line and they look in a very good condition, so I don't need to replace them.
The next step is to finish welding at the back of the frame and to fabricate the prop shaft tunnel. After that, I can install the petrol tank and radiator, finish the bulkhead and the compartment behind the back seats, install the master cylinders and handbrake, followed by wiring...still some work to do till I reach a moon buggy stage, but I am another step closer.
As for the seats, if you can make them fit, the MGB seats are great.
You might want to measure the maximum distance between the outside top corners of the seat backs with the seats in place (dimension 'A') and the width of the cockpit opening where the seats will be (dimension 'B'). If 'A' is wider than 'B' they're not going to fit, I'm afraid.
The problem on a Spyder body/frame is that the chassis is in the way so you can't move them any further inboard without them being too high. Maybe the Miglia is a different matter, but the bodies look spookily similar... Good luck!
I will also waxoyl everything before I put the floor panels back on, as it is very easy to access the inside of the chassis now.
I don't know how accurate the info is, but I saw a report that Waxoyl will eat into and damage GRP - so maybe care has to be taken on the chassis/body interface that no waxoyl gets on the GRP.
Mister Towed - thank you for your comments. I have bought a couple of 2nd hand seat base assemblies, and, as an experiment, I have already made one of them narrower, just to see how much closer I can position the seats towards the middle. I might need to make some additional "brave grinder cuts" in the corners of the body. I will trial fit the body with the seats in this weekend and will post an update later on. I would really like to use these seats, so I will try and do my best to fit them
Paul L - thank you too for your comments and suggestions. I did not think about the MOT, but you're right, it is important to leave a good impression.
Also, some of my friends were asking why am I painting the parts that won't be visible, like gearbox bell housing or diff, etc., and they would say "no one would see or know", but the point is that I would know.
Thank you for posting your photos as well. I was thinking that if I have to add the brace after fibreglassing to use bonding paste instead of welding, to avoid melting the fibreglass. I will weld the tubing below the plate and the battery compartment though before fibreglassing.
Mitchelkitman - Wow! I didn't know that, so thanks for the heads up. I will try to find more information about it. I will make sure that when I apply Waxoyl to avoid contact with fibreglass.
Just dug out the pictures of the MGB GT seats I tried in my Spyder (hope they appear, photobucket are being a bit of a pain, these days...) -
Fitted quite snugly into the chassis once the floors were lowered enough to avoid the 'Noddy' driving position -
Very comfortable and a nice, laid back driving position -
But, once the frame went on -
The upper frame box-section tube is only about 2mm outboard of the inner cockpit edge and the Miglia and Spyder bodies are virtually identical (in case you don't know, the Miglia prototype was just a Spyder modified by Gary J's ex assistant) so you might well face the same issue. It would've taken major seat frame surgery to the tune of about three inches narrower to get them to sit right (no pun intended), but they'll be very comfortable if you can use them.
Mr.Towed - thank you for the photos, much appreciated. I remember seeing those when I was reading your thread.
The seats in my photos are with the frame fitted, so the frame is not in the way.
I have tried a few things with the seat base. I have narrowed a 2nd hand Ford Focus seat base for 6cm and it looks like I will be able to move the seats towards the middle. However, I suspect the body might still be in the way. I could not trial fit the body this weekend to know for sure, but when I do I'll post some photos.