This is a read-only archive of the old Madabout Kitcars forum. New posts and replies are no longer possible, but every thread is still here to browse and read.
Well not a lot of car building progress but I have managed to get the Sabre transported from it's lock-up garage to my own garage at home. This is about 18 months after I moved house and it means my house move is now complete and it's finally goodbye to the lock-up garage I've had for over 11 years.
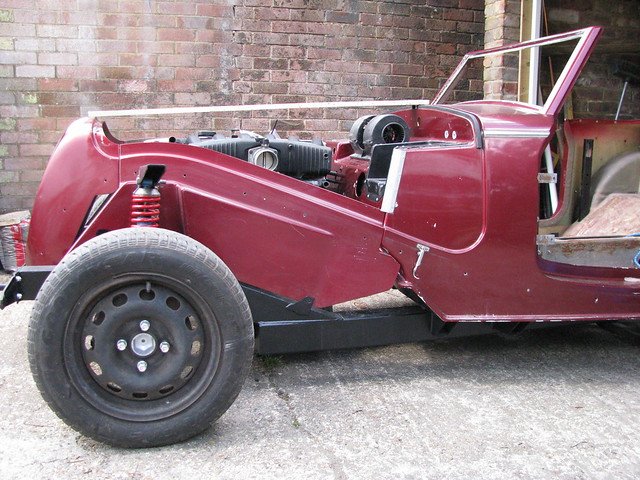
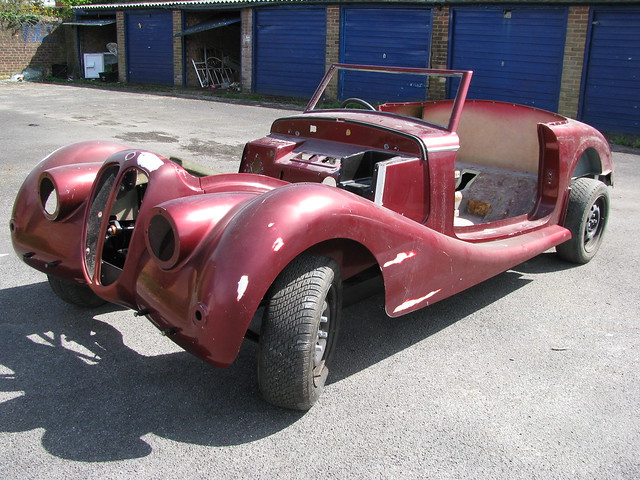
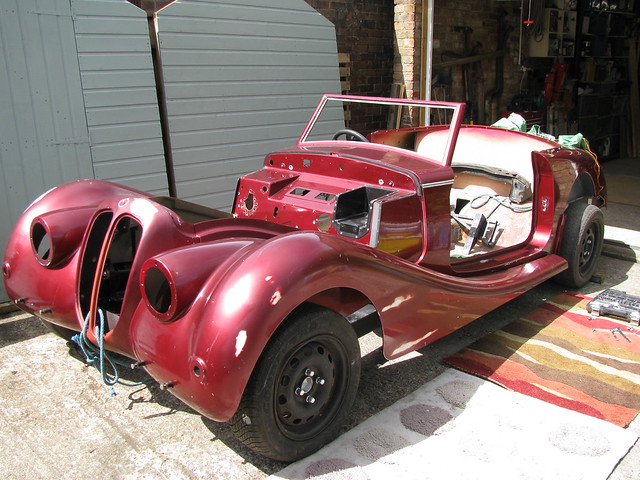
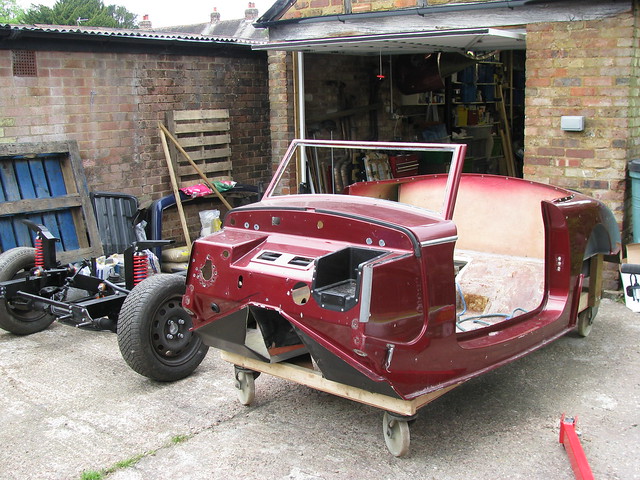
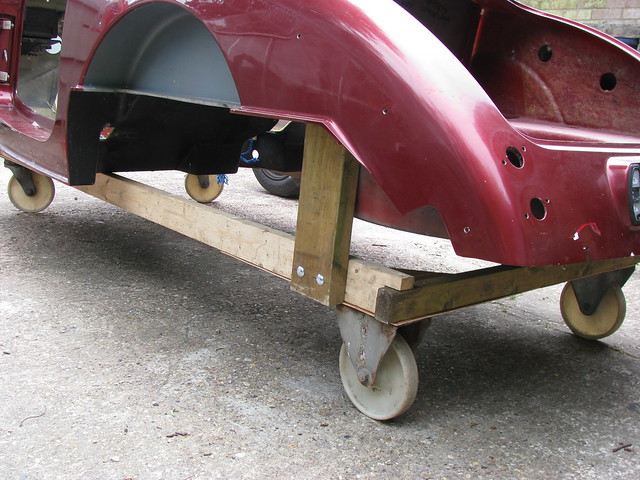
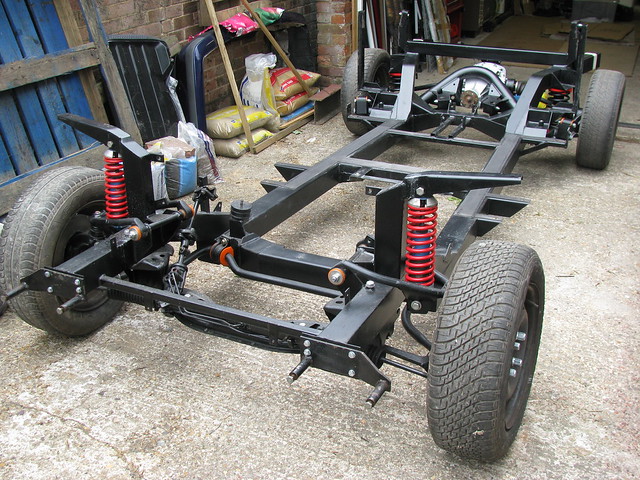
First job was bolt the main body tub and the front wings back on to the rolling chassis so that I could get the whole lot transported in one journey. I'd forgotten how many nuts and bolts there are but here it is just prior to collection and transportation.
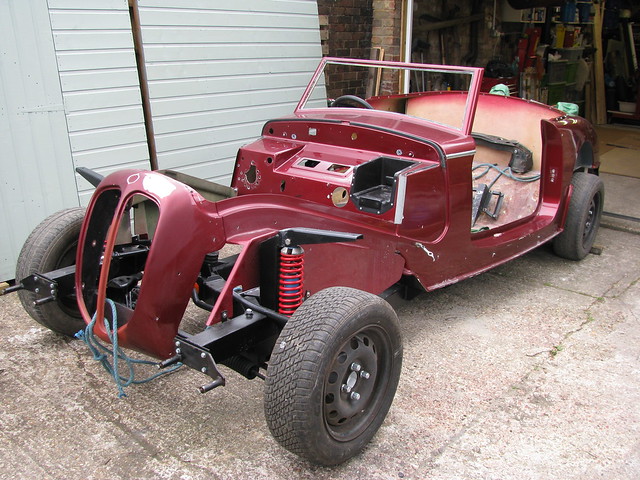
The next job was to hoist the central body tub off the rolling chassis on to a trolley that I built from surplus timber and some old supermarket wheels that I've used before during my Marlin Sportster build.
It has faired reasonably well in my damp unheated lockup garage but there is some surface rust on unpainted parts. It is also covered in spiders 'poo' which is surprisingly hard to remove.
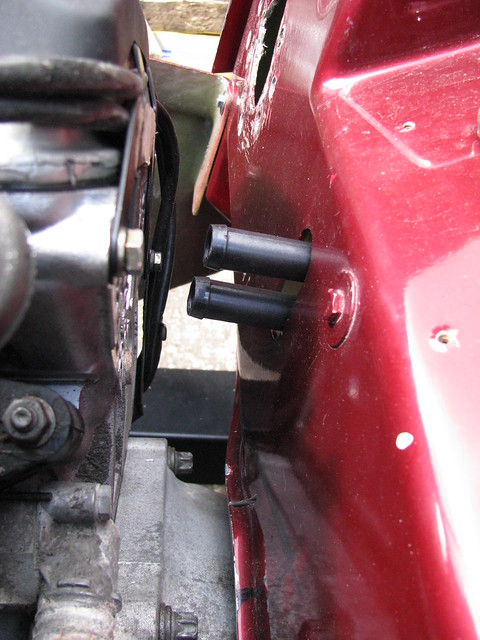
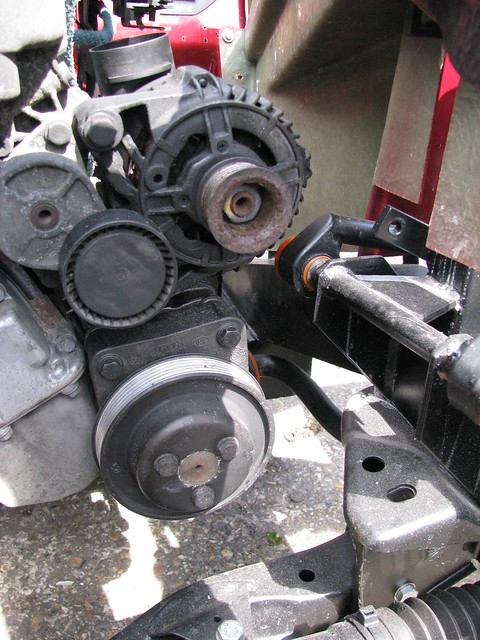
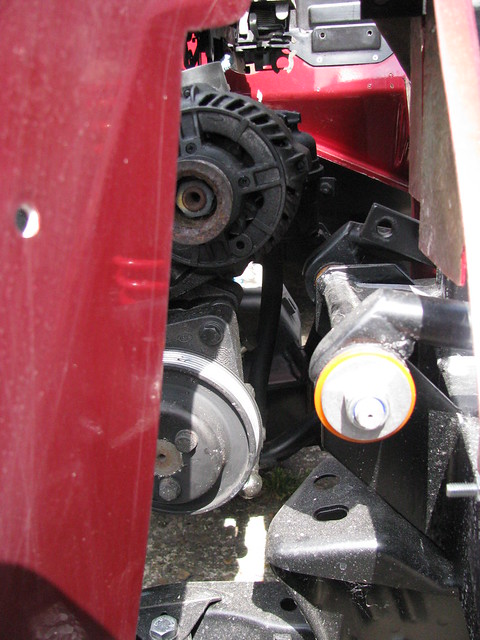
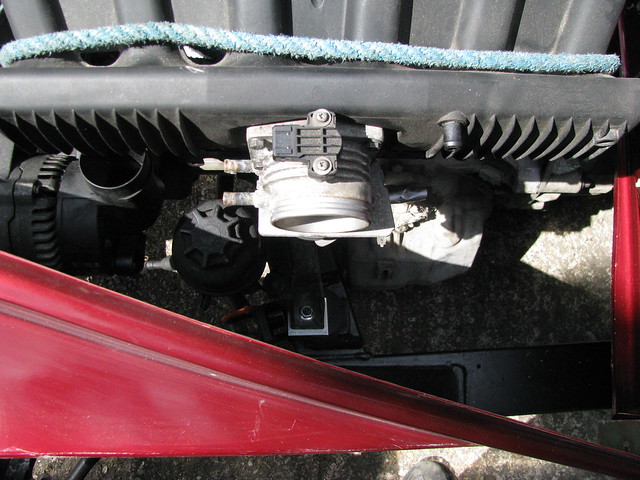
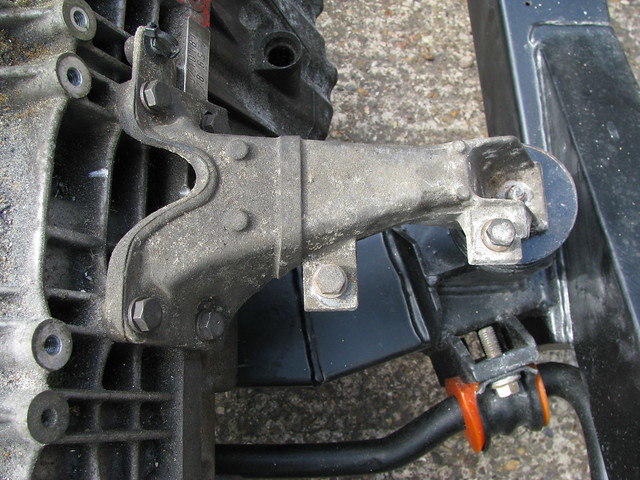
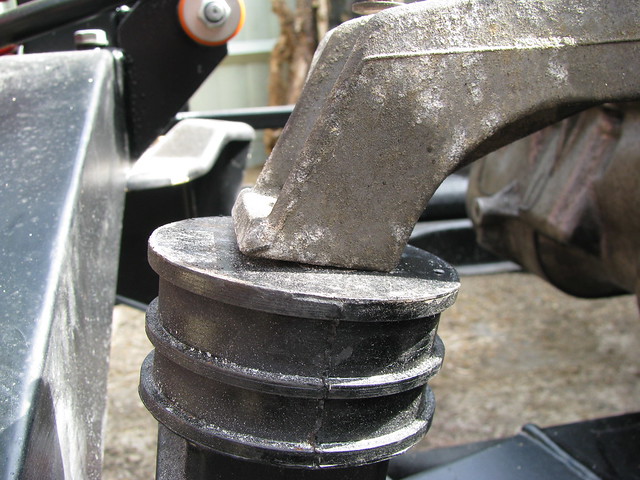
I next moved on to thinking about the engine mounts so thought I would try the BMW M52 mounts and amazingly discovered they are a near perfect fit (Now the chassis was built in 1994 and designed for a Ford DOHC engine and the BMW was not built until August 1995 - how weird?)
....and I have about 25mm clearance around the top and back of the crossmember which is a little too much as I want to get the engine as low and as far forward as I can get it.
Next job is to check the clearance with the 'real' engine as I've noticed a difference between the 1995 and 1998 sumps.
The next job was to hoist the central body tub off the rolling chassis on to a trolley that I built from surplus timber and some old supermarket wheels that I've used before during my Marlin Sportster build.
Which got me back to the rolling chassis stage where i was in January 2013
[It has faired reasonably well in my damp unheated lockup garage but there is some surface rust on unpainted parts. It is also covered in spiders 'poo' which is surprisingly hard to remove.
I next moved on to thinking about the engine mounts so thought I would try the BMW M52 mounts and amazingly discovered they are a near perfect fit (Now the chassis was built in 1994 and designed for a Ford DOHC engine and the BMW was not built until August 1995 - how weird?)
The sump is pefectly horozontal and the only issues are a slight angular mis-alignment.....
....and I have about 25mm clearance around the top and back of the crossmember which is a little too much as I want to get the engine as low and as far forward as I can get it.
Next job is to check the clearance with the 'real' engine as I've noticed a difference between the 1995 and 1998 sumps.
More updates soon.......
....peter
That chassis looks even better than the Marlin one. No wonder the kits were so expensive - there must be 100's of hours of work in there....
I wouldn't have thought that the slight angular misplacement would cause any issues. One andvantage of using rubber engine mounts.
I guess that once you mount the "real" engine along with all its ancilliaries the extra weight would cause it to drop a few mm - it might even gain you the few mm that you want to lower it.
Being able to use standard engine mounts is a big benefit!
That chassis looks even better than the Marlin one. No wonder the kits were so expensive - there must be 100's of hours of work in there....
I wouldn't have thought that the slight angular misplacement would cause any issues. One andvantage of using rubber engine mounts.
I guess that once you mount the "real" engine along with all its ancilliaries the extra weight would cause it to drop a few mm - it might even gain you the few mm that you want to lower it.
Being able to use standard engine mounts is a big benefit!
Cheers, Robin
Hi Robin,
Well it's certainly no light weight sports car chassis!!
Being able to use the standard engine mounts is certainly a real bonus (and a big surprise :shock so I'm going try them with the full weight of the engine before making any other mods.
At least it's on the 'heel' of the mount rather than the 'toe', you can, to could buy tapered washers to use with rolled steel Joists (RSJ's) to accommodate the taper of the flanges, not beyond the scope of an angle grinder to make some from thick washers.
Looking good! You need a little good luck from time to time.
At least it's on the 'heel' of the mount rather than the 'toe', you can, to could buy tapered washers to use with rolled steel Joists (RSJ's) to accommodate the taper of the flanges, not beyond the scope of an angle grinder to make some from thick washers.
Looking good! You need a little good luck from time to time.
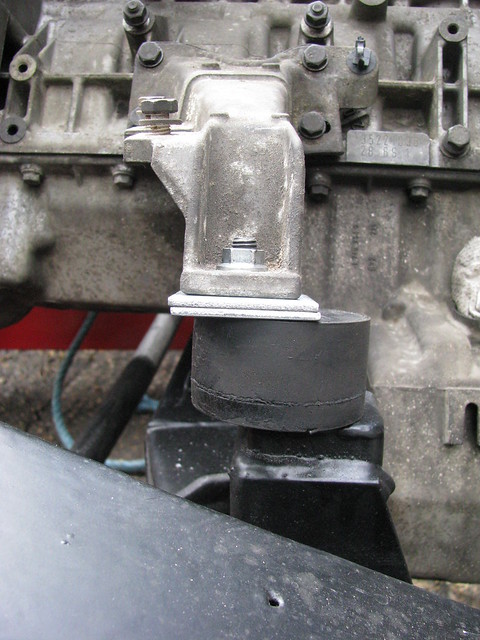
Yes, I did find some of those 'I-Beam' tapered washers on ebay but like you thought I'd have a bash at making some, so I have ordered some thick square washers.
The material around the bolt hole in the mounts is are about 10 mm thick so I may just take a bit off the 'heel'
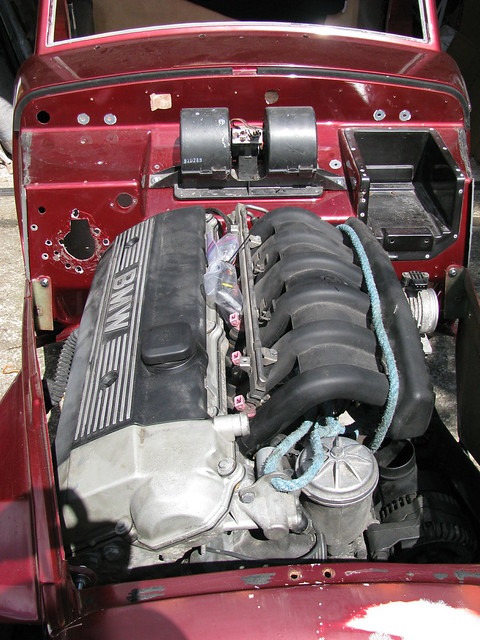
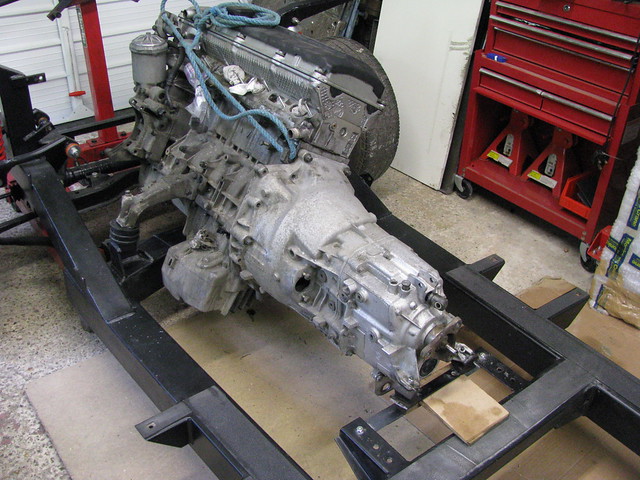
So having discovered that the standard BMW engine mounts appear to work it was time to try the 'real' M52B28 engine, rather than my bits and pieces of a gash engine.
First job though was to clean up the engine and gearbox....
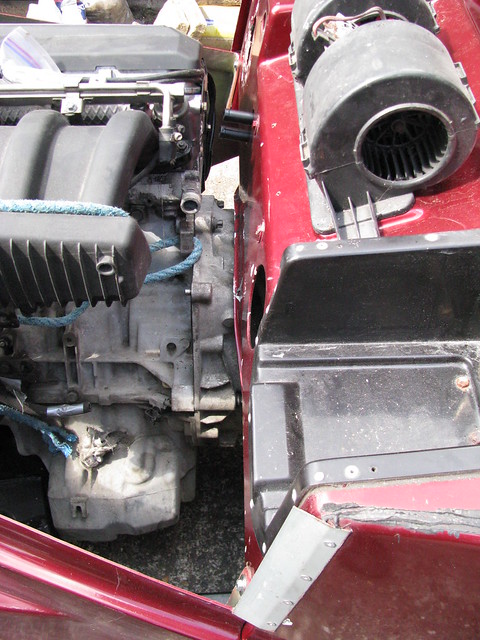
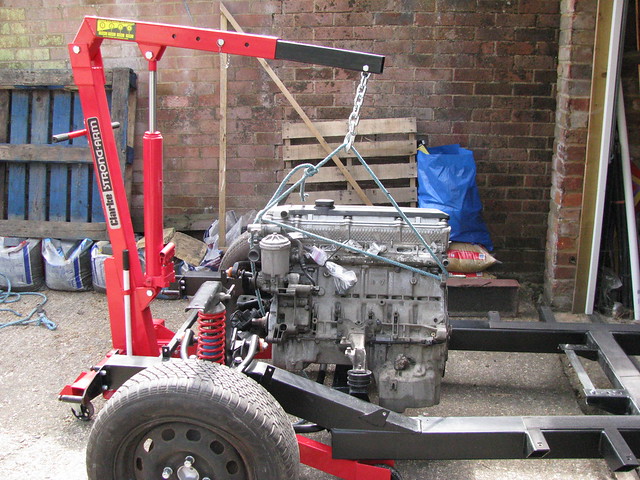
So far so good, but I still felt I needed to find a way of moving the engine forward a bit to clear the central body tub. The body tub is very heavy and is a three man lift so not easy to keep trail fitting.
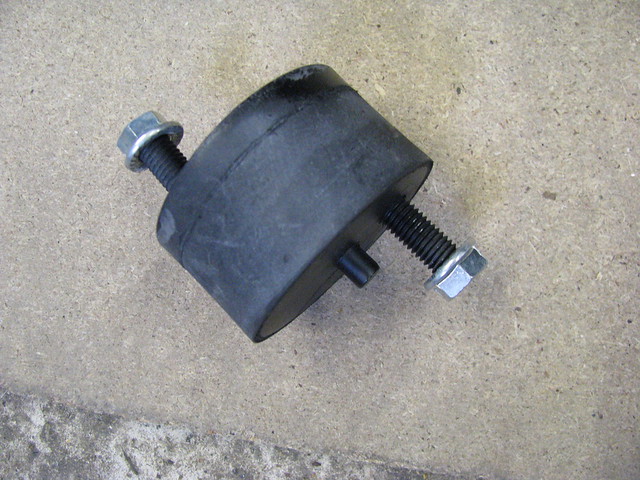
To move the whole drivetrain forward a bit I bought some of these Volvo engine mounting rubbers that have offset mounting studs. The studs are offset by 35mm.
Looking good Peter, those Volvo mounts may be the answer, quite handy.
How did the suspension look with the engine sitting in the chassis?
Hi Robert,
Yup, it's coming on nicely and not having to make some engine mounts is a real bonus.
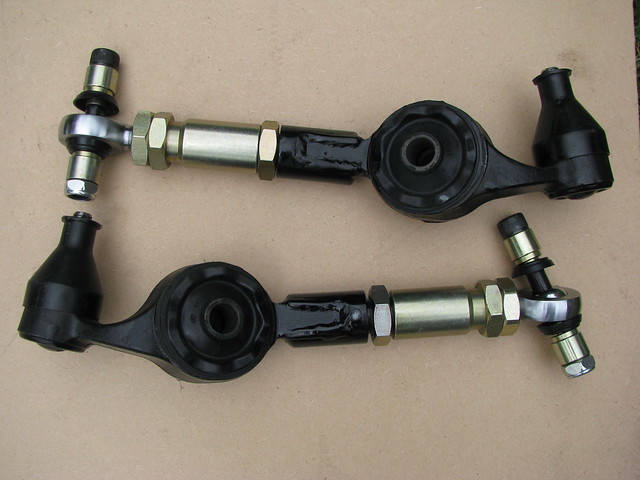
I didn't notice too much change to the suspension but it's not at all optimised yet. I'm planning to rebuild the front suspension using Granada hubs, adjustable track control arms and Cosworth brakes. (Providing the brakes fit within the steel wheels that I've bought). New coilovers and springs are also planned as the old shocks are probably now 20 years old although zero miles I am assuming the springs were supplied by the Royale Motor Company when the kit was purchased but they are an odd spec as they look like they will become coil bound before the suspension bottoms out? The old back copies of the Royale Owners Club magazine have a variety of conflicting advice!!
I've also got some wierd positive camber on the rear wheels that I haven't figured out the cause of yet
All part of the fun of building or rebuilding these old kits, ....as you know
Yes indeed they are interesting to say the least, take nothing for granted.
Sounds an interesting mod, the Berlinetta is sitting far too low, for me anyway, I was hoping for 200mm ground clearance, but I doubt if I will have 140mm as it stands. Way too low, it even grounds going into the garage. I have had to dig a level path for it to get in and out so it doesn't gaunch the sump, which is 15mm ABOVE the bottom of the chassis...
I think I probably need some un-cut original Cortina springs as a starting point. If such things still exist!
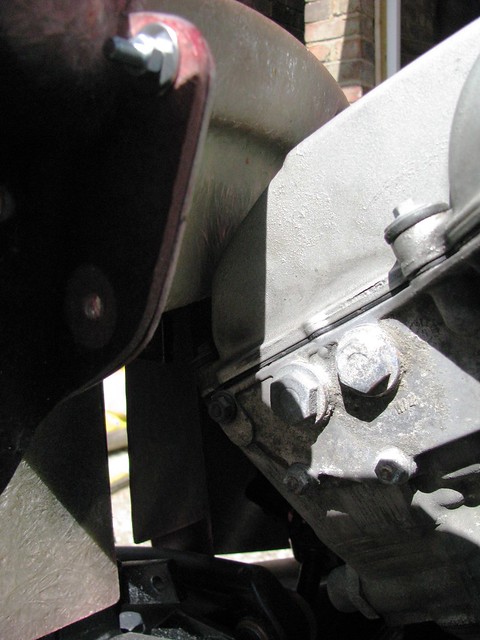
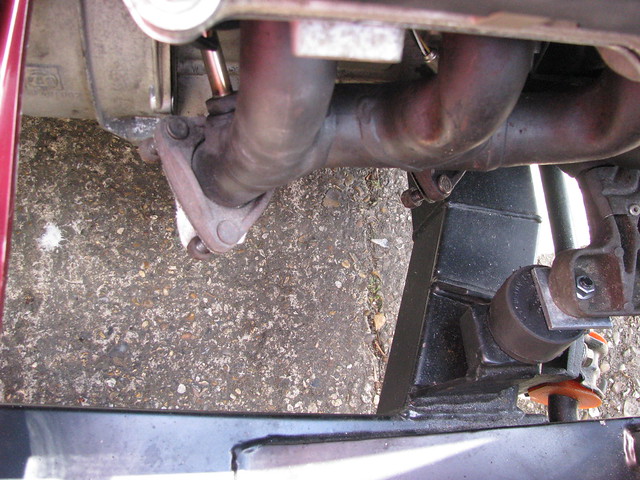
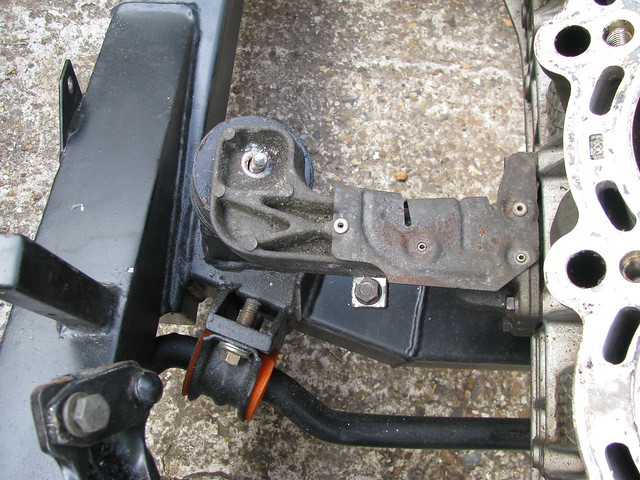
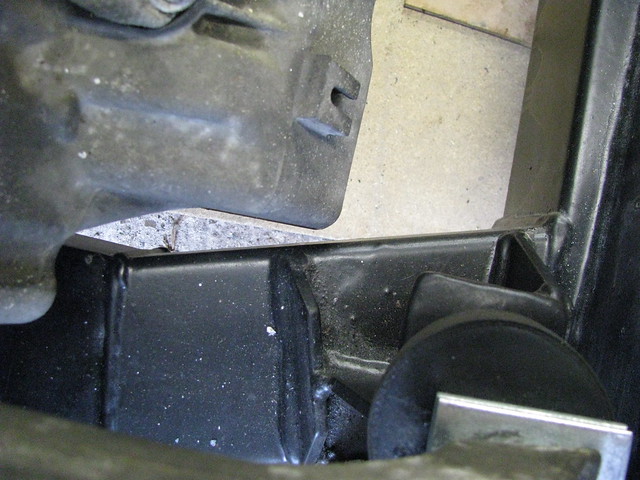
One drawback of moving my engine mounting forward by 35mm is that I now have a point where there is only a small clearance between the sump and the chassis.
Sump Clearance by marlinpeter, on Flickr
(This photo was taken looking down from above the chassis just behind the nearside engine mount)
The gap is about 6mm and I'm wondering how much the engine and gearbox will move forward under hard braking.
I know this is a 'how long is a piece of string' question and it depends on the weight of the engine plus the stiffness of the rubber in engine mounts and the gearbox mounts, but just wondering what the views of forum members based on their combined experience.
I think it would be possible to cut off the corner of the sump and have a flat plate welded over the hole but don't want to go to that expense if it's not necessary. Also, any advice on where you would get an alloy oil sump welded would be appreciated.
Hi Peter,
Must say there must be lots more people like me who enjoy reading about your progress, and what we see and read on these pages, to me, is dedication and love for what the end product is going to be. Good luck
6mm is getting close but, there is a very easy way to stop the engine moving forward under mild impact or heavy braking; use a Morris Minor gearbox restraint. They had a short piece of steel cable which was attached to the back of the gearbox and was tensioned through the gearbox cross member with a nut and locknut. The reason was to counteract the pull forwards when the clutch pedal was pressed, if the cable snapped as thy did when they had a few miles on the clock, the clutch stopped working because the engine just moved forward instead of pulling the clutch arm.
Else a small bump stop mounted strategically in front of the sump?
Welding the sump is simple enough with TIG but would need totally degreasing in the weld area at least. Oil and TIG welding don't mix. Old aluminium sumps and crankcases can be sods to weld because the older aluminium can be porous and when heated the oil comes out of the pores in the metal and makes it almost impossible to make a decent weld. I would expect a modern aluminium sump to be OK.
If you do decide to weld a corner, it might be wise to bolt the sump to your spare engine block to stop it from distorting with the heat. I would discuss that with your welder, but be aware, they can twist unexpectedly.
6mm is tight. I think if you can grab hold of the engine and rock it for and aft it will give you a good indication of how much clearance you actually need. I suspect you will be on the limit although once you have the gearbox mounted it should reduce engine movement a bit more. Could be simple fix to re-drill the mounting holes to give a bit more clearance.
Another possibility to increase the clearance between sump and chassis, corner of the sump, which from the picture is the only part close to the chassis, could be reshaped to give you the required clearance, providing the corner to be reshaped doesn't interfere with the internal components like oil pump strainer etc. Mind you, it would require aluminium welding.
I think it would be possible to cut off the corner of the sump and have a flat plate welded over the hole but don't want to go to that expense if it's not necessary. Also, any advice on where you would get an alloy oil sump welded would be appreciated.
...peter
Peter. I have a contact that welds ali (tig) should you reach that decision. He normally charges not a lot. Sometimes the obvious solution is also the simplest....
Many thanks to you all above for some great ideas and some concerns to ponder on.
I think my next step is to bolt all the main ancillaries back on to the engine and then re-fit the main body tub, bonnet sides, etc and see how it all fits together.
I can then see which options work best.....
Good luck and don't forget to allow for the 'invisible' stuff, which you have taken off but has to be put back...
I have had to chop a bit of my battery isolator key because I hadn't allowed for the seat belt reel, not prepared to re-locate either so something HAD to give.
Well that's it so far.....just got work out where the put the radiator, header tank, Inlet filter, brake servo, HP fuel pump and filter, Fuel swirl pot, windscreen washer bottle and probably a host of other things I've forgotten for now
 Donor car stripped and ready to go.. by marlinpeter, on Flickr
 Donor car gone..... by marlinpeter, on Flickr


 (Now the chassis was built in 1994 and designed for a Ford DOHC engine and the BMW was not built until August 1995 - how weird?)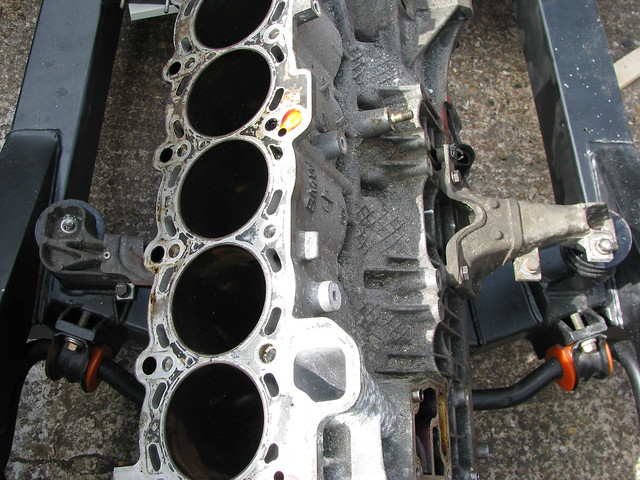
 Nice
Nice 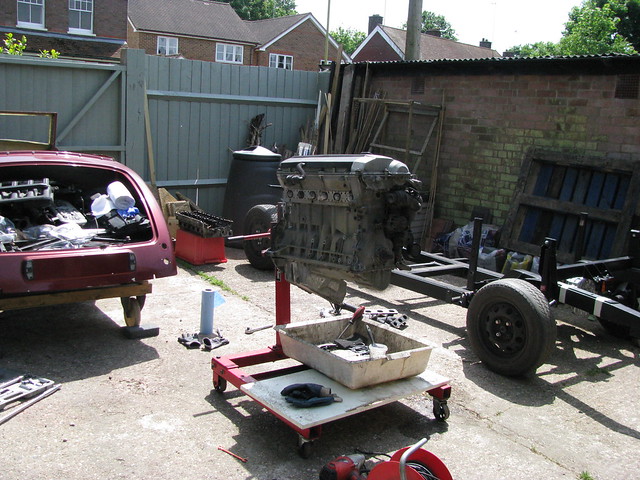
 I am assuming the springs were supplied by the Royale Motor Company when the kit was purchased but they are an odd spec as they look like they will become coil bound before the suspension bottoms out? The old back copies of the Royale Owners Club magazine have a variety of conflicting advice!!
 (maybe John Barlow who designed the Sabre had a straight six engine in mind?)