This is a read-only archive of the old Madabout Kitcars forum. New posts and replies are no longer possible, but every thread is still here to browse and read.
If the filler area was small and the matting was going to cover the filler area completely and 'stick' to fibreglass beyond the outside edges of the filler, it might be OK.
But if the filler area was large and the matting small, so it was solely on the filler, then maybe not so much.
Thought about the 5kg bags of chopped strands overnight and realised that 5kg of chopped strand mat costs less than £5!
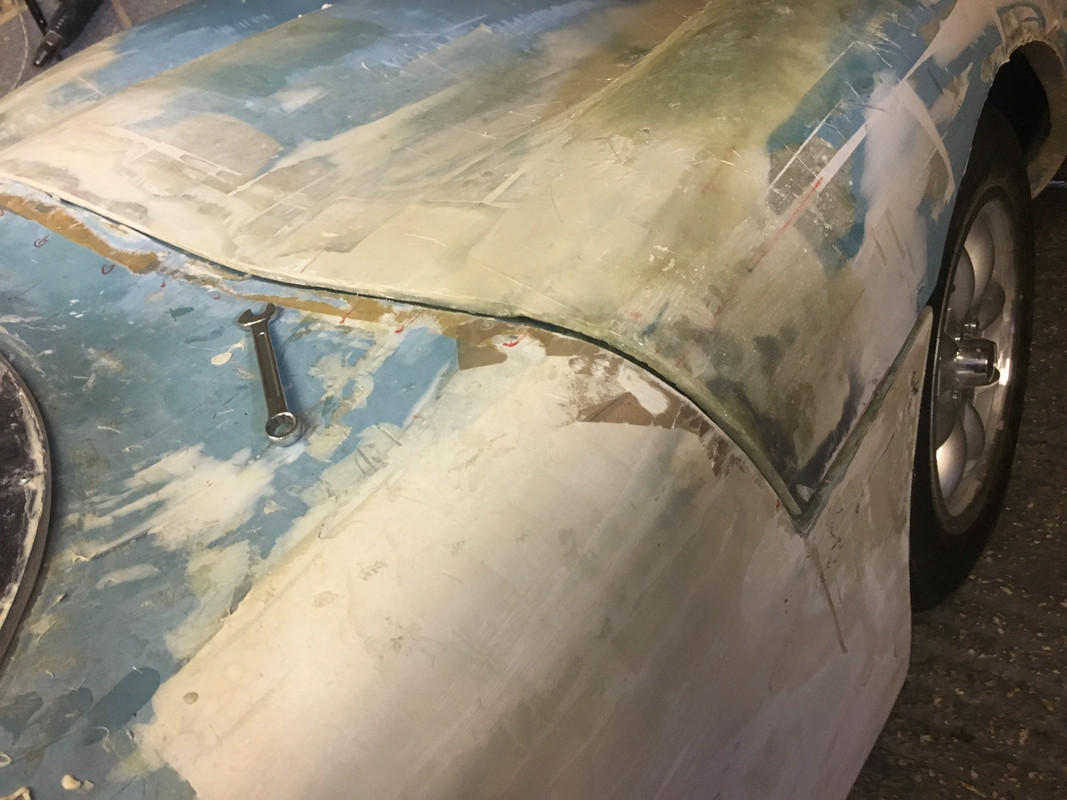
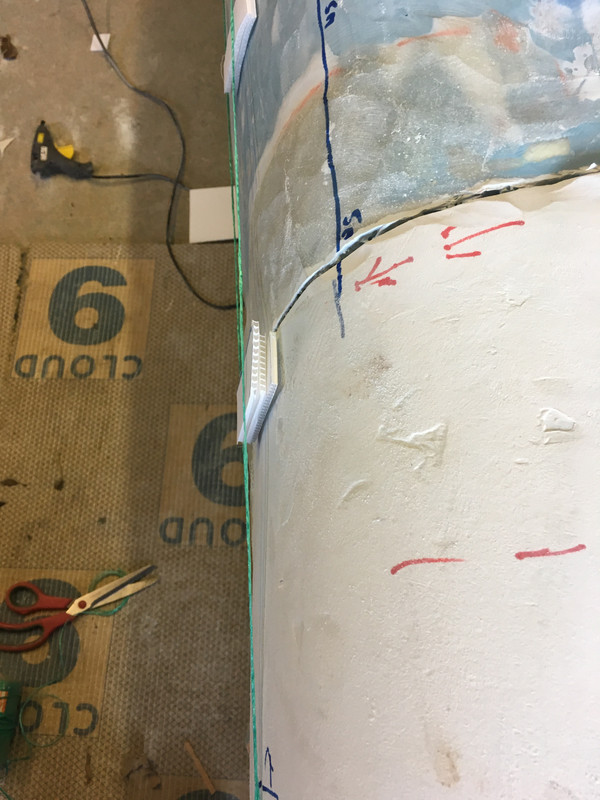
Anyway, out with the angle grinder this afternoon and removed the 5kg of body filler that I had used to try and build out the off-side/front of the main tub. Then I ran some strings along the side of the tub at various heights and confirmed that the lines of the near-side of the tub are pretty straight - lets say 'Sammio' straight. Whereas there is a definite gap to be filled-in (as shown below) on the offside.
.
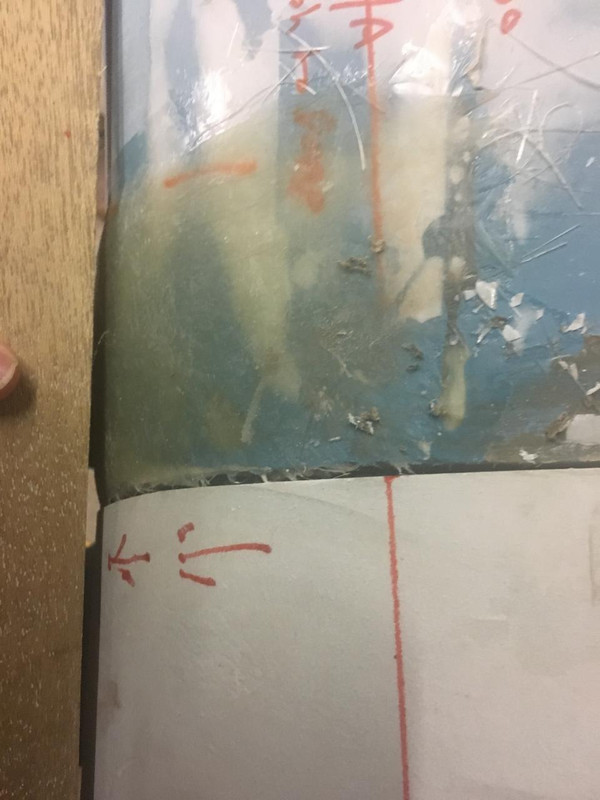
In fact this photo under-eggs the gap because the piece of wood is only about 18" long. Running the string along the side of the cockpit shows the gap to be more like 10mm + as per below.
So having ground-off the filler I spent the rest of the afternoon put a number of layers of mat to build-up the area between my 2 x correx spacers.
I like your approach to bodywork detail I also have had fiberglass work on the arches I am also on my second attempt but the time spent now will pay off in the end result or so I am told. Yours is look well Dave
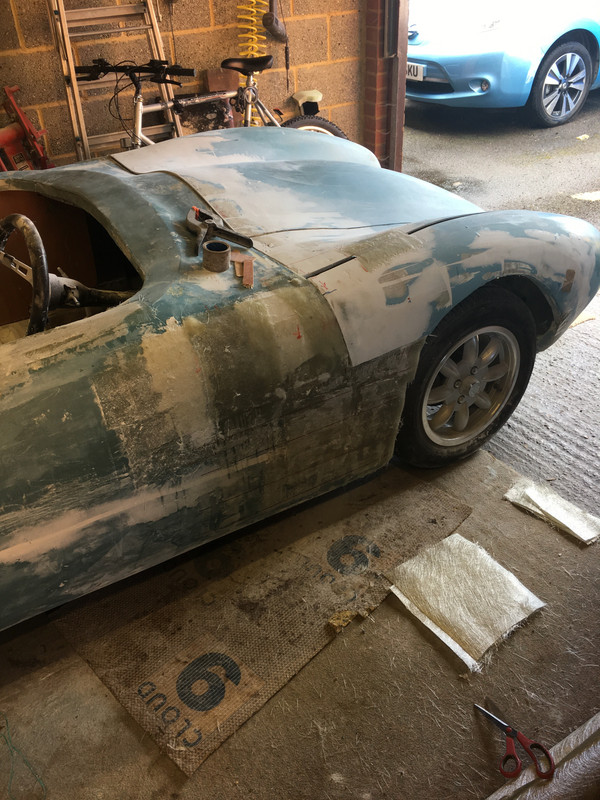
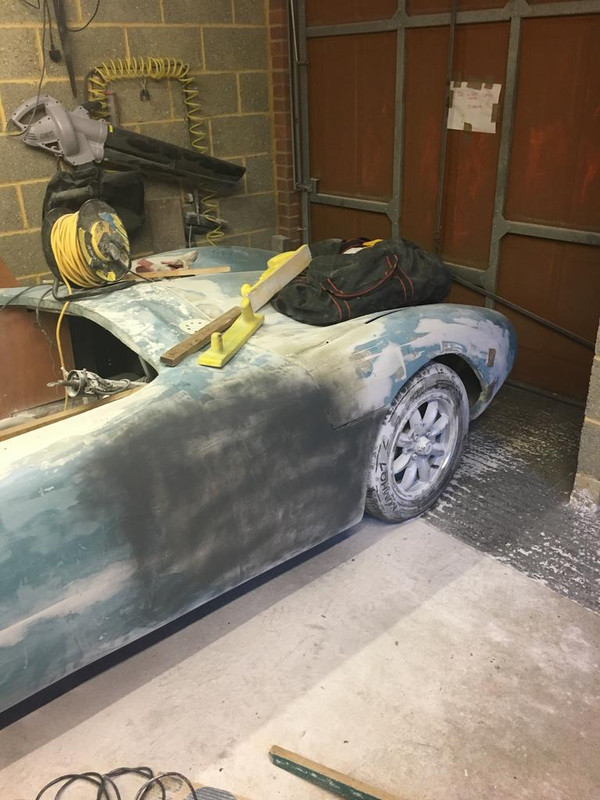
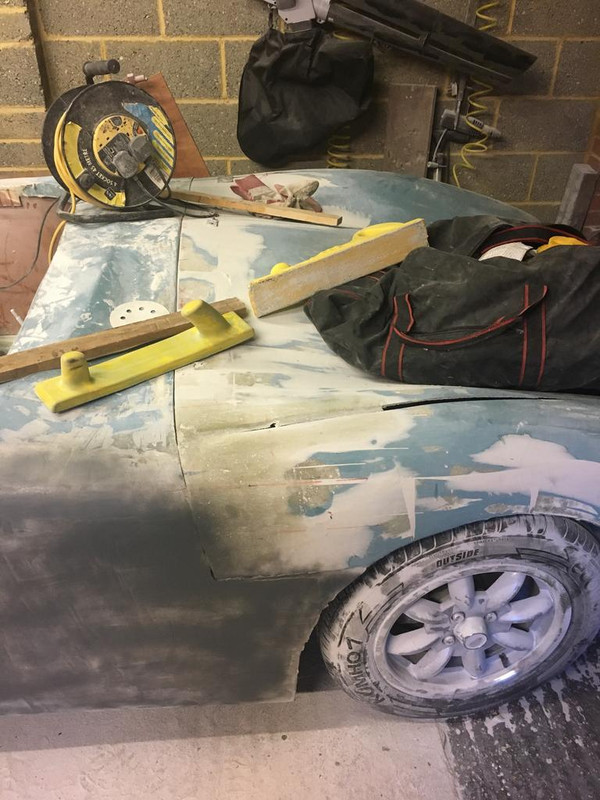
The shape is there but still working at getting it flat and smooth.
At what stage should I move from using bonding paste to fill holes to using bidy filler? Bonding paste is hard work to rub down and I feel that the cycle seems to be add paste, remove paste then add more paste and repeat!! Anybody got any tips?
Try fibreglass reinforced filler for larger gaps/holes with standard filler over the top once it's set and been roughly sanded.
It's not as easy to use as ordinary filler as the fibre strands mean it clings to itself and doesn't spread out very easily, but it'll fill voids without cracking later on.
Nice to see it's still being built, keep up the good work!
I tended to start my major repairs with fibreglass matting, before switching to fibreglass body filler and then finally finishing off with ‘normal’ lightweight body filler.
A top tip that Viatron/Mac gave me was to start the first round of rough sanding as soon as the filler was hard enough to take it, but before the filler had set completely rock solid.
Whilst this wasn’t always possible, it did reduce both the time and effort required for sanding.
Good luck, Paul.
PS
I know it isn’t 100% complete yet, but your bodyshell extension now looks like it has always been there.
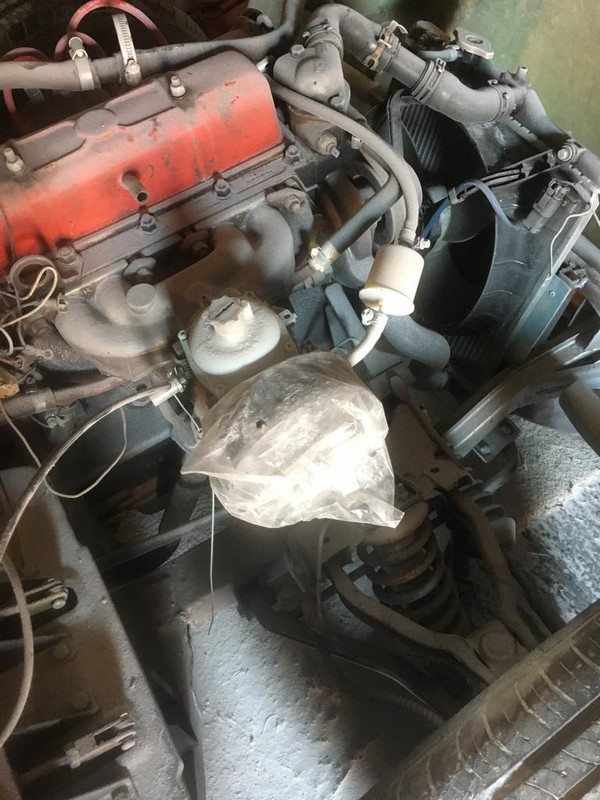
I have (only) just realised that the bonnet is sitting on the air filetr!
The current filter assembly is 150mm and I need to loose about 10mm to clear the bonnet.
I have seen on another thread how somebody 'modified' the edge of the filter housing with a hammer. But wondering whether I can go for another filter shape (eg tapered) but dont know how to get it to fit snuggly to the face on my Stromberg. Maybe I will have to make something - could be fibreglass?
Anyone got any other ideas? I have spent many hours of google (stromberg remote air filter) but can's see that there is anything out there?
Well, solved that problem by cutting another hole in the back of the filter plate so the whole unit sits (off centre) 25mm lower.
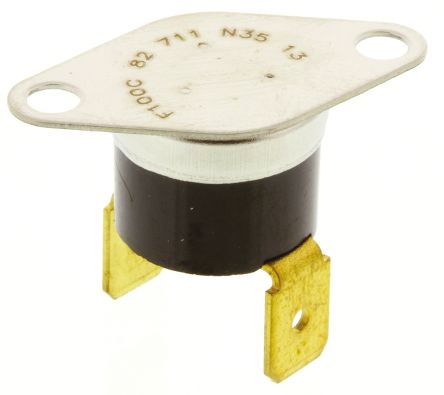
Another question, I need something to switch my colling fan on/off and am wondering whether anyone has used one of these - .
Thinking of glueing it to the front of the thermostat housing.
The only other option (cant find a T-piece to allow me to fit another sender into the single thermostat housing threaded hole anywhere) is to fit a hetal section with a threaded hole into the radiator top hose. But I haven't really got room!
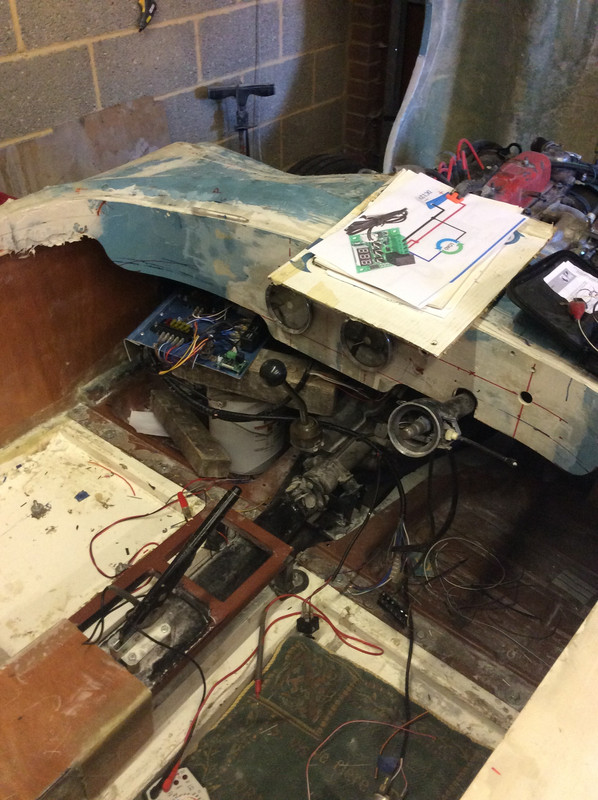
Wiring is just about complete and ready for final testing. I have used Superseal connectors for the front and rear lights with a fuse/relay panel under the dash which brings together all of the wiring. I decided to purchase an electronic fan controller for the the princely sum of £2.46 have seen very positive reviews on a triumph forum.
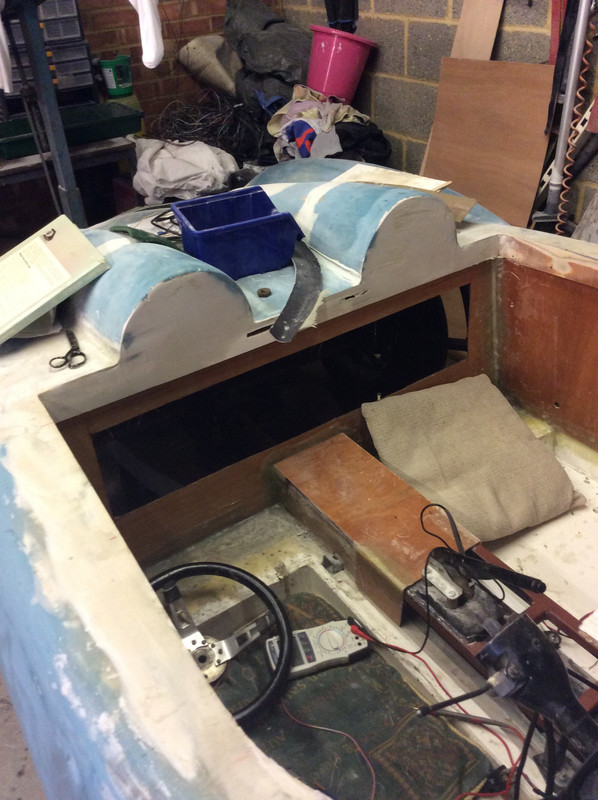
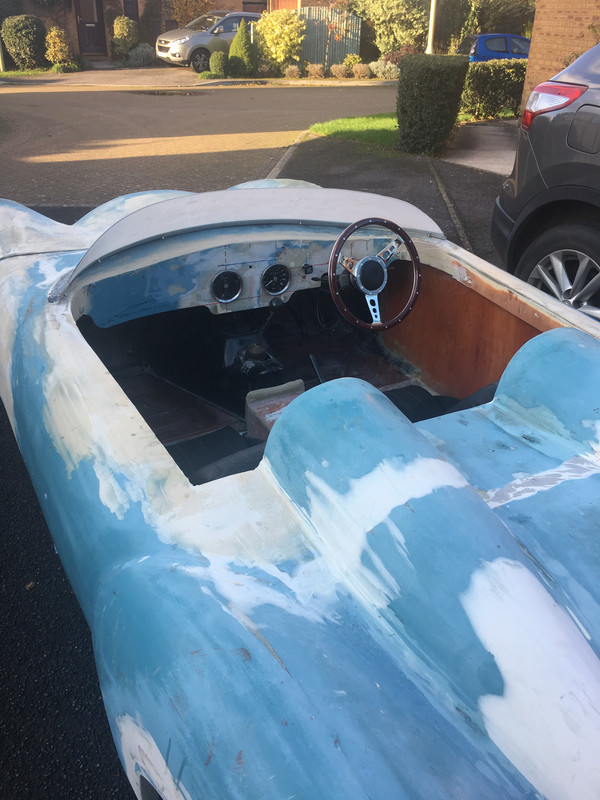
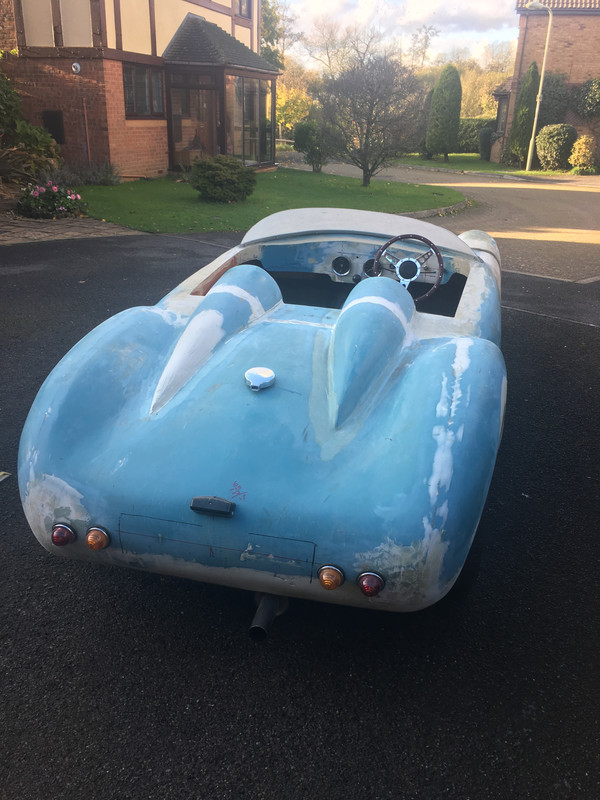
The cockpit is just about boxed-in now and the dash is looking how I want it to be. I have decided to stick with the 2 x Herald gauges as the cost of getting them reconditioned is about the same as a new set of after market ones.
My plan is to get all the mechanical and electrical elements 'set to work' over the next few weeks and then put the car through an MOT so that I can take it on the road in an unpainted condition. Found a local bodyshop guy who has offered to take the rough body, fair/finish and paint for £1000!!!! I know this guy has a number of part-time jobs but have first-hand experience of his work.
I have now reached the stage where it is all together and working.
Just got to:
a) Fix number plates
b) Sort out bonnet fit
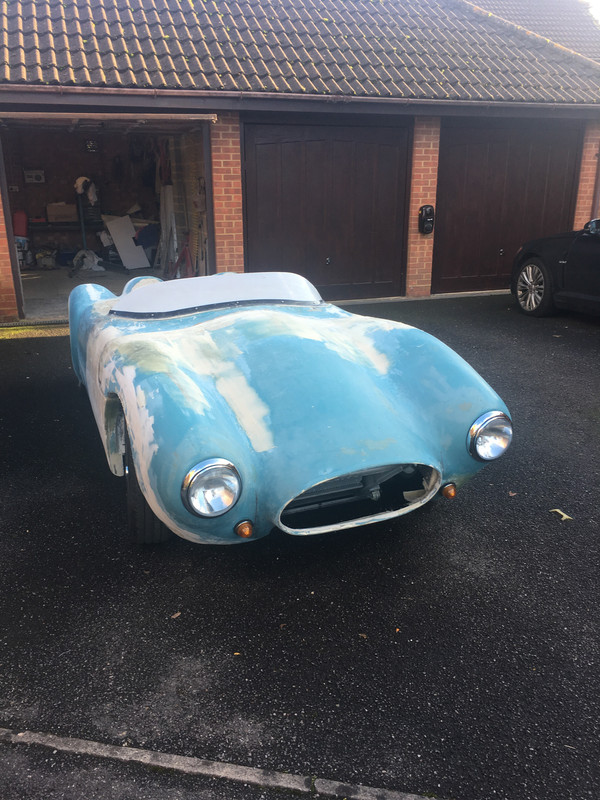
As regards bonnet, the image below shows that the off-side of the bonnet sits a bit high. I gentle push gets it into place and I am thinking that bonnet straps will do the trick. Or should I do another cut down the middle of the bonner and see if I can stich it back into a better shape?
My 13/60 engine seems to have developed a bit of a misfire. It only occurs when the engine is warm/hot and I rev the engine. My first thought was an electronic ignition problem but I have replaced the distributor, redone the timing and the misfire persists.
So I have checked valve clearances (they were all too tight) and done a compression test. I am getting between 105psi and 115psi across the 4 cylinders which seems quite low to me. I was expecting 150psi. Putting a bit of oil in the cylinder seems to make very little difference. So I have either got a consistent valve leakage problem on all 4 cylinders (seems unlikely?) or my compression gauge is reading low.
you should have 140 psi or taking wear and tear into account say 130 psi so there is something wrong, valves, head gasket, or even the battery losing power as you work your way through the cylinders?
Thanks deggsy, thing is that I am getting the 105 to 115 psi with a fully charged battery and all the plugs out. What I cant get my head around is that all four cylinders are down - wouldnt valve/head gasket damage be unlikely to give such a consistent result?
Well it is possible valve wear could give such results, could also be worn rings and or bores but you did the oil test so that should eliminate that. The pressure test should be done with the engine warm and the throttle wide open, there should not be more than 5 psi difference. You could try a leak test on the head, Take the head off place upside down and level on bench pour petrol into valve chambers if the petrol leaks out the valves aren't sealing properly.
Incorrect, dished pistons fitted reducing the compression ratio (already low at 8.5:1 on a 13/60).
New valves fitted 'out of the box' at some stage and never lapped in.
Thicker than standard head gasket.
A bit more work needed but if there's still nothing obvious:
Check the cam timing is correct - I managed to get my six-pot to start and run (very badly) with the cam 180 degrees out, and a very small error can leave the inlet valve open for too long during the compression stroke.
Check if all the piston rings are present - the SCCA Spitfire Competition Preparation Manual recommends not fitting the lower oil rings on a racing engine for more power at the expense of engine longevity.
You could also try a different compression tester or try yours on a known 'good' engine to see if it reads low.
 .
. 



 .
.