Micky1Mo - Don't worry, I am sure a lot of what I write only makes sense to me.

Thanks for the offer of the hinges, but I'll hang on for now and give my "lift off" panel design one last chance.
- - - - - - - - - - - - - - - - - - - - - - - - - - - - - - -
Family First:
My eldest daughter was off school ill today, so she was my main priority and that is always OK by me.
Thankfully I was able to make good use of my time indoors by doing some Ebay shopping:
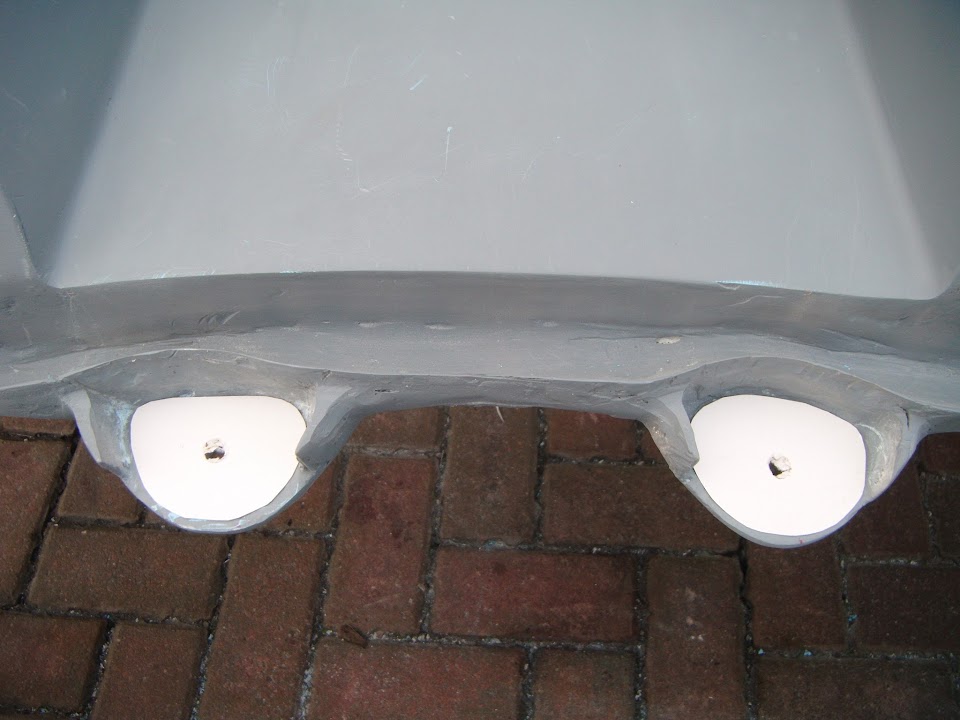
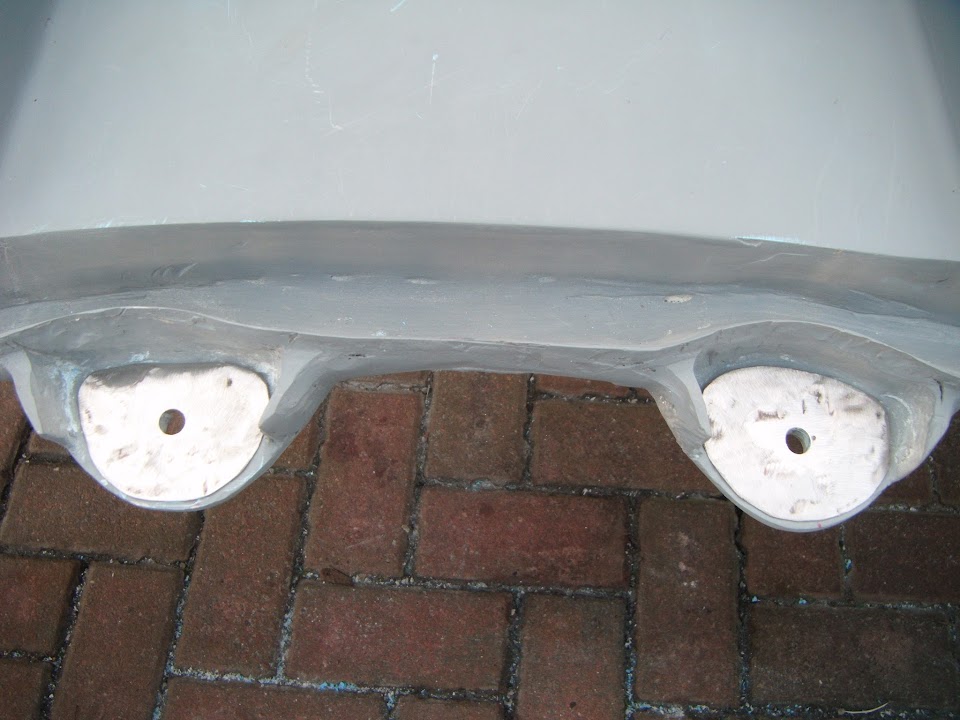
- All the stainless nuts & bolts required to fix all the lighting (front & rear) & rear number plate into position.
- More filler (normal, fibreglass & "stopper").
- More etch primer & some smooth black Hammerite.
- Some self adhesive heat shield matting to line the gearbox tunnel & protect the bonnet over the radiator cap.
However, my last bit of shopping took ages to find, because I was looking for the wrong thing.
I knew
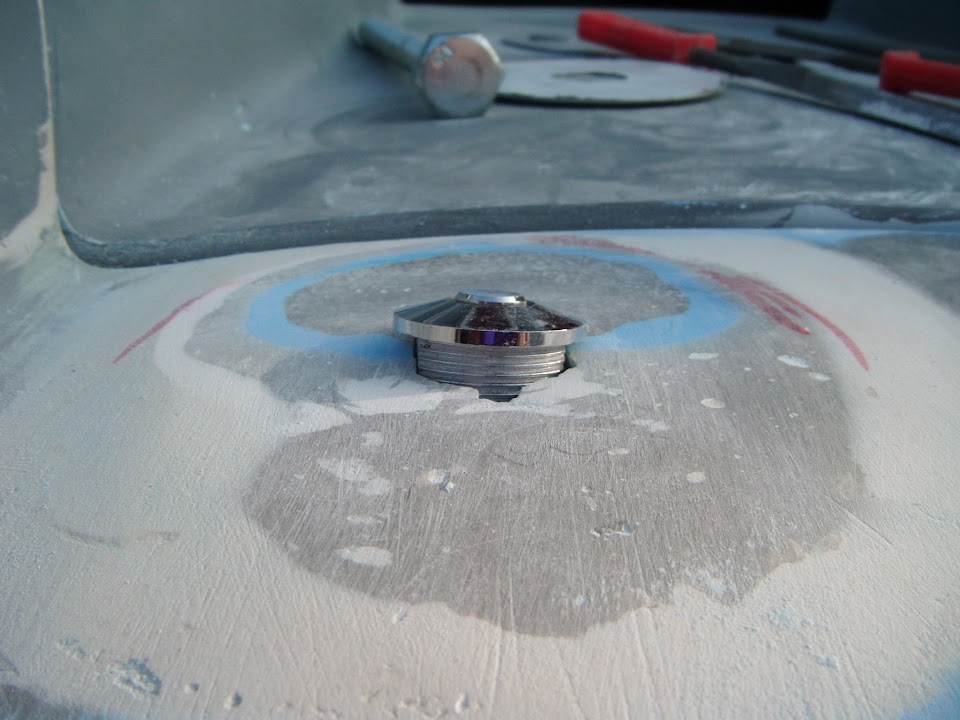
Mister Towed used small washers around his bonnet locking pins.
So I carefully measured the internal diameter of the BIG washers than my locking pins were supplied with.
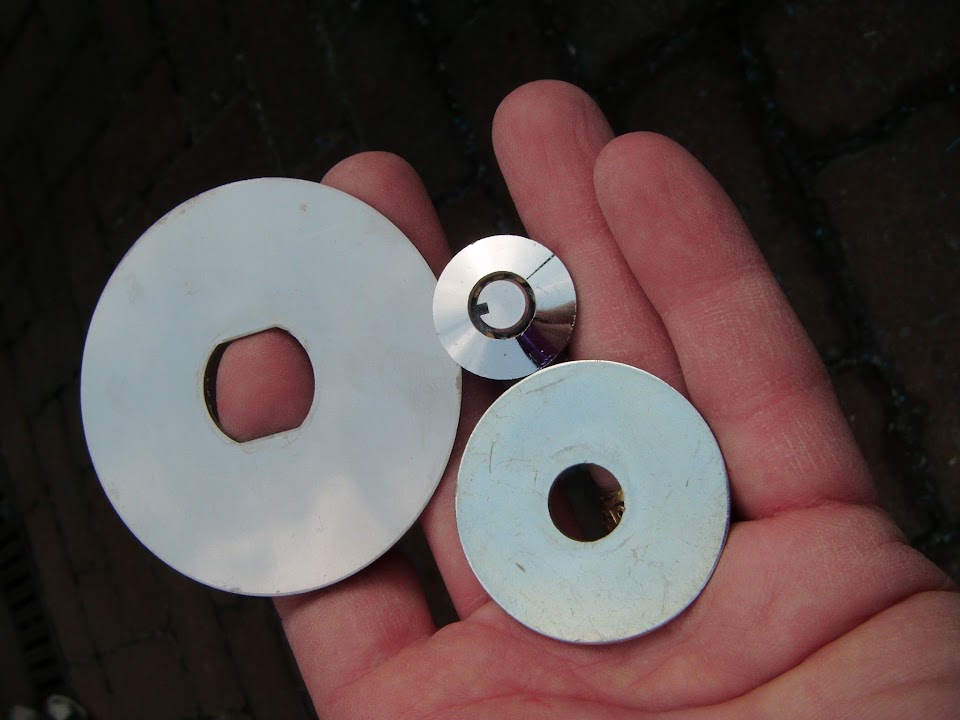
The ID was 19 mm, so I "logically" looked for M19 washers, but without success.
It was only when I decided that I would have to get some M18 ones and file them out to the right size that I realised my error.
Yes, as I am sure everyone else knows, the ID of an M18 washer is actually 19mm.
In fact, the more I think about it, I am sure I have made this same mistake at least once before.
Anyway, at least this means that I now have some smaller 34mm wide washers on their way.
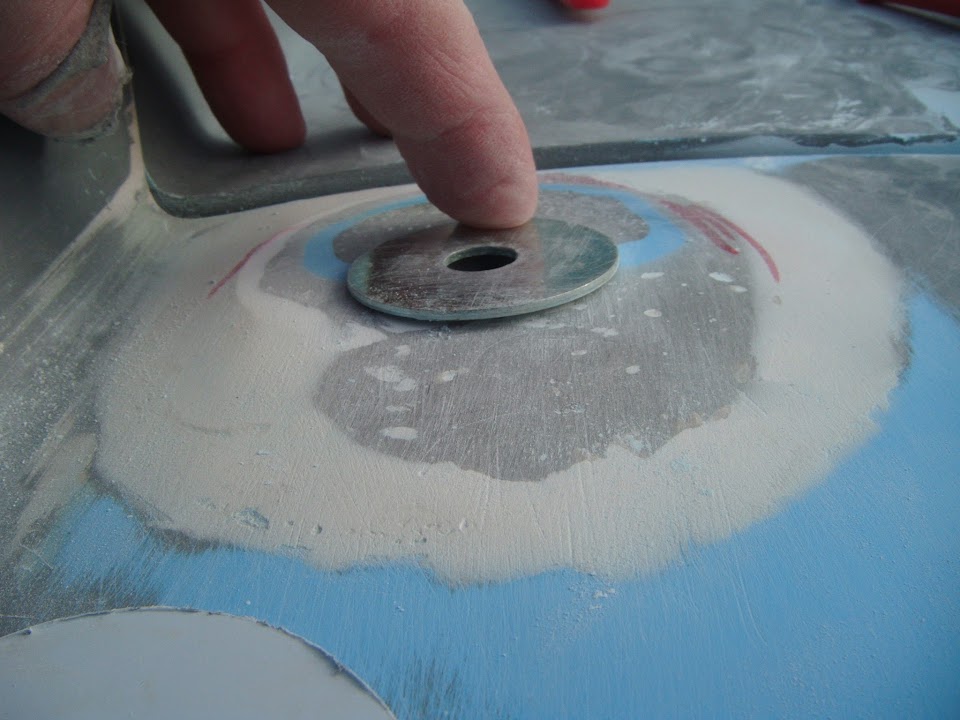
As a rough guide, the big ones in the photo above are around 65mm wide & the penny washers in the same photo are 40mm.
- - - - - - - - - - - - - - - - - - - - - - - - - - - - - - -
I did actually get a few chances to sneak out and play, but they were brief.
Still, something is always better than nothing, so here goes...
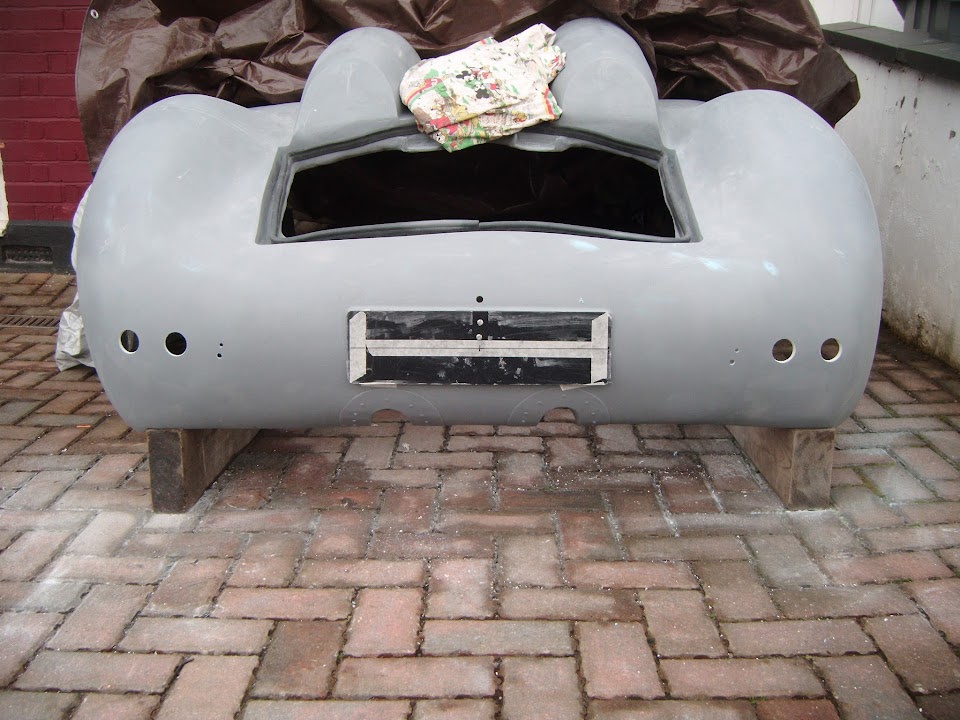
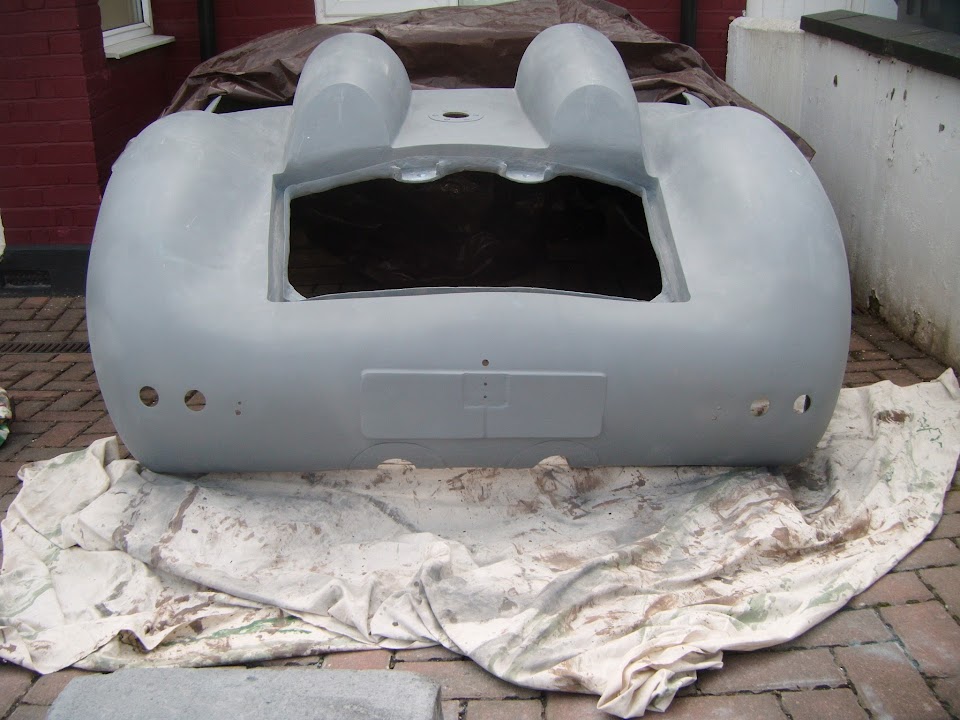
I put the rubber seal back on the boot rain channel to check the area I'd previously built up with filler.
This is my blurry "Before" photo:

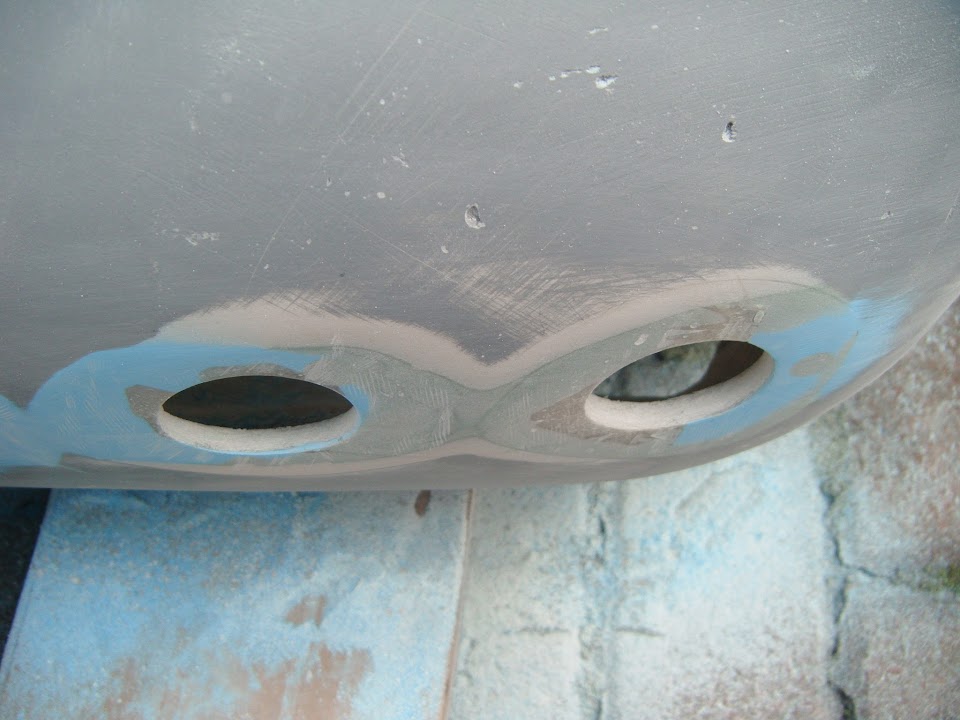
And this is how it looks now, much better.
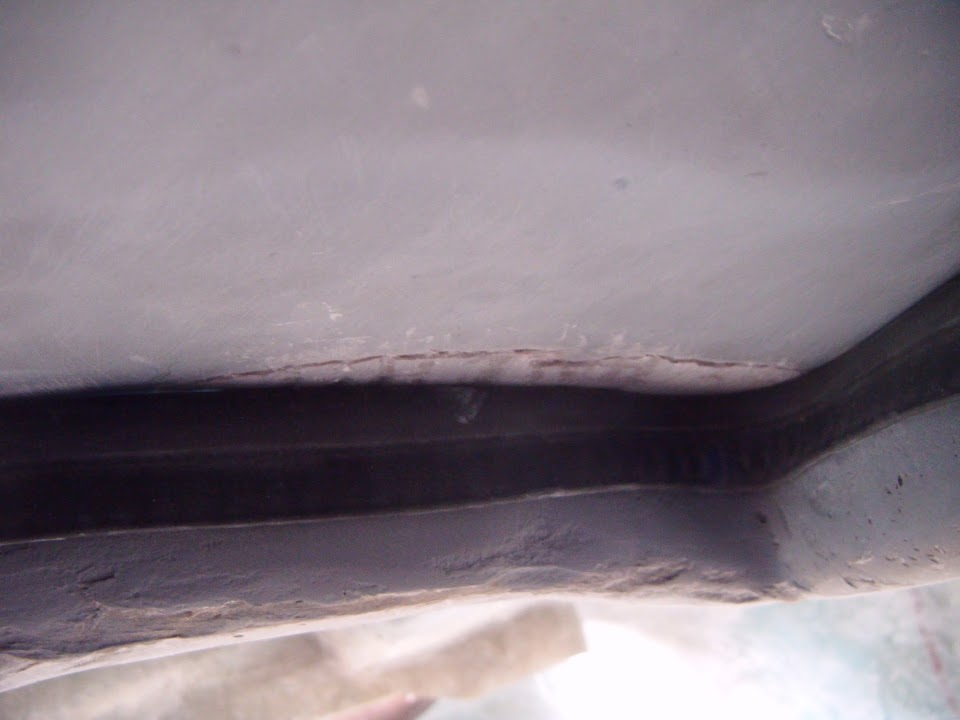
But I realised that I need to do the next round of work in the correct order to avoid messing it up.
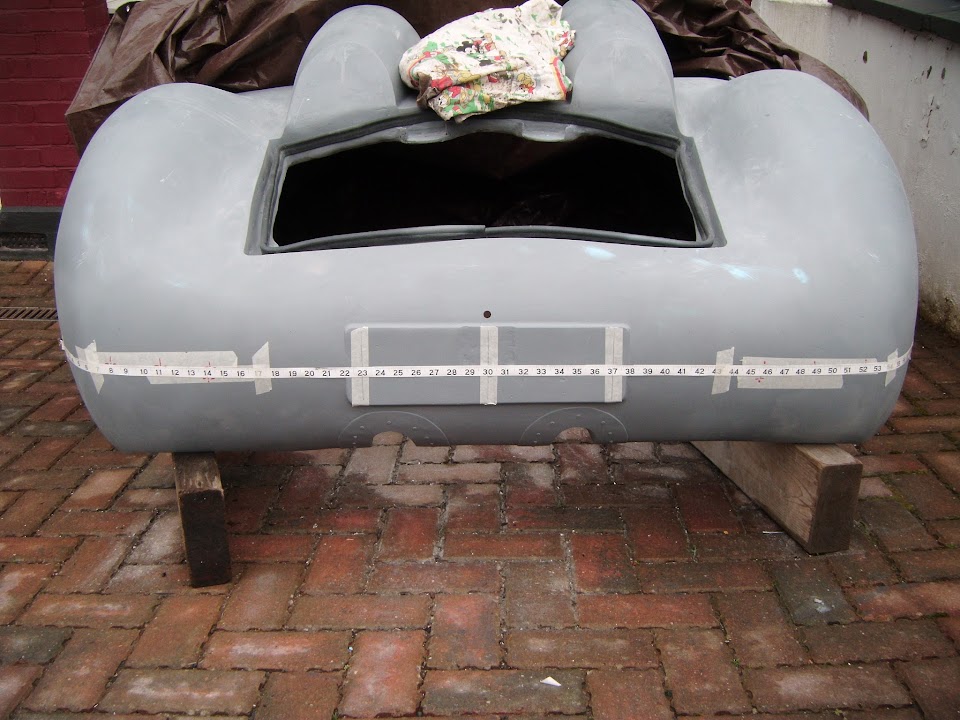
I went back and had a look at the gap
Swifty had around his boot lit.

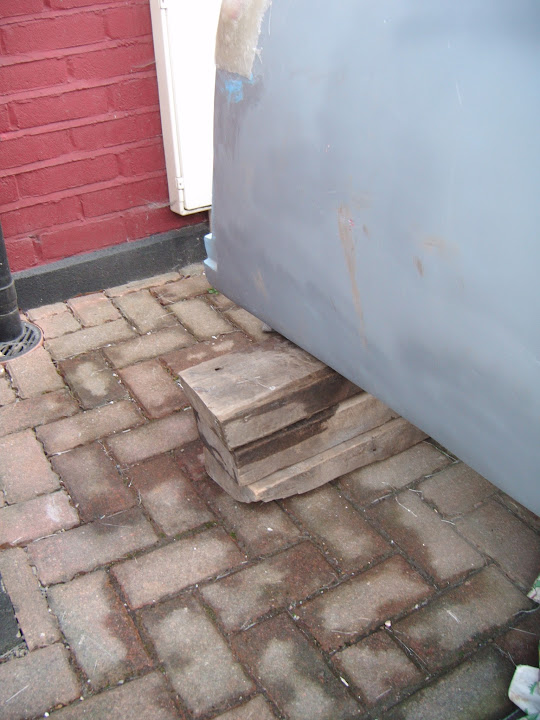
Then compared that with what I have today.


So the first job is to get the boot lid at the right level,
before I try to fix the locks in place.
Before I started cutting any more off the rain channel edge I did a quick test.
I ran a pen along the bottom edge of the rubber seal and then removed it.
This showed that the seal was sitting higher in some areas than others.

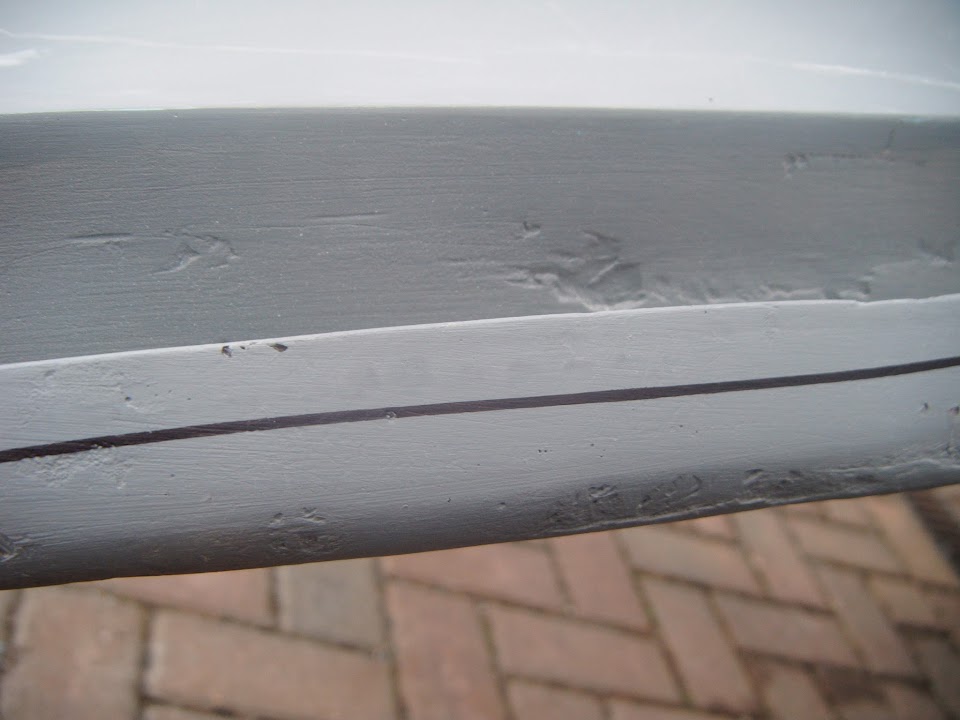
It seems that when I added some filler to the fibreglass to "smooth" it out a bit, I left the edges too thick in places.
After a few stop/start sanding sessions I had "narrowed" the rain channel edge all the way around.

Then I put the rubber seal back on and there has been only a marginal improvement to the gap along the top edge.

But the bottom edge is almost perfect, which makes sense as I started working on this end & spent more time on it.
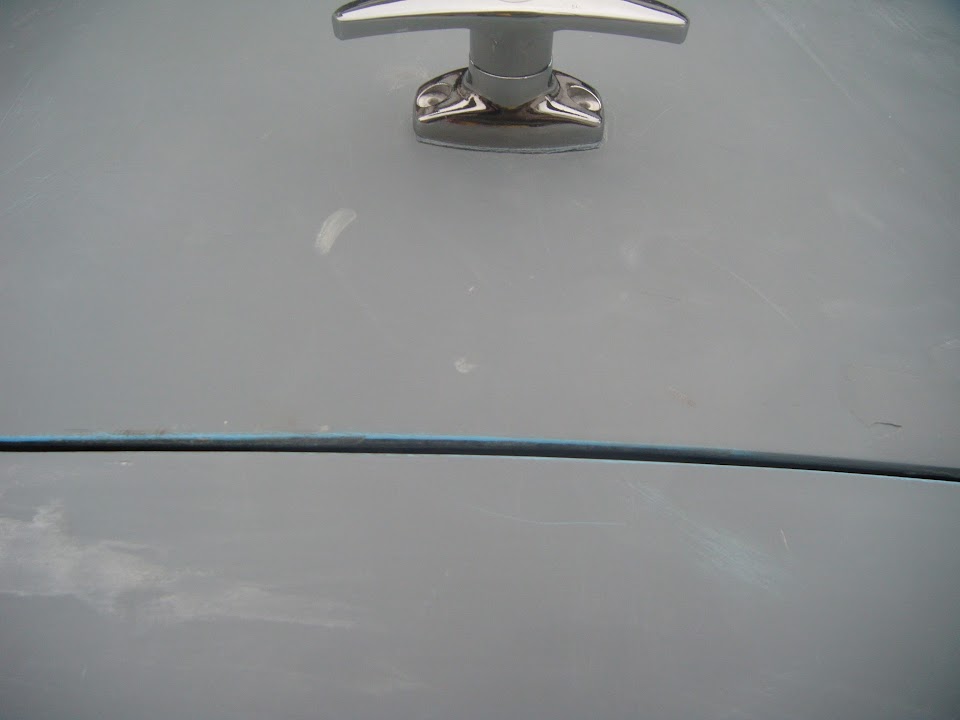
Well, apart from the bottom corner on the driver's side which is "curling" up a bit.

This is due to the fact the fibreglass is much thinner in this corner than the other side.
So I need to add fixing this to the list of things I need to sort out before tacking the locks.
Although hopefully one more session on the rain channel will at least set the boot lid at the right level.
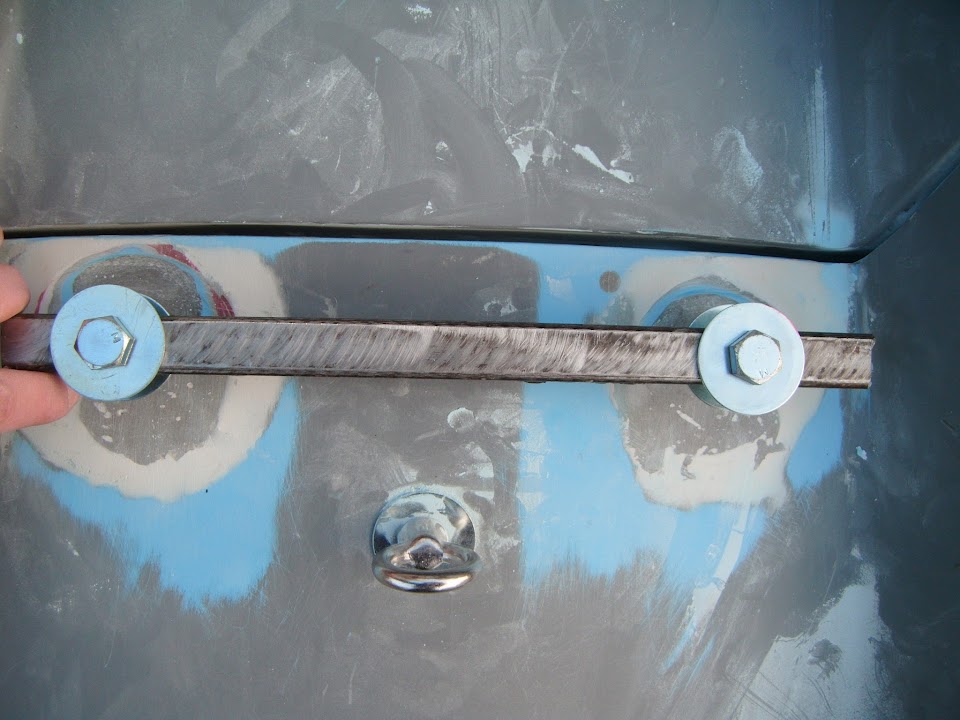
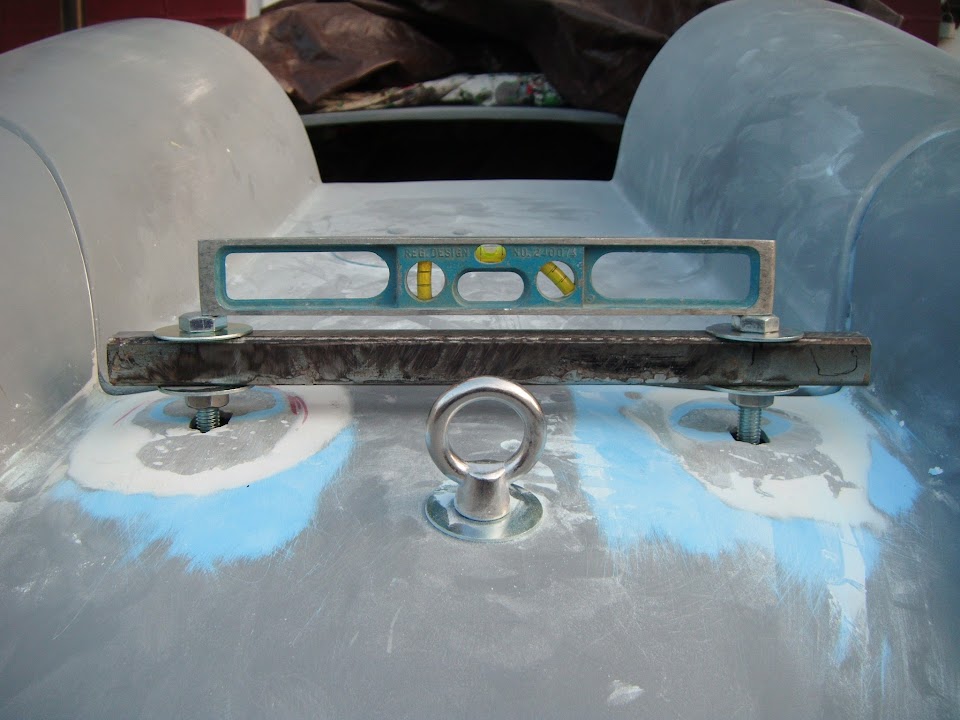
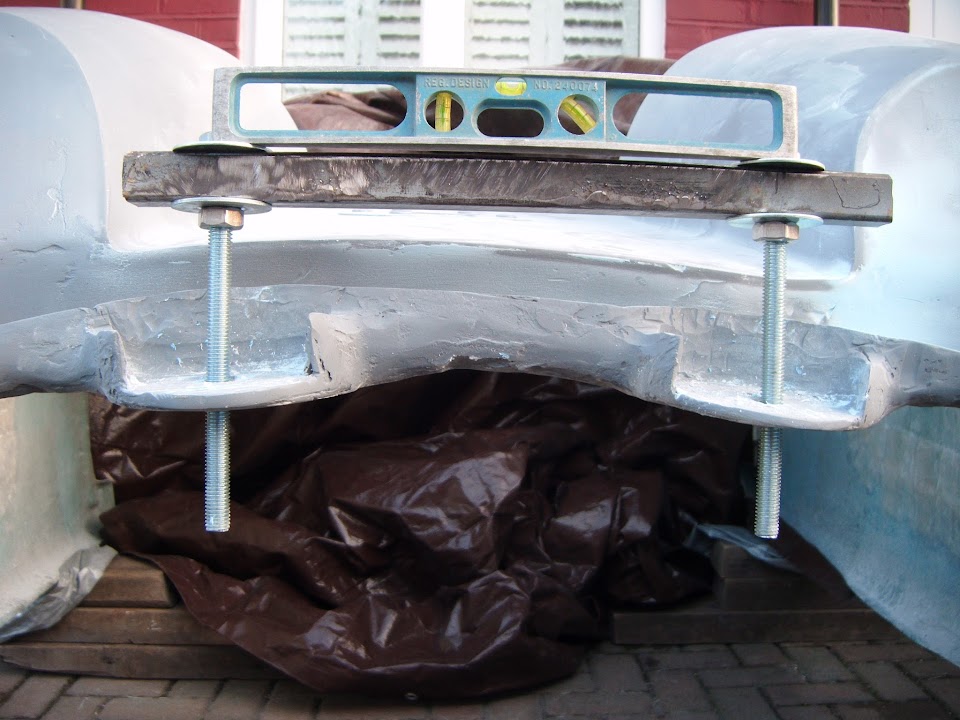
The only other thing I managed to do today was think about how I would set the level at the top of the lid.
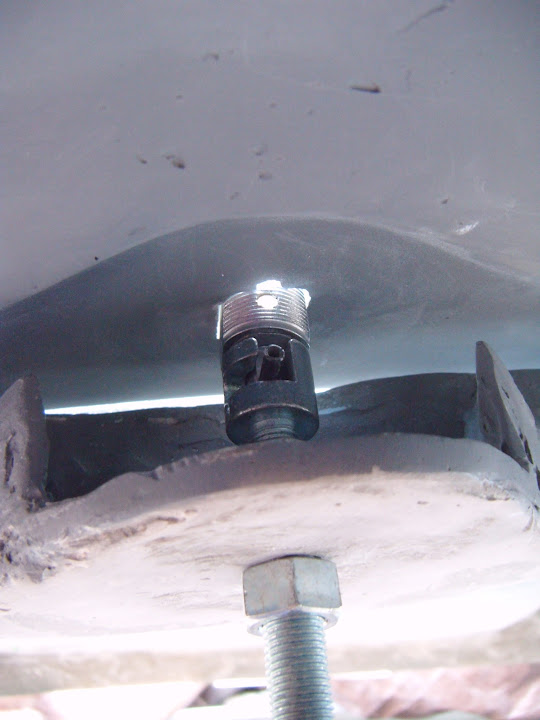
As I need the washers & locking pins to sit "level" in order for me to line everything else up.
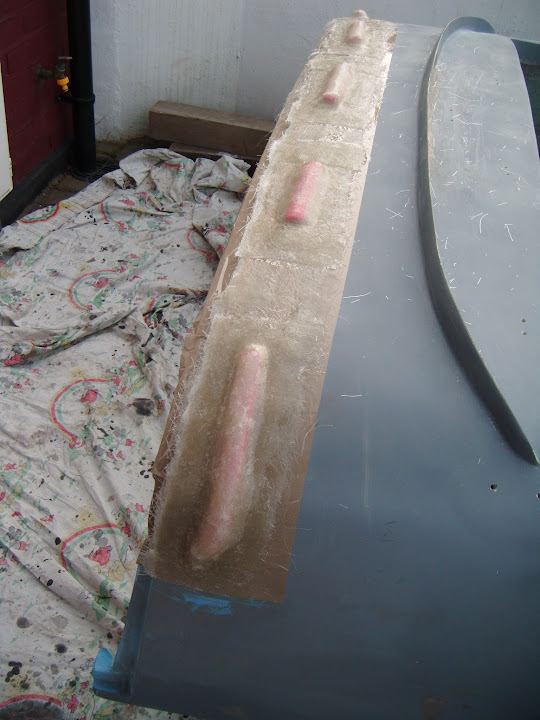
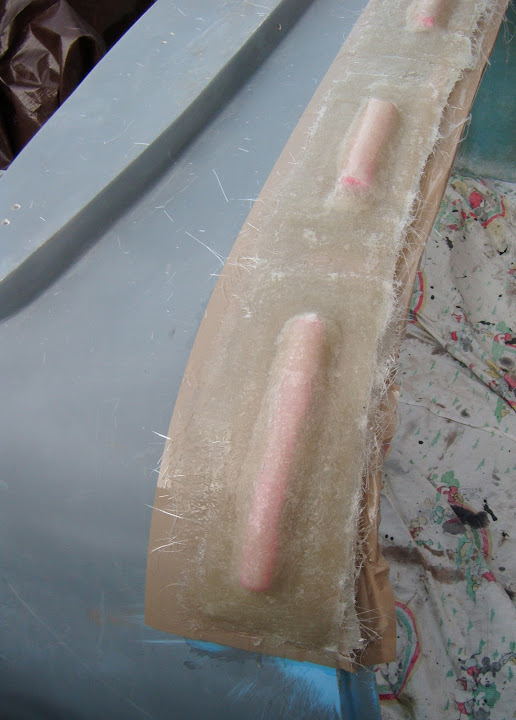
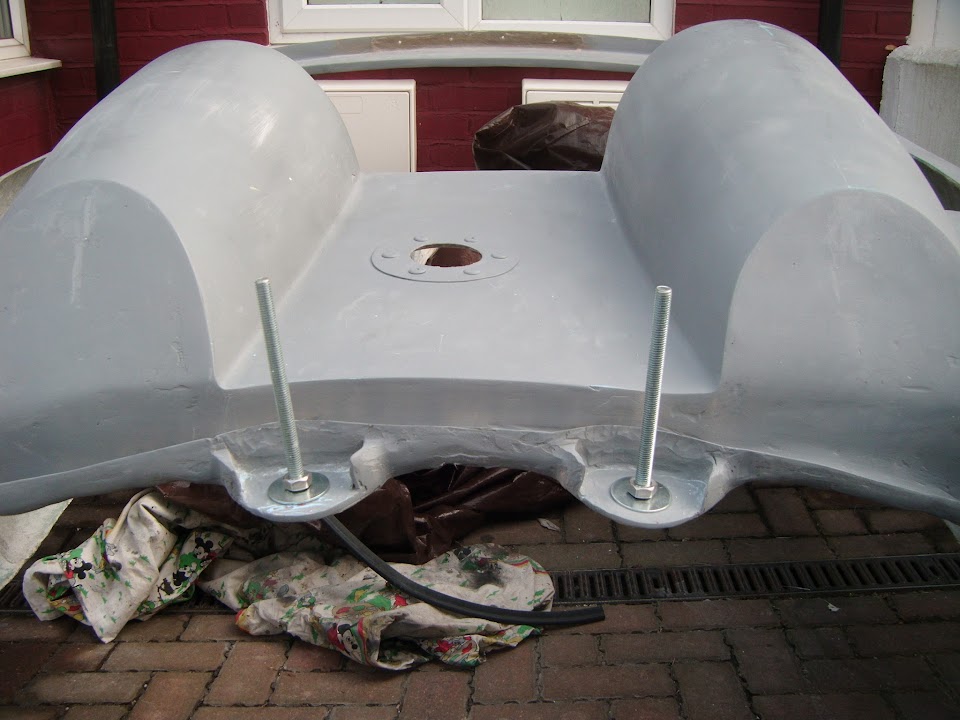
So I quickly taped some washers to my bolt spacer like so.
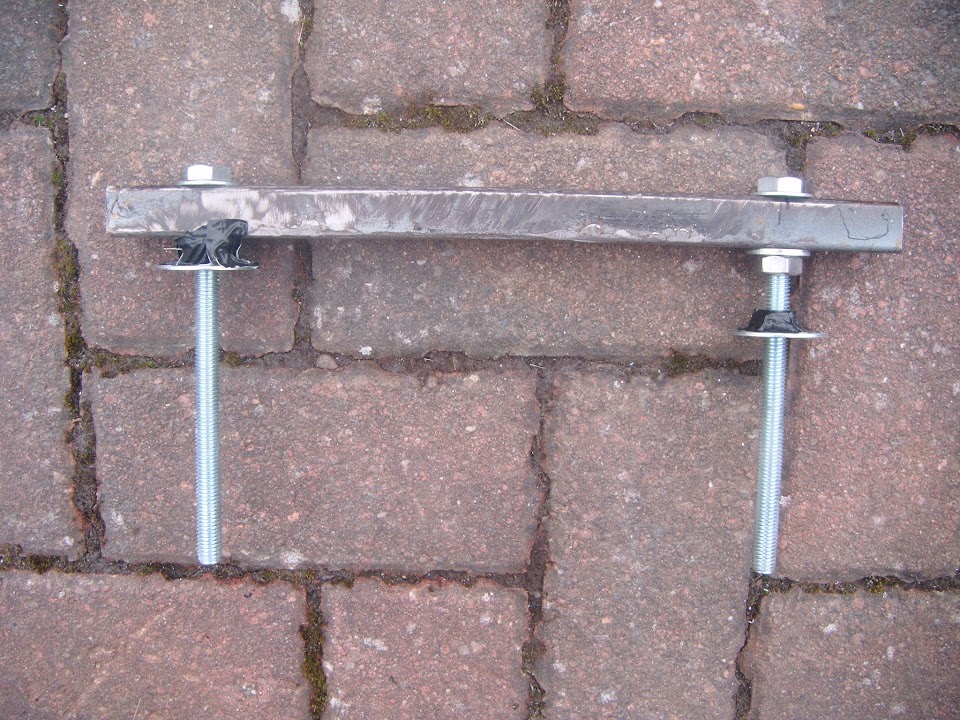
The extra washer on the right hand bolt will allow me to get both sides parallel to each other.
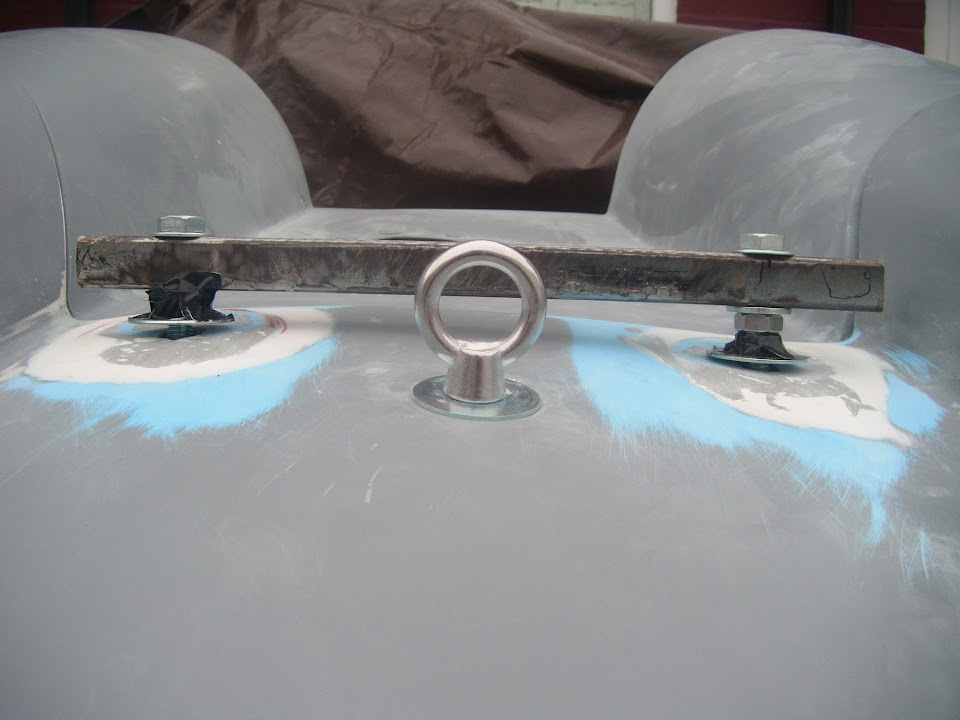
Although I might super glue the washers to the bolts when I am doing the filler work.
Right. I've got to go, cheers, Paul.

PS
I was flicking through
Swifty's build in order to find the boot lid "gap" photo I posted above.
This reminded me of the huge number of bespoke parts he has machined/made for his car.

E.g. He has rear lights similar to my Land Rover ones, but his trim rings will make them really stand out.

I can't wait to see the finished car, which will set a new quality bench mark.