Ed - Thanks for the "earth continuity wire" tip.

But can I just check I have understood what I need to do?
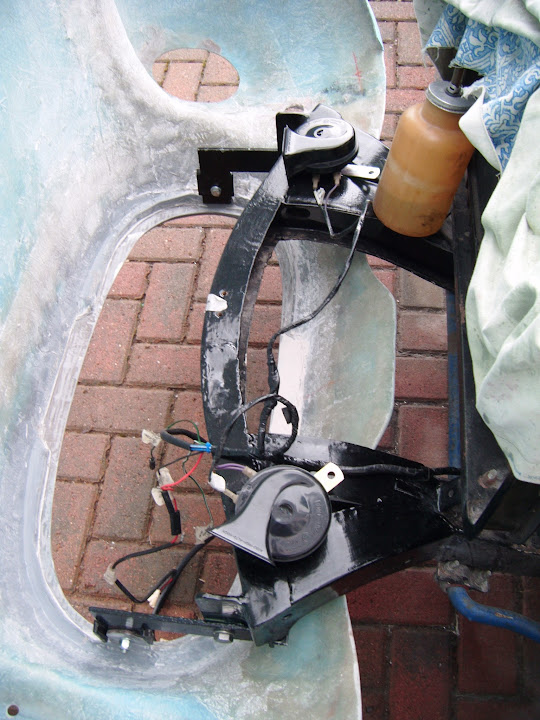
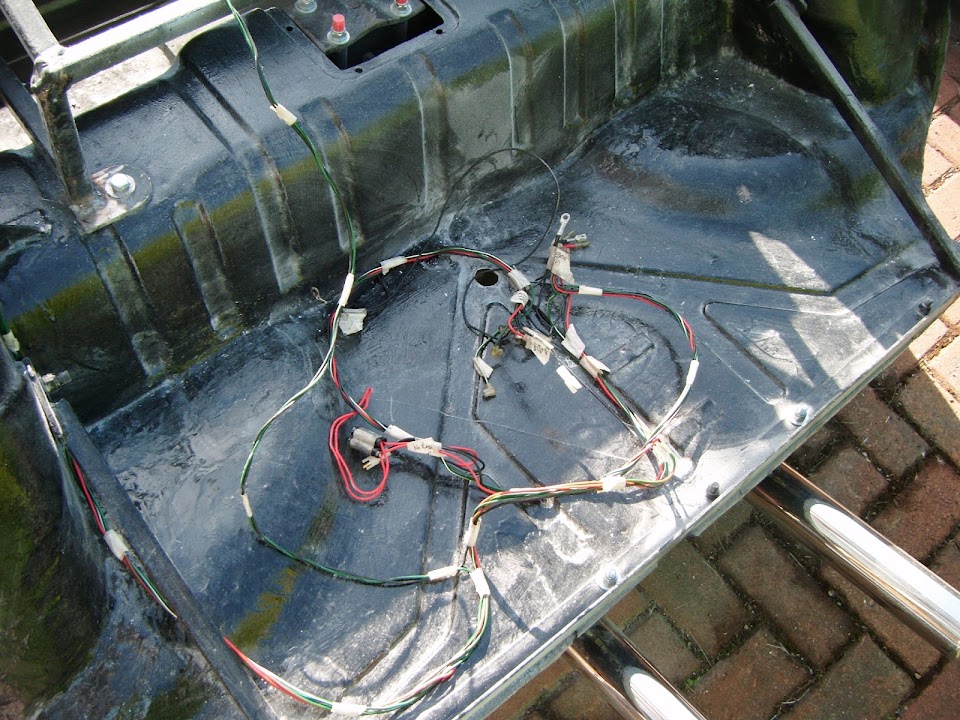
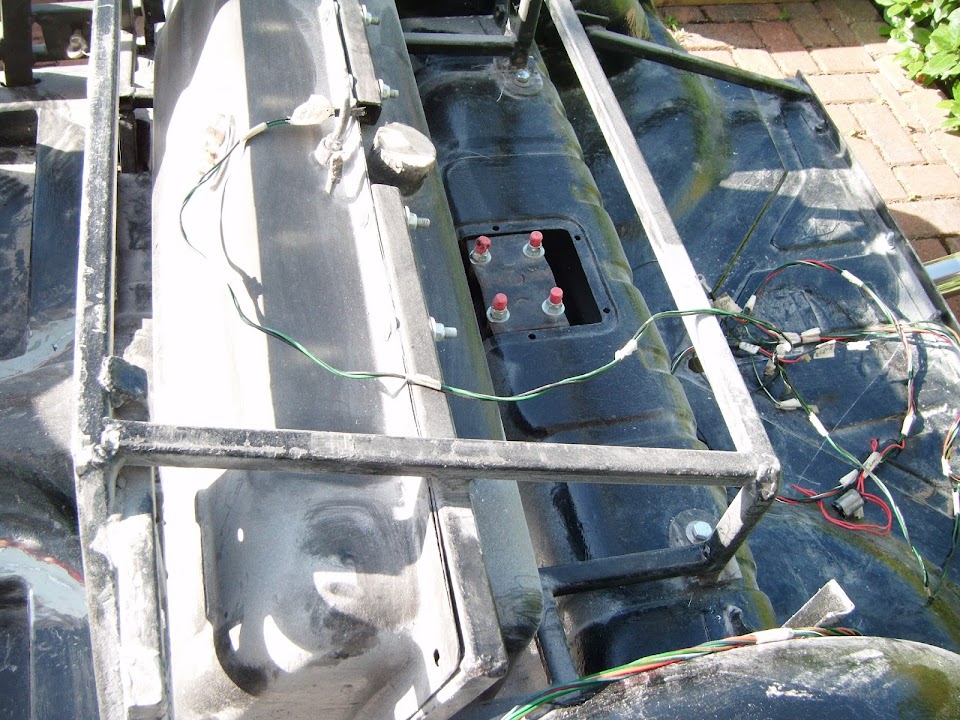
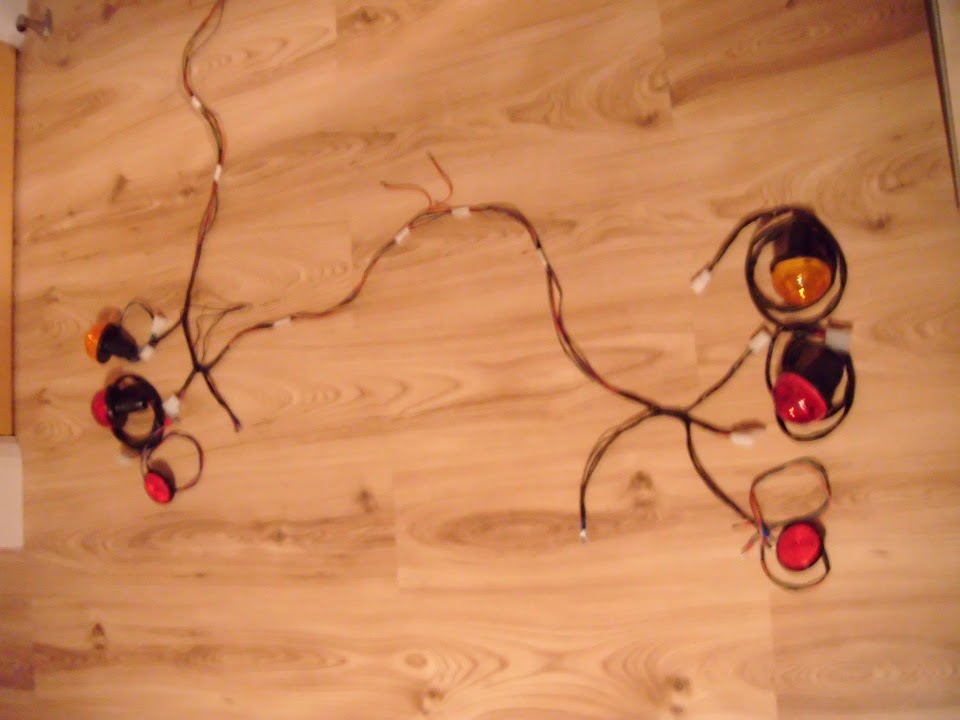
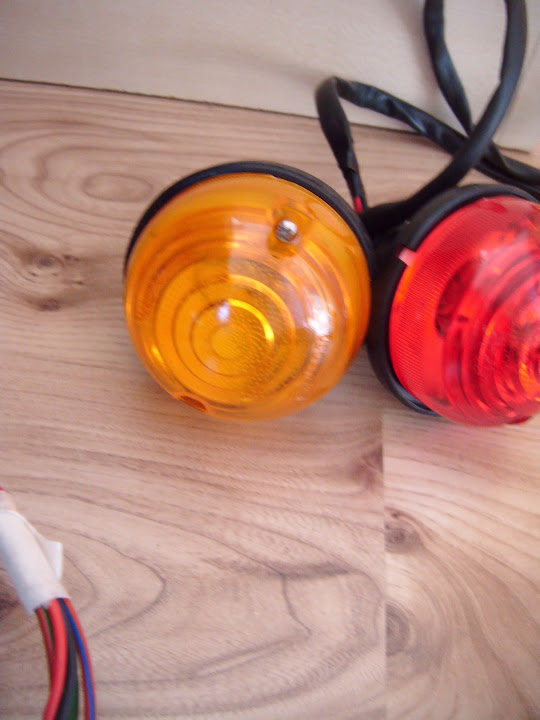
In the case of the rear lighting I will have 3 earth points for the lights (left, right & middle).
Does this extra earth wire join each of these three points to another earthing point?
- - - - - - - - - - - - - - - - - - - - - - - - - - - - - - - -
Number Plate Lights:
This is one area where I have found myself consistently dithering over the final design.

I originally bought 4 LED number plate light bolts & planned to use them to hold the plate in position & light it up.
That way, there would only be the number plate at the back, with no "traditional" light above it.
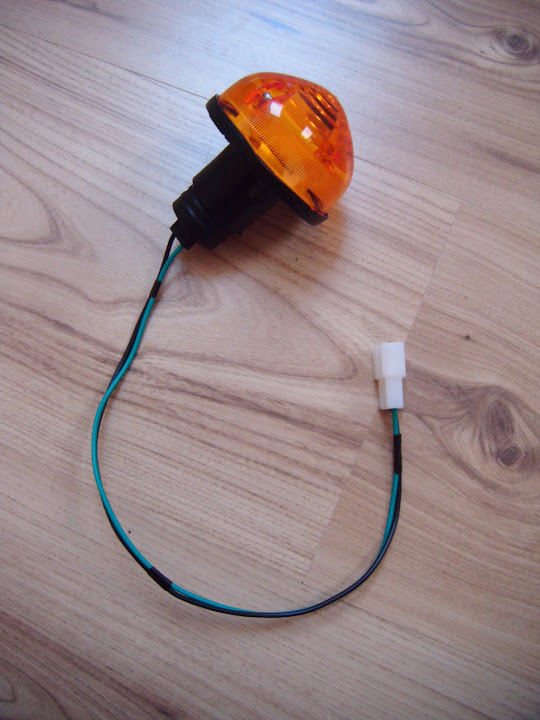
Then I bought some "normal" number plate lights to see if they would be a better bet fitted to the sides.

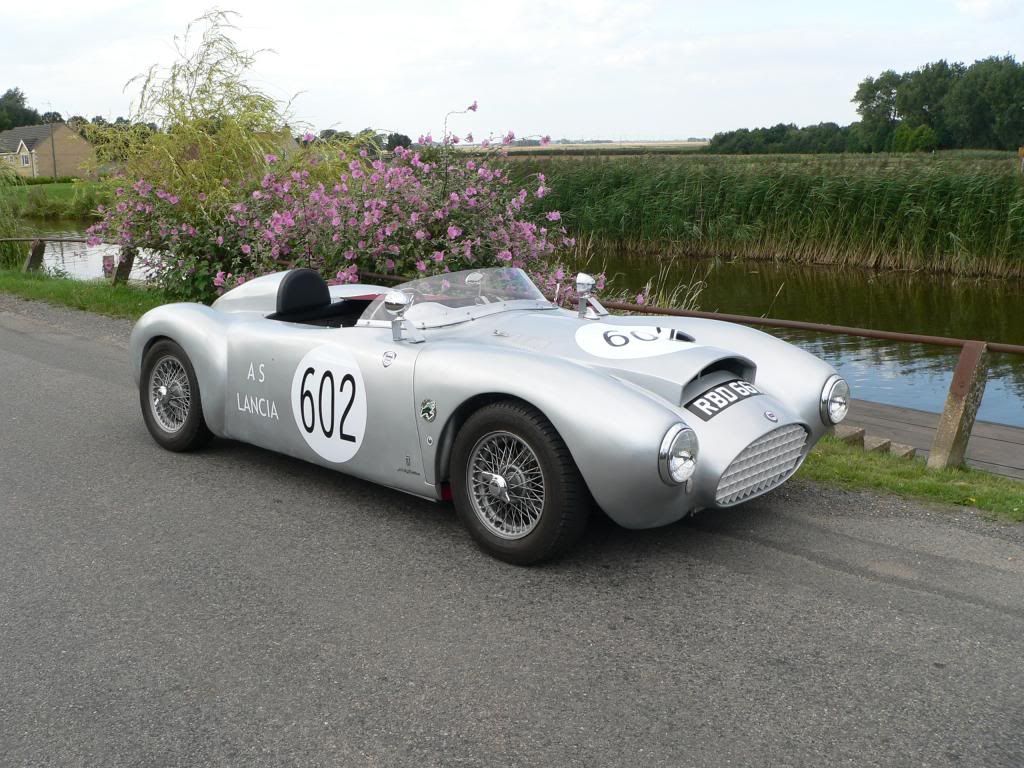
Then I saw this photo of a
Spyder that used two LEDs fitted either side of rear number plate.

I had planned to copy this approach, but as I've reached the point of sorting out the wiring loom, more doubts have crept in.

So rather than waste any more time on this, I have decided on a final design and I am going to stick to it.
Rather than use 2 LEDs on either side of the plate, I am going to use 3 LEDS mounted
above the top edge of the number plate.

This should be more than enough to light the plate, especially as the red car above passed an MOT with just 2 fitted.
The number plate will then be fixed to the body shell with some normal yellow plastic bolts.
In addition, this approach will maintain the space between the number plate and the lights seen in this photo for the DVLA.

Notes:
This the oversized plate that came with my donor and I already have a smaller one to fix.
As my donor car is a "V" reg, but with only 2 numbers, giving me six characters in total.
Anyway, with a decision finally made, it was time to sort out the wiring...
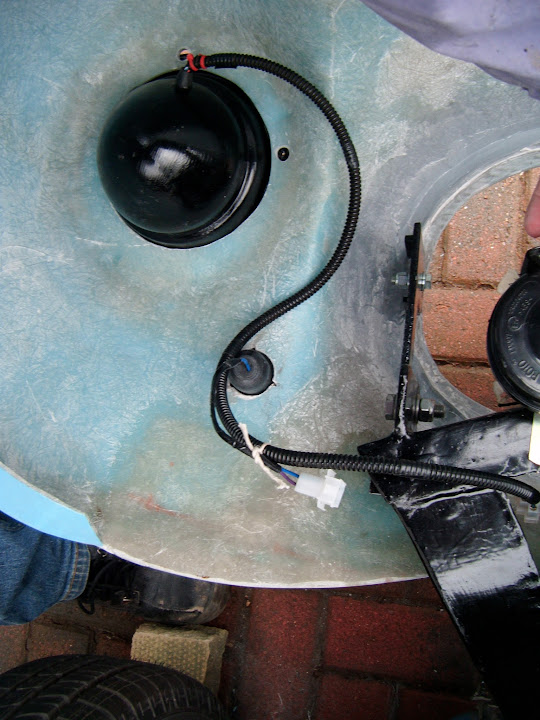
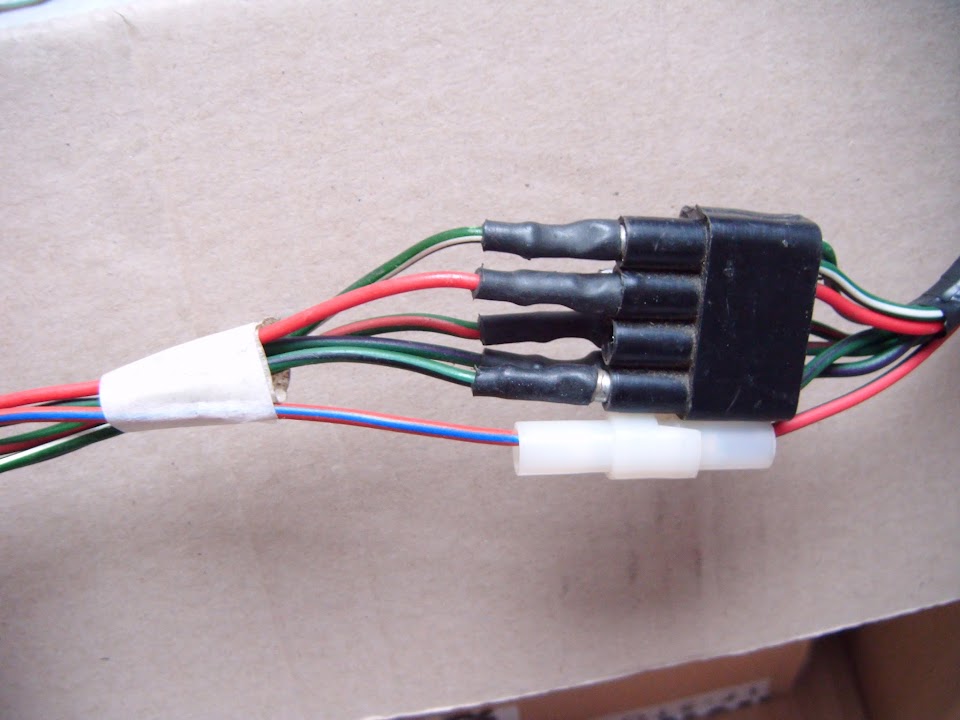
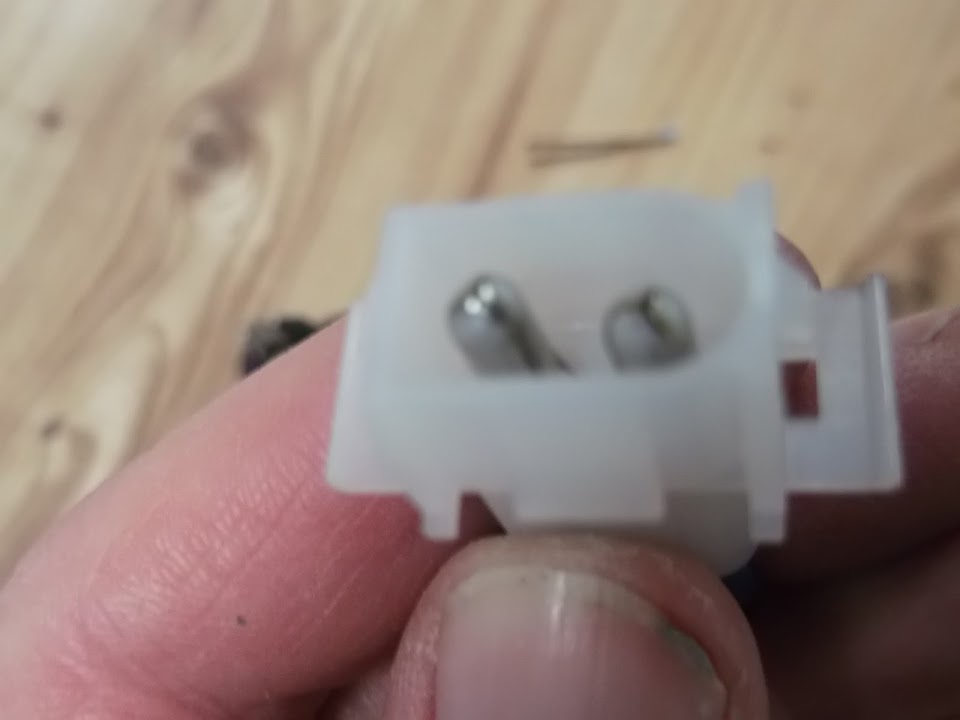
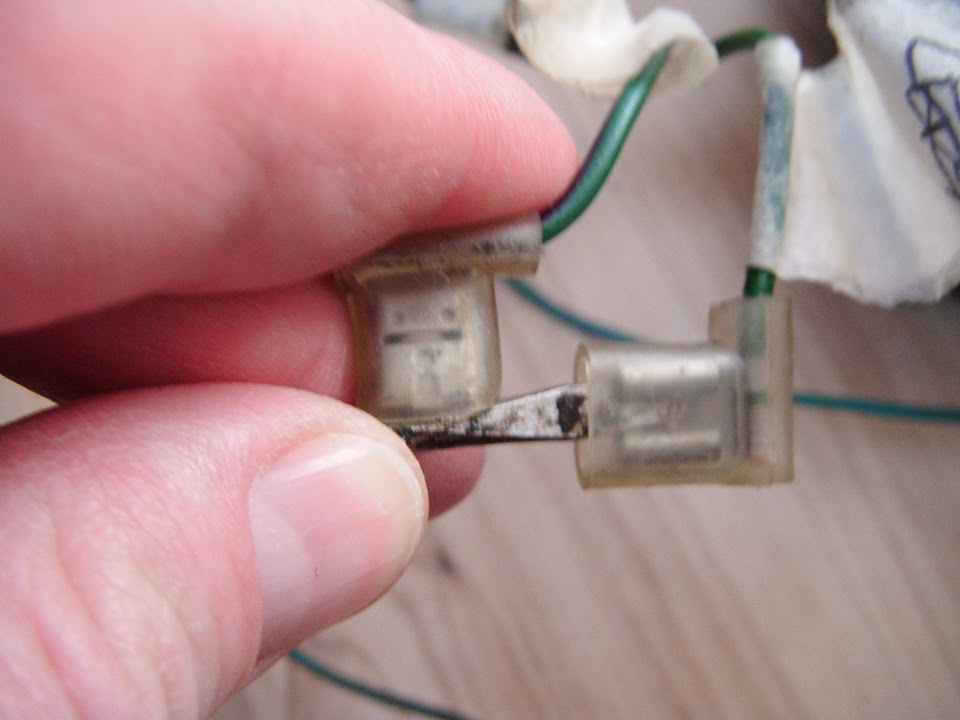
The LED connector needs to fit through a small hole & these blades appeared to work.

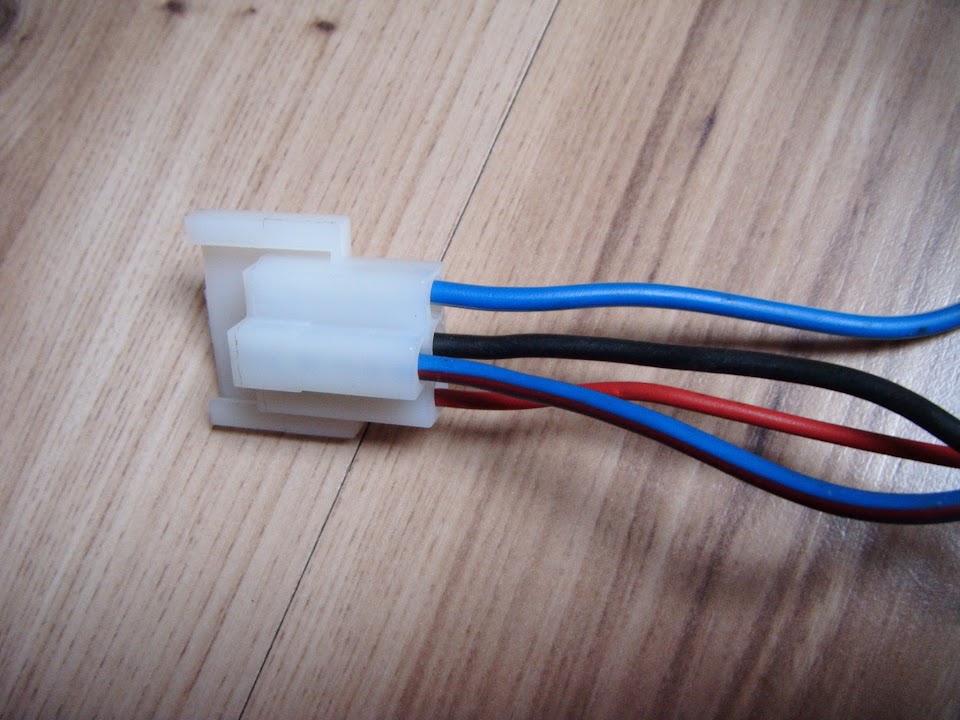
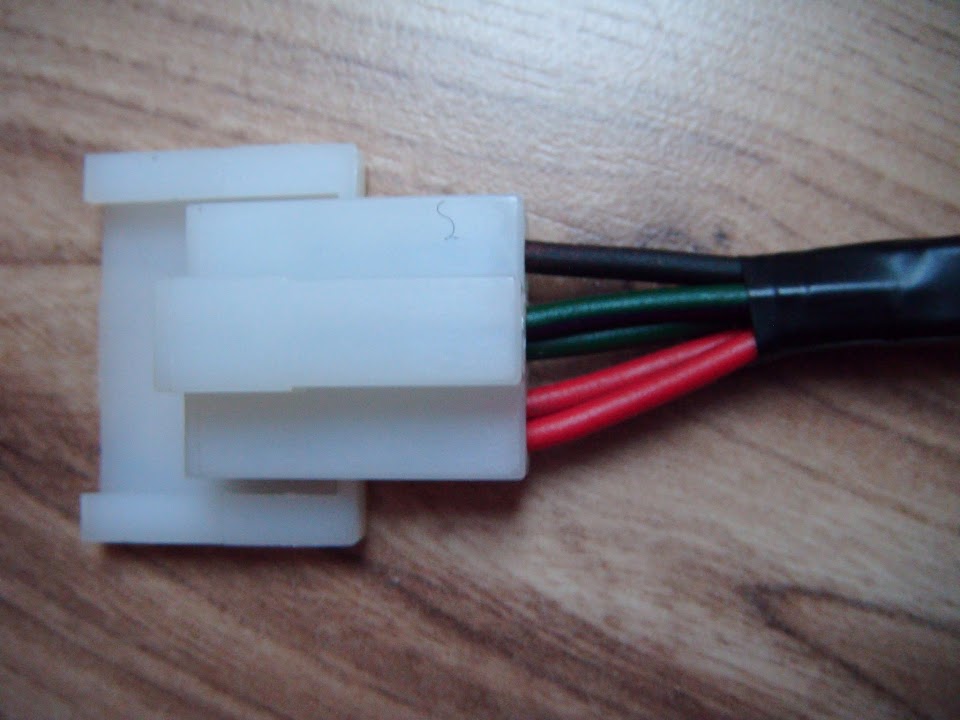
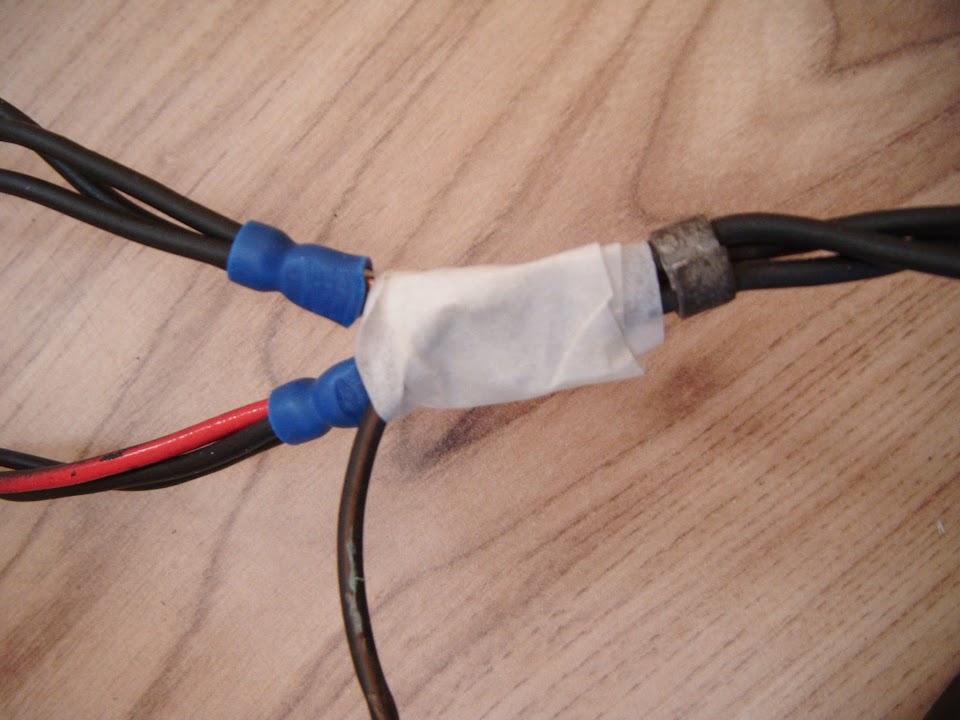
This was the original Spitfire junction for the number plate lights.
( As the red wire also powers the rear tail lights. )

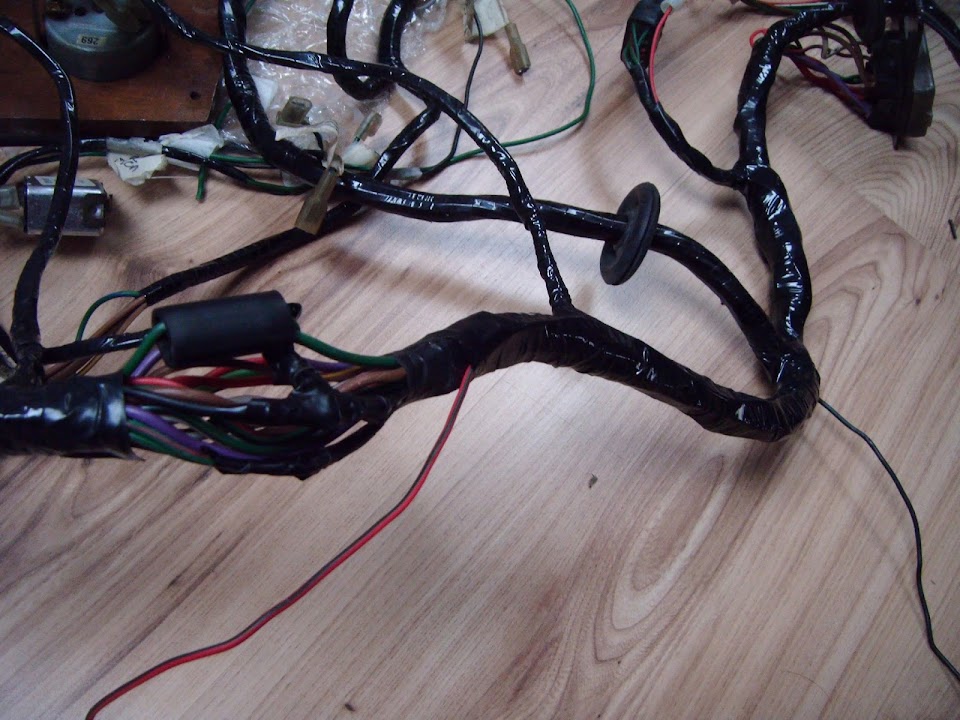
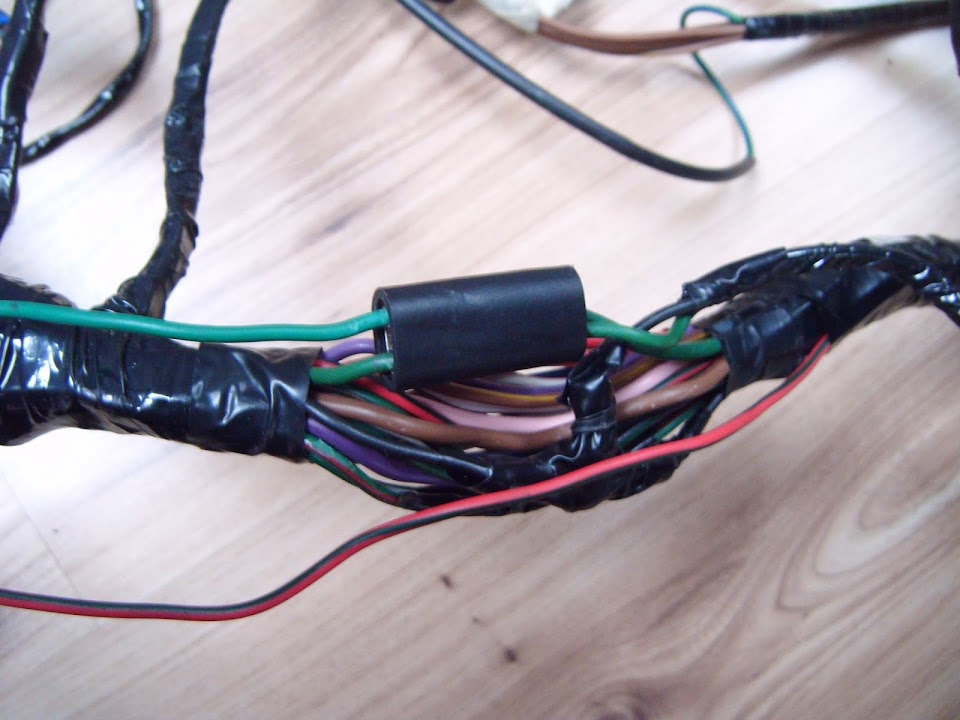
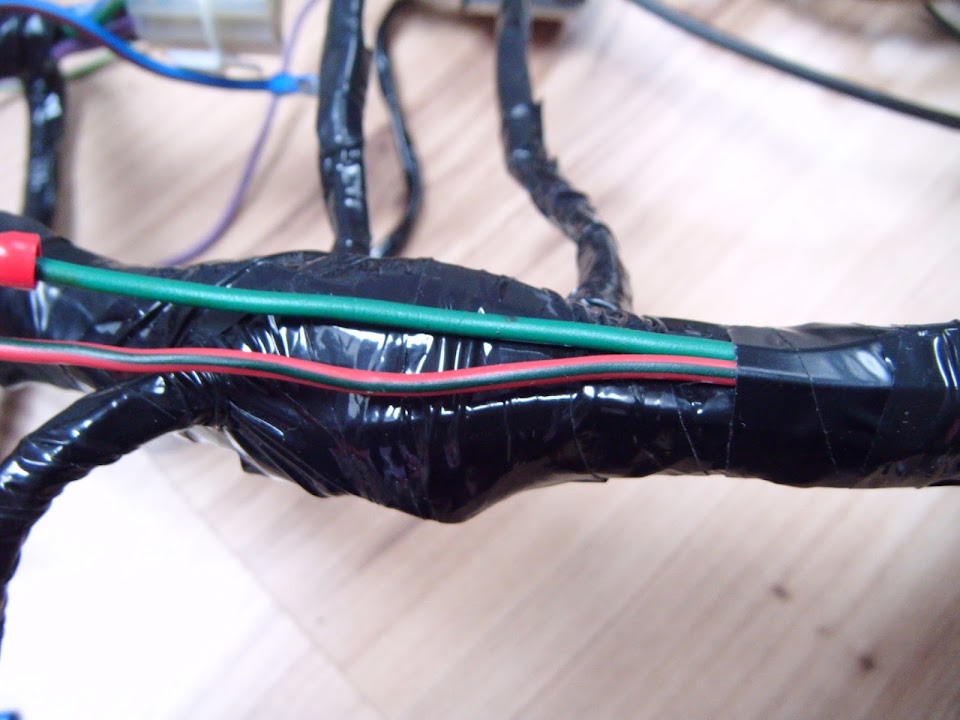
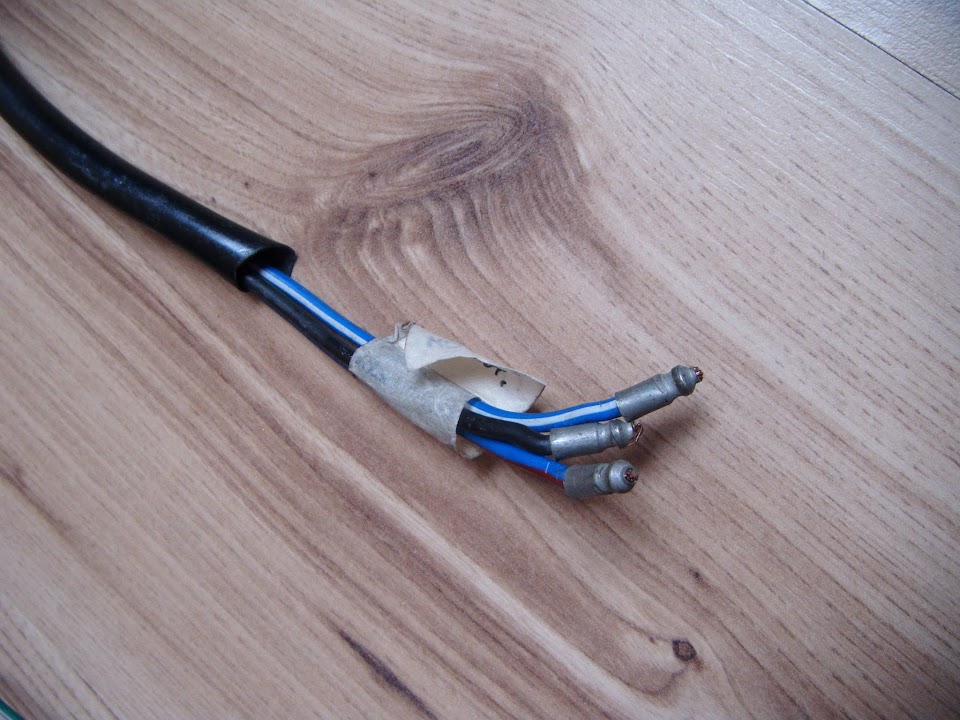
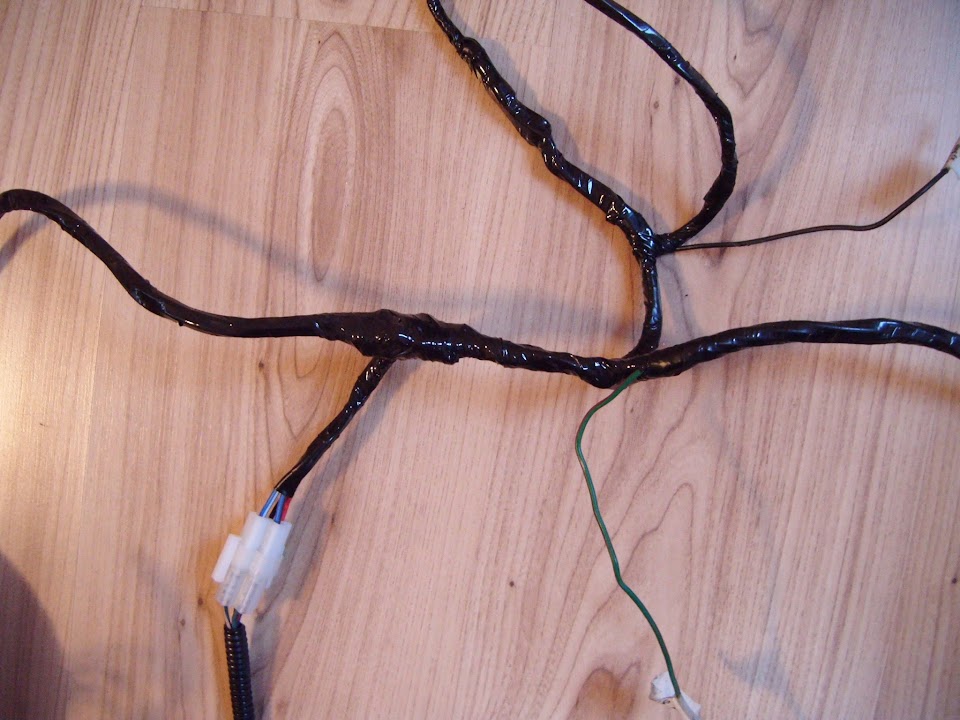
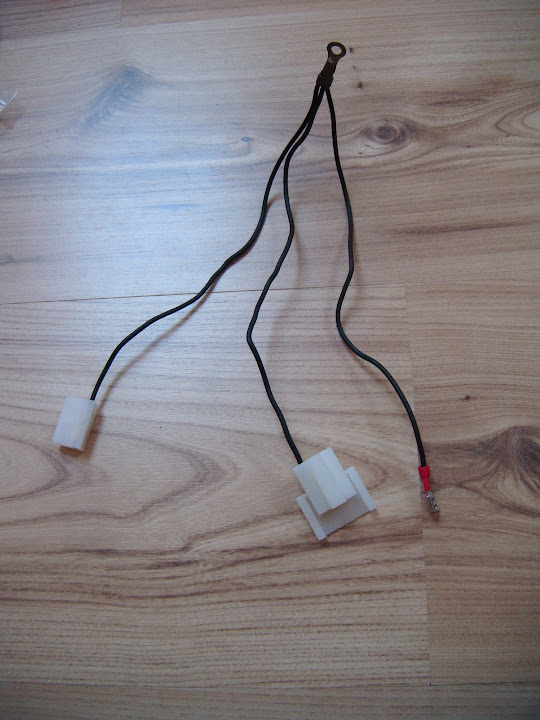
As I needed to wire each LED up individually, I added three wires to this junction.
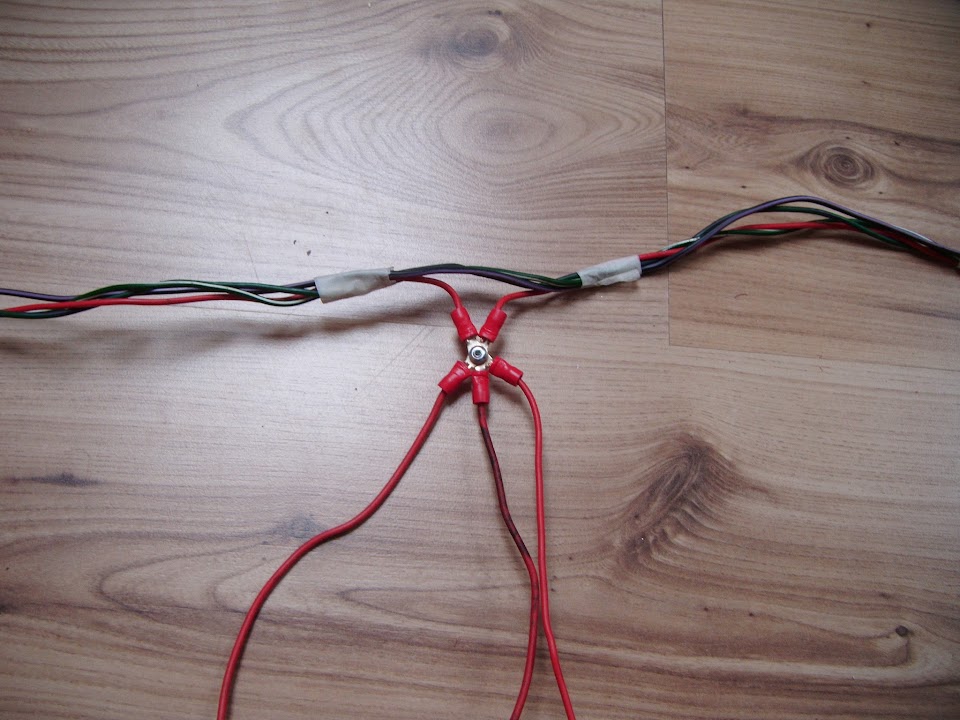
And wrapped it all up.

This gave me more than enough slack to reach the LEDs when mounted above the number plate.

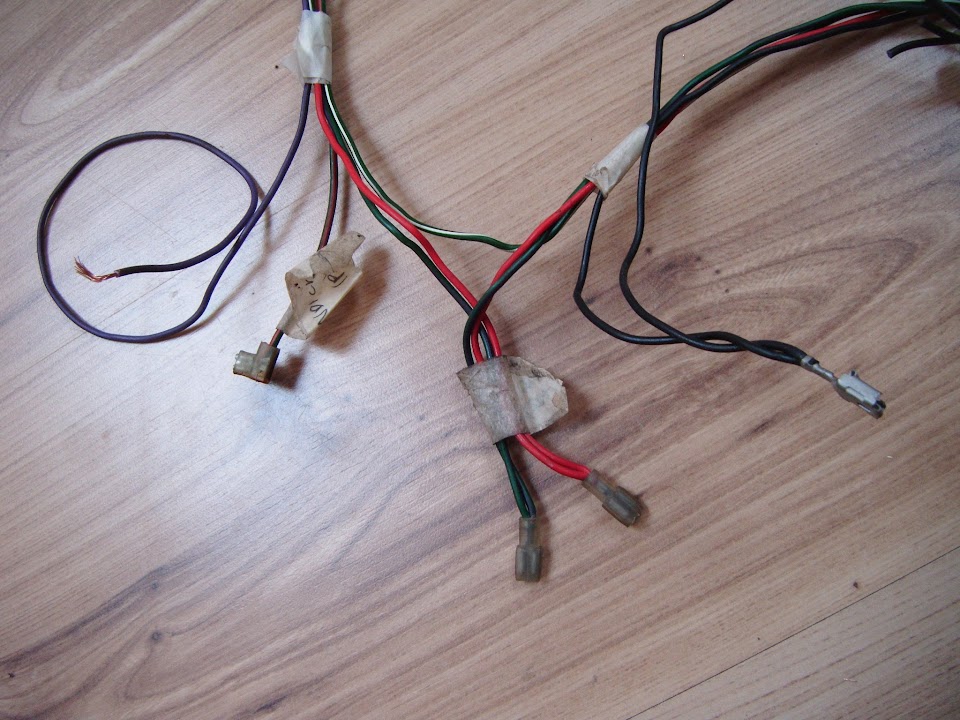
In addition to fitting blades to the 3 LEDs, I had also fitted the other ends on the loom wires.

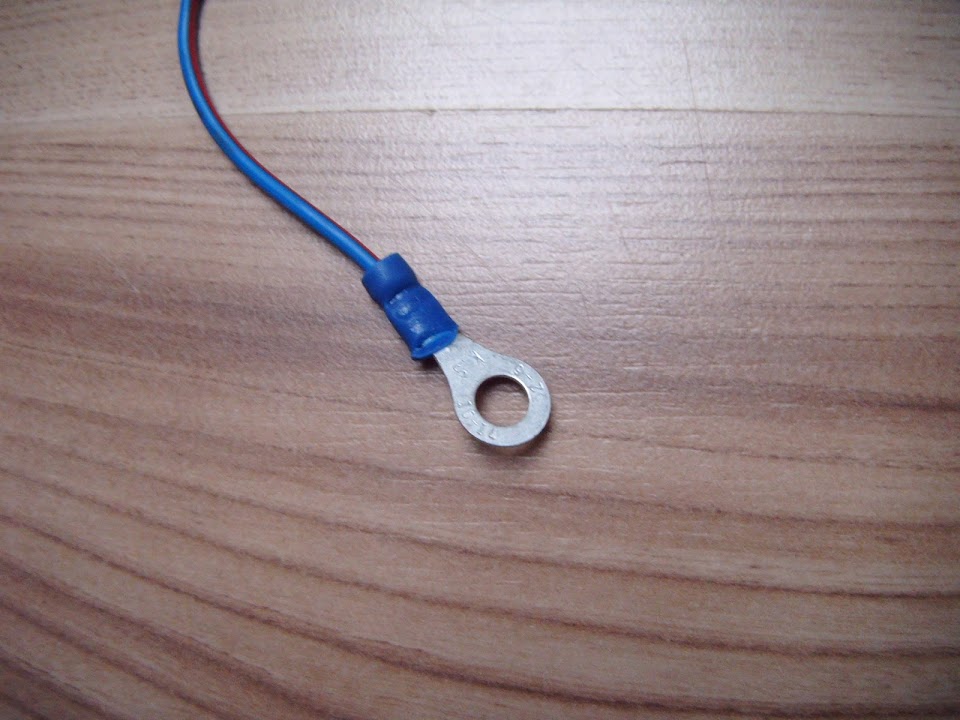
At this point things started to go a bit pear shaped as I looked at the option of a "blue" blade fitting for the new earth leads.
I thought I'd better double check that these would also fit through the LED mounting hole.
So I undid the nut, tried to remove it and it jammed against the blade.

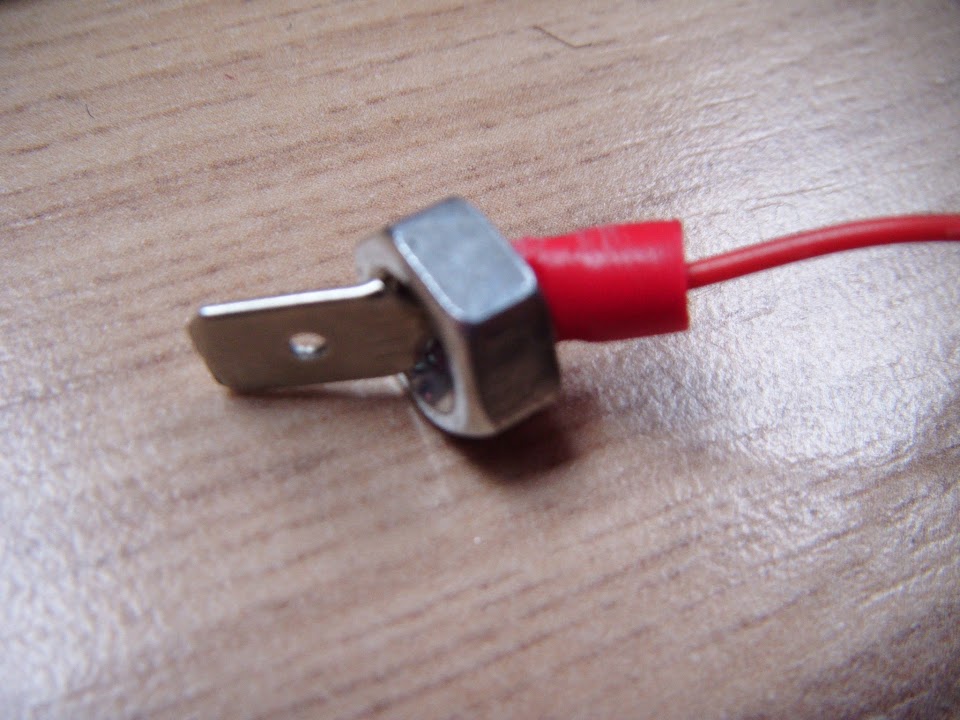
Yes, whilst the blade fitted through the washer, I hadn't thought to check the nut, which has a smaller internal diameter.

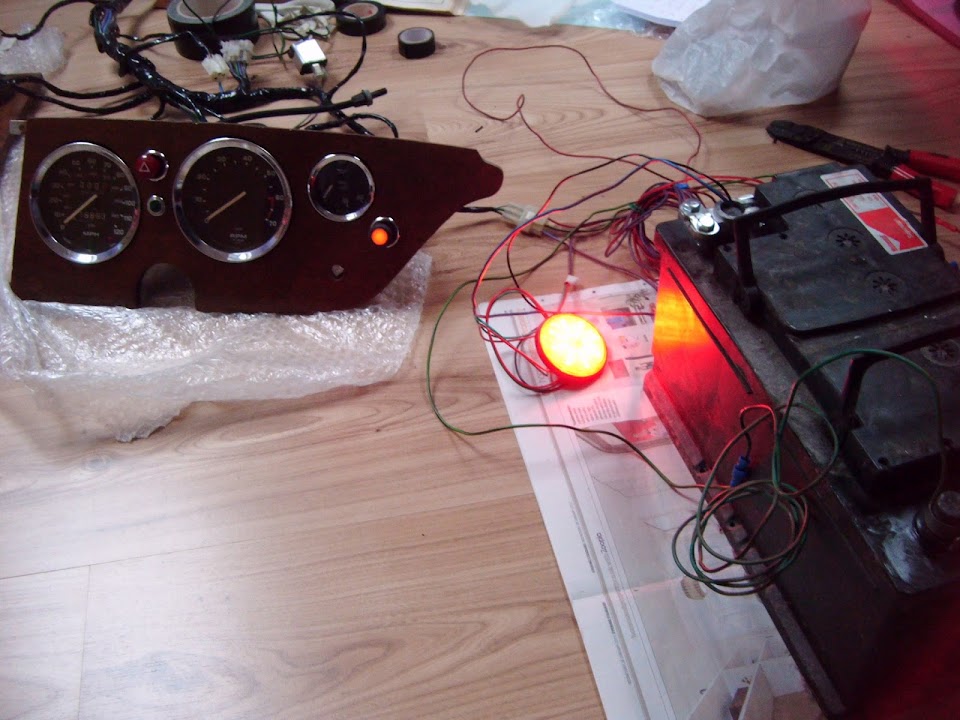
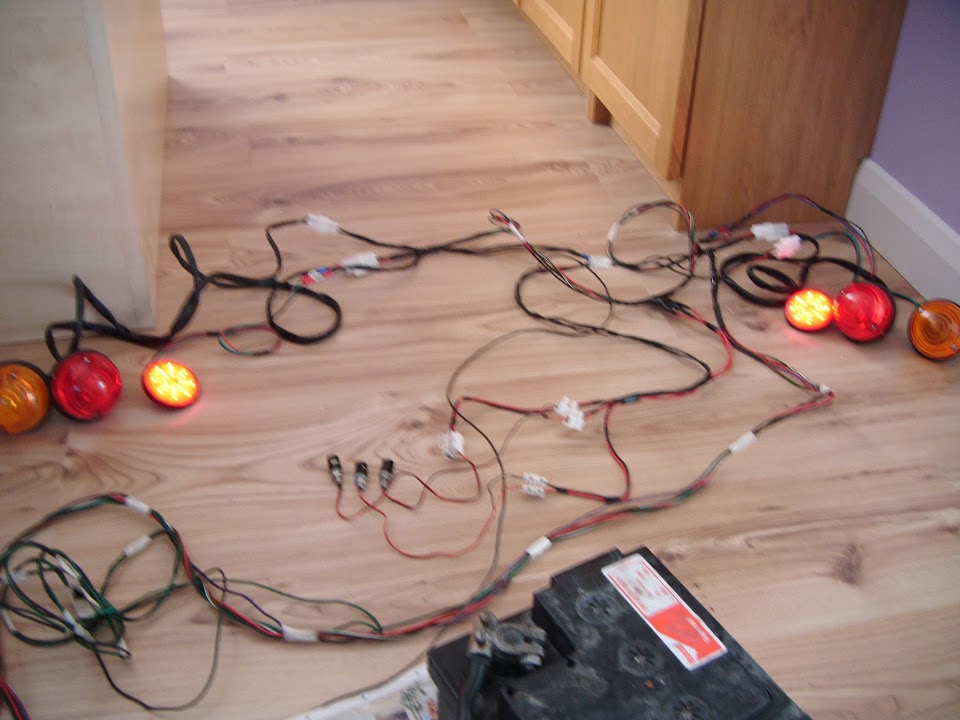
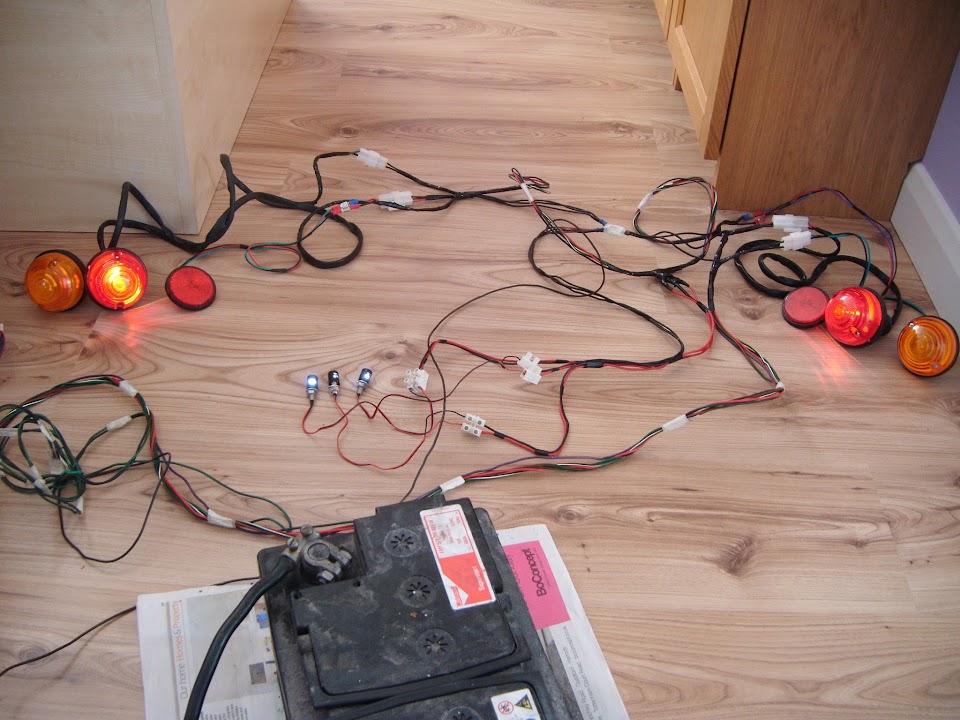
After a bout of swearing I remembered the connecting block I'd previously used to test the LEDs.
So I simply cut off the connections I'd already fitted and will use small sections of this block instead.

Whilst this is not a quick release arrangement, at least I will still be able to disconnect the LEDs from the loom if required.
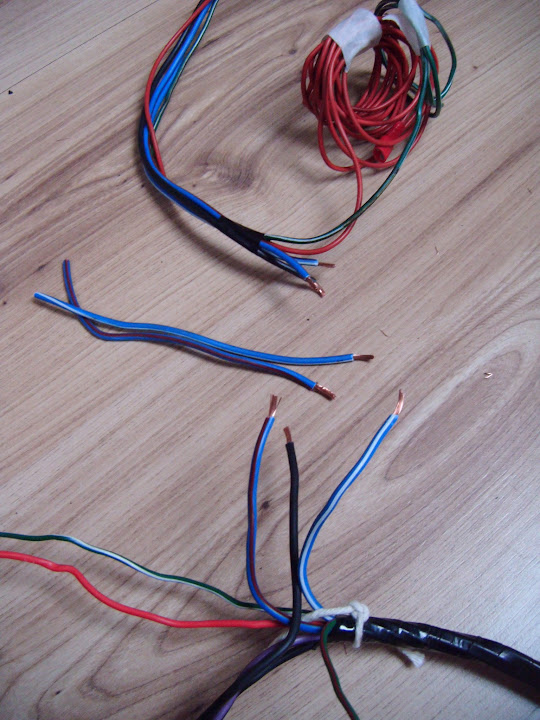
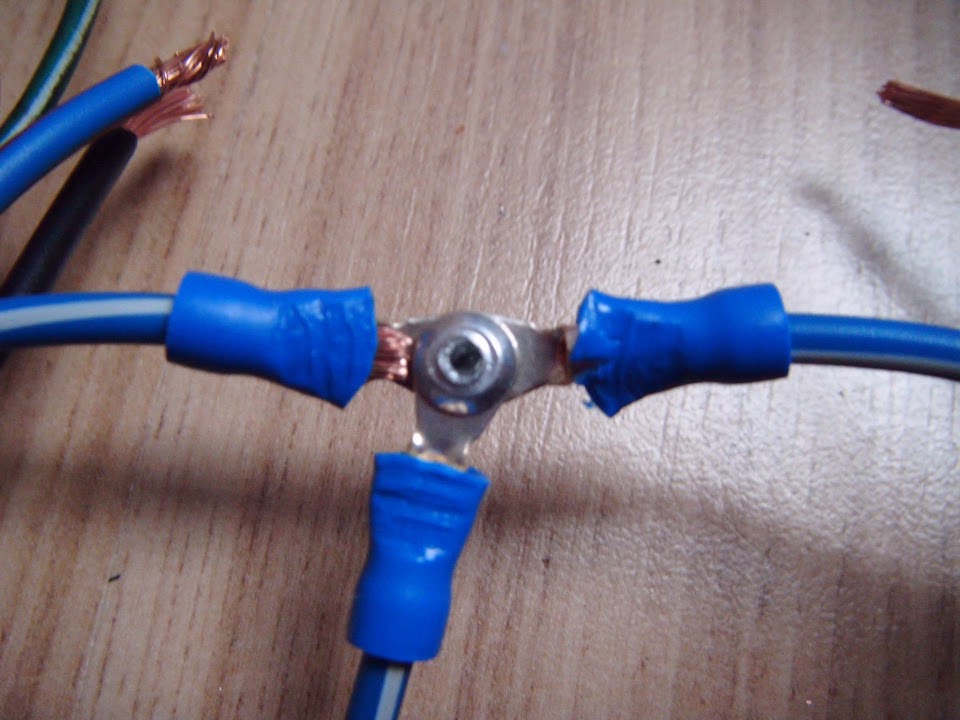
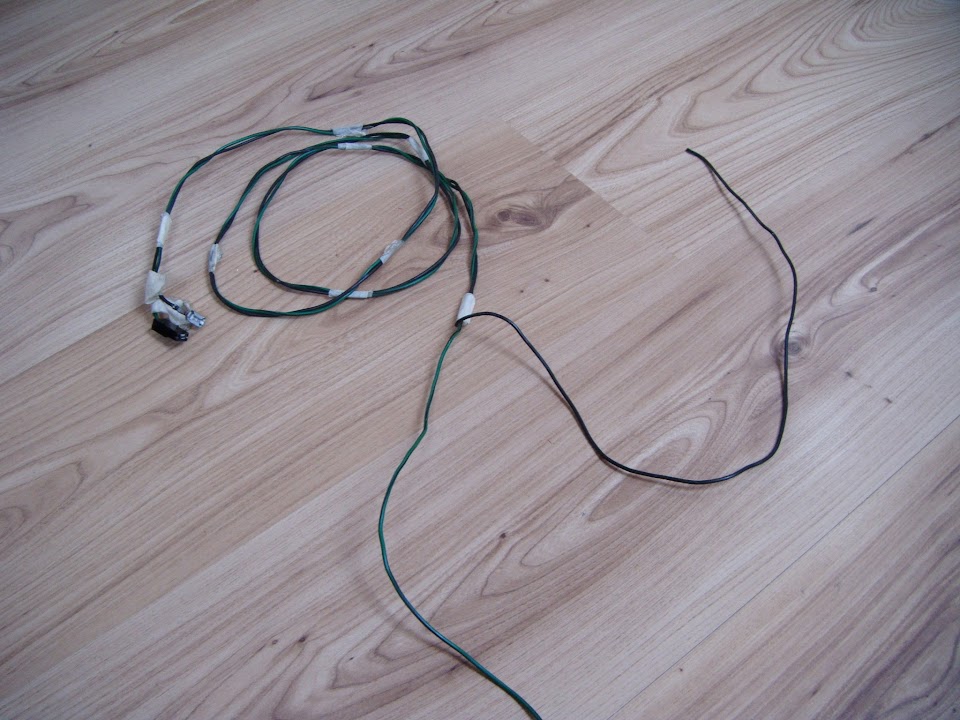
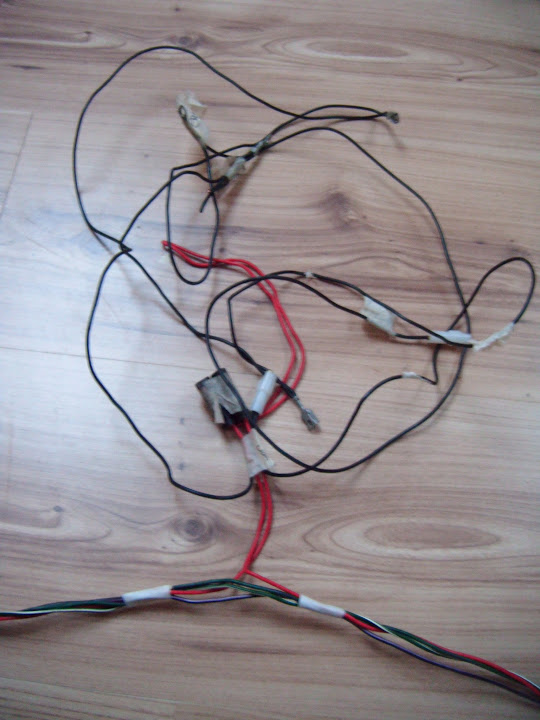
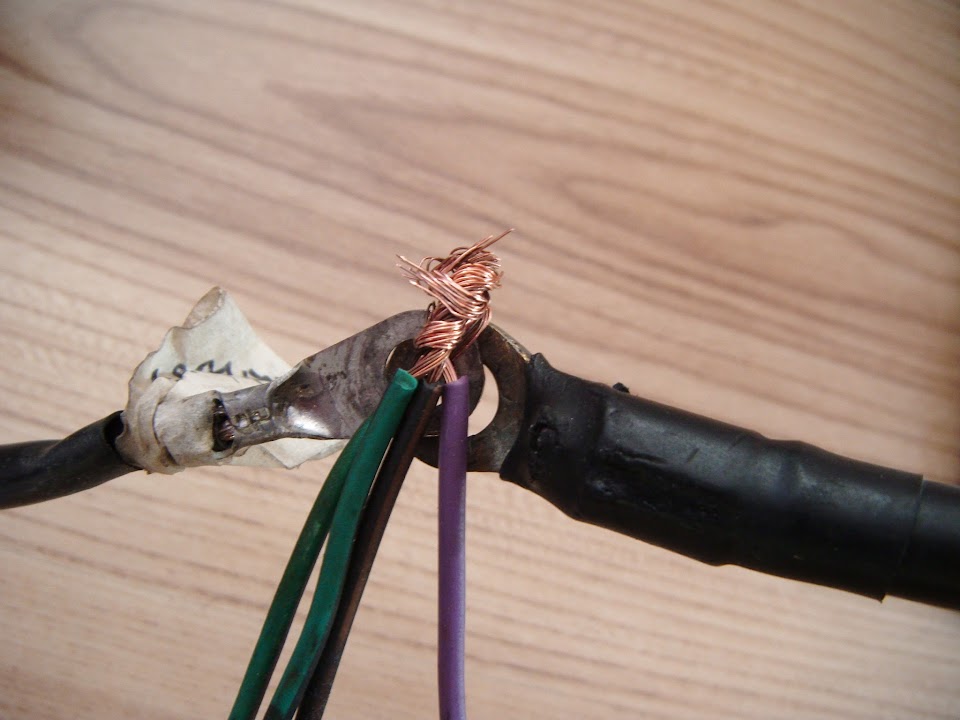
With the power wires finally sorted out, I used three wires to set up an earth spur and joined them to the connecting blocks.

I've got a few other chores to get on with now, but hopefully I will get a chance to start testing the lighting soon.
Cheers, Paul.