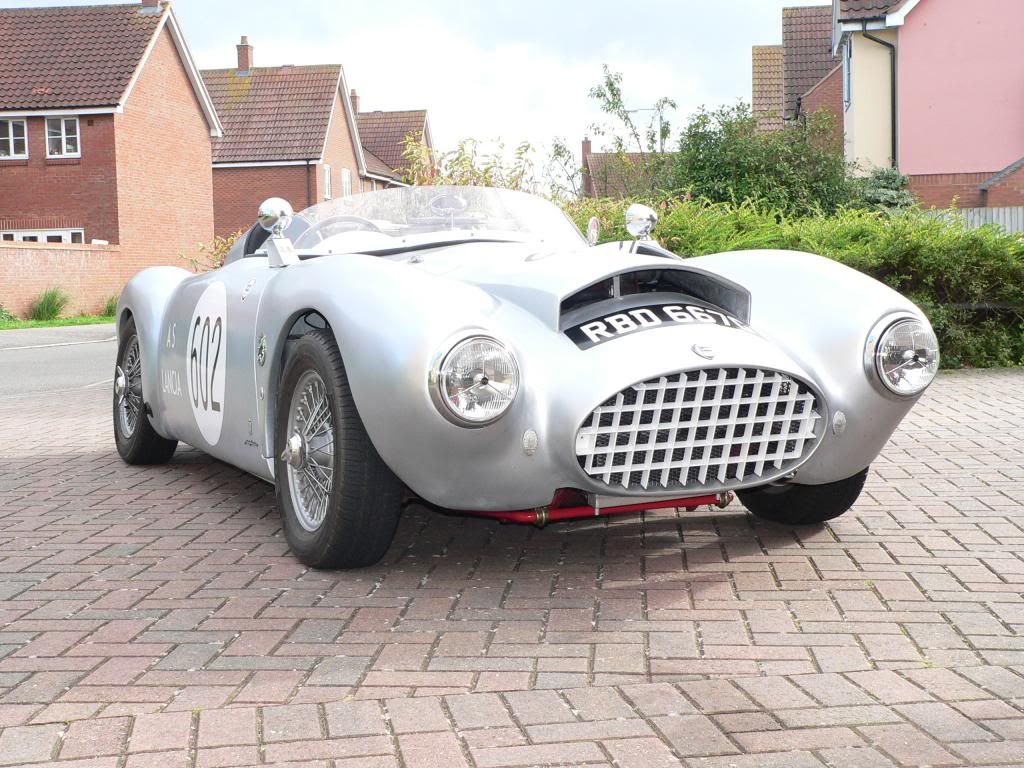
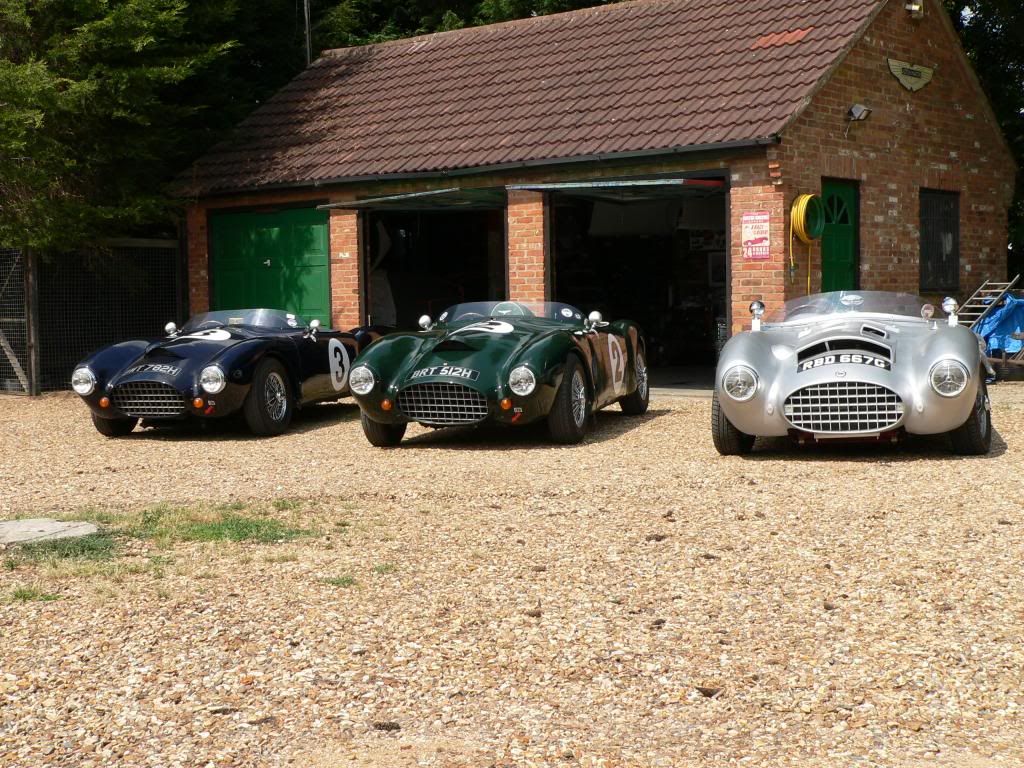
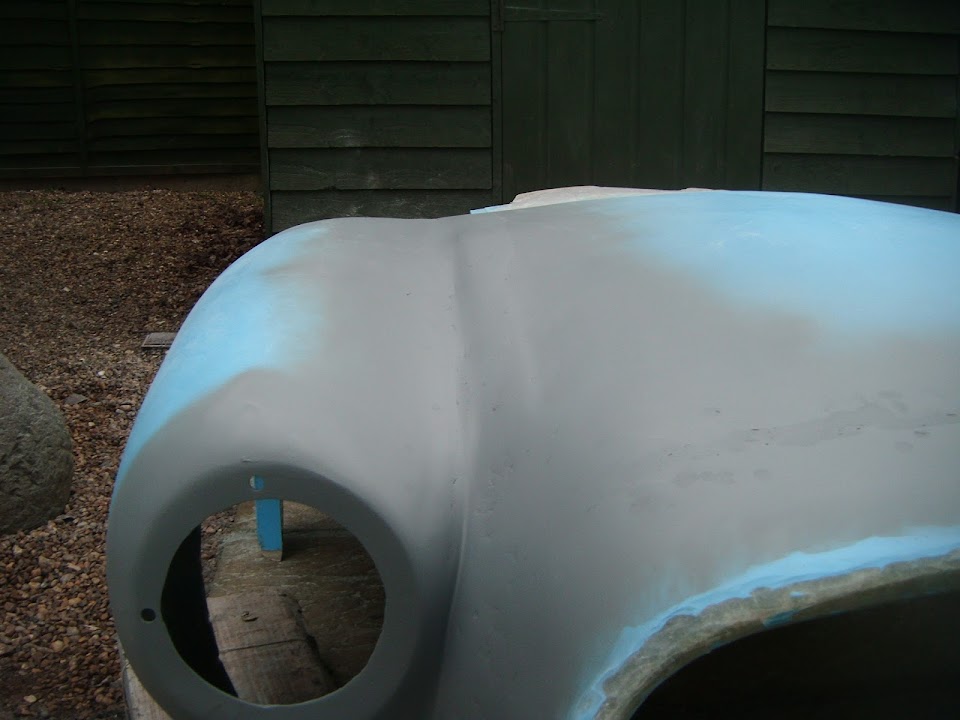
Scottie - In fairness, my gap is wider than both Mac & Swifty's due to my home made scuttle profile.
Having said that, the original set up would still not cover both wheels at the same time & is definitely "cock-eyed".
- - - - - - - - - - - - - - - - - - - - - - - - - - - - - - - -
Slowly, But Surely - Part 1
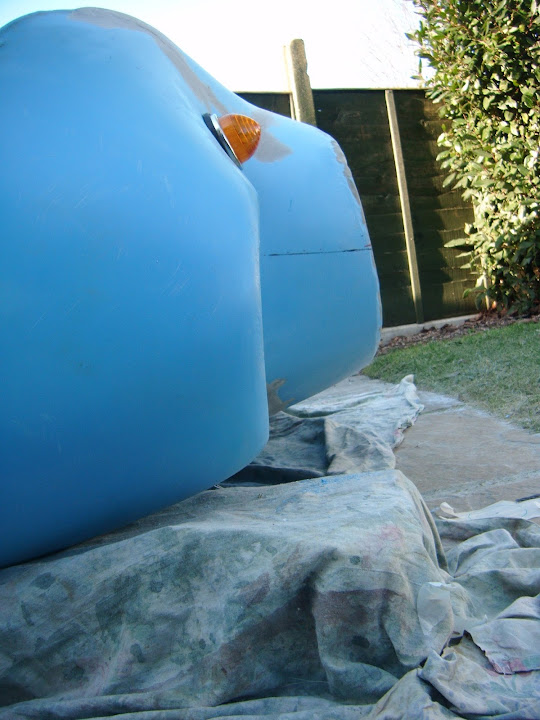
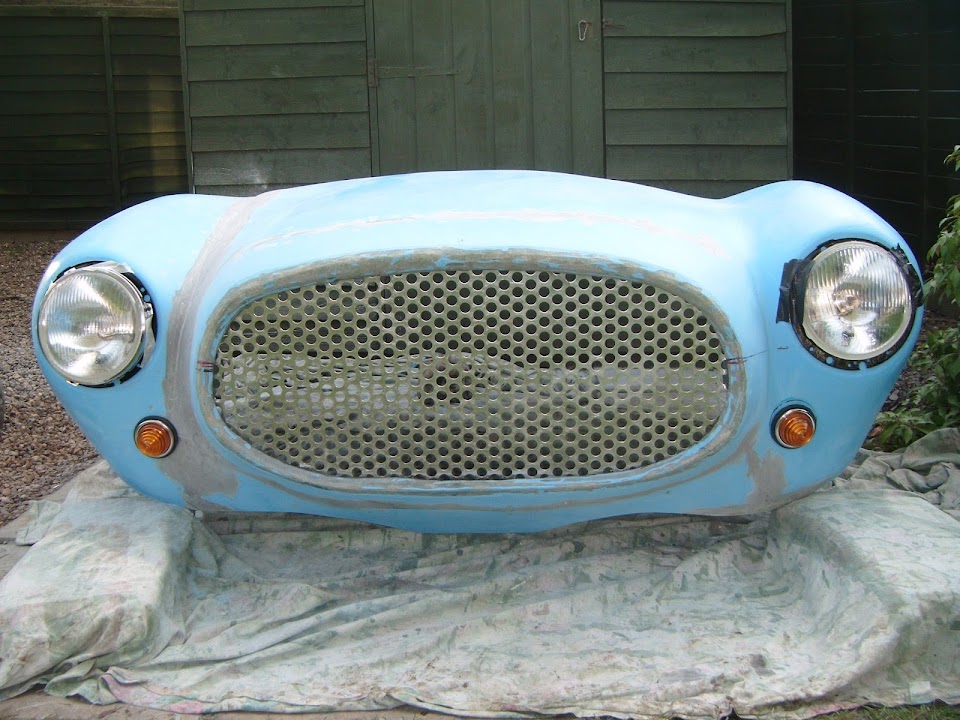
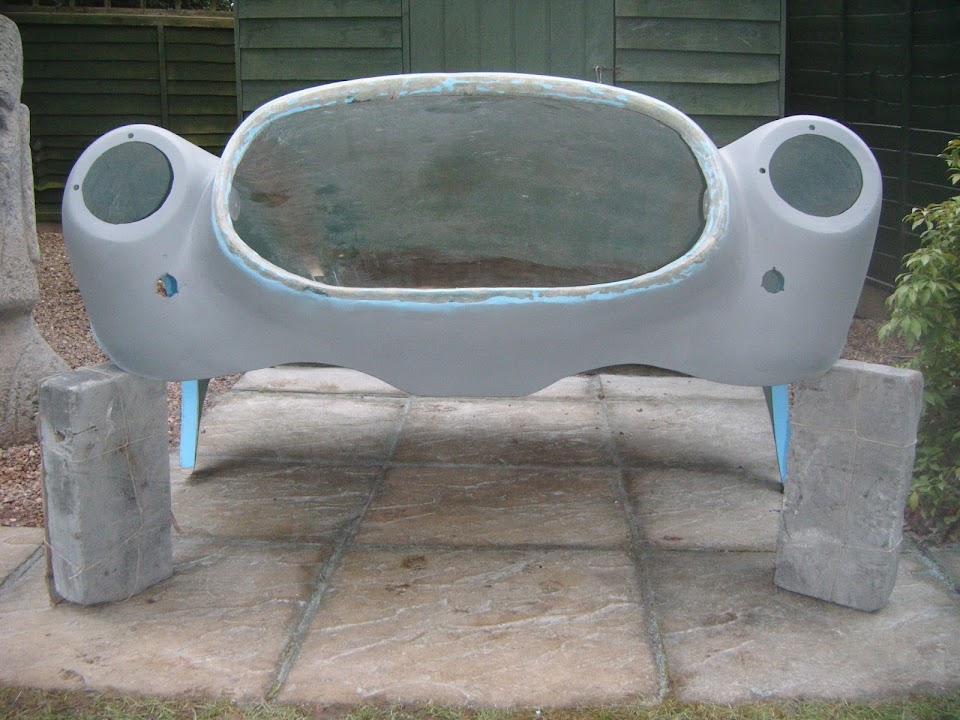
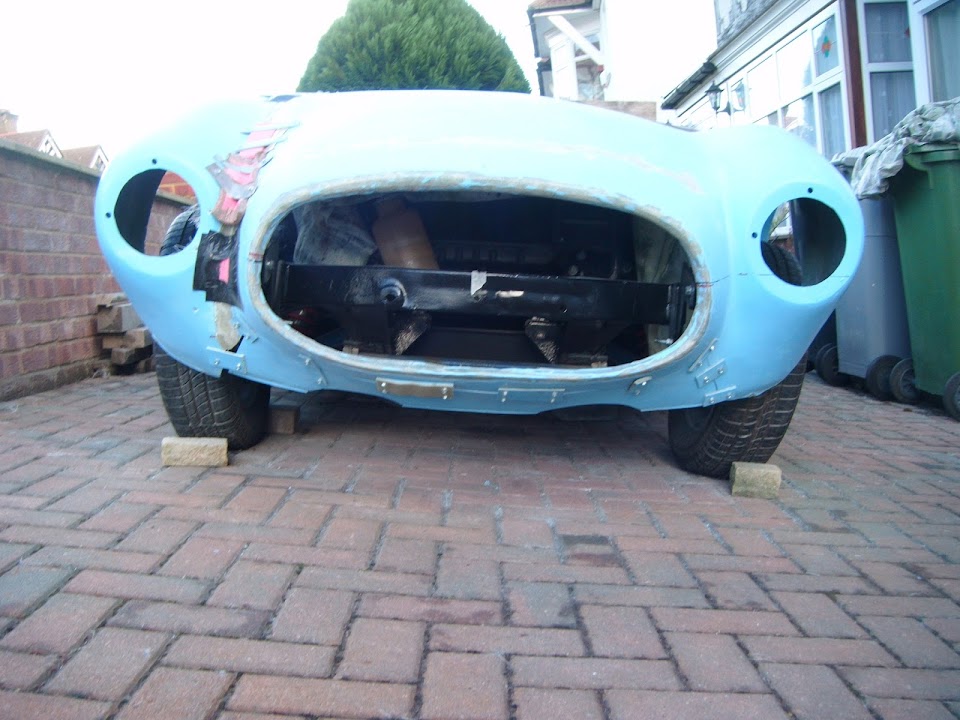
When the rain finally stopped I could remove the covers completely to see the bonnet in line with the rest of the body shell.
The passenger side looks pretty good to me, with the bulges over the wheels being roughly in line.

The driver's side doesn't look quite as good by comparison, but it is certainly thereabouts.

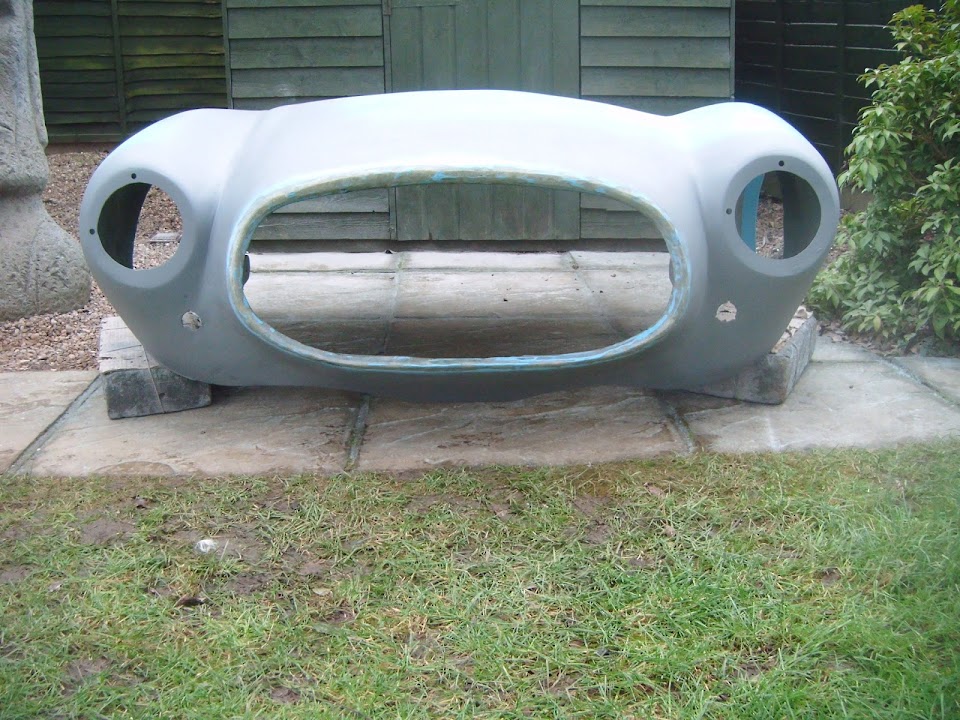
By standing on some steps I could get a better "overall" photo.

Which simply reminds me not to worry about these things too much, as very little else lines up, or matches.

However, despite this, the car should still make a "head turning" first impression when finished.

- - - - - - - - - - - - - - - - - - - - - - - - - - - - - - - -
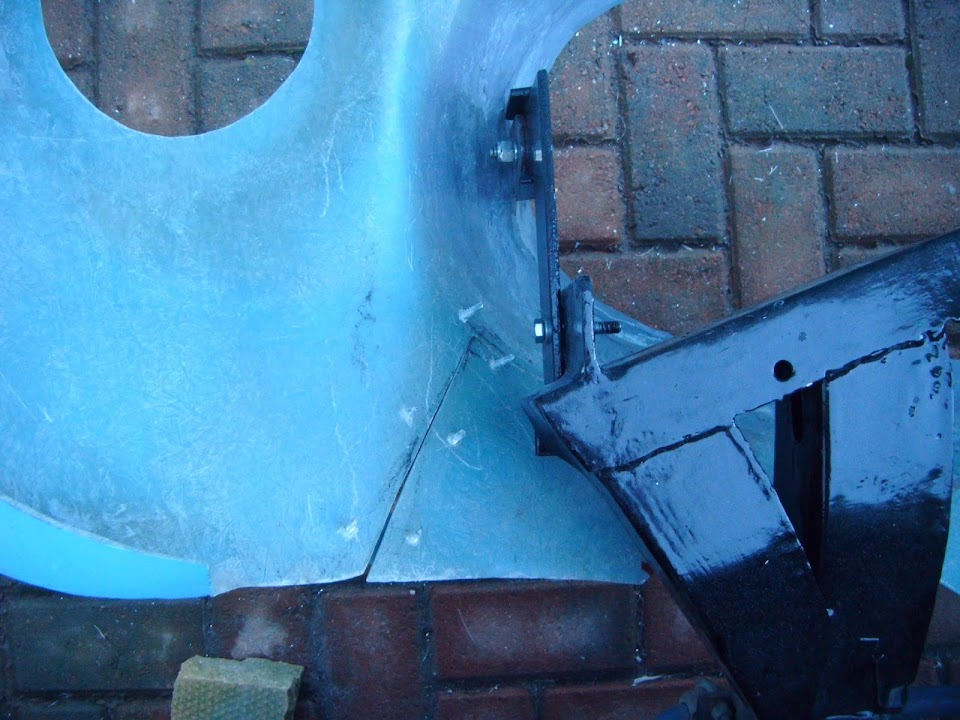
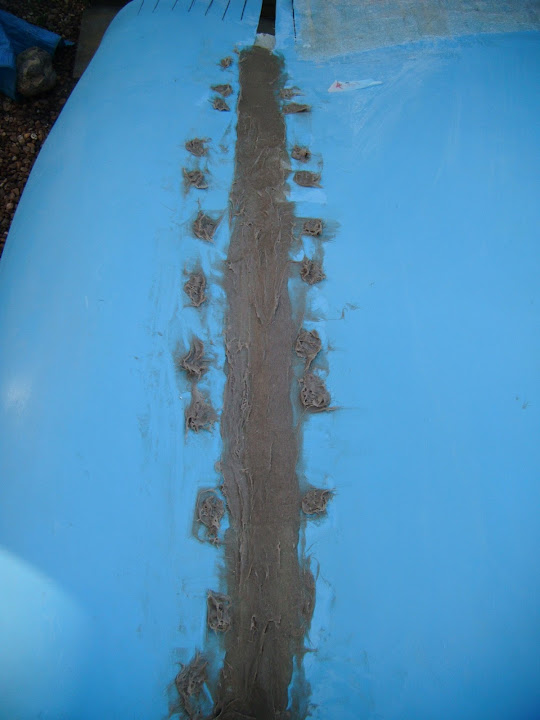
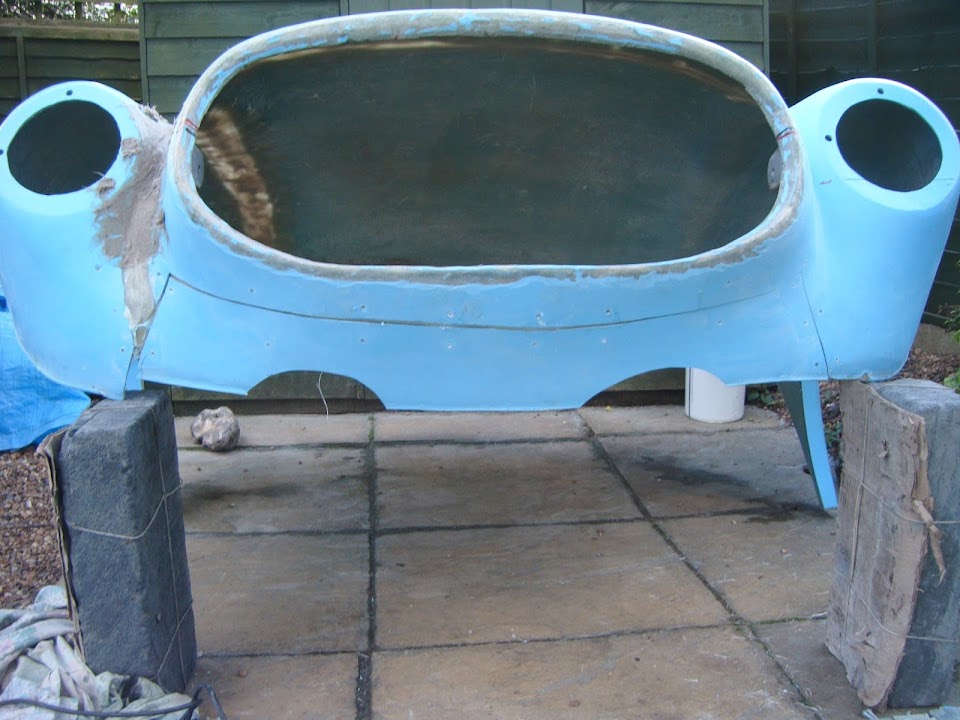
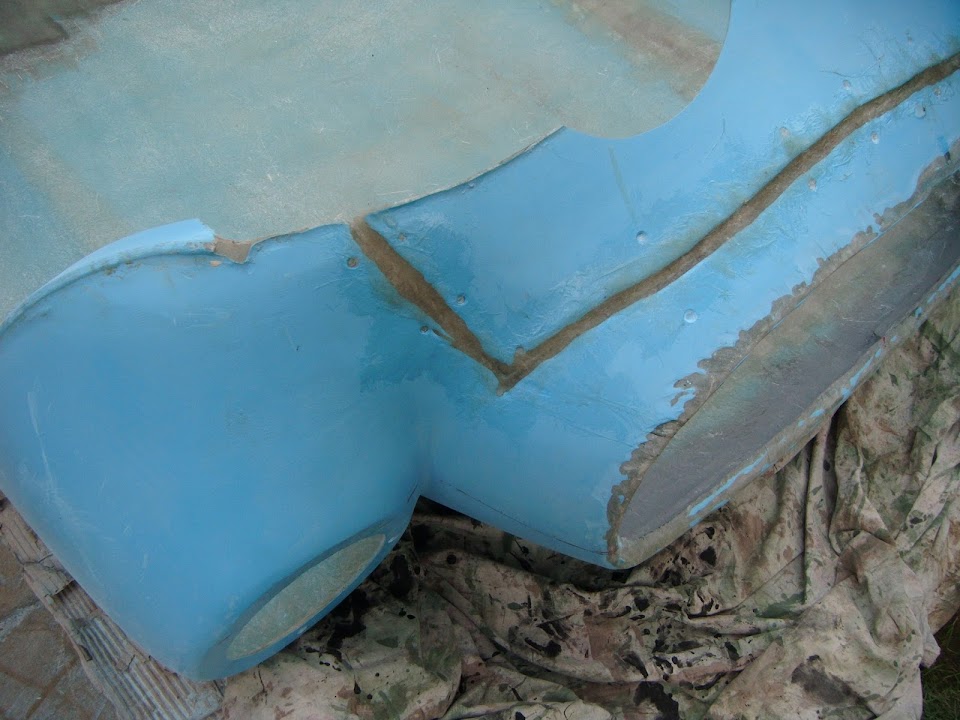
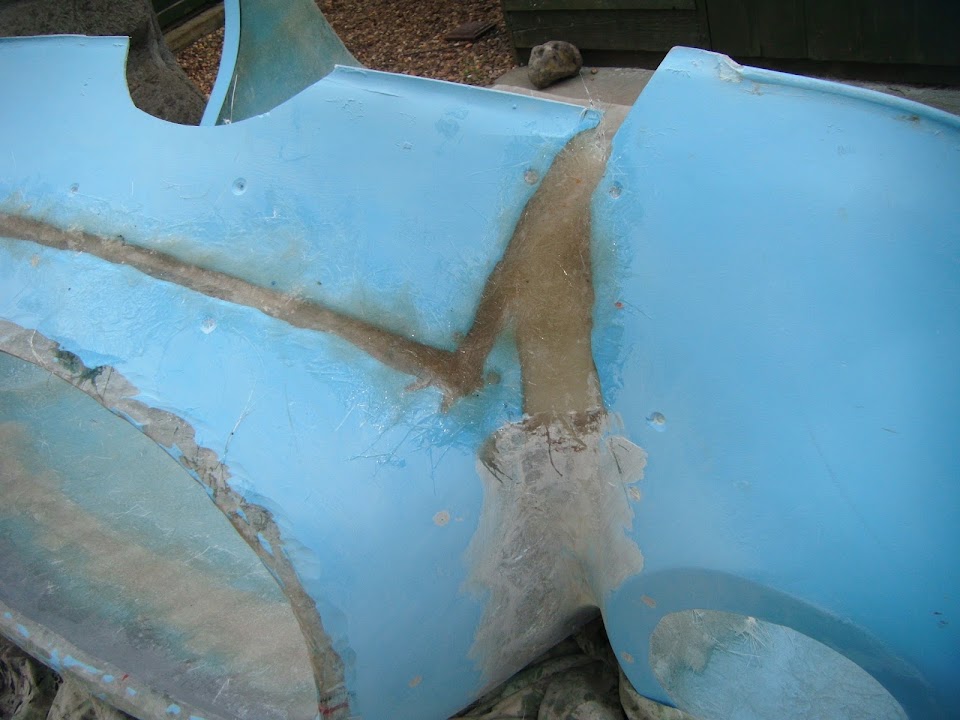
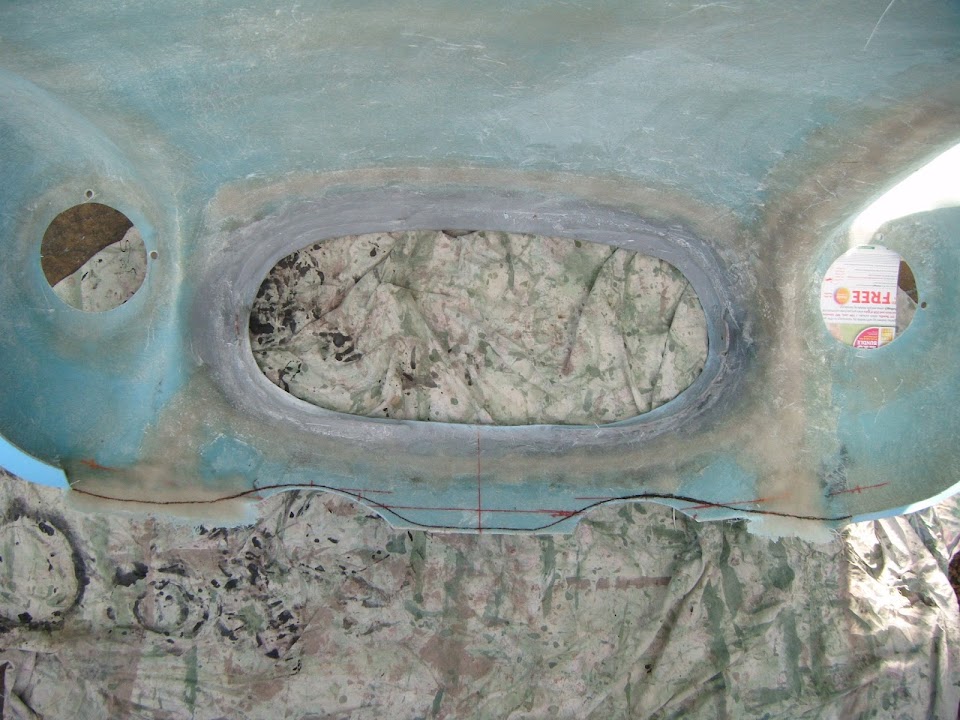
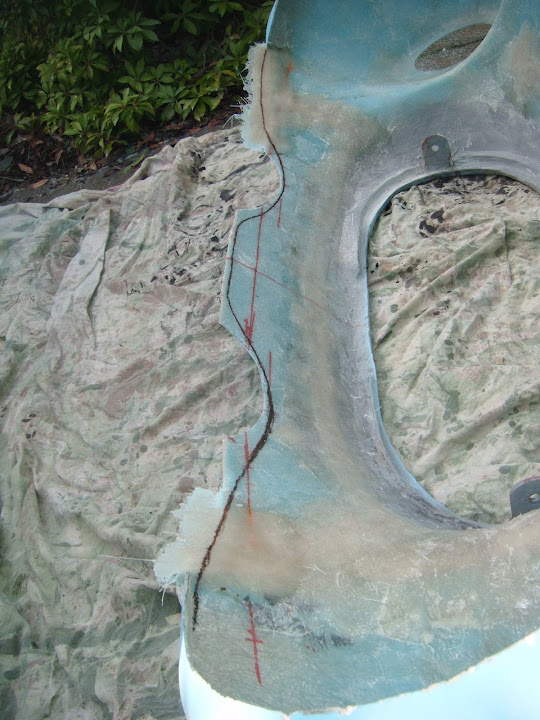
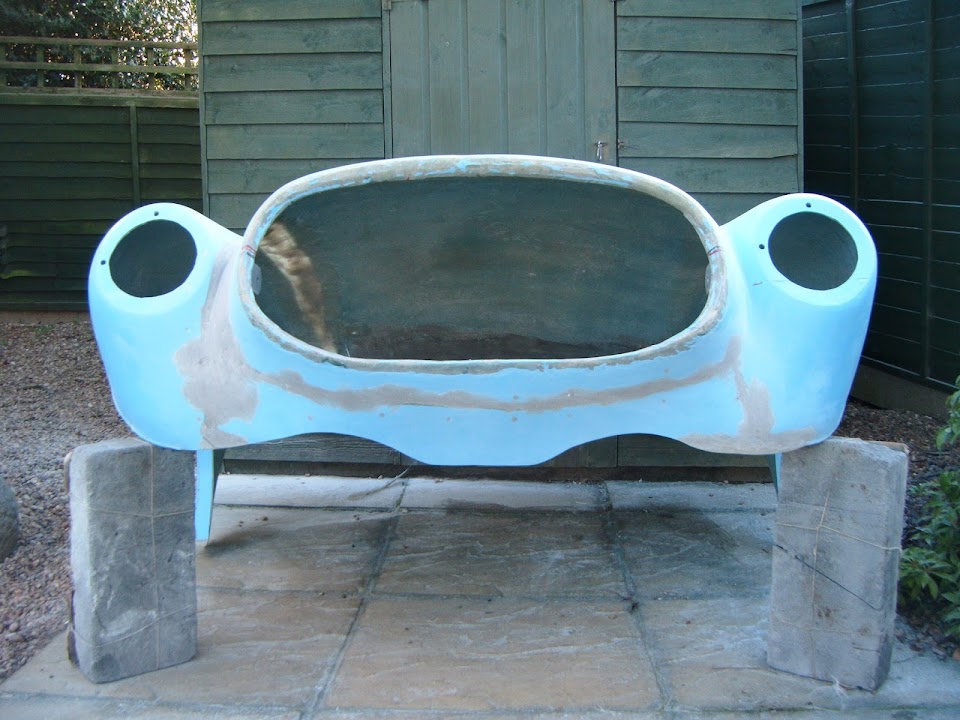
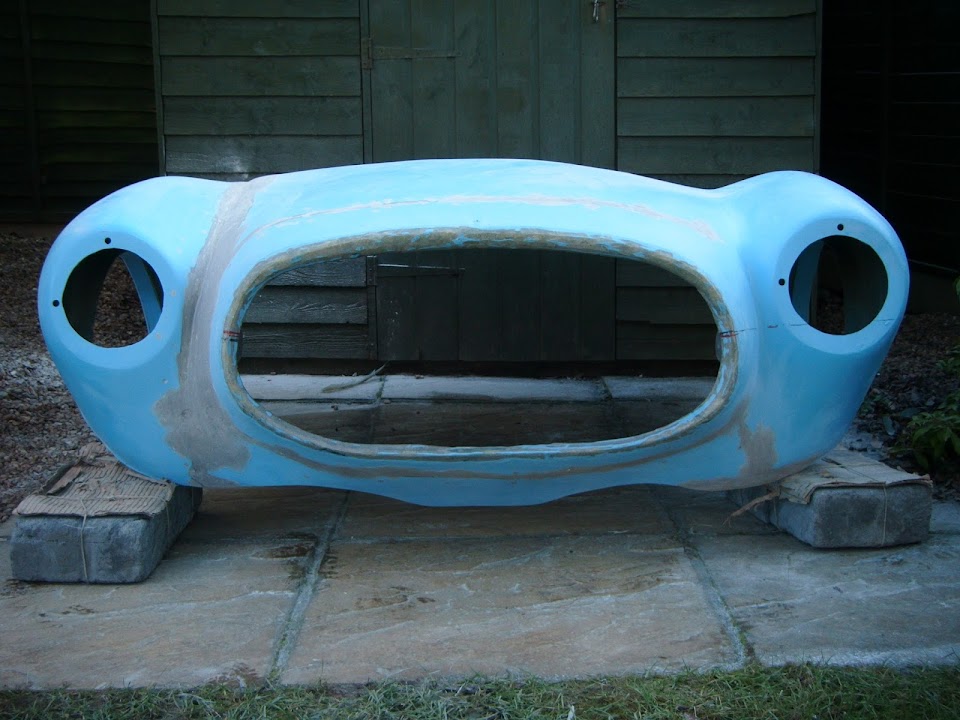
I wanted to start fibre glassing the gap in the bonnet, before I removed it and carried it to the back garden.
As the last thing I want to do is twist the bonnet while carrying it and then "set it" in the wrong shape.

It took a bit of beard scratching & a failed attempt to use modelling mesh before I worked out how to form my mould.
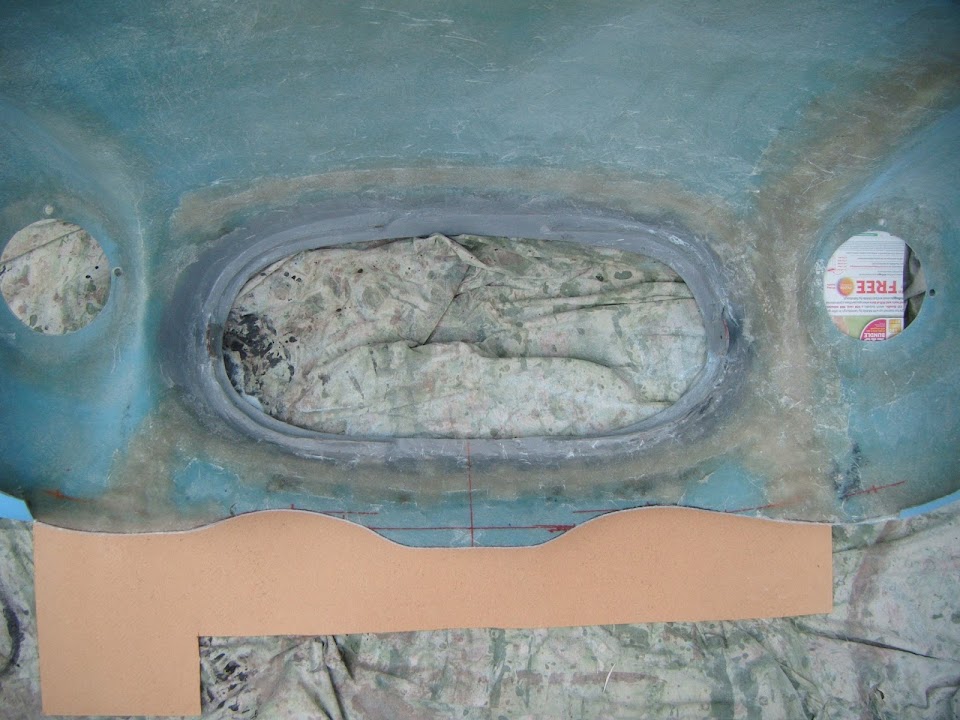
I needed to build a ridge between the headlight area and the bonnet nose and thankfully the yoga mat came to the rescue.

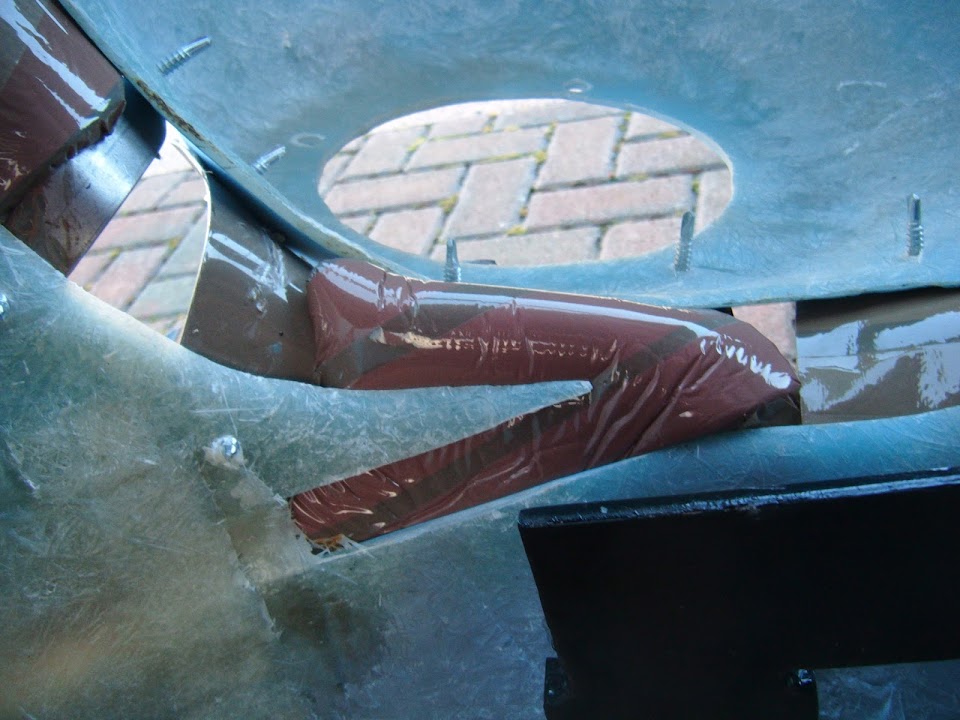
Note:
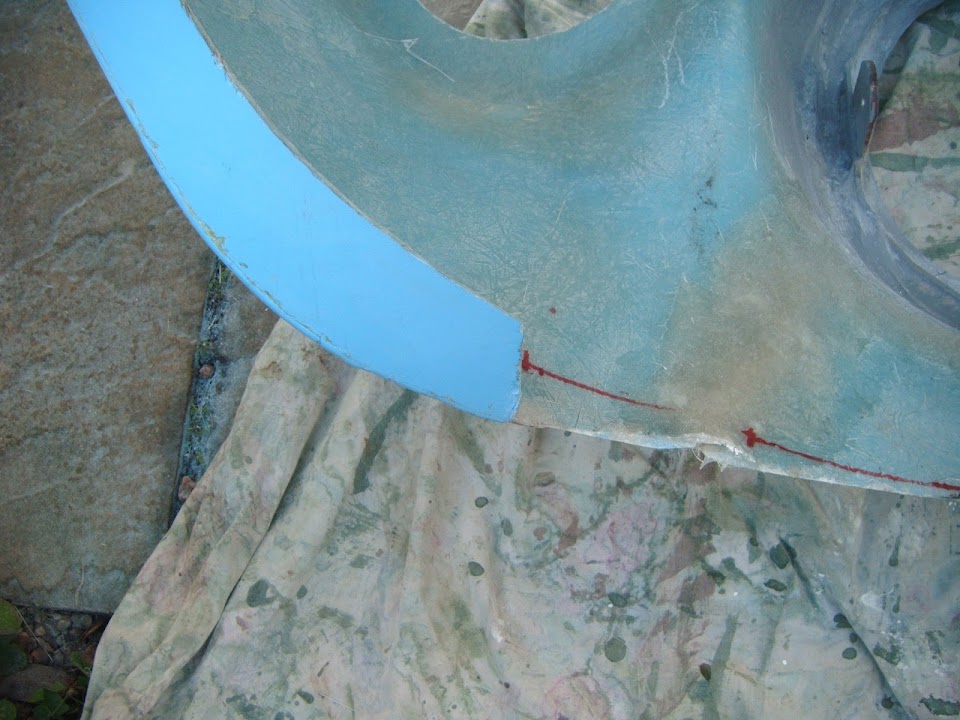
I did "tuck in" the foam at the bottom edge before I started.
As before, I used up some of my matting "scraps" as well as fresh fibreglass sheets.

I hope this will give me a solid base to work with, so I can do any final shaping required from the front.
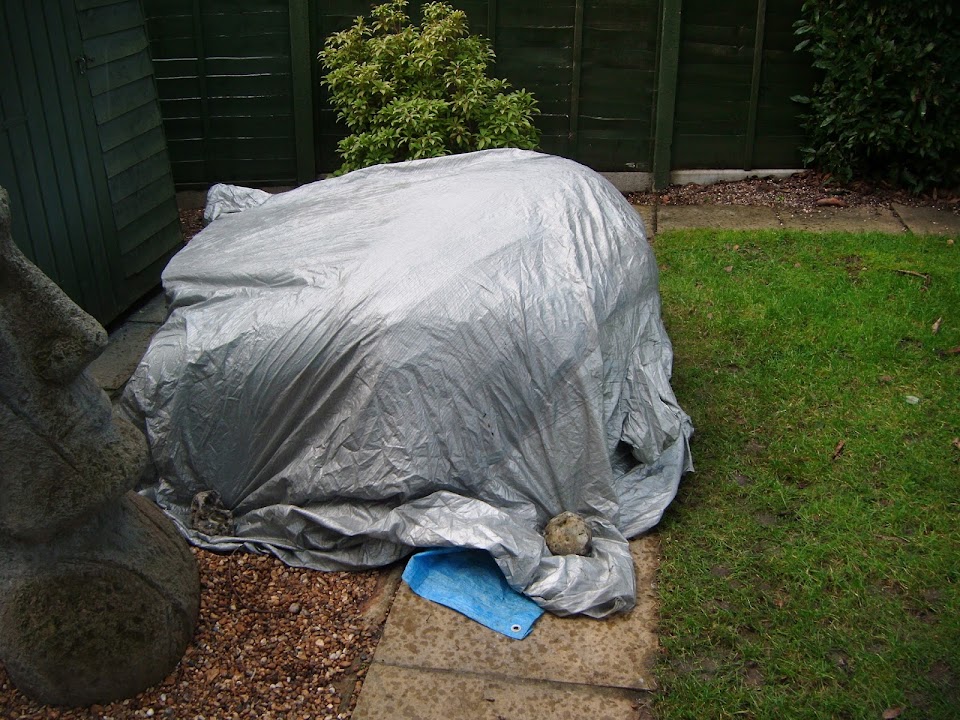
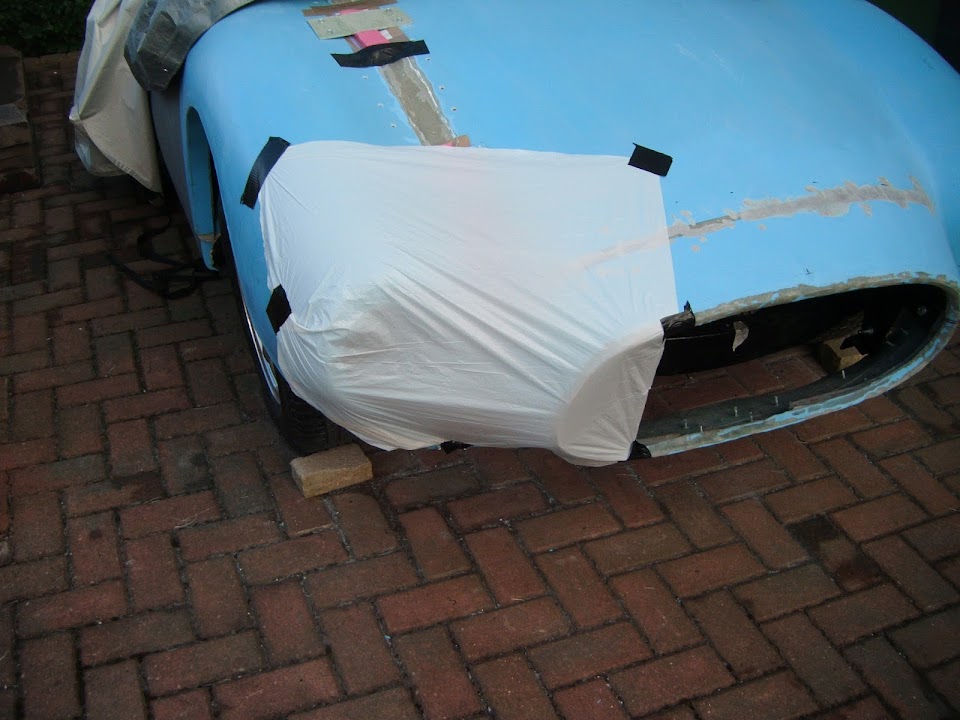
The forecast promised rain at some point today, so I covered up the back of the car and left the first round of 'glassing to set.

The eagle eyed amongst you will notice I have not started work on the lower valance at this point.
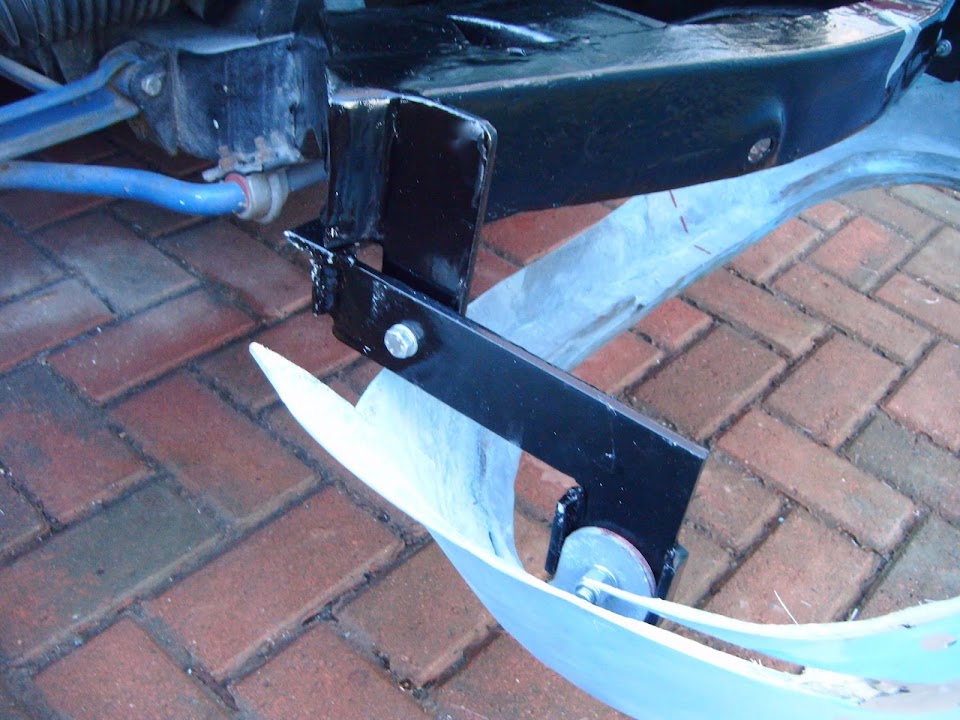
As I figured it would make my life easier if I had something solid to fix the lower section to before I tried to 'glass it in.
- - - - - - - - - - - - - - - - - - - - - - - - - - - - - - - -
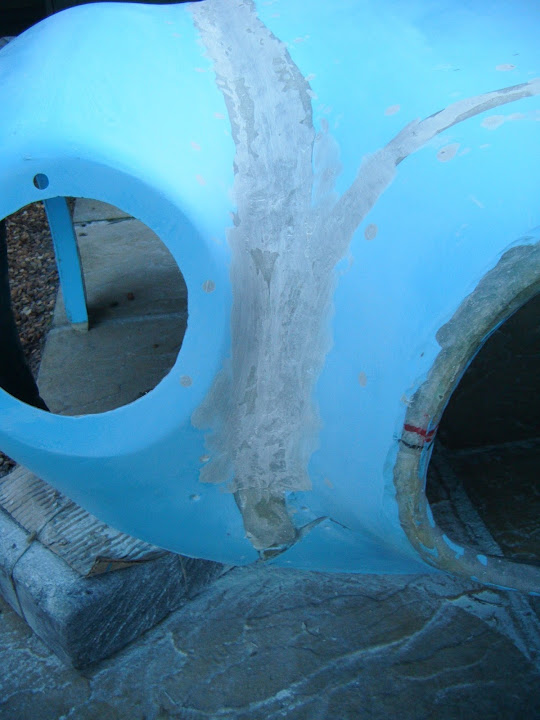
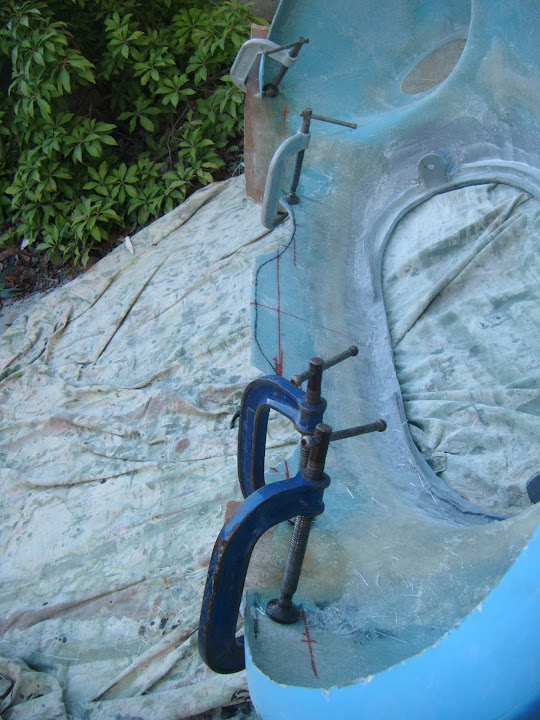
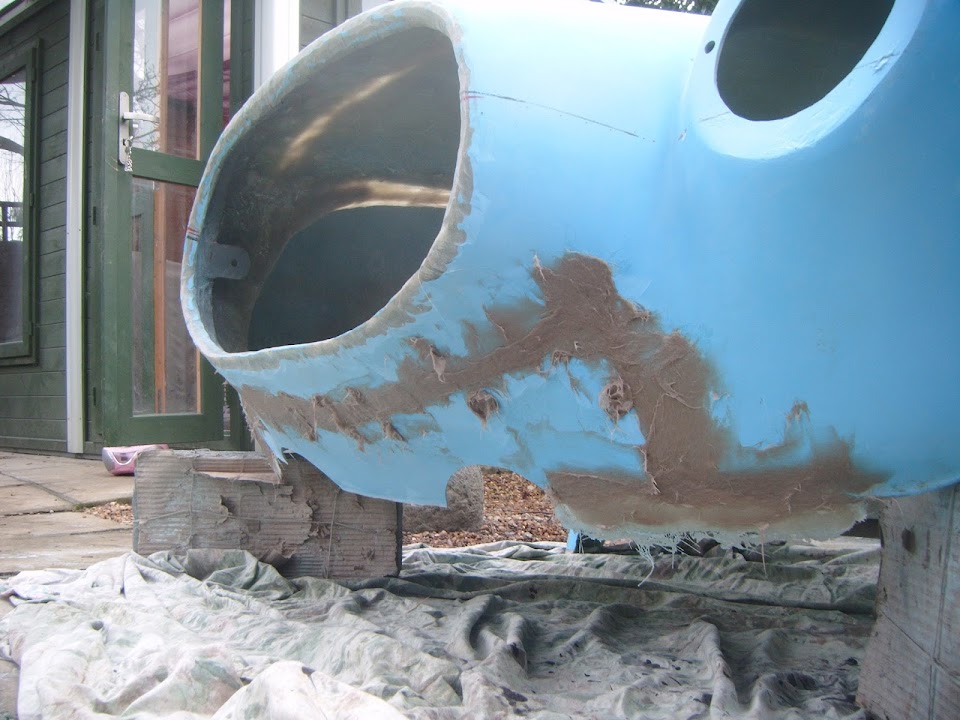
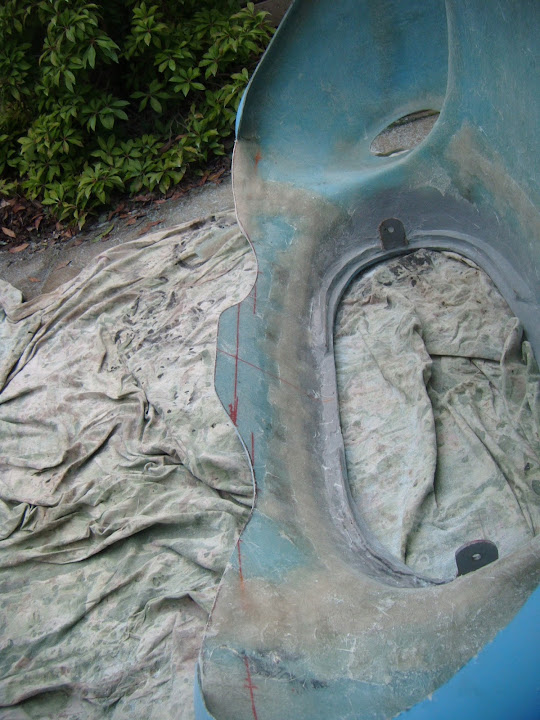
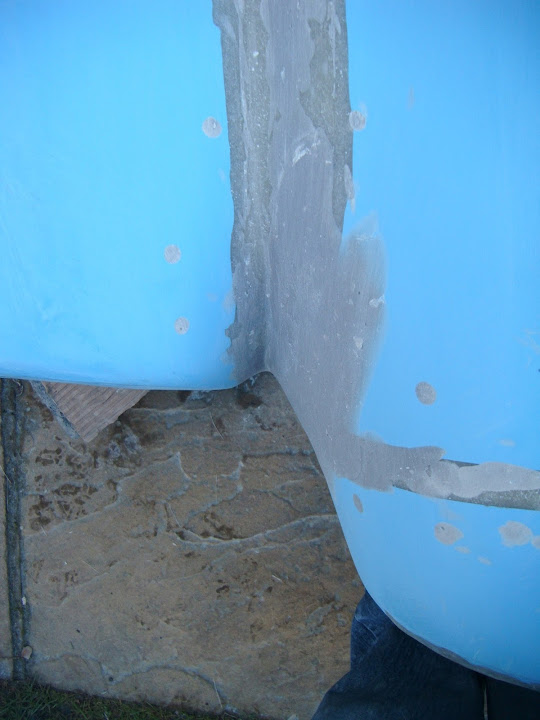
The next area I wanted to prepare a mould for was the "dip" where the wing meets the bonnet.
Once again the yoga mat was called into service to provide the basis of a curve.
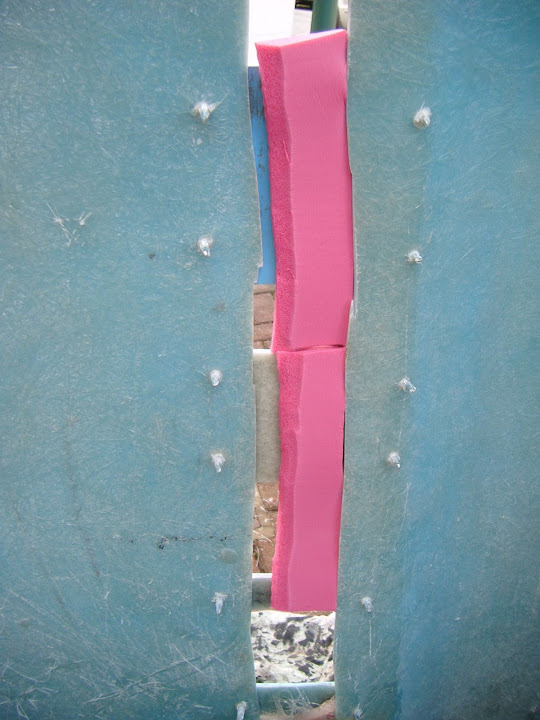
I also used some parcel tape covered card to complete the job.
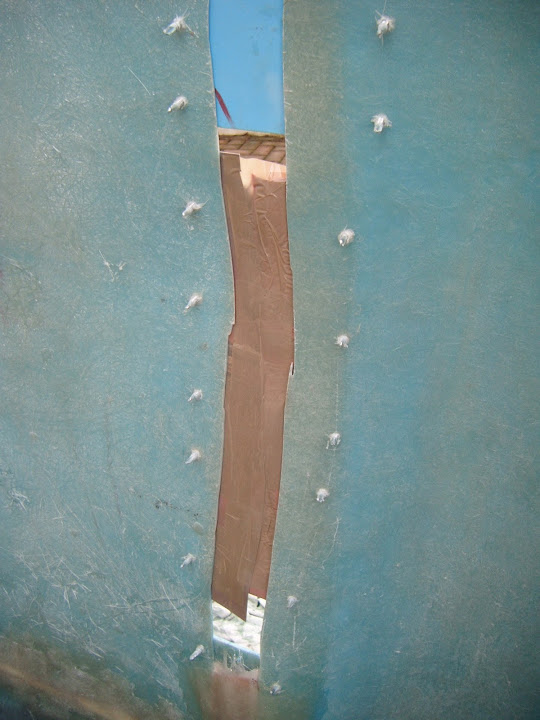
Which looks a complete mess on the other side.

It is pretty flat towards the back edge of the bonnet, so that was easy to prepare for.

However, at this point the temperature had dropped noticeably and the dark clouds were gathering overhead.

I really have learnt not to push my luck with the weather when fibre glassing, so I've covered up instead.

The good news was that the first round of fibreglass work was set pretty solid by now.
End of Part 1...






 )
)