MadaboutKitcars

This is a read-only archive of the old Madabout Kitcars forum. New posts and replies are no longer possible, but every thread is still here to browse and read.

Another Cordite Is Born ...

15 Dec 2014, 8:49am
How about fridge magnets? Or just replace the glass units... Merry Christmas.
15 Dec 2014, 8:56am
Paul, the bad news is I think the only 100% solution to the window will be replacement, you could try an aggressive cutting compound first as I don't think you have anything to loose.

Well done on taking the plunge on the bonnet, its really the only way to resolve it that I was happy with. On the central bonnet bulge are you sure you'll have enough clearance if you remove it? If you do I would concentrate on getting the now removed wing portion put back in place then consider totally cutting out the bulge and replacing it with a flat sheet thin enough to take on the curve you require.

Keep up the good work

Mac
15 Dec 2014, 3:15pm
Hi Paul, I agree with Mac when glass is damaged in that way, its finished. It can be cleaned up a bit, but replacement is the only way.
Welcome to the club!
15 Dec 2014, 5:08pm
Ed, Swifty, Gary, Mac & Scottie - Thanks for all the replies gentlemen. :cool:

House Windows - I think I will wait until I have finished the build before sorting them out.
Unfortunately, the ones with the most damage were only fitted in 2009 when the garage was converted. :rolleyes:

Welding - I must confess it is good to be making something for a change, rather that butchering fibreglass.

Bonnet Bulge - Just to be clear, I am only looking to flatten the bulge at the back of the bonnet so it matches the scuttle profile.
This only needs to happen at the rear of the bonnet and the main shape between the wheel arches will remain.

I took this photo this morning, it is not great, but you should get the idea.
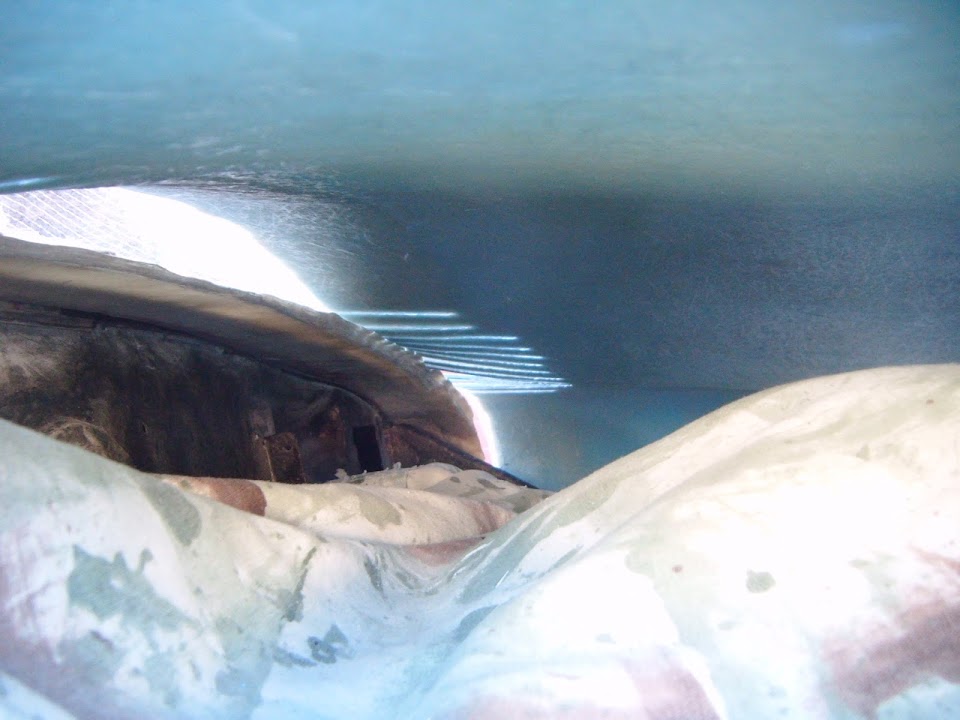


The Spitfire bulkhead is original height, so everything in the engine bay sits lower than that.

- - - - - - - - - - - - - - - - - - - - - - - - - - - - - - - -

If you build it, hinging will come...
I had two thoughts about Mister Towed's scissor hinge design...

The first was that this was his second attempt at making some bonnet hinges that would work.
( And similarly Mac needed more than one attempt to build his hinges too. )

The second was how to make space for the scissor hinge below the chassis line so the section of bonnet below the grille opening wouldn't foul them.
I thought that simply cutting slits out would look terrible, but an "upside down" bonnet bulge would work.
At this stage I don't know if I will need anything, but at least I know that it shouldn't be a problem if I do.
This still might look at bit odd, but then again, quite a bit of my build will not survive close inspection. :rolleyes:

Anyway, all this means that I have stopped trying to work out a perfect hinge arrangement in advance.

Instead, I will simply build a MkI version and see how I get on, then adjust and build a MkII version if necessary.

This approach is a big help, as I can't really sort out the bonnet, until I have working hinges.

As the hinges will determine the angle at which the bonnet will meet the lip on the body shell.

So once that is established, I can then adjust everything else to line up properly (touch wood).

I found the cardboard template for the grille and gave it a light trim for a slightly better fit.
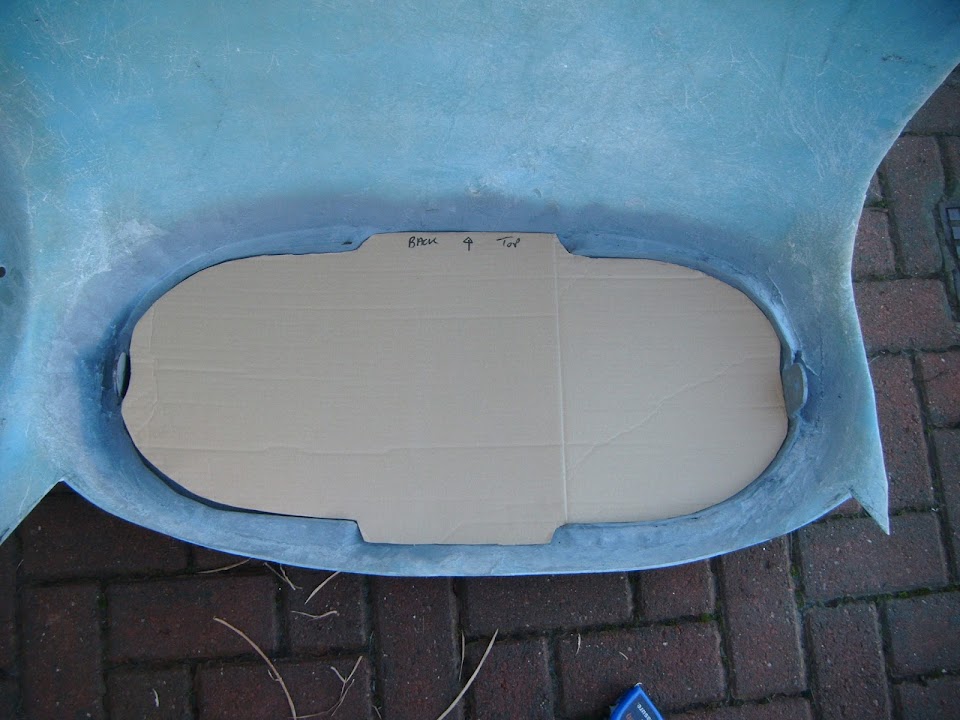


This made it easier for me to mark up a centre line between the two factory fitted hinges.

I also taped some parking cardboard to the radiator cap, to ensure I maintained enough clearance.
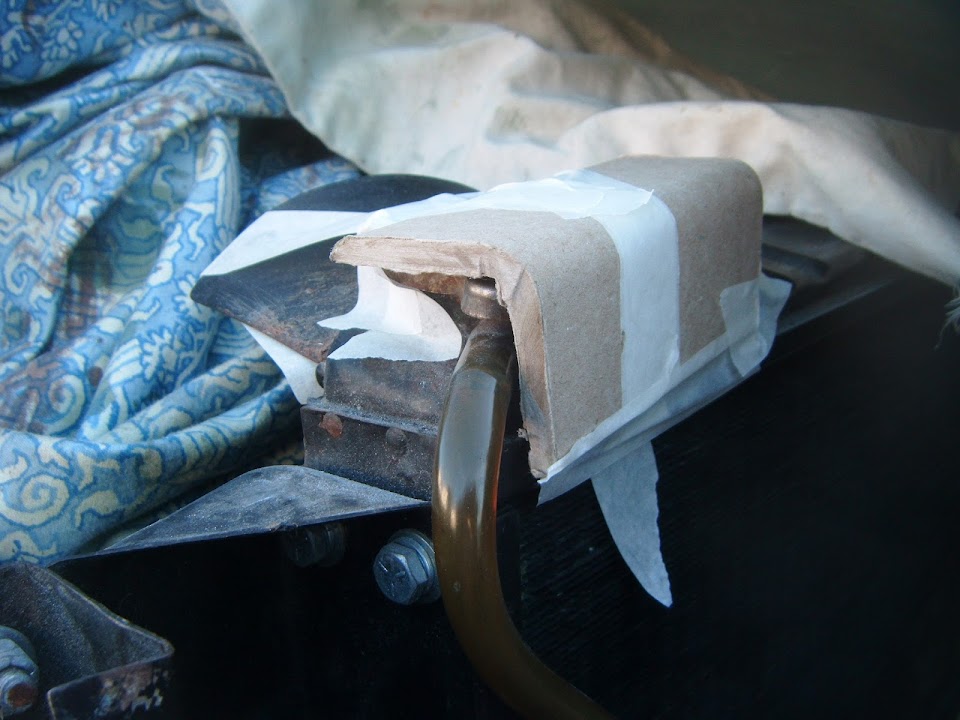


It was a bit of a challenge to get the main section of the bonnet into the right position.


But that roughly lines up the bonnet with the centre point of the chassis.

This will be my MkI hinge design.


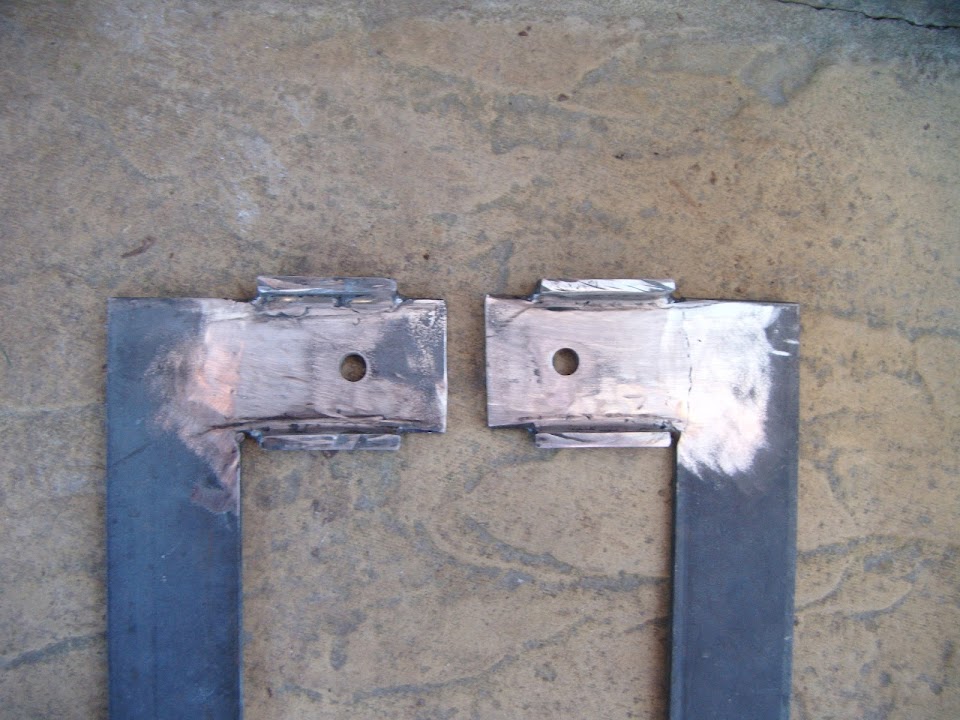
So I trimmed a bit off the "L" shape I made yesterday.
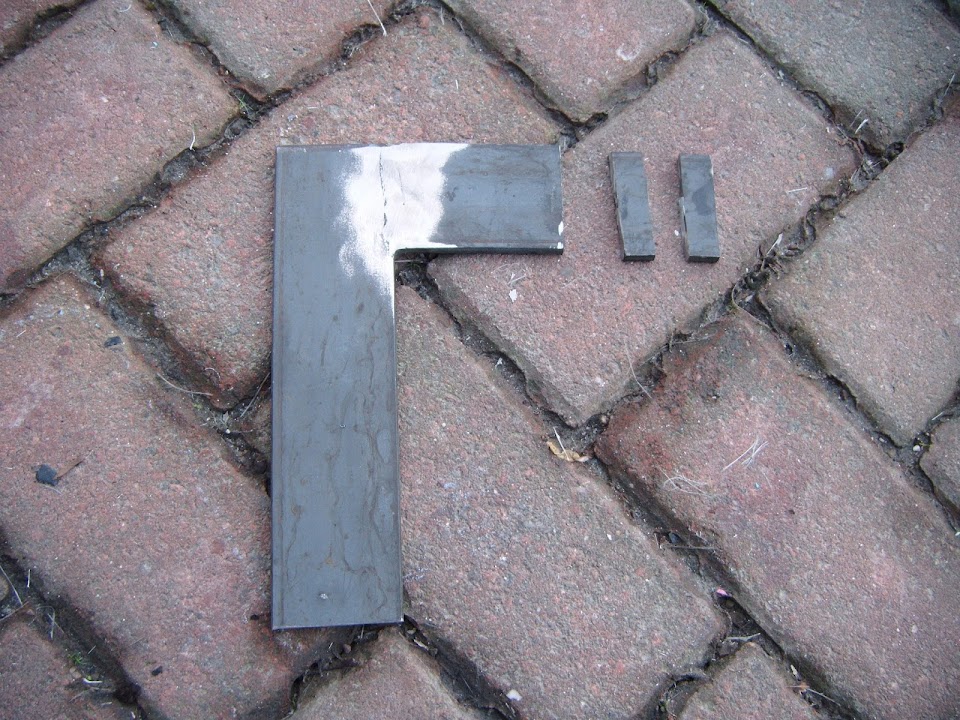


I am going to use the two thin off cuts as locating "lugs" (more on that later).

I then cut a matching set of pieces for the other hinge.


Next I had to use some spare lengths of the flat bar to allow me to clamp the lugs into position.
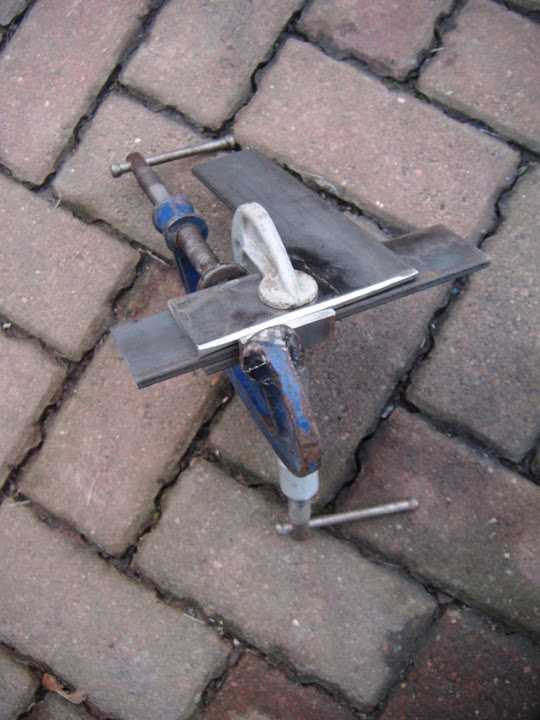


Once welded and tidied up they now look like this.
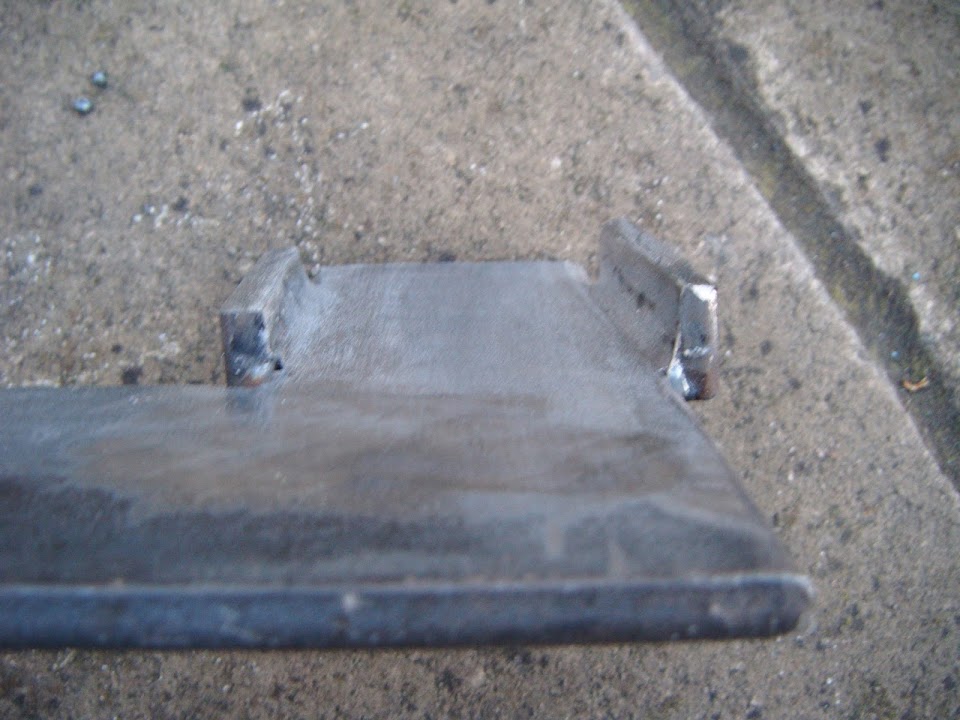


I plan to simply bolt the "L" plate to the factory brackets, which will sit inside these lugs.

After welding the other pieces together, I now had the two "bonnet sides" of the scissor hinge. :cool:
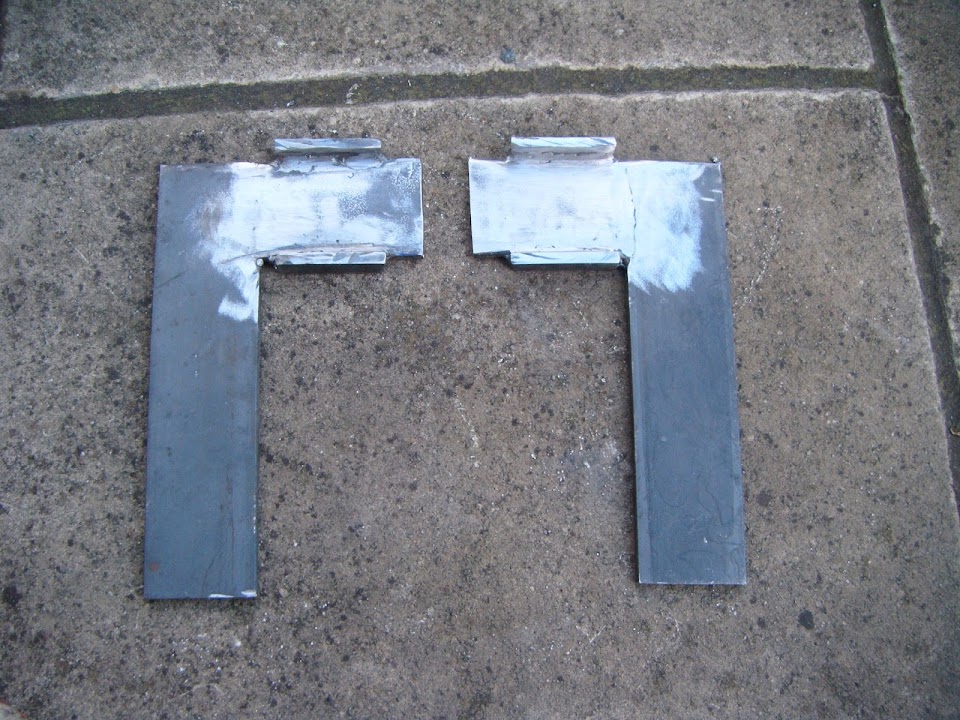


The "chassis side" of the hinges will be a simple length of flat bar.

However, I may need to cut them at a slight angle before attaching them to the chassis.

The only other thing I managed to do today was to get some normal body filler on the scuttle.


Before I packed up for the night I gave that an initial sanding down along the top edge.


I plan to re-draw a line for the vertical face, slightly closer than the guide line I used for the fibreglass filler.

This should hopefully give me a nice straight face.

Until next time, take care, Paul. :)
17 Dec 2014, 2:32pm
Winter Cleaning...
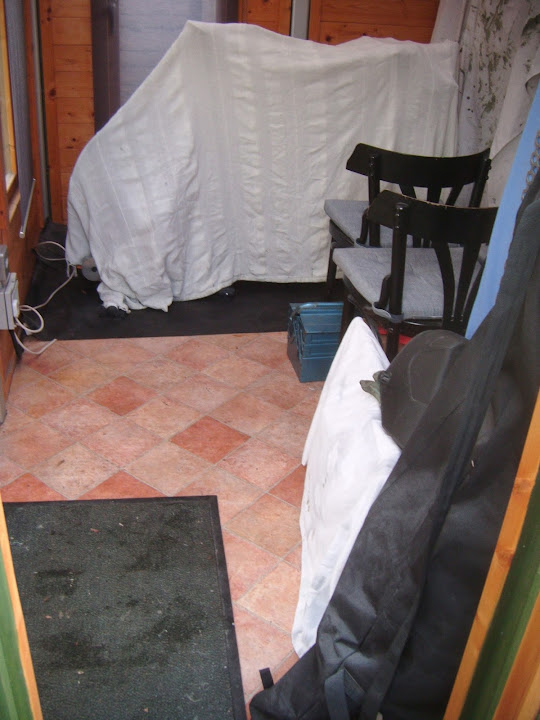
Once again, my usual rush to put things away has left the Summer House in such a mess I could barely get into it. :rolleyes:

This time it was even worse than usual as the "bottom" had fallen out of a couple of my storage boxes while looking for things the other day.

So I bought a batch of new boxes and decided to sort everything out properly for a change.

Before:
( Not a great photo as it was taken from the outside looking in. )


During:


After:


Having all the boxes the same size has made a big difference as they are a much better fit on the shelves. :cool:

In addition, I have numbered the boxes and made a separate list of the contents of each box.

Whereas, previously, I had listed the contents on a piece of paper & stuck that to the box.

Given some boxes were "hidden" behind others, this meant pulling lots of boxes out trying to locate the right one.

I have also separately packed up two boxes of surplus parts that I still need to sell on Ebay.

My surplus parts includes these bonnet mascots that I've picked up along the way since my build started.


I actually have a 4th mascot that I am still in two minds about fitting.

Note: The one on the bottom right of the photo is still my favourite, but it is MASSIVE!

Not surprisingly this tidy up has taken a lot of time over the last two days, but it was well worth the effort.

Unfortunately, it is currently too misty outside to work on the bonnet hinges.

However, at least I was able to find a selection of nuts & bolts to use with the hinges.

So until next time, take care, Paul. :)

PS
Still no sign of my revised V5C (Take 2) from the DVLA. :icon_sad:
18 Dec 2014, 8:50am
I feel for you with the bonnet work, having been through similar (although not quite as severe) modifications with my Sammio.

Best of luck matey!
18 Dec 2014, 4:03pm
Dave - Cheers. :cool:
I know there is a lot of work required to sort out the bonnet & front end of the body shell.
But I hope this represents the last round of major modifications to the original Cordite package.
Which means I will eventually reach the point where I can finally start putting it all back together!

- - - - - - - - - - - - - - - - - - - - - - - - - - - - - - - -

Little Bits & Pieces...
A damp & dreary day outside and a sick child to look after inside, meant I could only manage a few small jobs today.

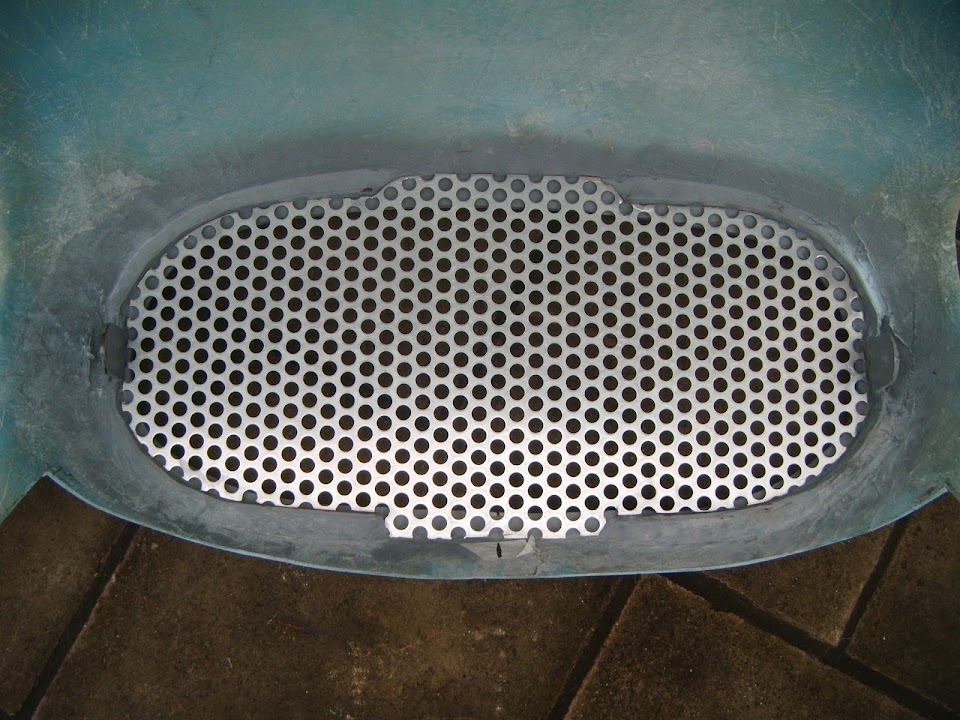
I used my cardboard template to mark out the grill.


Not easy to see in the photo, but by laying the grill on top, I could roughly line up the circles with the bonnet opening.

And I do mean roughly, as an OCD level of alignment is just not possible, so it is pointless wasting too much time on this.

Next I peeled off the car covers and brought the main section of bonnet through the house onto the patio.


That way I could leave the rest of the car tucked away on the drive and just nip out back when I got the chance.

I cut the grill roughly to shape, before marking and fine tuning the edges until it slotted into place.


I also used my grinder to soften the cut edges so I didn't lacerate my hands on this oversized cheese grater.

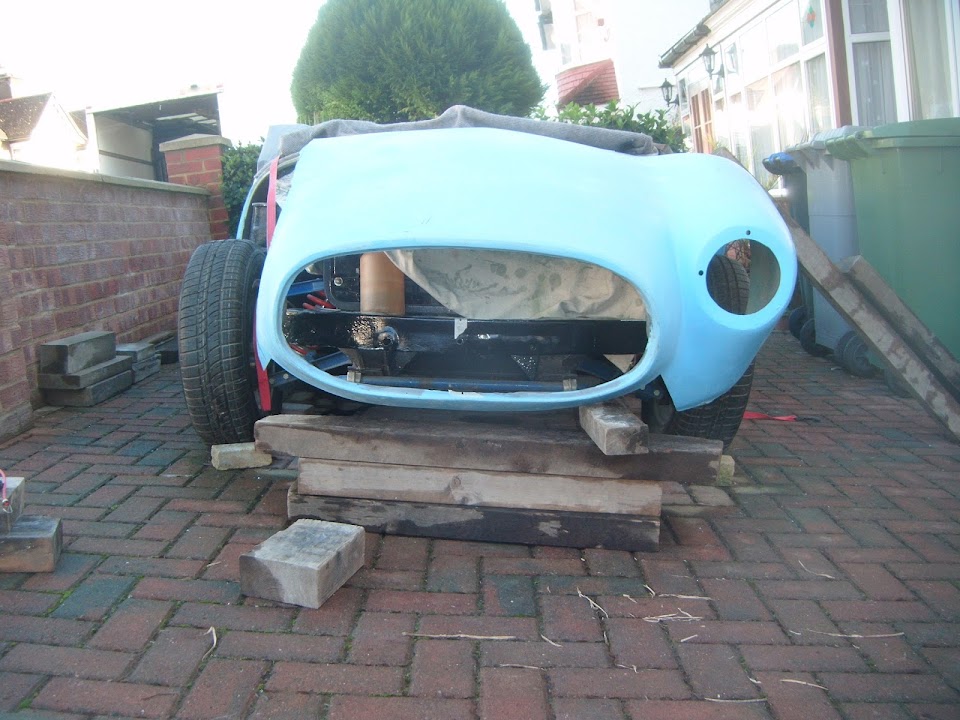
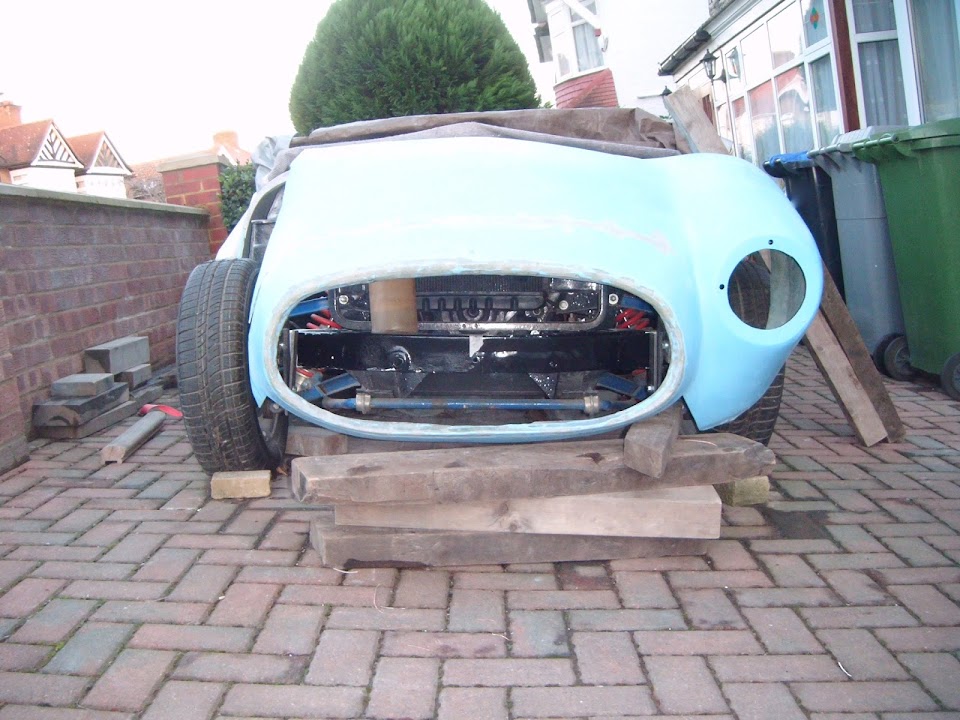
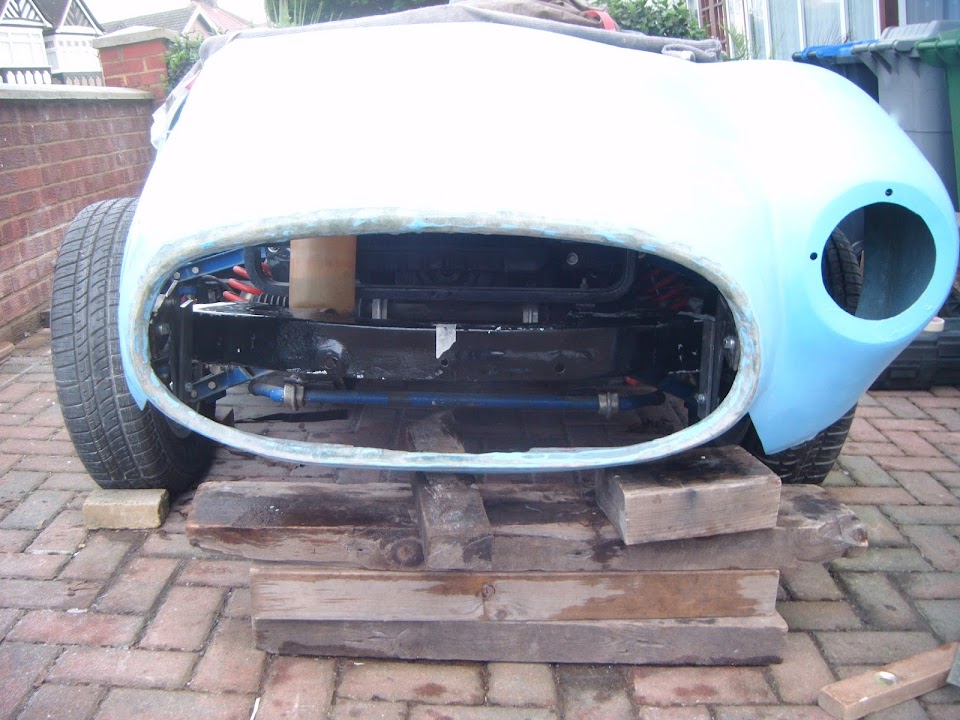
This is the view from the front.


As is the tradition, I can't finish this job until I do a few more related jobs. :rolleyes:

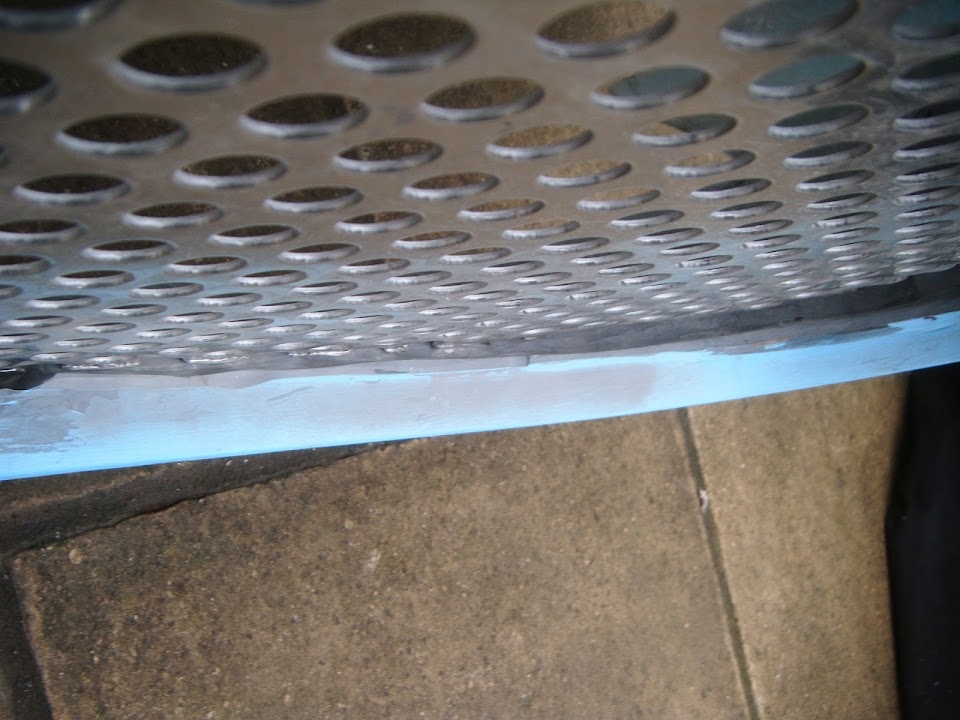
The first is I need to create an even/level gap around the bonnet opening for the grill to sit flush.

Not a great photo, but you should be able to see that uneven nature of the current gap.


But that job is also linked to the need to straighten out the bonnet nose itself.

I plan to build out the driver's side until it reaches the same size as the passenger side.


I will also build up the inside of the bottom edges of the grill opening to create a slightly deep edge for the grill to press against.

At this point I haven't decided whether to make the grill removable, or simply fix it into place.

Next I did a quick test on the scissor hinge brackets to see it they would fit.


Although in practise they will probably be fixed a bit further away from the grill compared to the photos above.

The following photo might make it easier to understand my concept of an upside down bonnet bulge.


Depending on the final length & position of the hinges, I will simply rebuild the section of bonnet below the grill opening around them.

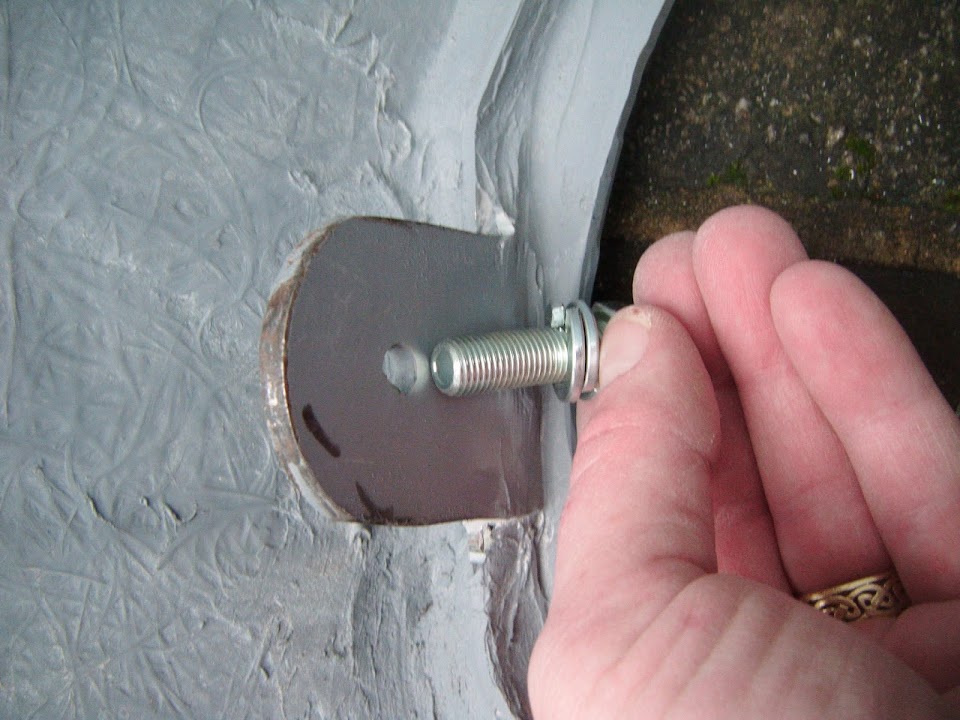
I plan to bolt the brackets I've made to the "factory" hinge points to form a single structure.


Although you may recall that the hole in one bracket is bigger than the one on the other side. :frusty:


It took a bit of effort and some oil while drilling to enlarged the smaller hole to match.


So I've also just ordered some cobalt drill bits to help me to drill the new holes required in the 5mm thick flat bar.

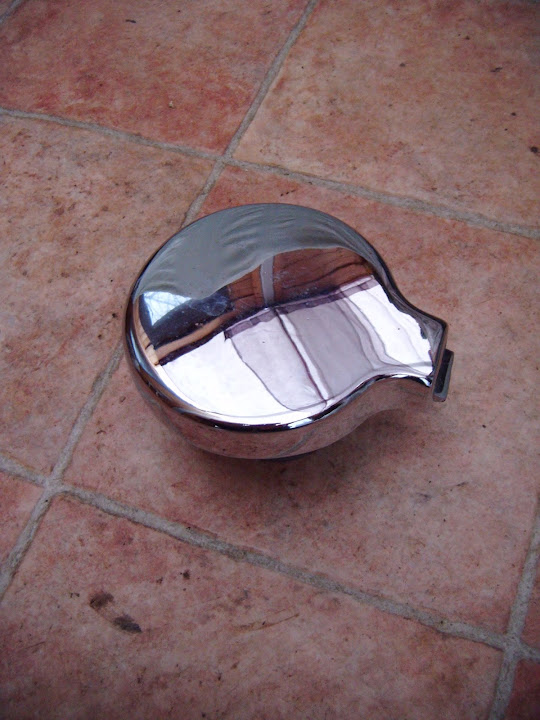
The final area I started playing with was my petrol cap.


I made a point of not boxing this away when I was tidying up the other day, as I want to mark up the body shell at some point.

The original Spitfire rubber seal is designed to slot into thin sheet metal.
( Sorry the photo is blurred. )


So I intend to modify the approach DaveCymru took on his Miglia.


Unfortunately, whilst I still have the petrol cap section of my 2nd body shell (including an old seal), there isn't enough metal around the hole.

However, I do have some fresh sheet metal that I can cut to size and use instead.


The idea at this stage it so cut a hole in the fibreglass that the outside of the rubber seal will fit through.

Then fix the sheet metal over the top with a slightly smaller hole that the rubber seal can slot into as Triumph intended.
( Touch Wood. )

Until next time, take care, Paul. :)

PS
I watched "The Muppets' Christmas Carol" with my daughter earlier and so for fans of this film...

[color="blue"]Seven more sleeps 'til Christmas.[/color]
20 Dec 2014, 5:46pm
More Bits & Pieces - Part 1:
Friday was spent preparing for the first meal at our house for guests during the Christmas season.
( We had a good night yesterday, although the next one is tomorrow. :eek: )

So I was happy to get a little bit done today...

Although I didn't get off to a good start when water poured off the car covers & straight into the hole in my trainers. :rant:


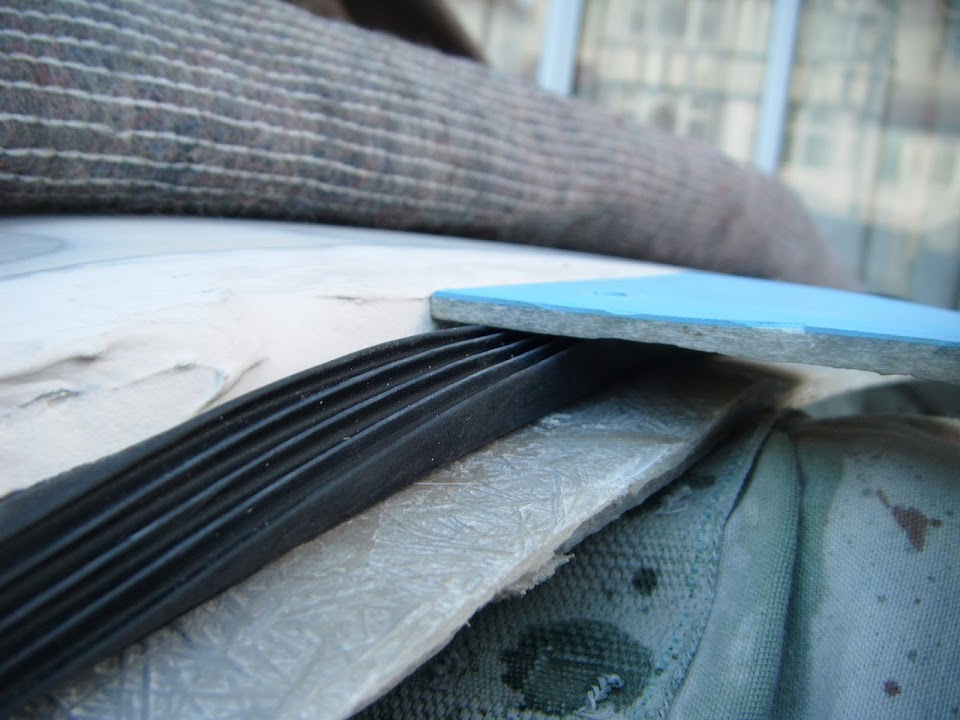
I dug out the strip of rubber I plan to use for the bonnet lip.


Parts of the lip are about the right size to for the bonnet to sit, although not easy to see in the photo.


But in other areas, the lip is too deep.


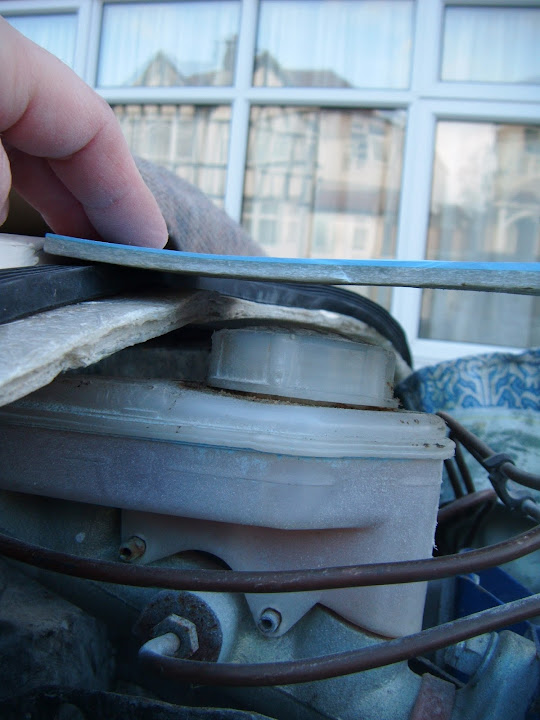
One bit of good news it that the bonnet will clear the brake master cylinder with ease. :cool:


Then I knocked up a crude marking device.


This allowed me to "clear" the wind deflector lip and mark dots parallel to the dash board lip across the scuttle.


Although the cockpit edge does curve out at the edges, so I drew a "best fit" line based on the dots.


In the photo above, you can see I've matched the green line to the existing passenger side lip angle.

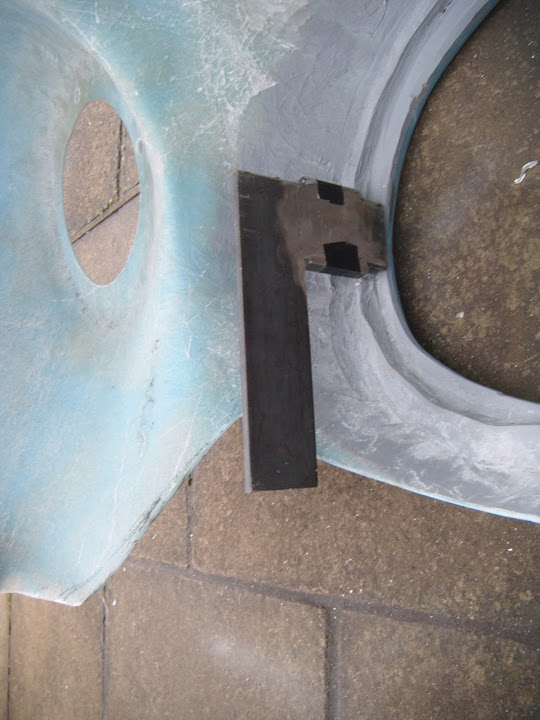
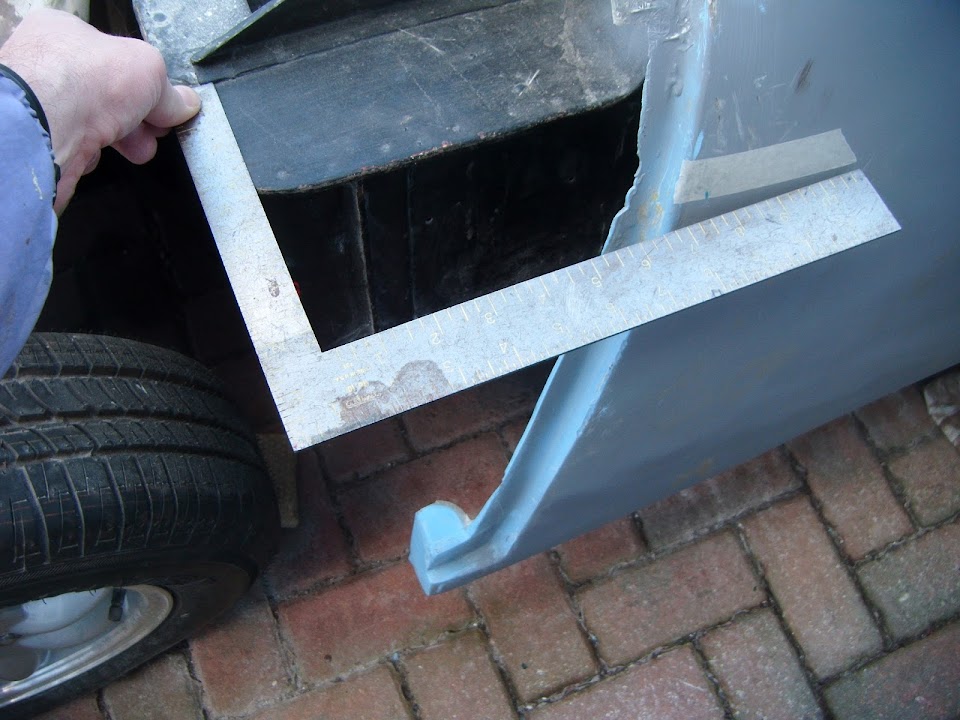
By using a set square and the Spitfire bulkhead I could see how much the driver's side was out by comparison.


Passenger:


Driver:


So if I build out the driver's side I can get a roughly similar bonnet lip shape on both sides.

It will only be roughly, because the inside edges of the cockpit don't line up with the outside edges of the scuttle. :rolleyes:

I cut the line into the filler with my angle grinder, taking extra care not to cut too deeply.


I also marked up where the front of the bottom edge of the lip needed to be.

Before cutting that out too.


Then I add some fibreglass filler along the bottom edge to try to even up the vertical gap a bit.


End of Part 1...
20 Dec 2014, 5:48pm
More Bits & Pieces - Part 2:
Obviously I can't trim the driver's side until I've got the right shape roughly built out.


So I've now added the first layer of fibreglass filler to start that process.


While I had the filler out, I also gave a light skim to the back of the wind deflector lip.


That was as much as I could do out the front as the sun was already setting rapidly.

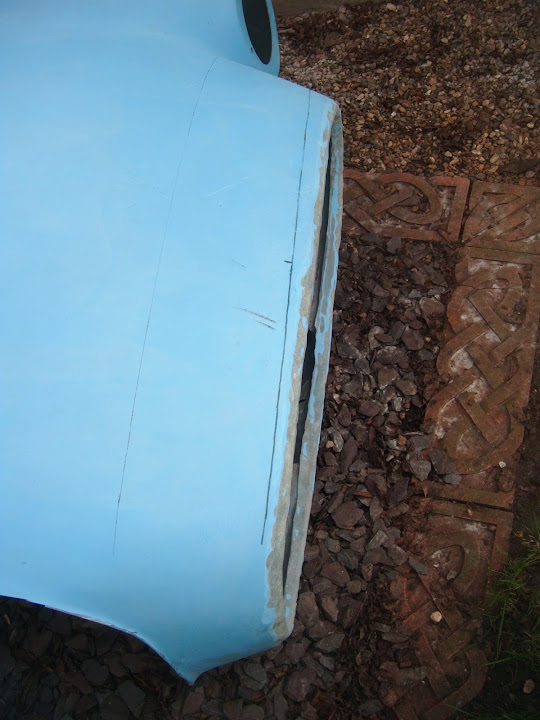
So my final job of the day involved marking another line along the front of the bonnet.


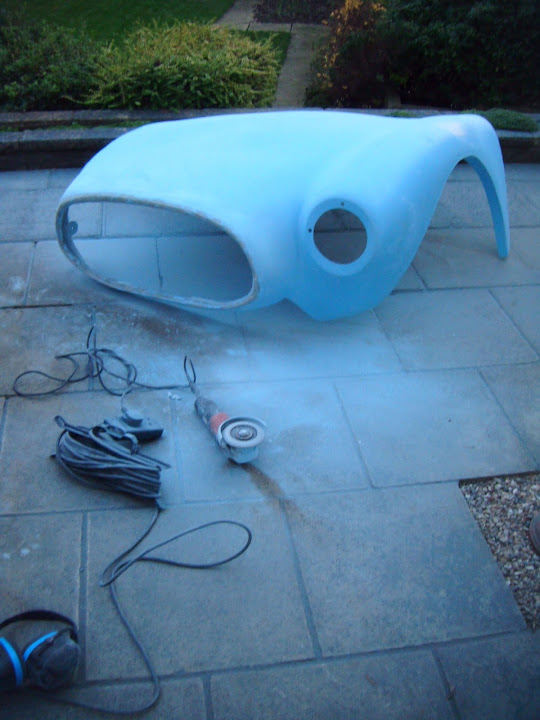
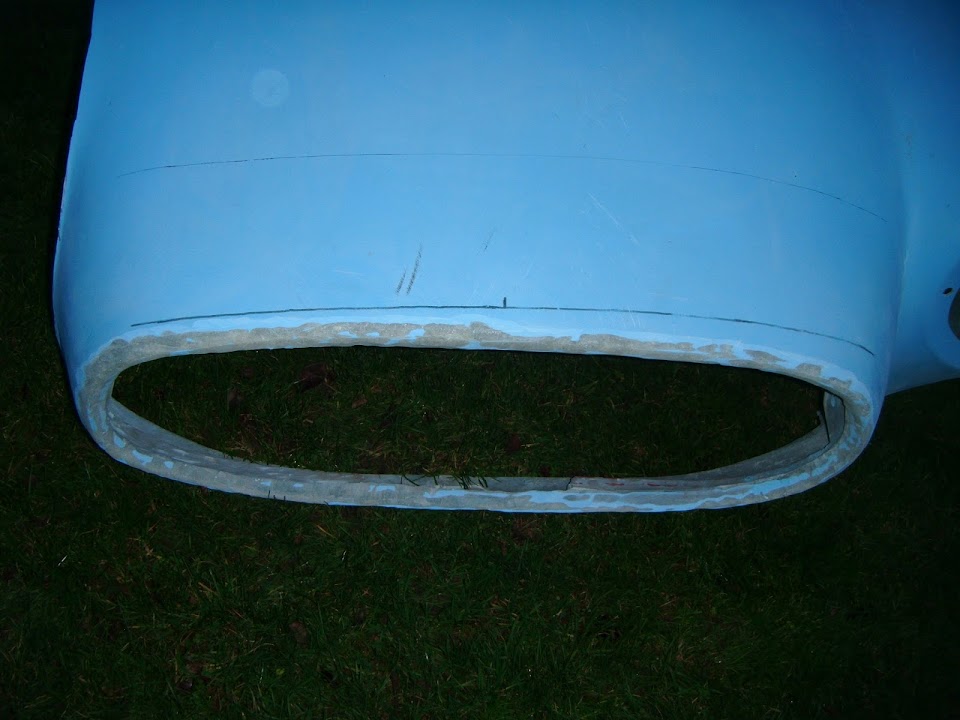
Then I took my angle grinder to the bonnet nose to give me a "roughed up" area to work with.


Excuse the flash, but it was starting to get dark by now.

The basic plans for my "nose job" are:
- Extend out the driver's side of the nose so it matches the passenger side.
- Give the outside edge of the nose a slightly sharper point, as it is currently very flat in places.
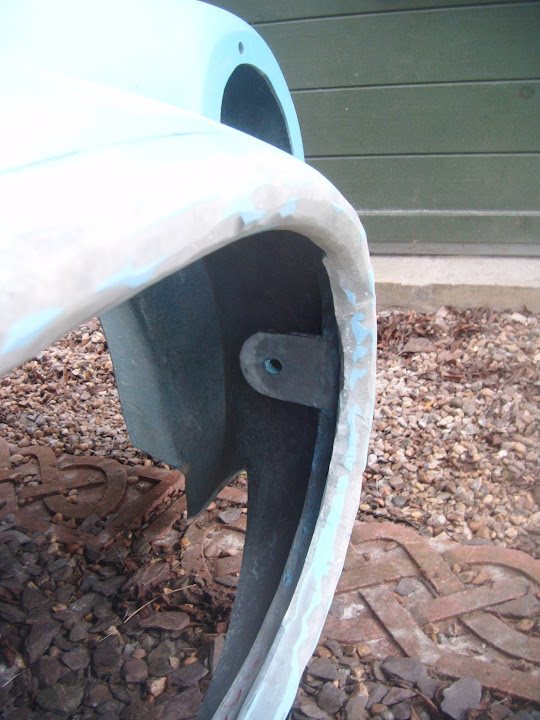
- Build up the inside edge of the nose opening to provide a deeper area for the grill to fit against.
- Ensure that inside surface that the grill fits against is also flat and even all the way round too.

Initially I will mix up a batch of "home brewed" fibreglass filler to get the main shape I want.

Until next time, take care, Paul. :)
23 Dec 2014, 2:26pm
We hosted yet another Christmas meal at our house yesterday, 3 meals in 4 days has been a bit hectic on the domestic front. :eek:
But by banking some brownie points for cooking & cleaning, I could spend some time on the car today.

Nose Job - Plan B:
More than once on this build I have struggled to see the wood from the trees.

In this case, I was too busy working out what I needed to do to fix the shape of the bonnet's nose from the outside.

It was only when I saw Swifty's nose job that something else dawned on me.


I had a brief look at my bonnet's nose yesterday and although the inside lip for the grille to fit against isn't smooth, it is roughly the same depth.


So if I make the outside edge of the passenger side my reference point...


And build up the outside of the driver's side to match...


Then I will end up with the grille sitting at the same "wrong" angle that it is now. :frusty:

If I tried to move the grill lip edge forward on the driver's side, I'd risk the bonnet hoop coming away.

So today I decided to stop "dilly dallying" around and get on with making the fix as simple as possible.

One thing that actually worked in my favour was the fact I've already removed a section on the bonnet below the grill opening.


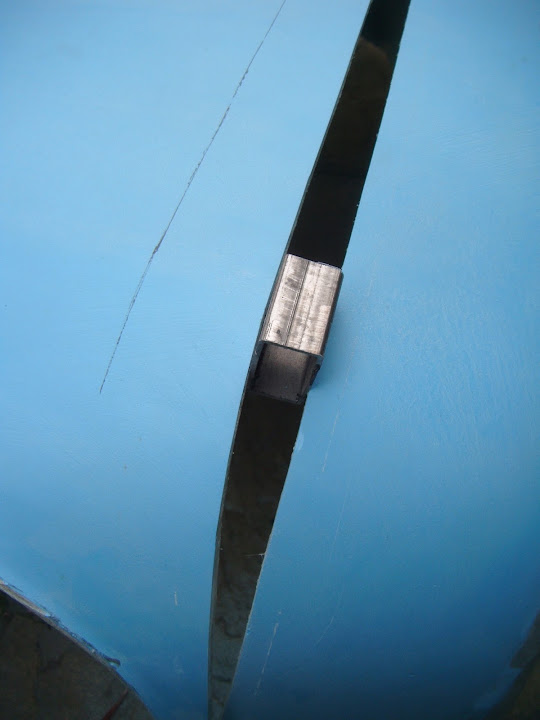
This allowed me to start cutting from the edge of the nose here:


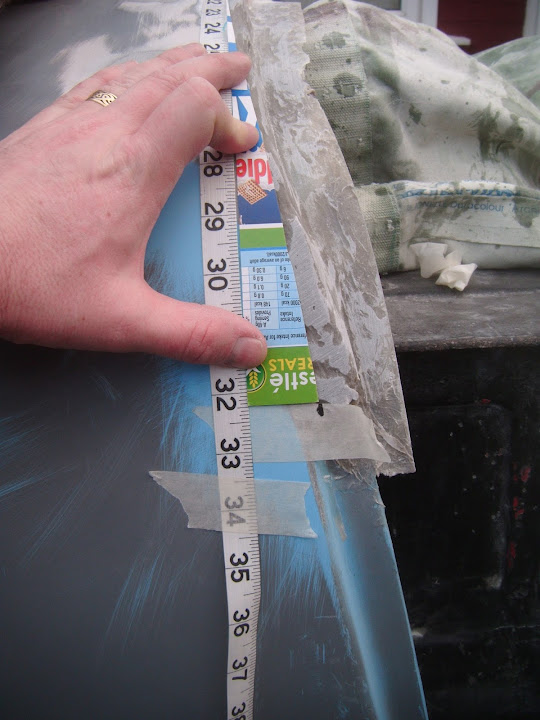
I used an off cut of box section to give me a 20 mm spacer.
( Which is the same adjustment that both Swifty & Mac measured. )


I extended the cut most of the way across.


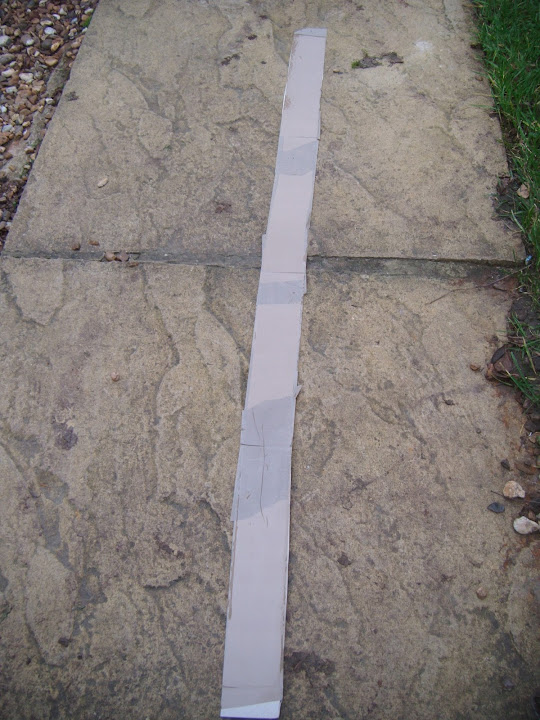
Then another idea I copied from Swifty was to add the parcel tape covered strip before the fixing brackets.


I started on the passenger side and slowly worked my way across, checking the gap as I did.


Not easy to see from above, but the view from below is better.


Then I cut out some fibreglass matting.


Note:
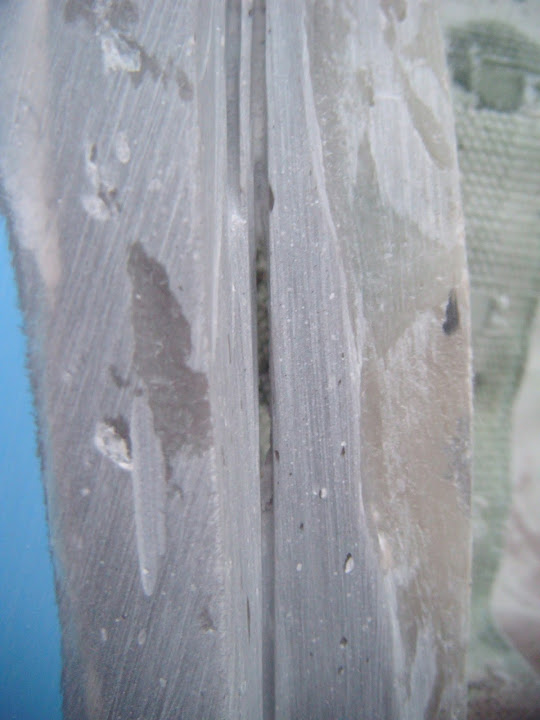
I will fill the very thin gaps by opening up the slit from above.


And when it was applied the inside edge looked like this.


I am now happy that even if the nose isn't 100% perfect, it will still be better than when I started.

Next I started chopping up my matting scraps ready for some "home brew" filler.


Although, now I just need to reshape & build up the grill opening, so I will not need much.
( Compared to Plan A, which was to build out the whole of the driver's side using this stuff. )

However, by now, the blustery conditions I had been working in had brought dark clouds & the threat of rain. :icon_sad:

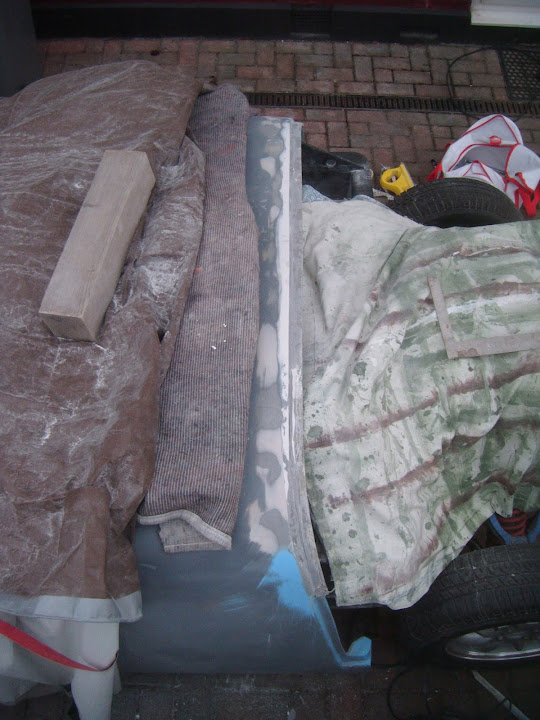
So rather than push my luck, I carefully moved the bonnet and wrapped it up.


I'm now going to switch back to domestic chores and start laying the table for Christmas Day itself.

That way I might be able to get a little bit more done tomorrow.

So until next time, take care, Paul. :)
23 Dec 2014, 4:21pm
Captain's Log Supplemental:
I had just started getting stuff together for the Christmas dining table, when the skies started to lighten up.

I still didn't trust it enough to start any more fibreglass work, but there was another car chore I could do.

I gave a first rough sanding to the fibreglass filler I'd applied to the bonnet lip the other day.


Then I made a cardboard template of the angle on the passenger side.


Which I could then reverse to help me mark up the driver's side.


With a best fit line drawn I cut along the filler and then marked up & trimmed the bottom edge of the bonnet lip too.


Unfortunately, I also managed to cut straight through the scuttle in one area. :rant:


At least this meant I remembered to lift the body shell up when I cut the bottom edge next to the master cylinder.


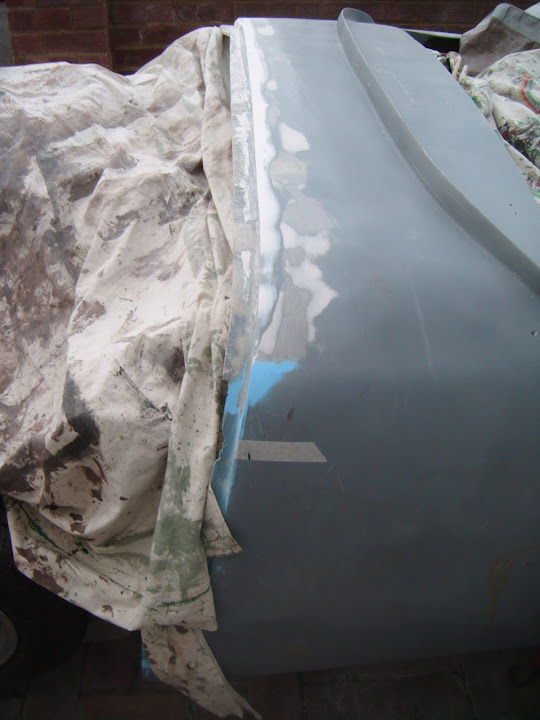
Here is the overall view of the bonnet lip now.


Although it is slightly easier to see with the dust sheet removed.


As before, this is not a perfect job by any means, but overall it is pretty good and it will certainly do.
( Although there is still some fine tuning with filler required to get an even gap across the whole thing. )

Anyway, I've really got to go now, cheers, Paul. :)
24 Dec 2014, 10:32am
Nice work Paul and what i have learn't with this build is to just dive in to the deep end and all will work out as it can't be any worse than what we start off with, but great work and detail as usual.
24 Dec 2014, 1:11pm
Swifty - Thanks. :cool:

- - - - - - - - - - - - - - - - - - - - - - - - - - - - - - - -

Merry Christmas!
I just have a little bit of progress to report today.

Thankfully, yesterday's fibreglass work had set hard enough for me to remove the support brackets today.


But rather than tackle this side of the bonnet, I tidied up the inside edges where the tek screws had been.


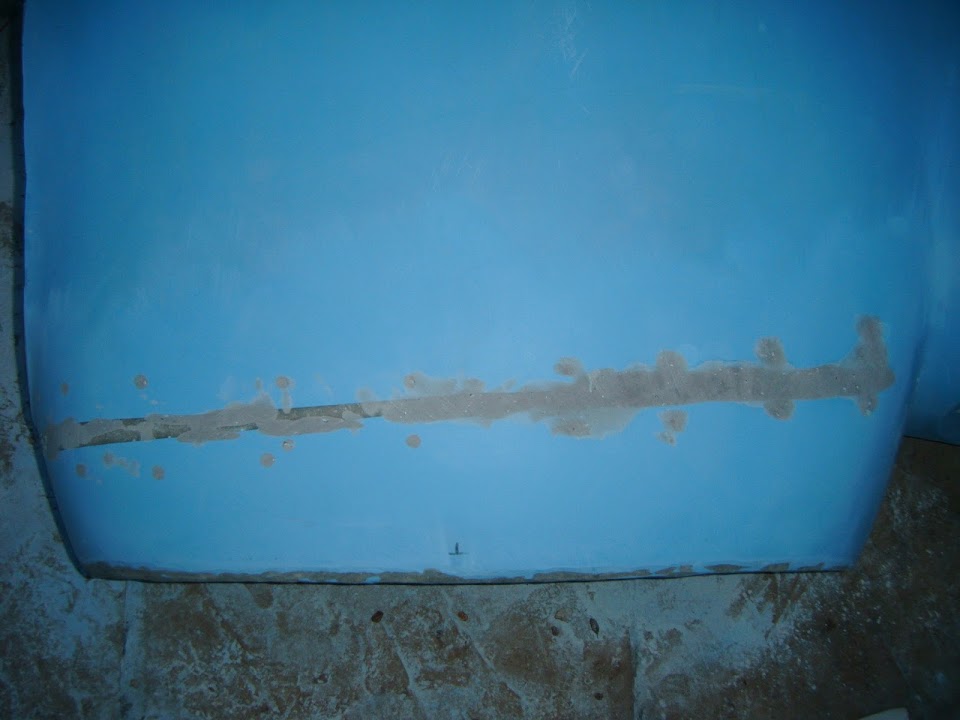
Then I added a few layers of matting over the holes & along the gap.


Once it had started to set, I left the bonnet out in the sun to help speed up the process.


Note:
The cardboard on the corner was to stop the sharp edge of the bonnet tearing the covers.

But the fact is that whilst it was sunny, it was still pretty cold outside.

So rather than start rushing things, I decided that work on the top side of the join could wait until after Christmas.

So I carried the bonnet back out to the front drive so it would be better protected with my waterproof tarpaulin.

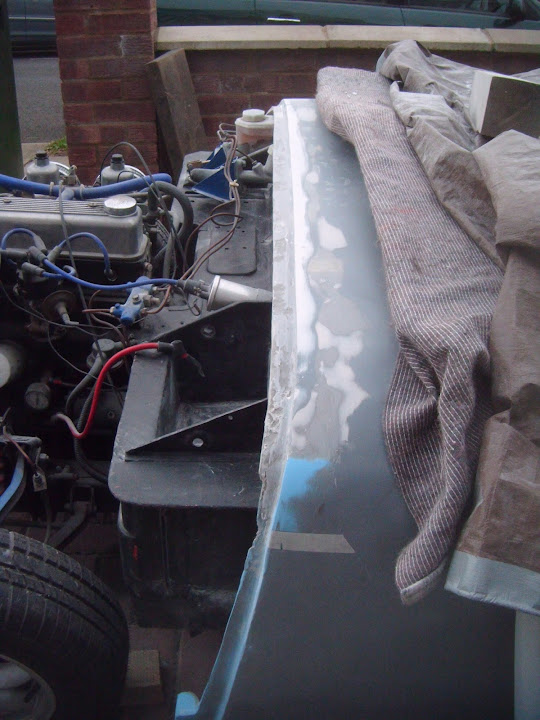
Obviously it still all looks a bit of a mess at the moment. :rolleyes:


But at least I have actually started the healing process & as Swifty says, it can all be fixed. :cool:

Hope you all have a great Christmas, take care, Paul. :)
24 Dec 2014, 1:26pm
:yo: hats off to you Paul, you have the patience of a saint doing all that bodywork. I think you will be well within your rights to take a mould of it once finished and sell as your own design what with the amount of fabrication you've done, it's pretty much a new car.
24 Dec 2014, 8:29pm
Damn good work Paul, at least you will have a really unique car that you deserve once its all done and dusted!

Merry Christmas to you!


Scottie
26 Dec 2014, 10:44am
JG & Scottie - Cheers chaps. :cool:
I am definitely well on my way towards a "one off" car, that I hope will still look the part.
Unfortunately, it will still have a number of significant symmetry issues when I've finished.
So I can't imagine that anyone would want to take a copy of my wonky build. :icon_wink:
27 Dec 2014, 1:19pm
Christmas:
Well I must have been a good boy all year, as Santa brought me this lovely book. :cool:


It is a shame that open wheeled racing cars are not road legal, or I could add this ERA to the Chris/Tribute wish list "next door".


Obviously I was happy to see this colour combination featured. :icon_wink:


But I was really pleased to see this Austin-Healey 100SA sporting a wind break lip for its aero screens. :cool:


- - - - - - - - - - - - - - - - - - - - - - - - - - - - - - - -

A Quickie...
Managed to make a start on the sunny side of the bonnet's nose job by countersinking the screw holes & grinding out the slit.


Then I made sure I pressed the fibreglass filler firmly into all the holes and cracks.


I'm off out with the family now, but if I get back before it gets dark I will start sanding this down later today.

Cheers, Paul. :)
27 Dec 2014, 4:31pm
Dusk:
Just managed to get the filler sanded down before dark, but boy was it cold outside. :eek:


The screw holes on the left look neater than the ones on the right, as I went around the edges of the ones on the right with my grinder. :rolleyes:

At some point I will add a skim of normal body filler across the whole front section of the bonnet nose, but that will do for now.

Until next time, take care, Paul. :)
27 Dec 2014, 6:01pm
It takes a brave man to work in the cold or whats that saying "Mad dogs and english men".

It's looking good Paul :cool: and i certainly take my hat off to your dedication working outside at this time of year.
28 Dec 2014, 9:26am
You are a braver man than me at the moment Paul!


"So I can't imagine that anyone would want to take a copy of my wonky build."


Hey, don't sell yourself short on the "no-one wants a car like mine" bit.

Remember, lots of people bought cars like yours, with all the faults yours had (I would imagine)-----unless the moulder made a special crappy one just for you!

So perhaps the chance to take a mould off a car that has had all the major faults rectified would appeal to some people.

Why not? You have put so much time and effort into getting it right, and any minor faults that may be left will not be noticed, due to the overpowering impact the finished car will have.
28 Dec 2014, 6:28pm
Swifty - It was definitely madness working outside today. :eek:

Scottie - You are too kind sir, but there will be no moulds & this will remain a one off build.
( Especially after all the grief that followed the launch of the Miglia Speedster. )
If I can create a good first impression, then I will not worry about want a closer inspection will reveal. :icon_wink:

- - - - - - - - - - - - - - - - - - - - - - - - - - - - - - - -

Slow Progress - Part 1:
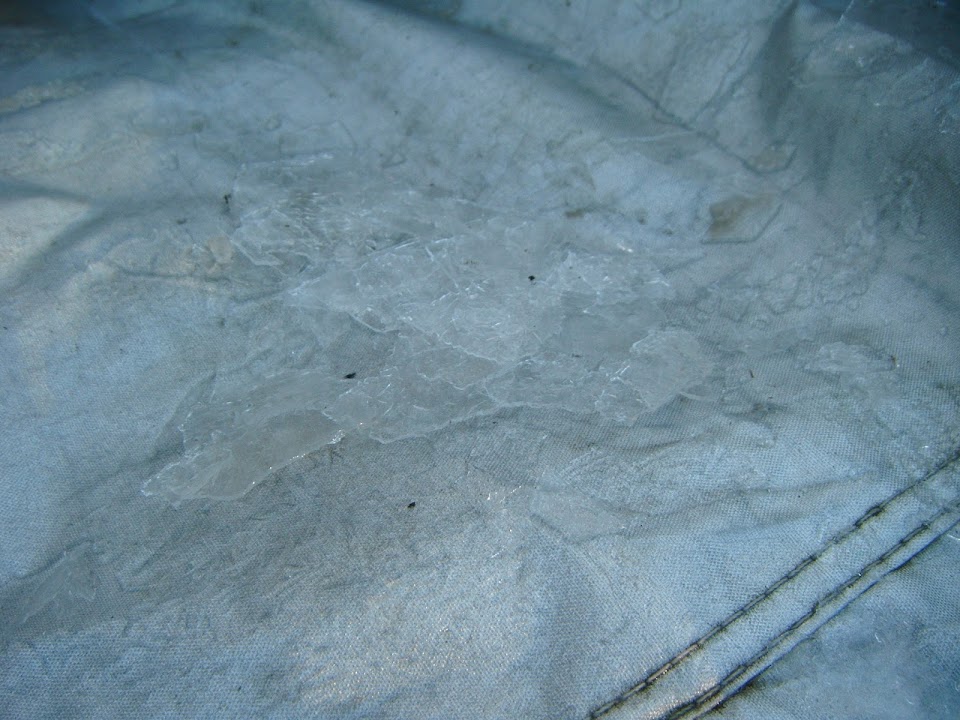
Call me a soft, Southern, Jessie if you like, but I don't like seeing ice on the car cover when I start work.


I've been following the great work Swifty has been doing on his bonnet recently.

And this photo made me think about my own bonnet.


By chopping out the middle of the bonnet, the front hose will be able to sit a lot lower.

Mac has fitted his bonnet without a scoop, like so.


And currently, my engine sits neatly under the bonnet in this higher position.


The limiting factor for me is the radiator cap.


So I was thinking along the lines of a small "bonnet bulge" for this cap area, which would let me drop the nose a little bit more.
( A bit more that this, but you get the idea. )


But before I did anything, I thought I would try to follow the "measure twice, cut once" school of building.

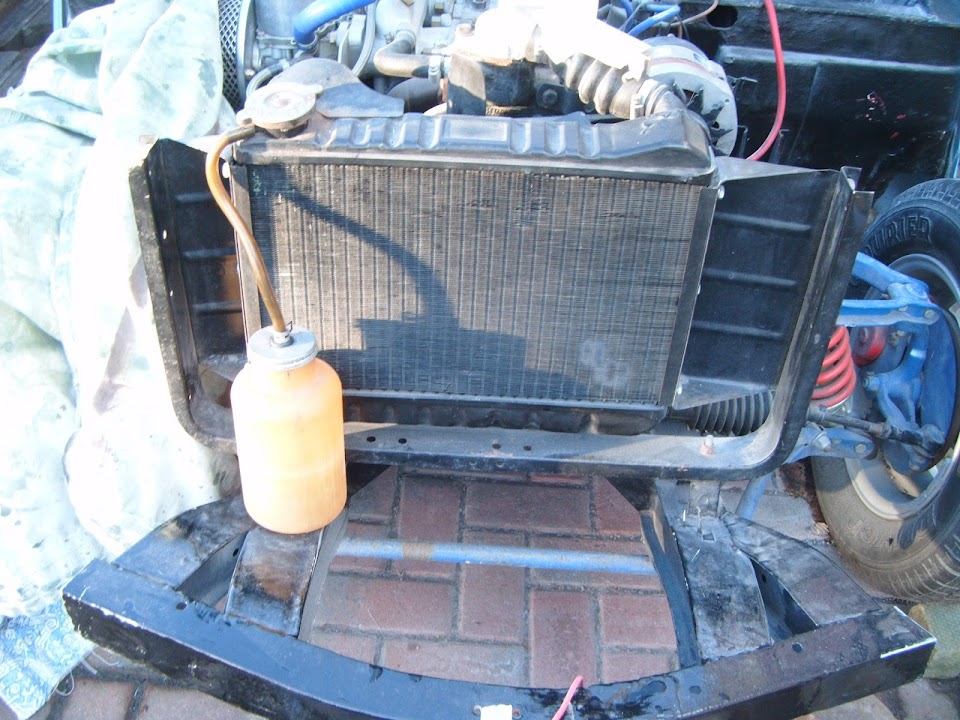
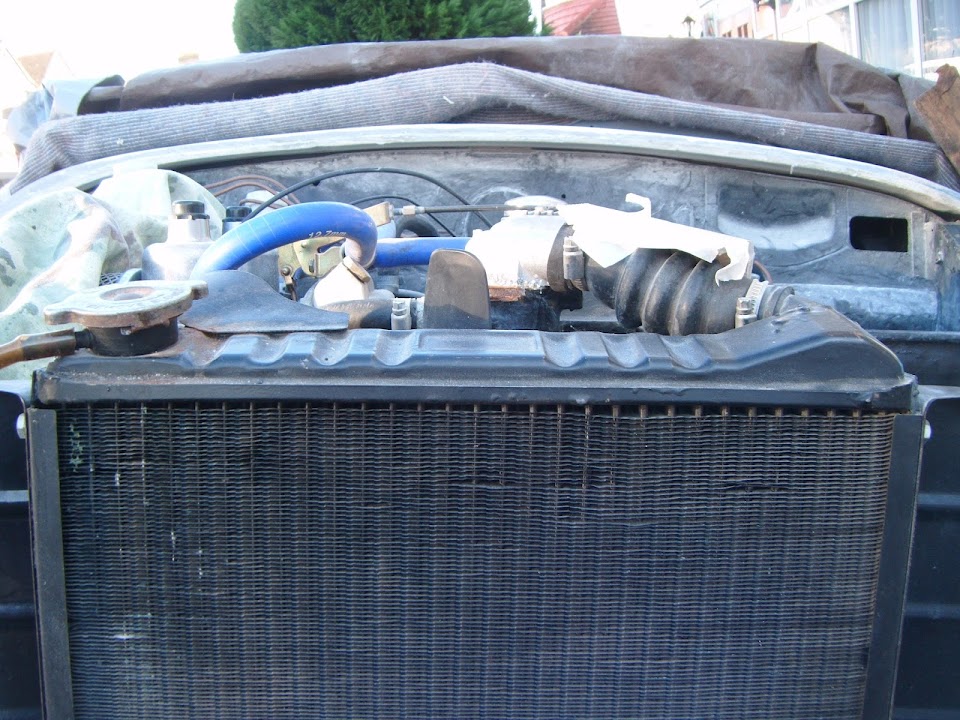
I currently have the standard Spitfire radiator in place.


However, I did buy a wider one from Rimmer Bros. ages ago.


At first glance the radiator cap is in the same position on both.

But a more detailed look revealed that the top of the new, wider, radiator sits higher than the original.


Now, obviously I could chop enough holes in the bonnet to cover everything if I wanted to.

But to be honest, I need simpler solutions, not ones that require even more work.

So a high nose and no bonnet scoops, similar to Mac is the way forward for me. :cool:

- - - - - - - - - - - - - - - - - - - - - - - - - - - - - - - -

With that decision made, I could turn my attention to the bonnet hinges.

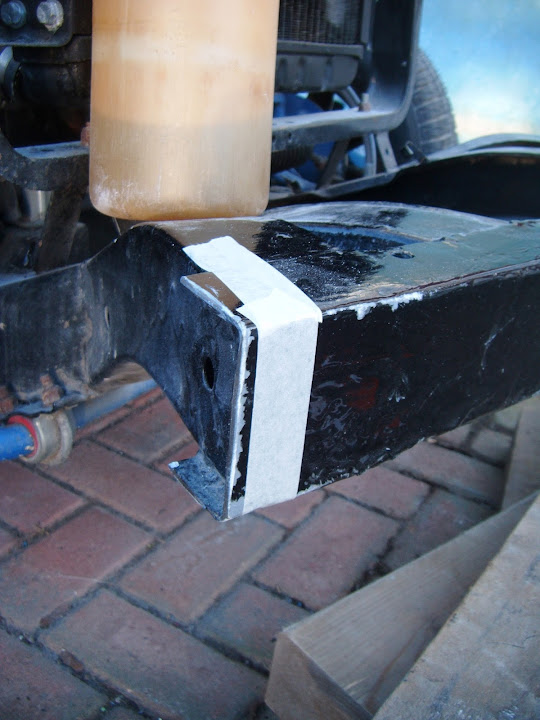
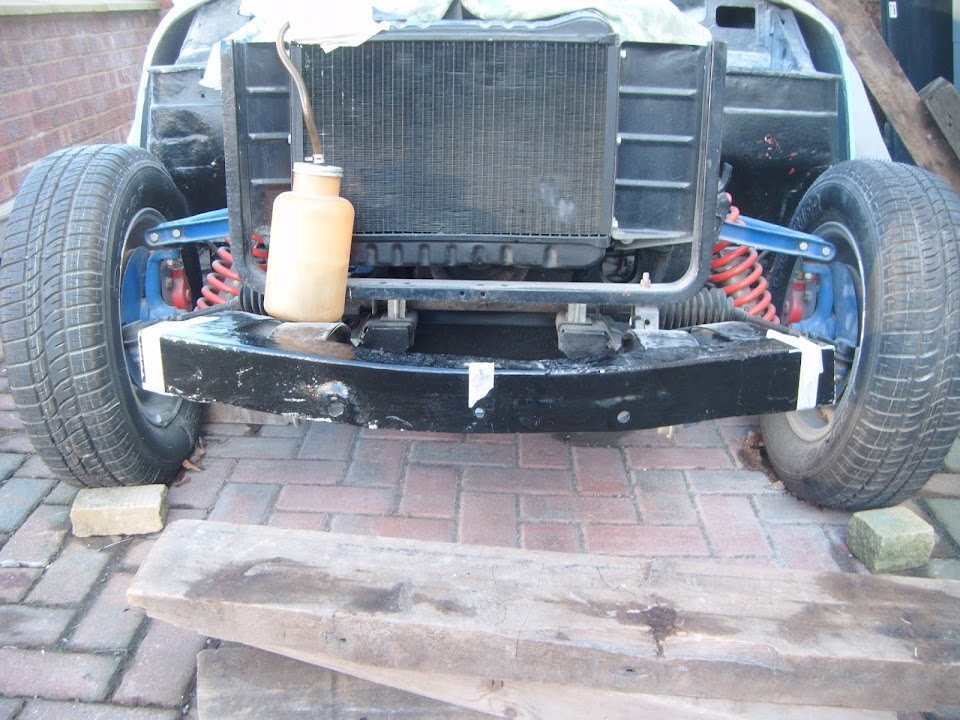
I added some tape to highlight where the edges of the front cross member were.
( I need to come back and tidy the edges up with my grinder at some point. )


This tape was going to act as a rough guide for lining up the bonnet hinges.

Then I marked up where the factory fitted hoop bracket sat relative to the scissor hinge.


End of Part 1...
28 Dec 2014, 6:30pm
Slow Progress - Part 2:
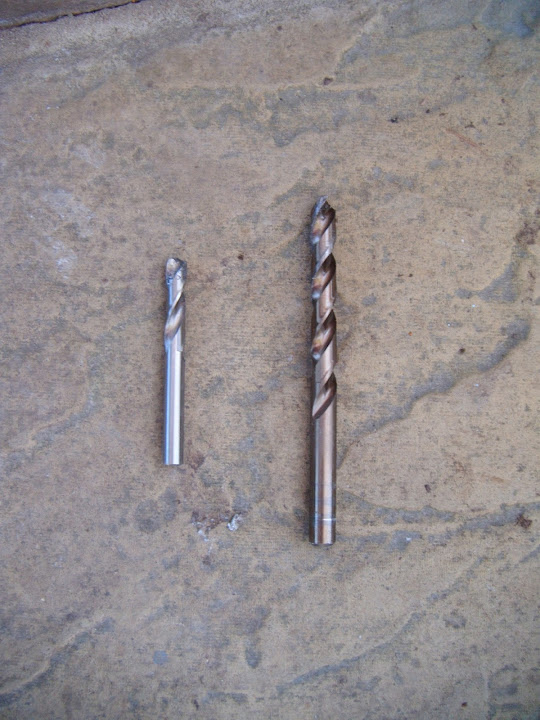
Then I had my first go with my new colbalt drill bits and they are great.


They had no problem getting through the 5mm thick flat bar. :cool:


I needed to take a little bit off the edge of one of the brackets...


So the hinge would fit flush against it.


Then I had the two hinge halves in place.


I balanced the bonnet as best I could to give me a position where the hinges would pivot underneath the chassis.


With the pivot point marked up, I had to unbolt everything to drill two more holes.


Once they were bolted back into position, I could mock up the other half of the scissor hinge.


I then cut the flat bar a little bit oversize and drilled two holes.


Which left me with a hinge that looks like this.


I know Mister Towed's hinge doesn't have a washer between the two plates, but I've added one to mine.


This is because the hoop brackets are not perfectly square, so I need a small gap to prevent the two halves getting stuck.

This is the position of the bonnet nose relative to the chassis now.


Rather than rush into welding the chassis side of the brackets into position, I called it a day at this point.

Plus the sun was setting and I was bloody cold, there was still some ice on the cover when I packed up. :icon_sad:

I also want to add a couple of "lugs" to parts of the hinges before I weld them in place.

I will be very happy if I can get this to work as I will then have a fixed reference point for the rest of the bonnet work. :pray:

Until next time, take care, Paul. :)
30 Dec 2014, 11:07am
Winter Wonder Workshopland:
Family stuff has taken priority over car building for a couple of days and secretly I am quite relieved.

As currently my front drive workshop is as cold as it looks.


And my alternative back garden workshop is only marginally better.


:icon_wink:

I did repair one of the flat bars for the chassis half of the scissor hinge the other day.

As I had somehow managed to drill the hole at an angle. :rolleyes:


So I welded the "gap", tidied up the surface & re-drilled the hole. :cool:

I then promptly packed everything away without taking the "after" photo (I blame the cold :rolleyes:).

I will be enlarging these holes from 10mm to 12mm when some new M12 bolts arrive.

But I can use M10 ones to set the hinges up for now.

With a bit of luck I will get a chance to weld the hinges in place in the next couple of days. :pray:

So until then, take care, Paul. :)
30 Dec 2014, 11:30am
Don't know if its any help Paul, but I had the same high rad-cap problem with my build earlier, and dumped the whole rad down quite a fair bit.

If you search through my older pages, you will find how it was done in pictures.

Lowering the rad, usually means fitting a header tank, or (like I did) some means of filling the system to the top and bleeding the air out. Good luck with it, but you are now an expert at modding I know!!
31 Dec 2014, 4:25pm
Scottie - Funny you should mention that, as I was looking closely at the radiator mounts the other day.
As I'd remembered the work you had done to lower yours and could see how/where it was possible. :cool:

However, it looks like I should be able to get away without changing the standard Spitfire engine layout. :pray:
This is because I have effectively raised the height of my scuttle compared to the original Cordite design.
( Which had been built around the smaller Herald bulkhead, instead of an original Spitfire one. )

- - - - - - - - - - - - - - - - - - - - - - - - - - - - - - - -

Just to follow up on yesterday's post, here is the hole in the flat bar I repaired.


As I will be enlarging this, I don't need to worry about the small gaps that remain.

Bonnet Hinges - Part 1:
Before I could start any car work I had to use some salt to "grit" the driveway & the pavement.


As these days the sun will not reach this area, so it was very slippery under foot.

Next I wasted some time trying to create some sort of level playing field.


As I'd feel happier I was lining the bonnet up properly if I didn't have a sloping drive.

But there was no easy way of getting the car into a horizontal position, so I abandoned this idea.

I also accepted that there is only so much I can do, so I just need to do the best I can.

Then I spend some time propping up the bonnet so it all lined up as good as I could get it.


At which point I remembered that I was supposed to clean up the metal for welding before I did this. :frusty:

So I removed the bonnet and got to work with my grinder.
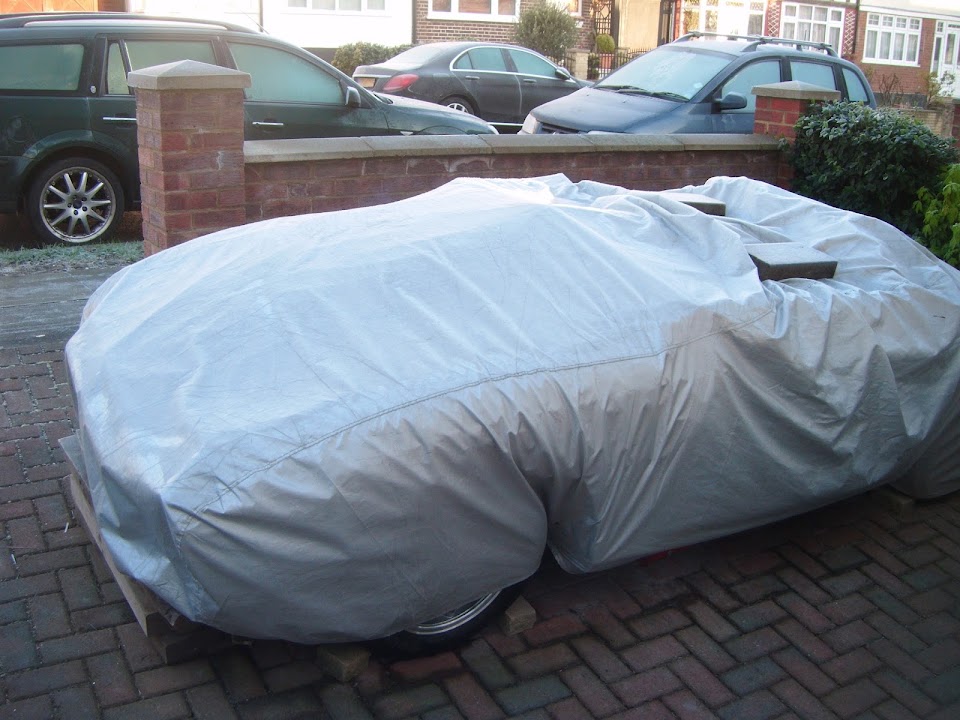


Then I lined everything up again for the second time and tack welded one hinge in position.


This allowed me to position the other side as best I could and tack that into place too.

So for the first time since I started this project, the bonnet was actually held in place by itself. :cool:


But then it was removed again so I could finish welding the flat bar to the chassis.

I've love to say that all four edges were welded up as nice as this one...


But they weren't. :icon_wink:

Still, at least the two brackets were very solidly fixed into position.


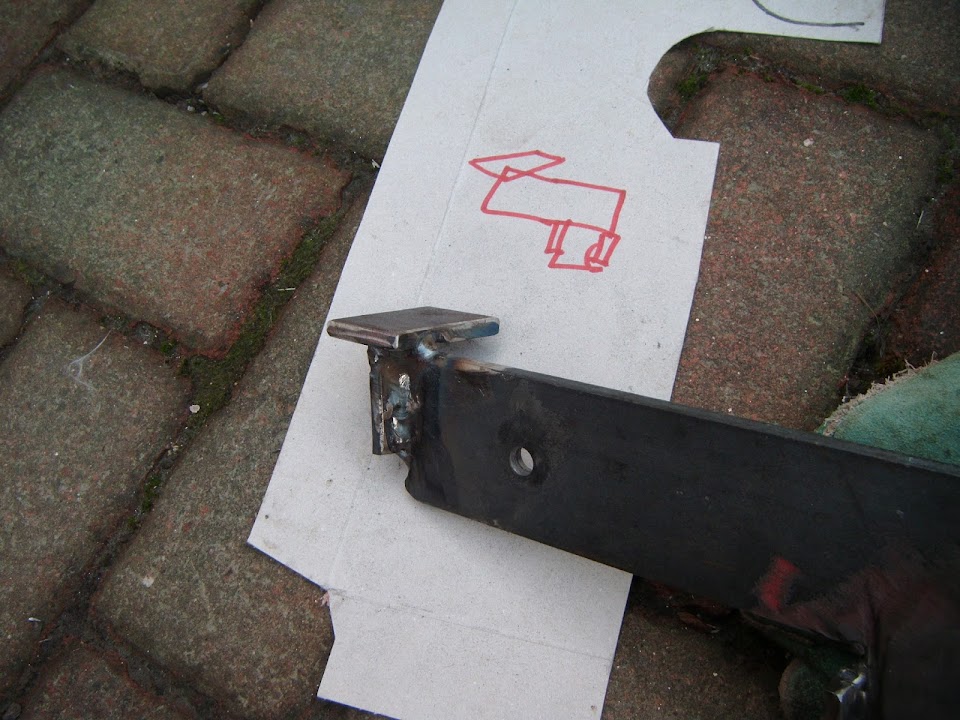
Then I removed the hinges from the bonnet, so I could add some "stops" at the end.

Thankfully I had just enough flat bar left to make them.


I had to draw a very rough guide sketch so I could remember which way was up.


Then I was left with a very agricultural looking chunk of metal.


End of Part 1...