This is a read-only archive of the old Madabout Kitcars forum. New posts and replies are no longer possible, but every thread is still here to browse and read.
I can't believe that my last post was back in September !!! Then I was saying that it was only a matter of weeks before I had the engine started! Well now I have finally retired and more time to get on with the job of sorting out the Sammio. Today ...after a bit of tooth sucking I got the engine started and it runs very smoothly. Now I can seriously think about mounting the body and sorting out the steering and dash. Photos to follow ....I promise.
Slarti
Certainly not Mr T ! See you at Revival? I'm on duty in the Drivers Club but should get time to meet up if you are going. If you would like b&b facilities at our house do get in touch. Only 30 minutes from Good wood. Best, Slartibartfast 😋 😋
I'm in the Drivers Club this year. They are setting up a Henley Regatta scene. I'll be playing a rowing coach of all things. Should be fun ..... looking forward to it. Hope to see you there.
Slarti
Gentlemen !
I'm now doing a bit of a trial fit of the body shell before bonding it to frame. Am I right in thinking that nothing actually lines up perfectly? I'm trying to get a true center line to work from but I'm finding that the cills don't line up too well with the chassis. Is it matter of getting as close as possible and then working round it to line up the bonnet. Any advice great fully received. Perhaps someone can direct me to the relevant part in a build.
On a positive note, the clutch and brake circuits seem to be working ok and I've checked some of the lighting circuits which again seem ok.
Slarti
It's a hard one to explain on here , standing next to the car is the best way to run through it ...but , in summary , yes ...they aren't great in the lining up dept....
I usually start by centreing the rear wheels in the arches and setting the cill and bulkhead height as best you can ...use scissor jacks , stands , blocks or wood , whatever to get the height adjusted and lots of eyeing up as the tape measure will only frighten you ..so do it all by eye initially ...
The bulkhead has a handy lip on the bottom which makes it tricky to get that wrong ..so ..basically , set body at height in the bulkhead area ..centre the rear wheels ..one centre's better than the other ...when you have the first one centred , fix the bulkhead that side with a tech screw or similar ..then pull or adjust the other side to centre it and fix that side down on the bulkhead too ..this temporary fix will get you started .....
The bonnet can have many variables ...again wheel arch alignment is tricky ..but when you are happy with the body position and its fixed nicely ...then the easiest way is to fit the bonnet on the bulkhead line with a few tech screws again and raise and lower the front on a trolley jack until you are happy-ish .....One arch will fit nicely ..the other not so nice ...many people have left it alone , but its a fairly straightforward adjustment , if it bothers you ...
You will need to practice the art of ''some compromise'' and acceptance of symmetrical unimportance !!
Lots of people have done no adjustment ...some a bit ..others a lot .... great looking cars have come from all 3 camps ...
Thanks for that. It all makes sense and VERY helpful. Awaiting stud converters at the moment before fitting the wheels. Pictures to follow .....thanks again for your help & advice
Slarti
Stud converters not yet received ....so I've been working on fitting electric fan to the rad: I purchased some dials from Europa and ordered some Saturn seats. Slowly , slowly but all good fun and good for the blood pressure
Slarti
https://www.photobox.co.uk/my/album?album_id=5069548768 https://www.photobox.co.uk/my/photo?album_id=5069553137&photo_id=500212106926
Hi all, I'm back at last.
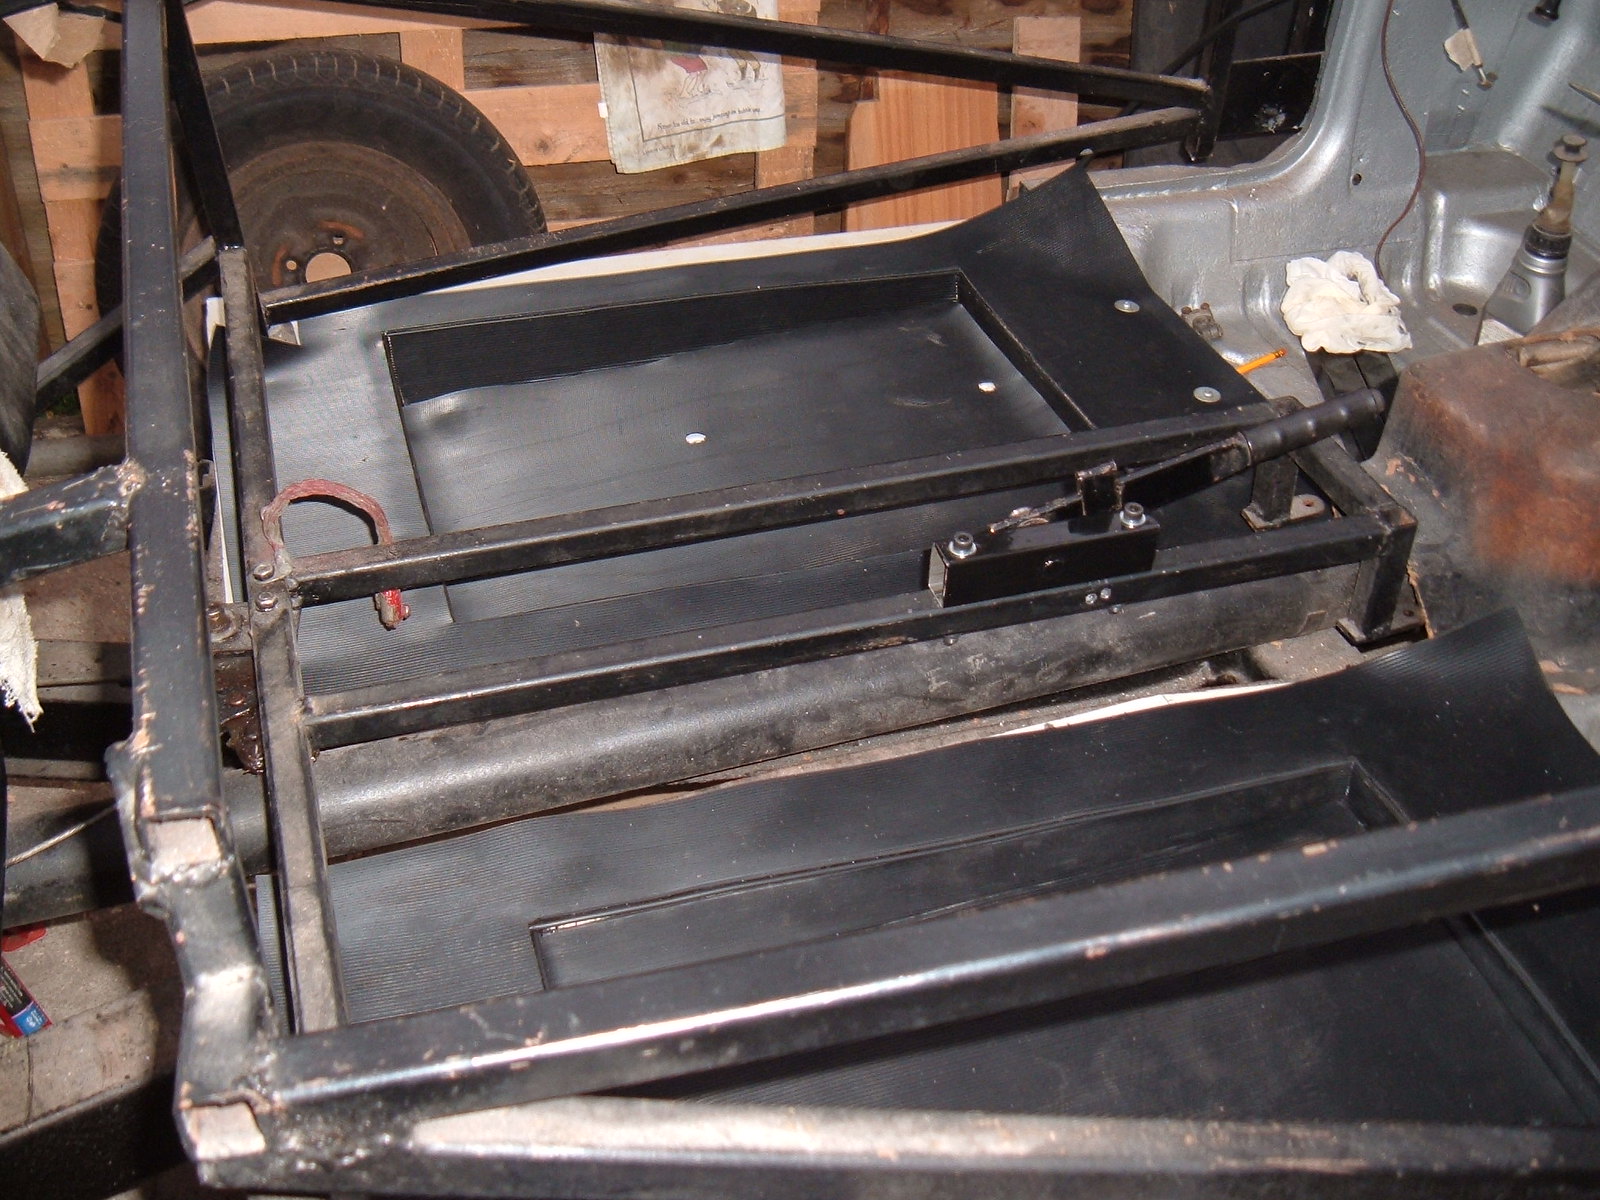
Been working away slowly. I hope I have attached some links to my update. I now have a working handbrake after a small engineering works helped out with the mounting bracket. I've put in some rubber matting rather than carpet just in case I'm caught out in the rain. A trial fit of seats and a mock-up dashboard before I start work on bonding the body to the frame.
More updates to follow.
All the best to Mr Towed on his new project ...
Slarti
Ho hum .....Now that Photobucket is by subscription have you any ideas of how to upload photos for free? I tried Photobox but as you see, no-one can access the links
I struggled a bit with this image hosting site at first, but with help from Car Photographer I have succeeded. His tips are on pages 6 & 7 of my Monaco thread.
whilst I'm sitting at my computer thought I would have another go. Here at last I have a working handbrake.
More to follow when stud converters are ...erm ...converted! DSCF0087 by Paul Bailey, on Flickr
I'm back ! I have been chipping away fiddling around fitting and adjusting a stainless exhaust system. But it does seem to be one step forward and two steps back. Perhaps someone can help/advise me regarding wheel studs (Rimmers were not able to help). I want to take out the existing wheel studs from the Herald hub and put in larger ones from an MGF as I've got some stud converters and will be putting on New Mini wheels. My question is, will the splines on the MGF stud fit into my Herald hub or will I have to go down some other route? I look forward to any help you can offer.
I fitted some mg tf studs to my triumph vitesse based spartan a while back and they pressed in nicely and didnt turn when putting on thewheel nuts. I got mine from ebay and needed to get a mate to turn the underside of the heads from flat to countersunk on his lathe.
Freelander studs fit the hubs perfectly, just press out the old, press in the new. I did find that I needed 5mm spacers on the front wheels (with MGF alloys) as the MGF wheelnuts bottomed out without fully locking the wheels down. Hope that makes sense.


 DSCF0087 by Paul Bailey, on Flickr