This is a read-only archive of the old Madabout Kitcars forum. New posts and replies are no longer possible, but every thread is still here to browse and read.
Hi CBJ, put down the hacksaw and step away from the Sammio. Don't cut the ends off the screen!
The screen and its base are both flexible and need to be pulled in at the ends to narrow the overall width. That will make it fit across the width of the car, make the angle of the screen steeper and bend the base into the correct shape to snugly fit over the contours of the body.
I pinned mine at one end with a self-tapper then compressed the other end to see if it sat right. It took two or three attempts to get it exactly right, then I used 'well nuts' along its length to bolt the screen frame down onto the body without needing access to the underside of the bulkhead. They have the added bonus of providing some shock absorbtion.
Again, the value of madabout to aid those who need help, and the generosity of those who have trod the path already, giving rapid, useful advice. This forum is brilliant. Less than 5 hours to get the answer.
You can start by affixing the centre of the screen and work outwards going left and then right , left again then right working out each time and pulling it into place as you go ...as has been said , the curve needs profiling into shape ...
It looks like you'v already fitted the windscreen to the windscreen surround making the whole thing quite ridged.
You might find it easier if you separating the windscreen surround and the windscreen.
Fit the surround as suggested by Mister Towed and Lancelot Link, then (after it's fixed securely) bolt or screw the windscreen to the surround.
Thanks Towed, your build thread reamins my 'go-to' reference. But I had missed your screen discussions. Keep thinking of going the same way as you with the dash but then revert back to sticking with the supplied dash due to simplicity.
Glad you're still finding my build thread useful after all this time. The 550 dash wasn't particularly difficult to fit and I liked it so much I've actually sourced another one for my 356 Speedster. It'll need stretching to match the cockpit width, just like on the Spyder, but will be well worth the effort and leave me with a unique look (again). The plan is to make it look like a Wendler prototype...
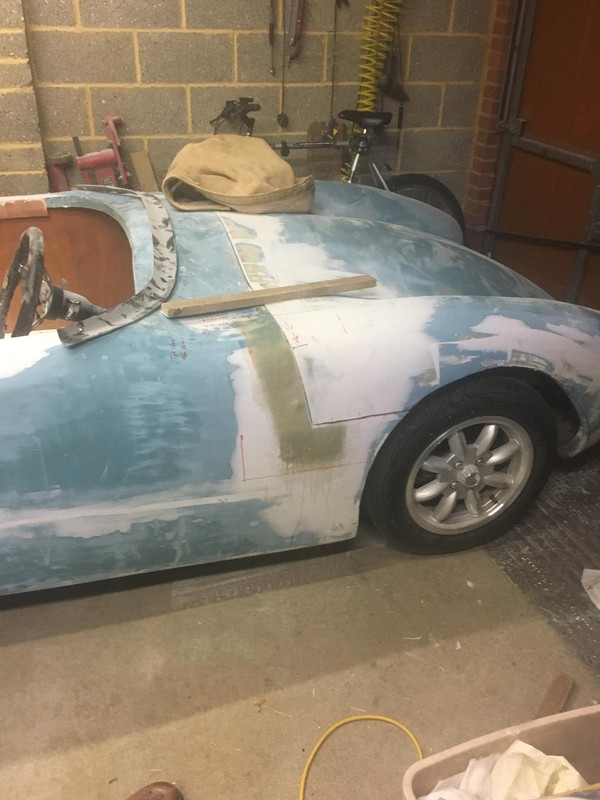
I am looking for some advice as to the lines of the car moving forward from the front of the cockpit through the bonnet.
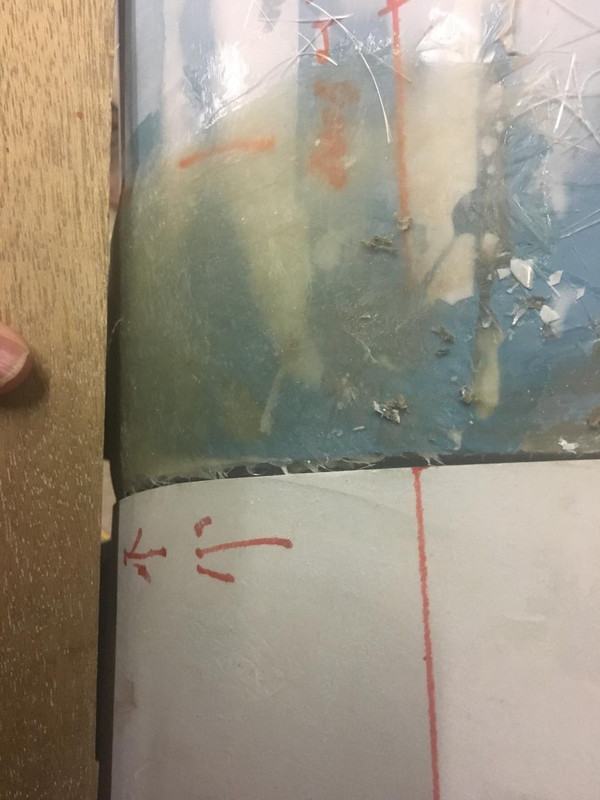
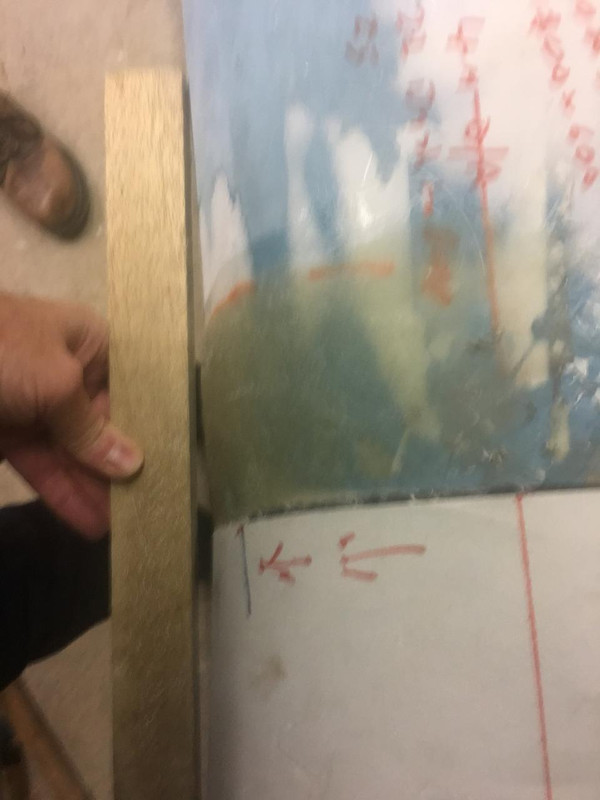
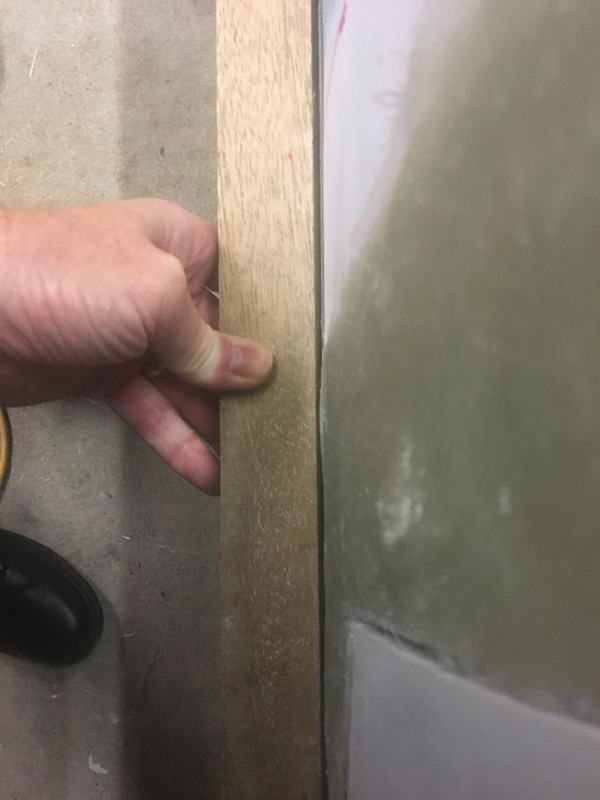
The images below will hopefully show what I mean. The first and last photos show where a straight edge exists between the side of the cockit and along into the bonnet. The 2nd, 3rd and 4th photos show where there is a significant gap between a straight edge.
I had intended, as you will see, to build shoulder of the scuttle/bonnet up so that the line is flat. But now it seems that alot of filling wil be required and I cant make up my mind as to whether it will actually benefit or even spoil the look of the car.
Modify the 'straight bit' to match the rest?
It may work, and once the body is painted (unless someone puts a straight edge to such areas) may not be noticeable anyway.
This isn't meant to be a criticism whatsoever, but there's no such thing as a straight edge, true radius or the slightest kind of symmetry about a Sammio body shell, and they're none the worse for it.
you could put a huge amount of effort into trying to get the shell 'straight' and/or symmetrical, but it'd be easier and quicker to get the House of Commons to agree a Brexit deal.
I'd recommend you make a few changes to things that might irritate you - I took a flat area out of the off-side front wheel arch and built up the passenger side cockpit edge because there was a noticeable dip - but don't sweat too much about the overall shape, just finish it, paint it and enjoy it for what it is, a homage to the racing cars of the 1950's that looks a million dollars and turns heads like nothing else on wheels.
Don't worry about it too much. Filler where required to even things up . If you try to make everything symmetrical you will be chasing your tail. I've found some errors on my ali body 250 TR having taken some measurements but you would have to measure the car to spot the difference from left to right.
For me it’s the gapping of the panels and there shape that I am concentrating on. As you can’t see both sides of the car at the same time. I was also pointed out by some body shop guys that many 1950s and some 1960s cars weren’t the same size panels on both sides including a Italian prancing horse.
Sorry, no offence meant, but given that i built one and i've been in the same position as you, i know what you're going through and all the best of luck with whatever you do!
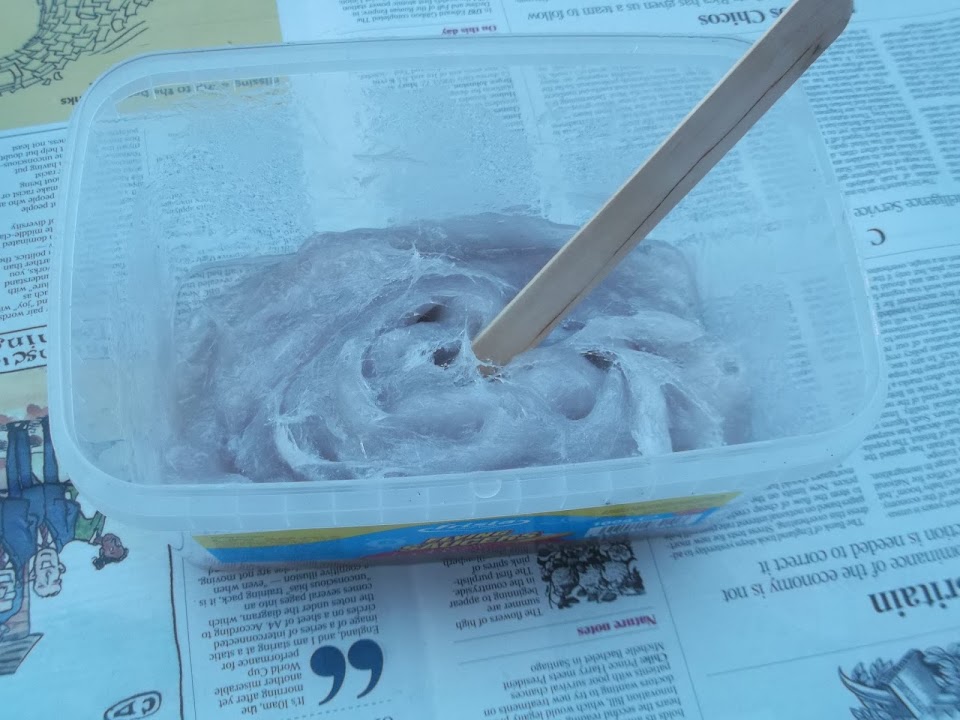
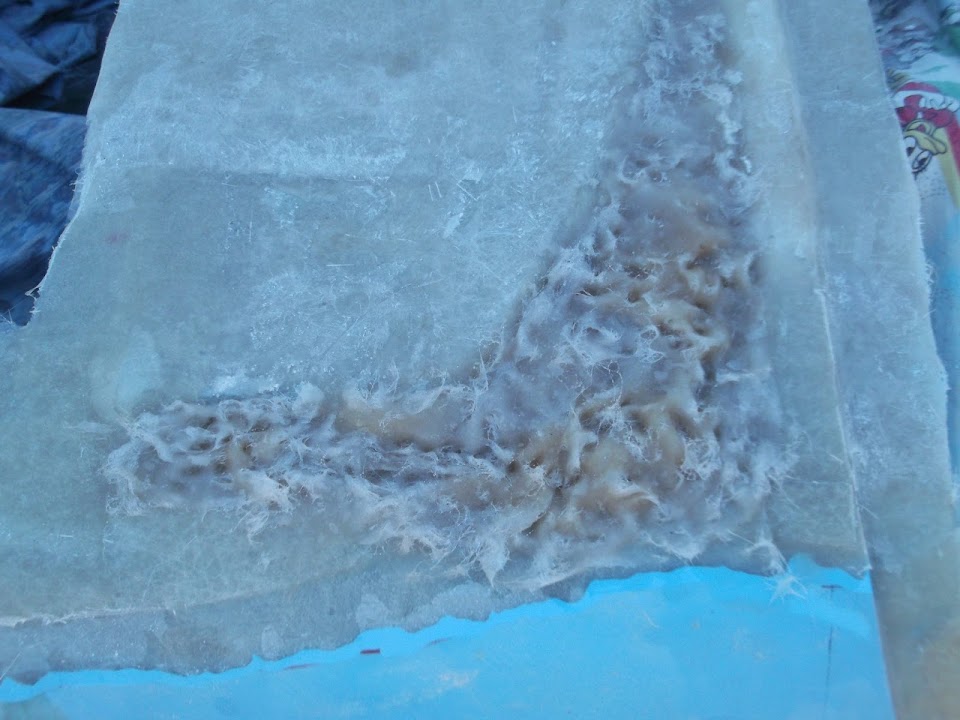
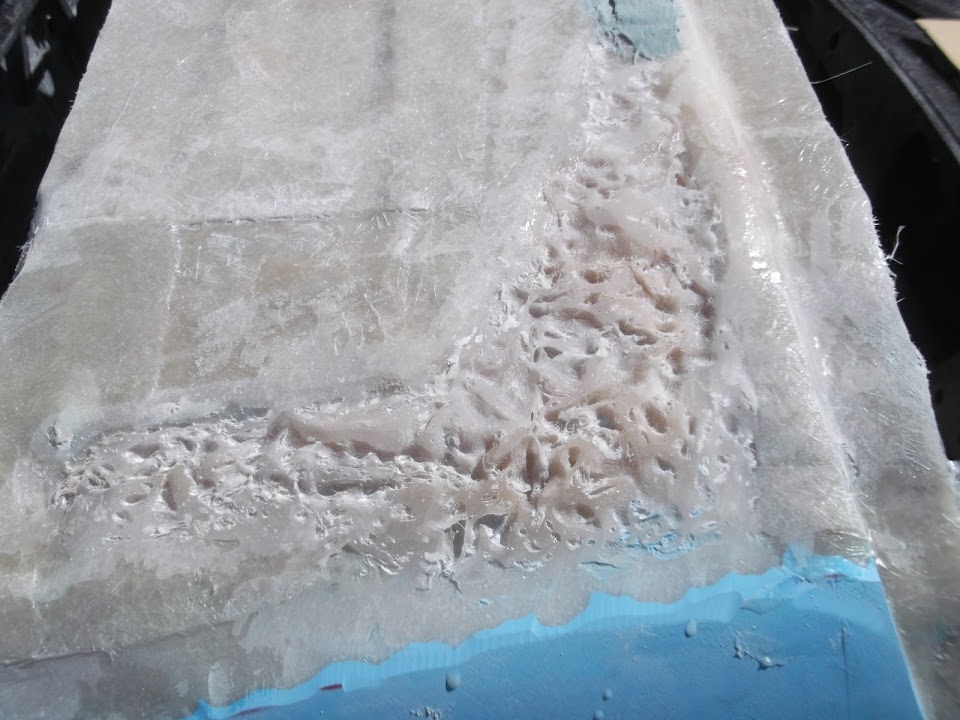
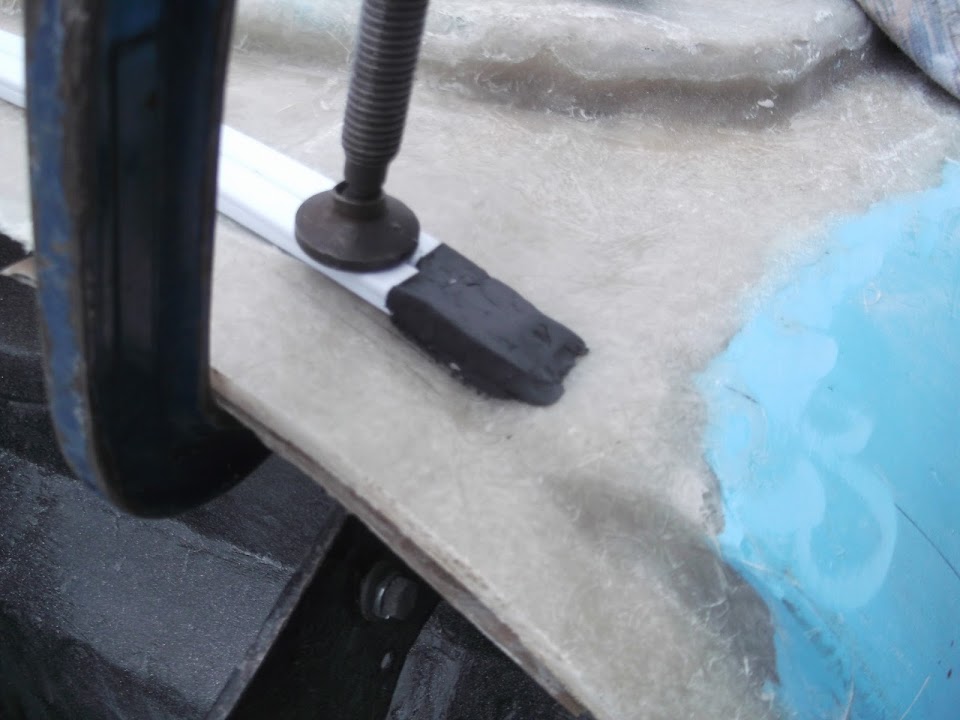
Another question on bodywork. What is the quickest, easiest and cheapest way to build-up the glass fibe bodywork? I have areas that I want to build-up by 20mm and given they are quite large this will require alot of body filler. Not sure how strong a thick layer of filler will be. So wondering about using some bits of the Sammio that I have cut-off (oops - hope none of them were important!!) cutting them into rectangles, sticking them to the panel and putting filler around. Any thoughts?
Another question on bodywork. What is the quickest, easiest and cheapest way to build-up the glass fibe bodywork? I have areas that I want to build-up by 20mm and given they are quite large this will require alot of body filler. Not sure how strong a thick layer of filler will be. So wondering about using some bits of the Sammio that I have cut-off (oops - hope none of them were important!!) cutting them into rectangles, sticking them to the panel and putting filler around. Any thoughts?
I'm afraid that will not be structural. Some 'glass matting (three layers), a bit of glass fiber reinforced filler, and at least two more layers of 'glass matting to hold it all together may just do it.