MadaboutKitcars

This is a read-only archive of the old Madabout Kitcars forum. New posts and replies are no longer possible, but every thread is still here to browse and read.

Another Cordite Is Born ...

8 Nov 2014, 1:32pm
Boot Lid - Locking Pins:
My initial plan was to continue sanding down the inside edge of the boot lid.

Then it dawned on me, that I should really drill the holes for the locking pins before I go any further.

But first I did a little more work on sanding / setting the gaps around the edges of the boot lid.

These are by no means perfect, but they are slowly getting there.

Note: The use of natural spacers.


A strip of masking tape ensured I had equal spacing relative to the handle at the top.


There is also a hint of an abstract / modern art face in that photo too. :shock:

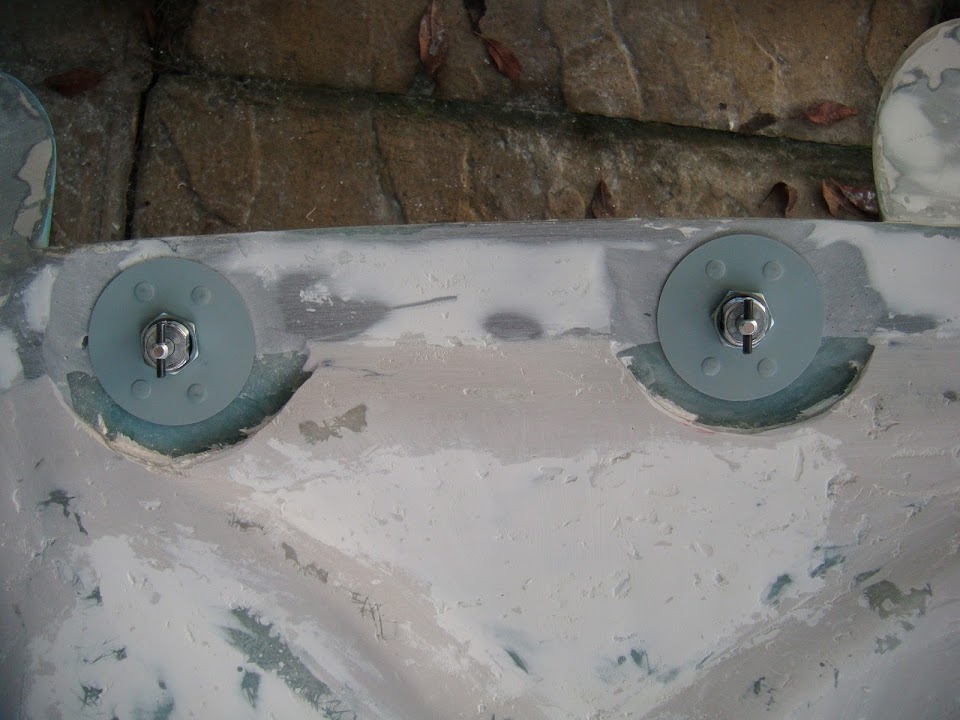
The bolts for the pins will go just the other side of the rain channel, somewhere around here.


Initially, I was planning a similar location for the bottom pins relative to the rain channel.


But when I tried to mark up the bottom pins, the tip of the hump fouls the driver's side washer.
( Remember the passenger side hump is inset slightly. )

So I ended up with the bottom pins like so.


Which means the rain needs to be re-worked to accommodate the bolt somewhere around here.


Note:
The dodgy fibreglass join in the rain channel you can see above my hand is on the list of things to repair/re-do.

Unfortunately, by now the dark clouds had gathered.
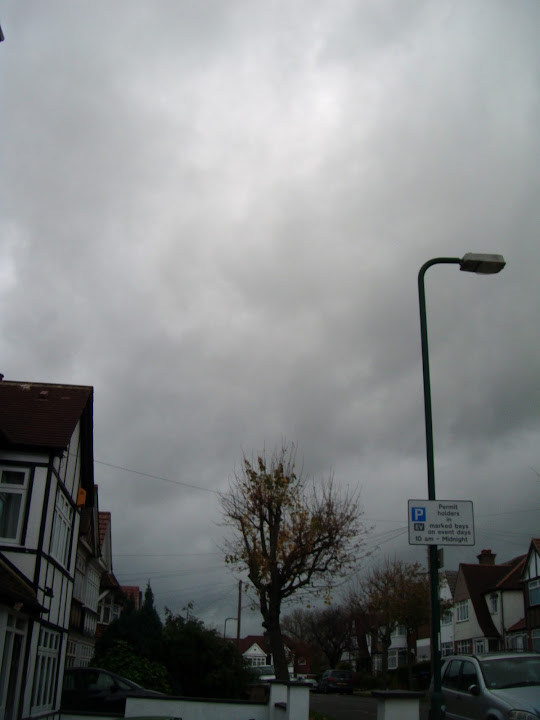


So I put the covers back on the car and took the boot lid into the porch.

Looking at the inside edge, the bottom pins will have no issues.


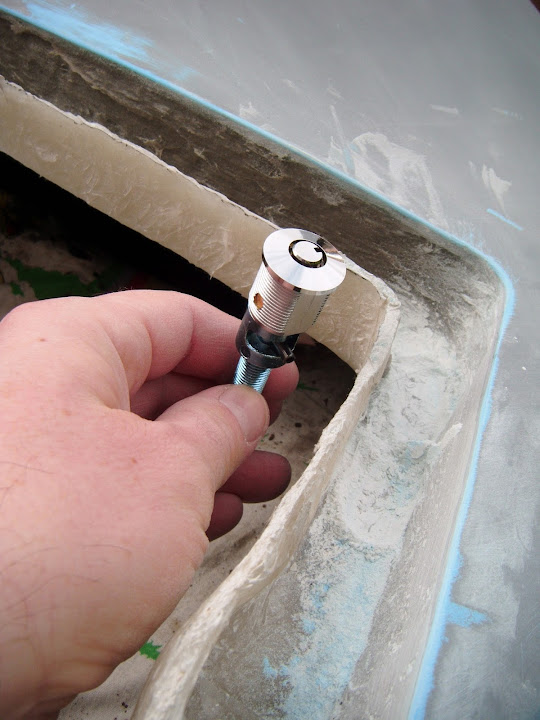
But for the top pins to fit, I will need to cut away part of the rope re-enforcement to get a flat surface.


There was just enough time to put the boot lid into the garden shed before the rain started.

So the next job will be to cut out the four holes.


Given the odd shape of the holes, I think this may be another very time consuming job.

Having said that, I really like the way the boot lid is coming along and it will be worth the effort in the end.

Until next time, take care, Paul. :)

PS
Any feedback on the chassis questions I had at the bottom of my last post would be very welcome.
8 Nov 2014, 2:45pm
Hey Paul, what ever you do please do not ask the DVLA if the bonnet support brackets constitute part of the chassis, because if you do, you are giving them the ammo to shoot you down, and if they decide the answer is yes, we are all fcuked, and you won't be top of the pops in the popularity department!
8 Nov 2014, 3:09pm
Scottie - Don't worry mate, the DVLA have already confirmed that the 'Bonnet Hinge Support' is a bracket and not part of the chassis. :cool:

If you remember, this was one of the first questions that I asked the DVLA many months ago.

Have a look at the 2014 DVLA / V5C thread I started:
- You can see the brackets in the rolling chassis photo.
- But the brackets are clearly removed in the 'new body shell on the old rolling chassis' photo.
- I also supplied photos of the repairs to the chassis caused by rust developing behind the brackets.

The DVLA also have the highlighted Rimmer Bros. diagram I sent them, so I have been completely open about removing the brackets.

The DVLA have confirmed that I am entitled to retain the original registration and therefore I must have an "original and unmodified chassis". :cool:

So you must believe me when I say that these brackets can be removed without a problem.

Which is exactly what Chris@Tribute said when I first noticed you had removed them on your build many moons ago.

Instead, my chassis questions are linked to Dave's extra information.

This is how DonnySoutherner has modified his Spitfire chassis.


Based on Dave's research I now believe that this is 100% legal under the DVLA rules.

All I want is a bit of consensus that others also interpretation the definition of a DVLA chassis in the same way.

Cheers, Paul.

PS
It looks like it might have stopped raining, so I'm off out to drill some holes, but I will be back later.
8 Nov 2014, 3:32pm
Scottie22 wrote:
Hey Paul, what ever you do please do not ask the DVLA if the bonnet support brackets constitute part of the chassis, because if you do, you are giving them the ammo to shoot you down, and if they decide the answer is yes, we are all fcuked, and you won't be top of the pops in the popularity department!

Hi Paul, your boot lid looks as if it has always been there and not a modification. It really suits the car and the angle cut through the humps makes it in my opinion. This makes the storage beneath a really practical space. I am sure your design will be seen on other cars in the future.

If your V5C is now in the system and they are happy to issue it without inspection then best to say nothing. Once you receive it you are then free to do your alterations.
The way I see it is that once one has removed the old body and rested the new on, it would be prudent to send the photos and required paperwork for the change. If you subsequently receive the V5C then no problem and you are free to move on. However if they want to inspect it then that is no problem because it is still unmolested in the chassis department.
8 Nov 2014, 5:10pm
Froggyman - I'm glad you like my boot lid design, as I am really pleased with it myself. :cool:
Although, if I was doing it again, I think I would drill the holes for the locking pins first.
Then I could have built the rain channel and bolt supporting brackets around them from the start.

As for my chassis, I have no intention of touching it before the new V5C arrives.
I'm really just trying to plan ahead for the time when I have to sort out my bonnet hinges.

- - - - - - - - - - - - - - - - - - - - - - - - - - - - - - -

Holes:
This was the shape I needed to cut out.


I used my stepped drill bit to get the bulk of the area removed.


Then a selection of hand files finished the job.


At this point I discovered a slight problem...

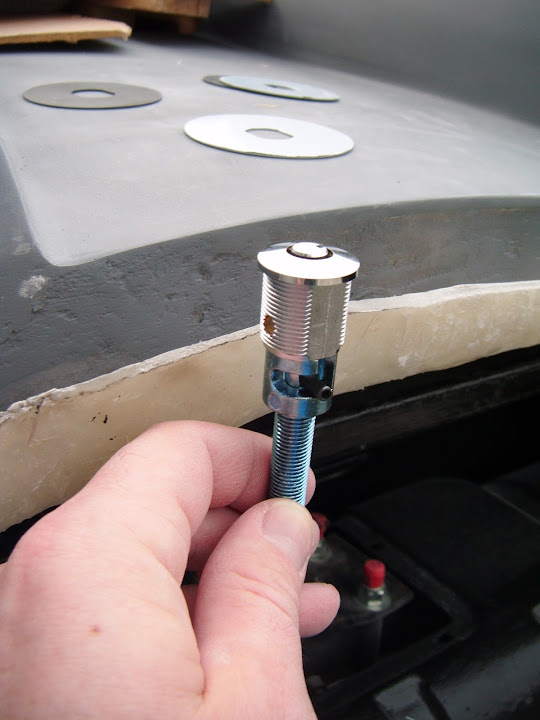
The thickness of the lid wouldn't let the locking mechanism fit through the hole. :rolleyes:


A quick skim over the inside with my angle grinder and the problem went away.


Whilst it is possible to fit these locks without the big washer, I think it would put too much pressure on the fibreglass.

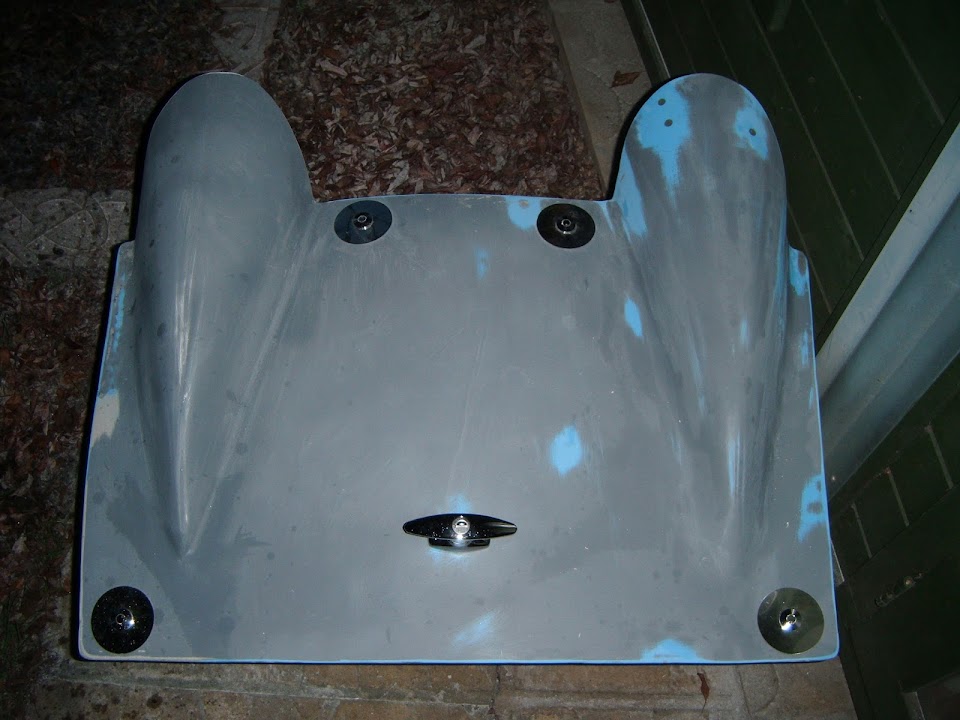
So I will keep the big shiny washers on the top (they just have a protective film on them at the moment).


I just need to do a bit more work to ensure the washer on the inside of the boot lid sits flush.


But for now, that was one down and three to go.

Thankfully I managed to get all the other holes done before the rain came down again.

Unfortunately, the photos needed a flash which makes it look darker outside than it actually was.


Note:
I left the underside of the washer facing up for the photo as this side is quite shiny too.

You can also see the rain drops on the lid and by now I had packed most stuff away as the rain boxed me in.


At least I managed to take another step in the right direction today. :cool:

Until next time, take care, Paul. :)
8 Nov 2014, 10:20pm
Great job Paul boot looks great
8 Nov 2014, 11:28pm
You can lose the big washers if you want Paul. I used the same locks for my bonnet and modified some smaller washers to fit -


Fibreglass is very resilient, fifteen months on the road and no sign of any stress round the locks.
9 Nov 2014, 10:29am
Normal Cordite building posts will resume later today, but first this...

Remembrance Sunday:
We left our house at 6am this morning for a family drive into "town".

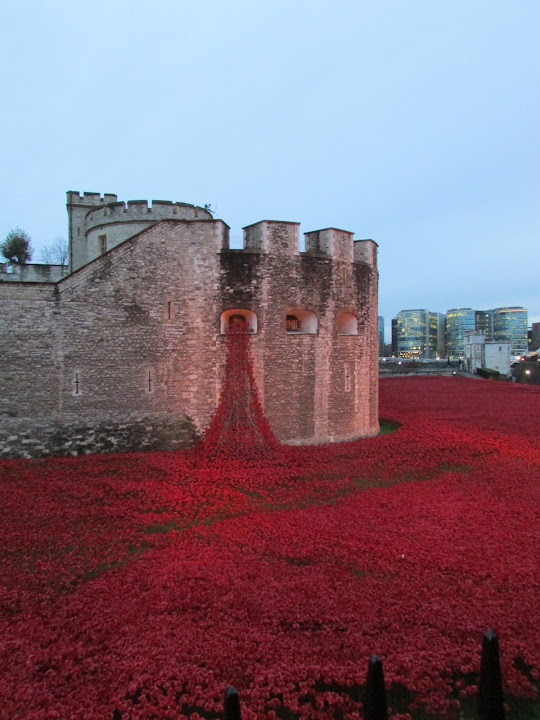
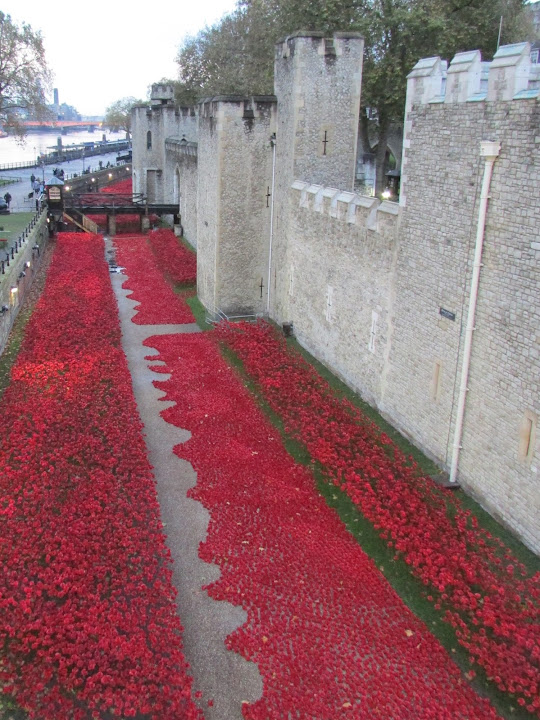
It was well worth the effort, as the poppy field at the Tower of London is an absolutely staggering tribute / work of art.

When you think what each poppy represents, the sheer scale of it all really blows your mind.


9 Nov 2014, 11:11am
Fantastic pictures Paul, a fitting tribute, well done.

Scottie
9 Nov 2014, 2:54pm
CarNoob - Why thank you Mr Bond. :cool:

Mr T - Thanks for yet another top tip. :cool:
I did wonder if the big washers were just a bit too big and going to be a distraction on the lid.
Although, as a distraction, they may draw your eye away from some of the car's other "quirks". :icon_wink:
However, your washers do seem to follow the "Goldilocks" tradition of being just right.

Scottie - Cheers, the poppy display really was something to behold.

- - - - - - - - - - - - - - - - - - - - - - - - - - - - - - -

Still Chipping Away...
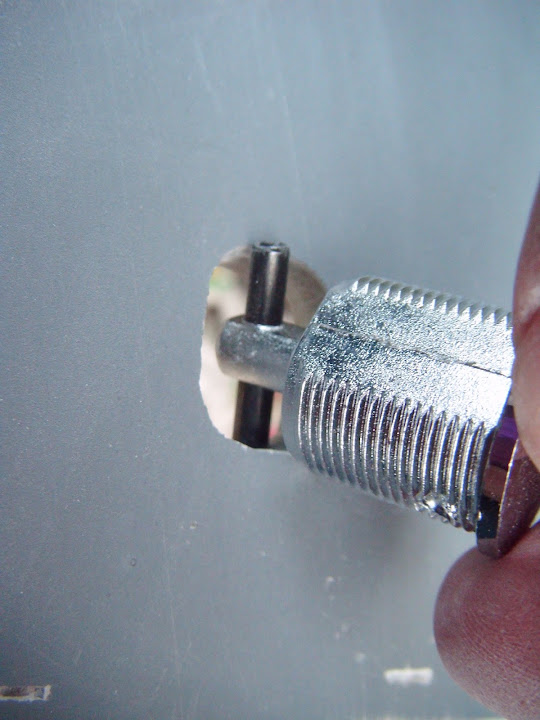
It dawned on me that by using the key, I could rotate the locking pin from this position...


To this one, which puts it in line with the length of the lock.


I hoped this would allow me to push the lock through the hole with the backing washer bonded to the boot lid.

But even with the pin in a better position, the washer made the hole too deep for the lock to fit.

I certainly do not want to make the lid any thinner, so I will be keeping the washer as a separate item.

Next I marked up where the washers would sit along the top edge of the boot lid.


The inner line represents the washer and the outer line where I wanted to cut the fibreglass back to.

A quick session with my angle grinder and this is what I was left with.


While the grinder was out, I finished tidying up the two corners for the bottom locks.


I then spend a long time sanding the inside surface of the boot lid, a thankless task.

I got most of it pretty smooth, but left a few area a bit rough on purpose.

As I want to test out the "Dolphin Glaze" filler on these areas to see how it works and what a difference it makes.

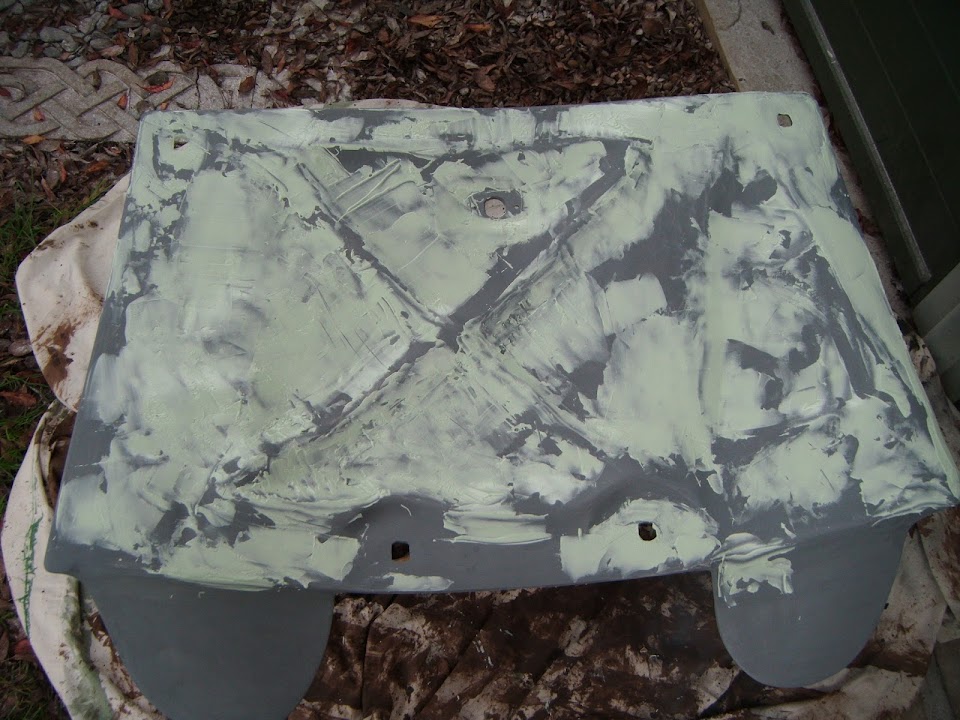
In order to see where I'd got to with the sanding, I gave the lid a quick coat of etch primer.


Then I mixed up some fibreglass filler and sealed up the area I had cut away earlier.


When that had set, I sanded it down and gave it a coat of etch primer too.


I should point out that I am not trying to achieve a "flat" surface on the inside of the lid.

I am more than happy to have all the undulations that you can see here.


I just want to tidy up the surface a bit so I can practise my hand painting on it at some stage.

When that side had dried a bit, I turned the lid over & sprayed the sunny side while I was at it.


As always, things do look much better with a coat of paint on them and that will do for today. :cool:

The next steps will be to work out where I need to re-route the rain channel & position the bolts for the locking pins.

So until next time, take care, Paul. :)
10 Nov 2014, 4:36pm
I can't play outside at the moment, as I just have too many other things to do. :icon_sad:

However, I did move the project forward a little from the comfort of my home computer...

Shopping:
- I bought a couple of stainless bolts for the boot lid handle, as I keep forgetting it wasn't supplied with any.
- I also bought a significant component required to finish the car, when I placed an order with Jawel Paints. :eek:

Yes, I have made a final decision on colours and there is no turning back now...

Colour Scheme:
Paying extra for a light blue gel coat was completely pointless, given my wholesale butchery of the body shell. :rolleyes:

Initially, I didn't want a "popular" Sammio colour, but the simple fact is that they are popular colours for a reason!

So as British Racing Green has always been a favourite of mine, I've bought some Deep Brunswick Green "Truck Coat" paint.

But in a slight twist to the traditional BRG Sammio look, I am going to steal some ideas from other old racing cars.

Therefore, I've also bought a small pot of Signal Yellow paint to provide a "band" around the nose and to completely cover the grill.

Hopefully this will give me a Frankenstein cross of the Le Mans Spitfire and the Aston Martin you can see below. :cool:


And for the Tribute builders "next door", I even found a 250 GTO with a similar paint scheme.


Finally, as I have the seventh Cordite package, I want to use this variation of Barry Sheene's #7 for my racing numbers.


The yellow racing roundels looked good on Michiel's Spyder #47 and they should hopefully compliment the nose colour.

I am certainly not aware of any other Sammios using this colour combination, so I hope I can make it work.

Until next time, take care, Paul. :)

PS
UFO17 - Sorry, I keep forgetting to answer your question on the Locost thread.
My friends actually live in Headington, very close to the hospital.
10 Nov 2014, 4:56pm
Mmmmmmmmm. For once Paul, I'm not so sure about the yellow!
But, its what you want that counts, I'm sure it will come out right and you will be happy

Rover did a similar thing with their limited edition Rover BRM's which only came in dark green, and gave them a huge orange snout, which most owners painted over in silver.

[IMG][/IMG]
10 Nov 2014, 6:46pm
Interesting choice of colour's Paul i look forward to seeing the result, BRG certainly does suit these cars well and if the yellow looks as good then you will have a unique car.:icon_cool:

Now there's a blast from the past Barry Sheene No7, i had a AGV Sheene replica many moons ago.
10 Nov 2014, 11:39pm
Scottie22 wrote:
Mmmmmmmmm. For once Paul, I'm not so sure about the yellow!
But, its what you want that counts, I'm sure it will come out right and you will be happy

Rover did a similar thing with their limited edition Rover BRM's which only came in dark green, and gave them a huge orange snout, which most owners painted over in silver.

[IMG][/IMG]

Think the dealers sprayed them just to sell them...they couldn't tone down the interior though...something for you in the background
11 Nov 2014, 8:49am
Scottie22 wrote:
Mmmmmmmmm. For once Paul, I'm not so sure about the yellow!
But, its what you want that counts, I'm sure it will come out right and you will be happy
]


Go for it Paul :rockon:
I plan on doing my BMW Spyder in GULF RACING colours :icon_smile:
11 Nov 2014, 2:02pm
Scottie, Swifty & Micky1Mo - At this point, I'm still not 100% sure that the yellow nose will work.
So I will probably ask someone to mock it up in Photoshop before I actually start painting.
I've only ordered 250ml of yellow, so it is not a problem if I just stick to BRG all over.

Swifty - There is something about Sheene's #7 that takes me back to my early days on two wheels. :cool:

RedRatBike - Just to be clear, I will have a black, not a bright yellow, interior. :icon_wink:

Mr T - I'm not sure that Porsche 904 GTS had the best examples of a nose painted a contrasting colour.


Oh, hang on a minute, you weren't actually making a comment on my BRG/Yellow colour scheme were you?

:icon_twisted:

Micky1Mo - The Gulf Colours should look good. :cool:

- - - - - - - - - - - - - - - - - - - - - - - - - - - - - - -

A Drop In The Ocean:
I desperately tried to fit in a bit of filler work around all my other chores today.

I used this stuff for the first time.


As I'd had some pin holes on the inside surface of the boot lid to practise on.


Although it would need to be a pretty big pin to leave these small craters. :icon_wink:


Either way, despite mixing up small batches at a time, I made very hard work of a simple "skim".

In fact, it all looked a right mess when I had to stop play to do something else. :rolleyes:


In my defence, the wind kept blowing "stuff" into the filler which would then get caught in the spreader. :icon_evil:

The only good thing about working in the back garden is that I don't need to pack things away when I stop.

Unfortunately, by the time I got back to the lid, the filler had set rock hard.

So it did required some significant elbow grease to get to the "camouflage" stage.


Which looked a lot better when another coat of etch primer was applied.


Whilst this is now miles better than it was before, there are still a few spots I need to come back to.

But that will be another day, as I am really supposed to be doing something else right now.

Cheers, Paul. :)
11 Nov 2014, 3:31pm
Looking good matey!
I tried all manner of "specialist products" during my attack on the Sammio pin-holes and TBH all of them still required a significant amount of filling/sanding/filling/sanding.... and none were the magic-fix that they claimed to be on the labels!
In the end i just went back to filler as it was considerably cheaper :)
11 Nov 2014, 5:35pm
Looking good Paul!

Have to agree with Dave, not many products do what it says on the tin...........
11 Nov 2014, 7:59pm
Alpha wrote:
The car in the background is the Rover-BRM, the turbine powered car they raced in Le Mans in '63 - '65

http://en.wikipedia.org/wiki/Rover-BRM


Ooh, never seen one of those before, does look like the 904 GTS though.
11 Nov 2014, 8:24pm
The boot lids looking good Paul, i think its all about trial and error with these things and finding what's best for you.

I will have to sooner or later start to prep my body so the more i see what others are up to the easier i hope it will be for me as this is totally new for me but exciting all the same.

Keep up the great post Paul and i look forward to your next installment.
12 Nov 2014, 7:50am
Alpha & Mr T - I am always impressed by range of car knowledge on here. :cool:

Dave & Scottie - Thanks for the feedback, I'll experiment using normal filler as well.
In your experience, does the high build primer/undercoat paint cover any pin holes?
Or does the surface have to be super smooth, with no imperfections, before "real" paint?

Swifty - Properly prepping for paint is all new to me too, so I certainly need the practise.
As I never really worried about dents and scratches when painting my MZ racers. :rolleyes:

- - - - - - - - - - - - - - - - - - - - - - - - - - - - - - -

It is all relative...
With the rain chucking it down as I type, I'm not sure today will be very productive.

So I thought I'd add a quick "Before" & "After" comparison to cheer myself up.


As it is easy to get sucked into thinking about all the work that remains, without remembering the work that has been done.

This boot lid is turning into a very distinctive feature of my build, so it is well worth the time and effort involved.

Cheers, Paul. :)
12 Nov 2014, 9:51am
Hi Paul, I'm no paint expert,but seeing as you asked, I believe the general idea is to get the surface as super smooth as you think you can for the final coat, then the high build primer is supposed to cover any tiny imperfections you've missed.

I don't think the answer is to smother the primer on first, hoping it will cover all the mess!

Hope this helps as we always say!
12 Nov 2014, 11:03am
High Build primer is great stuff as it sinks into small scratches and holes, and i found it easier to apply a few coats / sand / apply a few coats / sand, to get as near as damn it to the final flatness.