MadaboutKitcars

This is a read-only archive of the old Madabout Kitcars forum. New posts and replies are no longer possible, but every thread is still here to browse and read.

Another Cordite Is Born ...

28 Oct 2014, 5:16pm
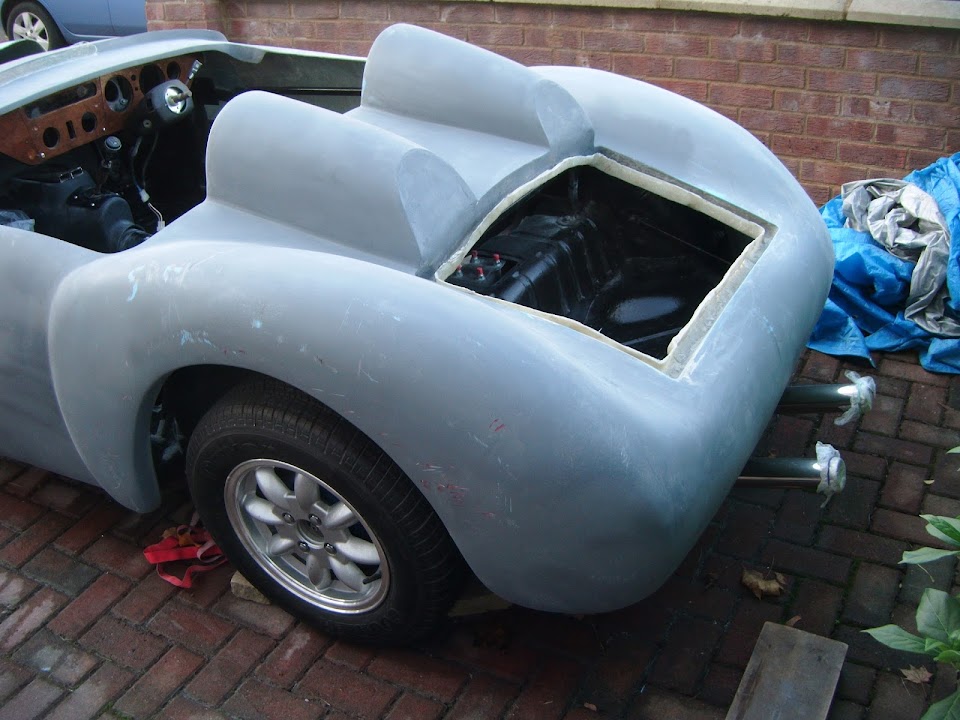
Good progress Paul..well done really taking shape...the slanted cut was definitely the way forward
28 Oct 2014, 6:08pm
That is really nice Paul, I salute you!!

You are some sort of expert now! With a wealth of experience!
28 Oct 2014, 6:18pm
That's the best "ass end" I seen in a long time :amen:
Very well done, and all the time getting better :eusa_dance:
29 Oct 2014, 9:37am
RedRatBike, Scottie & Micky1Mo - Thanks chaps. :cool:

This is another element of my build that confirms the old saying that "necessity is the mother of invention".

Cheers, Paul. :)
30 Oct 2014, 5:27pm
Pumpkin HQ:
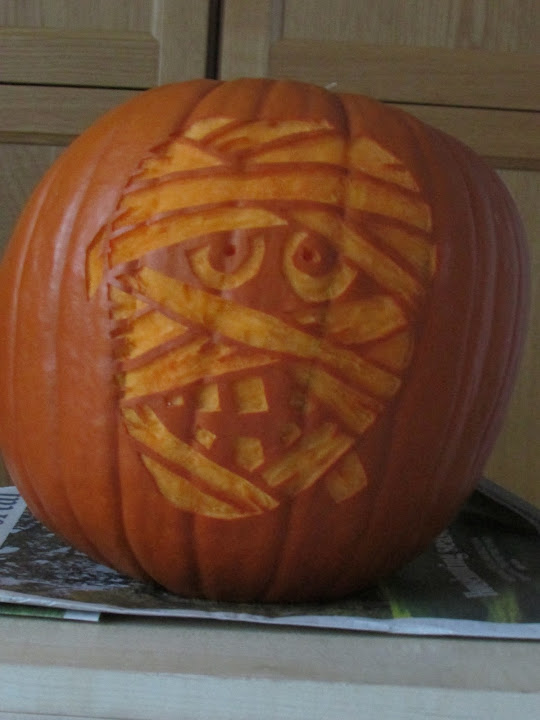
Well pumpkin carving took priority over car building today, as my daughters and I got ready to work...


As usual, I saw something on Google images that I thought I could copy and the project took a lot longer than I thought. :rolleyes:

Anyway, I started with an outline sketch.


Which I eventually turned into this carving.


Which doesn't look great until you see it in the dark, so we staged some night photos.


And this was today's family effort.


So we are all set for tomorrow, assuming I don't eat all the chocolate "treats" in the house tonight. :icon_wink:

Cheers, Paul. :)
30 Oct 2014, 7:12pm
Neat work on the rear end Paul, the way you have cut the angle in the humps looks the dogs bollocks. Keep up the great work.

The pumpkins look great they are a work of art.
30 Oct 2014, 7:49pm
I like the ninja turtle one on the left Paul!
31 Oct 2014, 4:36pm
Swifty - Thanks. :cool:
I hope that having the occasional nice line in the body work will distract from the other wobbly ones. :icon_wink:

Scottie - Cheers, I don't think my daughter spotted the turtle likeness.

- - - - - - - - - - - - - - - - - - - - - - - - - - - - - - -

Bits & Pieces:
Lots of fiddly little jobs today, the first of which involved lying on my back underneath the body shell.

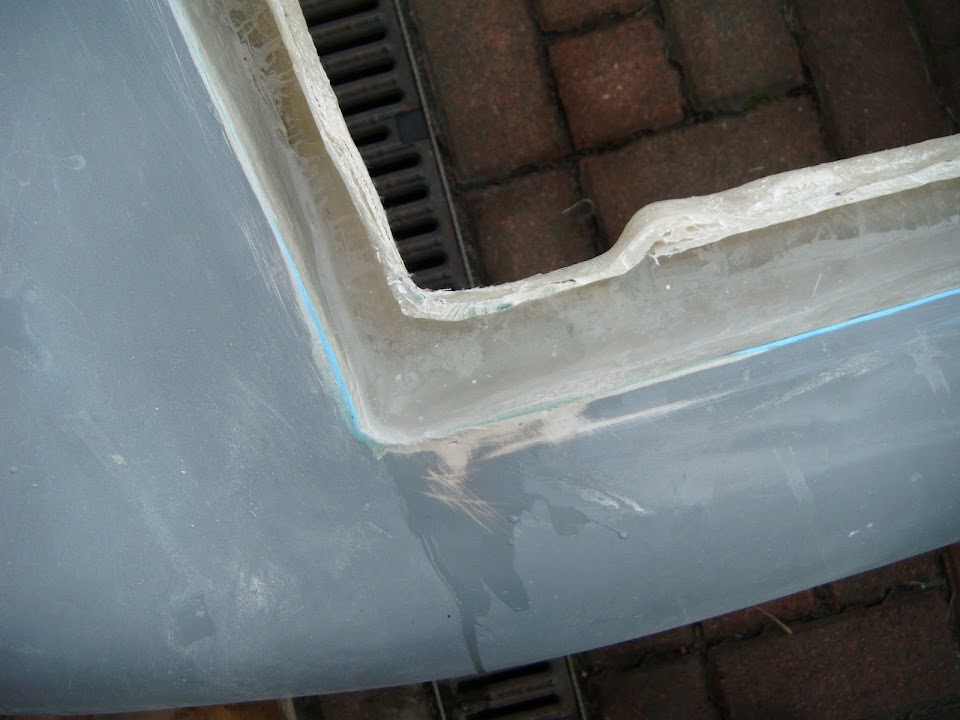
I wanted to mark out the edge of the rain channel on the lid.


I assume the rubber seal gets "squashed" by the lid in order to be water tight.

It looks like there will be plenty of room for this along the top edge.


But the rope re-enforcement might be a bit too close on the bottom edge.


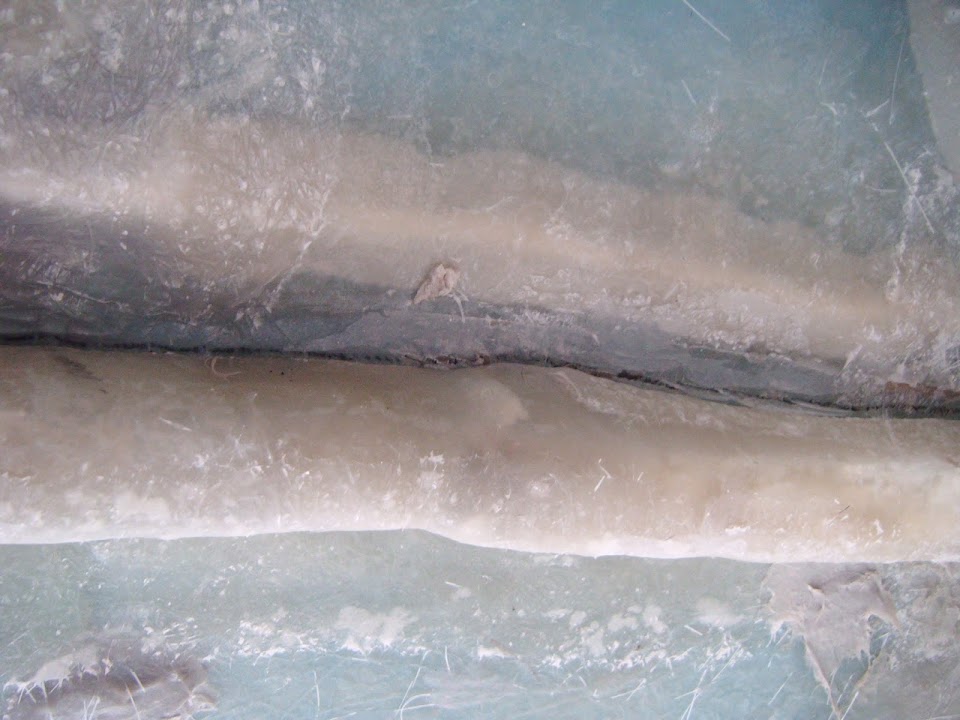
With the lid removed, you can just about see the black line.


Removing the lid also confirmed two things, the first is that the body shell covers still leak. :rolleyes:

But the other is that the rain actually got collected in the rain channel, so it actually works. :cool:


Obviously when I fit some drains, the water will not just sit in the channel.

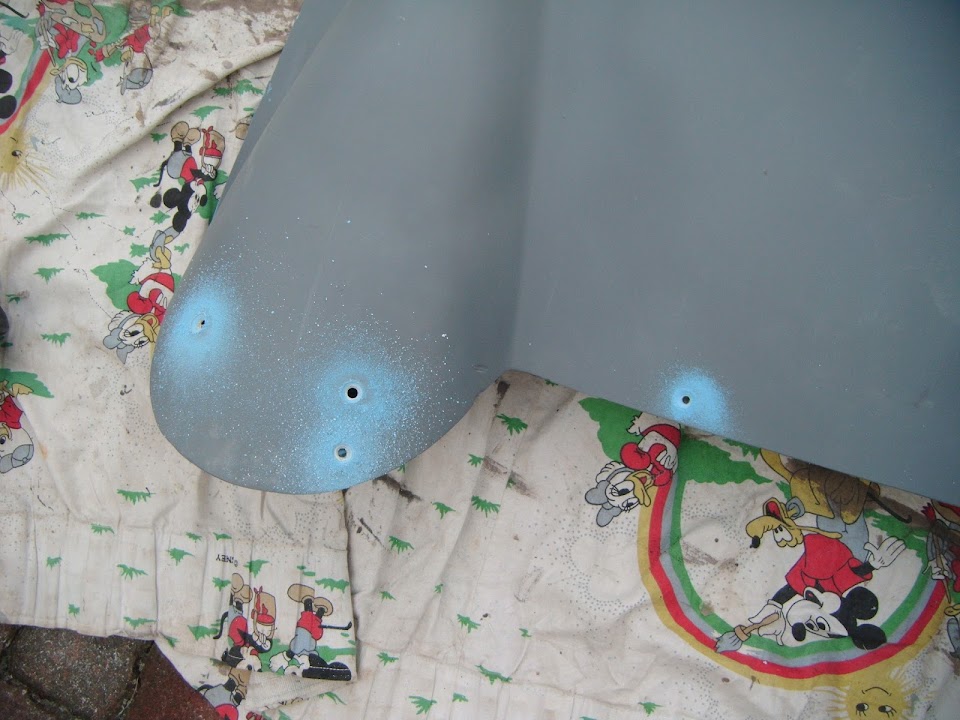
I countersunk the fixing holes on the lid.


I also cut up some of my fibreglass off cuts to allow me to "fill in" the rest of the driver's hump.


But before I started on that, I got some fibreglass filler mixed up and applied.

I started with the fixing holes.


I also sealed up the edge of the face panel on the inside of the driver's hump.
( Couldn't get a better photo of it. :rolleyes: )


Then I applied the filler around most of the perimeter of the boot lid.
( Leaving the area I was going to fibreglass later on and part of the bottom edge. )


End of Part 1...
31 Oct 2014, 4:37pm
Part 2:

While I was waiting for the filler to set, my wife helped me lift the body shell back onto the frame.


As it dawned on me it wasn't a good idea to go much further without checking it actually fitted!

Thankfully I measured things properly and although it is pretty close in places, nothing touches. :cool:

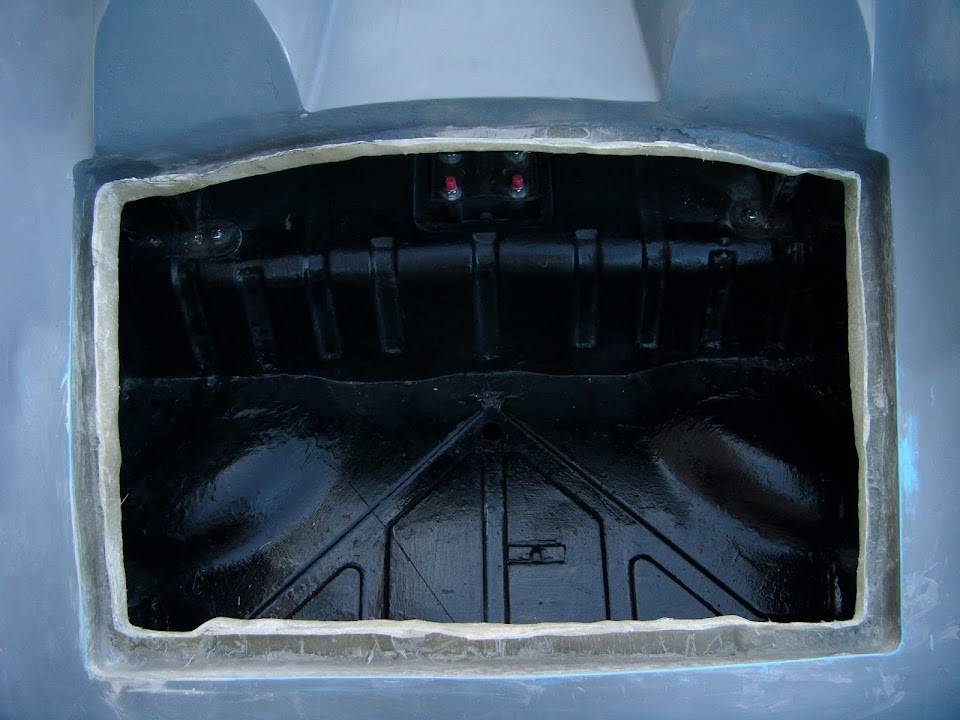
So I now have the makings of a useful storage area.


Plus full access to all the mechanical parts.


The boot was quickly put to good use as I started to tidy away all my stuff.


The final job of the day was to fibre glass the base of the driver's hump.


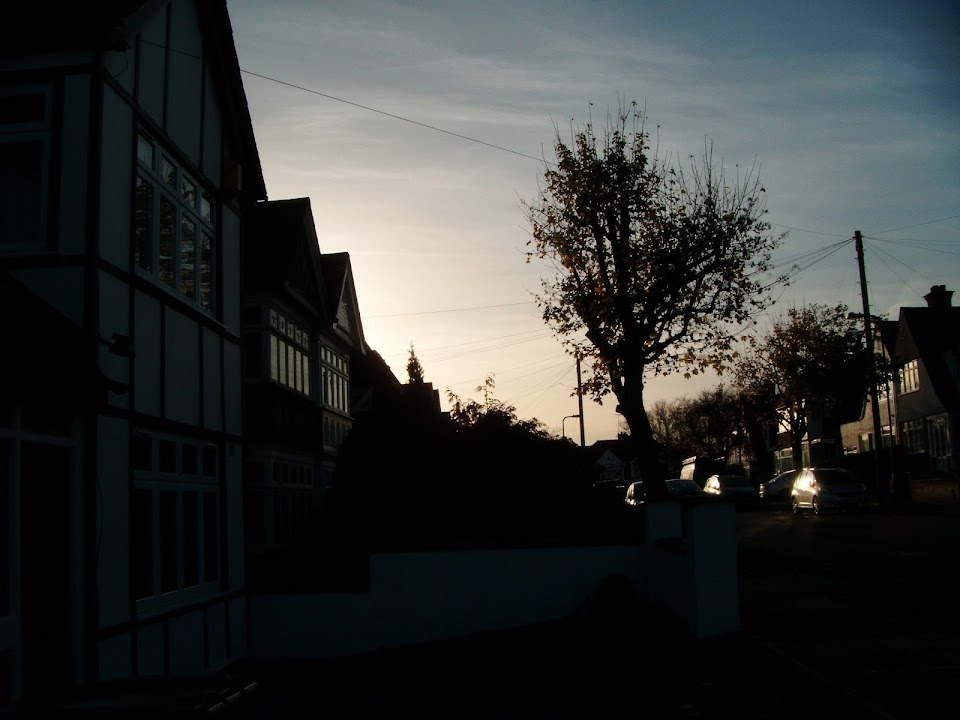
For a nice change, I had a sun set in the sky above when I finished, not the usual storm clouds.


When the fibreglass had initially gone off I was able to tuck the lid away for the night.


I also wrapped the dust sheet over the lid before covering the whole car for the night.

Until next time, take care, Paul. :)
1 Nov 2014, 1:23pm
Boot Lid:
The locking bonnet pins for my boot lid have arrived.


The good news, from a security point of view, is that each set appears to have a unique key, it is not one size fits all.
Although, from a convenience point of view, I need to carry three keys with me, as I will also have a set on the bonnet. :rolleyes:

- - - - - - - - - - - - - - - - - - - - - - - - - - - - - - -

DVLA:
With a heavy heart I can also announce that the DVLA have replied today and the answer is still no. :icon_sad:
They say there are no exceptions to the requirement to have the car taxed before the V5C can be changed.
Yet clearly there have been a huge number of Sammios & Tributes that remained SORN & yet still had their V5C changed. :frusty:
I now need to leave it for a few days until I can put together a suitable form of words to appeal against this judgement.

This is a good case for the build approach Micky1Mo's is taking with the new Sammio A1 Apha project.
If you bought a donor Spitfire which was still on the road, it would still have valid insurance, MOT, etc.
So, just like some of the Tribute models, your paperwork would be just what the DVLA wants to see.

- - - - - - - - - - - - - - - - - - - - - - - - - - - - - - -

Take care, Paul. :)
3 Nov 2014, 4:54pm
DVLA - Possible Breakthrough: (touch wood)
Spoke to a very helpful person at the DVLA today regarding a V5C change for a Sammio Spyder on SORN to see where I am going wrong.
It looks like the requirement to have the vehicle taxed is linked to applications treated as a new/first registration.
( I assume this covers Q plates, or age related plates based on a major component in a build. )
However, as I have a "full house" of DVLA vehicle identity points I believe it should not be classed as a new/first registration.
The only thing I have changed is the body shell and this has no identity value as far as the DVLA are concerned.
So I have just put another letter to the DVLA in the post which I really hope will be the one to get this sorted out. :pray:

- - - - - - - - - - - - - - - - - - - - - - - - - - - - - - -

Just Checking In:
Family stuff and the wet weather have prevented me making any further progress with my build.

So instead here are a couple of photos from our trip to see friends in Oxford at the weekend for some fireworks. :cool:


- - - - - - - - - - - - - - - - - - - - - - - - - - - - - - -

Cheers, Paul. :)
3 Nov 2014, 7:14pm
Fingers crossed for you with the DVLA. You deserve a break.

Chris
4 Nov 2014, 3:41pm
Chris - Cheers. :cool:
If I do manage to get this sorted out, I am going to ask the DVLA to provide a specific contact for other builders.
As clearly it would save a lot of time and effort all round if we were all on the save wavelength.

- - - - - - - - - - - - - - - - - - - - - - - - - - - - - - -

Boot Handle:
This was yet another one of those "simple" jobs that took absolutely ages to get done.

The boot handle came with a cardboard gasket that I could use to mark up the boot lid.


I have settled on a position for the handle that is roughly in the middle of the two humps.


Obviously this is not the same as being in the middle of the boot panel, but who cares? :rolleyes:

The handle may also not line up with the petrol cap when I finally get around to fitting that.

But then again, the petrol cap will not be in the middle of the two humps either.

I had to use a hand file to get the hole in the middle the correct size, as it is bigger than my drill bits.


Which allows the handle to slot into place like so.


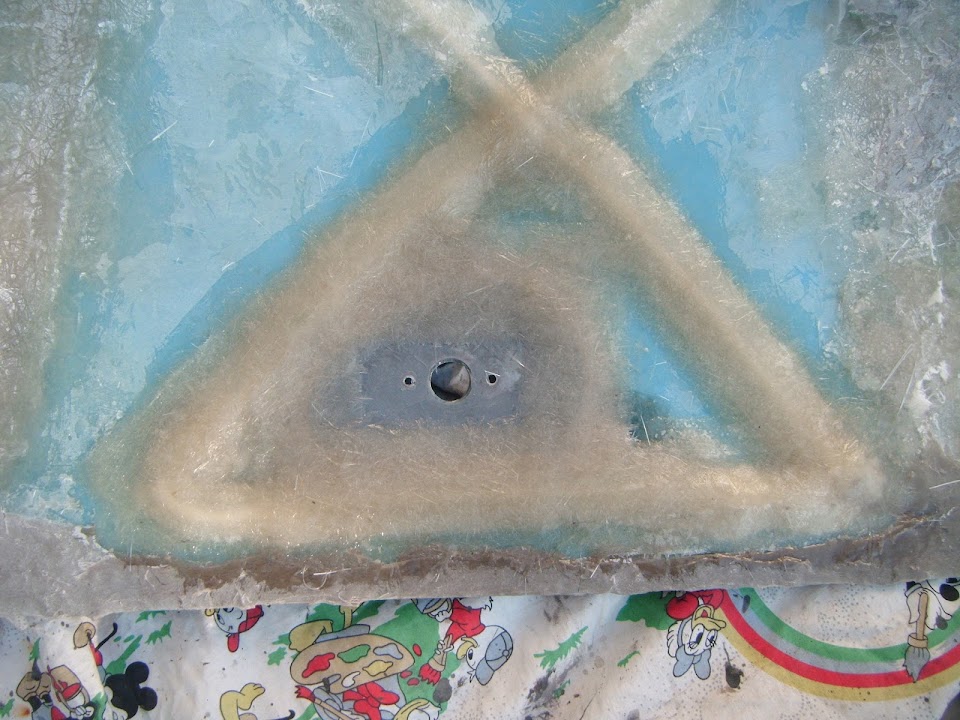
The other thing that I had to bear in mind when choosing where to fit the handle, was where the rope had been fixed on the underside.


Again, the rope "cross" is not in the middle of the boot lid either.

I had an off cut of sheet metal that I wanted to use to re-enforce the handle fittings.


So I made a cardboard template before cutting out a shape that would fit nicely.


I then gave the metal a bit of a hammering so that it was a better match for the contours of the boot lid.

Then I could give both sides a coat of etch primer.


Later on I had my first attempt at using the bonding paste I bought to fix the body shell into place.


I used a couple of bolts and some penny washers to tighten the plate into position & squeeze the paste.
( The key thing for me was to ensure there was no air gap between the lid and the backing plate. )


Then I wiped away any excess from the middle hole and smeared the paste around the outside edge of the metal.


I will adopt a belt and braces approach and add some fibreglass matting along the edges too.

But as the sun started to set, the temperature really started to drop and it was pretty chilly out.

So I called it a day and just cut out some strips of matting before packing everything away.
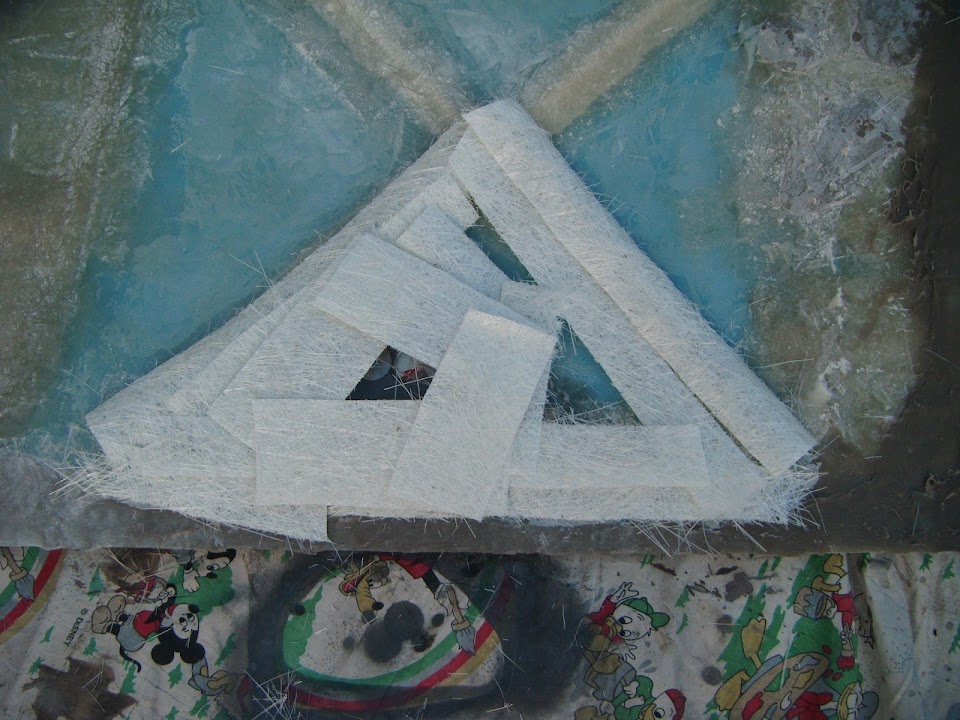


Hopefully the bonding paste will be set hard by tomorrow.

Until then, take care, Paul. :)

PS
It looks like my luck with the weather may be improving, as it is chucking it down with rain as I post this.
( Which would have ruined the fibreglass if I'd taken a chance on doing that job earlier on. )
4 Nov 2014, 4:27pm
Paul this bonding paste is it specific to auto industry or for fibreglass?
5 Nov 2014, 1:33pm
I'd not seen that brand of bonding paste you're using before? Is that the one that Towed used?
Given that they're a specialist company, that web site is amazingly light on details! But it looks the proper job :)

Here is the one that i am using. http://www.cfsnet.co.uk/acatalog/Gravicol_2039.html
I also used that on my Spyder and it sets like rock, but takes a while to fully set.
5 Nov 2014, 6:11pm
davecymru wrote:
I'd not seen that brand of bonding paste you're using before? Is that the one that Towed used?
Given that they're a specialist company, that web site is amazingly light on details! But it looks the proper job :)

Here is the one that i am using. http://www.cfsnet.co.uk/acatalog/Gravicol_2039.html
I also used that on my Spyder and it sets like rock, but takes a while to fully set.


Yep, I used Glasplies bonding paste. Excellent stuff so long as you add peroxide to it. As you say, their web site is a little thin on specifics and I assumed it air dried, so first tried using it without the catalyst. Unsurprisingly it didn't work. :eusa_wall:
6 Nov 2014, 9:31am
Dave, Mister Towed & Swifty - Excuse the delay in replying (see below).

Yes, I bought the same blue stuff as Mr T used.
( And learned from his lesson about using the catalyst. )


- - - - - - - - - - - - - - - - - - - - - - - - - - - - - - -

Wednesday:
I went to a funeral in Swindon yesterday and managed to squeeze in a visit to Micky1Mo on the way home.
It was great to have a chat with him and have a look around the various cars in his workshop.
I think the Sammio brand is in good hands and I am sure when the kits are re-launched they will simply work. :cool:

Excuse the terrible photo, as I didn't notice how blurred it was until I loaded the photo up this morning. :rolleyes:


- - - - - - - - - - - - - - - - - - - - - - - - - - - - - - -

Thursday - Early Morning:
I removed the bolts holding the metal plate in position and the bonding paste has set hard.

Then I gave the area a very light going over with my angle grinder.


I put the heater on in the Summerhouse to gently warm up the fibreglass resin.

Then I applied the matting that I'd cut out the other day.


Obviously there is a distinct air of over-engineering about this set up, but it wouldn't be the first time on this build. :rolleyes:

I've now left that to go off and come back inside to both get warm & do some other domestic chores.

Hopefully I will be able to add a final layer of filler to the inside of the lid later on today.

Until then, take care, Paul. :)
6 Nov 2014, 1:31pm
Oh Happy Days...
With the fibreglass matting set, I added a layer of fibreglass filler along the remaining sections of the lid edge.
( With just enough left over to roughly level out the bottom "triangle". )


When this is all set I will sand it down and put a skim of body filler over the top of the rest of the lid.

That should give me a smooth(ish) finish and avoid fibreglass splinters going into my hands.

As, like a moth to the flame, I just can't stop myself running my fingers along the surface. :rolleyes:

But this simple bit of filler work is not the reason for this second update and my good mood, oh no.

Instead there is a big smile on my face as I type this next bit of build news. :D

- - - - - - - - - - - - - - - - - - - - - - - - - - - - - - -

DVLA Update:
The DVLA have sent me two more forms following my last letter and phone call.
- I have to fill in a new SORN using my new Model name*. :cool:
- I also have to declare/sign that the conversion** work is complete.

Notes:
* I will reveal the name when it appears in black & white.
** I spoke to the DVLA earlier today to make sure we all agree on the text book definition of "conversion".

The process of changing from one form to another.

So at this stage I can honestly say my body shell has a new form compared to the Spitfire.
Which roughly ties in with the timings of old VOSA inspections, which were not of finished cars.

So all the relevant paperwork is now signed, sealed and in the post by recorded delivery.

Which means that all there is left for me to do is wait for my new V5C to arrive. :amen:

This really is a HUGE weight off my mind and a good morale boost for my build. :cool:

Note:
I did ask what other builders should do and will update the relevant DVLA thread later on.

- - - - - - - - - - - - - - - - - - - - - - - - - - - - - - -

Until next time, take care, Paul. :)
6 Nov 2014, 1:36pm
Good news Paul. Would be very useful to have some contact details for someone at DVLA who knows the score.
6 Nov 2014, 1:52pm
Good luck Paul I hope you get it sorted this time :dance:
6 Nov 2014, 3:13pm
Well done Paul, to score any kind of victory against such an adversary is commendable!

I really did not think you stood much chance, which makes the success even sweeter!
7 Nov 2014, 11:41am
Mr Towed, Blooka & Scottie - Thanks chaps. :cool:
I've started a new thread to explain what I should have done.
And I really must give full credit to the DVLA for helping me out of the hole I dug for myself.

- - - - - - - - - - - - - - - - - - - - - - - - - - - - - - -

Making A Bit Of A Mess:
Managed to crab a quick break in the weather and sanded down the filler on the boot lid.

I did both the top surface...


And the perimeter edge on the inside that the rain channel seal will press against.


Once again it was pretty cold outside, so I added some extra hardener to the body filler.

But this meant the filler was setting before I really got the chance to get a final smooth surface. :icon_evil:

I also ended up using up the last of one tub of filler, before starting another tub of a different brand.

The net result is certainly not pretty. :rolleyes:


The only good news is that I know my sanding block set will work wonders on this. :pray:

Unfortunately it is raining again here now, so I am not sure when I will get a chance to start cleaning up this mess.

Cheers, Paul. :)
7 Nov 2014, 2:59pm
A Bit better:
Caught another short break in the weather to start sanding down the body filler.


It is a lot better in real life than it looks in the photo. :rolleyes:

Whilst the inside of the lid will be hidden when the car is on the road, I might follow Scottie's example and use it as a test best.

As this could be an idea place for me to practise my final bodywork preparation and learn how to hand paint a car.

That way, any mistakes I make would not be a real problem.

But for now, the clouds were returning, so I put the lid away and then tidied up the mess I had just made in the garden.


- - - - - - - - - - - - - - - - - - - - - - - - - - - - - - -

DVLA Chassis Rules:
DaveCymru posted an interesting bit of information on the DVLA / V5C thread I started yesterday.

[color="blue"]Q) We know that cutting or shortening a chassis is classed as modification but is this relative to the vehicle wheelbase i.e. the chassis must remain uncut between the 2 axles but anything forward of front or aft of rear suspension mounts can be removed?

A) Chassis includes the full original length of the longitudinal members including to the front of the front axle and to the rear of the rear axle.
[/color]

Dave was happy to see that the Herald outriggers could be removed at the start of a build and this would still be OK with the DVLA.

But this answer has made me have another look at my highlighted diagram from Rimmer Bros.


Does that mean that the chassis is only counted as the two main "beams" that reach the front cross member?

In other words, could the "bracing cross member" in the diagram be considered as an addition to the chassis?

Similarly, would the sections of the "front cross member" that extend beyond the chassis rails be considered additions?

I still haven't worked out how I am going to get my bonnet to hinge properly, but knowing what I must keep and what I can cut would be a big help.

Cheers, Paul. :)