MadaboutKitcars

This is a read-only archive of the old Madabout Kitcars forum. New posts and replies are no longer possible, but every thread is still here to browse and read.

Another Cordite Is Born ...

20 Oct 2014, 4:46pm
Mr T - It is actually much worse than that, as my "Plan A" didn't even involve paint!
I really expected to be driving around with just a shiny blue gel coat finish to begin with. :rolleyes:

Scottie - I'll certainly be glad when this particular job is sorted out.

- - - - - - - - - - - - - - - - - - - - - - - - - - - - - - -

A glimmer of hope...
After a poor weekend & with the tail end of a hurricane due to arrive tomorrow, I wanted to do something constructive today.

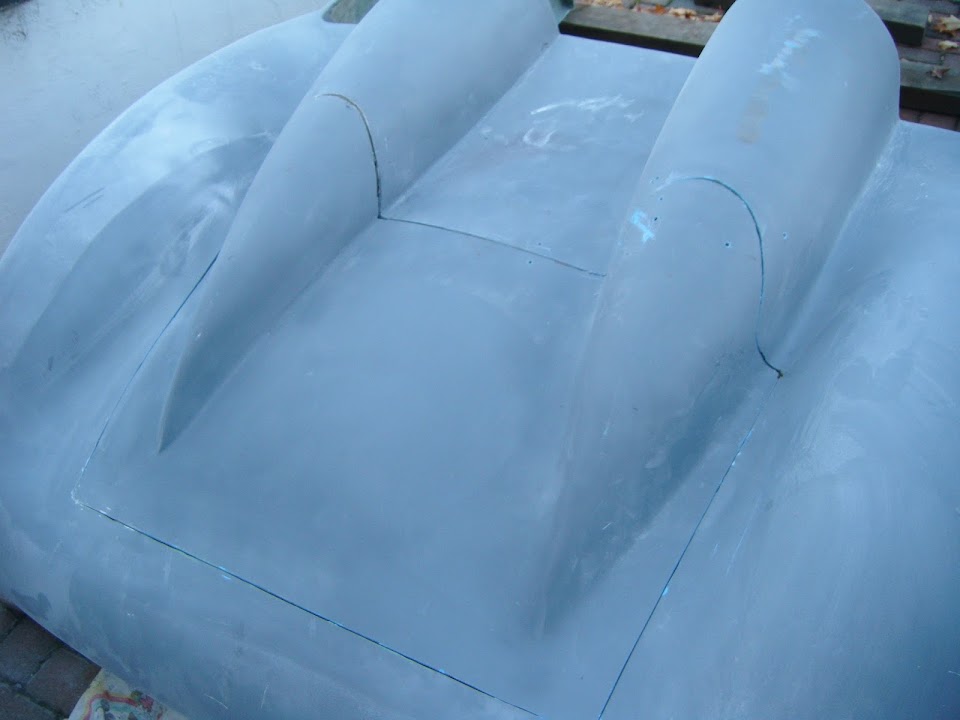
So I started by marking up the rest of the boot lid.


I drew curves for the top corners, and although the photos do not show it very well, the driver's side...


... has a narrower gap between the outside edge of the hump and the inside edge of the wheel arch compared to the passenger side.


I also marked up some curves for the bottom corners.


I then cut a few dashes along the sides to make it easier to line things up when the body shell is upside down.


Then I drew the corresponding lines on the inside like so.


I also trimmed off the edges of the foam / rain channel on both ends.


One advantage of using the yoga mat instead of a roll of foam is that I can build corners as a single piece.


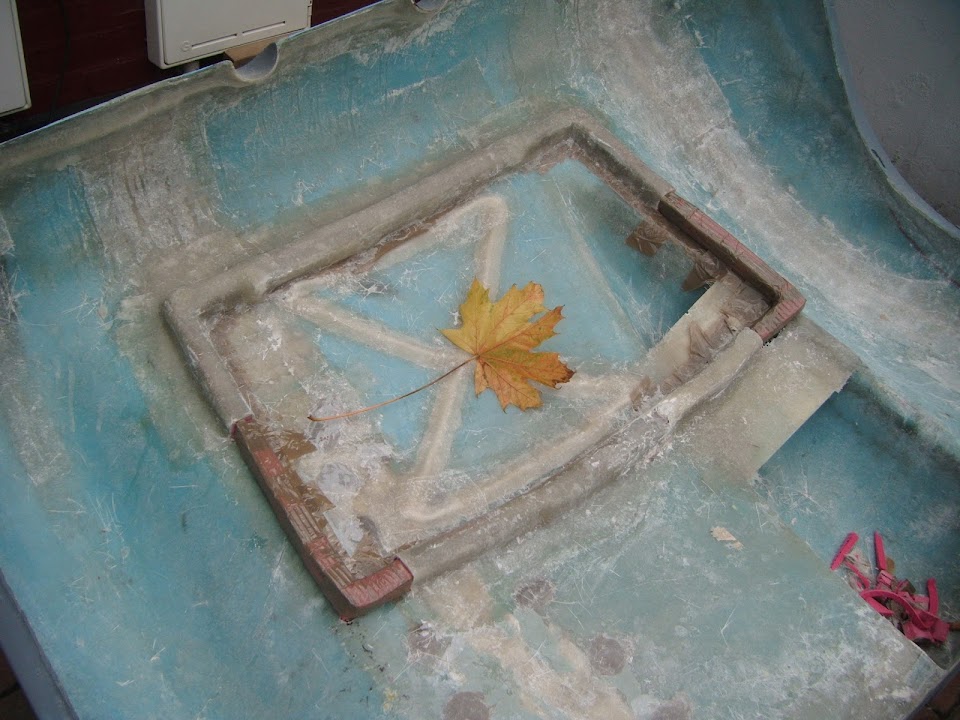
With two corners and the driver's hump channel in place, you can now get a much better idea of the boot lid shape.
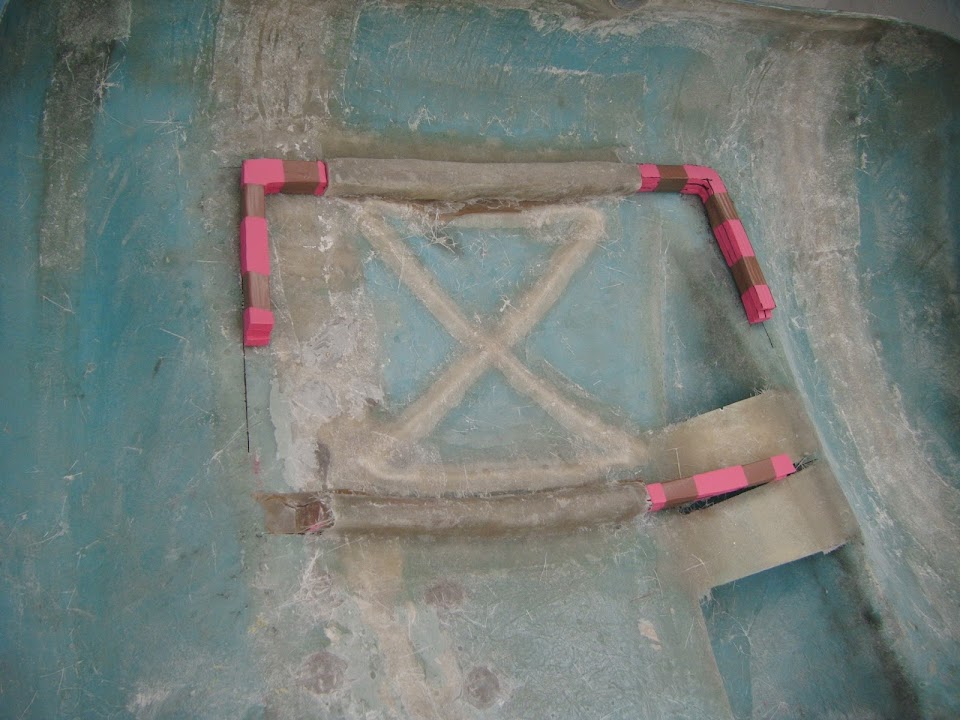


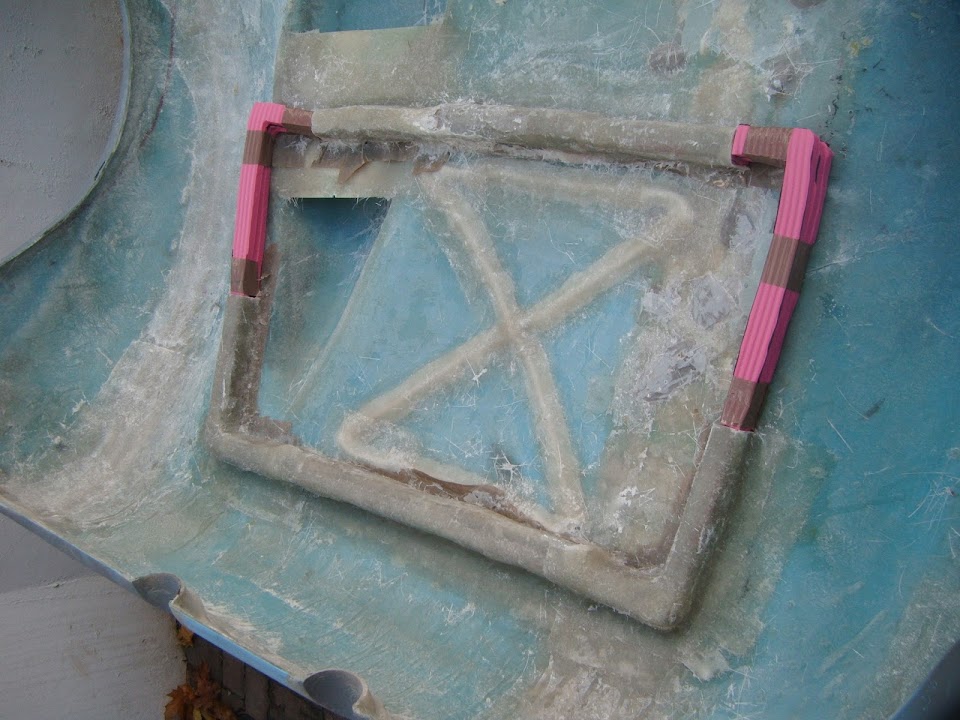
With parcel tape added I was ready to start fibre glassing.


Unfortunately by the time I'd cut out some matting to use...


The wind had brought some black clouds over head.


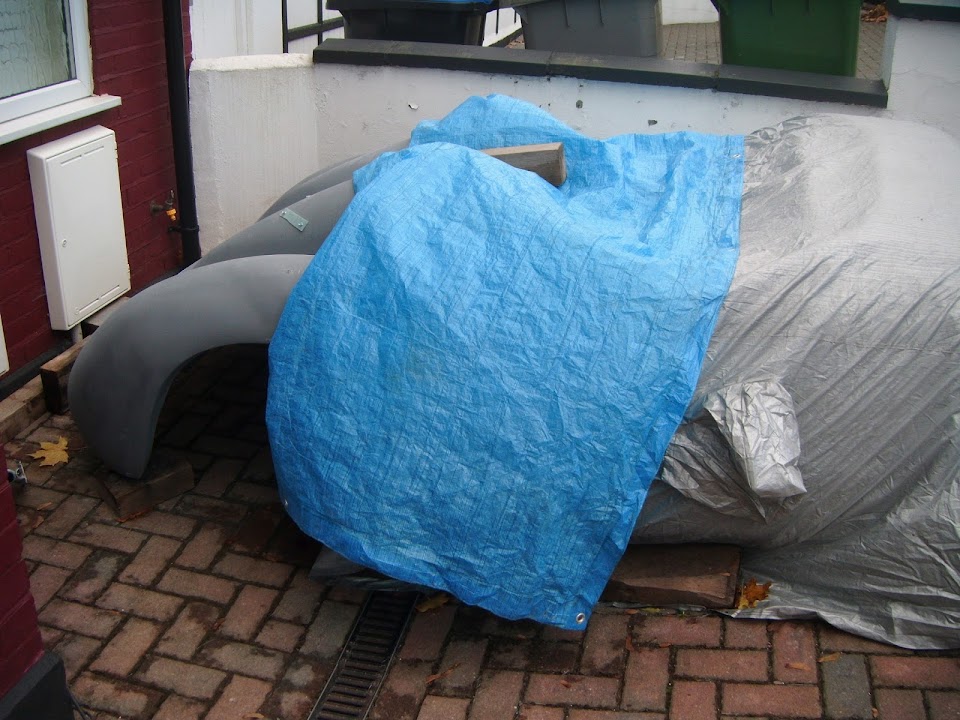
After a couple of rain drops landed, I couldn't take the chance and covered up for a short weather delay.
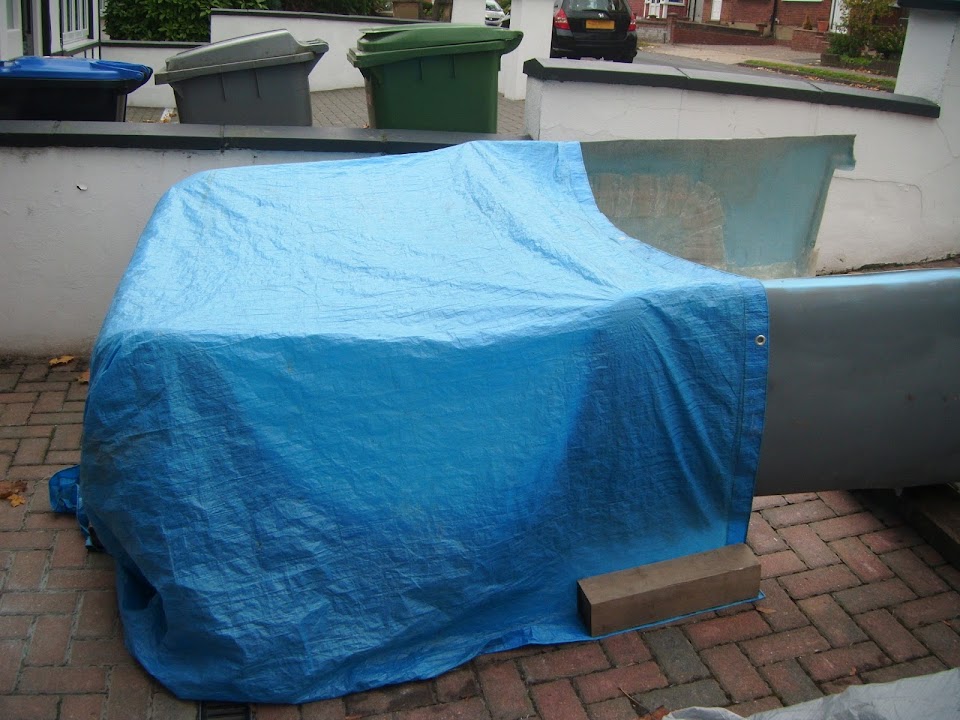


Have I ever mentioned what a dumb idea building a car outside was? :rolleyes:

Eventually I was able to get back outside and add some fibreglass.


But as soon as I had cleaned & packed away all the fibreglass stuff the rain returned with a vengeance.

I just about managed to get the covers back on, but looked like a drowned rat by the time I got inside.


So once the fibreglass has had a chance to set, I'll turn the body shell over to avoid rain collecting in the covers.

Until next time, take care, Paul. :)
21 Oct 2014, 4:19pm
Confessions of a Cordite Builder...
Getting soaked yesterday gave me a slight sense of humour failure, so I didn't mention yet another cock up.

I was very conscious of the weather turning against me, but this meant I forgot what I was actually doing.

In my desperation to get the body shell turned over it didn't occur to me that I'd only just finished laying on the matting.

I had tidied all my other stuff away, so in my head there was just the body shell left to "tidy".

I turned the body shell over & carried it across the drive, but, as soon as I put the shell down on its wooden blocks, disaster struck.

Yes, gravity took a complete section of freshly applied fibreglass matting and dropped it on to my driveway. :icon_sad:

There was a lot of repeating the word "no" in disbelief at my own stupidity.

Followed by an uninterrupted stream of expletives as I carried the body shell back & flipped it over again.

As by now the rain was starting and, with my surgical gloves packed away, I had to use my bare hands to repair the damage as best I could. :rolleyes:

So by the time I finally got the covers on I was not in a good mood.

The good news is that by the late evening, my repair work had set well enough for it to stay in place.

So even though I looked a bit odd turning the body shell over in the dark last night, I was pleased I could do it without causing anymore damage.

- - - - - - - - - - - - - - - - - - - - - - - - - - - - - - -

I'd love to say that today was much better and passed without any problems, but I can't...

I started off by peeling back the covers so I could work on the "sunny side" of the boot lid.


I wanted to cut the top corners, so I would know where to put the rain channel on the other side.

There wasn't enough room to use my jigsaw so I tried to drill some holes along the curve instead.

The passenger side wasn't great, but it wasn't too bad.
( As the eventual gap will be slightly larger to allow smoothing of all the edges. )


But the driver's side was a bit of a mess.


I could use the jigsaw for the bottom corners, and the driver's side was the best of a bad bunch.


Because I didn't notice some resin in the slit on the passenger side, which sent the jigsaw bouncing along the bodywork.


I should have taken the fact I only managed to get one good corner out of four as a sign not to do any more work on the car, but I didn't...

I turned the body shell over, although at the half way point the wind caught it and I nearly took off. :eek:

I cleaned up the rain channel work I did yesterday including the mess from replacing the matting near the driver's hump.
( At least it has firmly stuck in place. )


I cut out some more foam to finally join up all sides of the rain channel.


Then this was wrapped in parcel tape.


The wind was playing complete havoc with my attempts to work with strips of fibreglass matting.

A couple of gusts had me running into the road to catch bits that were completely blown away.

But the real problem with the wind, was that just as I had finished the fibreglass work it had blown a storm cloud overhead.

There was absolutely nothing I could do, one second it was dry, the next it was a complete deluge. :icon_sad:

By the time I had dragged the tarpaulin over to cover my work it was too late, the damage was done.

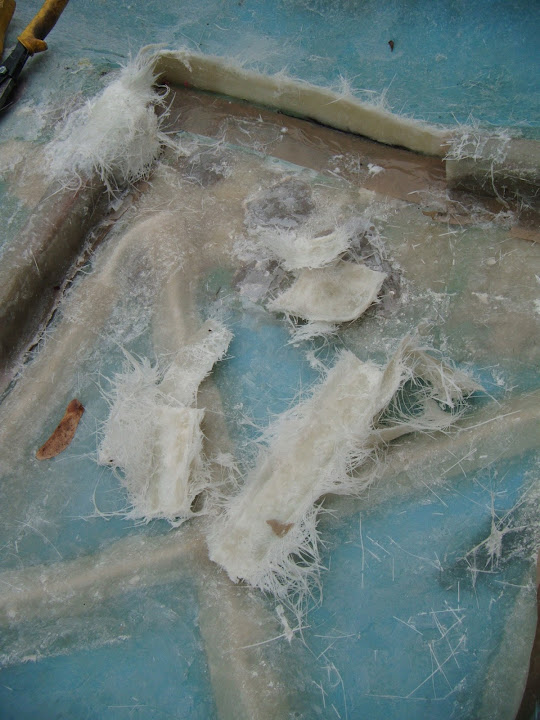
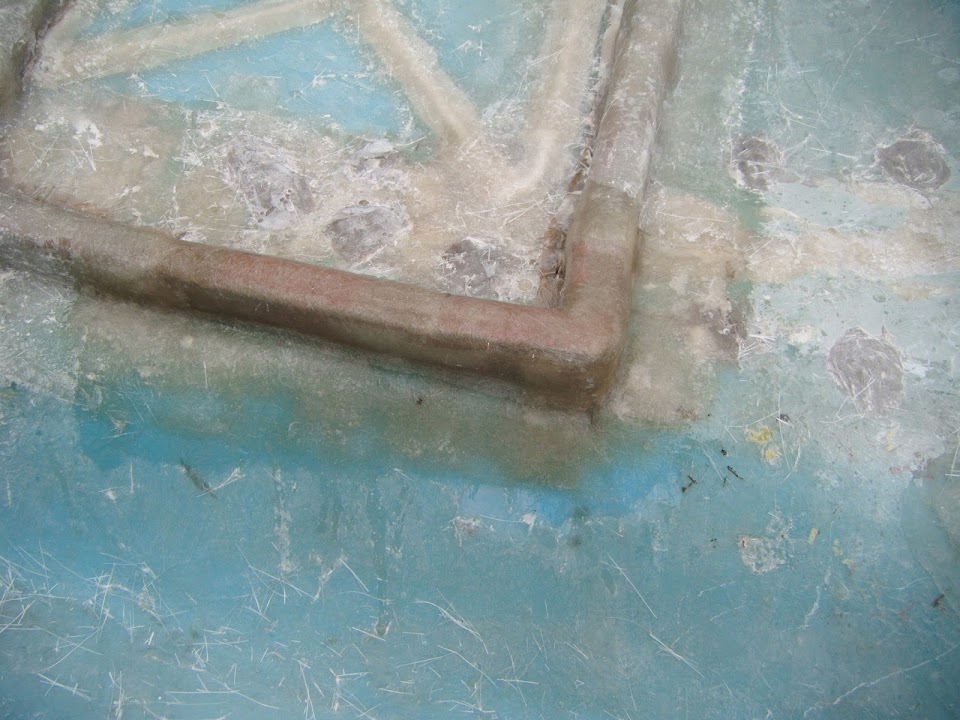
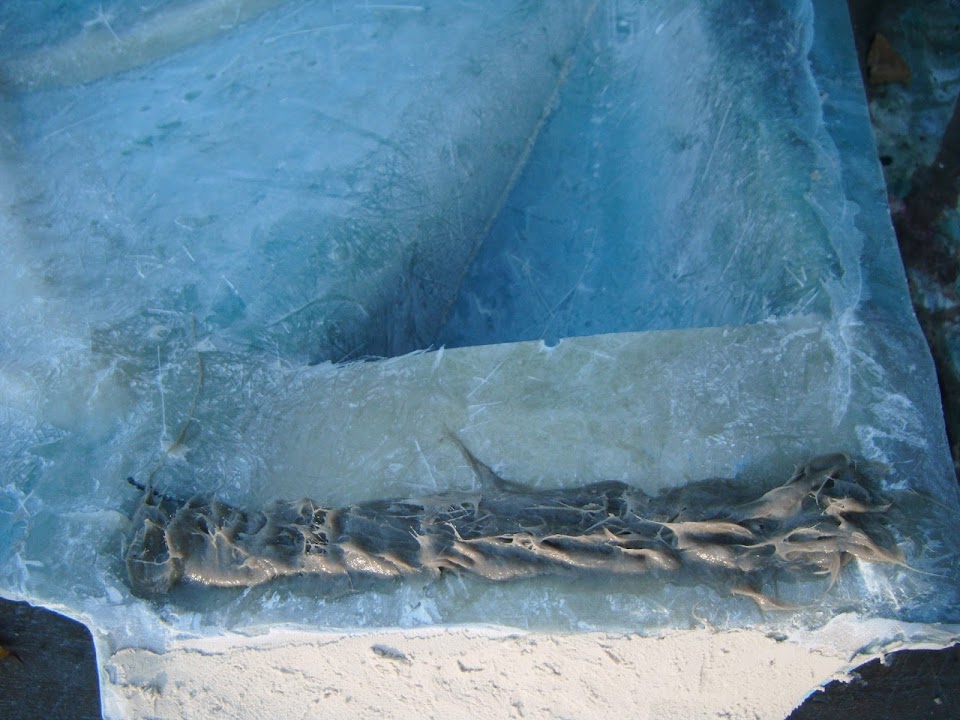
Despite trying to roller the water out, the new fibreglass sections I completed ended up looking like this.


Whilst I am no expert, I'm prepared to hazard a wild guess that this is not good news.

Everything is now covered up for the night, so I will see what it looks / feels like in the morning.

Worse case scenario is that I have to cut it all out and start again. :icon_evil:

Perhaps I should just hibernate for the Winter and start again in the Spring. :mmph:

Take care, Paul. :)
21 Oct 2014, 4:33pm
Paul has the water affected the cure or just made the surface look cack? if its the later I would just put another layer on top and get on with it :-) if its a soggy gloopy mess then cut it off, you have accomplished so much so far that to skimp now would be madness.
Keep your pecker up (and dry)
Mac
21 Oct 2014, 6:44pm
Thanks for sharing your woes with us Paul!

I know its wrong, but I could not help laughing! You made it sound so funny! I could imagine you fighting the wind and all the mess, and it all getting worse.

I have had similar experiences, like just when you think it can't get any worse, it does!

I would think Mac has good advice, what he said would be what I would suggest. I would guess the rain did not affect the cure.

Don't worry, you'll sort it!
22 Oct 2014, 7:21am
Mac – I’ll be able to check the fibreglass later on today.
With a bit of luck it will be set hard and just need a tidy up. :pray:
If not, then I will just bite the bullet and start again.

Scottie – For full comic effect, imagine my hands covering in fibreglass stands.
I had to use my elbow to ring the doorbell so my children could open the doors for me.
I got the worst of it off with kitchen roll, which promptly stuck to my hands instead. :rolleyes:
So I was in the rain, with kitchen roll on my hands, trying to get the covers on.
Did I mention having a major sense of humour failure at the time? :icon_wink:
22 Oct 2014, 9:06am
I feel for you matey! i do bits-n-bobs on mine in 1hr chunks in the evening after work, so i'm also sometimes not thinking straight and some of the... interesting ... things that i've done would fill a small book!

I have a LOT of respect for all of the effort you are putting in as personally i hate fibreglassing and that is why i'm just using single and double thicknesses to grab things in place and fill holes/seams and then skimming with bonding paste or filler to finish. And then i'm using the bonded and riveted alloy for the strength on my Miglia build as I still remember getting the good lady wife to cut hardened resin out of my hair when i was doing the Sammio :(
22 Oct 2014, 9:35am
davecymru wrote:
I still remember getting the good lady wife to cut hardened resin out of my hair when i was doing the Sammio :(


Hair you say. Hmm...


Got to agree about the 'glassing - there must be a way of doing it without ending up looking like the curse of the mummy, but I never worked it out.
22 Oct 2014, 3:27pm
Dave - Glad to hear I am not alone on the comedy car building stories. :icon_wink:

Mr T - I live in hope of wearing a grin like yours when my car is finally on the road. :pray:
At which point I hope all the grief from building the bloody thing will simply melt away.

- - - - - - - - - - - - - - - - - - - - - - - - - - - - - - -

You couldn't make this up...
Unfortunately the heavy rain downpour did mess up the fibreglass curing process on the top layers. :icon_sad:

I was able to pull sections away by hand (with a surgical glove on it).


Whilst it was clear that some lower layers had set...


I didn't want to take a chance and the took the whole lot out, which was a very messy job.


It reminded me of my granddad shearing sheep in places, as I ground the over lapping areas back to the good fibreglass below.

Eventually I was right back where I started yesterday.


In an effort to learn from my mistakes I made two changes:
- A slightly higher catalyst mix so the resin would go off faster.
- I only worked on one corner at a time, rather than do the whole lot in one go.

This turned out to be a very good move as I finished one side...


But no sooner had I started cutting the matting for the other corner, when it started to rain.

So much for the "dry all afternoon" weather forecast. :rant:

Thankfully there was no drama today & the first cover was on before the rain really got going.


I even managed to get the outer cover on and everything else moved into the porch before it was too late.

I really hoped the rain would quickly blow over, but it is still coming down as I type this.

So I may call it a day and try to finish the job tomorrow, weather permitting. :rolleyes:

Until next time, take care, Paul. :)

PS
This Friday, the Euro Millions' jackpot is a mind blowing £150 million!
Although given my recent run of luck, I might be wasting my £2 on a ticket. :der:
23 Oct 2014, 3:29pm
Wednesday - Evening:
Drizzle prevented me making any more progress yesterday.
So when it eventually dried up I just removed the covers, turned the body shell the right way up & put the covers back on.
( As it simply collects rain water if I leave it upside down. )

Thursday:
Today I carried on where I left off when the rain started and got the other corner covered in fibreglass.


I also added some extra matting along various section of the rest of the rain channel.

So for the second, and hopefully the last, time, I can declare the basic rain channel complete. :cool:


Like yesterday, I used a slightly increased catalyst mix, so it didn't take long for this to set pretty solid.

At which point I tidied up the "inside" edge of the channel to ensure it wasn't stuck to the lid itself.


Then the body shell was carefully turned over and the temporary hump fixing brackets were removed.


My run of luck doesn't seem to have improved, as first my small blade broke.


Which meant I had to finish the cut in the hump with the broken end piece.

Then the cutting disc frayed, making a slightly wider cut until I finally noticed it.


But eventually all the cuts along the boot lid edges were extended until they joined up.


At which point the whole lid could be removed.
( Although this did required me to lie underneath the body shell and push up with my feet! )


All the moulding foam stayed in the channel.


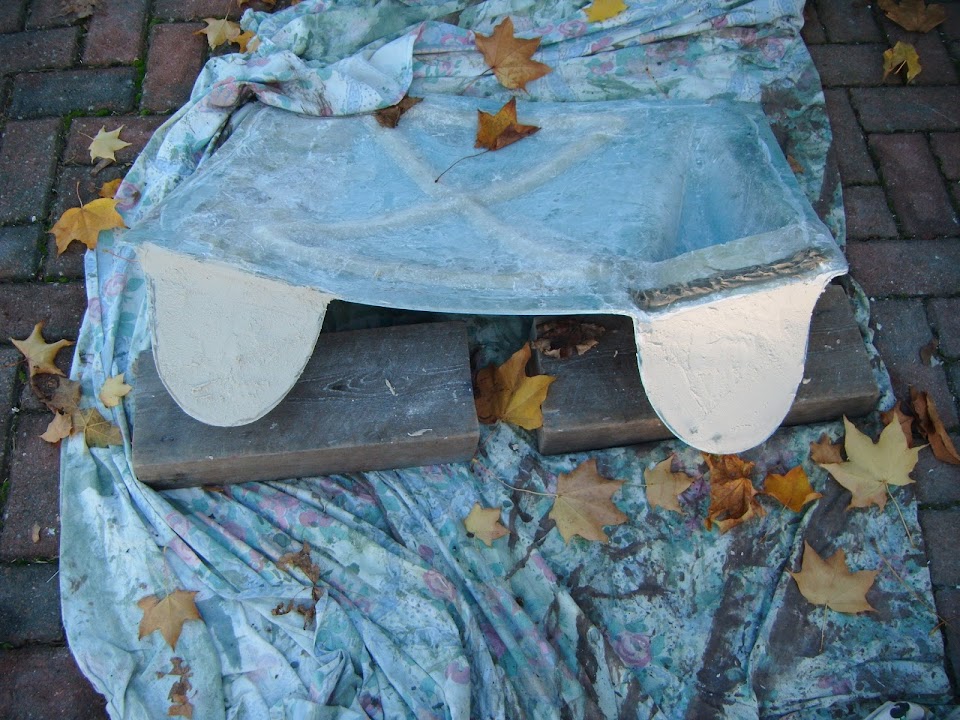
But once I had picked all of that out I was left with this.


Clearly there is a ton of work to do before I can call this job finished. :rolleyes:

But I started by making two cardboard templates for the "faces" of the cut humps on the body shell.


The boot lid itself also needs two faces.


Hopefully these "faces" will guide the rain into the channel, and keep it out of the boot area. :pray:

At this point, I got a bad feeling about the weather and I had stuff all over the place.


So I decided to call it a day, rather than risk getting caught out yet again.

After moving the body shell into position, I put the boot lid back on to check the fit.


Thankfully, both the lid and body shell have retained their shape. :cool:

- - - - - - - - - - - - - - - - - - - - - - - - - - - - - - -

DVLA - I just spoke to the person who I've been writing to at the DLVA.
As I wanted to check that my last letter had actually arrived in Swansea.
( I used their pre-paid envelope this time, but sent my main case by recorded delivery. )
By chance, he had just read the letter and my "Catch 22" situation.
He believes that the build needs to be 100% complete and vehicle taxed before the V5C can be changed.
I did mention all the other Sammios with V5Cs changed on unfinished projects that remained SORN until MOT day.
He doesn't believe these followed the rules and I can't use them as a precedent anyway.
( Each case is judged on its individual merits. )
The next step is that he will pass my case on to his supervisor, noting my comments, to see what they say.
So it is completely out of my hands now and I will just have to wait for the "verdict".

Until next time, take care, Paul. :)
23 Oct 2014, 4:42pm
Good job on that boot lid Paul. It has turned out well I think.
By the time you get the end bits in place the whole thing will be quite robust!
23 Oct 2014, 4:43pm
That picture of Mac looks a bit like that bloke from Kazakstan!!
23 Oct 2014, 4:47pm
Sorry that was actually a picture Paul sent me of him celebrating, this ones me:

23 Oct 2014, 6:06pm
Bloody hell Mac! You need a haircut!!!
23 Oct 2014, 7:04pm
Mac & Scottie - Thanks chaps. :cool:

I'm really pleased with the overall shape of the lid.

I know there is a lot of tidying up to do, but it should work.

Cheers, Paul. :)
23 Oct 2014, 8:15pm
when you make the end panels, are you making them to the inside edge of the humps?
23 Oct 2014, 8:28pm
Gary - Yes, the cardboard currently represents the finished surface, which will be a layer of filler.

So the fibreglass "off cuts" will be 'glassed into place inside the hump, with filler added to give a smooth finish , level with the edges.

I only had a brief look today, but this is going to be a bid harder to do than it sounds. :rolleyes:

So I may look at fixing some mesh inside the hump and then using the chopped matting / resin mix I used to "bulk out" the scuttle as an alternative.

As you can tell, I am making this up as I go along.

Cheers, Paul. :)
25 Oct 2014, 4:23pm
My Humps... My Humps... My Lovely Hillbilly Humps...
Too wet to get anything done yesterday & I didn't win the £150m lottery jackpot either. :rolleyes:

Thankfully I made a bit of progress today...

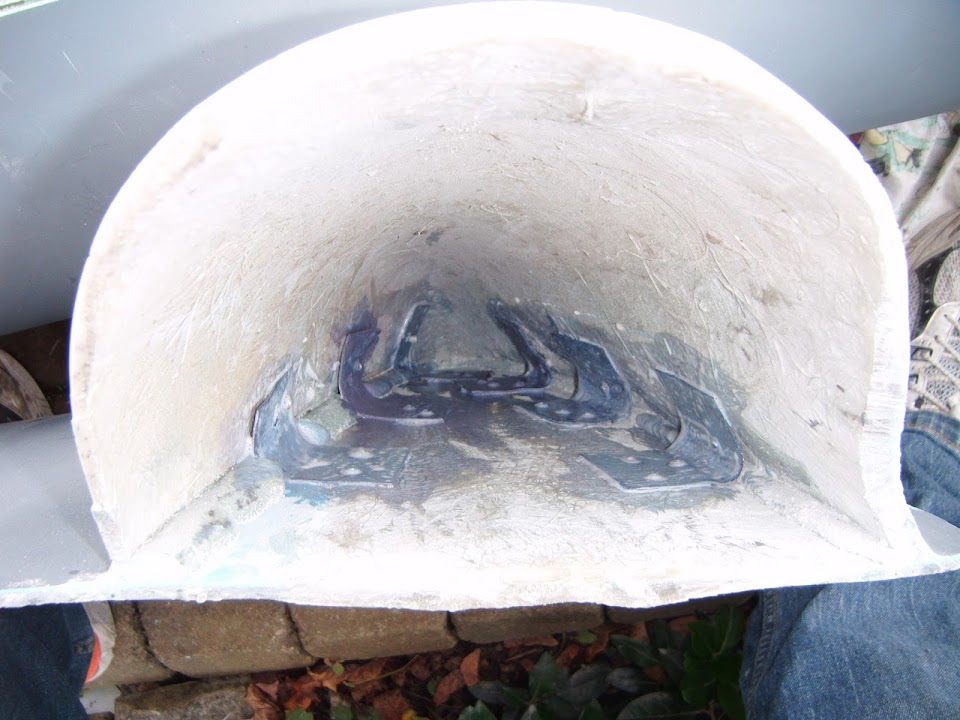
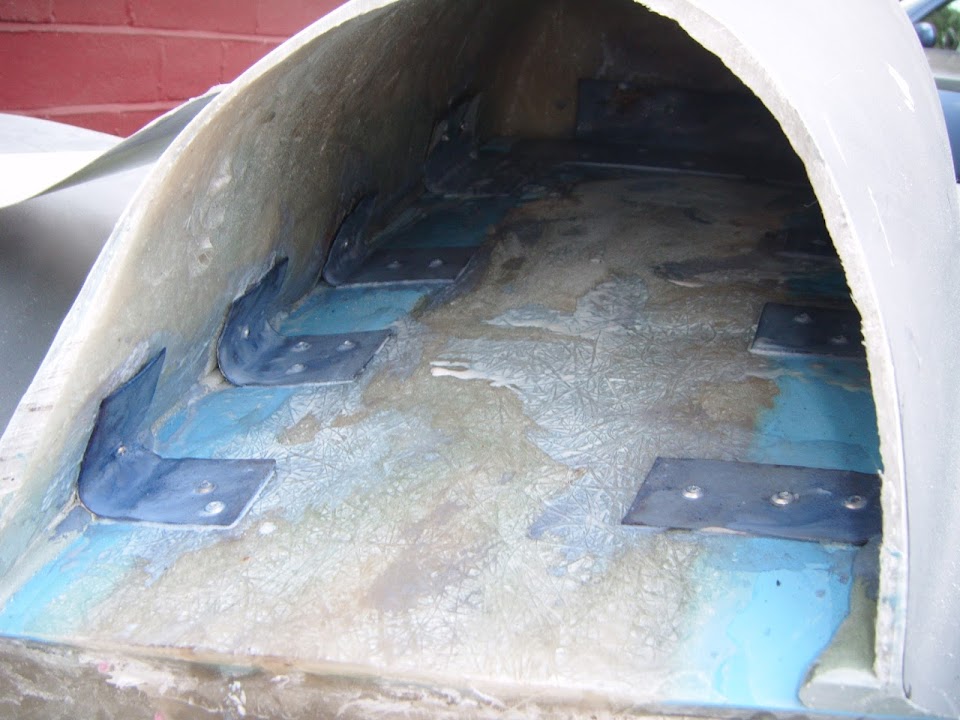
I applied some Kurust to the brackets on the inside of both sections of the passenger hump.


As the time the hump filled with water due to a leaking tarpaulin didn't help much. :icon_evil:

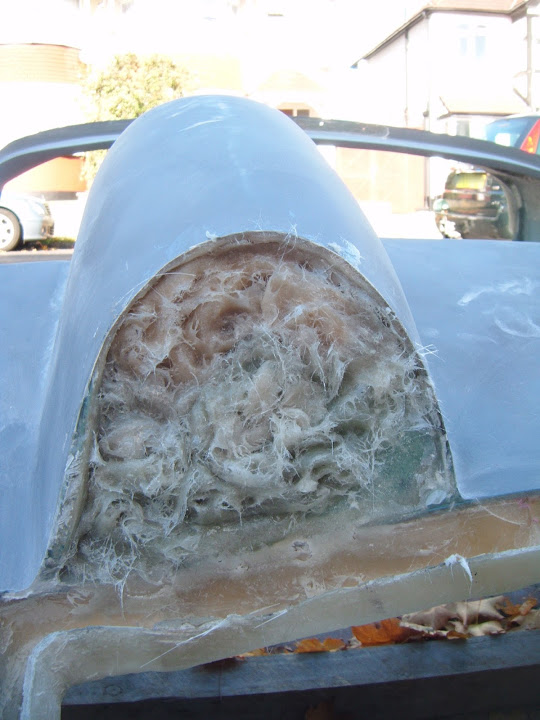
The good news is you can see how well the fibreglass filler stuffed inside the edges of the hump worked.


So I am pretty confident that the passenger hump is not going anywhere.

Later in the day, when that had set I covered the insides with a coat of stone guard.


Looking at that last photo on my computer screen, it does appears that I may have missed at bit. :rolleyes:

I did use some masking tape along the edge i was going to apply fibreglass to.


In the meantime, I worked on the driver's side hump "face" panels, starting with the lid.

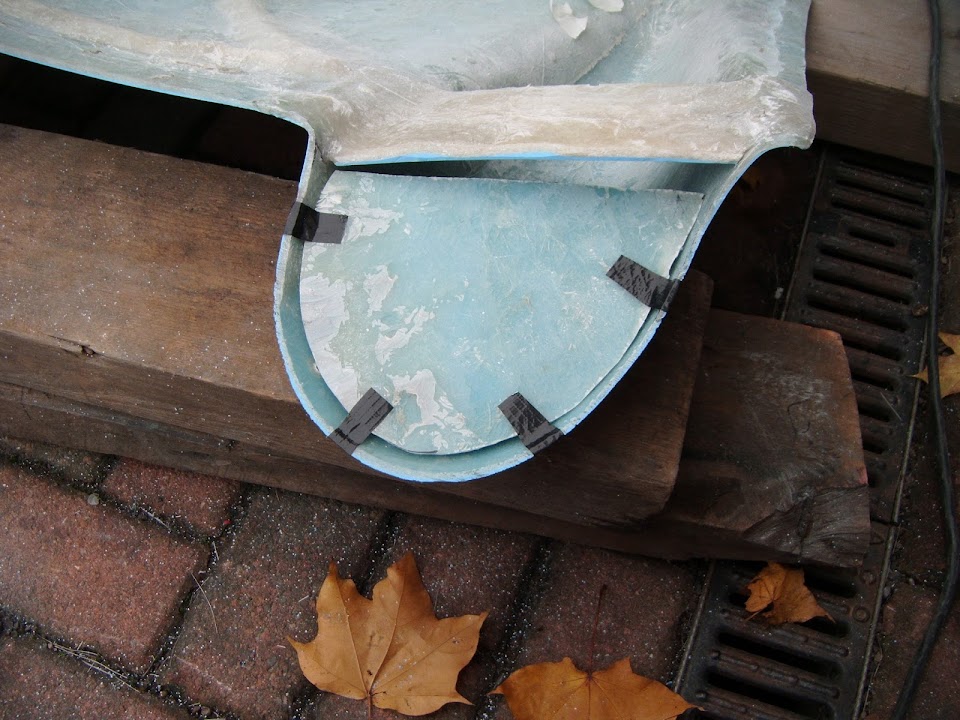
I trimmed my cardboard template so it matched the inside profile of the hump.

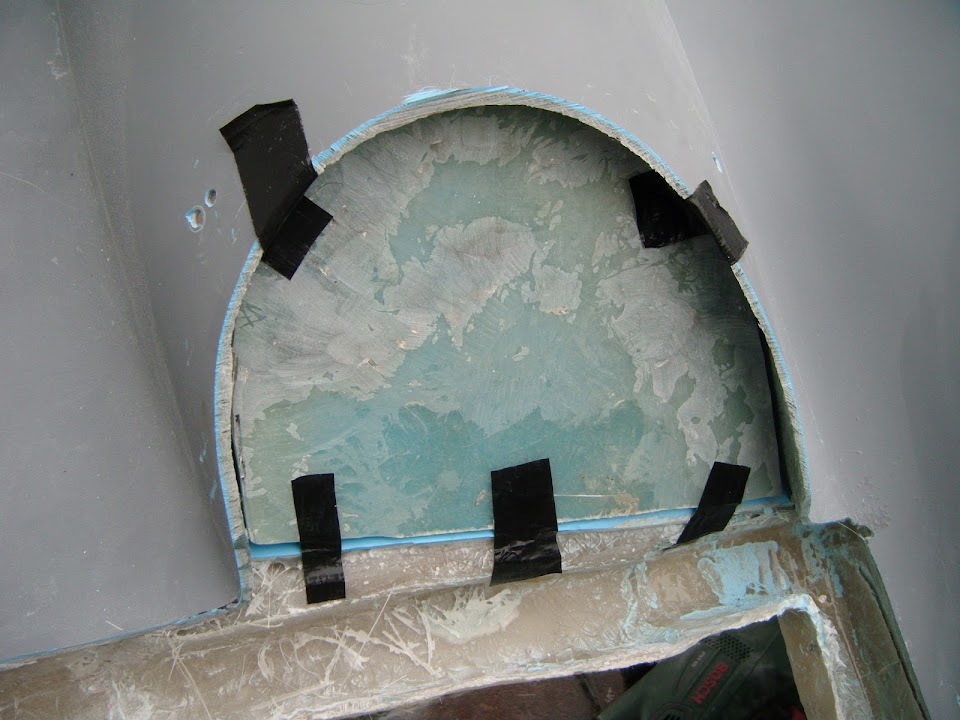
Then I marked it these up on the fibreglass piece I'd removed from the bonnet grille opening.


Although as soon as I did, I remembered I want the rough face, not the gel coat, facing outwards.

So I turned it over and started again. :rolleyes:


I then ground off the excess bonding paste and took these deliberately oversized panels...


And tested / marked / trimmed / repeat until I got a best fit & held them in position with some tape.


I then repeated the process for the passenger side.


By the time the stone guard was dry, I was ready to add some matting along the edges, avoiding the tape.


End of Part 1...
25 Oct 2014, 4:26pm
My Humps - Part 2:
I needed to make a filler piece for the driver's side lid and used a bit of yoga mat.


When the first round of fibreglass had set, I removed the tape and did round 2.

I allowed some bits of matting to stick out beyond the edges, as I will trim them back later.

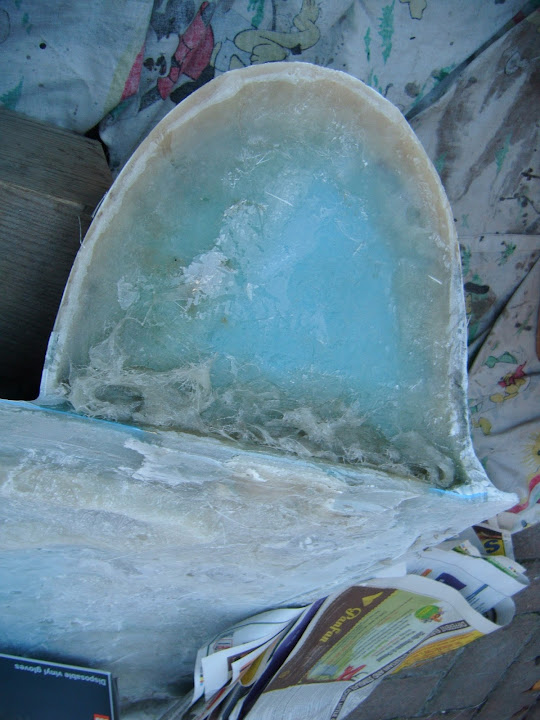
Body Shell - Driver's Side


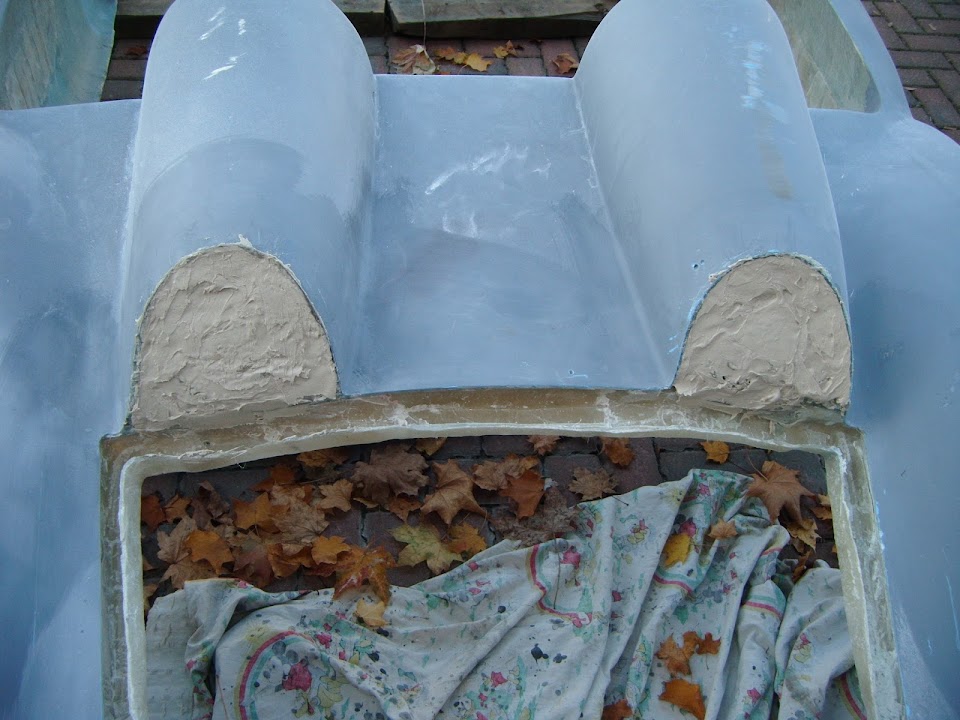
Body Shell - Passenger Side


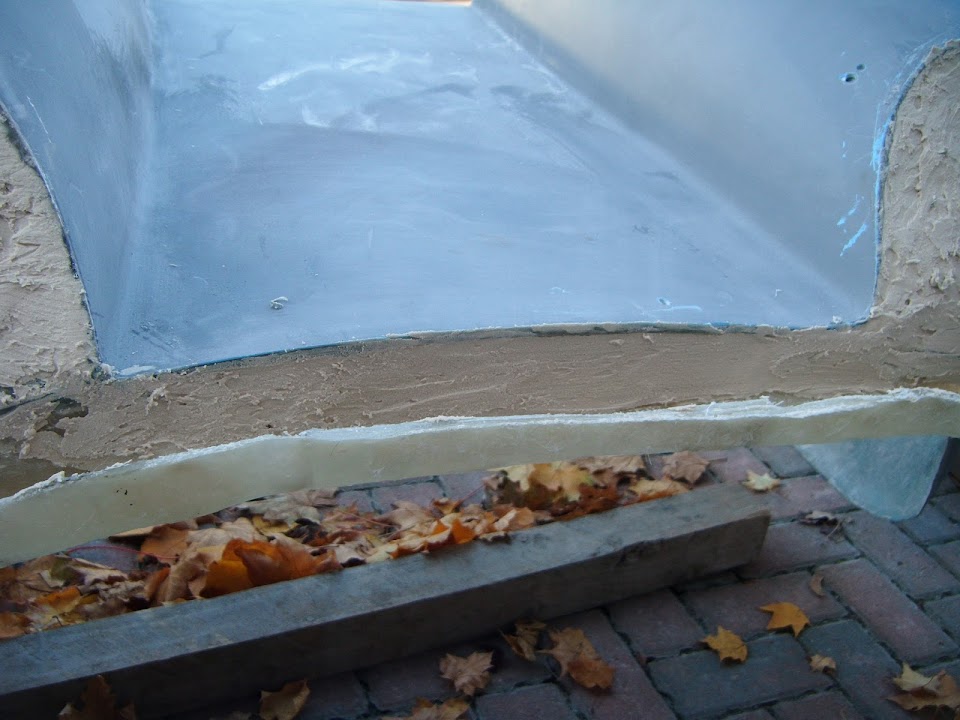
Boot Lid - Driver's Side


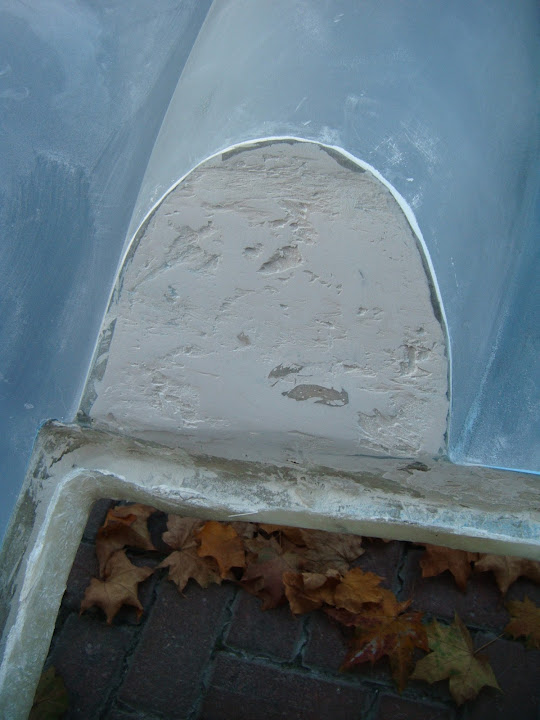
Boot Lid - Passenger Side


Unfortunately, by the time I'd finished the second round of fibre glassing, the sky looked like this.


So I tidied everything away and tucked the lid underneath the body shell like so.


By the time all the covers were on and the driveway was cleaned, the sun came back out. :rant:

But I'm happy with what I managed to get done today.

Next Steps:
- Add a layer of chopped matting and resin to give the basic shape.
- Add a layer of body filler to provide the smooth finished surface.

Until next time, take care, Paul. :)
27 Oct 2014, 4:16pm
Inching Along...
Today I tidied up the stray bits of matting that extended beyond the edges of the humps after Saturday's work.

I also pulled out the foam mould from the driver's side boot lid hump.


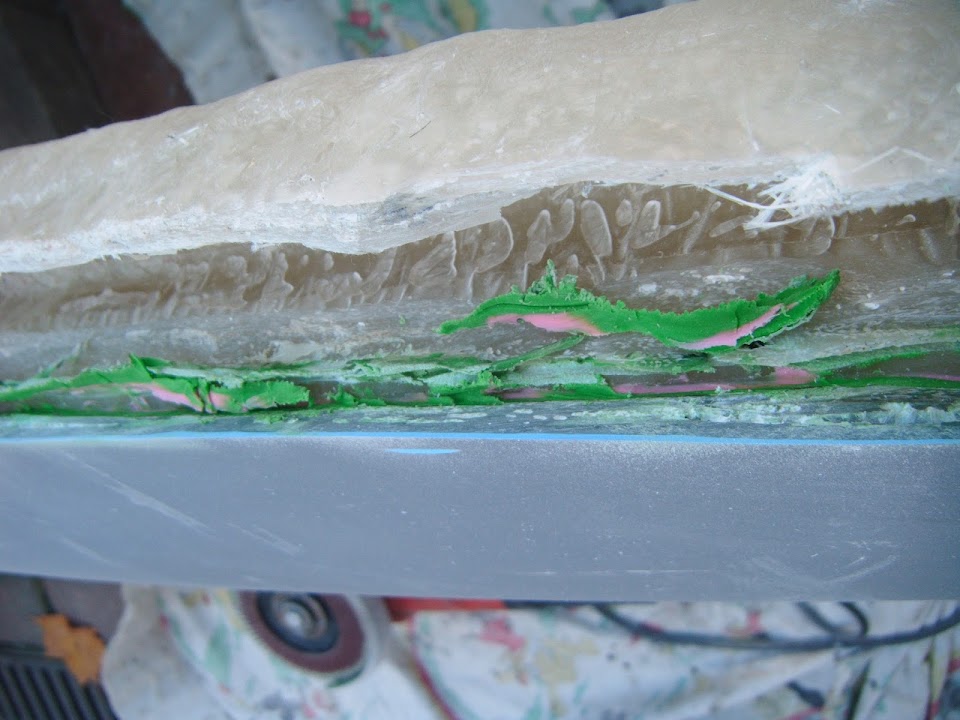
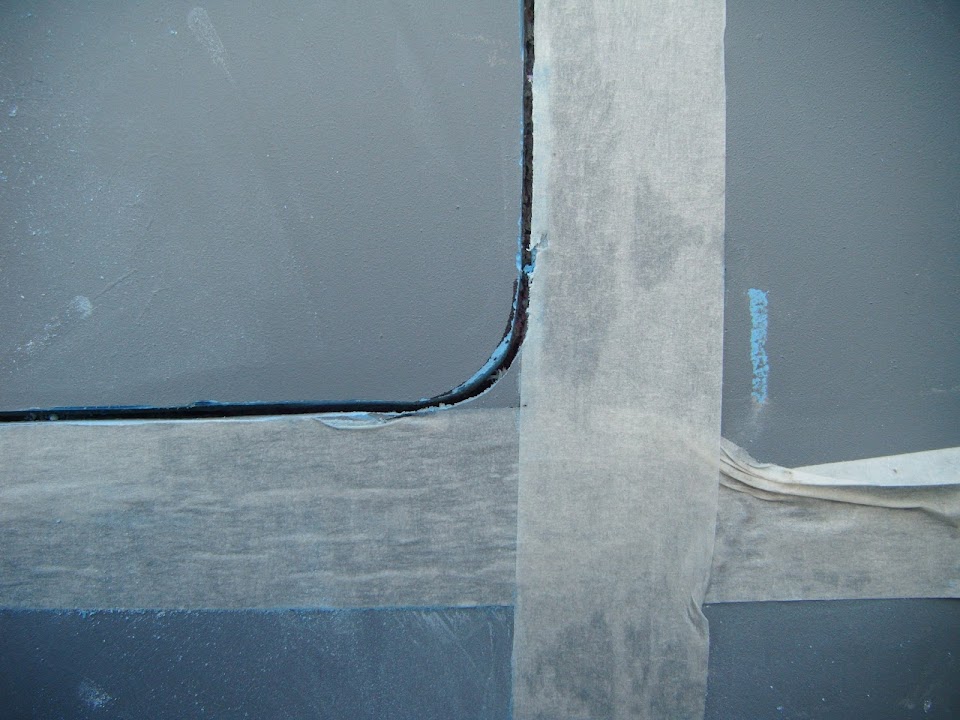
You can also see that the "tidying up", actually left a gap along one edge.

But that is nothing that a bit of filler can't sort out and at least all the hump face panels were set very solid.

I also ground out along the bottom edge of the boot opening.


This was where I needed to add plastercine to patch the area I had accidentally cut through. :rolleyes:

A quick test fit highlighted a few areas that needed another trim to ensure a good fit.


I made up two more batches of "home brew" fibreglass filler using my bag of matting scraps and old resin.


This was batch #1.


Batch #2 completed the body shell humps.


There was also a little bit left over to cover the bottom edges of the lid humps too.


There was a short break while I went out with my daughters (half term starts today) to get some pumpkins.


We will probably be carving them on Thursday.

Anyway, the filler was set nicely by the time I had the chance to get back to the car. :cool:

A quick rub down with my angle grinder gave me a great surface for the body filler to stick to.


And after that was was applied...


I also added some filler to smooth the transition from the area between the humps into the rain channel.


There was just enough left over to skim the gap in the lid hump.


After the first round of sanding, just to get a very rough shape, the humps were looking like this.


I know there is still a long way to go, but it does look like this will work well when finished. :cool:

Despite it being a lovely day, I have too many other chores to do, so that is it for now.

Until next time, take care, Paul. :)

PS
I measured the length of the rain channel lip, so I could order the same sealing strip as Swifty.
http://www.carbuildersolutions.com/uk/edge-seal

I've also ordered some locking bonnet pins to hold the lid in place.
http://www.ebay.co.uk/itm/FLUSH-MOUNT-LOCKING-BONNET-PINS-SAXO-106-205-306-GOLF-GTI-CIVIC-FIESTA-ESCORT-IM-/400742014345?pt=UK_CarsParts_Vehicles_CarParts_SM&hash=item5d4e15dd89

These are the same as the ones I already have for the bonnet.
27 Oct 2014, 4:56pm
Paul don't mean to be a downer Donny but how are you going to hinge this? from the humps? if so how are you going to get access to the inside to fix them or bond in some strengthening plates?
Other than that its coming along nicely mate

Mac
27 Oct 2014, 6:40pm
Mac - Don't worry, making boot hinges work was beyond my ability. :rolleyes:

In reality I am "simply" making a big access panel, rather than a traditional boot lid.

There will be 4 bonnet pins to hold the "lid" in place.

I've also bought a boot handle to help me lift the lid off.

Hopefully it will work something like Tribute's Kobra...


Cheers, Paul. :)
28 Oct 2014, 7:30am
Hey Paul, that is starting to look good, I must be honest and say I did have my doubts, as it looked so complicated at the beginning, but it is up and working!
That link you gave out may well be useful for me, as the channel rubber looks like just what I will need too.
Keep going!
28 Oct 2014, 5:02pm
Scottie - The boot lid was another "leap of faith" job, where I didn't know if I could do it when I started.
But as more filler goes on (see below), I am very pleased with how it is actually turning out. :cool:

- - - - - - - - - - - - - - - - - - - - - - - - - - - - - - -

Slow, but positive, progress...
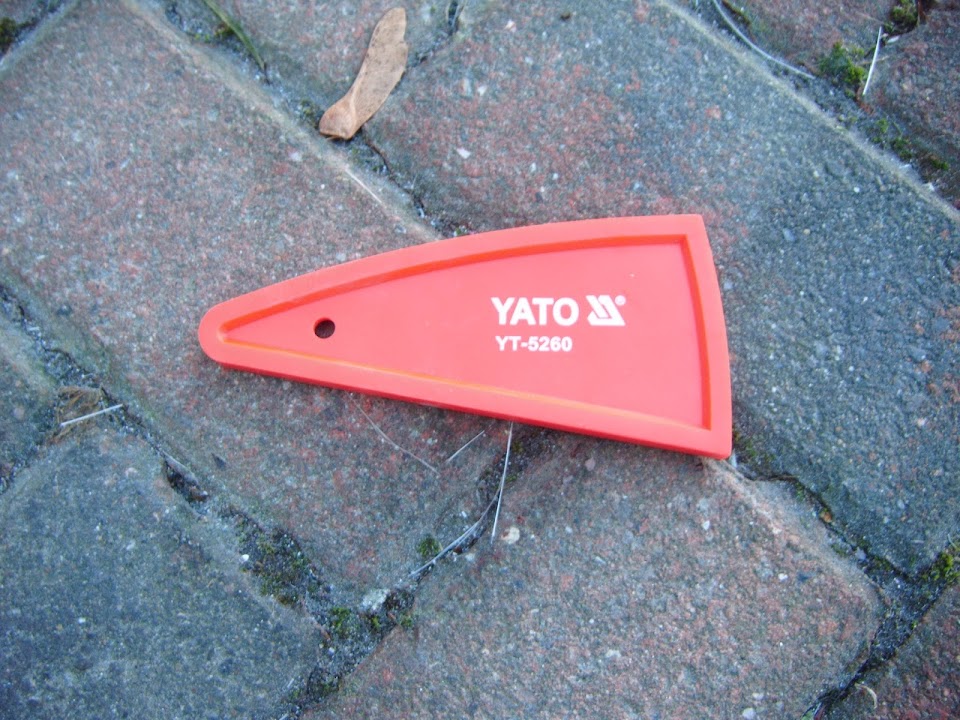
After two days of looking (on & off) I finally found the silicon spreader I ordered a while back and then put "somewhere safe". :mmph:


Mac was singing the praises of his baker's tool when doing his body work & this was the closest thing I could find.

I started the day sanding and tidying up the edges of the body opening and one "inside" surface of the rain channel.

This was one of those jobs that was time consuming for only a marginal improvement, but that is what I needed.

Then I used my new spreader on the body filler I added to body shell humps and it gave a pretty smooth finish. :cool:


The lip humps don't look at good as I was desperately trying to use up the last of the filler mix before it set. :rolleyes:


My driveway is North facing, so staying pretty cold in the winter, so I'd added a healthy amount of hardener to the filler.

Next I used some "normal" fibreglass filler along the bottom edge of the boot rain channel.
( Where the plastercine repair had been. )


I then used was was left over on another section of the rain channel to improve the strength / finish.


That was the end of "Round 1".

It was the afternoon, before I got another chance to mix up some more filler and start Round 2...

But first of all, I countersunk all the holes in the body shell where the fixing brackets had been.


Then i used fibreglass filler along all the remaining inside edges of the rain channel.


So there is now a smooth flow from the body shell into the rain channel.

Notes:
- I will add filler to the bottom of the rain channel when the body shell is back on the frame.
( As I want to ensure than any water collected will flow in the right direction. )

- I need to re-work some sections of the lip that will support the seal.
( So I'll leave adding any filler until that work is done. )

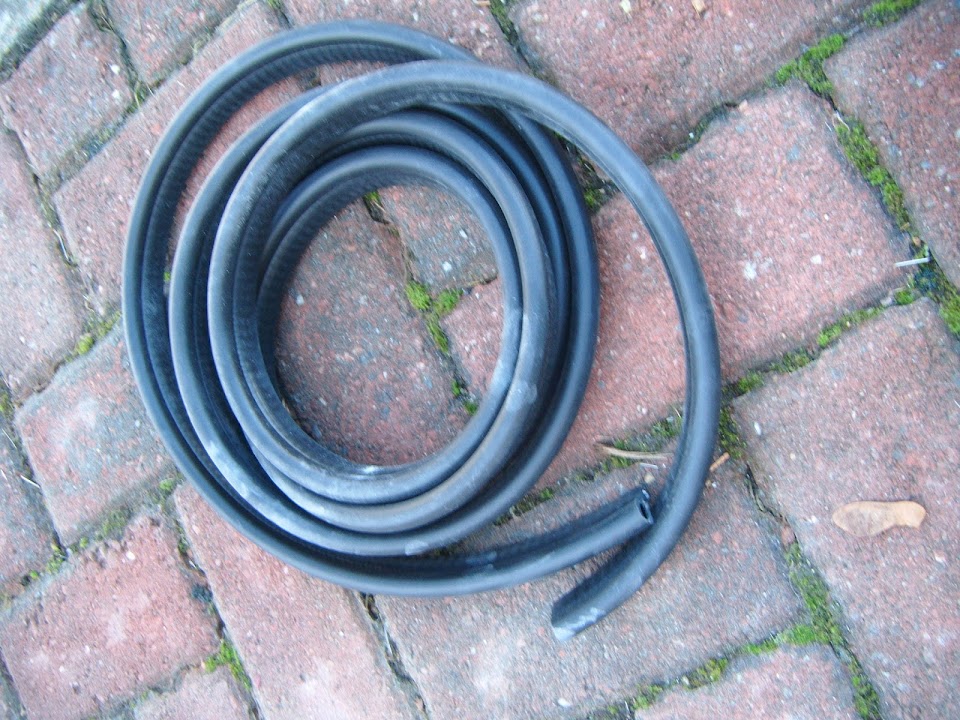
Talking of the boot lid seal, top marks to CBS, as the seal arrived today and I only ordered it yesterday afternoon. :cool:


When I have finished tidying up this side of the rain channel, it will sit here.


I also added some fibreglass filler along the "bridge" in the driver's lip hump.


This will be ground down to match the contours of the rain channel beneath it, before getting a skim of body filler.

The last bit of this batch of filler went into both sides of the fixing holes, which is why it is a bit messy.


Then I mixed up some normal body filler for both sets of hump faces.


Then I just needed to leave all that to set for a while, before coming back out to do some more sanding.

End of Part 1...
28 Oct 2014, 5:03pm
Part 2:
This is what the filled fixing holes came out like.


It was just a shame I forgot to do the matching holes in the boot lid. :rolleyes:

Still, at least the poor cuts I made on the two top corners of the boot opening are looking miles better now.

Before:


After:


I couldn't resist giving the body shell hump faces a quick dusting with some etch primer.


I will finish the preparation for paint off along with the rest of the body work at a later stage.

Even though the faces on the lid still need a final skim of filler, I ended up spaying them while I was at it.


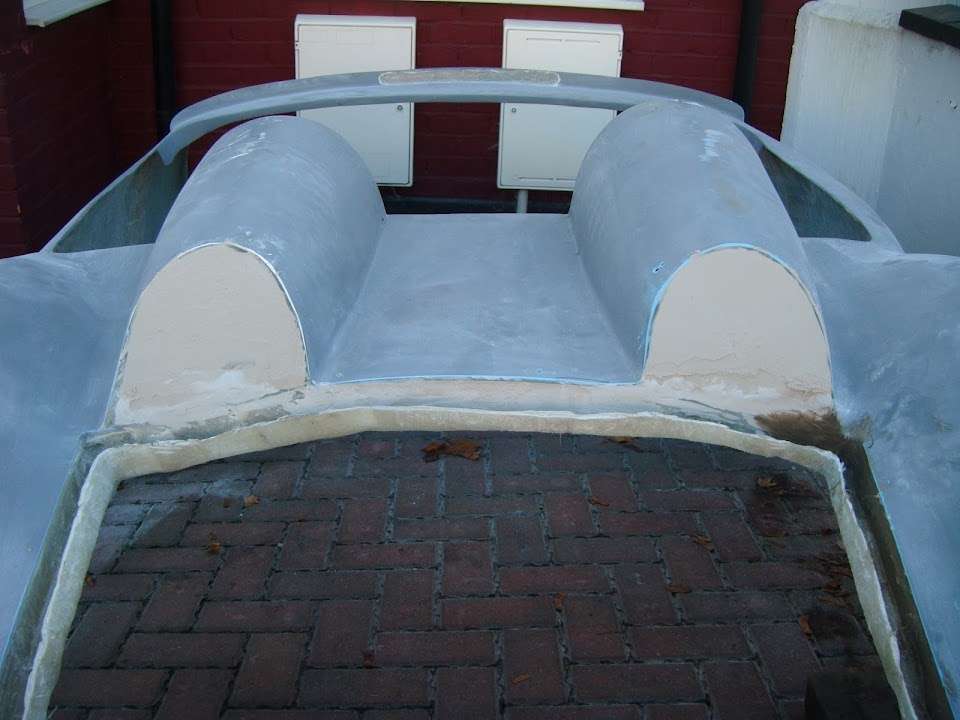
Thankfully, after all this filler work, the boot lid still sits nicely in the opening.


I still have to finish tidying up all the gaps around the lid, but I do like the way the cut goes through the humps. :cool:


Just ignore the big resin smudge that needs to be cleaned up & the fixing hole that needs to be filled in. :rolleyes:

Until next time, take care, Paul. :)