MadaboutKitcars

This is a read-only archive of the old Madabout Kitcars forum. New posts and replies are no longer possible, but every thread is still here to browse and read.

Another Cordite Is Born ...

15 Sep 2014, 8:36pm
Its really turned out well, but why do you need the bit of plastic in the middle? will it sit upright or on a slant?
15 Sep 2014, 8:55pm
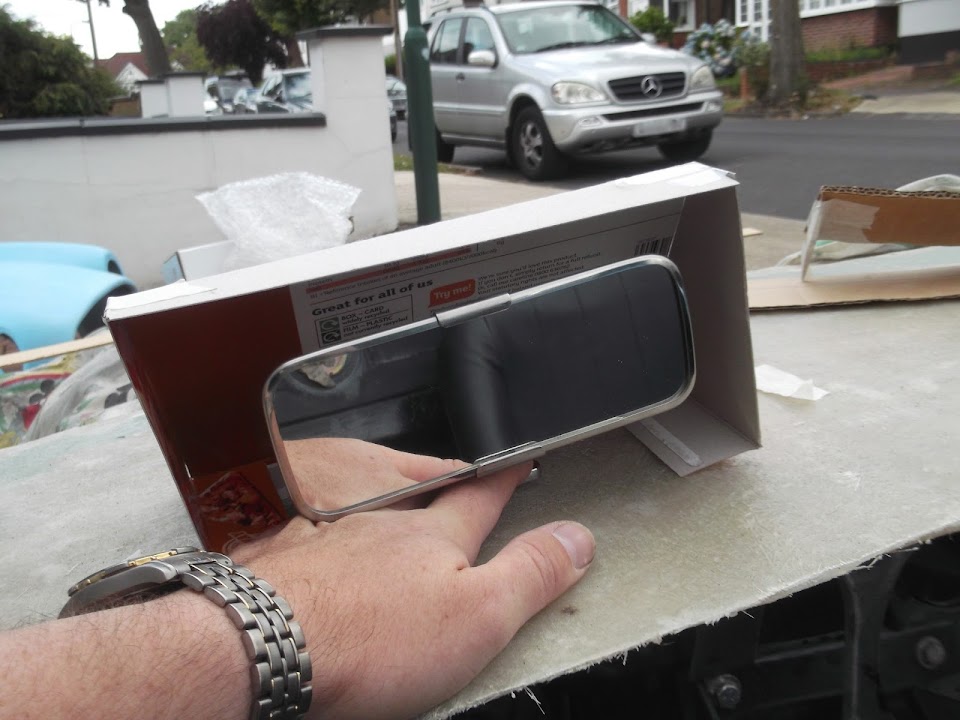
Gary - Unfortunately the perspex still has some white protective film on both sides.

Once peeled off, it will look something like this.


The basic idea is to stop the rear view mirror being blown about when driving along.

Although initially I was looking at building a fixed cover something like this.


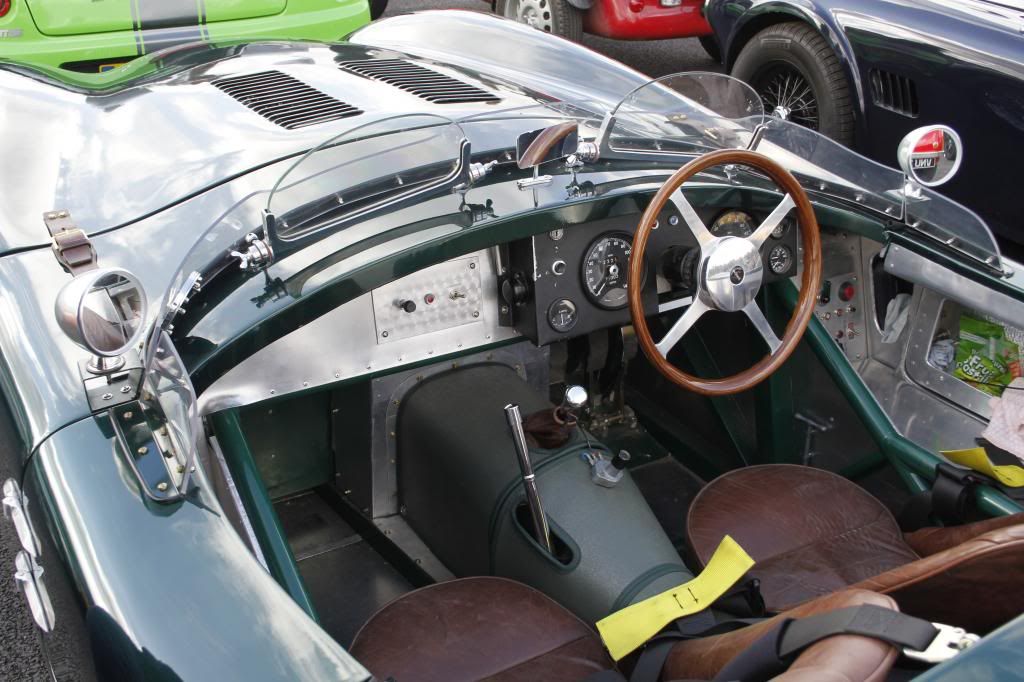
But I took a lot of inspiration from this photo of a C-Type Jag. :cool:


The perspex will follow the gentle angle of the lip on the vertical plane, plus a slight bend on the horizontal one, again to match the lip.

Hope that makes sense, Paul. :)
15 Sep 2014, 8:56pm
Paul i think you must be very pleased with how it has turned out, it looks the part.

I think that when you reach a stage like this it's very satisfying as all those small tasks come together so you can see something major happening with the build, although some of the things you have tackled are not on the small scale.

Keep it up and you will be on the road in no time.
15 Sep 2014, 10:00pm
Paul well done it's been a lot of hard work for you but it's paid off it looks the business now, absolutely great
15 Sep 2014, 10:07pm
Wow I'd say you should be feeling pleased with yourself

From a gaping hole to a nigh on finished scuttle
16 Sep 2014, 6:13pm
Swifty, Thurcroft Flyer & RedRatBike - Thanks for all the positive comments gentlemen. :cool:
I have had quite a few low / dark points during this build, but yesterday was a really good day.
It made all the extra work required for my Frankenstein build finally seem worth while.

- - - - - - - - - - - - - - - - - - - - - - - - - - - - - - -

"Filler On"
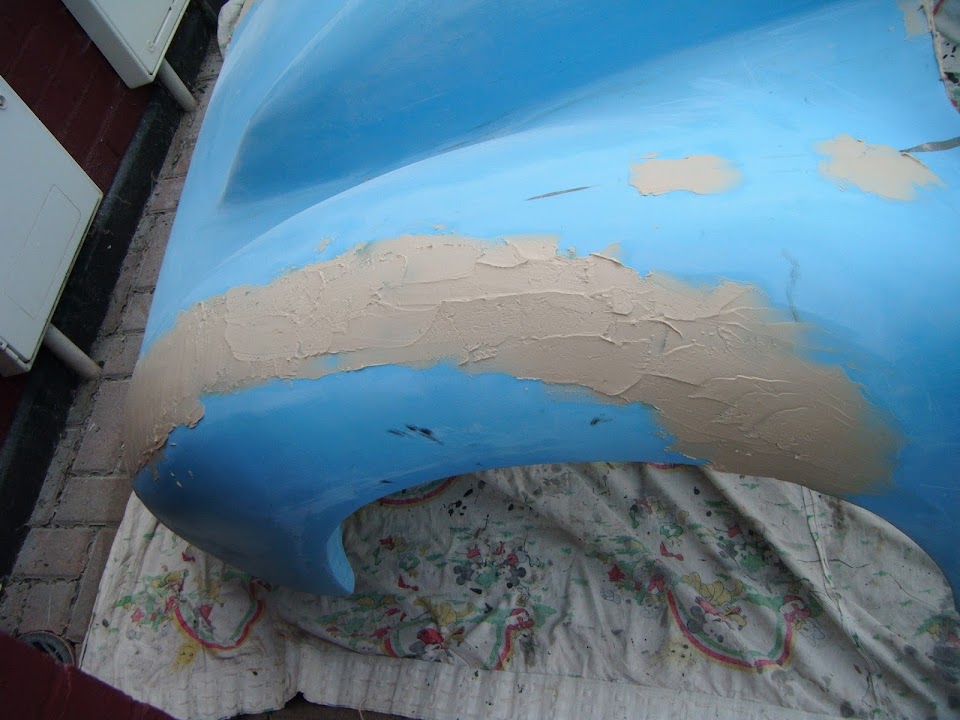
When I trimmed the wind break lip, it left a horizontal cut across a thick build up of fibreglass.

So today, I "softened" the top of the lip by using my grinder to put an angle at the top of the front face.


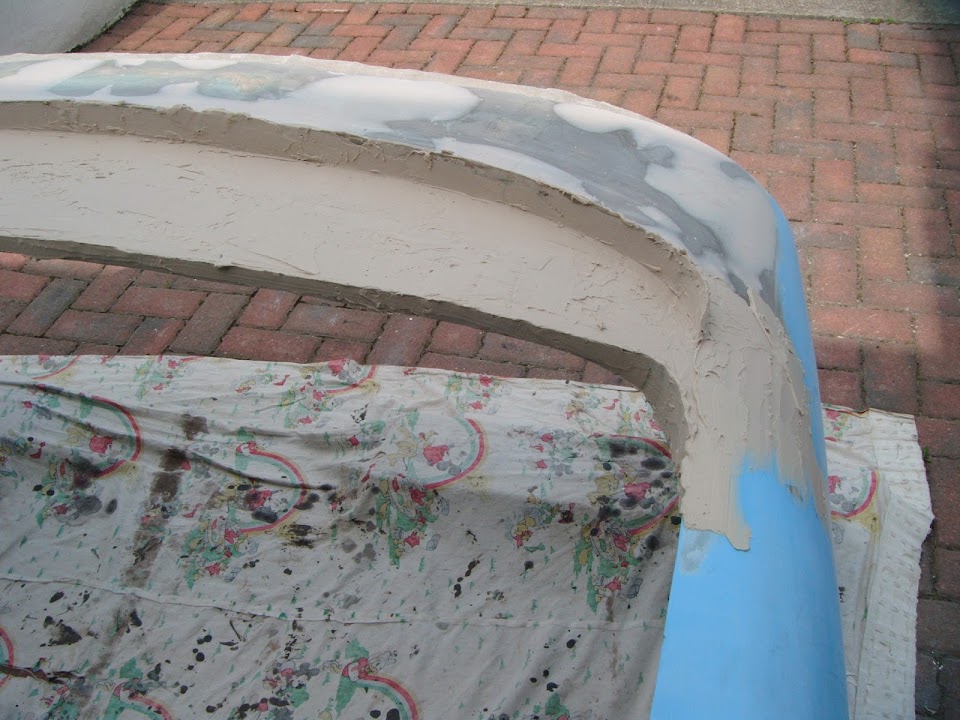
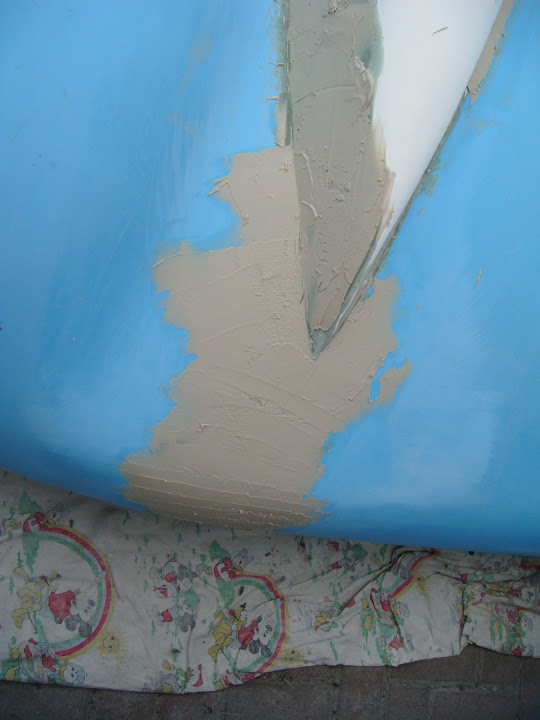
Then I mixed up and applied some "normal" body filler, but make a real mess of it. :icon_sad:

I either mixed up too much filler, added too much hardener, took too long to apply it, or a combination of all three!

It is not some much the mess, but the fact that tidying it up requires some serious effort.

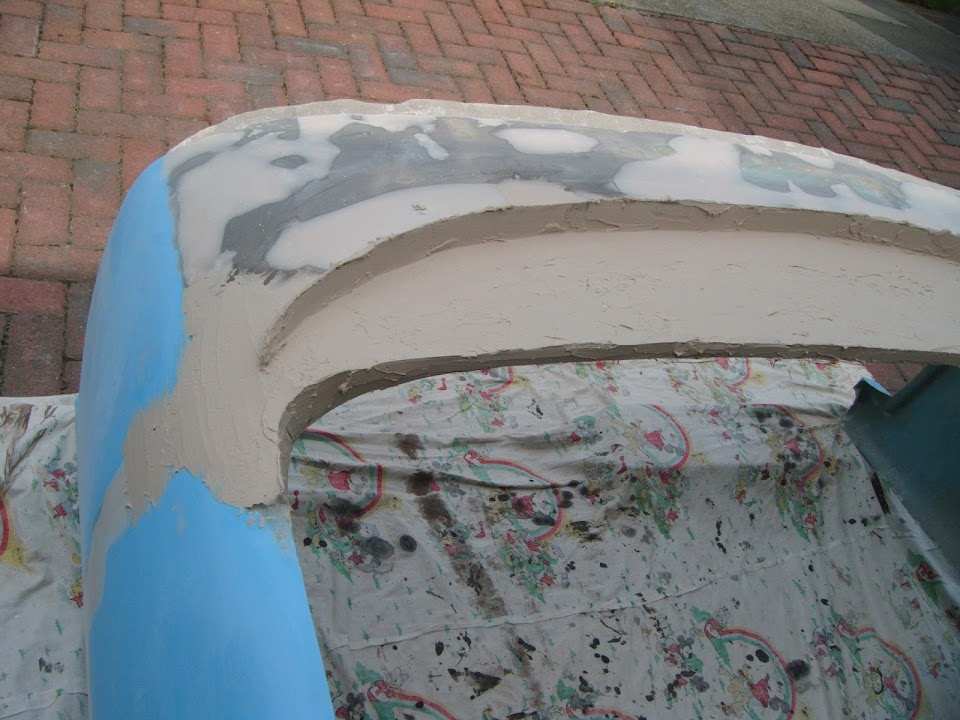
Anyway, enough of the excuses, I covered the inside of the scuttle and the wind break lip.


Plus the remaining parts of the front wind break lip.


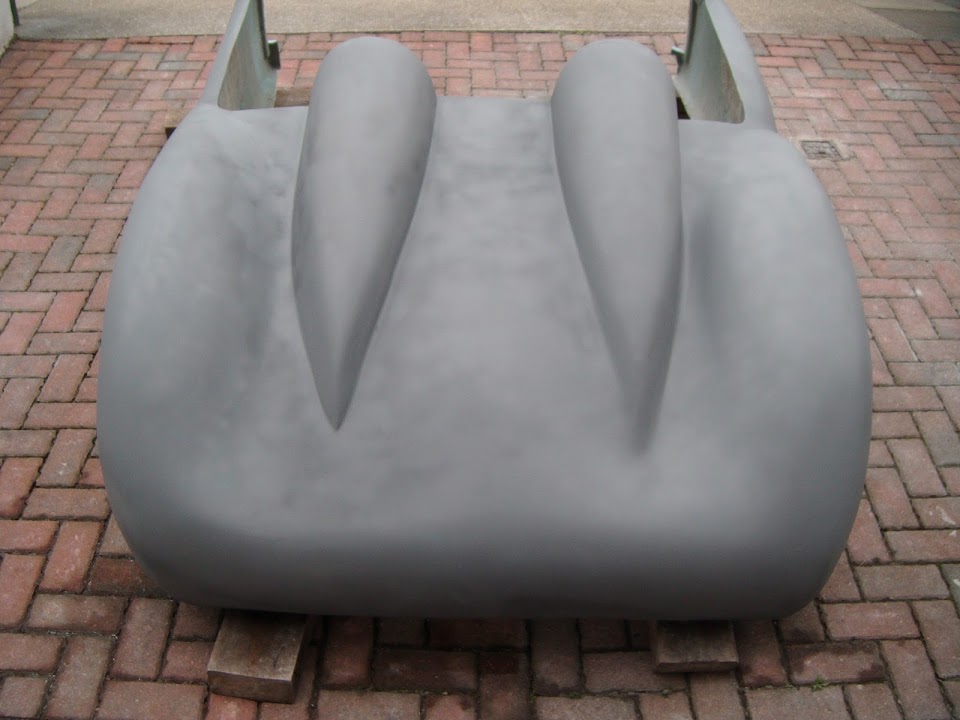
Then while I was at it, I also covered the areas I'd been previously working on at the rear of the body shell.


That was now I left it until the filler had gone off sufficiently...

- - - - - - - - - - - - - - - - - - - - - - - - - - - - - - -

"Filler Off"
I spend hours trying to put some sort of decent shape back into the areas I'd applied filler to.

There was filler dust everywhere and I ended up hosing down the body shell along with the drive at the end of the day.

At least it now looks a lot better than when I started...


I'm finding it hard to see the "wood for the trees" during this sanding down process.

Whilst some small areas are now pretty smooth, I think the overall effect is still slightly undulating across larger areas.

So the plan is to give the work I have done so far a light dusting with etch primer.

Hopefully, that will give me a better idea of what amount of body work I still have to do.

So until next time, Paul. :)
16 Sep 2014, 7:50pm
Smoooooooothe...
16 Sep 2014, 8:09pm
Looking forward to seeing it all one colour Paul. I think it's going to look mighty fine. :)
16 Sep 2014, 9:47pm
Guide coat required to see the high and low spots when you sand again I'd say
17 Sep 2014, 4:55am
Not to give you a panic attack, Paul, but I'm quite curious to learn how you're going to mate the bonnet to your new scuttle!
Baz
17 Sep 2014, 6:15am
Alpha wrote:
Not to give you a panic attack, Paul, but I'm quite curious to learn how you're going to mate the bonnet to your new scuttle!
Baz
didnt he have a template???
17 Sep 2014, 7:17am
Gary - Smooth - Yes, Perfectly Straight - No. :rolleyes:

Mr T - Fingers crossed that most of the body shell will be in one colour later today. :pray:
And it is good to see your avatar photo now has a finished car in it. :cool:

RedRatBike - I hope to tackle all the detail "prepping for paint" work at a later stage.
At this point I just want to get a better idea of what I am up against in the quest for a half decent looking car.
Finally the template was for the old scuttle shape, which I just couldn't make work, so see answer below.

Alpha - Don't worry Baz, I've done enough worrying about the bonnet for the both of us. :icon_wink:

The basic plan is to cut a lot of slits in the back end of the bonnet is the same way that Micky1Mo did.
( Although I will not be adding the section of Spitfire bonnet in his photo, because I've extended the scuttle forward. )

So something like this...


However, all this depends on how Mac's bonnet hinge works and what I have to do to copy it.

As I may end up extending the body shell in the same way that Mac did.


In which case, I would cut the slightly curved bonnet lip in the scuttle to give me a straight edge.
( The 'curve' was required to join up the mis-matched sides of the body work. )

And let's not forget I still need to slice the bonnet in two, again like Mac.
( This ensures the driver's front wheel is covered by the bonnet arch. )


So clearly there is still a lot of work ahead of me, but at least I will enter that phase feeling good about the body shell work. :cool:

Anyway, hopefully I will be back later with some etch primer on...
17 Sep 2014, 12:41pm
Then, as if by magic,
.. the shop keeper appeared.

Sorry, wrong programme. :icon_wink:

No, today's magic trick is the power of paint. :cool:

Any part of the body shell that hadn't not been worked on (and there wasn't much :rolleyes:) was given a light sanding.

Then the whole shell was cleaned with acetone and left to dry before I started spraying the etch primer on.

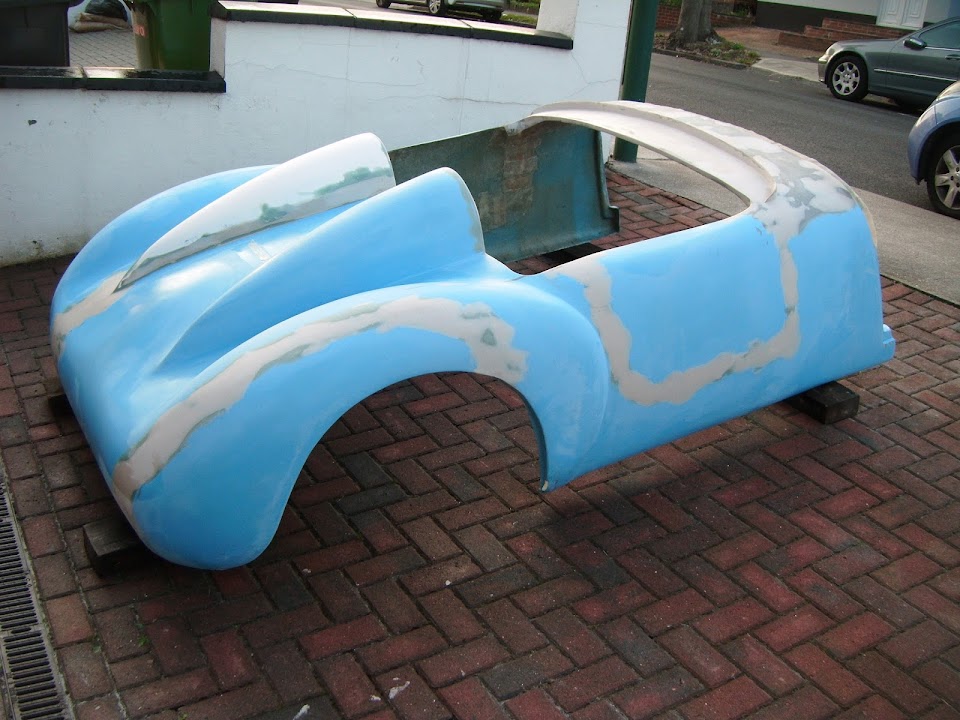
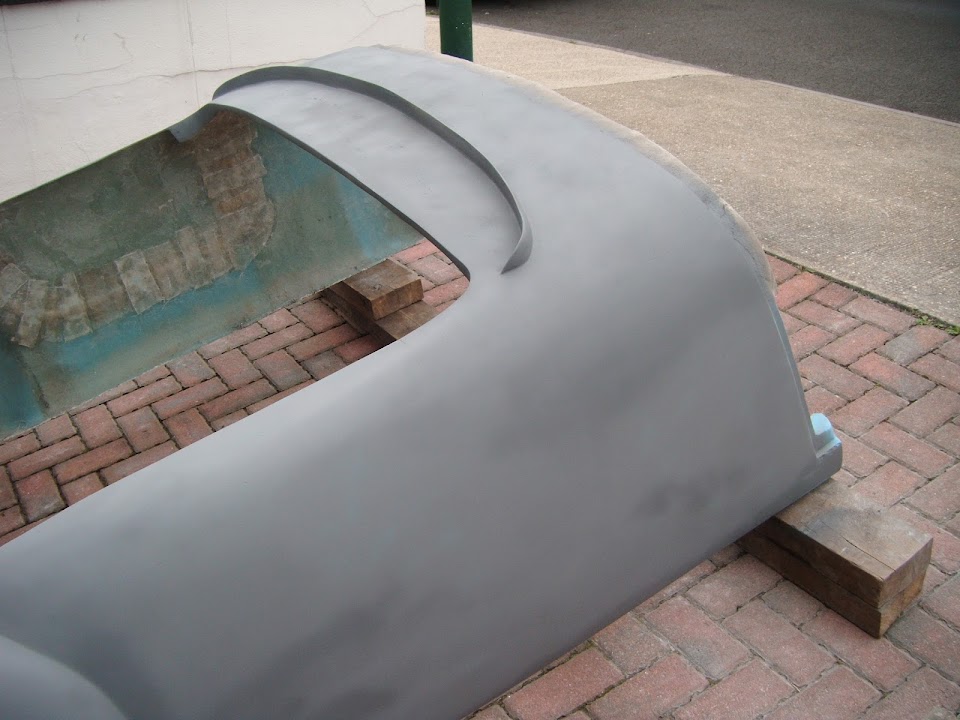
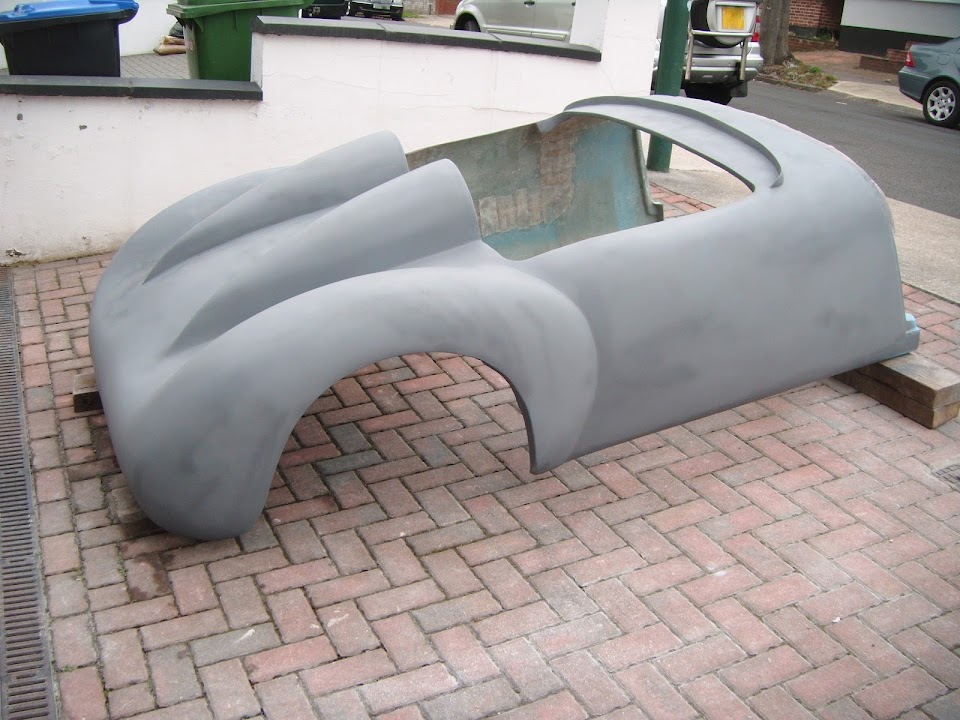
So without any further ado, allow me to present my body shell as she looks now...


Unfortunately, all the "Before" photos are now on a different page, so here is a copy of one for comparison.


Although I was particularly pleased with this transformation.


Overall, I am amazed at how well the primer was able to "heal the wounds". :cool:

To "borrow" an expression I read on another forum, the body work has a good 50/50 finish...

"Good at 50 feet, or 50 mph!"

:drum:

I've watched all the work Swifty has to do in order to put some symmetry into his body shell. :eek:

But I'll live with all the symmetry issues that remain on my body shell in order to finish the car at all.

Especially as the primer has highlighted all the detail work I will still need to do before paint.

It might be a few days before I can do any more work on the car, but I am still a happy bunny. :icon_smile:

Until next time, take care, Paul. :)
17 Sep 2014, 12:55pm
That's looking much better Paul. Top coat on by Saturday then?
17 Sep 2014, 1:06pm
Looks lovely, all one piece now.
17 Sep 2014, 6:20pm
what the feck

Paul, I haven't been around the forum for a while and then I looked today and thought oh that's a shame Paul gave up on his bodywork and gave it to Chris over at Tribute to finish, oh wait a minute:jaw: what the feck wow wow wow I,m gonna say it again WOW. You must be as scottie says as happy as a dog with 2 d**ks. It really doesn't look like the same car, this is how the Sammio always should have been. well done that man.:eusa_clap::eusa_clap::eusa_clap::eusa_clap:
17 Sep 2014, 7:58pm
Paul that body looks totally different now, a lick of paint is a great moral booster and i am looking forward to putting the first coat of undercoat on.

Keep up the hard work, the light at the end of the tunnel is beginning to shine a little brighter.:eusa_clap:
18 Sep 2014, 7:27am
Mr T - Thanks, although I might just leave the car in primer & claim it is a rolling restoration. :icon_twisted:
Despite the amount of work required before painting, I am looking forward to some real colour.

Gary - Cheers, I can hardly believe the transformation myself. :eek:
It really supports what Mr T often says about people seeing the car on the road...
They see what the car has ended up looking like, not the trials & tribulations to get there.

UFO - Thanks, but will you behave, you are making me blush. :icon_wink:
At one point I did consider handing the whole project over to a professional to finish.
As I really did not think I would be capable of tackling the major problems I faced.
So I love the fact that, against all odds, I have managed to get to this stage by myself.
( Although I couldn't have done it without the help & support of this Forum. :cool: )

Swifty - Cheers, I must confess, the boost in morale was just what I needed.
Although some areas need some more detail work, other areas as effectively done. :cool:
I'm also looking forward to seeing the first coat of paint on your shell.
As I can now appreciate the extra work you are putting in to reach such a high standard.

- - - - - - - - - - - - - - - - - - - - - - - - - - - - - - -

Early Start:
With my wife's help, I lifted the body shell back into place first thing this morning.


Note:
The leading edge of the driver's side rear wheel arch will be "tucked in" when the body shell is bonded on.

Overall, I am still very happy with how this has turned out, as it retains the essence of a '50s racer. :cool:

I really admire the high standards that Swifty & Mac are working to on their Navigator (Cordite Mk II) builds.

But I am still happy with my previous decision to pick my battles, in order to win the war.

The next major job on the body shell will be to cut out a boot lid / access panel.

Because I have the longer, MkI, humps, this will present a bit of a challenge.

However, these days I do feel a lot more confident about taking this sort of task on.

Even if I am not 100% sure how it is all going to work when I start. :rolleyes:

Unfortunately, a ton of other chores and hosting another Bar-B-Q this weekend have to come first.

So until next time, take care, Paul. :)
18 Sep 2014, 7:55am
What an amazing transformation you have made to the tub. You are definitely not letting this build get the better of you! I think you have a lot of followers like me that tune in every day to see how you are getting on. Enjoy your Bar-B Q and look forward to the next instalment.
19 Sep 2014, 7:10am
Froggyman - Thanks, I really do appreciate the interest / support my build has. :cool:

The way I look at it, if an accountant with no previous welding / fibre glassing experience can do this, any one can.

Especially if they try to build any kit that isn't an original, Mark 1, Sammio Cordite! :icon_wink:

Following Scottie's build "next door" it is clear that prepping for paint is going to be a complete nightmare. :eek:

But I'll cross that bridge when I come to it, as there is plenty of other work to do before then.

Cheers, Paul. :)
19 Sep 2014, 8:13am
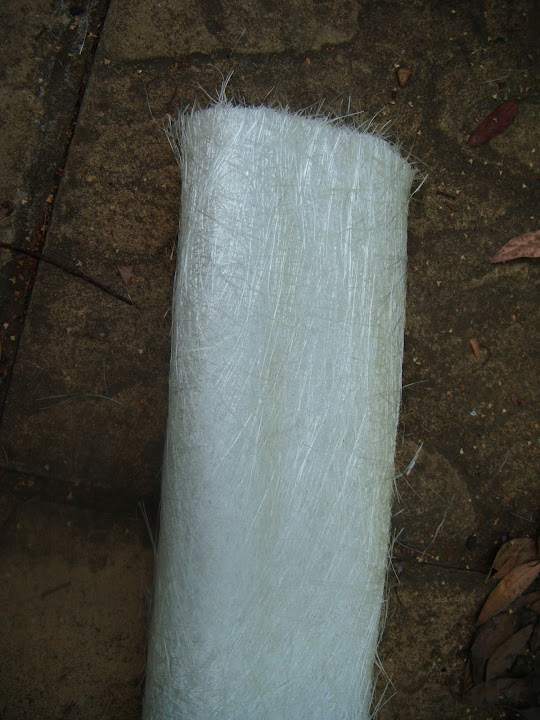
Paul, how much fibreglass matting have you used? Metre squared...
19 Sep 2014, 9:44am
Gary - I use the 600g weight of CSM (Chopped Strand Matting) and initially got a 5kg roll, which works out to be approx. 8.3m squared.


Although I had quite a bit of wastage along the bottom edge of the first roll due to me storing it vertically for over a year before using it. :rolleyes:

I'm now on my second 5kg roll, with the following work still to do:
- Boot lid drainage channel (+ re-enforcement of area & sealing off hump cuts)
- Cockpit interior
- Bonnet cut & shut

So by the time I've finished I doubt there will be much of the second roll left.

Having said that, clearly I have done quite a bit of fibre glassing work on this project.

Hope that helps, Paul. :)
20 Sep 2014, 8:03pm
Paul can you tell me where you bought the mini door latch from that you mention in a miglia thread Door Locks/Catches?
20 Sep 2014, 8:32pm
Swifty - The door catch came from the Stoneleigh Kit Car Show a few years ago.

AndyP57 picked them up for me, as he had the same set for his Cordite.

So I'm afraid I don't know the supplier. :icon_sad: