MadaboutKitcars

This is a read-only archive of the old Madabout Kitcars forum. New posts and replies are no longer possible, but every thread is still here to browse and read.

Deni's Miglia Build

28 Jan 2018, 12:28pm
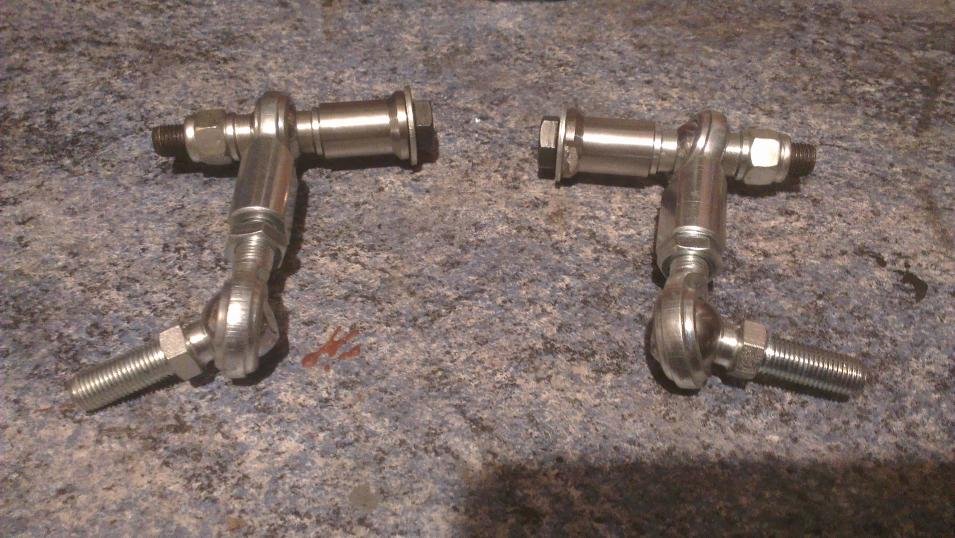
The drop links I bought are the ones from Wolfe Racing. I thing that Mr. Towed also installed these.


IMAG1626.jpg


The were not very difficult to install, even for the novice like me, but I did lost a lot of time trying to adjust the bolts length on each drop link to be as even as possible. I know that the length can never be the same, but the difference in the adjustment seem to be quite big, so if anybody has experience with these, please let me know if this is adjusted ok...

Photo below shows the left one (bottom adjustable bolt) which is screwed in much further than the right one.
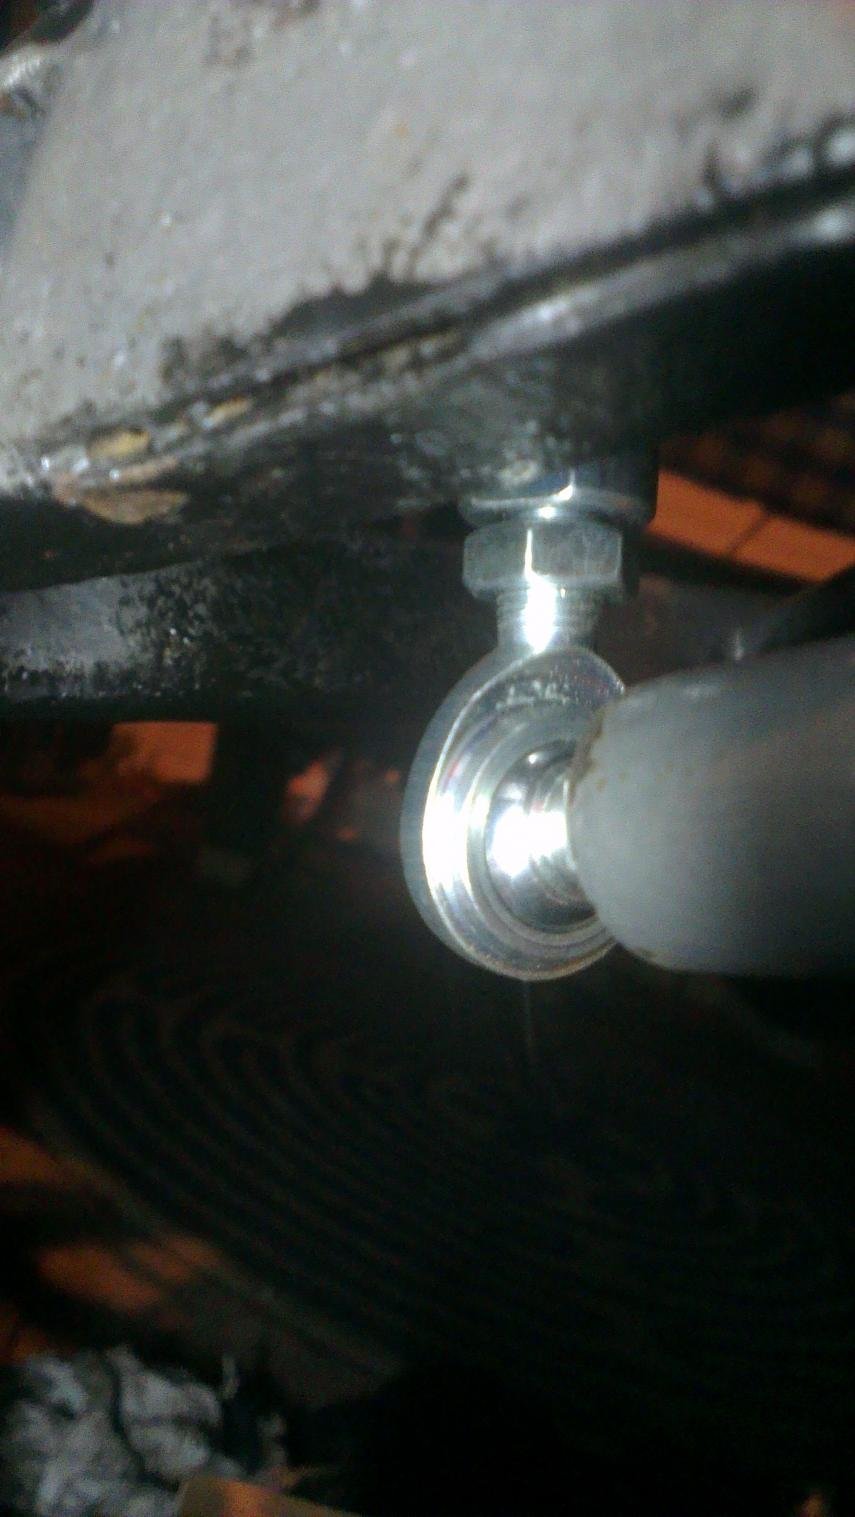

IMAG1631.jpg


This photo shows the right drop link. The difference in adjustment, to keep the tension right and the ARB in good position, is quite obvious and it seems to be too big?...so I am not sure if this is installed properly, but both drop link ball joints move freely when the car is on the wheels, as suggested in the installation manual.
I have expected a smaller difference in adjustment though and would feel more comfortable if the right side bolt was also a bit further in...any advice is welcome.
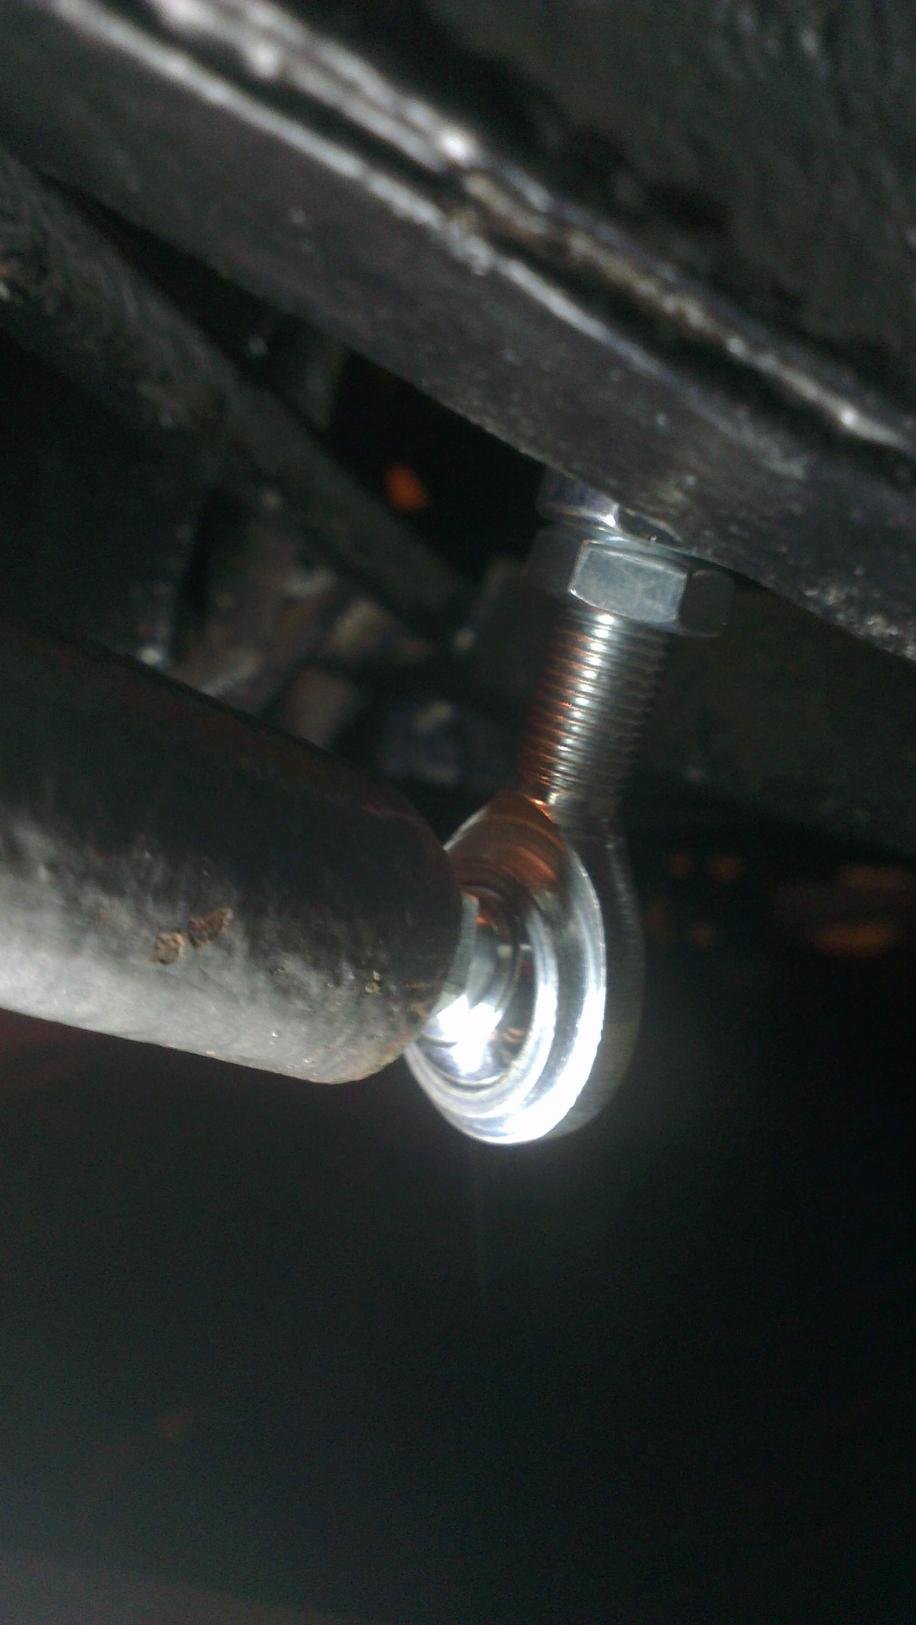

IMAG1632.jpg


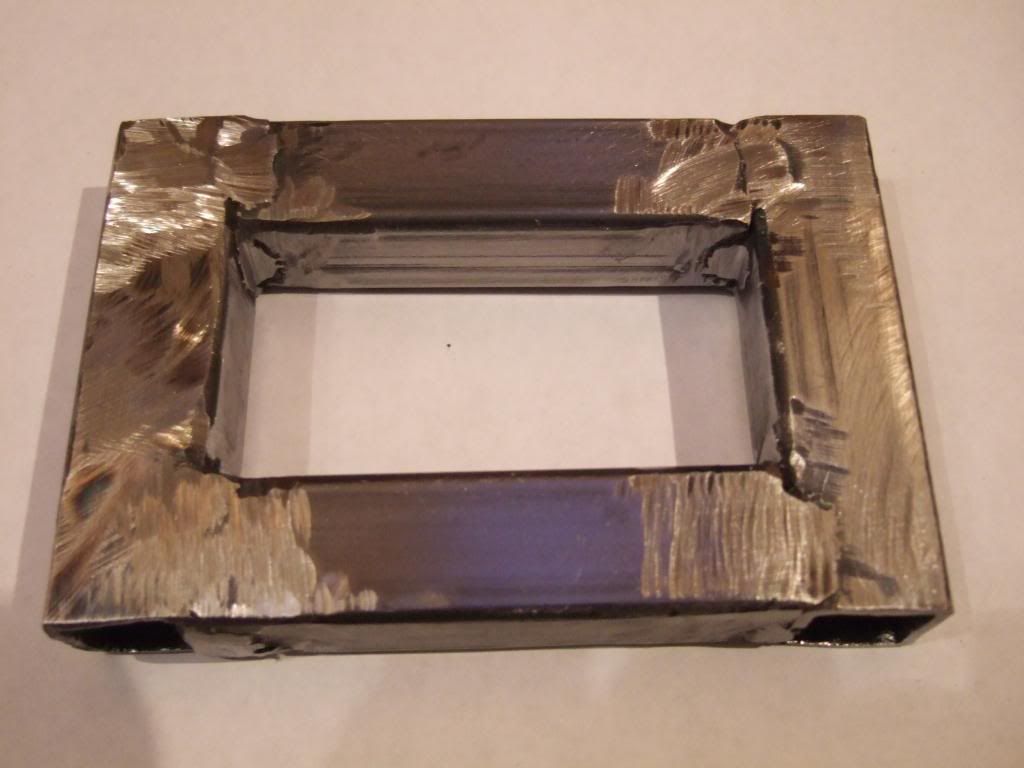
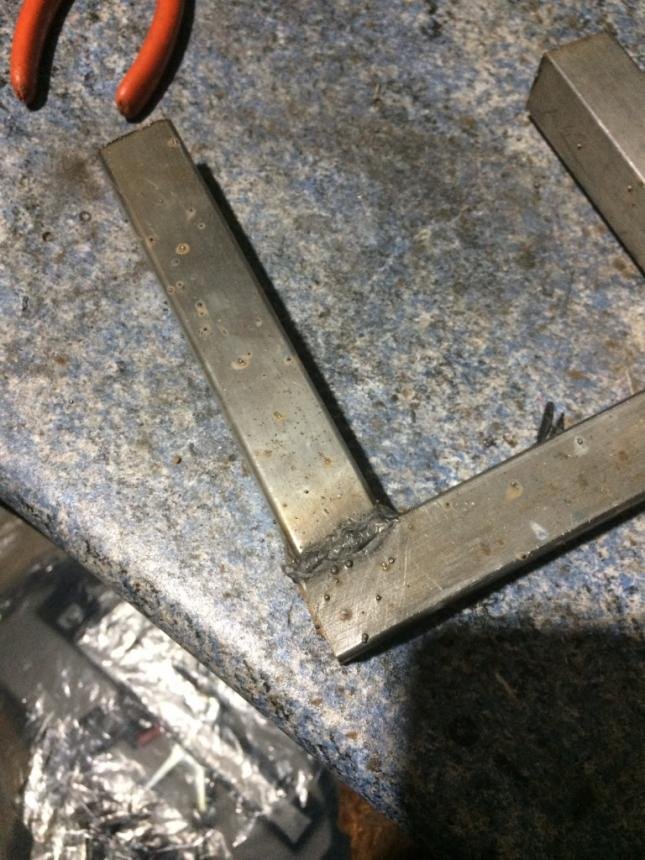
For my next job, the dreaded welding, I have bought some 3 mm mild steel square tubing and an adapter for the grinder which will at least enable me to make straight cuts ... :-)
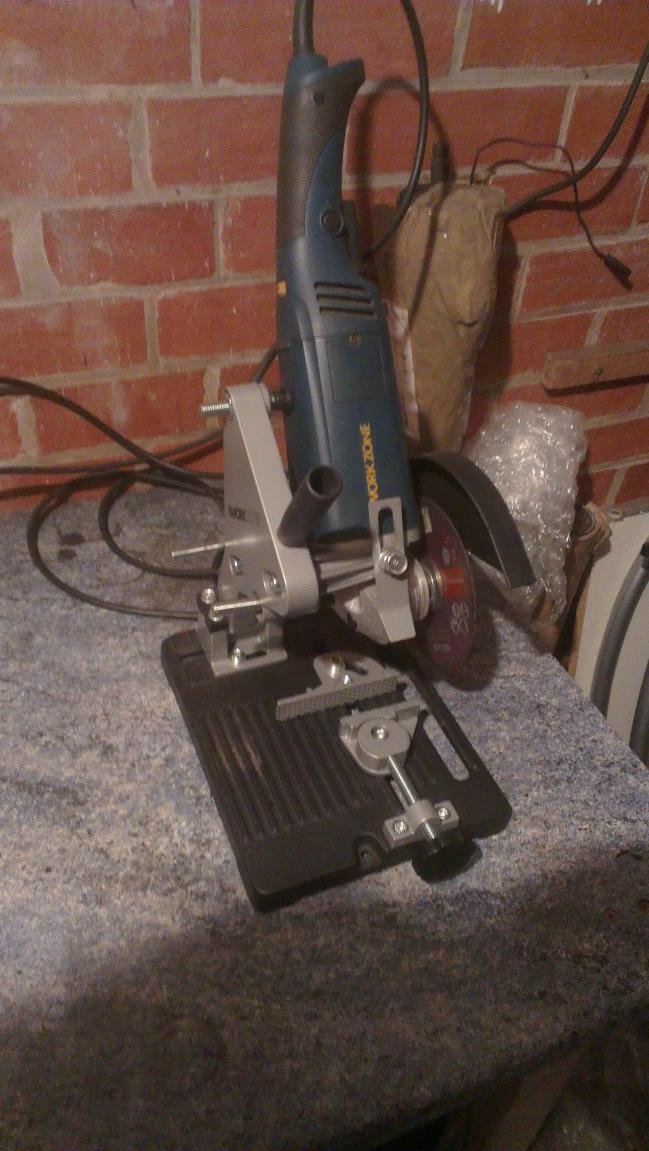
IMAG1617.jpg


Till next time... Cheers,D
28 Jan 2018, 2:05pm
The roll of a stock Miglia bonnet can fight against you a bit when you are trying to hinge it ...If you look at the picture a piece of wood has been bonded on the bonnet and under the body to enable the hinges to be mounted parallel to each other and operate in the same plane , rather than against each other ...

You can make this a bit easier by joining the two hinges together , like this but obviously wider apart ...


note also , that the hinge pivot point is back about 50mm from the opening ...this will need a bit of trial and error working out ... but it gives you a starting point ...

Hinges are a right pain to sort out sometimes but look effortless once done ...
28 Jan 2018, 4:37pm
Deni - I also started learning to weld by practicing some box section.


I found it much easier to weld thicker box section metal compared to the thin metal in the old Spitfire bulkhead I repaired.

Good luck, Paul. :)
29 Jan 2018, 8:46am
I like the angle grinder cut-off attachment - couldn't quite see the make - where did you get it from - it looks just the thing I need.

And good to see progress on your build . Keep it up

Marc
30 Jan 2018, 9:43am
I used to have the same attachment. I found it hard to set up and unstable. I ended up throwing it away.
I bought a small metal chop saw on ebay for less than £50. It takes 125mm cutting blades and works very well.

I have a few angle grinders all fitted with different discs because I use them a lot. You can get a quick release nut that you don't need any tools to remove the old discs, well worth investing in.
http://www.ebay.co.uk/itm/MILWAUKEE-FIX-TEC-Angle-Grinder-Quick-Release-Blade-Disc-Flange-Locking-Nut-Head/311650211963?epid=2254754796&hash=item488fccd87b:g:fOQAAOSwZ1BXe6eL

This one is even better but double the price

https://www.ebay.co.uk/itm/Bosch-Angle-Grinder-SDS-Clic-Quick-Change-Flange-locking-Nut-for-1603340031-/311020628170?_trksid=p2349526.m2548.l4275

Sorry but no link for the chop off saw
30 Jan 2018, 10:09am
Is a thicker anti-roll bar the correct move? if the front of the car is lighter than the herald the thicker one could make the handling different ie understeer more
30 Jan 2018, 10:48am
Thanks for that Jag - I had never heard of the quick release clamp, so have bought one just now. I will look for a small chop saw - I have a wood saw version but that will too fast for metal cutting I imagine, but they are great tools. I won't waste my money on the angle grinder attachment, so that is some pounds saved. Thanks again.

And ARB - yes, a thicker bar will lead to understeer, but is often required if fitting the swing spring from the Mk4/1500.

Marc
30 Jan 2018, 12:59pm
The evolution sliding mitre saw at screwfix is advertised as for wood or metal.
2 Feb 2018, 1:30pm
lancelot link wrote:
The roll of a stock Miglia bonnet can fight against you a bit when you are trying to hinge it ...If you look at the picture a piece of wood has been bonded on the bonnet and under the body to enable the hinges to be mounted parallel to each other and operate in the same plane , rather than against each other ...

You can make this a bit easier by joining the two hinges together , like this but obviously wider apart ...


note also , that the hinge pivot point is back about 50mm from the opening ...this will need a bit of trial and error working out ... but it gives you a starting point ...

Hinges are a right pain to sort out sometimes but look effortless once done ...


Gary - thanks for the advice. I saw that piece of wood you have mentioned and it make sense to lift the hinges to make a clearance. I will experiment with this when the time comes.
2 Feb 2018, 1:35pm
Paul L wrote:
Deni - I also started learning to weld by practicing some box section.


I found it much easier to weld thicker box section metal compared to the thin metal in the old Spitfire bulkhead I repaired.

Good luck, Paul. :)


Hi Paul,
Thanks for the advice mate. Yes, I guess I will have to practice on some off-cuts first. It should be ok, I have bought 3mm thick square tubing to make the welding easier and not to burn through the metal, as I am going to use an arc welder.
2 Feb 2018, 1:41pm
Marc F wrote:
I like the angle grinder cut-off attachment - couldn't quite see the make - where did you get it from - it looks just the thing I need.

And good to see progress on your build . Keep it up

Marc


Hi Marc - yes, the adapter is a cheap thing Aldi was selling when I bought the grinder. I only need to make a few cuts, so I thought this will do for now. If I intend to do more work in the future I will buy something better or a dedicated cutting tool. This does the job just fine for now ( I am just cutting a few extra pieces of steel tubing to reinforce my frame here and there).
2 Feb 2018, 1:48pm
Mitchelkitman wrote:
Is a thicker anti-roll bar the correct move? if the front of the car is lighter than the herald the thicker one could make the handling different ie understeer more


Hi Mitchelkitman - thank you for the comment and that is a good point. However, I was under impression that I need to install a thicker ARB because I replaced original Herald spring with Spitfire 1500 swing spring and I have installed 1" lowering block too?
2 Feb 2018, 1:52pm
Marc F wrote:


And ARB - yes, a thicker bar will lead to understeer, but is often required if fitting the swing spring from the Mk4/1500.

Marc


Marc F - thanks for the confirmation. Maybe Mitchelkitman did not know I have changed Herald spring and added lowering block earlier in the build.
2 Feb 2018, 7:05pm
Mitchelkitman wrote:
You are correct!


Mitchelkitman - thank you for confirming this.

Cheers,D
2 Feb 2018, 7:10pm
Hi all,

Can anyone comment on the drop link adjustment in the pictures above please?

Cheers,D
3 Feb 2018, 7:45am
deni wrote:
Hi all,

Can anyone comment on the drop link adjustment in the pictures above please?

Cheers,D


Hi Deni, sorry, meant to reply to this a while back. I used standard links on my Spyder so I haven't actually tried the Wolfitt adjustable ones. The Wolfitt items do look very well engineered, but having been perfectly happy with the Triumph originals I'd guess that they'll only make a noticeable difference on an extreme, track focused car rather than a fun, road car.

If they're something you're keen to try I'd suggest you run your car on (new) standard drop links for a while, then change to the adjustable ones to see if there's any real difference - it's an easy job changing them after all (if there is such a thing as an easy job on an old Triumph...)

Some of Wolfitt's other products are well worth a look though.
3 Feb 2018, 11:01am
Mr Towed - Thank you for your advice, much appreciated. I came to the same conclusion. It is a great product but, I'm not going to use my car on a racing track, so I'll use stock drop links.
23 Dec 2018, 11:14pm
Hi everyone,

After being away for nearly 4 months I am back in the garage to continue working on the Miglia.

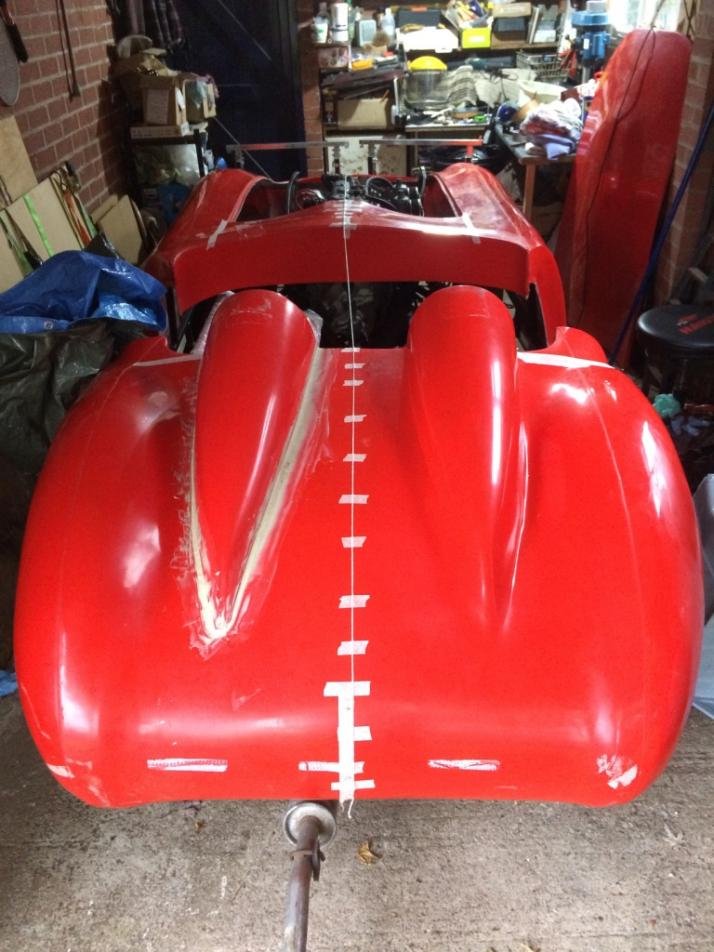
I have done the body trial fit - even if it looks that the body is not very straight, once it is clamped to the frame it actually fits much better and I think I will be able to position it correctly.


IMG_1473_1024.jpg


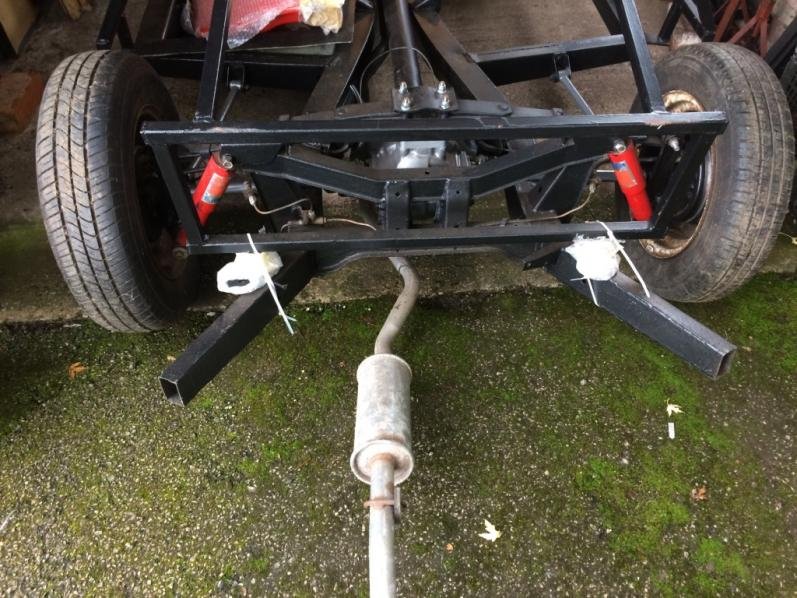
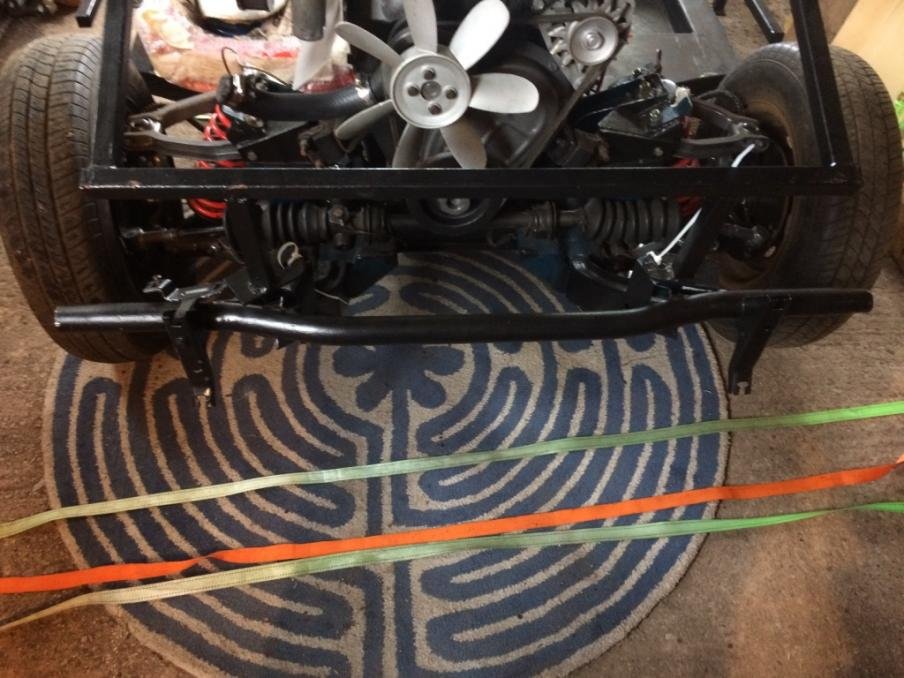
I have shortened back outriggers and front bar. This makes taking the body on and off the frame easier and it is easier to move the body too when experimenting with the positioning. I will bond these parts of the chassis to the body later on.


IMG_1450_1024.jpg


IMG_1451_1024.jpg


I have also made cuts in the floor panels to fit them on the chassis.


IMG_1452_1024.jpg
23 Dec 2018, 11:47pm
Next it was time to decide what needs doing before the body is on. I have bought a new welder and started practicing welding to improve the frame. I have been reluctant to start welding - I have an arc welder but I was not confident that I would be able to use it properly.

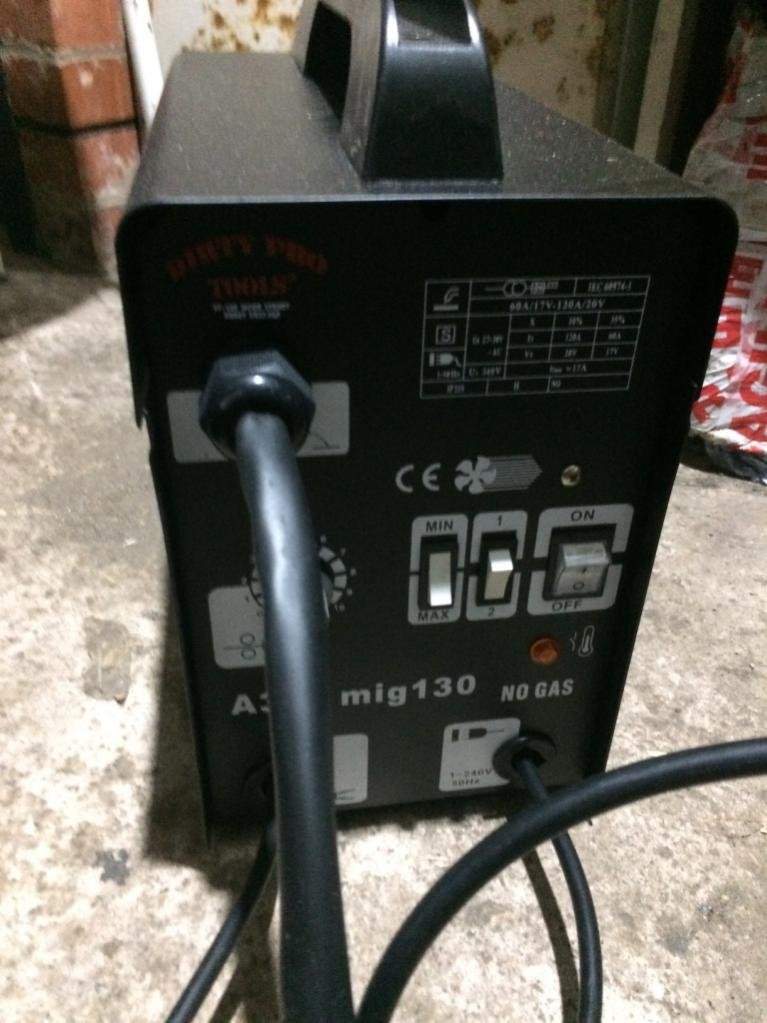
My new welder is a flux core, gases MIG welder, which seemed a bit easier to use.


IMG_1544_1024.jpg


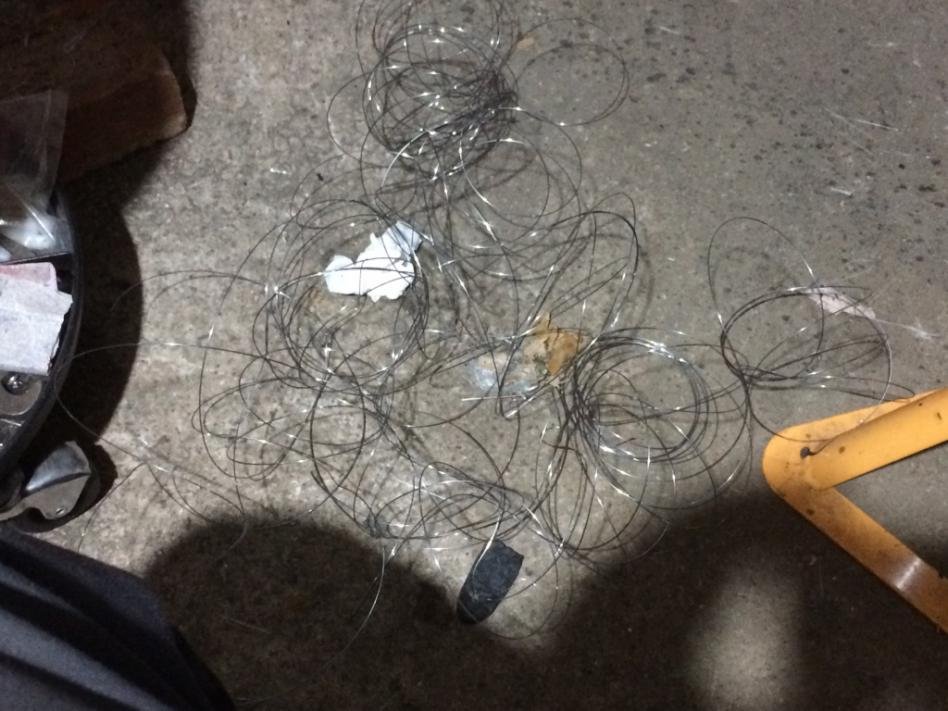
My first attempt to put the wire in the welder...Inevitable rookie mistake...


IMG_1542_1024.jpg


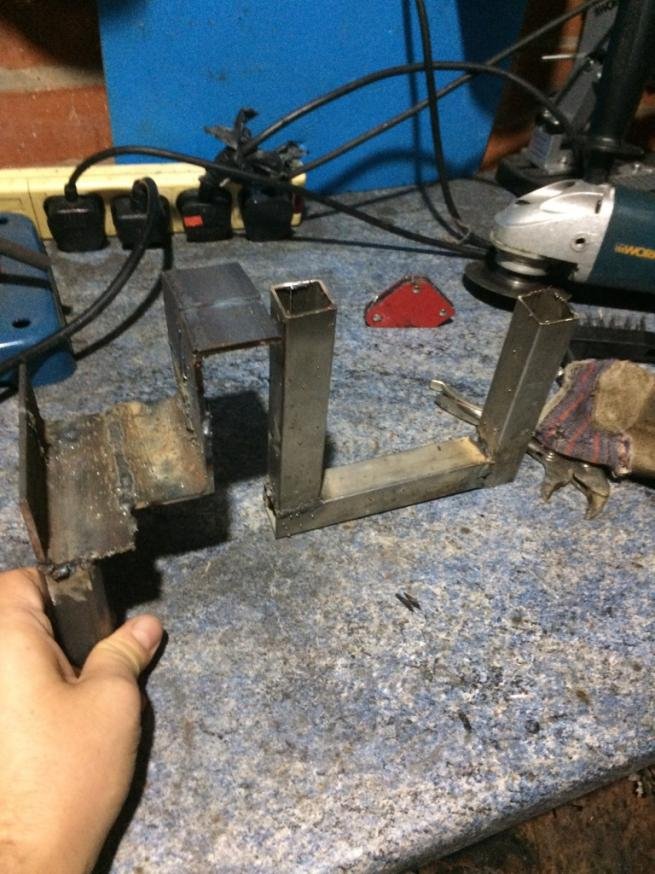
My frame came without the pedals attachment plate and the base for the prop shaft tunnel, so I will have to weld these on. I will also need to strengthen the area around the steering column, brace the area behind the seats and weld a steel tube between the rear outriggers to stiffen the back of the chassis a bit. I will post photos when I start doing this after Christmas.

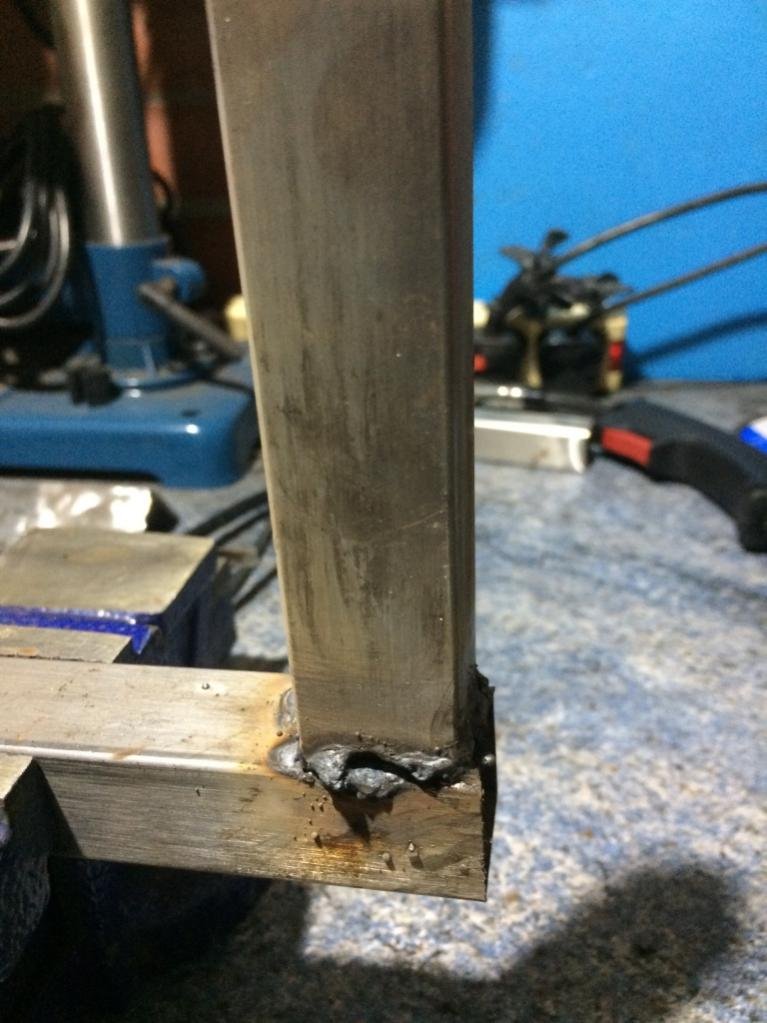
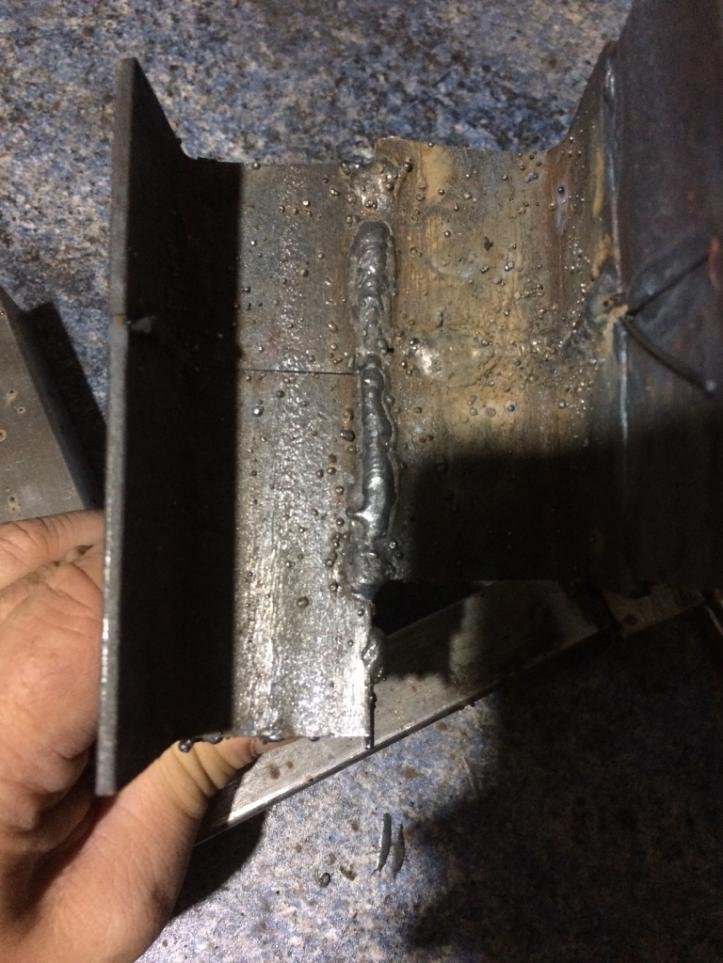
First practice welds were not good at all, as I had to learn which power and wire speed settings are most suitable, though I have made a bit better welds after a few attempts.

IMG_1547_1024.jpg


IMG_1549_1024.jpg
23 Dec 2018, 11:59pm
The welds do not look very good, but after a good old hammer test, they appeared to be reasonably strong.
After this trial I bought some welding spray to reduce the splatter.


IMG_1550_1024.jpg


IMG_1552_1024.jpg


Buying a MIG welder was definitely a good decision, and as I am getting more confident with welding I am also starting to enjoy it a bit more.

I would not be able to do more serious structural welding at this stage, but I am confident that I will learn to weld good enough for this purpose. However, I need to practice a bit more.
24 Dec 2018, 12:28am
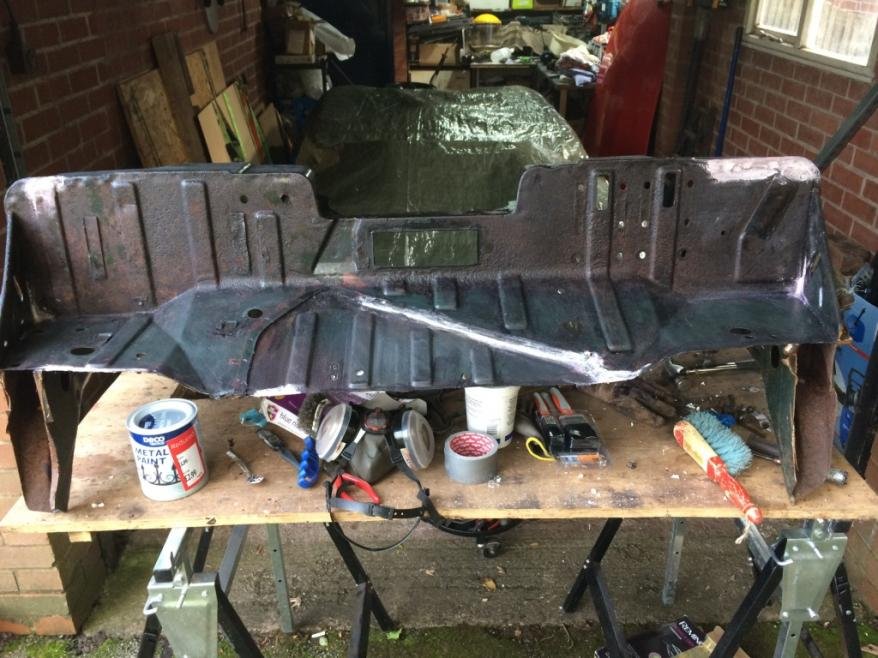
As I need to practice welding a bit more, I wanted to learn how to do fibreglassing too in the mean time. Like welding, I have never done this before and I will need to do it later on.

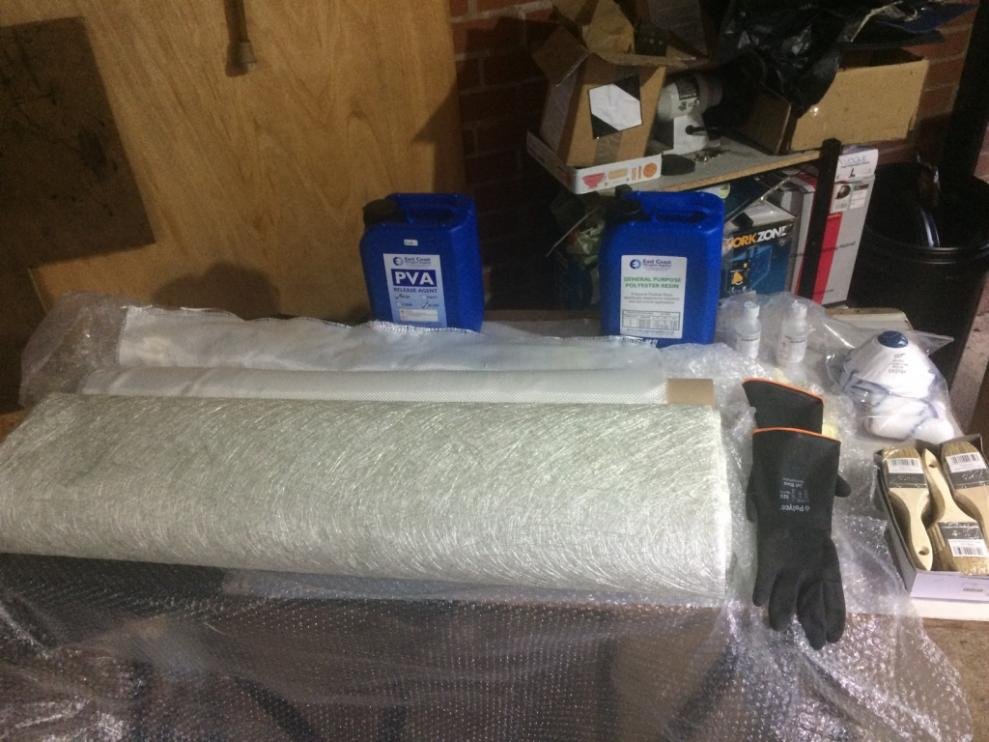
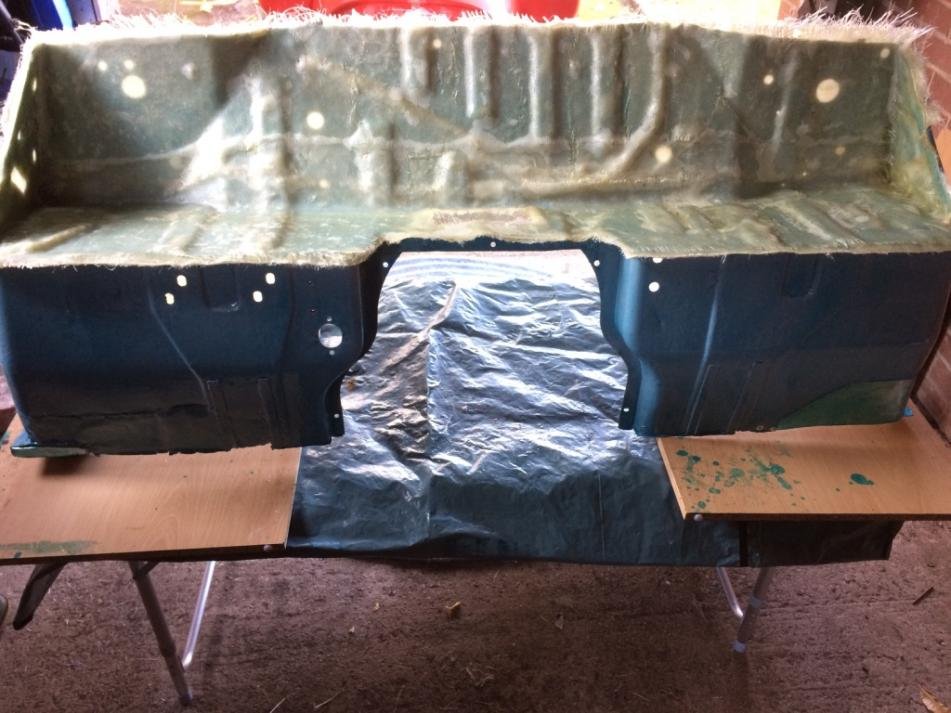
I bought some supplies and decided to make a copy of the original bulkhead.


IMG_1489_1024.jpg


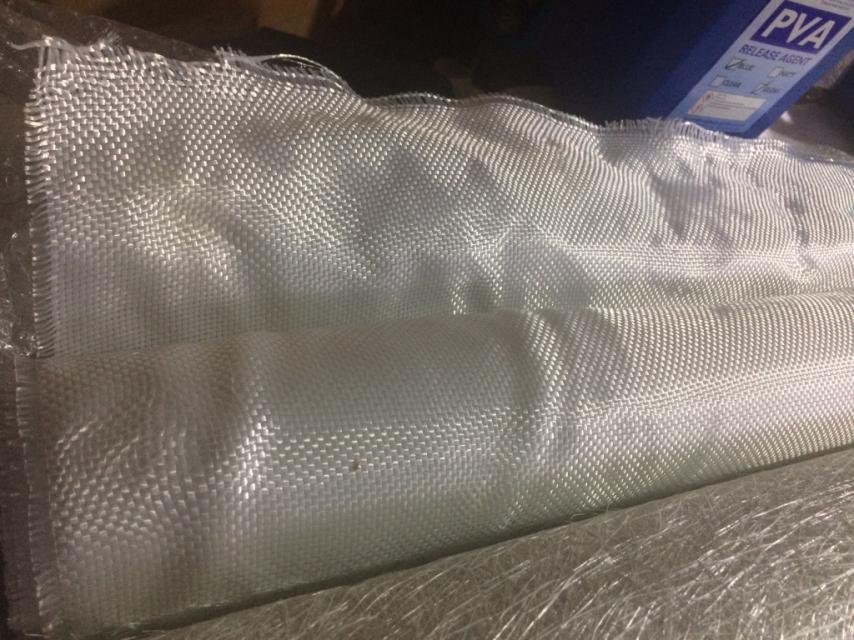
I have used 450g fibreglass matting and a thicker matting called Diolen, which remains more flexible after the resin has cured.


IMG_1491_1024.jpg


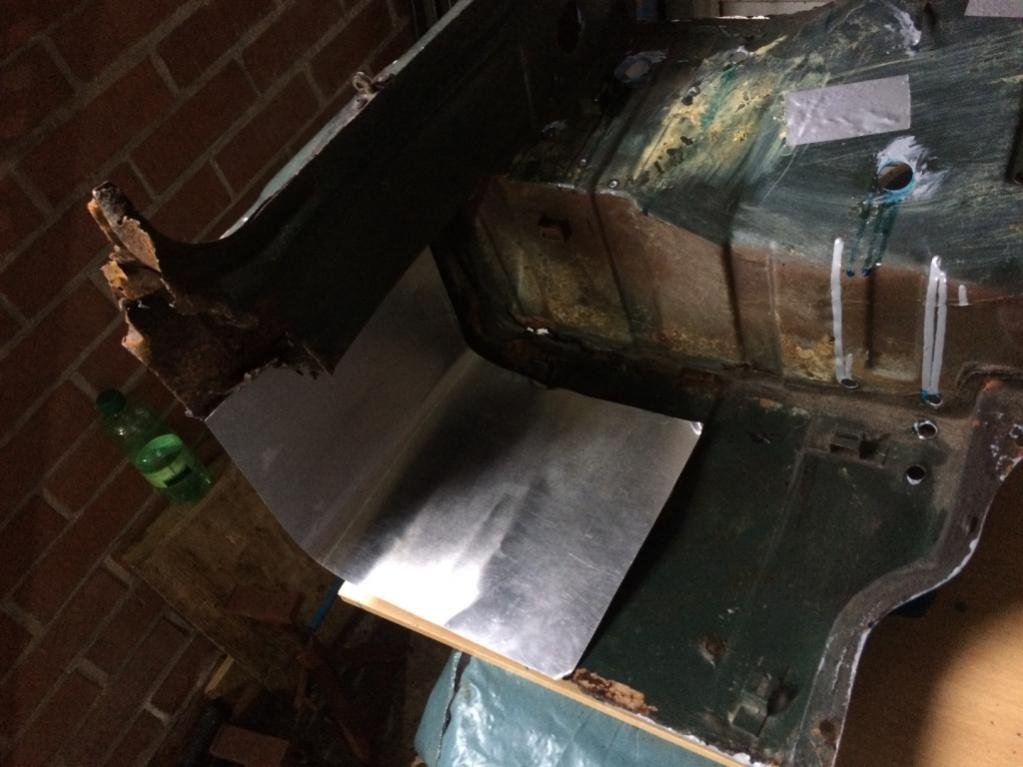
I stripped and patched up an old and rusty bulkhead and gave it a go.


IMG_1464_1024.jpg


IMG_1465_1024.jpg


IMG_1494_1024.jpg
24 Dec 2018, 1:05am
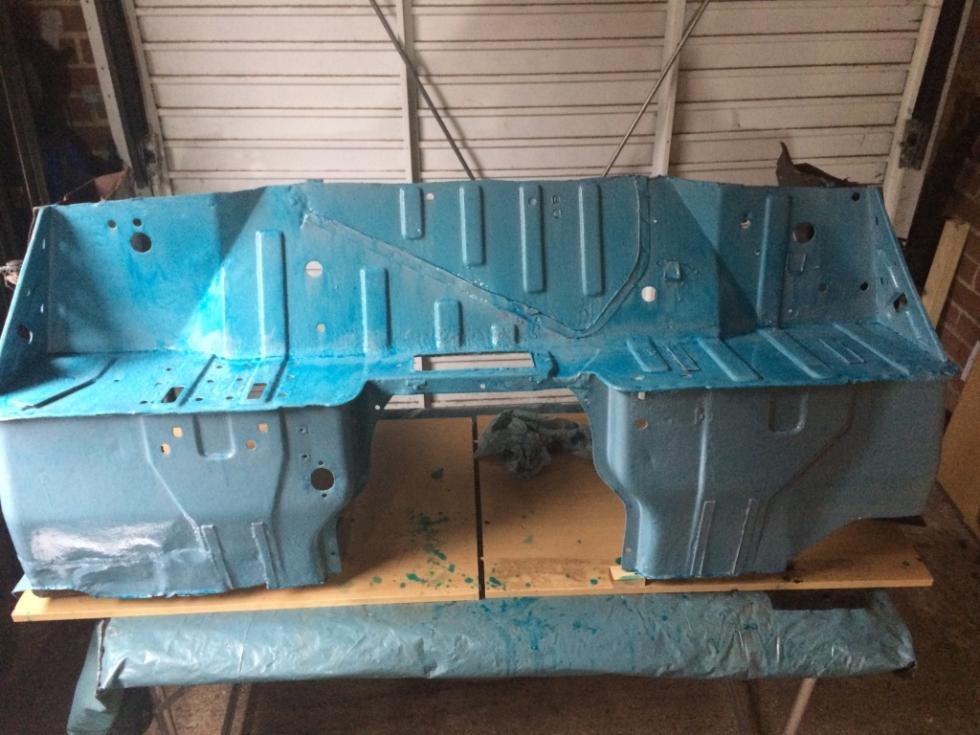
I painted the bulkhead to make it a bit smoother and applied a release agent to be able to peel off the copy when it is cured.


IMG_1492_1024.jpg


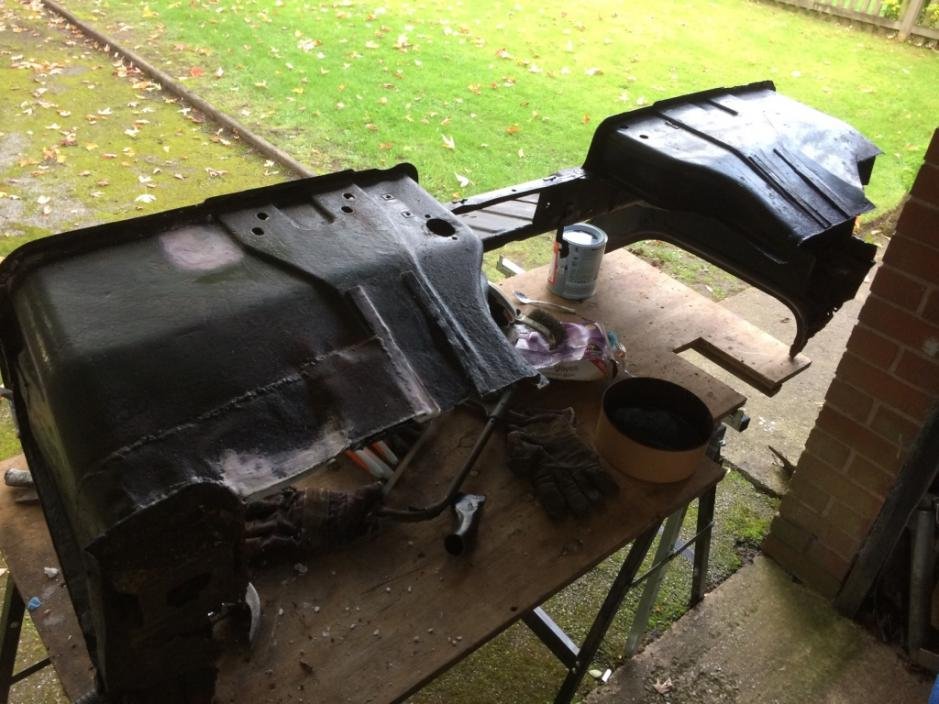
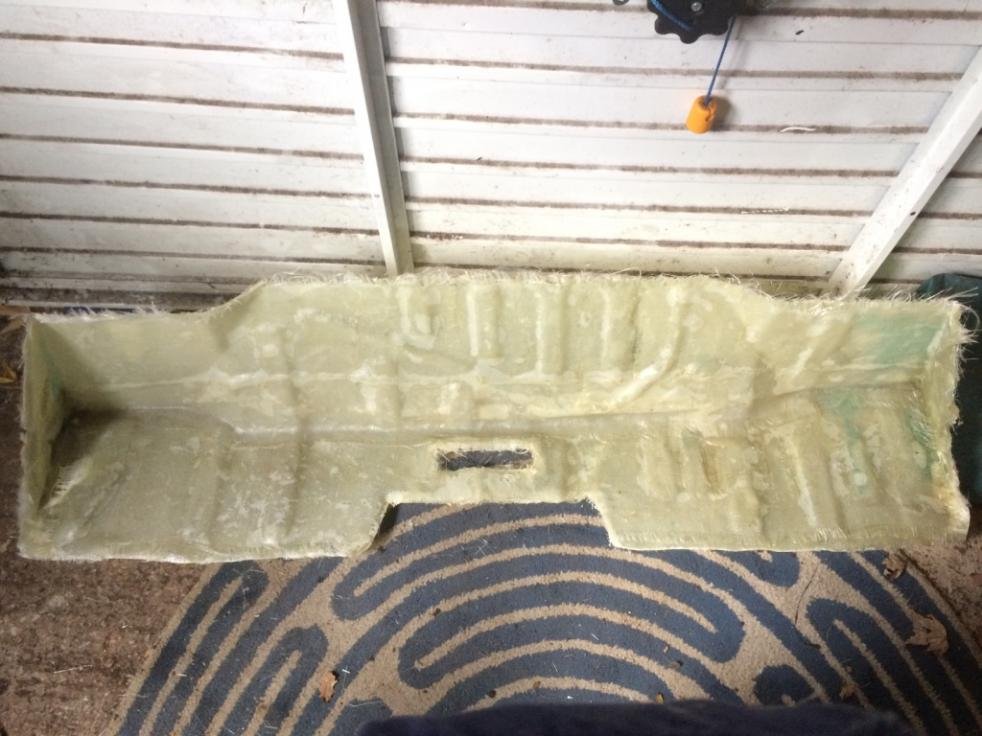
I started with the top part. I was happy with my very first fibreglassing attempt.


IMG_1505_1024.jpg


Again, not the best looking copy but it is very strong and very light.


IMG_1518_1024.jpg


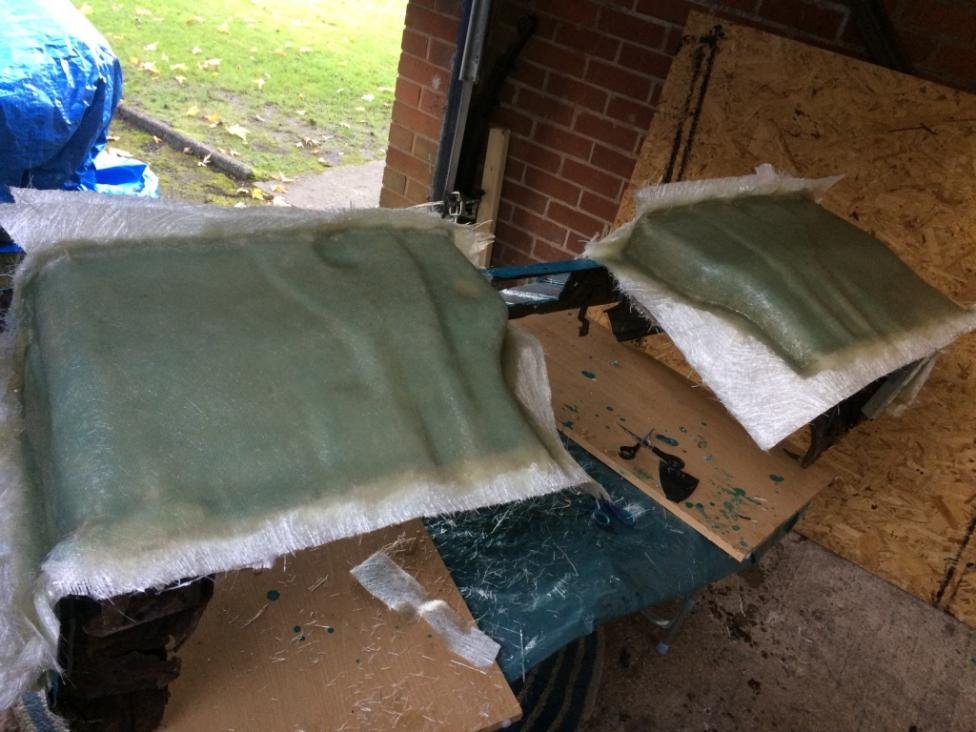
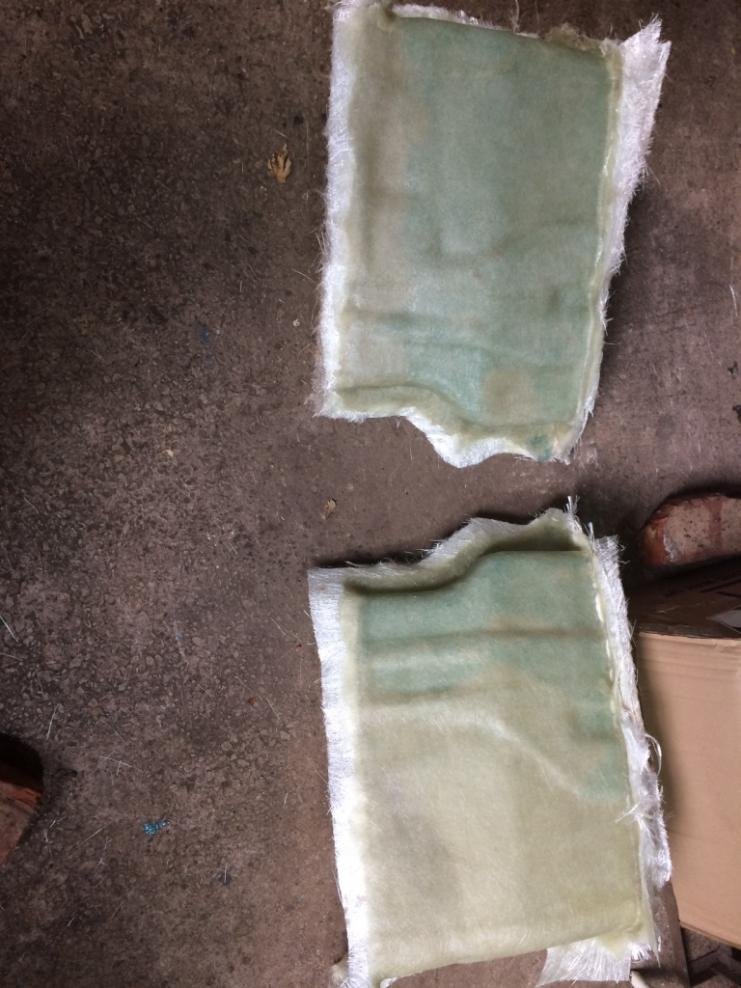
Next time I did the bottom bits and these turned out even better as I had learned from the mistakes doing the top bit. They were also a bit easier to do to be fair.
I have improved the top bit further by applying a couple more layers of CSM, so it looks much smoother. Unfortunately I forgot to make a photo of the finished product.


IMG_1513_1024.jpg


IMG_1517_1024.jpg


Obviously I was planning to use these, as this would mean less welding, less weight and would give a good reference for the possible position of the pedals.

However, later on my mate Johnny dropped the bomb shell... and said that it would be illegal to use fibreglass for the bulkhead and the car would not pass its MOT if I didn't use metal to make the bulkhead.

Needless to say I was a bit disappointed, as I had allowed 1 week of resin curing time for each part before peeling it off, so if this is true I have lost this time.

I have called a few MOT stations to check this, and of course they suggested to use steel, but none of them were 100% sure if fibreglass was illegal.

I would appreciate it if anybody can offer any advice regarding this as I have seen in a couple of forums that some builders used fibreglass bulkheads too and the original kit used to be supplied with a fibreglass bulkhead, so I assumed it was ok.

So much for now. I wish everyone a very happy Christmas and New Year.

Cheers, D.
24 Dec 2018, 7:32am
Wow, well done, and very adventurous too. Having made every rookie mistake with an arc stick welder, I too have been wondering about MIG too. There is one at the communal workshop I attend, so will give it a try after Christmas. Keep up the great work.