MadaboutKitcars

This is a read-only archive of the old Madabout Kitcars forum. New posts and replies are no longer possible, but every thread is still here to browse and read.

Seanicks Unnecessary Life Complication

25 Nov 2012, 10:47pm
seanick wrote:
Cut, taper outside edge to feather. Support, then 3 layers csm. Remove body, clean up inside and glass two layers. Replace body, grind off excess glass then either fill or he'll over. Fill and fair. ad infinitum.


You learned well at college me thinks.

[COLOR="Red"]I think it's worth mentioning to other customers that you aren't normally required to do this level of modification to the kit. Nick is just being very clever[/COLOR] :biggrin:
25 Nov 2012, 11:00pm
[SIZE="4I quite agree, apart from the clever bit! I f I fitted the kit as per your instructions Chris is would be ready for spraying by now[/COLOR]"][/FONT][/SIZE]:ballchain:

Well that didn't work, did it!
I won't mention the flip front either!
26 Nov 2012, 10:33pm
Feels like not much done this eve. Rear tray screwed and stuck on with polyurethane cobsructional adhesive and self tappers. I also added a bit of grp up the sides as I hope to bond these to the roof section.
Final fit and fix of the rear tray, again on poly, with ss bolts and penny washers. I also put some stews through the bottom of the tray and into the metal strip that is above the abs. Bumper thing.
I blanked of the lights and old petrol filler. Trying to keep the boot reasonably air tight.
In between that I did some filling and fairing on the lower parts of the body shells cos its easy to get to whilst upside down.
Maybe didn't do so bad after all. Well I've had a beer now :dizzy:
[IMG][/IMG]
28 Nov 2012, 9:30pm
Bolted the roll cage/stiffner in this eve. It drops in really well and when bolted up feels like you could lift the car with it. Very solid.!
[IMG][/IMG]

Laminated a couple of layers of 3.5mm ply around the rear where the hood used to be. Something to to mount the upholstery on.
[IMG][/IMG]

I also wanted to know what the inner sills were like, so peeled back the bottom of the rear wing. Cleaned out all the rust but glad to say no holes! Treated with Fertan and will paint and close up tomorrow.
Right now time for a kebab


:boom:[IMG][/IMG]
29 Nov 2012, 11:07pm
seanick wrote:

:boom:[IMG][/IMG]


Is it just me or does this look a bit Porsche 911?

Good work Nick :love:
1 Dec 2012, 8:49pm
Head lining

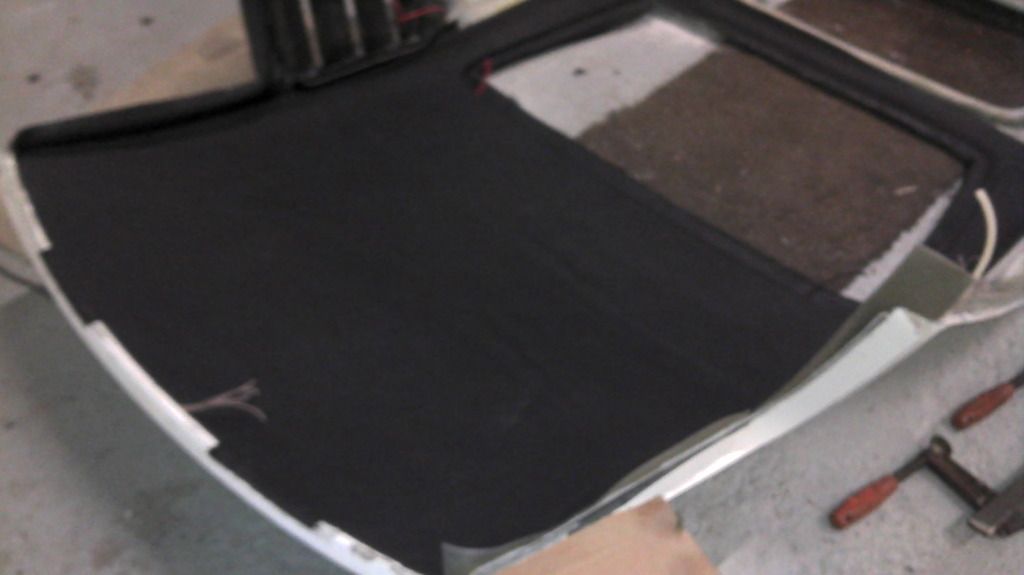
Had a heady afternoon with the sticky stuff, contact adhesive.
[IMG][/IMG]
Using the half n half method so it goes in the correct position.
[IMG][/IMG]

Using 3.5mm foam backed vinyl.
Uses loads of adhesive....3" brush...

Thats the big but done, now for the edges...

[IMG][/IMG]

I like this shape

[IMG][/IMG]
1 Dec 2012, 8:55pm
Very tidy work their on the headlining. Good job.
1 Dec 2012, 9:04pm
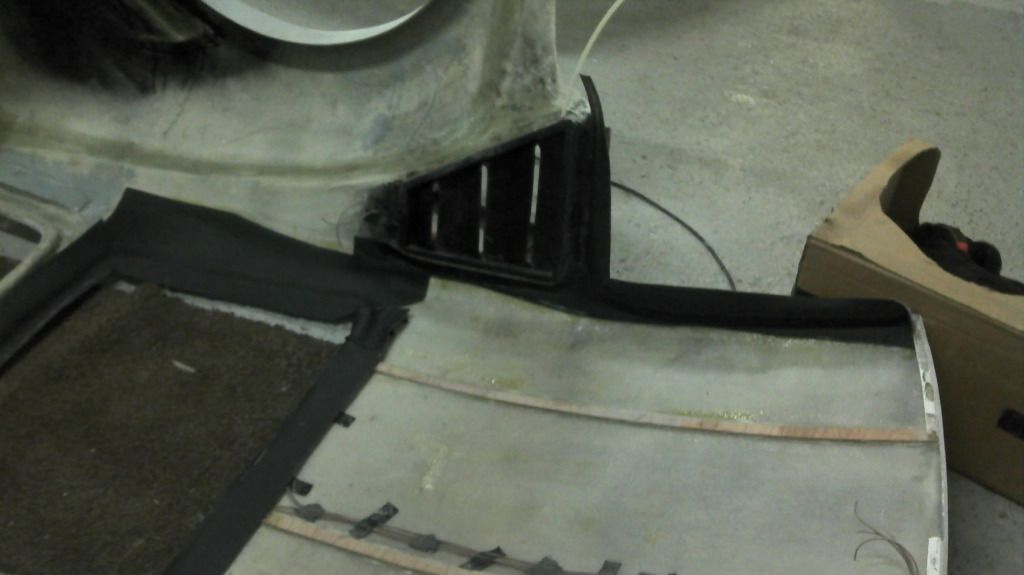
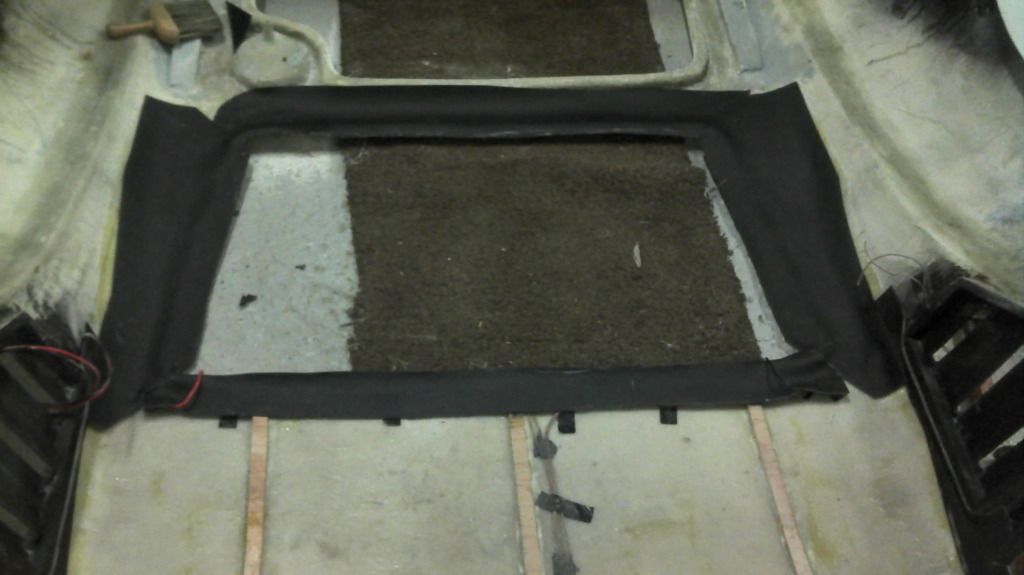
[SIZE="3"]To do the edges I stripped the foam off where the door seals will grip it to reduce the thickness.
Went around the door shuts and rear window.

[/SIZE][IMG][/IMG]
[IMG][/IMG]

[IMG][/IMG]


[IMG][/IMG][SIZE="4"][/SIZE]
The louvres will be covered with 5mm tinted perspex, which I have cut out, but not fitted.

[IMG][/IMG]
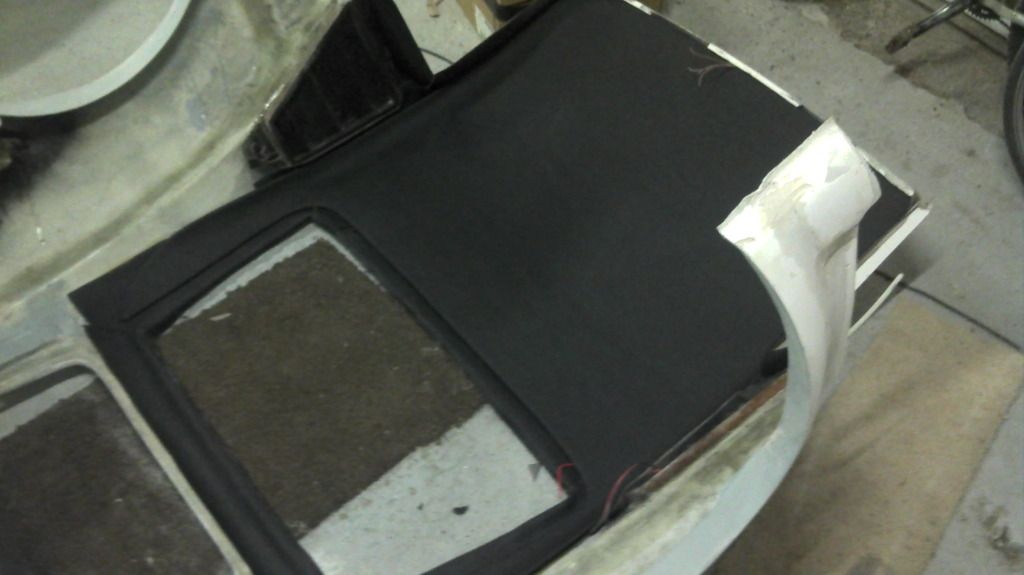
[SIZE="3"Finally slotted it all together. Its held up by slotting into the front lip and the sides run above the door shuts so its a good firm fit.
[COLOR="DarkOliveGreen"]Tomorrow is B day (bonding day)!:israel: [/COLOR]
][/SIZE]
1 Dec 2012, 9:23pm
Excellent trimming Nick. Looks like we don't need to build a new demo car over the winter, can we borrow yours? :biggrin:
1 Dec 2012, 9:28pm
Tribute Automotive wrote:
Excellent trimming Nick. Looks like we don't need to build a new demo car over the winter, can we borrow yours? :biggrin:


Yes, if you spray it!!!!!:bolt: :bolt:
2 Dec 2012, 9:35pm
Rear on.

[SIZE="5"]T F thats done![/SIZE][IMG][/IMG]
2 Dec 2012, 11:16pm
As the above post shows, the rear body is now partly glued on, and held in place by temporary tech screws.

Spent most of the day doing last little jobs. Thankyou to Mark for doing some welding and bringing over an air impact spanner to remove the very tight rear wheel spacers, as they are no longer needed.

Finally ready for a last dry fit, but the first with all the headlining in.
Bit of a problem, my headlining and spacers meant the body would not sit down on the right hand side by 10mm.
While the roll cage was perfectly symmetrical for some reason the body sits a little lower on the right.

After some thought and some swearing.....a chop with the big grinder, then some fairly heroic upside down welding and the roll cage is now lower in one side.
After I had put the fire out a bit of paint and we are good to go, again!
[IMG]http://[/IMG]

The bolts get covered by the sun visors. Can't weld here because of IVA.

[IMG][/IMG]

Lashings of epoxy (resin mixed with collodian sillica and low density filler)

[IMG][/IMG]

Three tech screws across the back to pull the rear tray flange to the shell together as there is epoxy there too.

[IMG][IMG]http://i250.photobucket.com/albums/gg263/Seanick_bucket/2012-12-02_21-
26-01_546.jpg[/IMG][/IMG]

Final pic of headlining to screen join.
[IMG][/IMG]
4 Dec 2012, 4:41pm
Interior components

I picked up two sections of foam backed vinyl today. I had them stitched in a diamond pattern. They fit the rear shelf andvthe se.ction behind the seats.[IMG][/IMG]
4 Dec 2012, 5:57pm
seanick wrote:
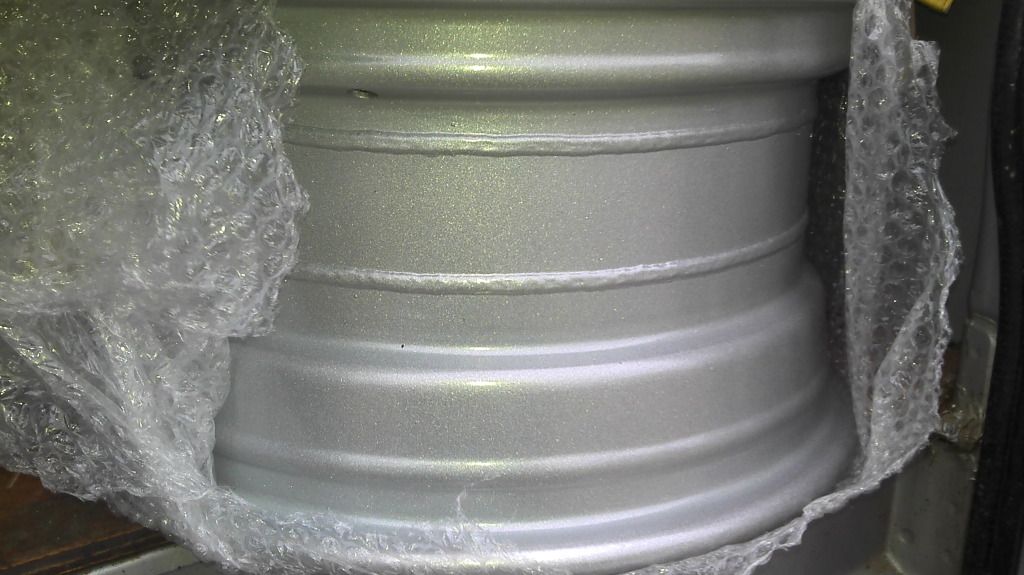
[IMG][/IMG]The rims are back from powder coatin
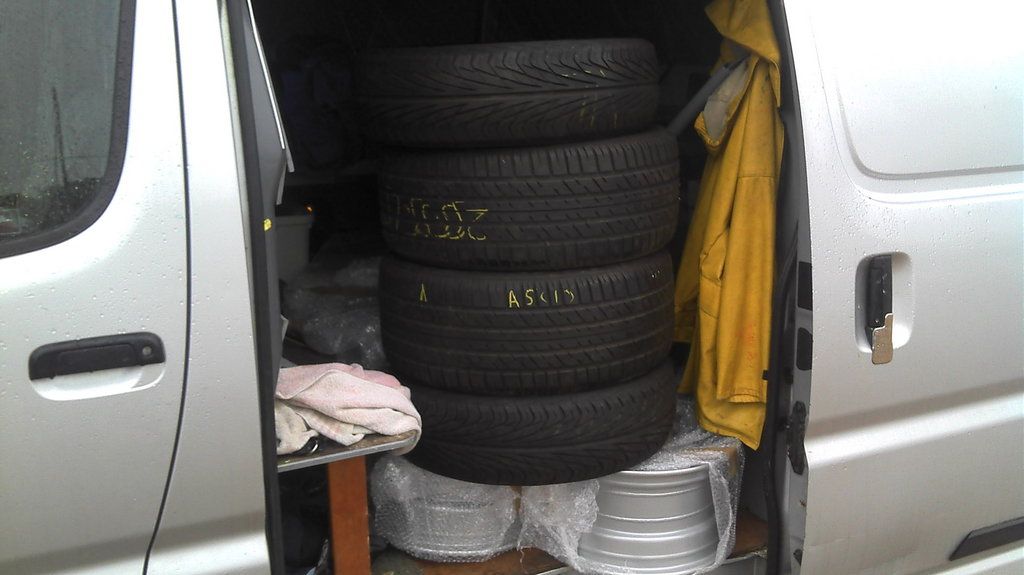
And a nice stack of rubber to stick on them.

[IMG][/IMG]


Seanick - Did you weigh the banded wheels before you mounted rubber? What do the wheels weigh? LG
4 Dec 2012, 11:38pm
No I didn't weigh them but I do have one spare, so if I find some scales, I will.
My experience with older style alloys is that they are much heavier than the steel wheels they replaced. The modern alloys where they inject the molten metal into the mold rather than just pouring are usually lighter, as the designer can allow for a consistent casting quality, and make the wheel thinner!
4 Dec 2012, 11:54pm
Had another sticky session this eve.
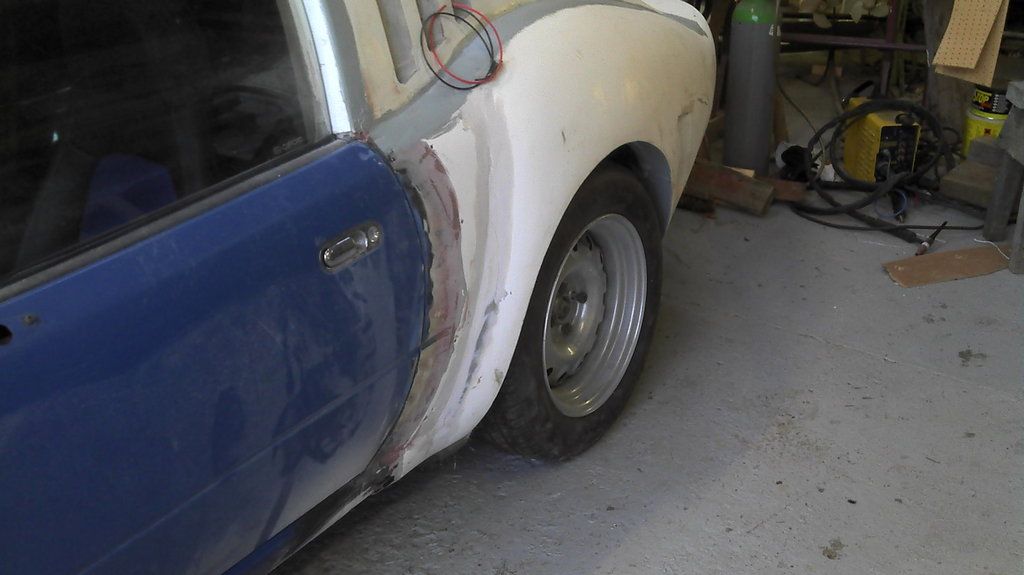
Final clean up of the grp wheel arch to steel wheel arch join. Sanded the steel back to bright clean metal, bridged any gaps if poss with filler, than put 3 layers of GRP over the joint.
Later on I coated the lot with some grey gellcoat to smooth things a little.
[IMG][/IMG]

I glassed the rear tray onto the body....
[IMG][/IMG]

And also inside glassed the upper tray onto the body sides.
Also filled in between the two wings and glassed over.
Its really small in there and tricky to do. Mostly done through the back window!!
[IMG][/IMG]

Finally flow coated the wing joints, mainly because I had some over from the arches, but its also a good filler.
[IMG][/IMG]
So pleased I got as much done to the interior as I could before gluing the shell on. Its so small in there, and anything behind the seats it hard to get to.
5 Dec 2012, 2:08pm
Wheels..

:usa:

Fronts are 9.5kgs, so rears are maybe 1/2 kg more. Is that about 20 US lbs?
5 Dec 2012, 10:31pm
Not much done this eve. Bit nippy!
Patterned up for one interior trip panel, the one behind the B pillar.
[IMG][/IMG]

Quite pleased because it actually fits the other side too!
6 Dec 2012, 7:44pm
Rare daylight shot

Had the doors open today to let the warmth in plus had to move the car over to get a boat in.
[SIZE="2"]First time with the rear wheels on with no spacers!!
Really happy with the look. They have a bit too much camber at the mo so when alls done will get a four wheel alignment done which will push the top out a little. More.

[IMG][/IMG][/SIZE]

[IMG][/IMG]
6 Dec 2012, 8:30pm
seanick;[IMG wrote:
[/IMG][/SIZE]


WOW! I think we are going to pay you a visit soon to see this in the flesh :biggrin1:
6 Dec 2012, 8:32pm
seanick wrote:
:usa:

Fronts are 9.5kgs, so rears are maybe 1/2 kg more. Is that about 20 US lbs?


You get the Gold Star in Maths today. :thumb:
6 Dec 2012, 9:26pm
Thanks Chris. Dont forget to bring the light covers. I still have a nice pair of Revos for you here.:rofl:
6 Dec 2012, 10:19pm
seanick wrote:
Thanks Chris. Dont forget to bring the light covers. I still have a nice pair of Revos for you here.:rofl:


Having a bendy plastic day next week. Wonder if I could put the revos on the truck?..............:biggrin1:
9 Dec 2012, 9:58pm
Hey Nick
looking good, whats your thoughts on the door rubbers. the door glass is way off the GRP of the roof . i have found some big rubbers but you got any thoughts ?
9 Dec 2012, 10:13pm
Peepsy wrote:
Hey Nick
looking good, whats your thoughts on the door rubbers. the door glass is way off the GRP of the roof . i have found some big rubbers but you got any thoughts ?


Hi Roger.

GRP was designed for MX5 hardtop channels and rubbers, with the assumption that Mazda would want a reasonable amount of money for a new set :laugh: :laugh: :laugh: :laugh: :laugh: :laugh: :laugh:. Go to your local Mazda dealer and make sure you are sat down before they tell you the cost. We used Vauxhall Calibra channels and rubbers on the red car, but it's on my list to re-do the moulds.