This is a read-only archive of the old Madabout Kitcars forum. New posts and replies are no longer possible, but every thread is still here to browse and read.
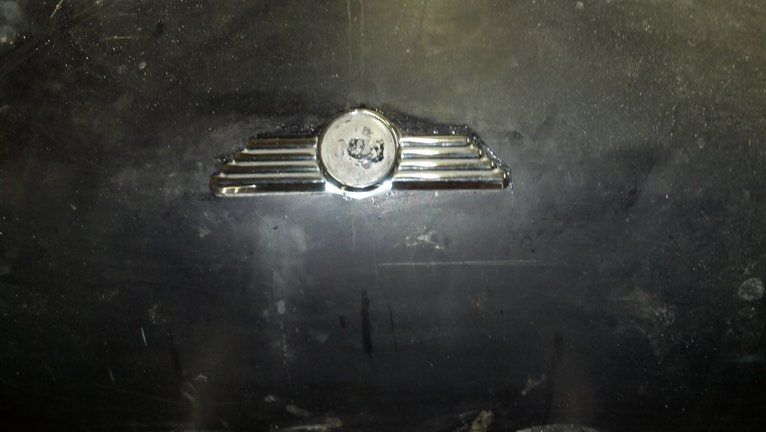
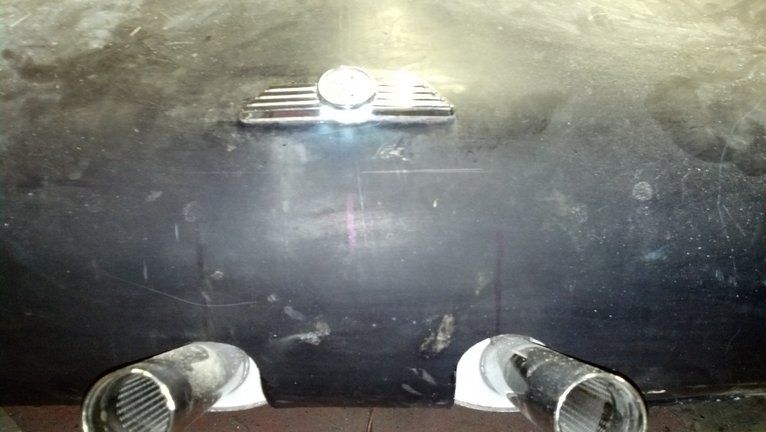
Two cracking ideas to add to the look of the Sammio. I would try the grill with and without the badge once the bonnet is fitted and in colour. I've got a feeling the badge will look great and stay. Top of the class for thinking outside the box.
I have been looking at alternative grills and missed that one.
After a few months of work and holiday commitments i was able to put in a few hours on the car today..
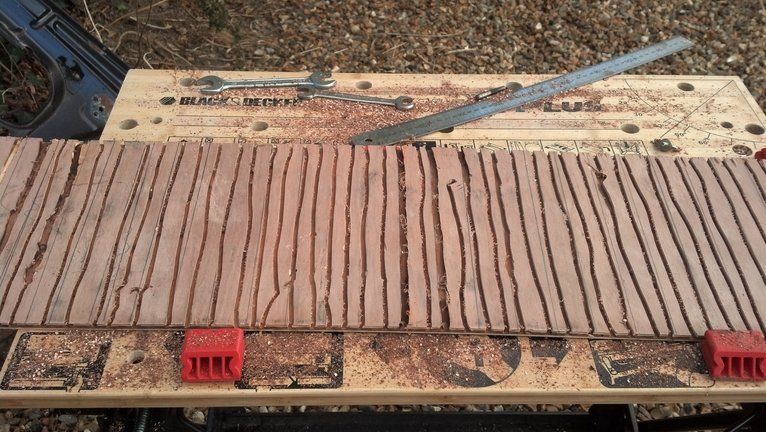
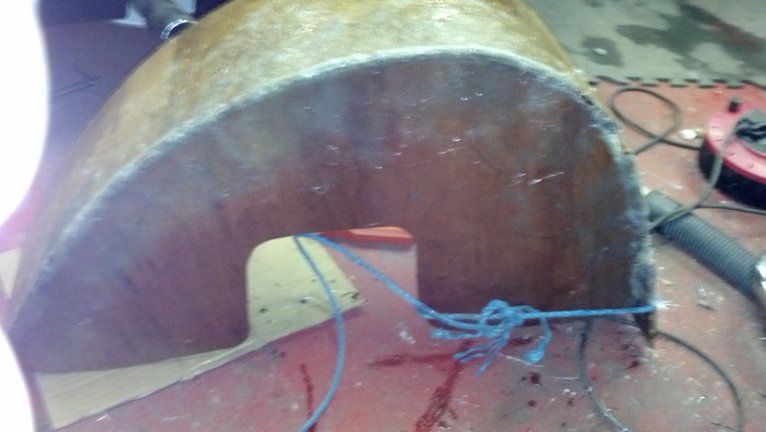
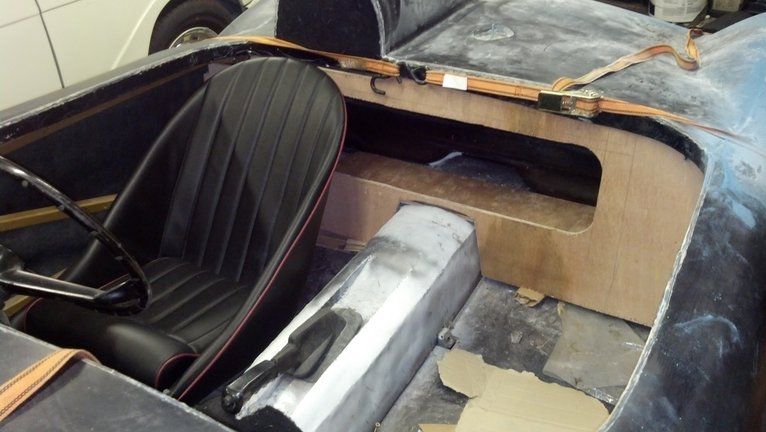
Started with a sheet of 9mm external ply, cut a 25cm x120 cm strip and routed grooves along its width,
Accuracy wasn't important as i just wanted to make it flexible.
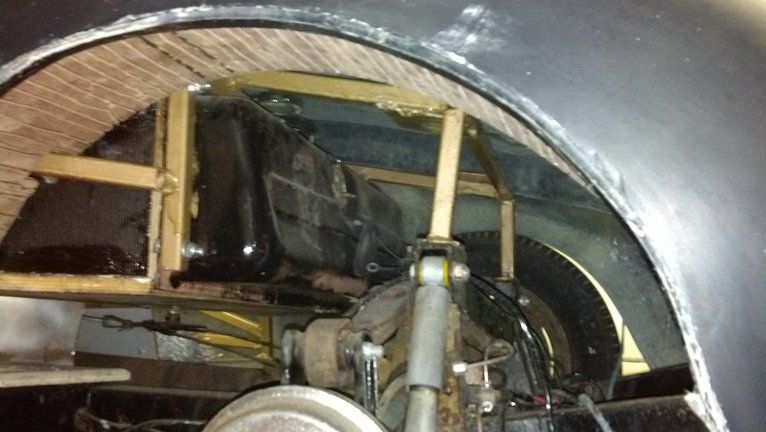
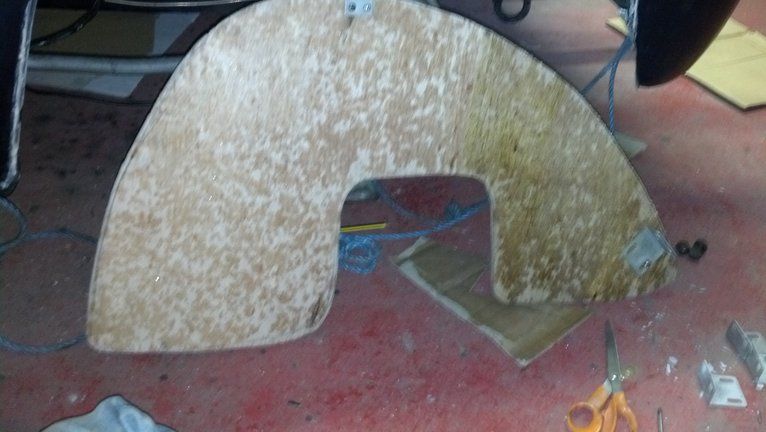
Then formed a back plate cut out over the axle suspension and handbrake
cable
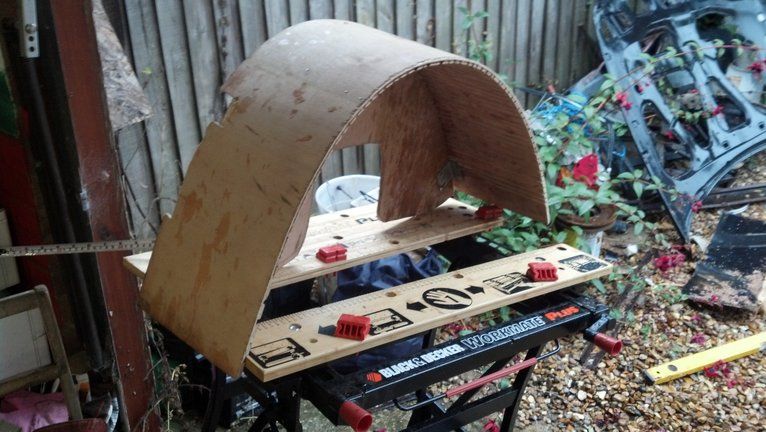
Loosely screwed together the two
Before sealing with resin and glassing along the join, inside and out,
Once hardened I will completely glass the inside for weather protection and fit brackets front and rear, will then glass in to the body shell to keep the whole thing watertight and rigid.
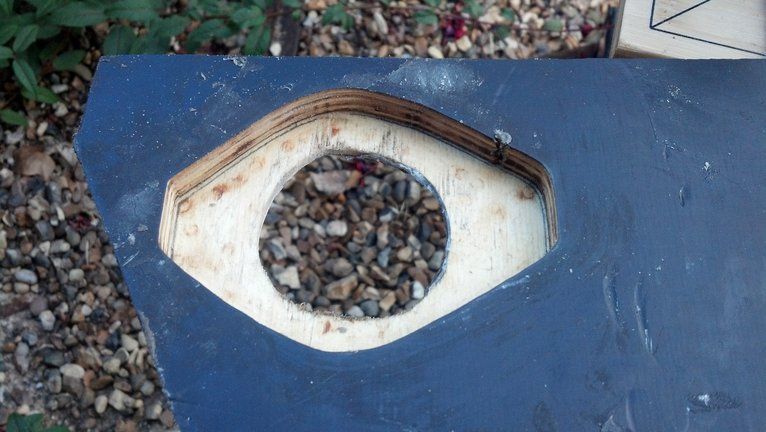
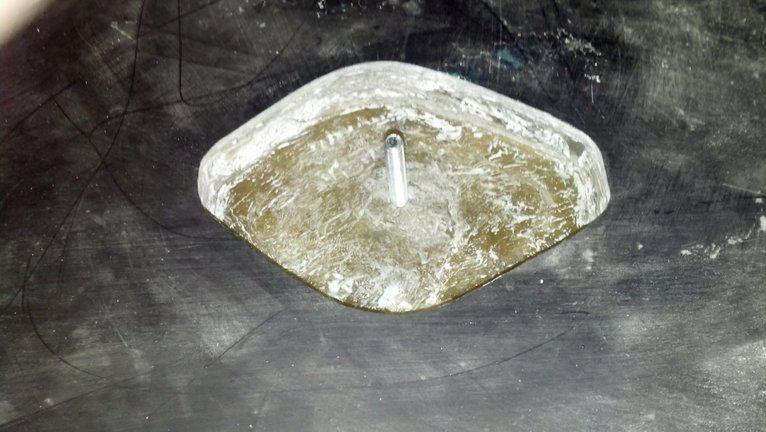
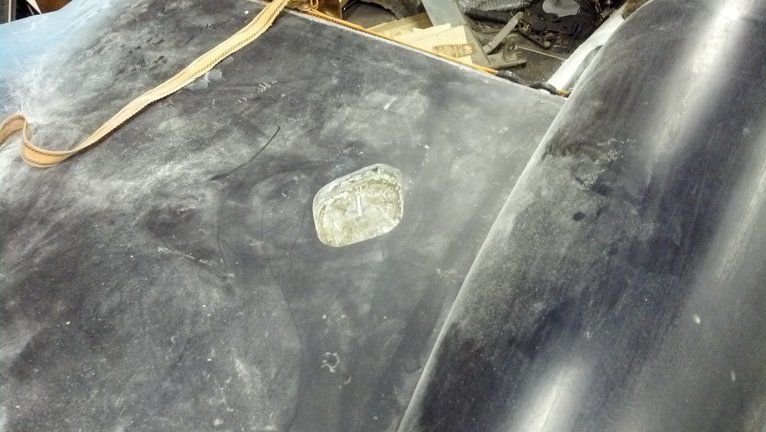
Had a go at placing the fuel filler but wasn't happy with the way it sat at the back so tried my hand at some real fibreglass sculpting..with no real idea what I was doing.
First made a mould routing into some ply
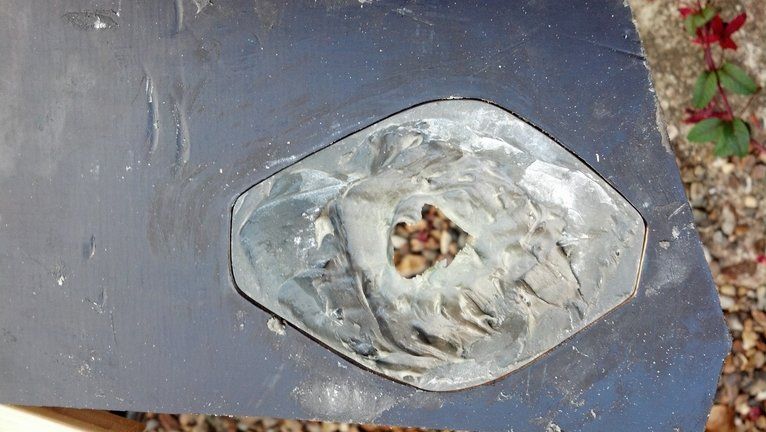
Then applied Vaseline as my release agent, and put in some Bonding paste..
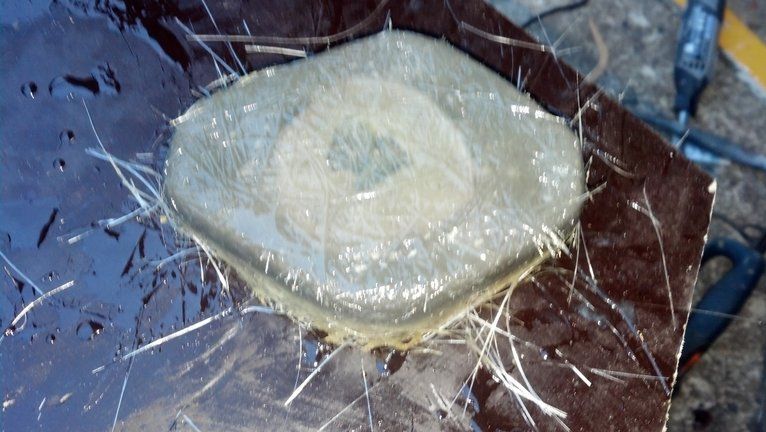
Once dry popped it out and then Covered in Glass strand and Resin
.
Left it overnight to harden before trimming it up and glassing it to the underside of my body
Then shaped the cut away in the body to the edge of my moulded shape and now I should have a semi recessed filler cap , proof will be tomorrow when I hope to fit the cap after bonding the body.
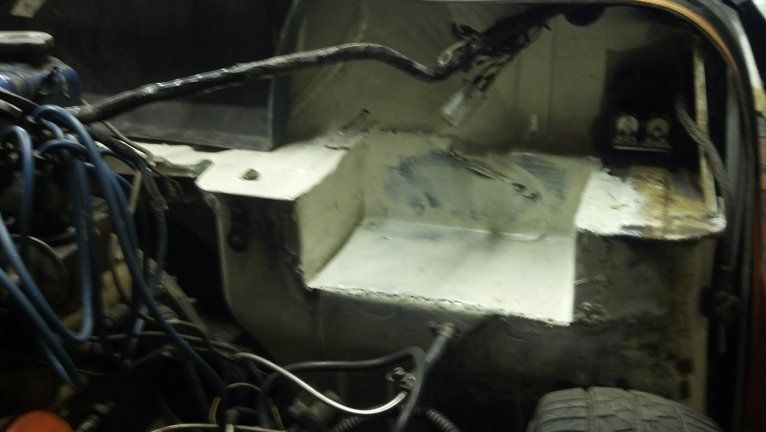
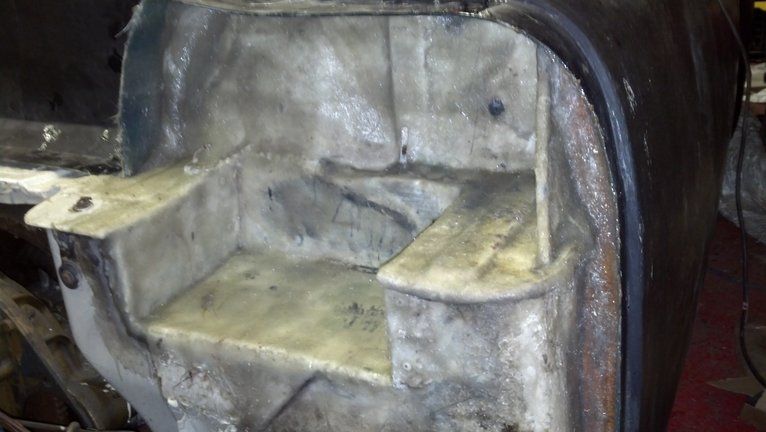
Oh yes modified the battery tray, well cut it out and welded in a new shelf, will take a bigger battery for plenty of starting oomph
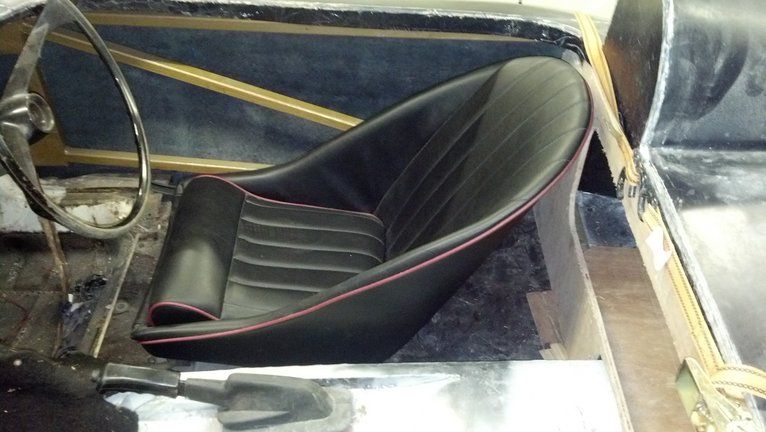
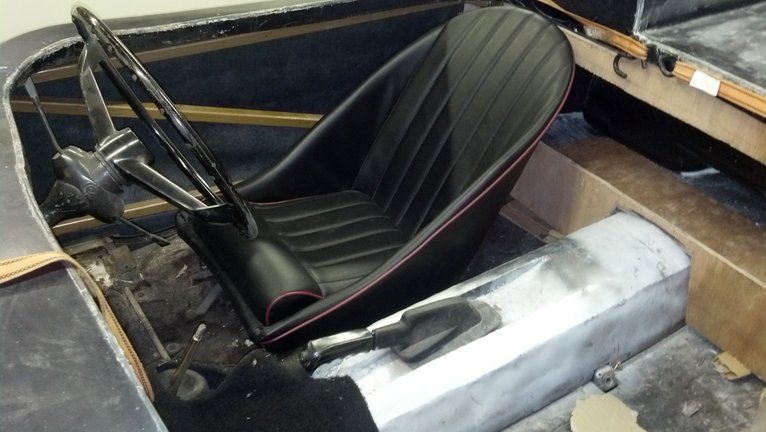
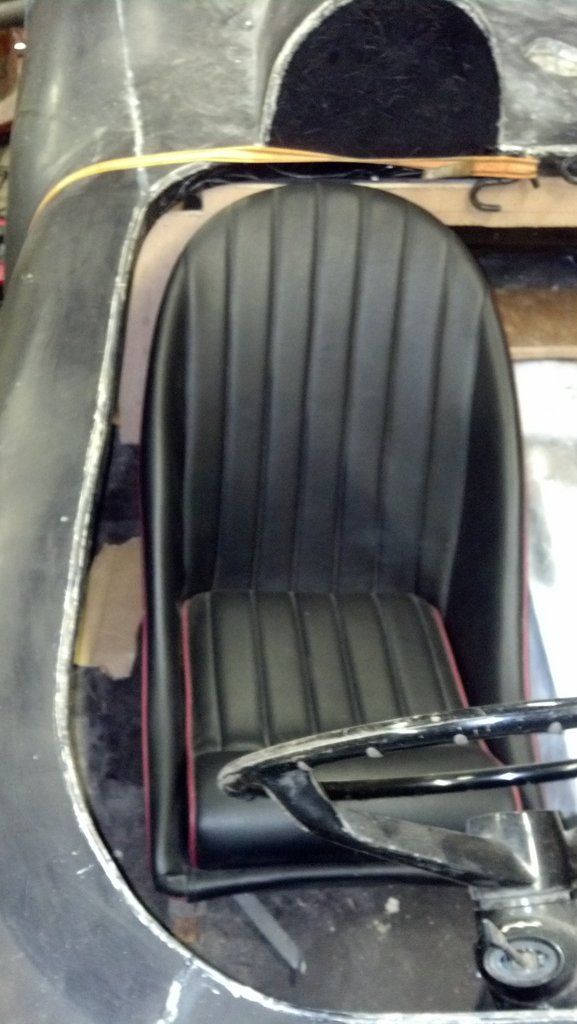
Got a chance to try the seat position
Considering its a flat floor no drop and standard Herald seat runners the height isn't too bad..
Yes , it wii need a drain hole, seen it done on someone battery tray so i will have to visit that page for ideas,
It looks roomy but the seats are very small so its all pretty snug, will have a better idea once the side panels are in..
Yes , I have done it body is on and set firm,
Only wish I had fitted my clutch copper pipe first now I will have to do this from underneath, doh. Still Im sure theres more I forgot..
Pops
Paul , Towed, your right, doesn't look that different to the hundreds of trial fits but theres something about knowing its fixed now and no going back. Strange how it inspires you to push on with the next stage..
Fuel cap pictures will follow just want to get the level right first, it sits slightly crooked but that may be down to the original rubber hose holding it. Its not fully recessed just a detail to give it a factory look, took a full day to achieve though.
Pops
Everything takes far longer than you'd expect. I've already put six hours of filling and sanding into my bonnet scoops and there's still another hour or so's work to do before I'll be happy with them. But how many cars are you going to build in your lifetime? Might as well do it right.
Fuel Filler cap, Not as straight forward as I had hoped but its getting there,
Not fully seated yet but you get the idea..
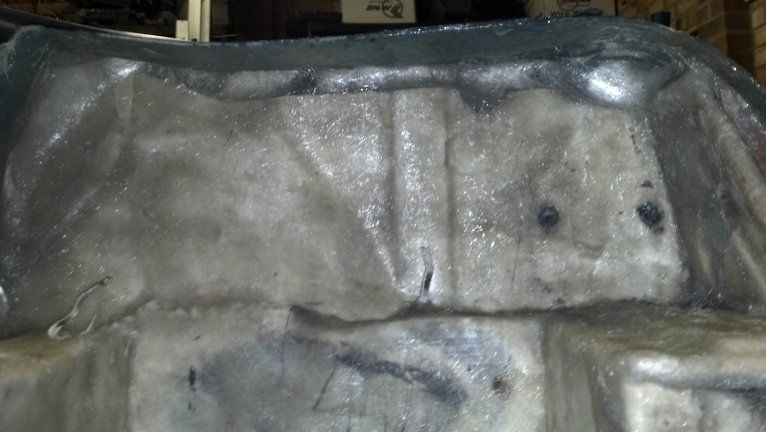
Started glassing in the bulkhead tonight,want to make a complete water tight and smooth look across the whole thing
.
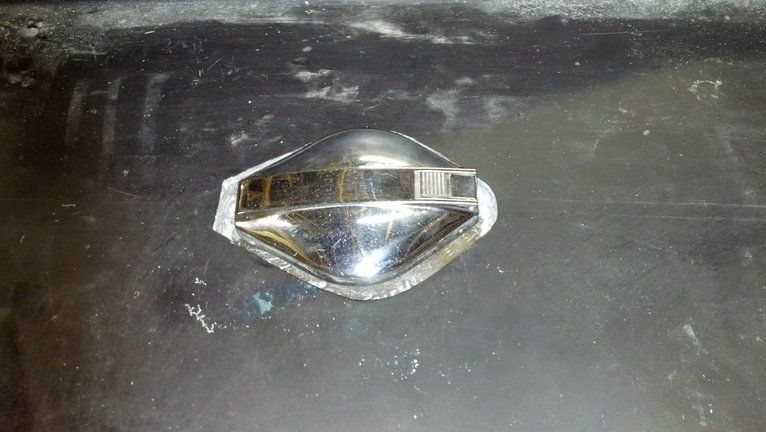
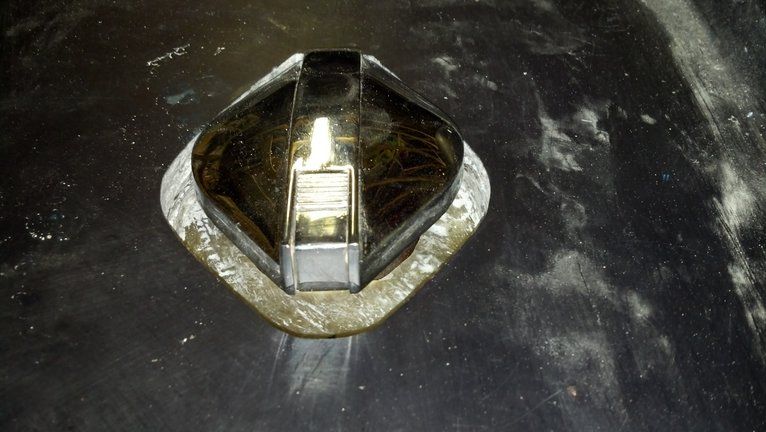
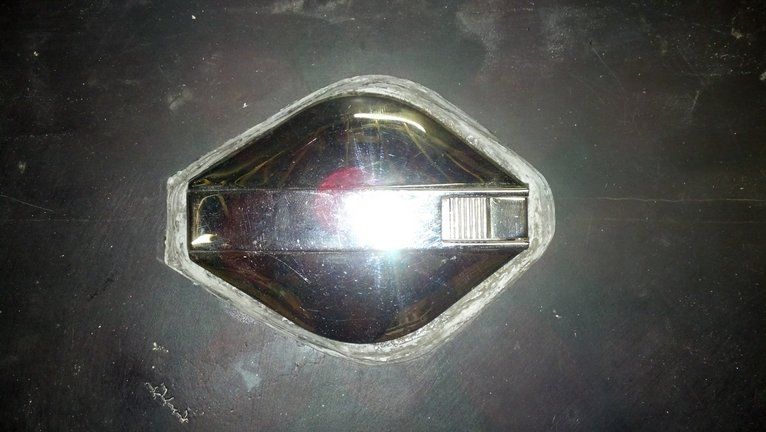
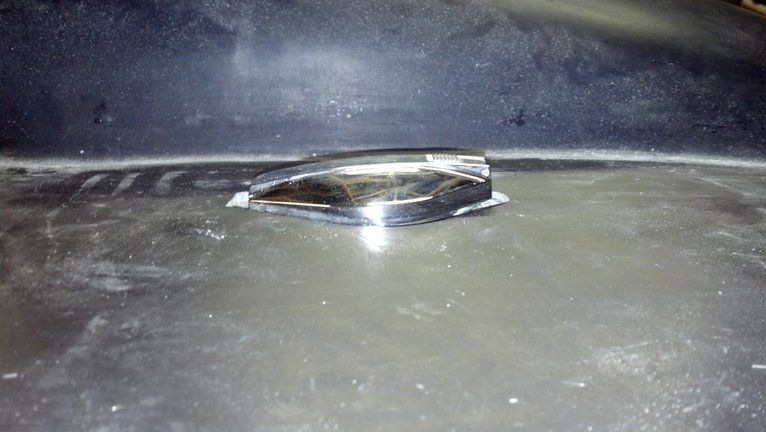
And had a play with the number plate light, its sat on its own plinth now, should look better once its sealed and painted with a gasket between the two..
Followed Toweds lead and emailed Peterborough today, the chap called back a few hrs later with an inspection available on Thursday, so i've bitten the bullet and gone for it, think everything is in order, guess I will find out then.....Pops



 .
.


 .
.
 Pops
Pops 